
Class Assignment #3 Computer Aided Cutting + Press Fit Kit
Below is my first laser cut project, a joint test!
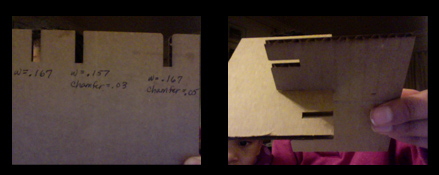
Appreciating the suggestions of fab lab tech, Zuberi, i tried several different slot widths and chamfer radii. i found that for the cardboard that measured .167 in., the slot width of .157 and chamfer radius of .03 in makes for an easy and snug fit.
After deciding on the slot width and chamfer measurements, i was really excited to get started. i had seen a lamp that casts forest-like shadows and i wanted to make something like it. So i began by making a ring with 4 slots in Corel Draw. Next i tried some free hand shapes as well as some created from circles and elipses and joined using the "shape" and "weld" tool. Learned that only the "hairline" thickness actually cuts, and all other thicknesses under the "pen" tool engrave instead of cut.
Click here for .cdr file.
Click here for .svg file.
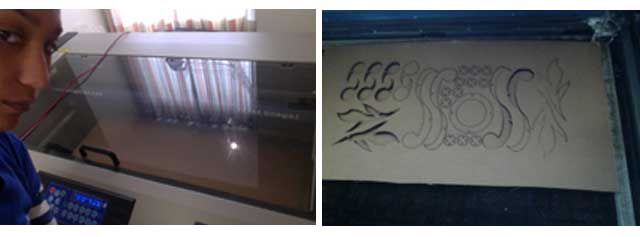
After a few hiccups, we finally started to cut. My kerf was doubled because the cardboard was slightly warped and some pieces were not cut through, so i sent the job twice.
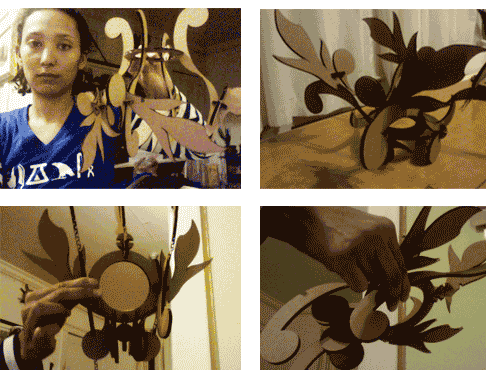
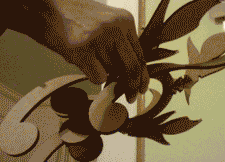
some different configurations...
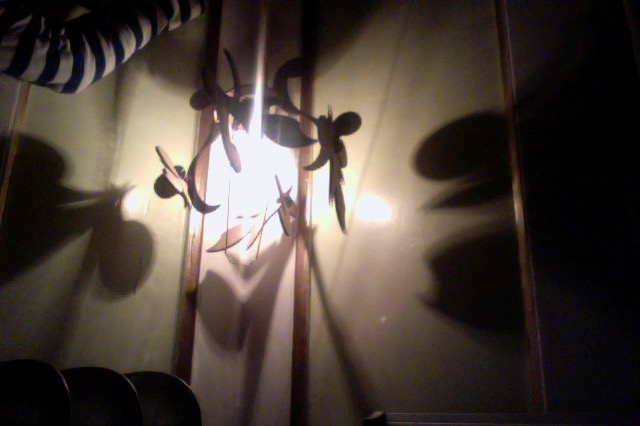
and with the light...
and then some fun with the vinyl cutter...
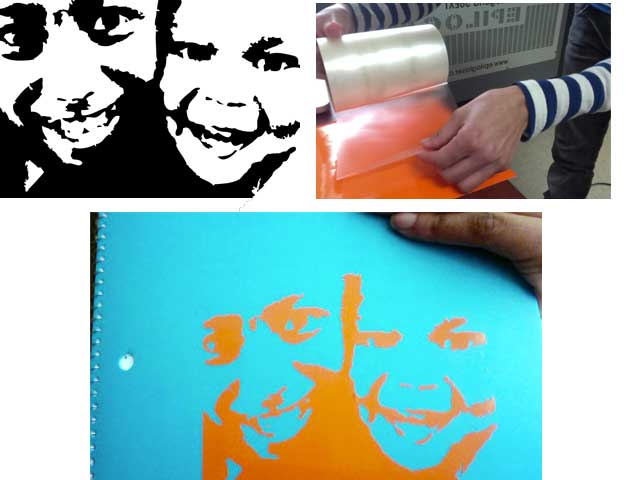
i started with an image of my two beautiful daughters that was full color. i translated it into a two-toned bitmap in CorelDraw, and then did an outline trace to create the vector, which was then printed by the machine.
click here for the .svg file
BOM
CorelDraw
Epilog Engraver
Roland G-X 20 Vinyl Cutter
Vinyl
Transfer Tape
Cardboard
Light