ISP making & programming
Making the PCB board
For this assignment we built an existing design of an ISP. There are several versions of ISPs at the Fabacademy, and we chose the FabTiny*ISP.
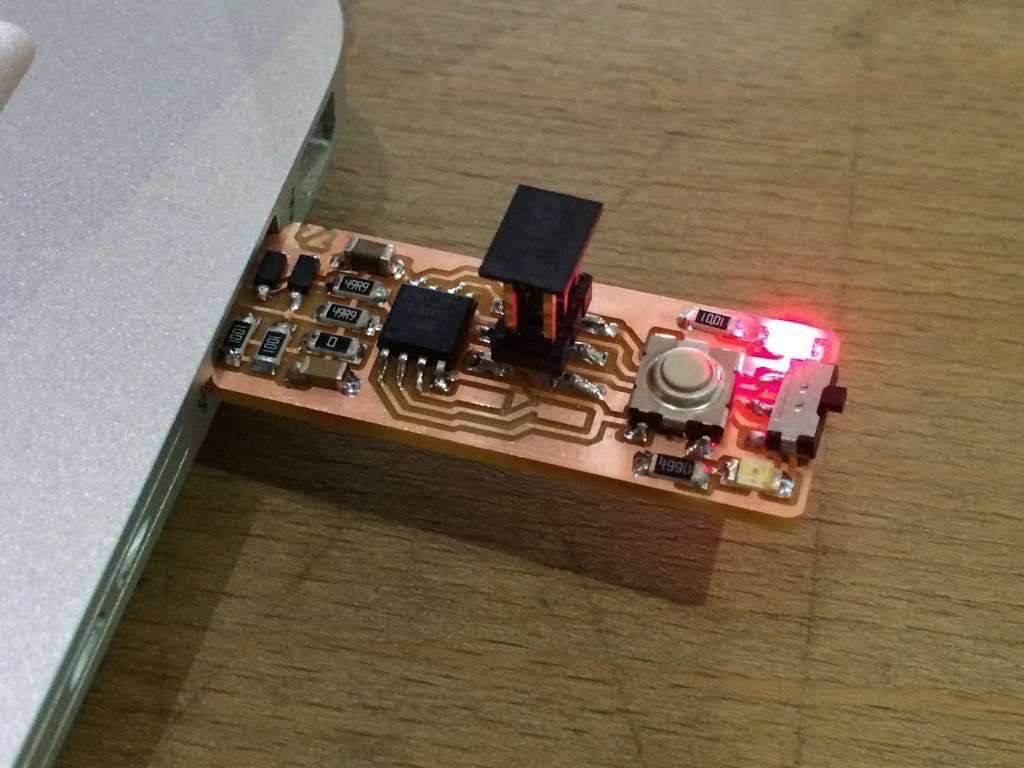
The final result:
 Instead of etching the PCB, which is a rather toxic process, we used a paperbased material with a copper layer that can be easily milled. At the Waag Fablab, the mill we use is a Roland Modela MDX-20:

We were given instructions on how to set up the milling machine and how to load the the .PNG file that is sent to it.
Here you can see the first of two PNG files being loaded for milling:
 When it was time for me to mill, I had to use a piece of used material, so I needed to make sure the file would fit. From measuring I knew I had enough space, but I needed to make sure the bit would not run off from the material.

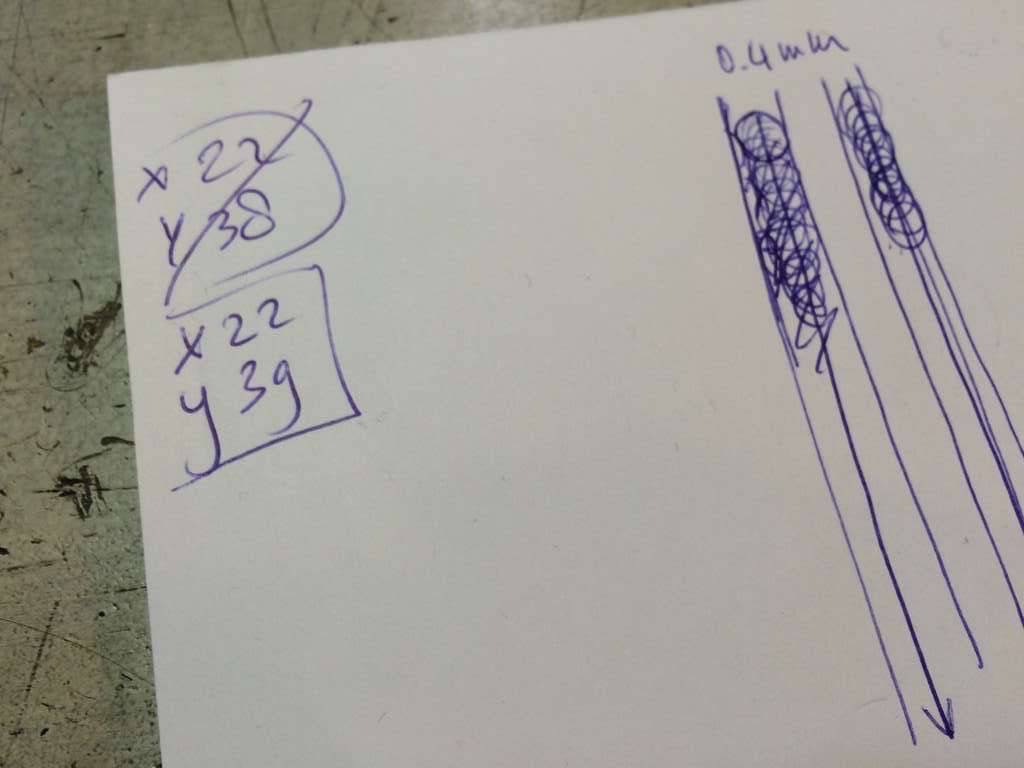
I used the controls of the software to move the bit a few centimeters to the right to make sure it would stay on the material:

Here you can see the first run finished. A lot of dust if produced obviously when you mill which you can remove carefully with a small vacuum cleaner or a brush.

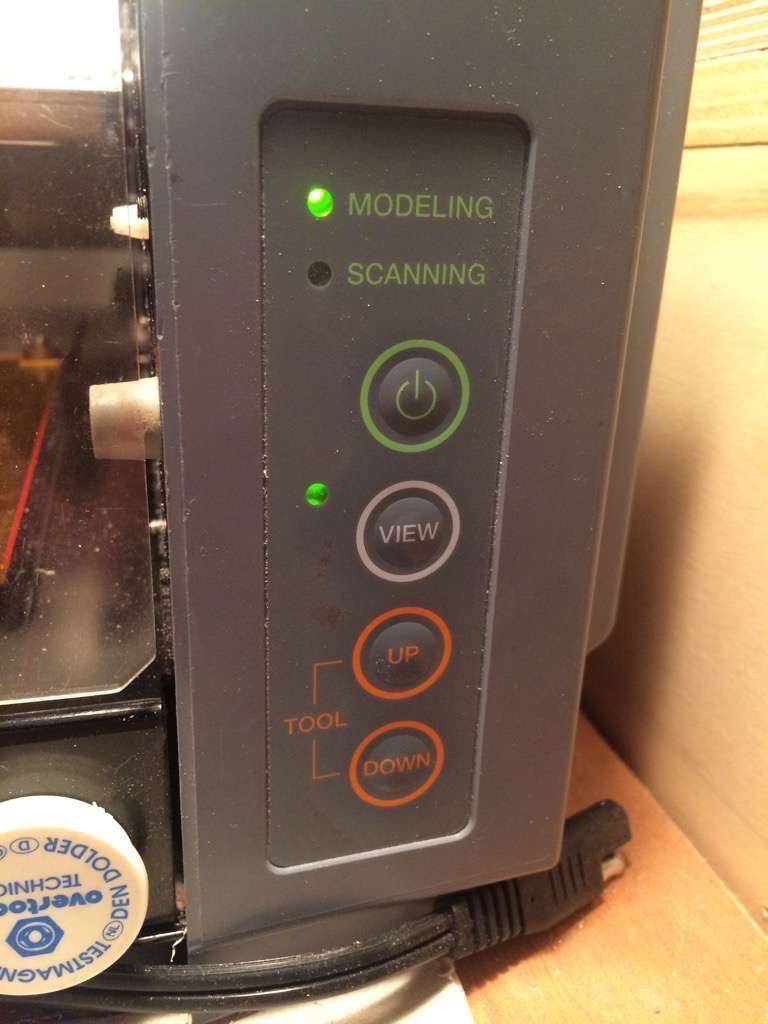
If you want to make sure during everything is going well, pressing 'view' will pause the milling and move your work to the front of the machine.
The first milling job removes the top layer with the copper, leaving the copper where you actually want it for conductivity:


Now, it is time to cut the PCB free. For that we use another PNG file and different settings, including another mill bit of 1/32 inch.
One of the settings in this case is the z-position, which is set to -0.6mm in this case, to optimize (= minimize) the amount of cycles the bit has to travel through the material. Setting this value to 0 would actually result in having the bit run across the surface of the material for nothing.


This is what you end up with:

To remove the PCB board you can use a screwdriver or a tool like this:


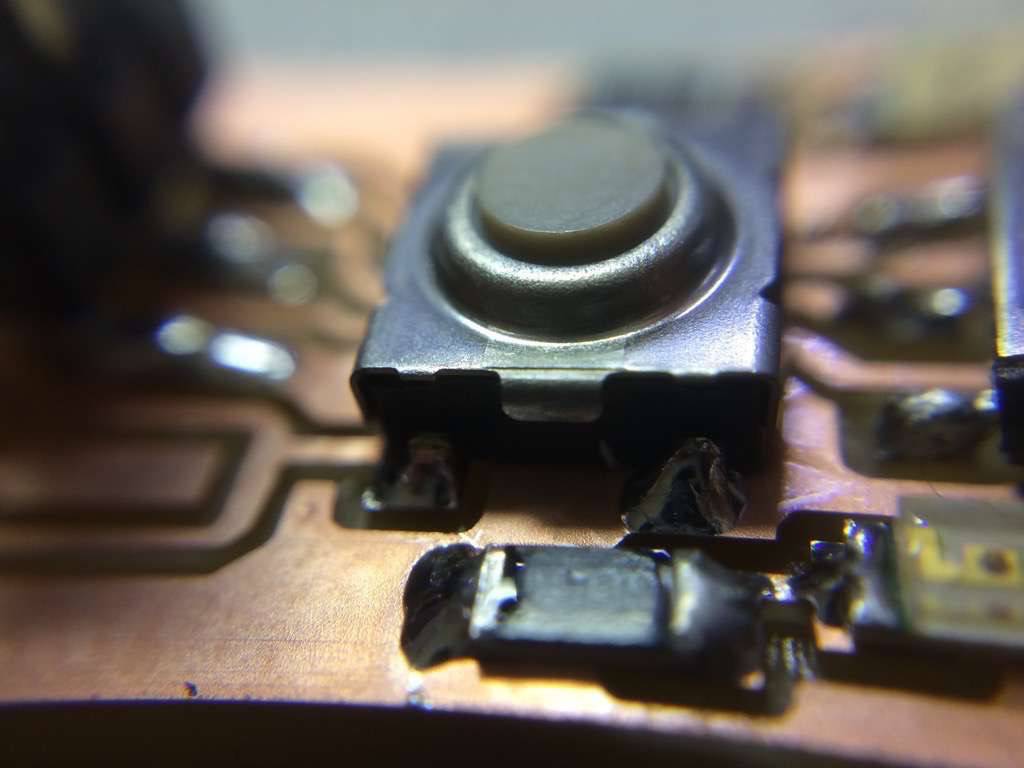
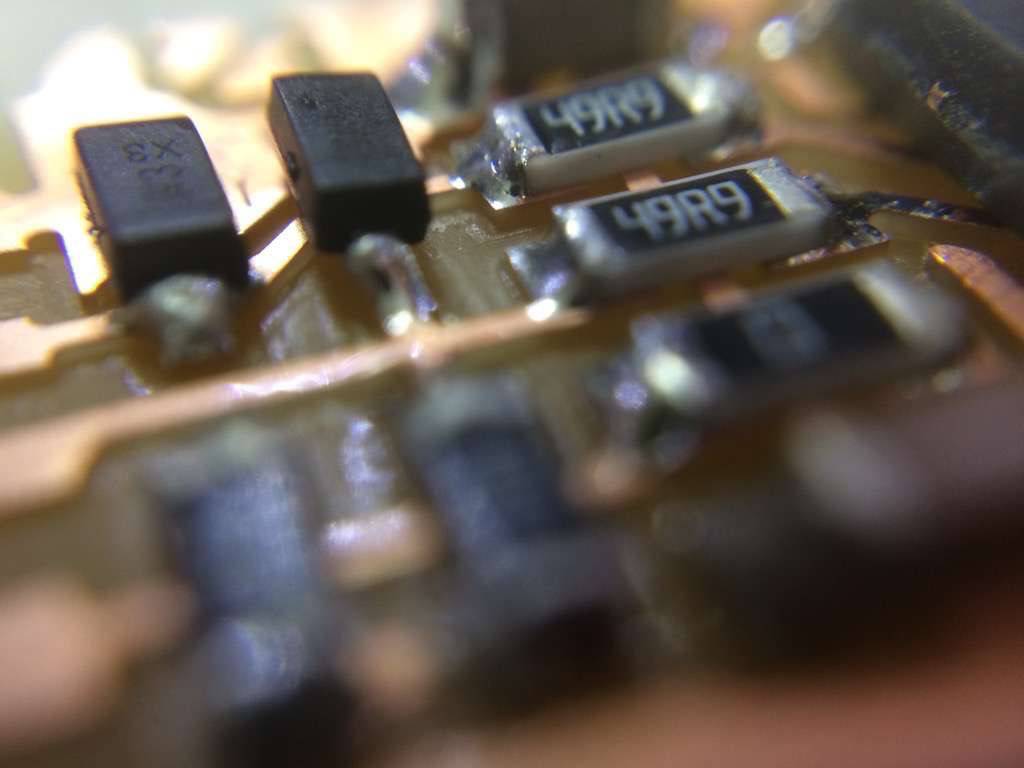
A few closeups of the result. As you can see, despite using the vacuum, lots of dust still remains on the board. Also, looking closely, you can see how the path of the bit does not always leave precise paths. Keep this in mind when designing the board and setting the path of the bit.


A view from the side with the macro lens gives a nice picture of the material that the PCB is made from:

Close inspection of the board shows a tiny bit of copper that was not cut by the milling bit. this can be easily removed using a Stanley knife:


 To remove tiny bits of rough material that might stick out after milling and to remove oils and dust that might damage the circuit over time, the PCB is sanded and then washed with a light soap.


Now it is time to stuff the empty board with the components. I had the layout of the PCB and a list of components next to me at a soldering station.

When soldering, it is important to make sure the soldering iron is hot enough (test it by touching a bit of solder) and to make sure the sponge is wet so you can use it to clean the tip of the iron.
When putting components onto the board, it is good practice to plan which parts you solder first. A rule of thumb is small, then large and inside out.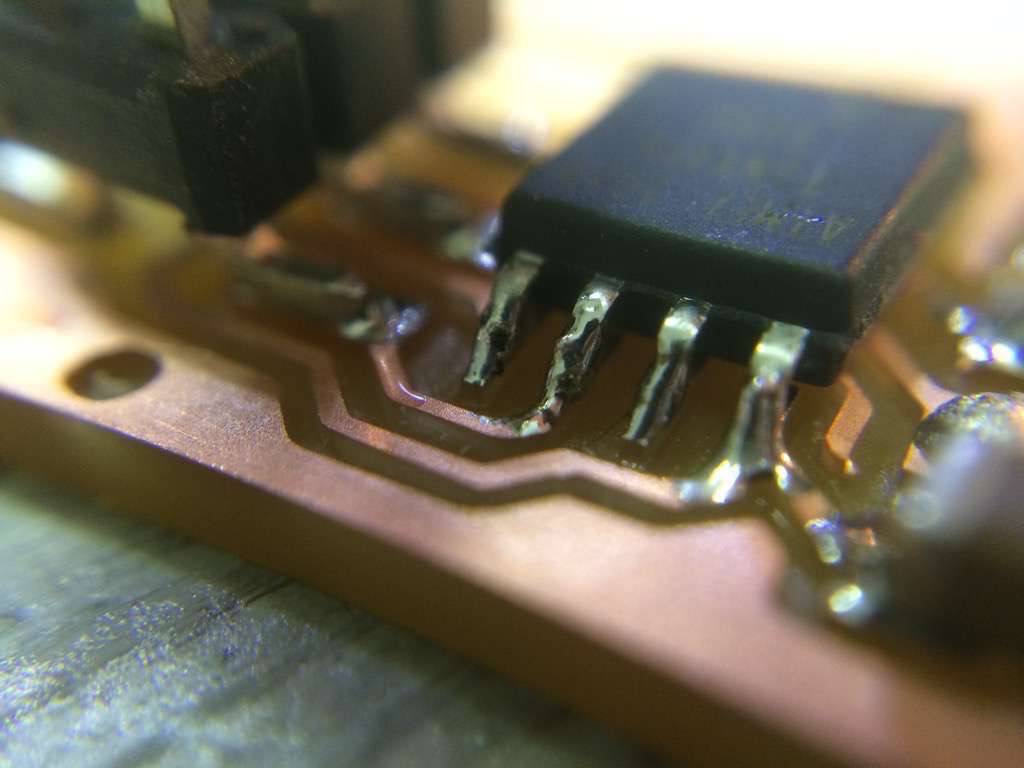
When adding components, I first deposited some solder onto the board and then, while simultaneously heating the board and the component added more solder to attach the component. Always check that connections are well made (solder should flow around the feet of the component and onto the board).
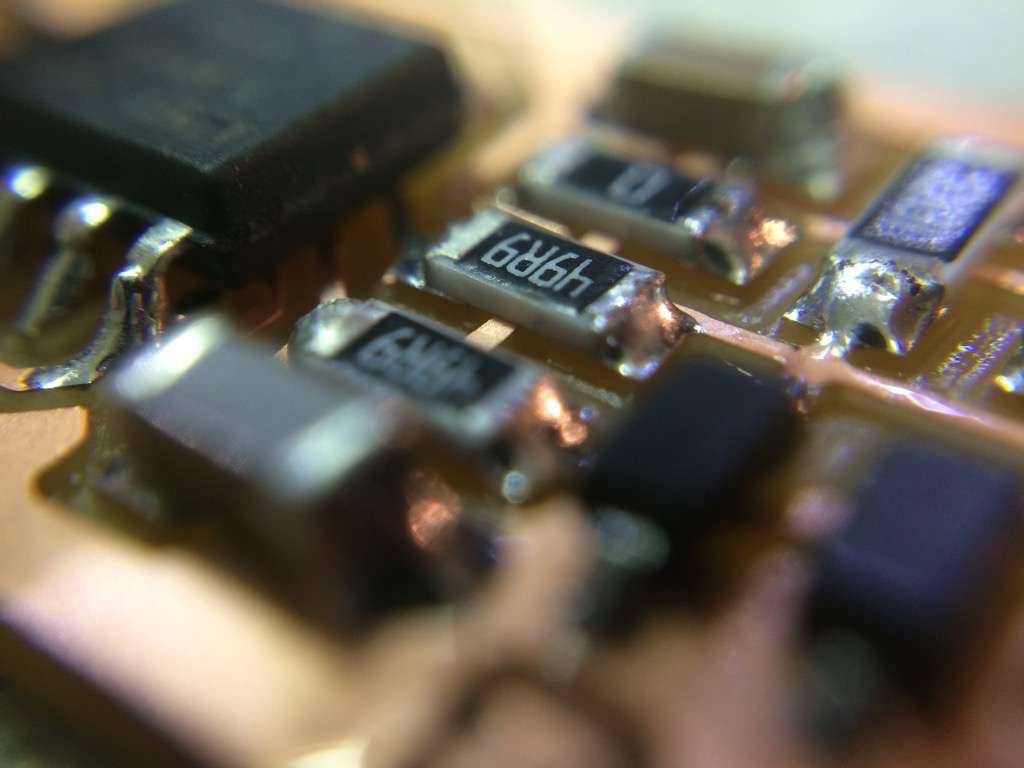
Here is the board with all the components soldered onto it:

To make sure it fits nicely in a USB port, I glued a bit of cardboard at the back so that the connections would press against the USB connections of my laptop.
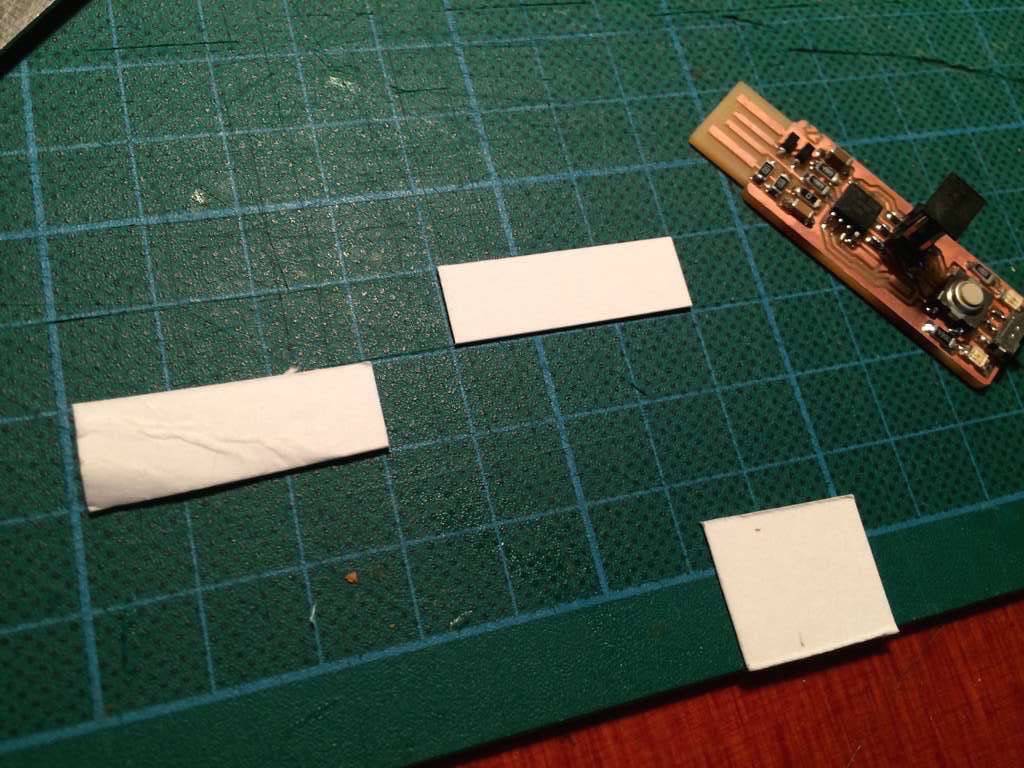

Here is the finished board, and...it's ALIVE! Yes! What a nice feeling to have that made.
Programming the ISP
Next up is programming the ISP which I need to do next. To be continued...