

Molding and casting
This assignment was quite interesting. What I liked very much about it, is that it forces you to integrate different aspects of the workflow in the design. I found this out when I wanted to go ahead an mill the _simple_ design I thought I had made...which I ended up having to redesign completely because I did not consider the limitations and dimensions of the tools I would be using...o well :)
Initial idea: repeatable / modular mold
I started out on this assignment brainstorming about modular molds. Or rather, in the first instance: the idea of making a repeatable mold. Similar to seamless tiles that are used in backgrounds on webpages.
The thought of designing one (relatively simple) mold that can be copied multiple times to create one (more complex) final mold is very appealing. If the seams are constant, it would be possible to generate multiple variations and combine them in to lots of different final pieces.
Spiraling...

Dimensioning problems...

Mold problems
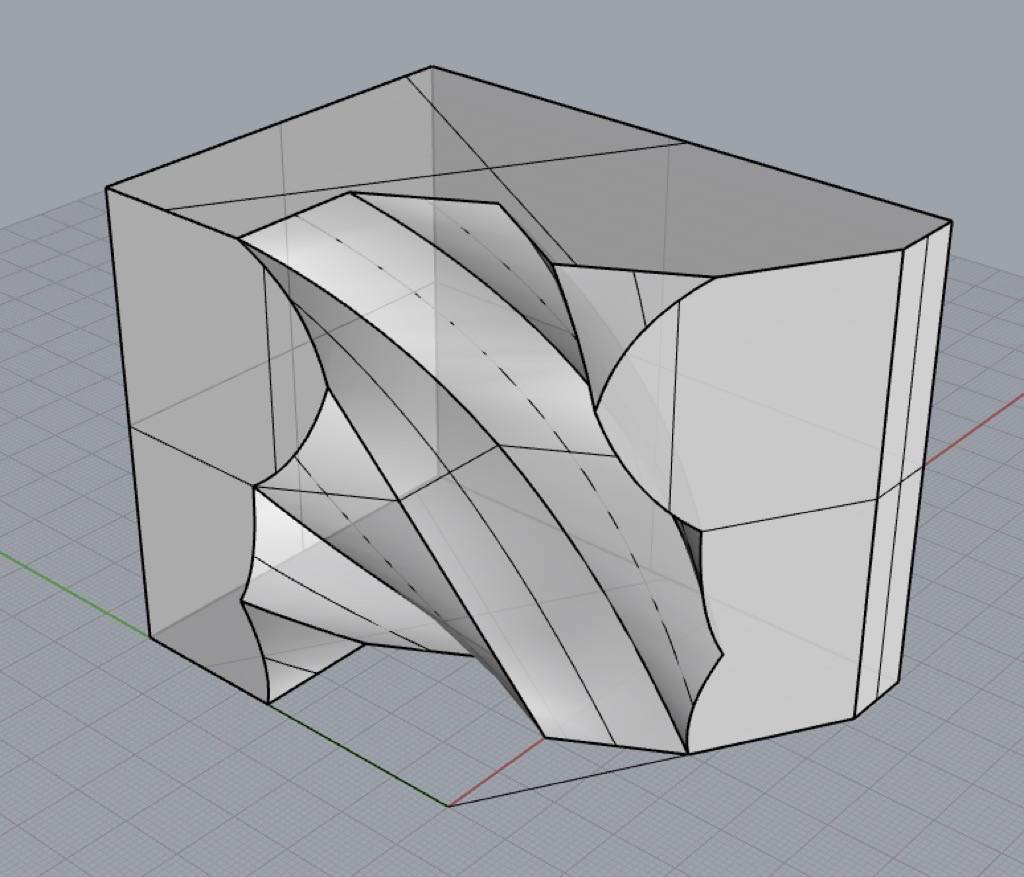
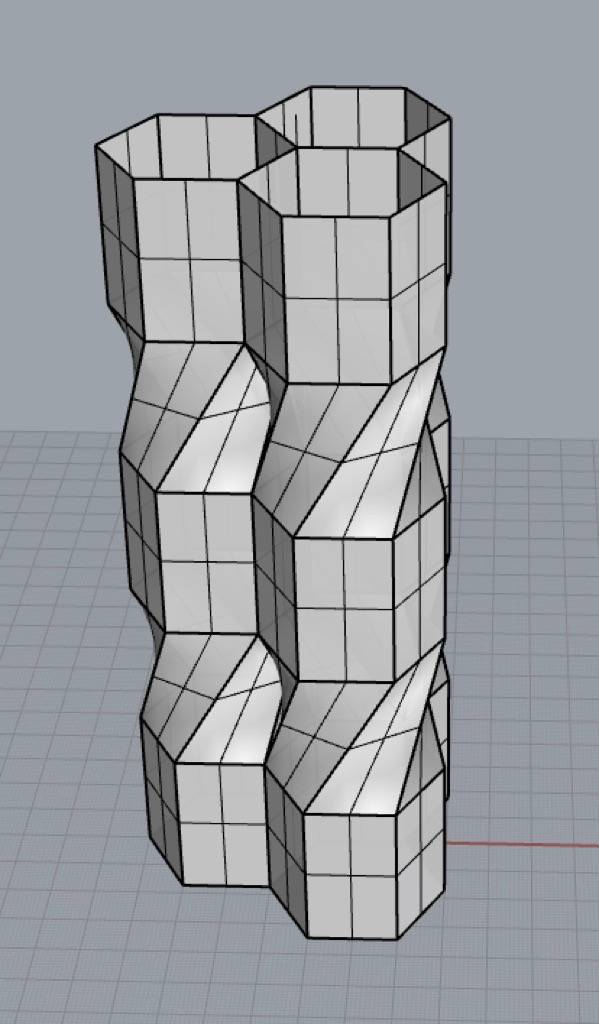
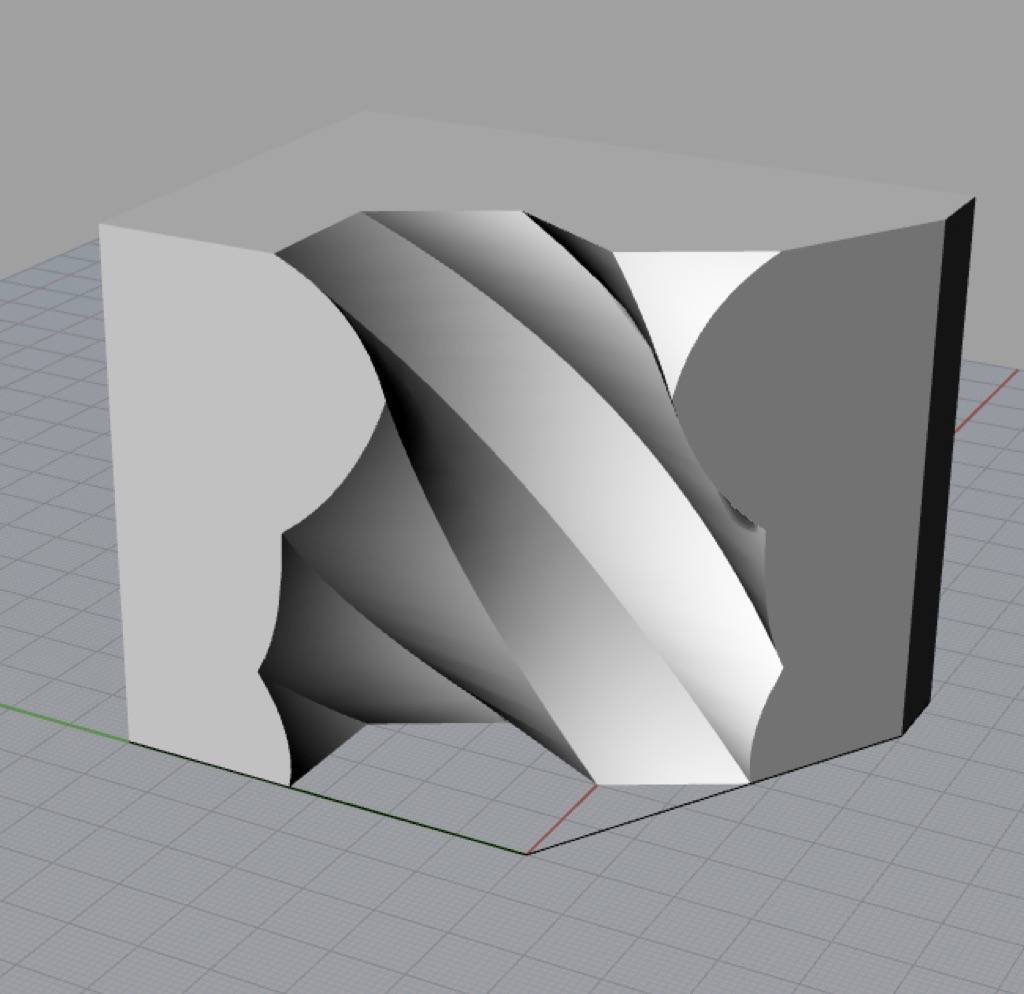
One example of a possible piece could be a spiraling shape. By designing one-third of the spiral and copying that mold 3 times, it should be possible to make a complete spiraling object.
With Rhinoceros, I made a few sketches to explore what that would produce as a mold. Doing this should be possible but I saw that you quickly run into problems where the mold has overhangs, which are hard to mill. A solution would be to 3D print the object and create a mold from there, but that is not what this assignment is about (I might try that later though).
So I left this idea for now, but I intend to come back to it at a later stage and try and see if I can create it.
Modular mold
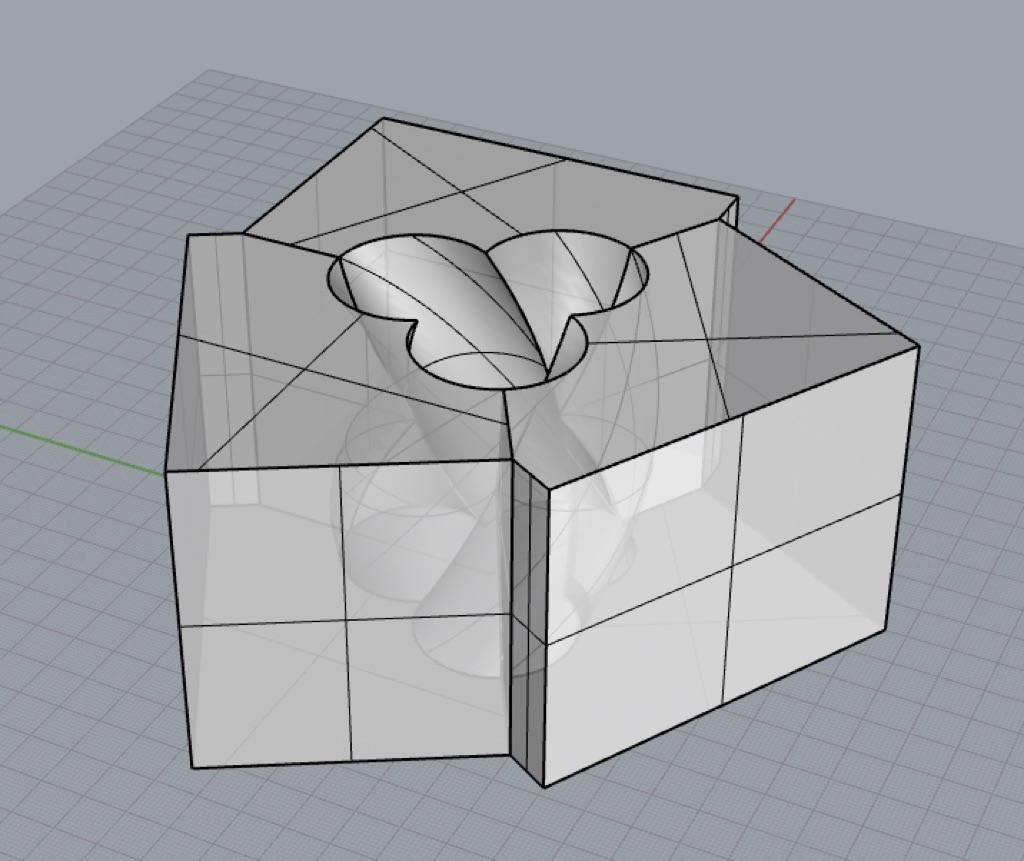
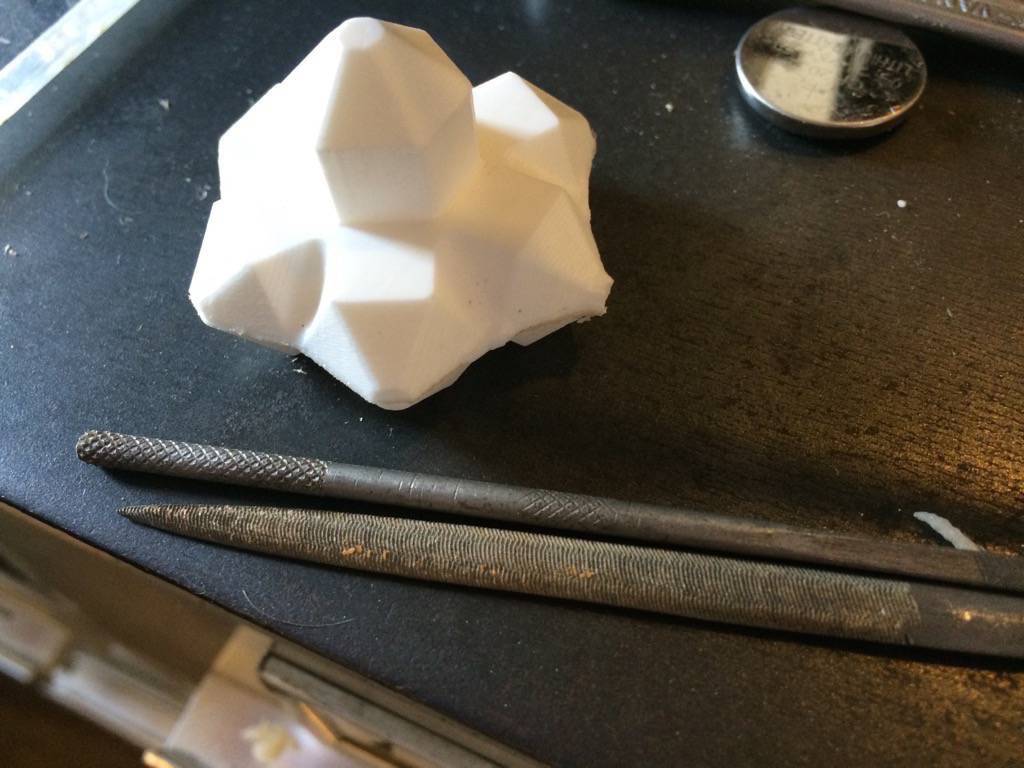
OK, so instead I decided to make an object that could be some kind of modular building block. I designed a geometrical object that seems simple, but that could be used to construct more complex shapes.
The mold I designed is made of two interchangeable parts. This means that with two mold shapes, I can make 3 different variations to cast final pieces. At the time of writing, I have not yet have a chance to do so, but I will post updates on that here later!
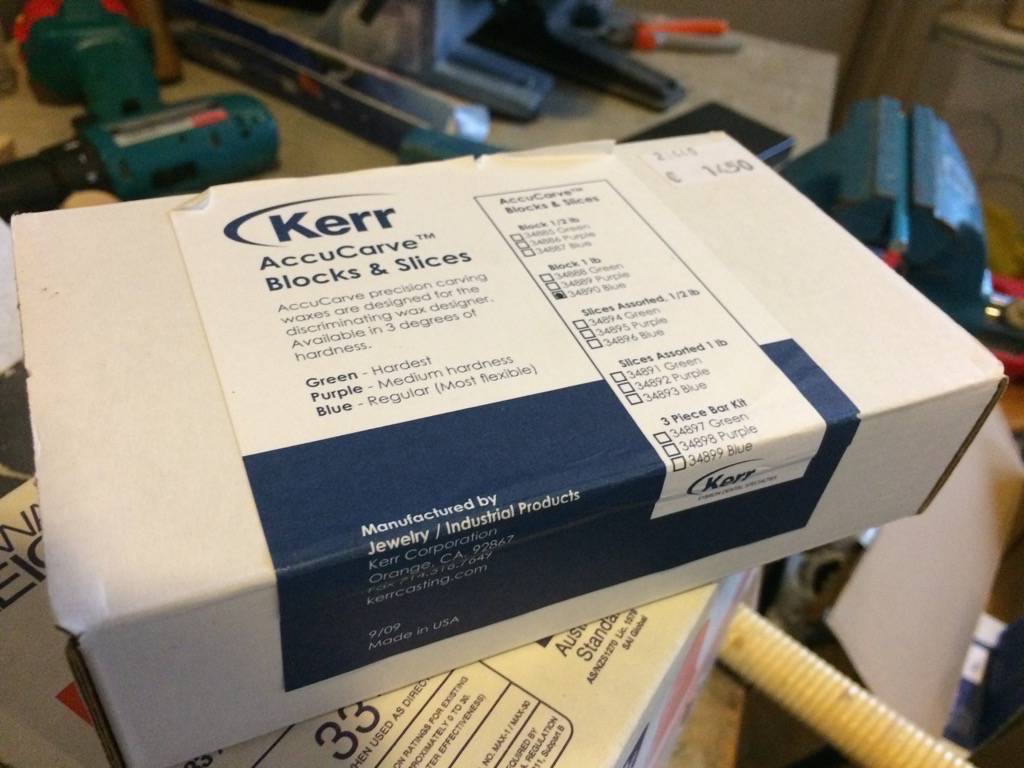
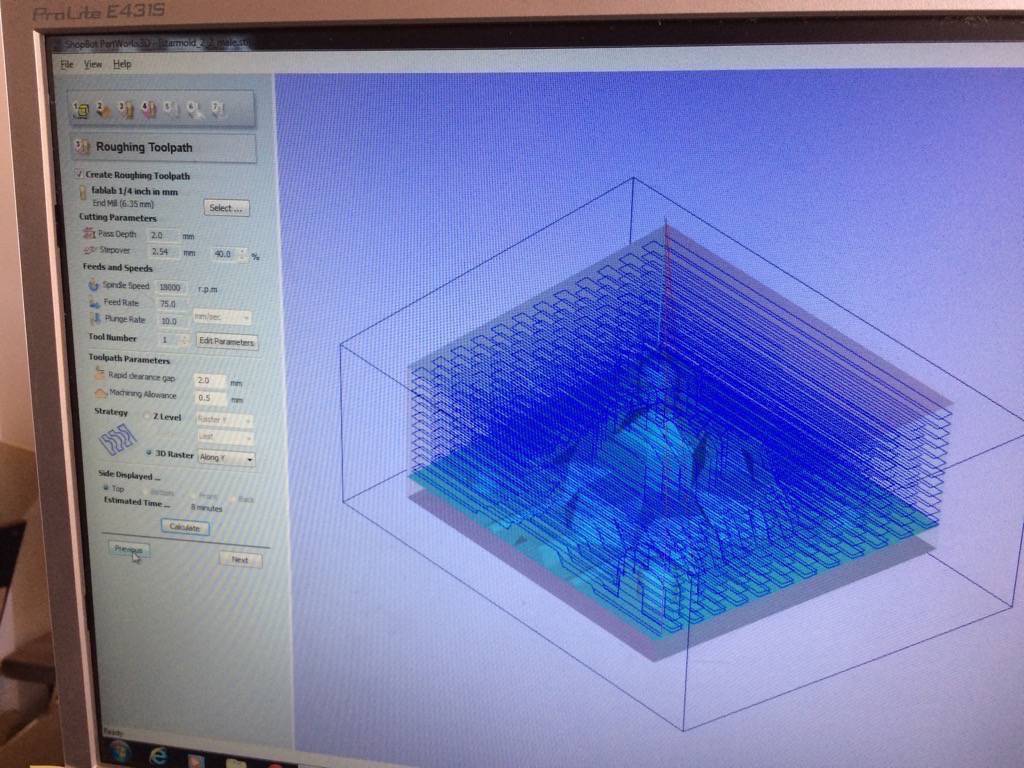
Milling the hard mold
We used a hard wax to mill the 'mother'-mold from which we would cast the soft molds. What is good about this method is that it allows for larger productions, because worn out softer molds can easily be reproduced.
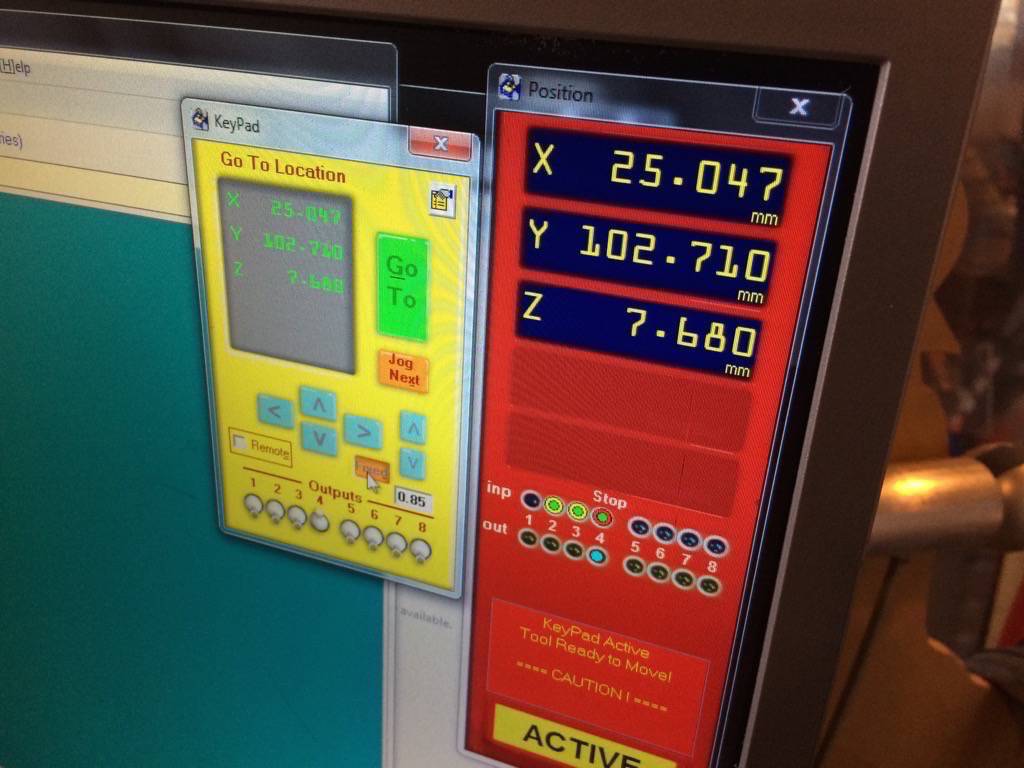
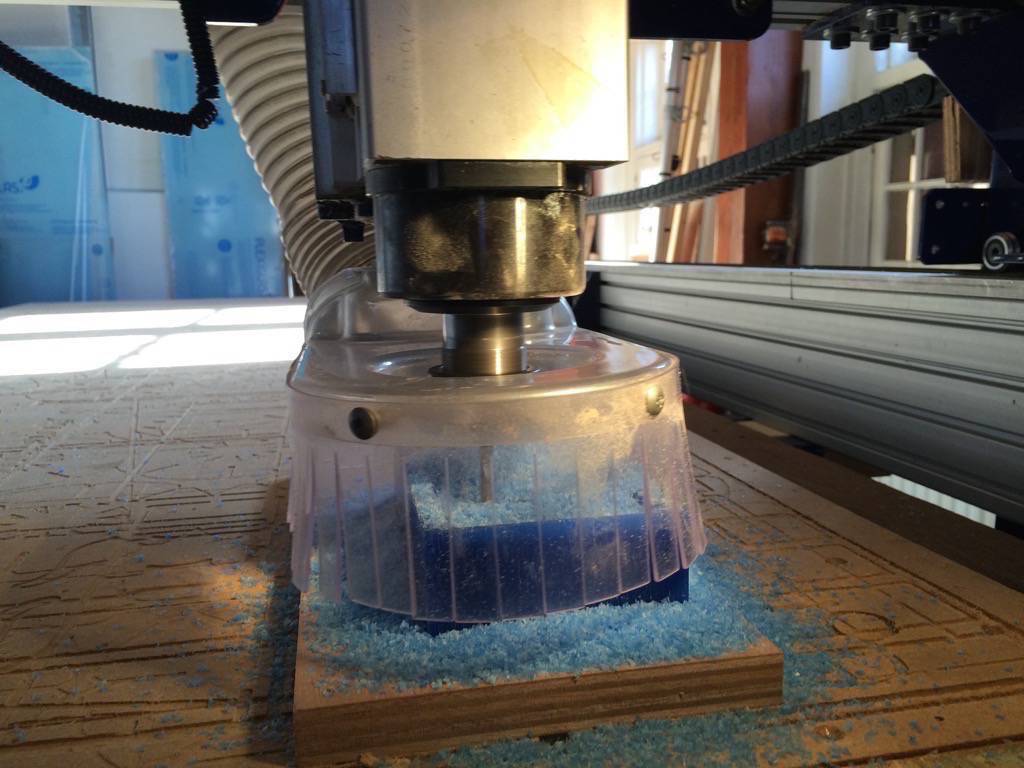
While setting up the mill, take good notes of the x- and y-values of the shopbot. The wax block can be fixed with double-sided tape.
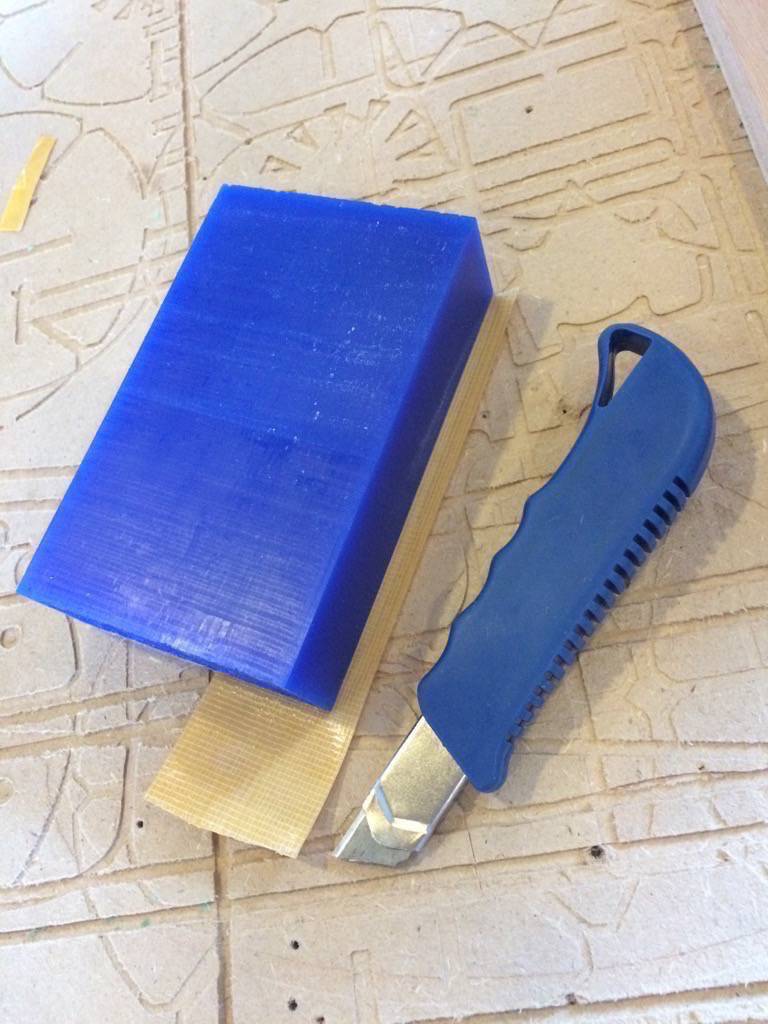
Waste material from milling can be recycled to make new wax blocks. Make sure the milling bed is clean so the wax does not get polluted with dust or chips from other materials (often wood is milled on the shopbot, which might get into the wax.
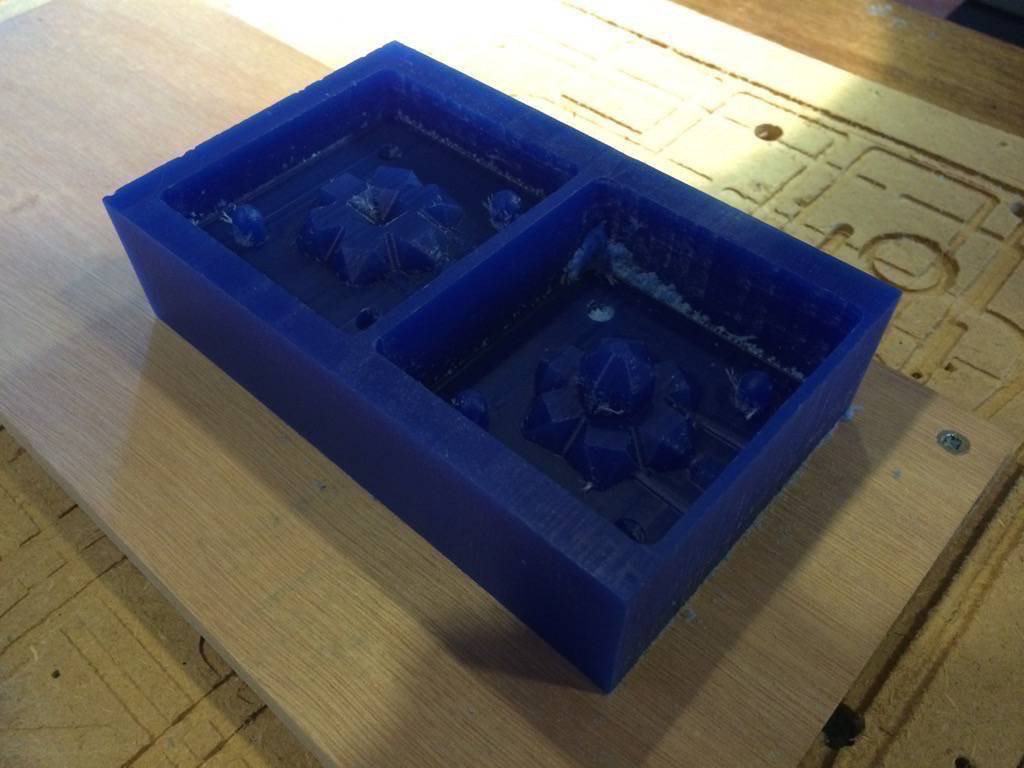
When the hard mold is done, free it from dust and grains. I washed it with some water. you can also use a handheld vacuum cleaner to remove particles. Make sure not to damage the mold.
Casting the soft mold
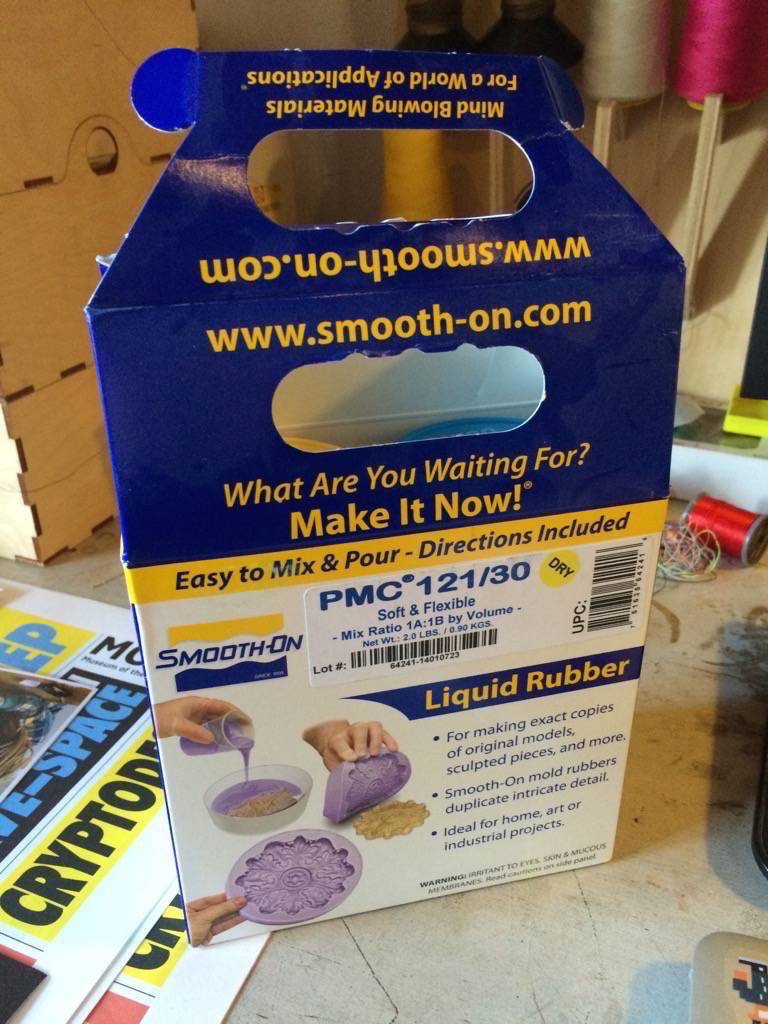
The soft molds are made from a rubber material. This makes it easier to remove the final castings from the mold when they are done. Before casting, the mold is treated with release agent and left to dry for 15-30 minutes.
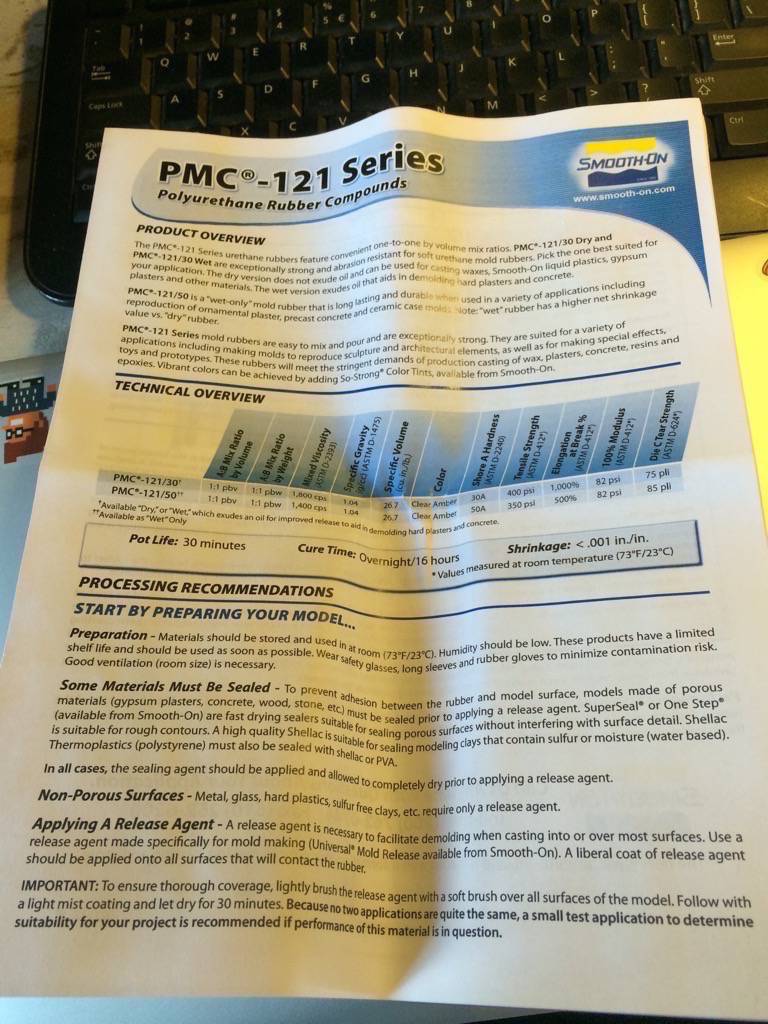
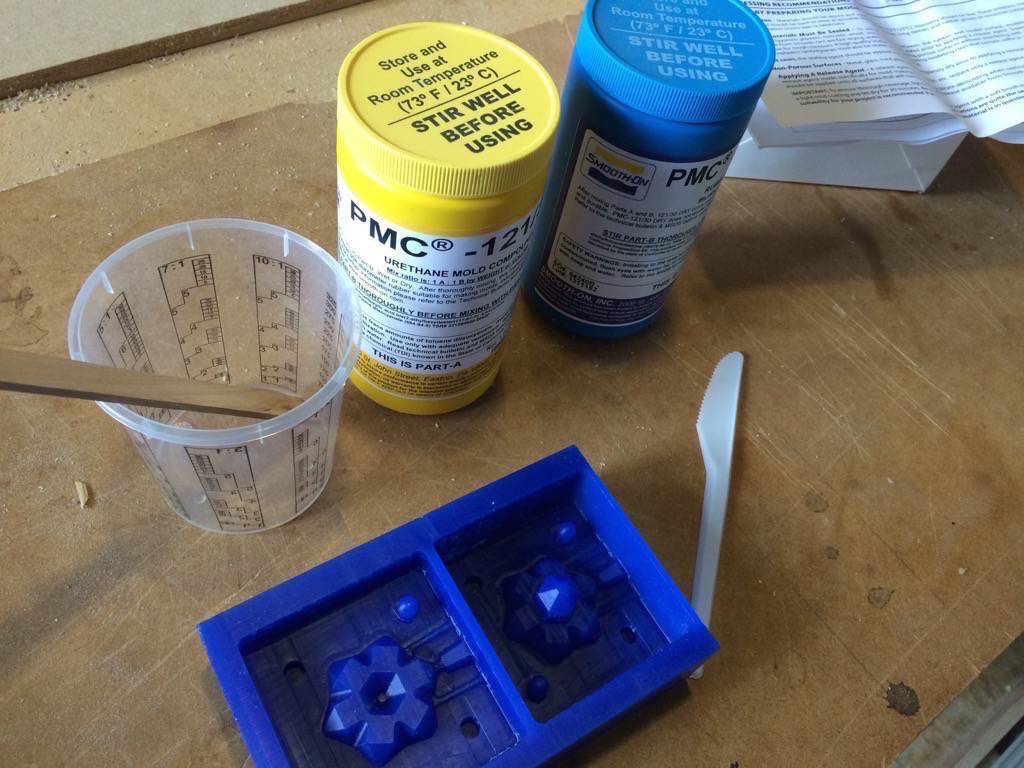
The material used to make the soft molds was Smooth-On PMC121/30. This is a two-component material with a curing time of about 16 hours. The materials need to be mixed well in the proportions mentioned in the data sheet. In this case in a 1:1 ratio.
After mixing the material, take your time to pour it slowly into the mold. Let the material finds its way into the mold. Do not move the cup too much (or at all) because that might cause air bubbles to get caught in the mold. Als, do not pour directly into the slots of the mold, because that might also trap air bubbles.
Do this in a well ventilated area (preferably a climate box), wearing gloves and long sleeves. Do not breathe fumes.
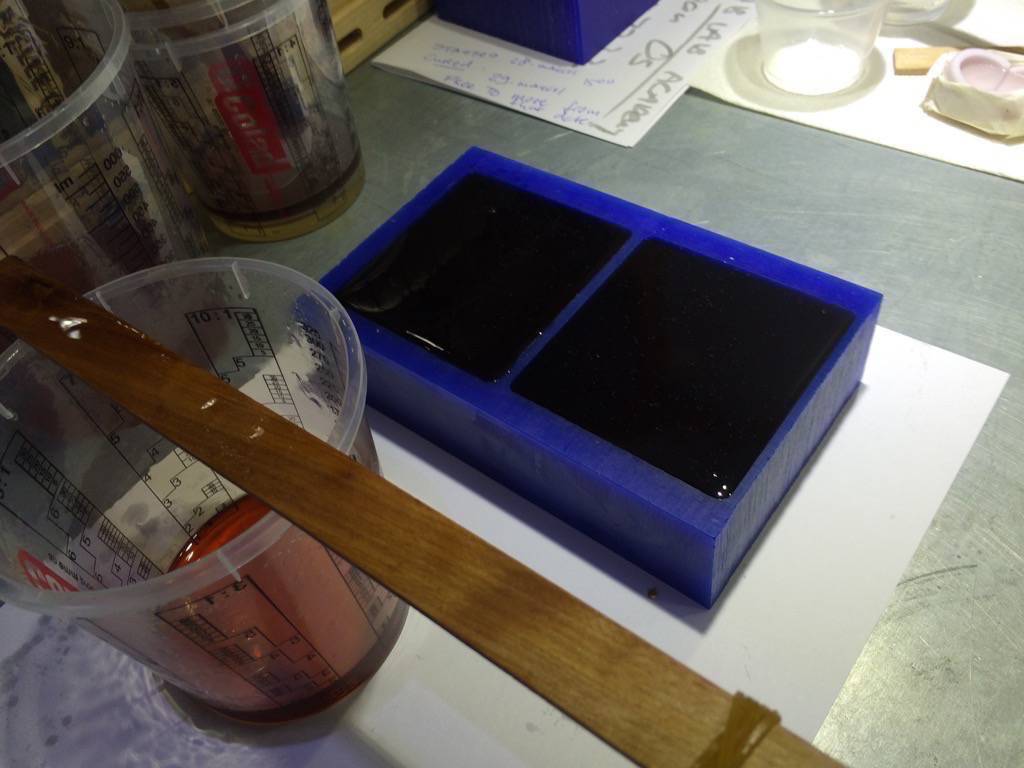
Then...let it sit and cure (do not say 'dry', because that is not what is happening...).
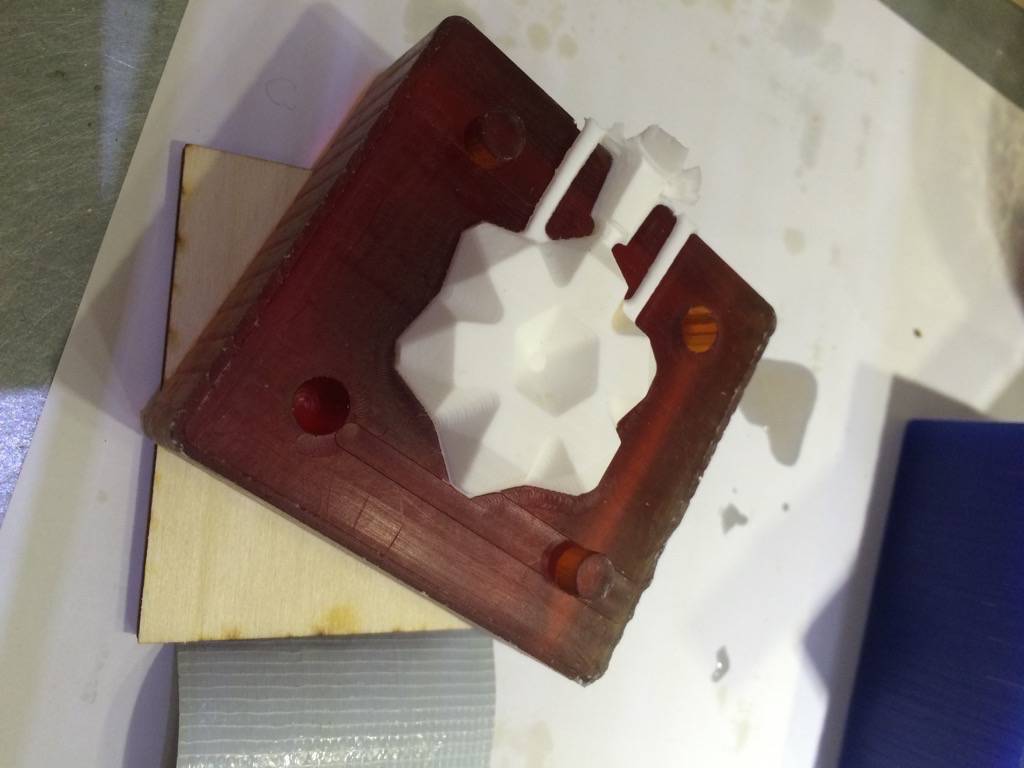
After 16 hours the mold should be cured and you can remove it from the hard mold. In my case, I was able to do that despite the fact that I did not give my mold a slight angle. Deeper molds could be harder to remove.

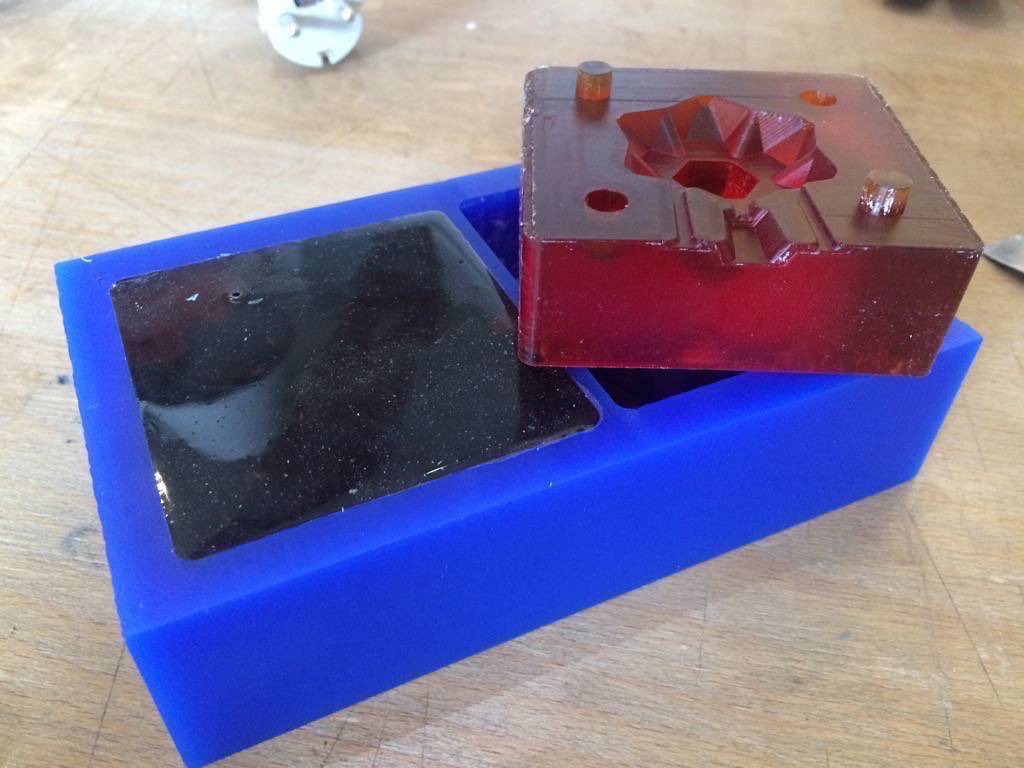
The hard mold with the two soft molds. They fit nicely.
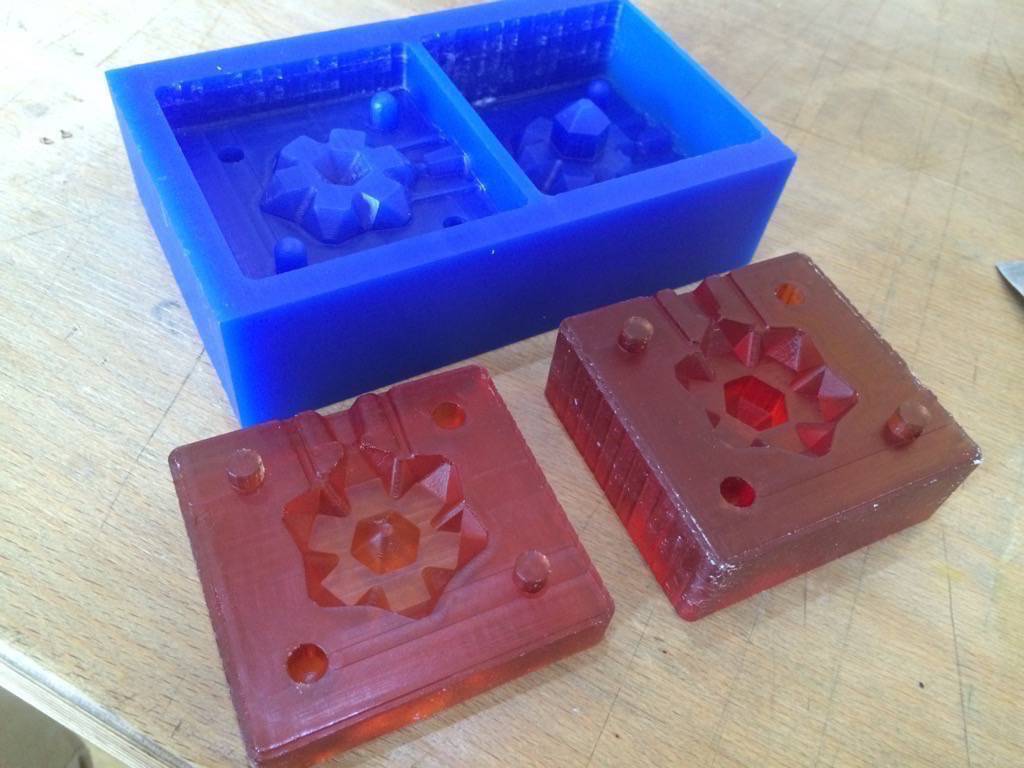

The molds are done! Now it is time to do make the final casts.
Casting the pieces
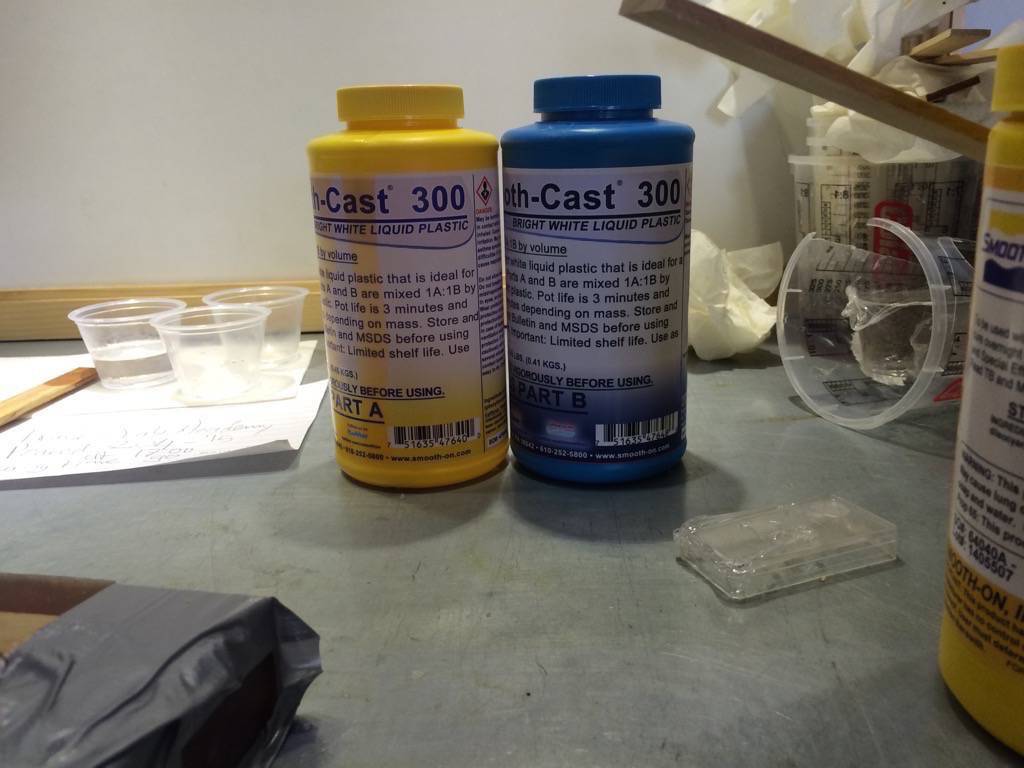
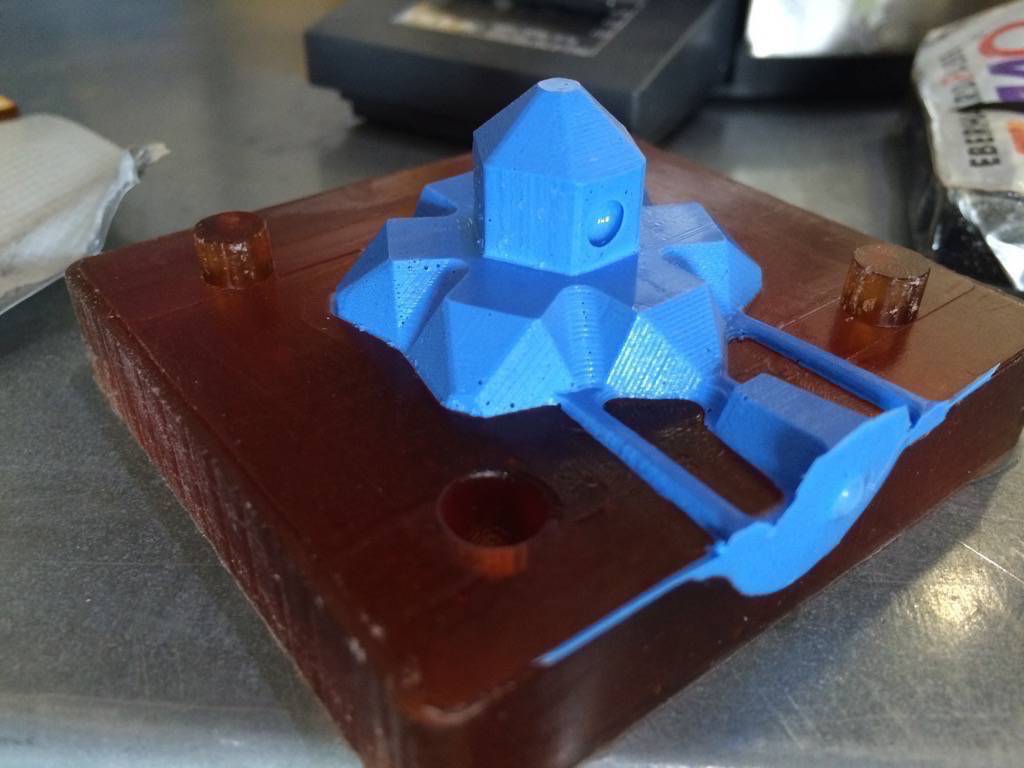
To cast the final pieces, I used Smooth-Cast 300. Contrary to the rubber (PMC121/30), this material hardens very quickly after mixing. So make sure the mold is prepared and everything is in place when you start to mix, because you'll want to pour the material into the mold as soon as possible (don't get nervous!).
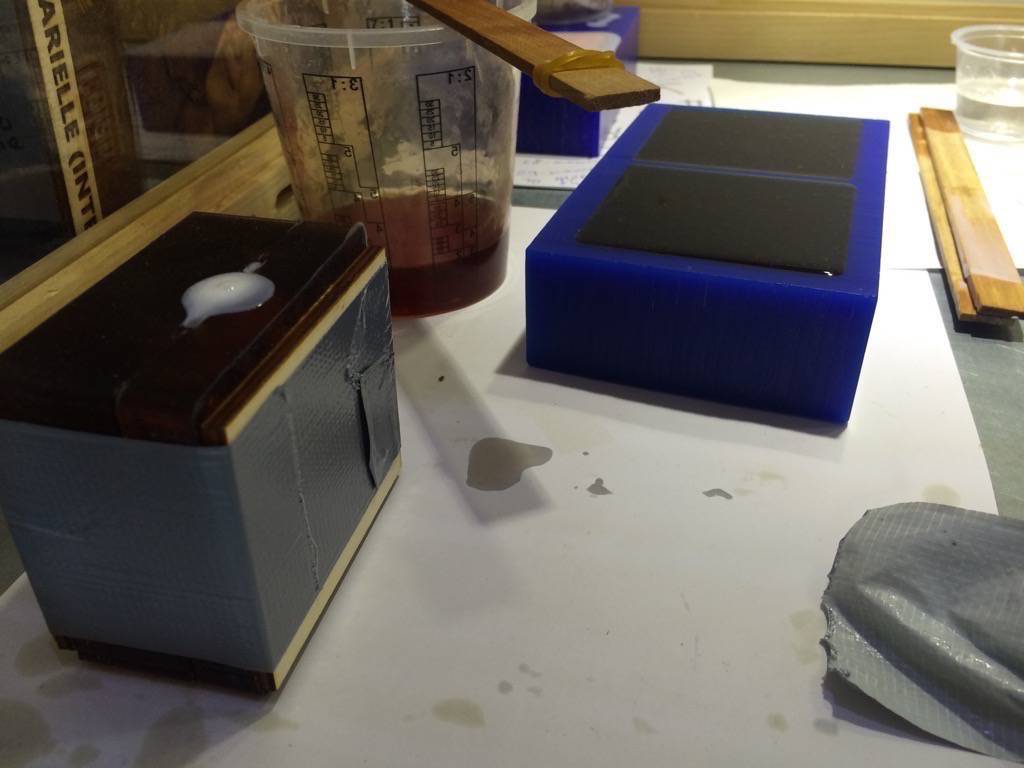
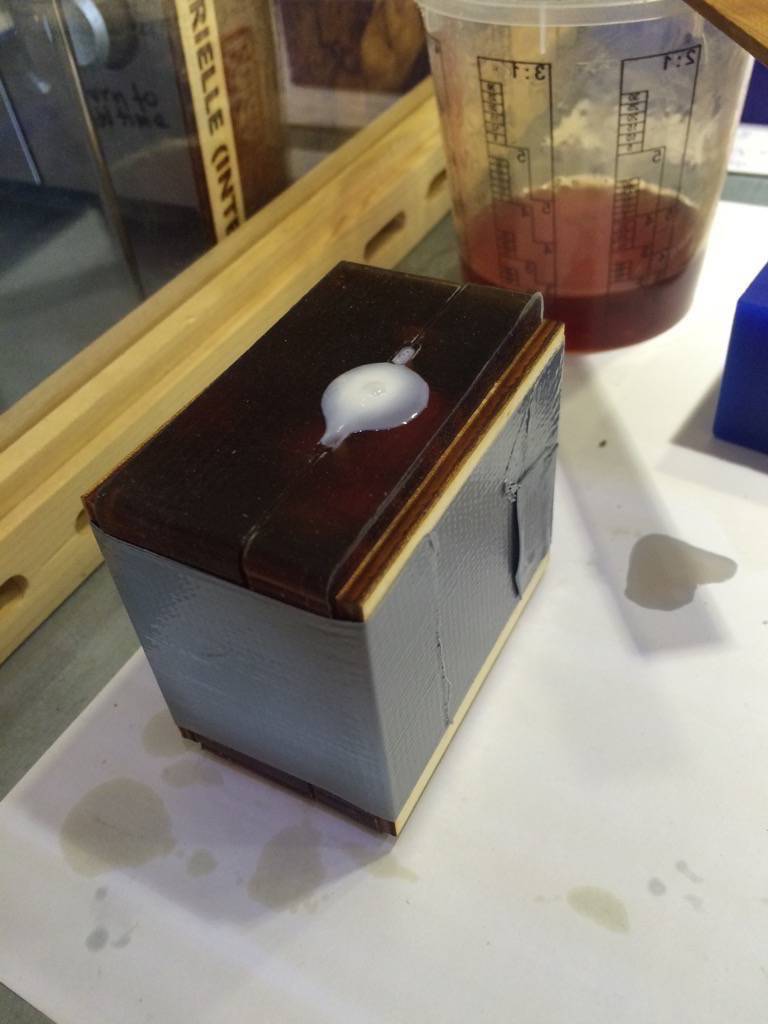
I held the molds together with two pieces of wood and some duct tape, which worked very well. For more critical, or complexer mold, I would probably make a rig on the lasercutter to hold everything in place.
After mixing the material, I poured it into the mold. It was a bit hard to estimated the amount of material I needed, but I managed to get pretty close.
Within 10 minutes, the pieces was hardened. Yay! Such a great feeling to open the mold and hold something in your hand that did not exist a little while earlier.
Note: make sure the mold is treated well with release agent. I found it difficult to get this first object out of the mold. Also, the mold left some residu material on the piece, so always do one casting without colouring or anything, just to clean to mold.

Making sure your mold fits wells helps a great deal afterwards, because you'll always need to spend some time cleaning up the piece. The better the mold, the less time you need to spend on finishing. One piece is fine...imagine casting 100..
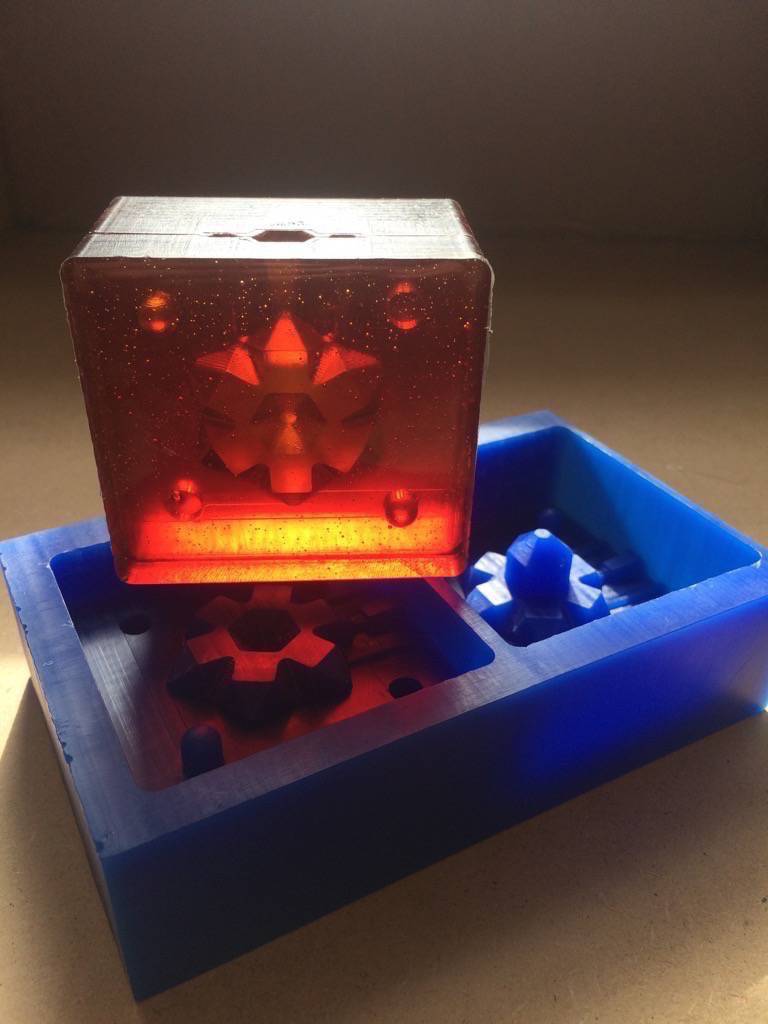
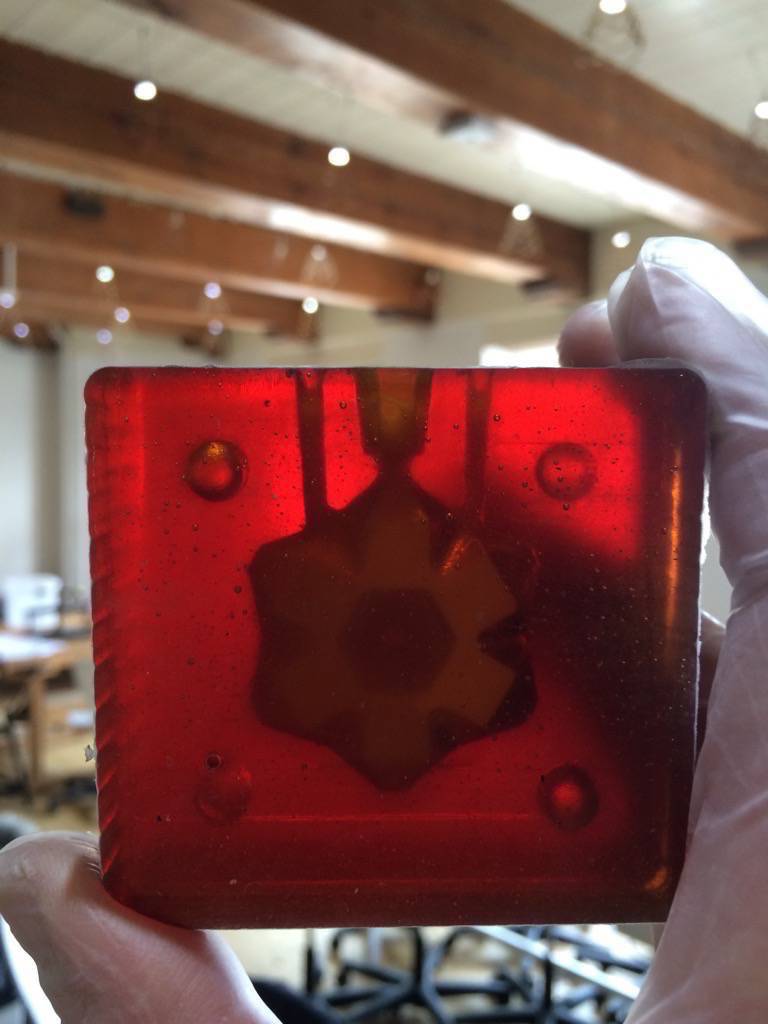
So after that was done, I wanted to try to add some color. Adding just the tiniest little drop of colouring agent already gives a nice color. (ps. note the air bubble on this blue piece).
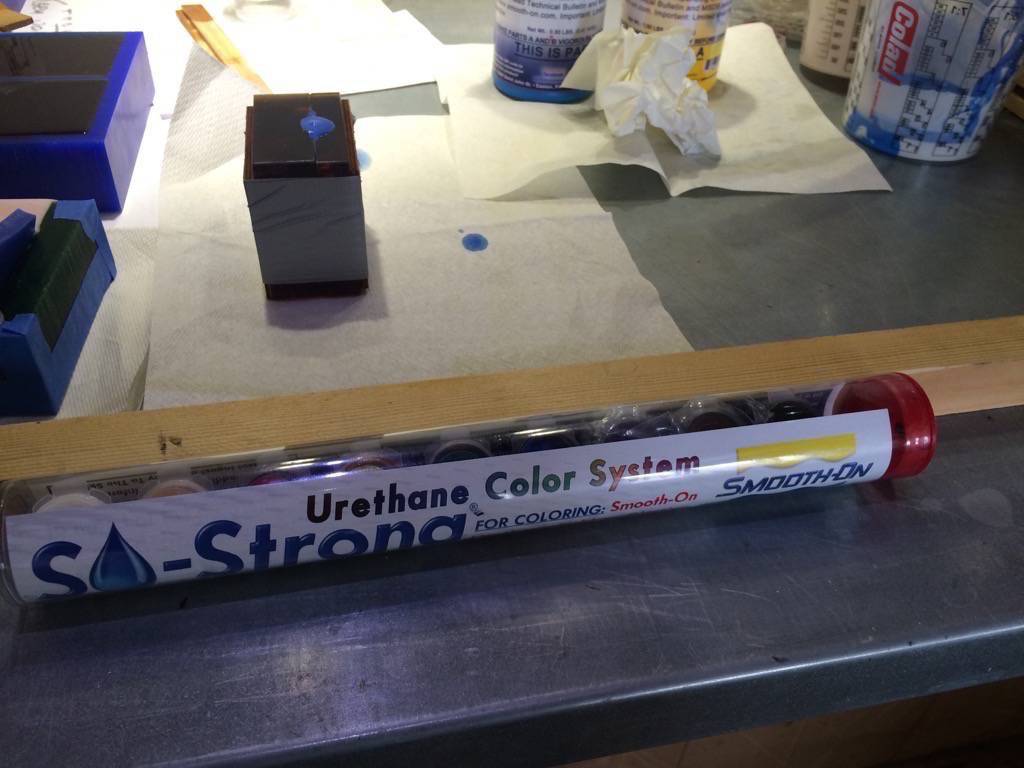
Even though the sides of the piece are just a few millimeters high, that was still enough to trap an air bubble during casting. With the next piece, I tried tilting the mold slightly to prevent that (it seemed to work).


Finally, a few close ups. I like how this mold looks.

So...what is it?
Now that you have your designs, it is time to come up with some practical applications for them. The possibilities are endless. Here are a few:
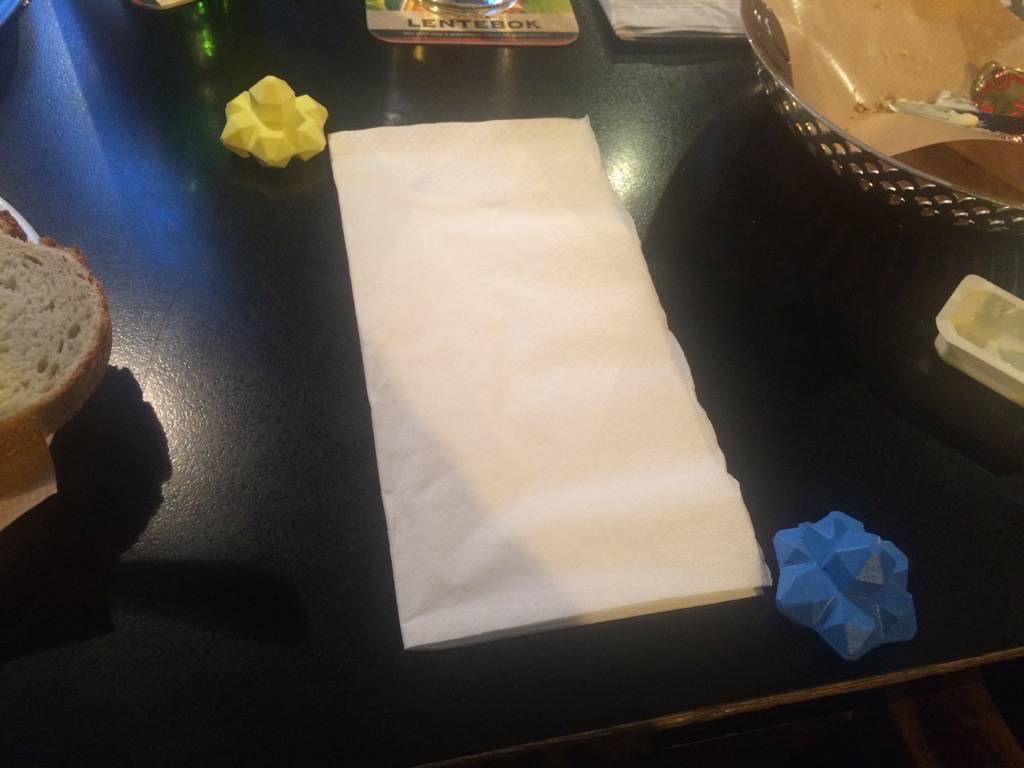
Use it to remember where your napkin was placed!

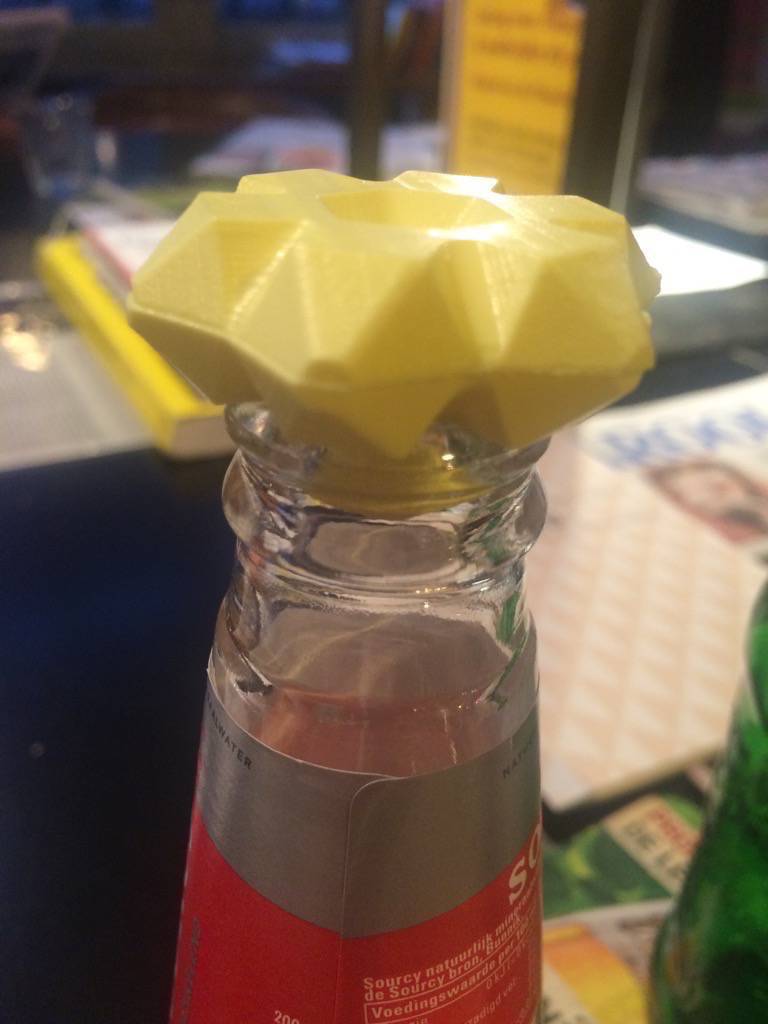
No more flies in your lemonade ;-)
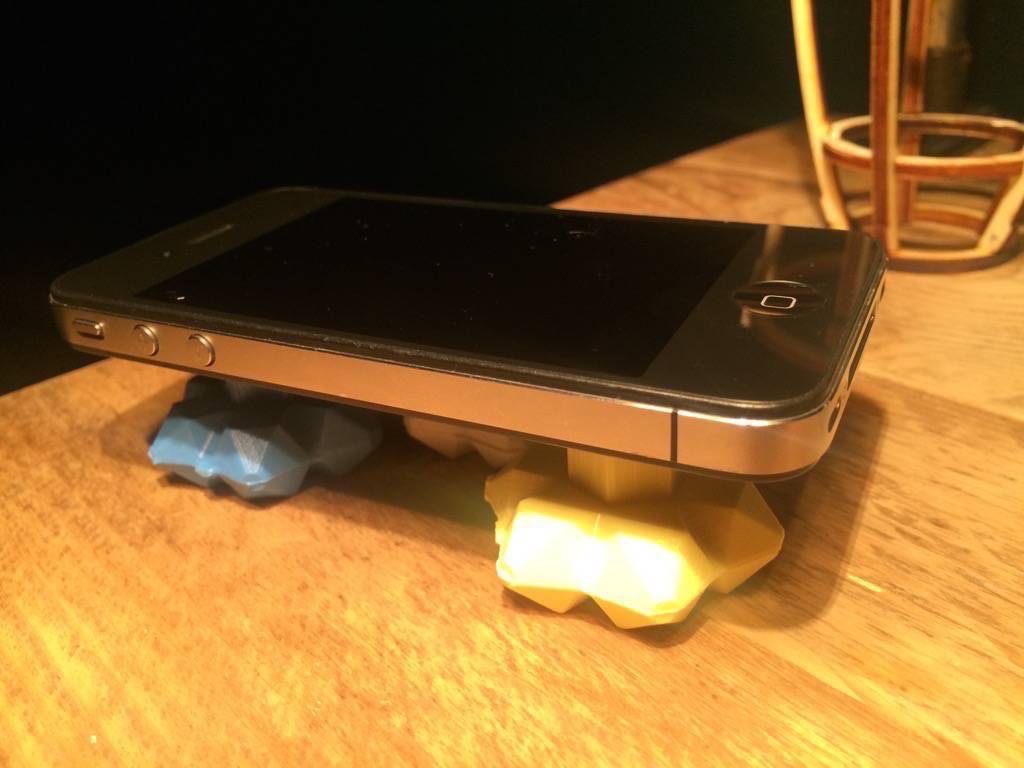
Keep your iPhone high and dry. And cool.
Place objects at a distance that is precisely equal to the size of the blue...thing.
Save some money for later

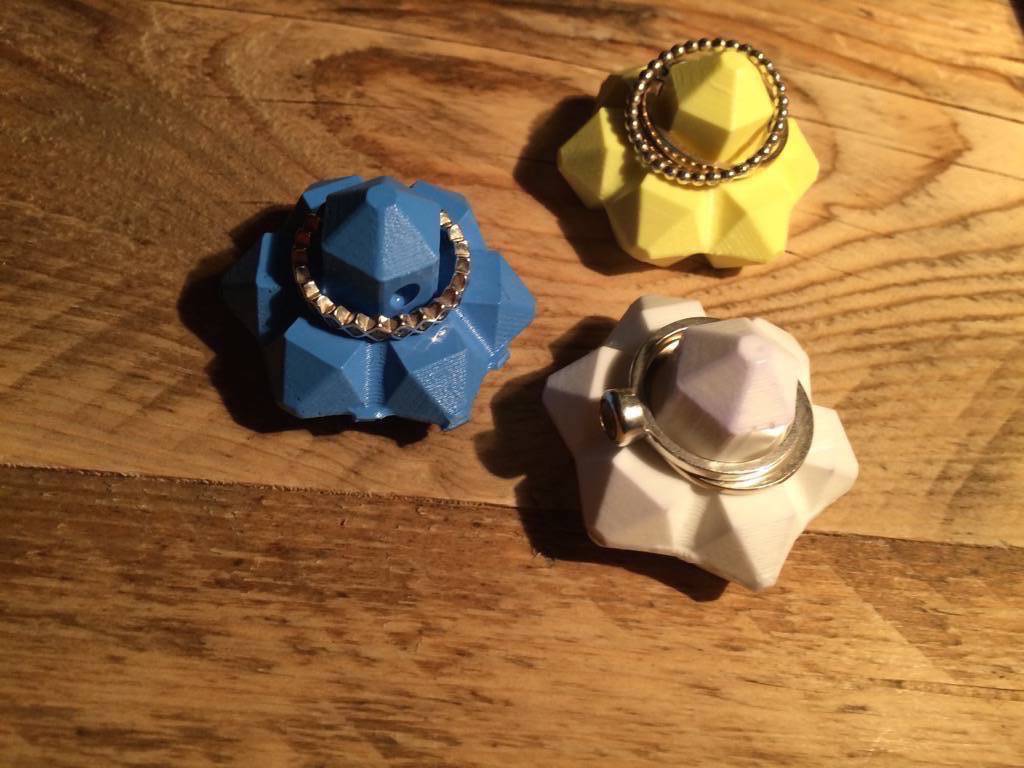
A beautiful way to organize those preciousss rings
Next steps
Making variations of the pieces with two soft molds (so having 2 times the same half of each piece for instance). Also: I still want to do the repeatable mold. Possibly with a hole in the middle. And an insert. And maybe some electronics (although I heard that is a bad idea...).
Two molds
This morning my second soft mold was finished and I made a few variations.


Learning points
Here are a few learning points from this assignment:- Choose your tools in advance.
- Know the dimensions and limitations of those tools ;-)
- Keep the toolpath of the milling bit in mind when determining shapes.