Mechanical design, machine design
With the group we have been working on a 4-axis foam cutter using the design from Nadya at MIT. We also found James's page which at some points is a bit clearer on how to use the designs and the code. A group document was made to plan the work.
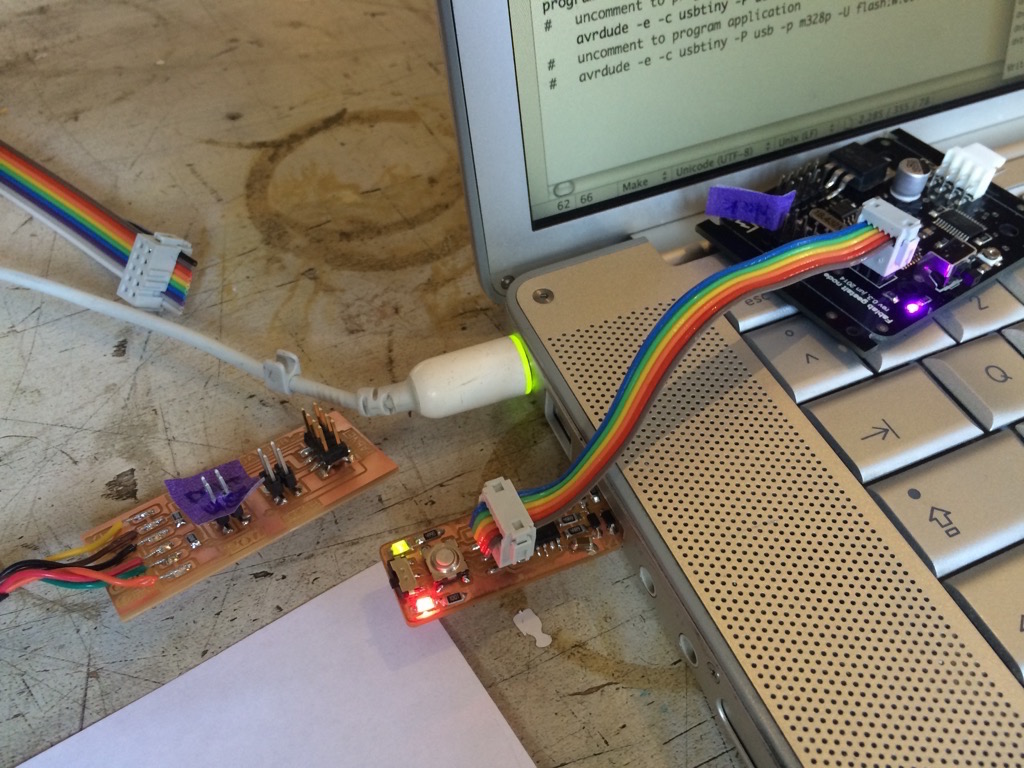
FTDI cable
To connect with the Gestalt nodes I used the design from github to make the FABNET board and FTDI cable. The design of that board is on the github and on the pages mentioned above.


Gestalt nodes
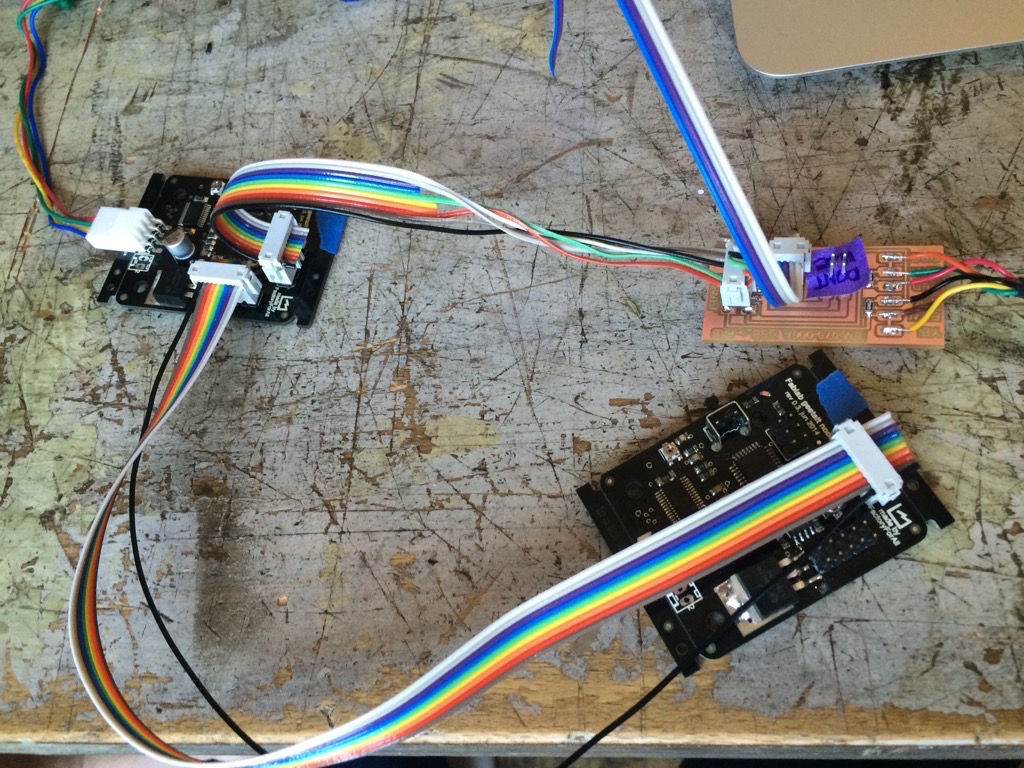
The machine we are building is made with stages: open source cardboard designs that give some strength to a machine and that hold a motor to drive motion. The motor is controlled by a Gestalt node. MIT delivered four of them to us at De Waag to work with.
With Natalia and Till, I started working on getting the code for the Gestalt nodes working. We needed to download the Gestalt software from Nadya's github page. Also, we had to get the firmware for the nodes from Moyer's github page.
Installing the firmware
Go to the folder '086-005-master'. The code that you download from the github pages contains a Makefile which you need to edit.
Open it (for instance via the Terminal with 'open Makefile -e' or 'open Makefile -a Brackets') and check that the MCU and FREQ are correct. The Gestalt nodes use an Atmel Mega 328P controller and FREQ should be 18432000.
At te bottom of the code, there is a section with two 'program-...' functions. In the code they use 'avrisp2'. Because we use the FabTiny*ISP, change 'avrisp2' to 'usbtiny'.
Copy the file called '086-005-master.hex' to the folder with the firmware. In terminal, use 'make program-usbtiny-fuses' and then 'make program-usbtiny'.
Install pyserial 2.7
Download pyserial from https://pypi.python.org/pypi/pyserial. In the terminal, go to the folder where you saved it and use: 'python setup.py install'
Testing Gestalt node code
The code that you download from github contains code to use with the gestalt nodes. We used 'single_node.py' to try our nodes. To use the code, there are two things you need to do. First, copy the '086-005a.hex' file to the folder containing the code.
Open 'single_node.py' in an editor. Connect the FTDI cable. In terminal type 'ls /dev' and look for the address of the FTDI cable. Copy it and paste it into the python file where it says [portName = '/dev/tty.usbserial-xxxxxxx' (replace tty.... with the address of your cable)].
Next, use 'python single_node.py' in terminal. The node should respond by turning the motor a few times.
Working on code for endstops
The stages do not have endstops. We decided to include them in our machine. Loes made a circuit with two switches and a connector. With a lot of help from Zaerc I created this code to test them working:
#include avr/io.hIt worked! (but only for one switch...need more testing).
void setup() {
DDRB = (1 << DDB3); //PB3 output
PORTB = (1 << DDB4); //PB4 pullup
PORTB = (1 << DDB5);
}
void loop() {
if (PORTB & (1 << DDB4)) || (PORTB & (1 << DDB5))
(PORTB |= (1 << DDB3));
else
(PORTB &= ~(1 << DDB3));
}
int main() {
setup();
while (1)
loop();
}
Side note
The Fab Academy is almost complete.