Proces:
This week's assignment was to make a press-fit construction kit using the lasercutter.
Before we could use the machine, we were given a tutorial about lasercutting at the fablab. The lasercutter at De Waag is a Spirit Laserpro GE.
After the tutorial, I created a quick test to see what dimensions would work best with the cardboard we have available at our fablab. I made two pieces with different sizes of holes one the side and one piece with holes in the middle.
conclusion: for 3mm cardboard, holes of 2.7mm work well.


Designs
I decided to do two projects to experience working with the lasercutter in different contexts: one a bit more technical where the challenge was to create a design with a minimum amount of waste and one based on creative expression.
Here are two photos of the end result of the minimal waste construction kit and the creative expression design:


Process
A few remarks about designing for and working with the lasercutter.
Assign different colors to lines that need to be cut and shapes that should be engraved. That makes it possible to adjust specific settings in the lasercutter menu. Also, making a photo of the settings and then another with the end result gives you a nice idea about what works well and what does not.
Designs probably have a lot of vectors, so using optimal settings in the print menu helps to reduce work time. I tried to also use the highest cut speed as possible. 
When sending a file to the printer, and before pressing 'start', make sure the right file is loaded. Don't want to have to abort a print job because you find out you're printing a previous file. If nobody is using the printer, deleting all files from the printer is a way to ensure that the file you're printing is the right one. 
Project #1 - minimal waste
One thing that comes to mind when you're using a subtractive technique such as lasercutting is that it always creates waste: in this case, weird shaped leftover pieces of material that are hard - if at all - to reuse for other projects. So I wanted to do a design with as little waste as possible that still used interesting shapes.
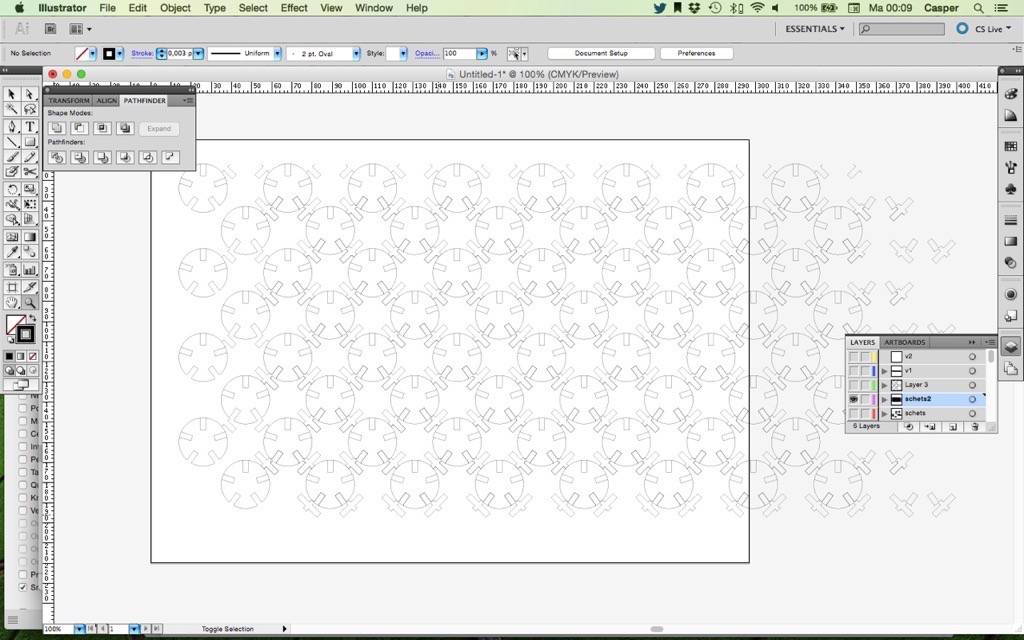
I decided to use a modular design with basic building blocks that I felt would allow for a lot of design freedom. I had no particular purpose in mind, just that I was curious to find out what shapes could be made with the pieces after they were produced.
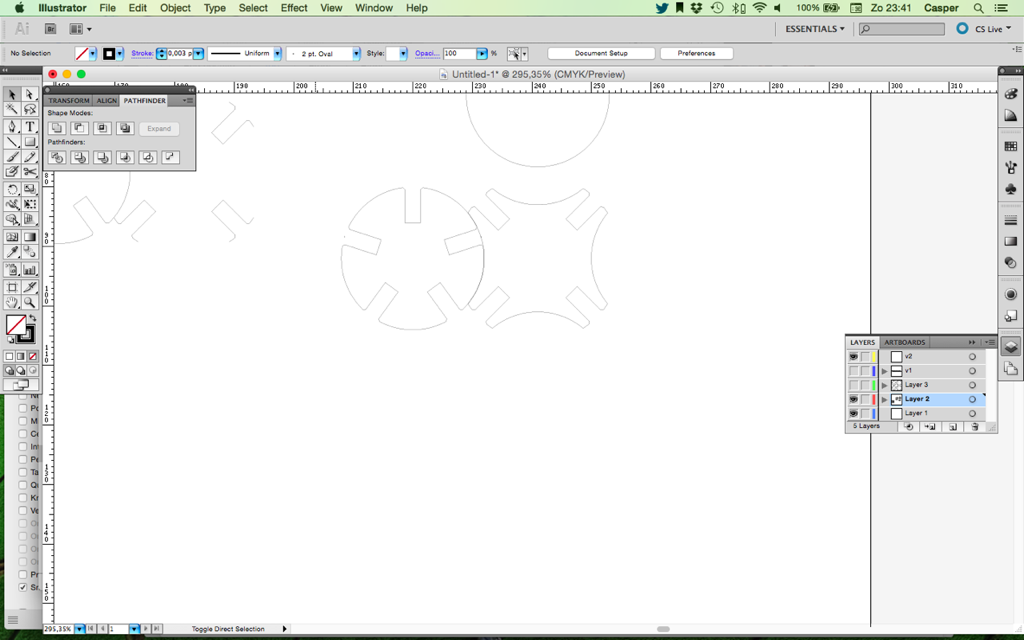
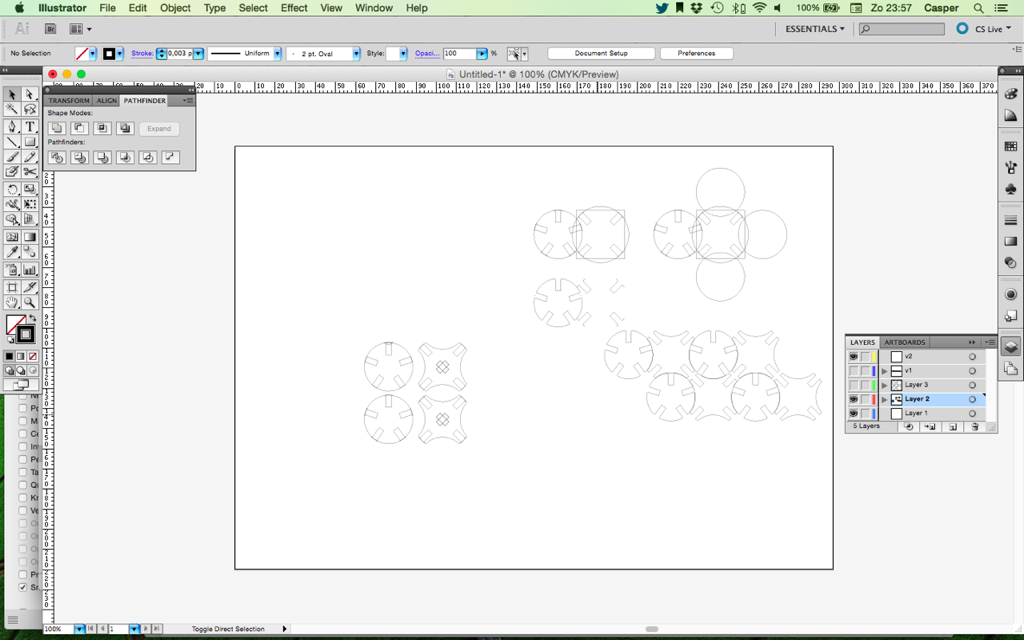
Some design snapshots.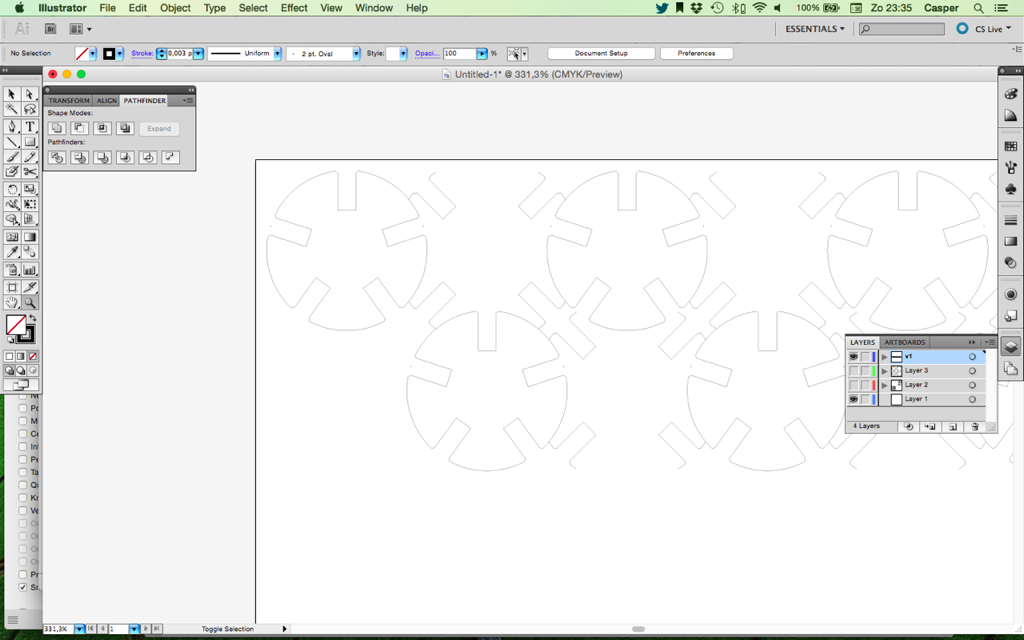
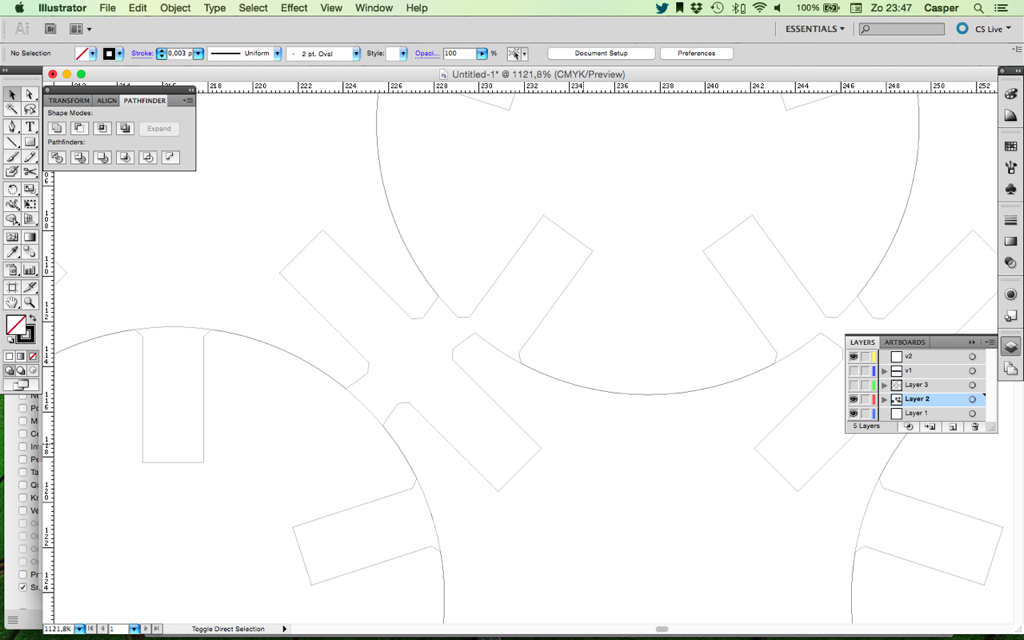
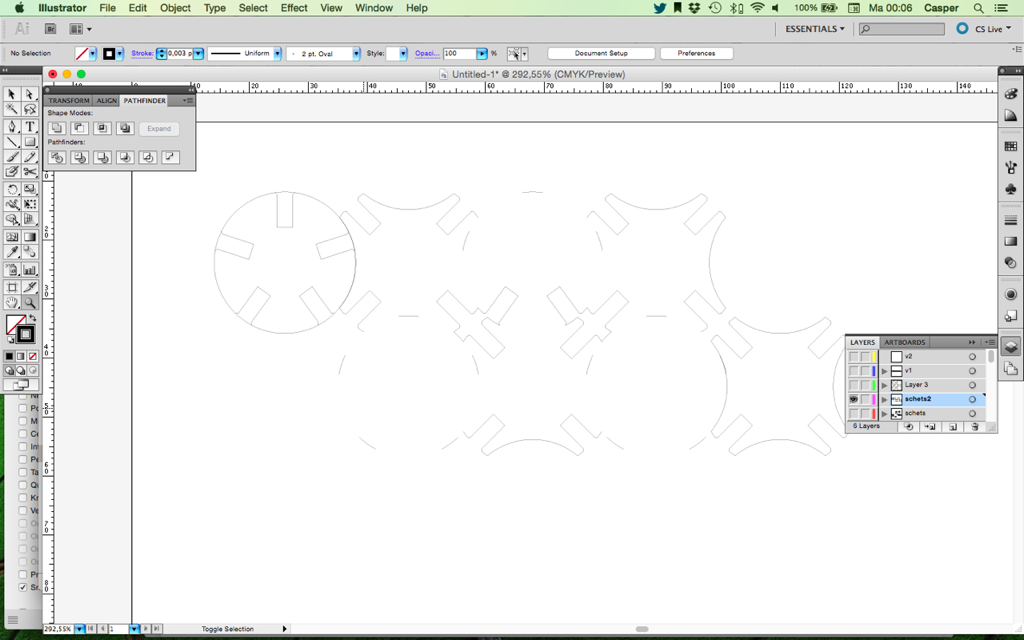
I ran a test to see if the measures held up, which they did. 
Cutting in progress:
Here you can see how the lasercutter is choosing an optimal path for cutting (it prbably makes sense to the machine ;-) :
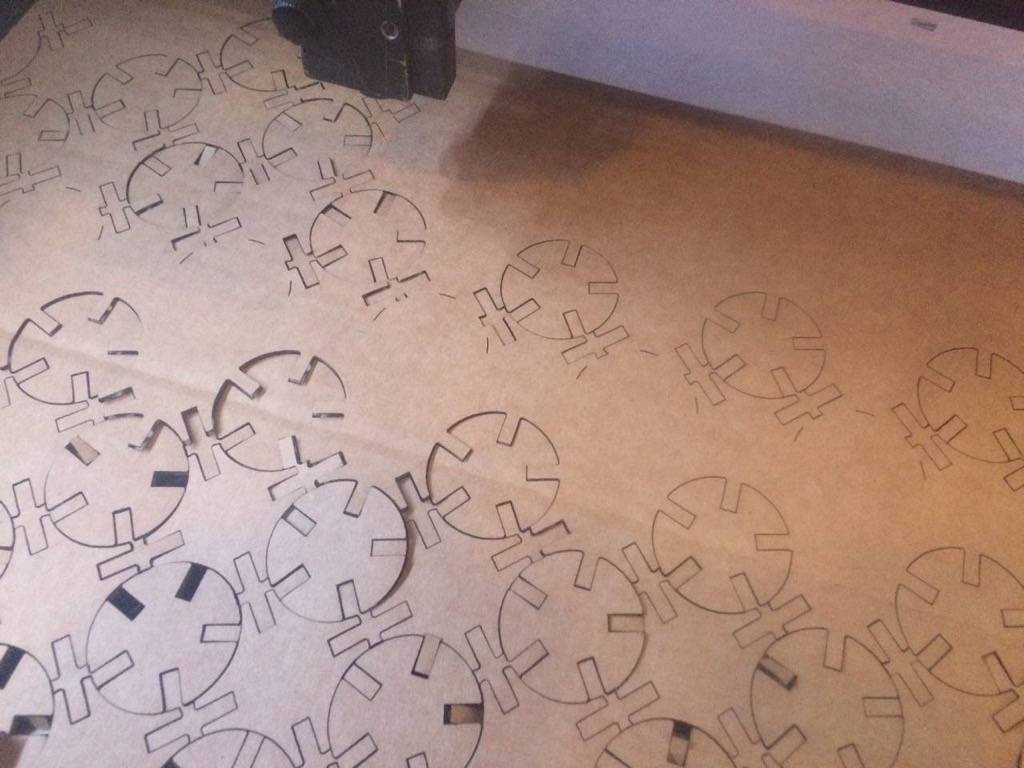
Tiny parts sticking out during cutting. Should not be a problem usually. But because of the airflow coming from the head, a piece that was cut out and that you need, might get blown on top of the workarea and crossed again by the laser. So keep an eye out if that happens. (It's a good idea to stay close to the lasercutter anyway while it's operating...) 
Some things that could be made from the parts:


A few close ups from the result. It is clear that small details are affected by the size of the laser beam I think.


And finally, I was curious how much waste I actually had left at the end. It did not seem like much, but still quite some waste was produced. Room for optimization in that area! 

Project #2 - artistic expression
I wanted to do a project that could start out as a sketch on paper and lasercut that. This is an idea for a design that can hold notecards with ideas and thoughts in a playful, beautiful way.
Here is an image of my sketch layer in Illustrator:
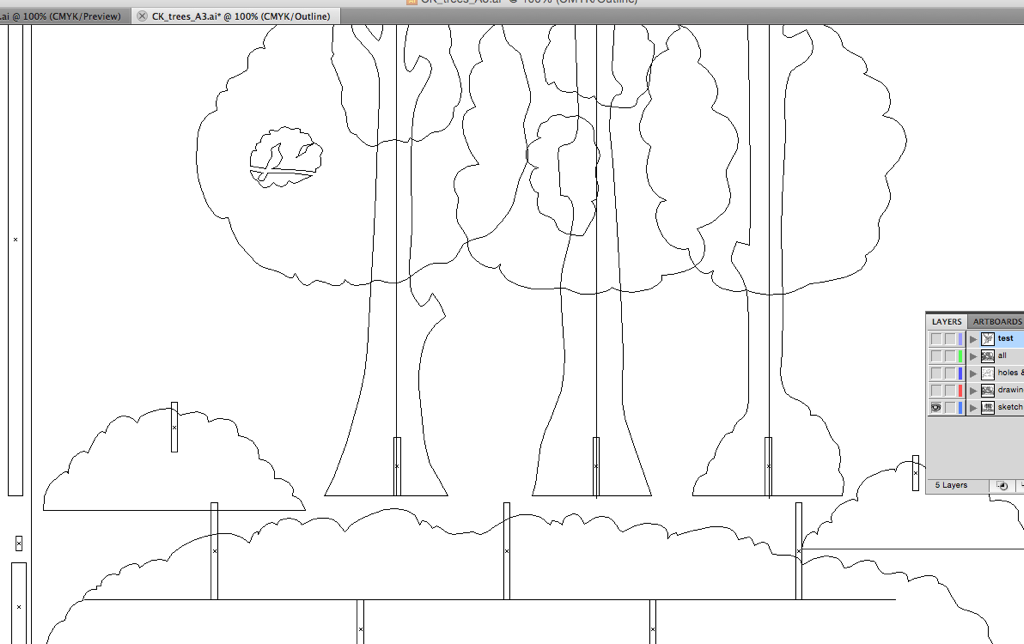
When I was designing the file, I divided the shapes, holes and other details in different layers, so it would be easier to adjust them later on if necessary. 
Made a test print to see if the slits I created would work to hold the cards. I added single lines in my Illustrator file for that purpose. It worked well. 
I placed the lasercutter's head after the previous print and set the print settings to 'relative', so that it would print the other file out next to the first one. That worked well. 
A couple of errors came up. First, one of the cutouts was missing a slot, so I had to cut that by hand. Not a big problem in this case, because it was only one. Imagine forgetting a layar...

Two other ones had to do with not taking the material into account enough, so I ended up with a piece that was too fragile to be used well and another where a piece of the design was cut out because it's dimensions were too small for the lasercutter / material.

