"Measure something: add a sensor to a microcontroller board that you've designed and read it."
This particular week's assignment was extremely challenging. The FABisp worked only once out of dozens and dozens attempts with the Hello World button and LED in Week 8. I suspected I had issues. Yes, I did! Try as I might, I could not issolate the fabled -1 error with AVRdude. This particular error coudl be due to all sorts of issues:
- Soldering errors
- Component selection errors
- Traces gone awry or peeled off
- Cables miss wired or plugged in backwards
- Bad ISP
- Computer setup and drivers
On and on the list went with no clarity other than to check and recheck everything. I redid boards over and over to no avail. I have very limited access to the lab and the Modela to mill boards, so when I go in there I tend to mill a bunch. In the beginning I had errors in milling and had to wait a week to get back in to the lab. Now, I am quite good at milling and designing the boards. I have made so many of the Hello boards I found it hard to continue with no joy. Yes, I got good at the soldering and the milling, but I just wanted the lights to blink and the sensors to work!
I read in one forum, I visited dozens, that the USB 3 interface might be causing problems. I tried a USB hub. Nothing worked! I did get the FABisp to show up in my Macs system information.
And then, I tried a new computer! Yes! When I typed in the make command at the command prompt and it worked my jaw dropped. Yes, a simple little thing like this was jaw dropping. I didn't know how to feel and then it I screamed. So, here are some pictures and notes about this journey…
The Fabduino
With failure at every turn I decided to use the Arduino IDE to develop inputs, outputs and networking for three weeks of catch up. I also decided in this route of the Fabduino board so that I could use this learning in my final project. I milled two boards because I knew the networking week was coming up. Unfortunately, I messed up on the milling and did not invert the colors and ended up with little donuts cut out for my female headers to be attached to. I was determined to make them work because I would not be able to get back into mill them again for a week and could not fall behind even further. I was behind due to a teaching adventure in the Mojave desert with 7th graders (another story altogether).
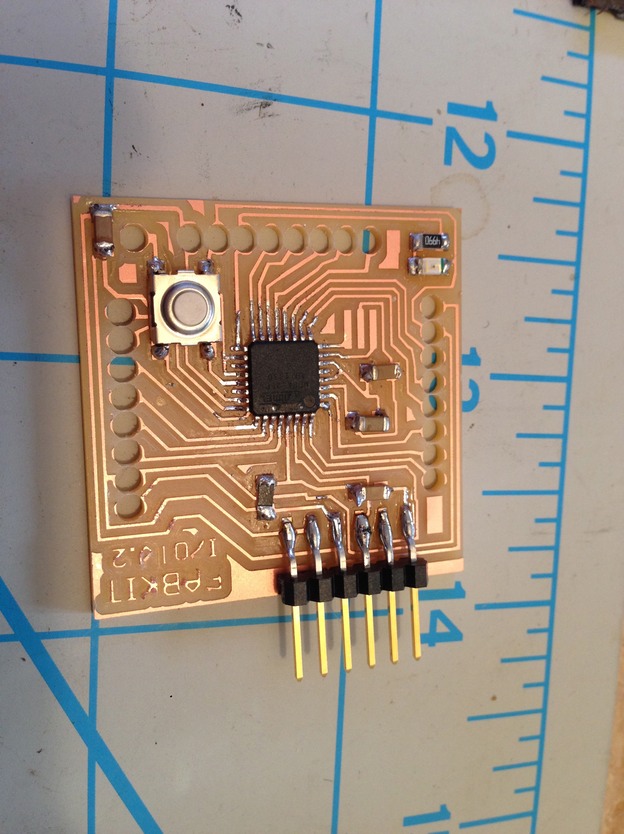
Here are the boards I milled with donuts (oversized holes) cut out instead of the smaller holes. I didn't know I had holes that were too big until I had already soldereding on the components on both boards. I did this because there were no female headers in the lab and I ordered them. The error of my ways became more apparent when they showed up. What to do??
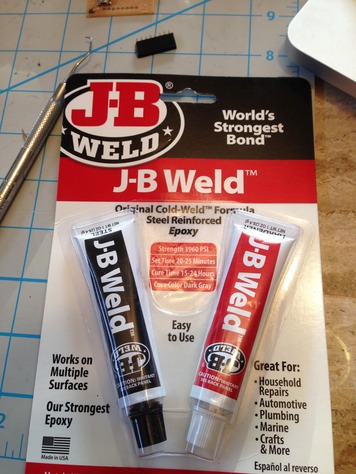

What if I glued the headers in and tilted them toward the contacts? Lets give it a try with some high temp JB weld so they can handle the solder. Sadly, I aborted quite quickly as the goopy epoxy was too messy and I could not sit there an hold things for an hour…I needed something else. The first thing that came acoss my mind was hot glue. I would have to wait to get a glue gone from my school.
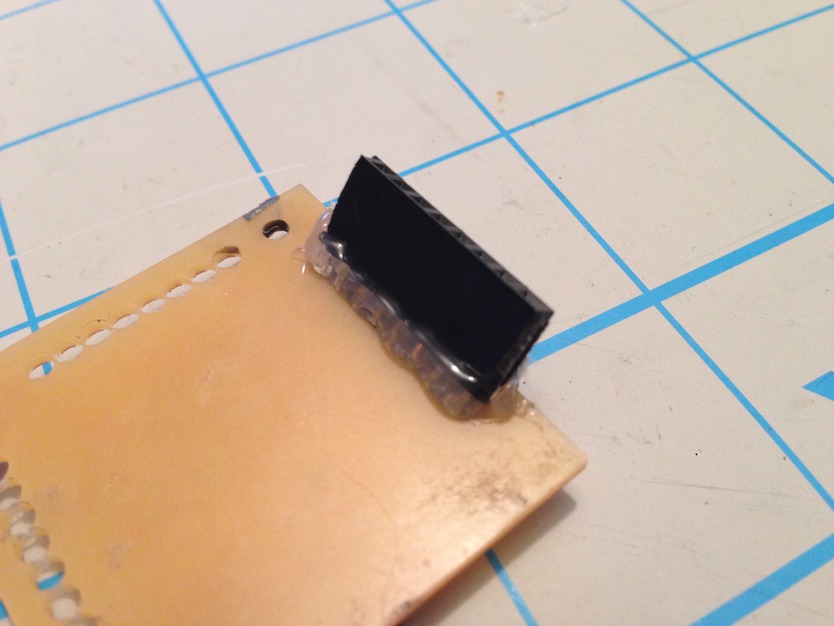
The hot glue did the trick and dried quickly. I was able to angle the headers toward the now very small landing pads they were to be soldered to.
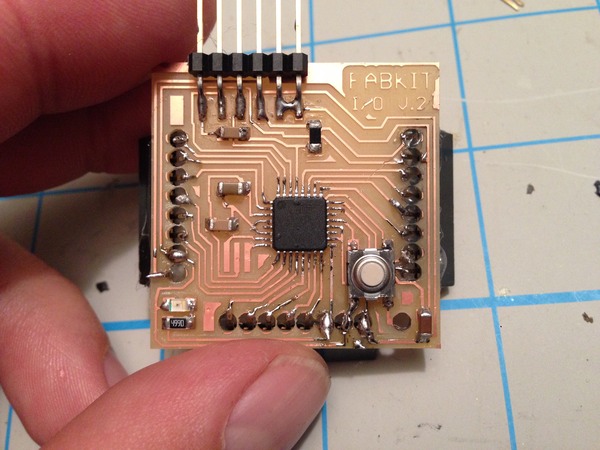
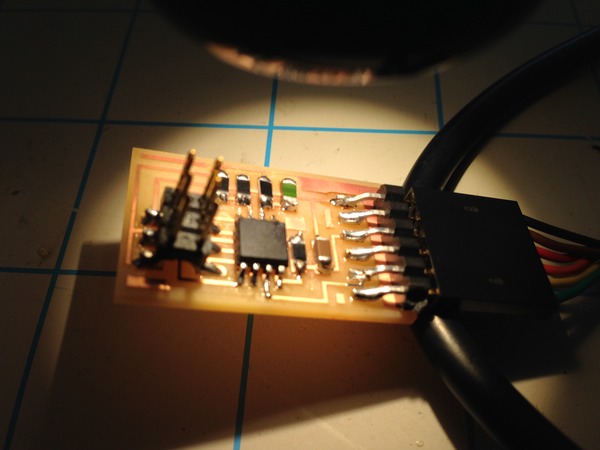
Below is a finished board. Unfortunately, I did not yet have my breakthrough with AVRdude and things continued to fail at this point.
I moved on (after hours and days and weeks of trying things, due to my time being spread out and acccess to labs being tight) to a simple temperature board next. To get these boards, I became a little board factory and milled lots of options.
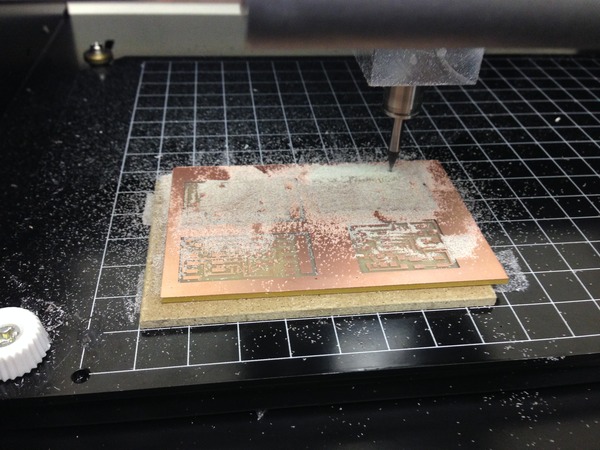
The finished temperature board…
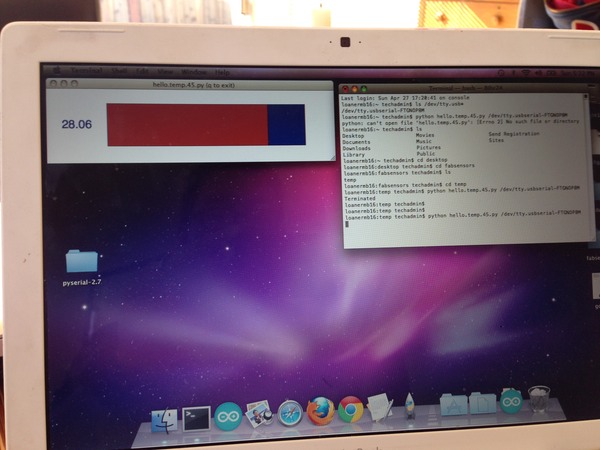
It was at this point that nothing worked and I decided to start over with an older Mac laptop running OSX 10.6.5. It had older USB ports and was a clean install of the OS. I went through the process of installing the drivers, Crosspak, etc. I hooked things up and it failed. I looked closely at the connections and everything seemed fine. I then decided to doublecheck all pins (schematic and continuity), check for shorts, check for screw ups. I had always thought that green was ground and discovered that the FTDI cable had been installed backwards. I flipped it around (how long had I dont this for?) and tried again. Failure. I then flipped the FABisp connector as I always flip all the cables and play with the pinouts. Success! Right after I emailed my instructor…success! My jaw dropped. FInally, I could play with the program, but first just had to get it to display the temp! Here is the temperature…yay!
What I learned:
When things work and you can perform real tasks with a tool you created it is a great feeling. I learned that no matter the detail, it cannot be overlooked. Checking everything and having it pass muster leaves only what is left that could be the problem. Old tech proved worthy as I later took a new fresh system and the OSX build level and USB 3.0 port was the only difference. Those are big changes and it pays to have the old tech lying around to perform. Do not throw out old tech or at least save a bit of it for future use.
What I would do differently:
I spent too much time on single issues in the chain of components. When troubleshooting, move on after no more than 30 minutes and escalate the problem up to support of some nature. Don't burn out trying the same thing over and over again. Take copious notes on everything you try. I did not do this initially and had to retry different combinations as I could not recall if I had tried them.