Assignments: do the mechanical design for your final project
In this week, I designed magnet connector for my final project.
Updating final project
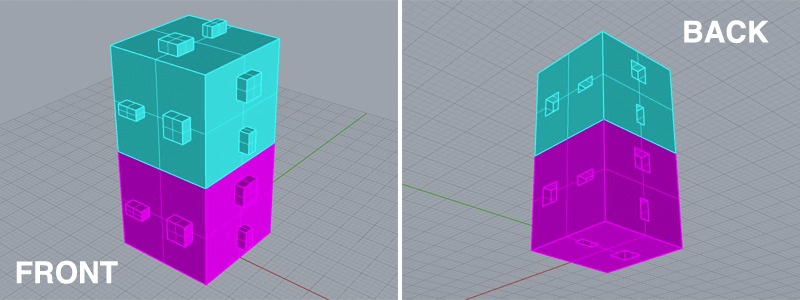
The plan for final project was changed(and still keep changing). I've came up with an idea about physical design of final project. Instead of Nodes and Arcs, cubes including electronics circuit inside will be made and user make shape whatever they like by stacking and connecting cubes like building blocks and PC can scan the shape user made with cubes through the USB cabe connecting cubes and PC by APA checking positions of each cubes. Cubes has 3 male connector surfaces and 3 female connector surface like image below. Each connector has magnet inside and guides so user can (dis)connect cubes easily and connector is always fit togther in same direction.
Magnet connector
As starting point, I listed up requirements of the design of the connector.
- The connector contains magnet to extract another connector to join.
- There are two types of connectors (male/female).
- Guides makes connectors fit into always same direction.
- The connector will be used for APA communication so it should has 4 conductors at least.
- It will be one of 6 surfaces of the cube.
Based on these requirements, I started designning with Rhino.
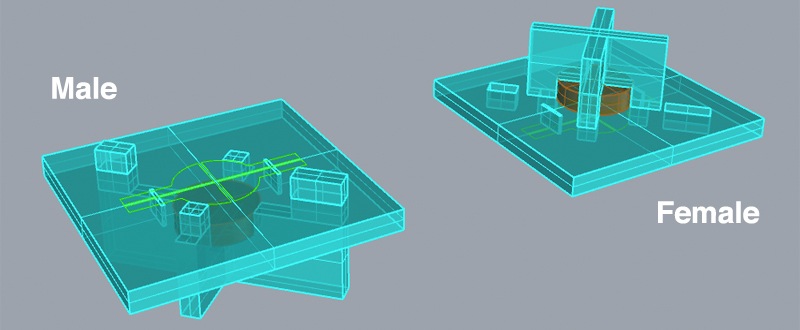
Male and Female connector has two different sized guides which makes connectors fit in always same direction. Cutted copper sheets makes 4 conductors going through slit of acryl so there are bridge from outer side to inner side of the cube. After 3d modelling, I used make2d command to convert 3d object to 2d cut sheet for laser cutter and then exported it as .ai format to illustrator so Adobe illustrator can export the data as .pdf for Epilog lasor cutter.
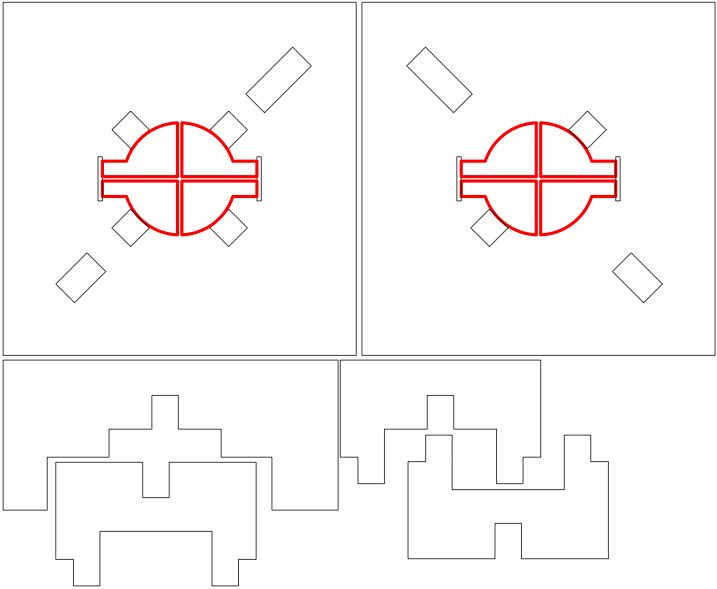
Here is cut sheet for Acryl. Black lines are for cutting and Red ones are engraving.
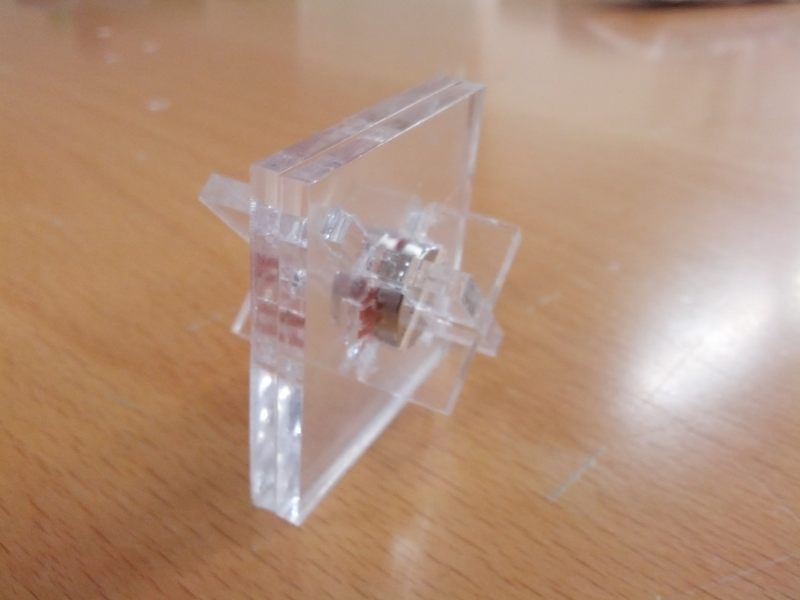
Assembling
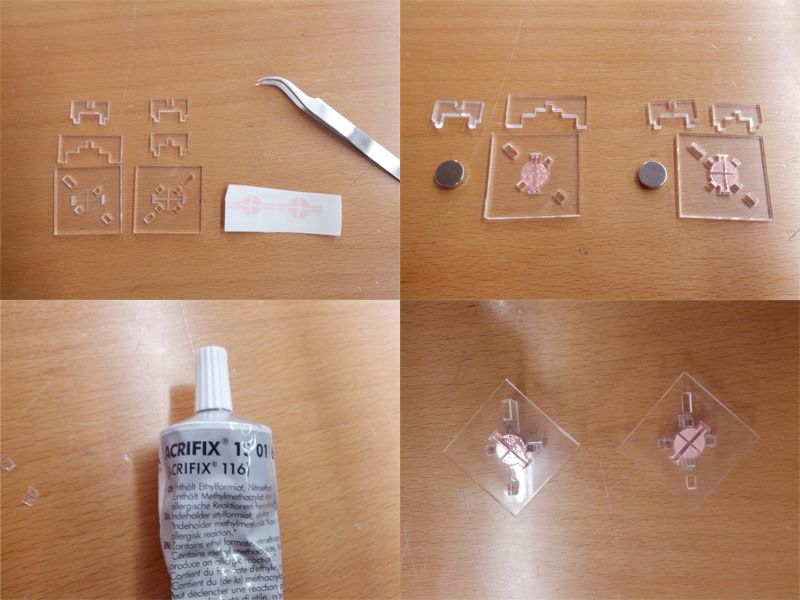
First, put copper sheet to the place which is engraved on acryl parts. Then all parts were assembled with "ACRIFIX® 1S 0116" which is similar to glue but it join acryl plates by melting the part it is put.
After assembling, connectors fit together nicely and 4 conductors were connected collectry
Soldering
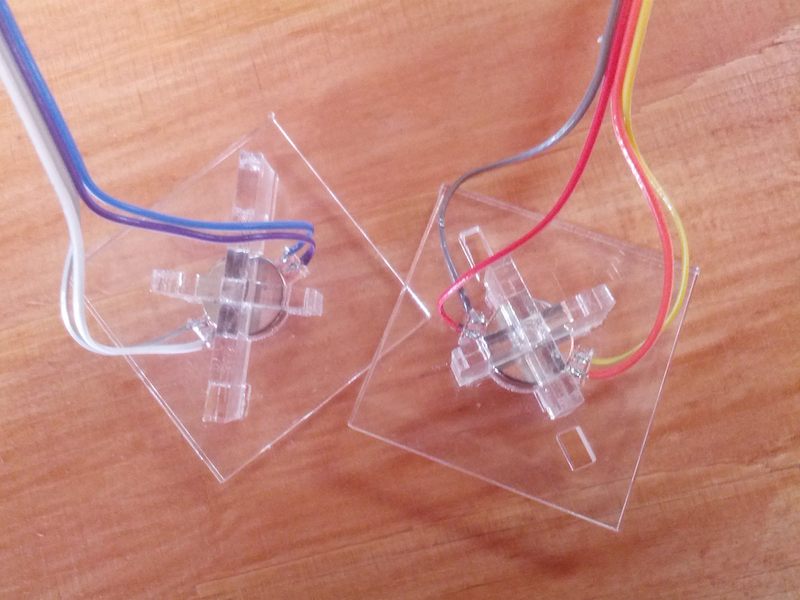
Soldering wires to each copper sheet was not easy because magnet extracts solder iron. So I should solder wires first and then assemble parts. But anyway I finished soldering. Here is a video showing how connectors fit.
Testing APA with magnet connector
To check the connector works connector, I used it in APA communication sample I did last week.
I choosed third example for test it from three samples I did so the circuit should act like this video if connector works correctly.
Here is the result...
Yes, nodes succeeded communicating through magnet connector. I'll use it for my final project.
Resouce
Cutsheets: ZIP file contains cutsheets for Acryl and copper tape