Electronics Production
Fab ISP
Our first week of electronics! This week we had to create a FabISP (Fab-able In-System Programmer) for our future circuits. A retail programmer might cost $30+ but ours will be roughly $5 in parts.
To begin, we had to choose a design for our board. Being a sucker for aesthetics I was very keen to work with Andy's layout, I love the simplicity of its integrated USB connection. I did download EagleCAD and the SparkFun libraries and followed this excellent tutorial. After a brief modification to the file, to personalise my board with my initials (on reflection this was probably a poor decision as the 'resolution' of the miller made the R look like an O, and the area I chose was extremely close to a diode, potentially weakening the solder joint), it was ready to be produced.
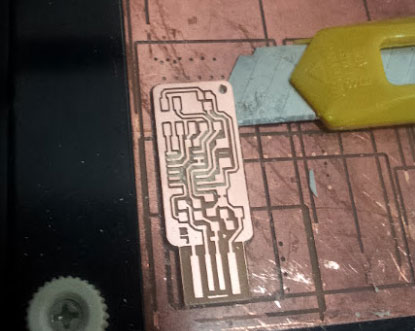
The board was milled and cut with the Roland Modela, via Fab Modules on Ubuntu. We were told it could be done in 10 minutes, but after being involved with making about 5 boards I think my record is closer to 15-20 minutes... I digress.
I had a little trouble removing my from the surface as the double-sided tape beneath it was very strong and I was concerned about snapping either the board or the blade. Later, I helped other people with their boards and it was much easier when I wasn't so liberal with the amount of tape!
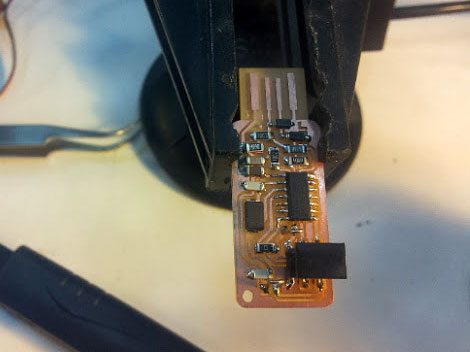
Soldering
This was about the third time in my life I'd soldered anything. The first two times were a couple of LEDs in school, that used pins through the board, rather than surface-mount. Our tutor Luciano gave a nice brief introduction to the 'art' of soldering, and I found the following video very helpful -
I definitely struggled at first. My eyesight isn't the best and my caffeine fueled hands are quite shaky at the best of times. However, now, after a couple of dozen joints I think I'm about 10x better than I was when I started. I think the key is to be patient, remember to breathe and use the solder sparingly. I really like surface-mount work and look forward to trying to create a circuit with the vinyl-cutter soon.
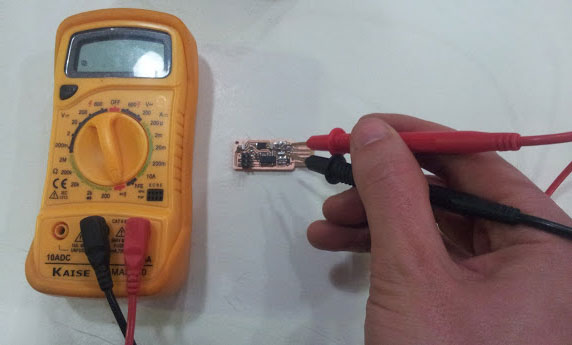
Programming the ISP
After soldering it was time for the moment of truth, to check that our creation was able to be powered correctly. Red-light == fail, green-light == pass/joy. Thankfully in my case it was the latter. Although I had some sketchy jumpers, so had to handle the board quite delicately, at least in the programming stage.
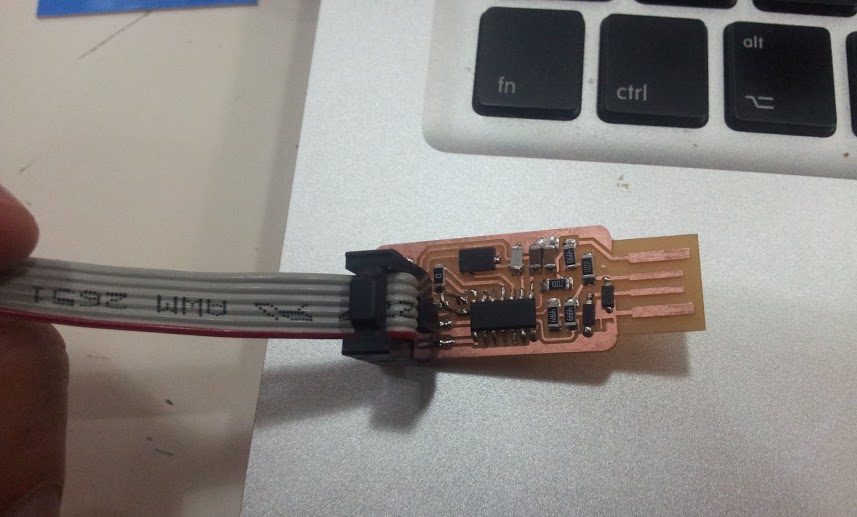
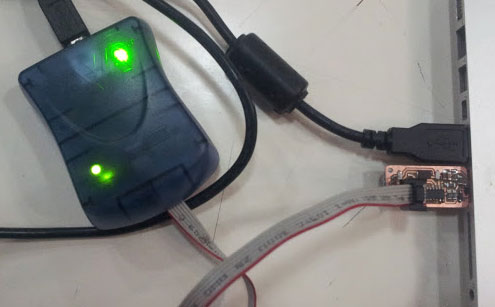
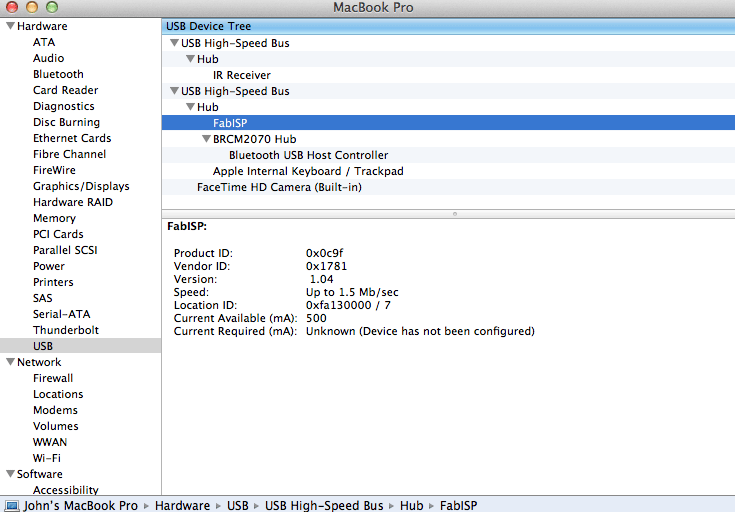
I managed to program the board from both the commercial programmer and using another board that a classmate had built. The terminal output is shown below.
I should note that whilst following the steps in this tutorial, there were some problems issuing the commands `make hex` because the version of GCC I installed required strict `const` declarations in some of the source code. A quick find-and-replace for the offending lines later and everything was okay.
In addition to the above, if you're using a Mac, assuming you're using the package manager homebrew (you really should be if you're not already), you quickly and easily install the entire AVR toolchain, required for code compilation and communicating with devices on the USB port, with the hombrew-avr repository.
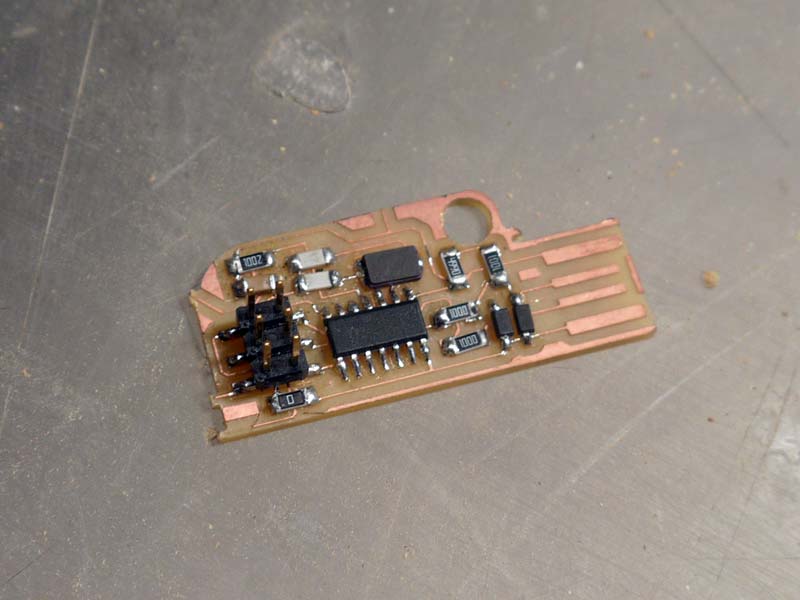
I wasn't able to program my first couple of boards, using both OS X and Ubuntu 12.10 but eventually it worked with my final board (below) and damn it felt good! It's actually much faster than the commercial AVR ISP II on my machine too!

- Computer-Aided Design
- Computer-Controlled Cutting
- Electronics Production
- Computer-Controlled Machining
- Electronics Design
- Molding and Casting
- Composites
- Embedded Programming
- 3D Scanning
- 3D Printing
- Input Devices
- Interface and Application Programming
- Output Devices
- Networking and Communications
- Machine Design
- Applications and Implications
- Project Development
- Final Project - Beehives