Juan Ranera
Fab Academy 2013 Participant
3D Scanning and Printing
This week we have started to scan and print our first 3D shapes. I had never scanned before and I have been surprised by the variety of available techniques.
3D Scanning
There are machines only for scanning but they are very expensive and you can get similar results using simpler techniques such as "Kinect" hardware or "David" technique (using a webcam and a background with references), "Modela" machine or the 123D software.We have divided us into different groups to test different techniques. Ruben and me have been testing the 123D Catch. It's a free software in which after making some pictures with a camera, it makes your drawing in 3d.
The first time we have taken 32 photos of Ruben's head. It was interesting to see what this program is capable to do with only some pics.

We found that there were areas that had not been well defined.
I made photos with the figures of the Pink Panther and of Wall-e to compare results. Once I had created the files, I used stitch tool to adjust the image, marking several common points in different photos. I was not happy with the results. I was using my Samsung Nexus camera with a 1920 x 2560 pixels resolution.

For this reason, I decided to make a final test with 123D Catch aplication for iphone. I made 34 pictures of my head from two angles around me. I was very surprised with the result, because I hadn't to make any correction.

I created a short video with 3D image.
I saved my image to .stl format and opened it with the Rhino. I edited the image to create a solid body on a flat surface.
Then I used the free program MeshLab to correct some mistakes.
3D Printing
I used MakerBot machine to print my head. The material used is PLA, a thermoplastic aliphatic polyester derived from renewable resources. I downloaded the driver Makerware to configure and create the print file. I adjusted the measurements, placed the figure in the center and I created the print file .x3g to print it in the machine MakerBot, using an SD memory card.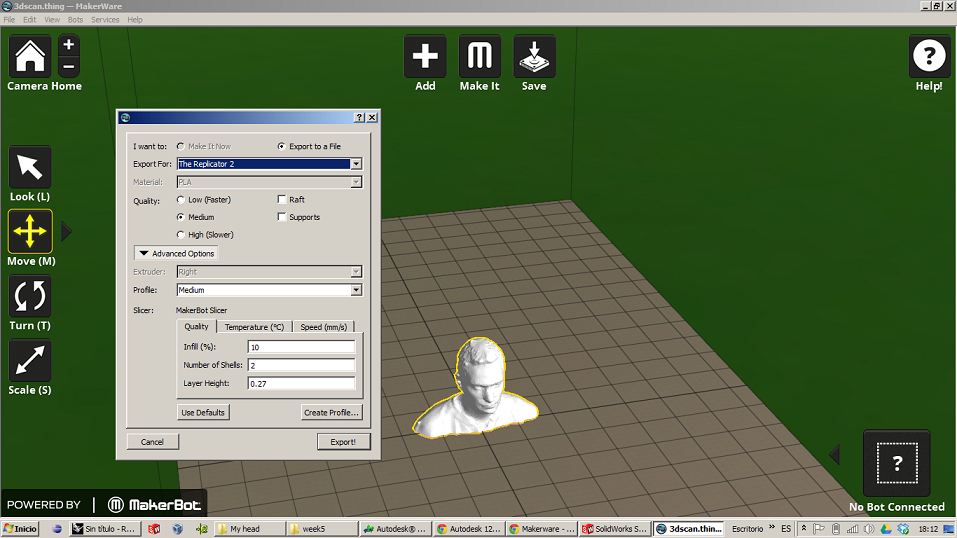
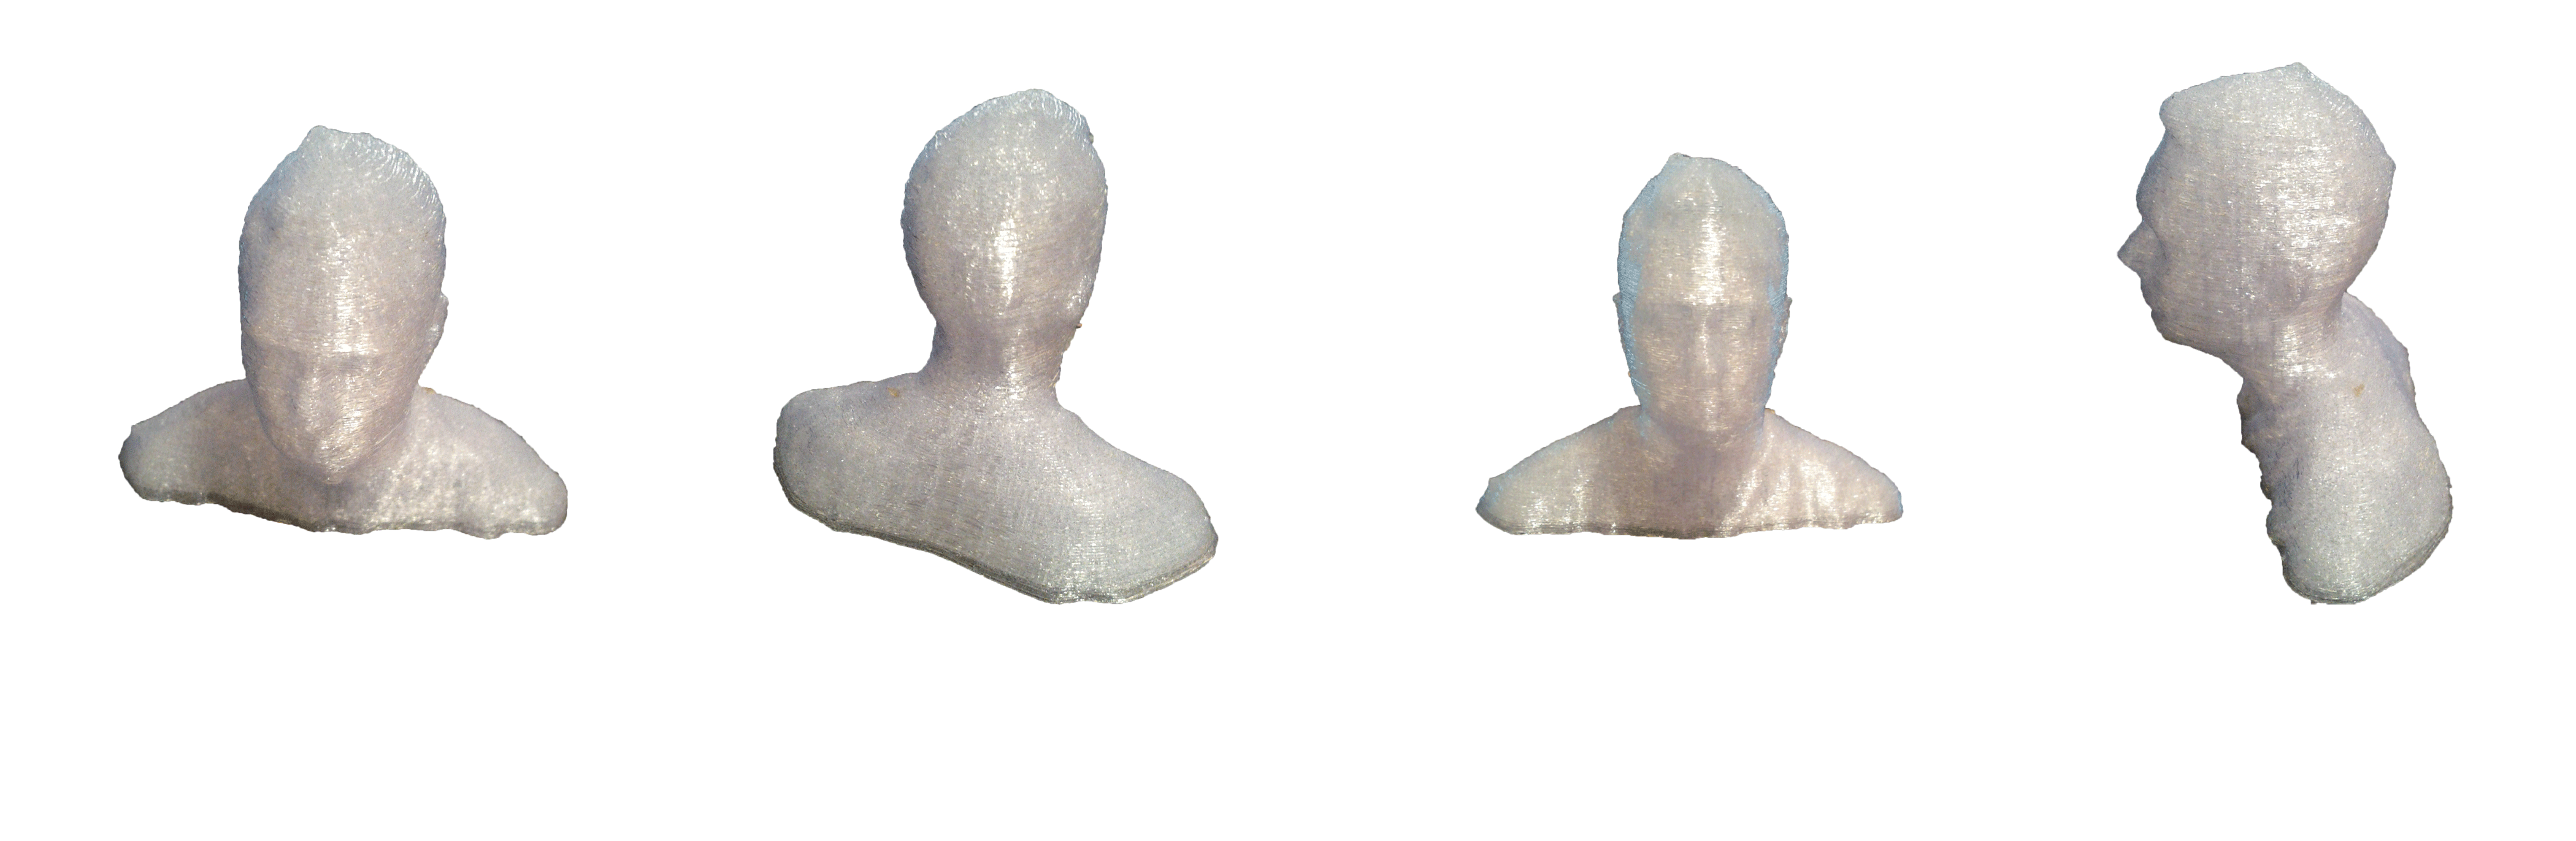
I followed the process with great interest. I had a problem in the first test. The roll of material was a bit stuck and I had to start over. The second attempt was successful!

This is the final result...
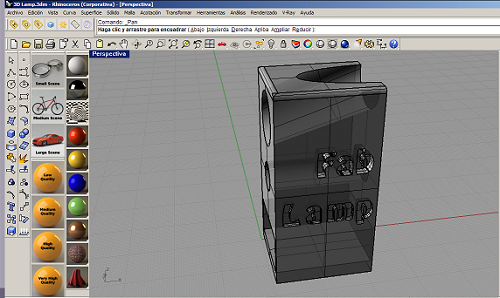
In our FabLab have three different 3D printing machines. After the explanations of our tutors we have known and compared their features. I made a 3D part with the intention of printing it on another machine. It is a simple piece designed to connect a USB wire with a LED. A little courtesy light for the laptop. I hope to print my "fablamp" soon.