

WEEK 02 : COMPUTER AIDED DESIGN
Visualisation
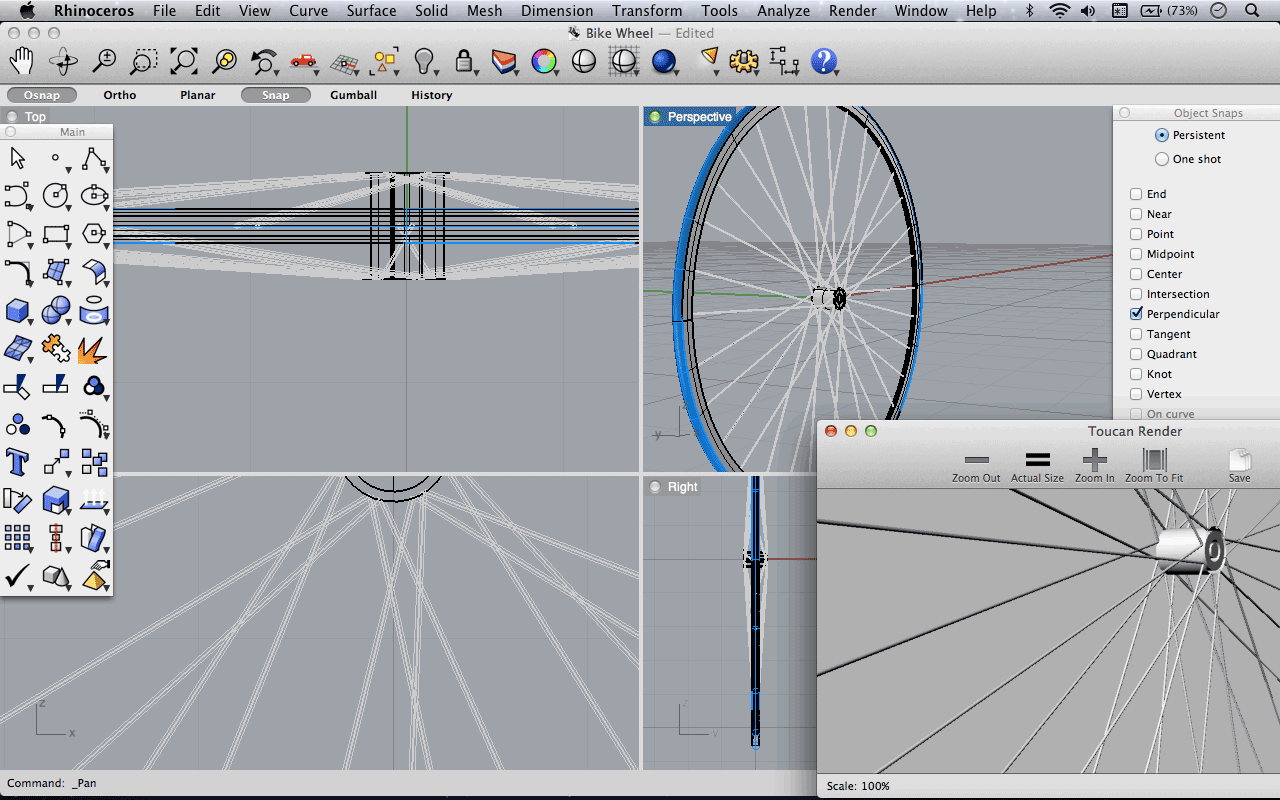
To remain consistant to the philosophy of starting from scratch, I decided to use Rhino to develop the initial visualisations of the project. I have had some experience with Cinema 4d but thought that Rhino would offer me more capabilities and a a grounding that could be built upon with plug-ins such as Grasshopper. I do inted however to create an animated version of the final project and may come back to Cinema 4d for that. I am using Rhino 5 Beta for mac.
The task here was to create a visualisation of the project using CAD software, and considering that the Modular Dynamo system will be for use with bikes it seemed logical to start by creating a mockup of the Bike. To save time I have only completed the back part of it.
Templates and Guides
Whilst staying as close as possible to the real measurements of my test bike, I found that as with other software it is always best not to cheat reality for the sake of effects or visualisation, making something look like it should rather than making it exact will always come back to bite you later. However I did find it difficult to keep lines in the place using Rhino. I will have to get more accustomed to numeric inputs and short cuts. I do know that Rhino is renound for accuracy.
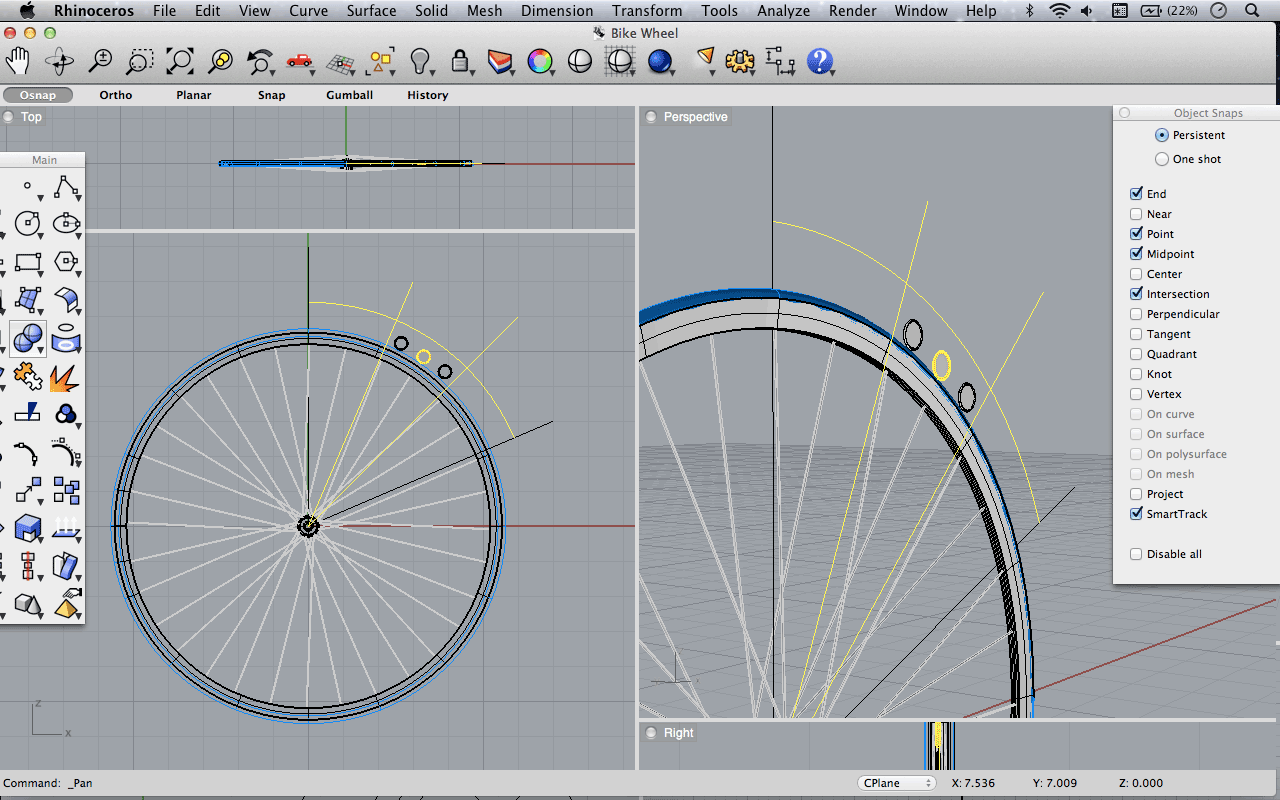
I discussed ways of fixing the Dynamo array or moduals in various places on the bike. However I felt that by top mounting them on and around the wheel would allow one to extend and add moduals in a regular way around the circumferance. Also by placing the Dynamo array towards the back of the wheel the extra functions of 1) mudguard 2) back indicators are gained from the position. Personally i also feel that by placing an array only at that position gives an efficient and aesthetic appeal. ....A successful mudguard only has to be 50 mm across if it is placed at the right point
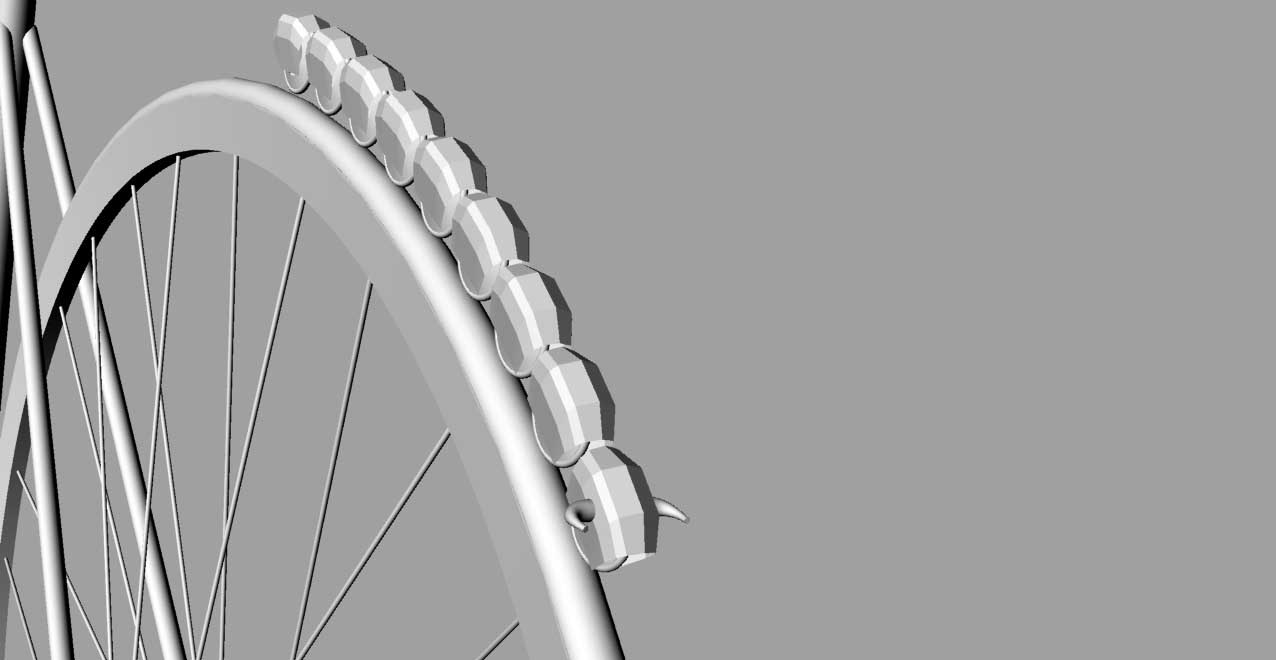
An array of differing modules ... the collectors set
I had though that if one module could be configured in many different ways, a host of new biking paraphernalia could be produced. For this reason I wanted to concial the driving mechanism - the wheel as much as possible, and to give a uniform base shell that can later be adapted
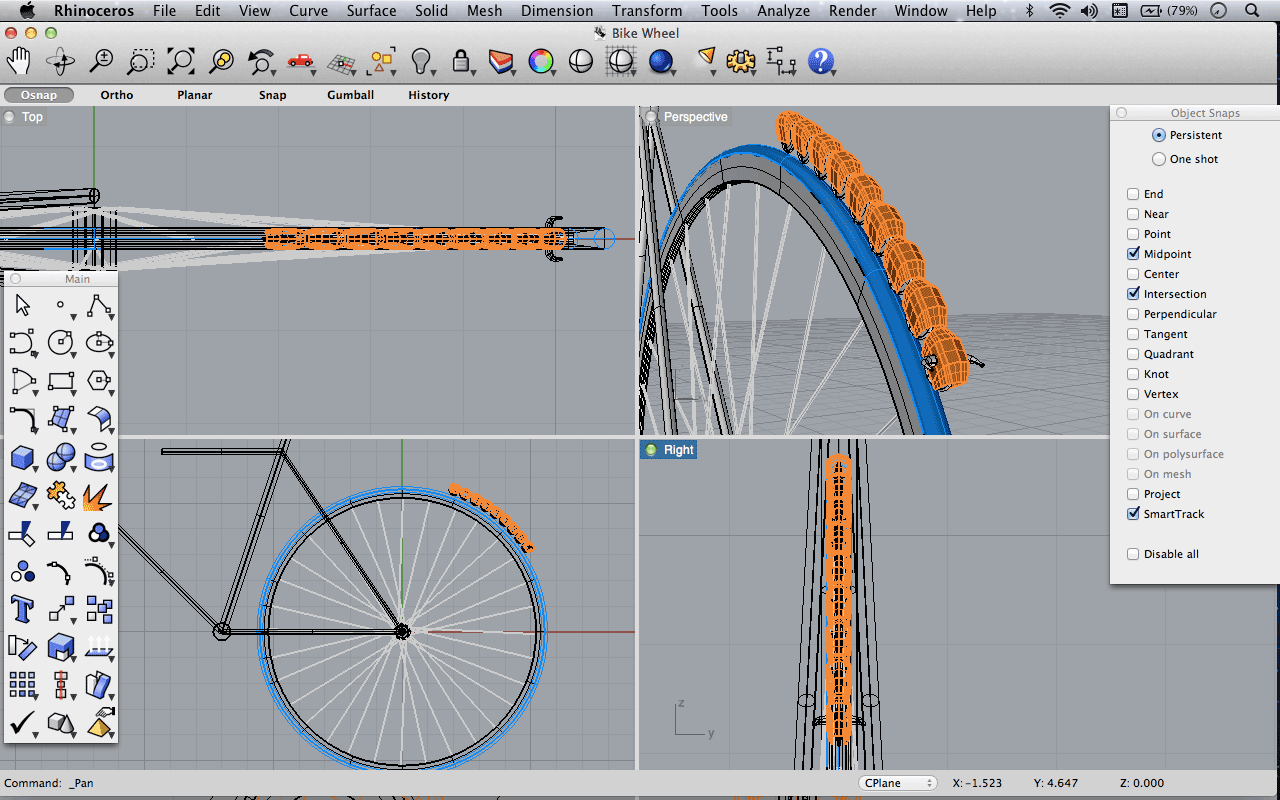
Indicators and Accelorometer
For this project i will attempt to make two units. The first being a standard chaging dynamo, this can be reproduced and remade multiple times. The second module will house and combine an accelorometer, the kind that detects tilt and movement in a standard smart phone and a set of indicators. I hope this will be able to be configured so that when a rider turns and leans in a particular direction the indicators will light up to inform the road traffic behind the cycle
Key Terminology: Capacitor, Diode, Resistor, Eagle, LED
KEY RESOURCES:
Week 02 Class Lecture : Computer Aided Design
Week 02 Howework Review
Week 2 Blog Post : Moulding Bytes.