 |
Fab Academy 2013 |
Computer-Controlled Machining.This weeks assignment was to make something big. In order to do this, we actually decided to turn it into a group project. The lab in Amsterdam has a ShopBot milling machine. Attached to this is a large ShopVac dustcollector/filter. The problem here is that it makes a lot of noise. It was suggested to us by Alex Schaub (who runs the lab) to create an enclosure for the ShopVac. So we set off to do just that! We started out by taking measurements of the ShopVac and the area around it. We wanted to make it fit without needing too many attachment points so we needed a tight fit. In Rhino I then plugged in the measurements to create a representation of the room. From there, I drew a curve on the layout along the shape that we had in mind. I decided to try and make an interesting organic looking wall, which was kind of wavy. 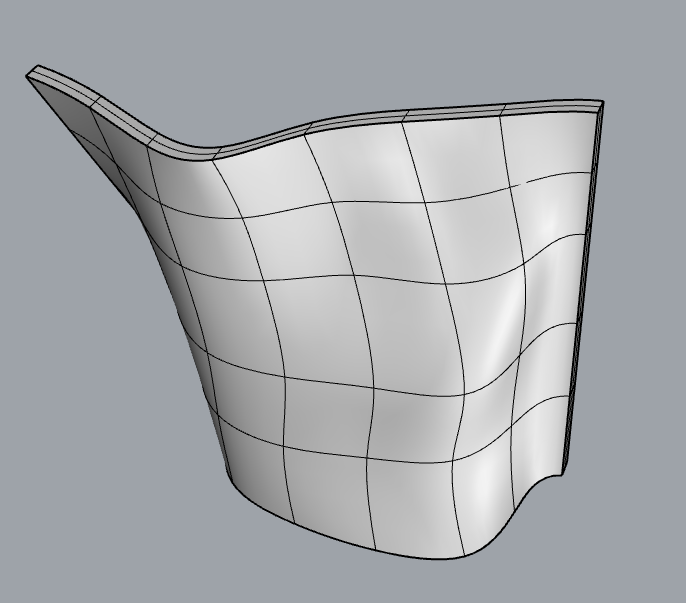 After tweaking this model a little more, I wanted to make our first mockup. In order to do this, I exported the file from Rhino to 123D Make. 123D Make is a fairly easy to use application that can automatically generate a sliced up version of a 3D model, complete with slits to fit the entire structure together. I scaled down the size so we could quickly create the mockup and moved on over to the laser cutter to cut it out of cardboard. 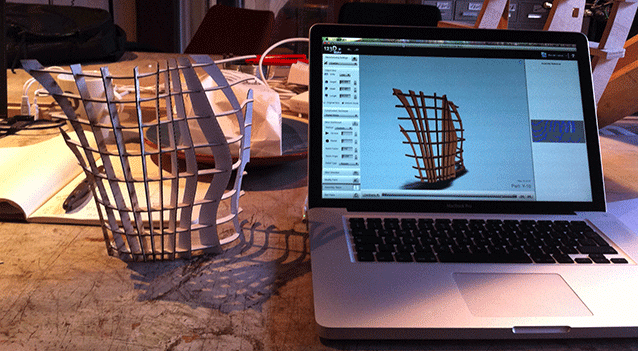 Looks pretty promising! After tweaking the model a little more in Rhino, to also accomodate the beams running over the ceiling and to improve the overall flow. At somepoint the workflow had to be changed because the extruded wall was intersecting with itself. Originaly I had just drawn a number of curves in Rhino on top of eachother and used the Loft tool to create a surface between those. When extruding this Loft surface it caused intersecting problems, so we ended up redrawing most of the curves, adding an extra curve behind every curve to simulate the thickness of the wall. After creating another mockup and approving our design, we wanted to create the fullsized version of our structure, but as with any project we ran into a few snags. The size of the wall was taller than the largest plates that the ShopBot could mill. The solution was to split certain slices into two and adding jigsaw like joints to them before laying them out on cut-sheets. Another problem we ran into was a scaling issue. Even though all the settings were set correctly for millimetres, somehow the file exported from 123D Make would not retain the correct dimensions. Soon after I discovered that 123D Make actually kept to inches, even though everything was set to millimetres. From there I could easily re-scale the project and make it fit. After exporting the files from 123D Make, we took the 2D images of the vertices and were all set to add the jigsaw joints to them. Unfortunately, we ran into another problem here. Our trusty 2D editing programs (like Illustrator and Inkscape) could not handle the file that 123D Make put out. The issue here was the size of the structure, being over three metres tall, was a size that was way beyond the maximum workspace in these applications. We actually ended up importing the files back into Rhino again to split the slices and add jigsaw joints (the jigsaw points were added by Mio Kato). Then we opened the files in 3DS Max to do a final layout on the sheets we'd use to drive the ShopBot (this was done by Michael Hviid Nielsen). The material we used is 9mm MDF. It's a material the ShopBot can easily mill through, but just in case we set it to cut everything out into a few passes. After laying everything out within the size constraints of the sheets, we ended up needing six sheets (244cmx122cm each) to mill out our structure. 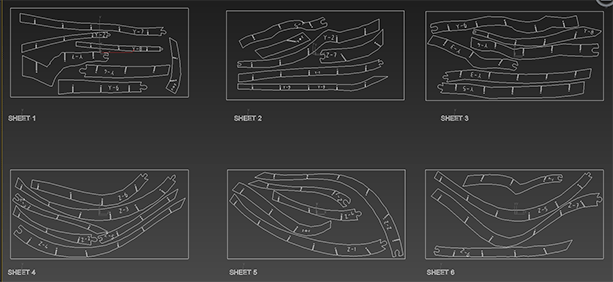 I started plugging this information (one sheet at a time) into PartWorks to create a toolpath for the ShopBot. I also filleted all the notches with a T-Bone Fillet on the ends. This makes for an easier fit as it creates a small airpocket that won't resist at the end of a notch. Within a few hours we had all our pieces cut out and stacked against the wall. The cut out pieces have some slight jagged edges to the curve. I believe this is due to the way 123D Make creates a skeletal structure of the 3D object you load into it. You could probably spend more time refining the curves on the cut sheets after you export them from 123D Make, but there was no time to do this. Now there was still a task left to do. Put it together! 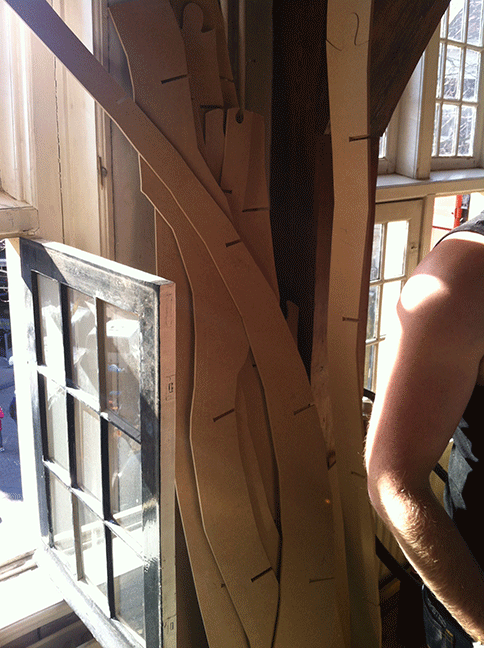 Easier said than done. First of all, most of the notches still turned out to be too tight to fit together, so we filed them out until there was an easy bit still snug fit. We also discovered that on their own, the jigsaw connections weren't very strong and could easily break. After fitting a few pieces together and the structure becomes more rigid, this became less of a problem. Having basically put the structure together entirely, there's still a few bits here and there that need to be aligned, but that will take some old fashioned handiwork. 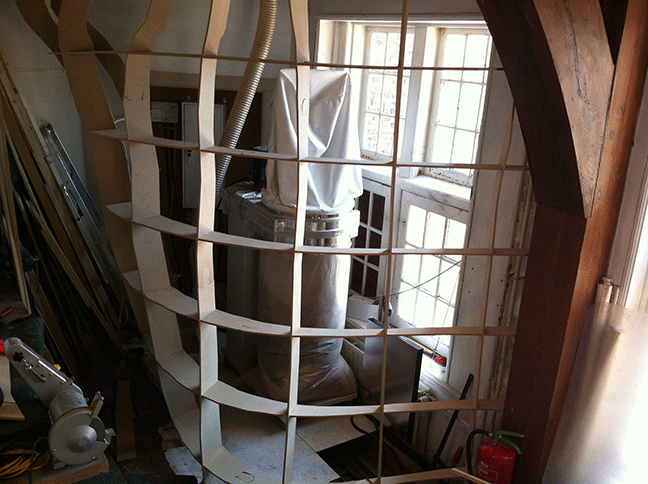 Of course, there's more work to do! The structure is full of holes, and these will need to be closed up. We're currently thinking of using some sort of composite, and are eagerly awaiting the lecture on composites. We also need to add a door to the structure, so that the filterbag can be easily accessed and removed when needed. |