 |
Fab Academy 2013 |
|
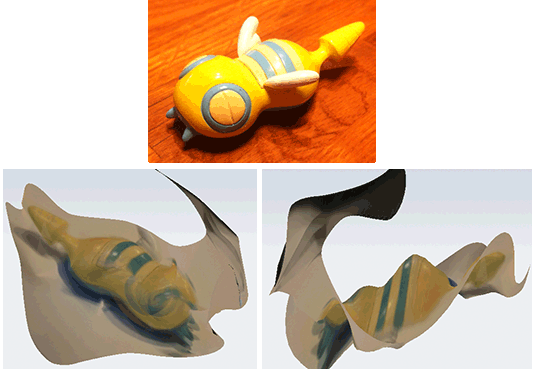
3D scanning and printing: After the lecture I was pretty excited to get started on 3D scanning. Unfortunately, I found that the 3D scanning method we were going to use (123D Catch) was not available for Mac OS X. There was however, a web app of the same program, so I put down a figurine on a sheet of paper and took 28 pictures all around.
I chalked it up to the lighting being less than stellar, plus the object itself being so small but still having a bunch of protrusions might be very complicated to scan. Back at the lab, we started out with a 'quick' test print. We loaded up one of the standard Ultimaker models supplied with Cura and printed it out, going over what some of the settings did, and how to operate the machine. 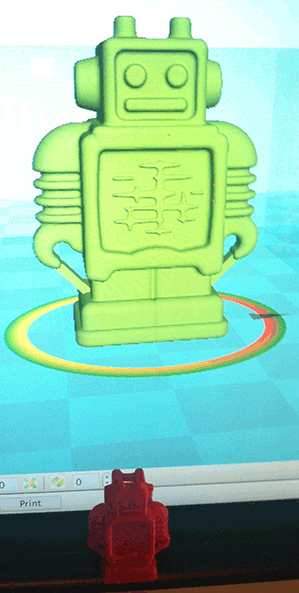 Twenty minutes later, we had a physical representation of the bits and bytes on screen. Pretty cool! To get to printing though, you still need a 3D scanned model. My initial try with the 123D Catch web app were less than stellar, so I went back to the drawing board. 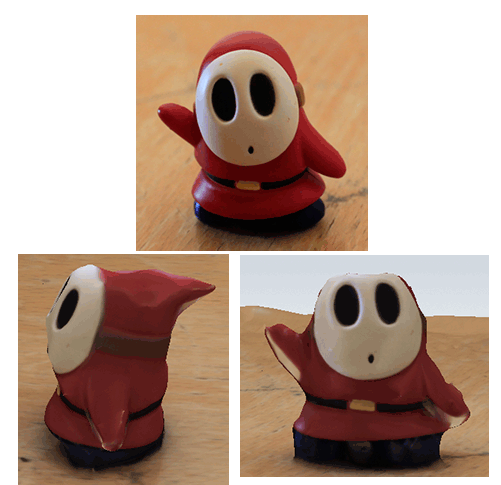 It wasn't perfect, there's definitely some areas (like the top of the head) that aren't the same as the object, but overall it did pretty well. I weeded the area around the model a little bit in 123D Catch and then exported it as an Object (OBJ) so I could fix it up in another application. I started out importing the OBJ file into MeshLab. I played around with it for a while, but I couldn't figure out a way to actually add to the mesh to fix the top of the 'head' of the model. I wanted to round that back up. Also the part under one of the arms was non-existant, so I wanted to remove bits from there. Fortunately we found Meshmixer, another free application (by AutoDesk, apparently!) that was a little easier to figure out. After a bit of playing around, I figured out how to use the Surface and Smooth brushes to add the 'missing bits' to the model. It didn't look perfect, but it was fairly 'complete' again. I also used Meshmixer to close the gaping hole at the bottom of the model and extrude that a bit on a horizontal plane so it could stand straight up. This also helps with 3D printing the object straight up. To do this in Meshmixer, you look at your model and Meshmixer will already outline holes with a blue outline. To fill the holes, you can use the Inspector. Click Analysis, and then Inspector. A line from the hole with a small ball attached to it will appear. If you clickon it, it will attempt to automatically fix the hole. Usually this will create a large bulge under the model. However, instead of clicking on the ball, rightclicking on the ball will select the edge around the hole. 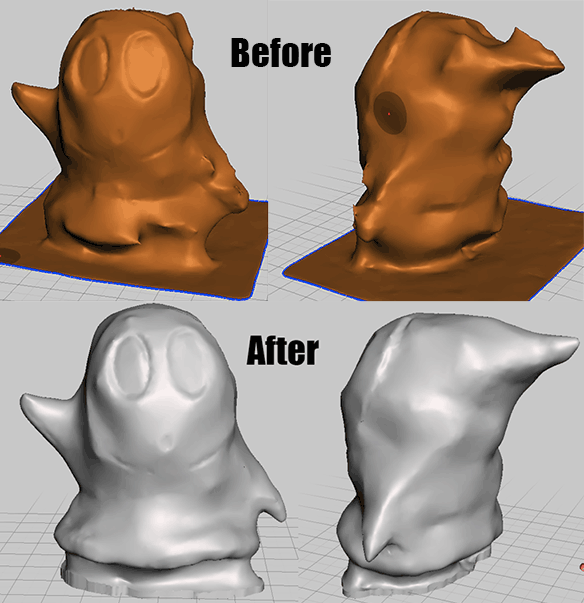 From there, we're ready to send the model to a 3D printer (the Ultimaker in this case). In Meshmixer, export the model as an STL (Ascii). This STL file we'll import into Cura. Cura was pretty easy to use, and didn't need a lot of configuring. This is mostly because Cura was created by the people that created the Ultimaker, so it is preloaded with all the configuration for an Ultimaker. Plug and play, basically! 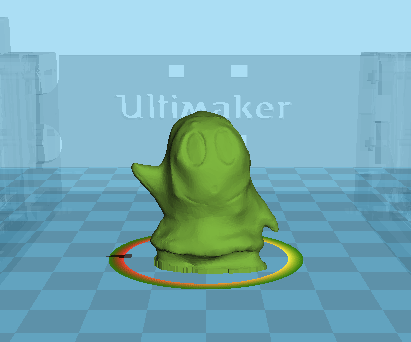 I loaded the STL file into Cura, and still had to mess a bit with the planes to actually position the bottom on the 'plate'. When I imported it the model was lying on it's side. In doing this I accidentally mirrored the image, but I didn't notice this until after I finished with the print and compared it to the original object. From there, click print, and a new window will open. From here set the correct temperature (230 in this case, for the PLA) and when it's done warming up, press print, and watch the machine build your model! 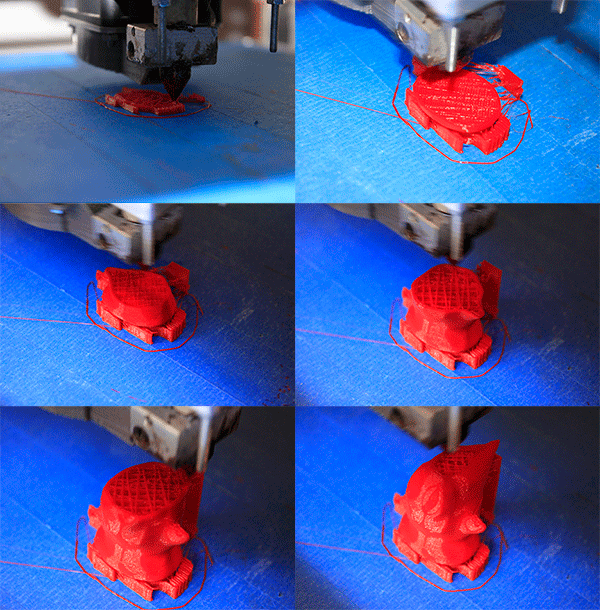  If you look around the bottom, you can see the support structures that Cura calculated in by itself (as long as you have the setting turned on, of course). It makes these to be able to print certain areas that protrude further, since the nozzle is mostly pressing down on the print. 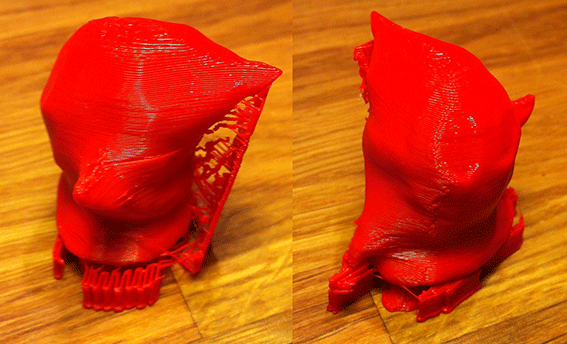  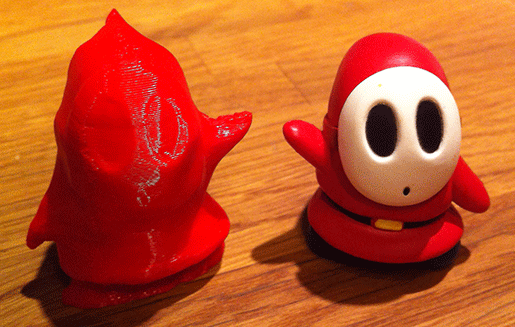 The result is pretty good, though I did find that the 123D Catch method seems to be a little inaccurate. The surface is very lumpy, and obviously the top of the figure wasn't caught properly at all, luckily I was able to fix most of that in Meshmixer. I wanted to try printing something straight from a computer to see the result, so I started up SketchUp and created a simplified version of the Mac Classic monitor. I'm also doing this so I can slowly continue to familiarize myself with SketchUp. It's a fairly simple shape, so it wasn't too hard to create. I did however had to scale it down a little, since I found out that I had made it just a little over a kilometre in height. I scaled it down to about 5 cm. 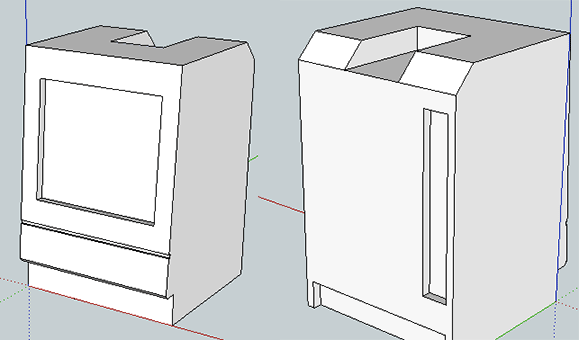 From SketchUp, I needed to make an STL file that I could import into Cura for 3D printing. I exported the model as a 3D Collada Object, which I then imported into Meshlab. From Meshlab I exported that as an STL file, which I then loaded up into Cura. Here I immediately noticed that the size of the model was all off, and would've had to scale it up a lot for it to be even visible. Sketchup has a lot of plugins, and luckily I was able to find a plugin that allowed me to export STL straight from Sketchup (this plugin is called Sketchup to DXF or STL, and can be found here). This STL loaded up much better into Cura, and from there it was only a few steps to get it printing. We actually tried to group some objects together, so that the whole group could print all of their objects at the same time. This actually didn't go very well, as the printed started printing the objects sideways. 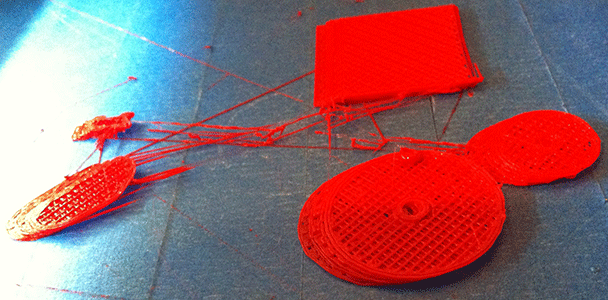 While we initially thought this was a problem with putting all the objects on the plate together, and possibly because there was something wrong with one of the models, it turned out this was a mechanical issue. The rods the motor moves around on were causing a lot of friction, and just needed to be lubricated. I had a few startup problems where the PLA material would glob up and cause large imperfections, but on the third try the print started correctly (after cleaning the nozzle and baseplate a little). 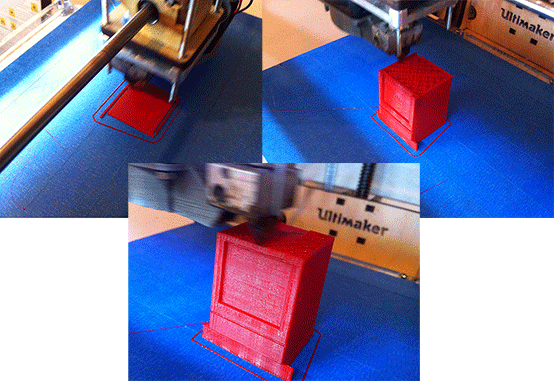 The model was about 5 cm high, but unfortunately it took about two hours to print the object. I'm pretty happy with the result though. While it's still not perfect, printing a model created directly on the computer ends up as a much sharper print. Here's the final result (after removing the support structures). You can also see the first two failed attempts. 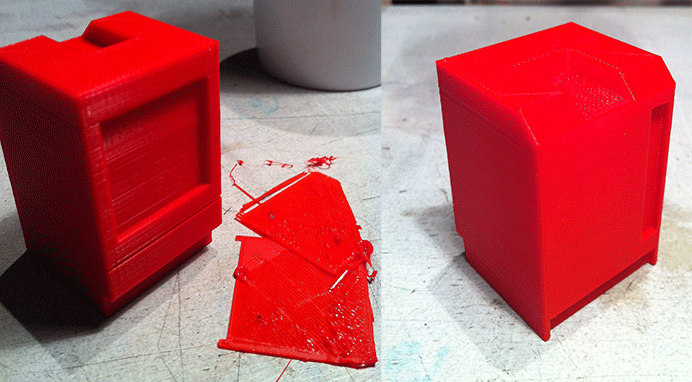 |
