 |
Fab Academy 2013 |
Composites:This weeks assignment was to make a 3D mold, and use it to create a fiber composite with it.
The preferred method we were asked to use for this assignment was to use a vacuum bag. Unfortunately for us, we didn't really have much in the way of materials for this vacuum bag. I watched some of the instructional videos on Smooth-On and read through the WestSystem PDF on vacuum bagging techniques. I had a pretty decent idea of how to get everything ready, so I visited a local hardware store and bought some piping and tubing to build the vacuum bag system. I needed some valves to hold the vacuum when the compressor is off, and an extra tube that would trap excess material.
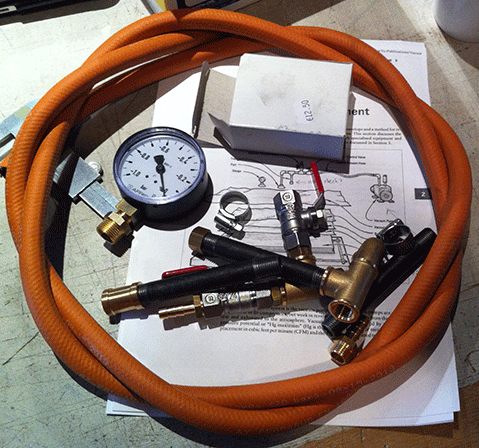 I put it all together and hooked it up to the compressor.
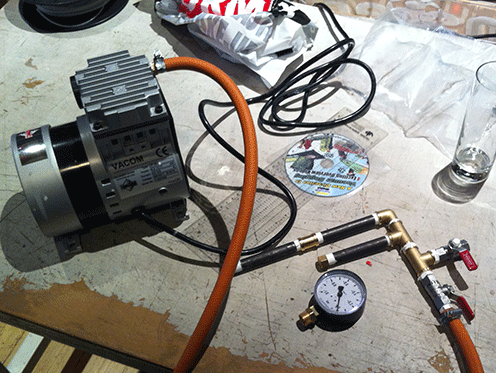 There were still some changes made after this, I replaced the rigid pipe at the end with some more tubing, allowing for some flexibility. At this point we also still needed suction pads that would help holding the vacuum. We had some trouble finding these, so we ended up making them out of Oomoo ourselves. We poured the Oomoo around a nut which was attached to the tubing and it seemed to be able to hold a vacuum quite well!
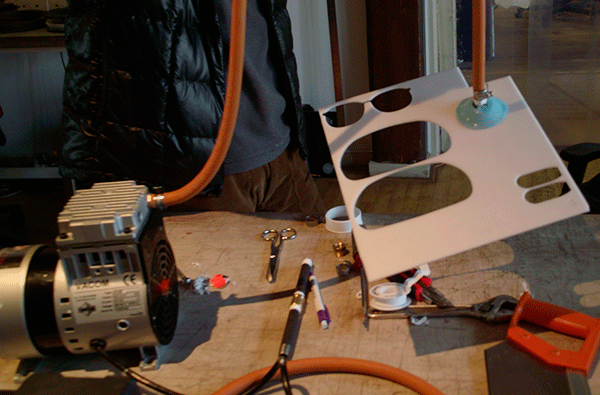
Next up was making the actual vacuum bag. Taking into account the curing time of the Smooth-On silicone (Three layers with an hour between and 3.5 hours curing time after) it became apparent that there wouldn't be enough time for everyone to make a vacuum bag. So we decided to make one larger bag that would be good for multiple uses and could cover a number of differently sized objects.
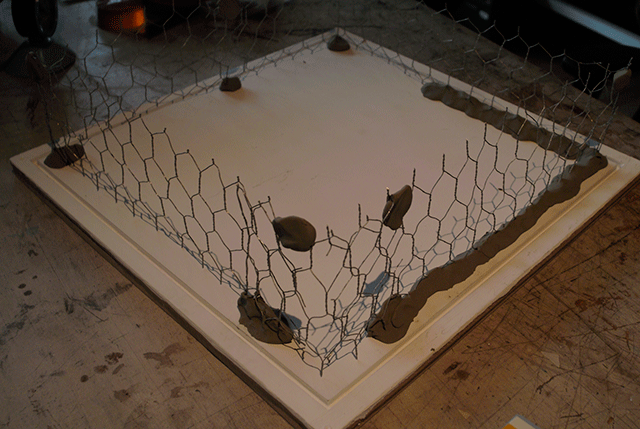
 We wanted the vacuum bag to have sort of a domed shape to it, so it could get into recesses a little better. To create this shape on the board, we initially started off with some chicken wire which we intented to cover up with a plastic film to brush the silicone on to, but we soon realised that this whole structure was too rickety.
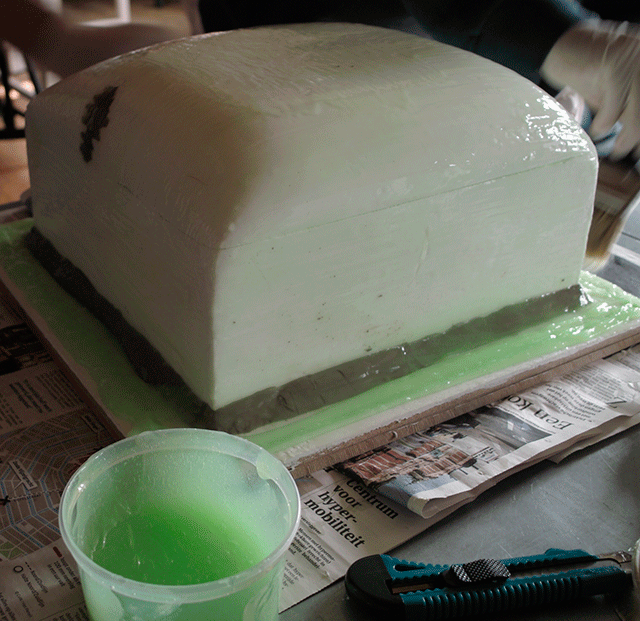
 Instead we took a few chunks of foam glued together, and shaped thaat into a domed shape. The foam would obviously try to suck up the silicone if we brushed it on directly, so we sealed it with some gesso as well.

We then put the domed shape onto the board and I sealed off some parts with some clay. We then mixed up the silicone and started brushing it on. A quick lesson learned here is to not use a brush to brush it on, since they're impossible to clean afterwards.
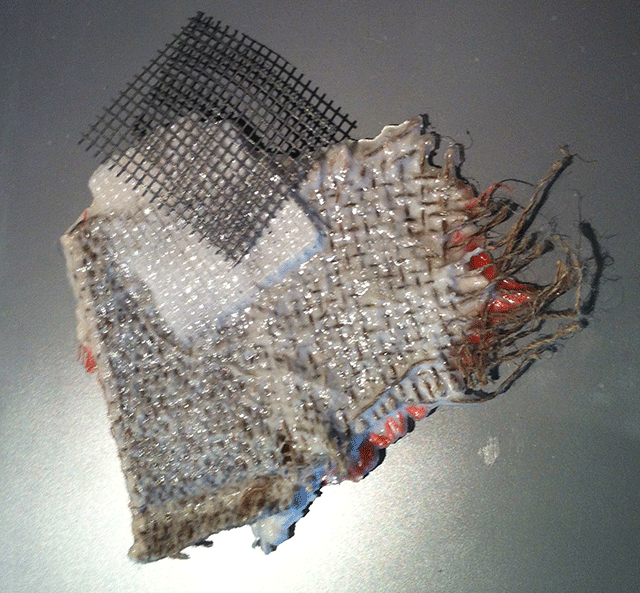
While we waited, we did a quick test for a composite (without vacuuming anything). We had some materials, and we just layered them on top of eachother, smearing some resin (Smooth-On Smoothcast 310) in between each of them. We also needed a release fabric and this test would show us if everything would stick to eachother at all.
 By now the silicone was supposed to have cured, but we ran into a problem here. There were certain parts that wouldn't cure at all. It turned out that the silicone had an adverse reaction with the clay we used. I found out that the clay might've been sulfur based and sulfur doesn't react well with silicone. Lesson learned!
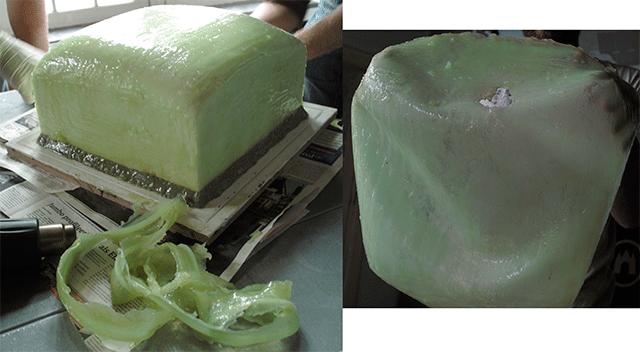
We had removed all the clay, and just in case there was too much residue left I brushed another layer of gesso on. I stuck the foam core back to the board with some double sided tape and slathered on more silicone.

Since the EZ Brush Vac Bag is a bit on the expensive side, and we still didn't have a good vacuum bag, I started looking into alternatives. I whipped up a quick box and laid down another few layers of materials in it, topping it off with the insect gauze. I smeared epoxy resin in between the layers, and also applied some vaseline to the inside of the bag just in case. I then put the box into the bag and used the compressor to create the vacuum. The bag has a built in membrane, so I don't need to keep the compressor attached to the bag.
 Coming back to the composite, it was easy to remove from the vacuum bag. It was a lot harder to remove from the box I built. I should've used a lot more vaseline.
Luckily I had sort of anticipated this, so the box was soon disassembled, and I was able to take out the composite. The spots that had the most trouble letting go were the sides, which is where little to no vaseline was applied.
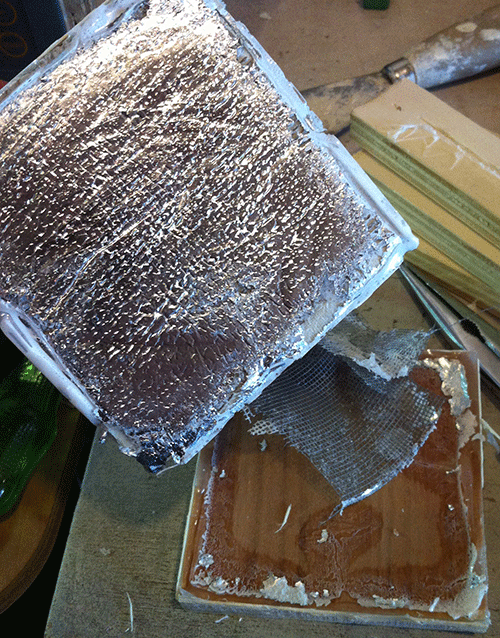 The composite I ended up with was fairly strong, but not strong enough. It can bend quite far, and it doesn't snap, but it doesn't feel like it could take that all too often. The idea I had with a smooth layer of aluminum foil also didn't really take, as the foil got sucked into the many little air pockets in the burlap.
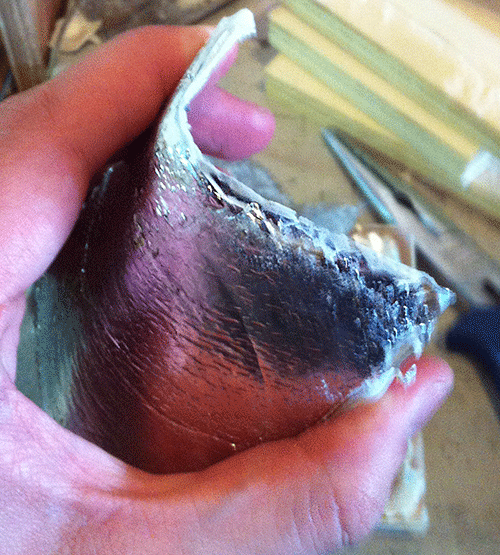
For the second test, I decided to pile on the layers. The more layers you add, the stronger your composite theoretically becomes, right?
I reconstructed the box, and coated it in vaseline. As I layered in the materials, I poured in copious amounts of Smooth-On SmoothCast 310 to bond it all together.
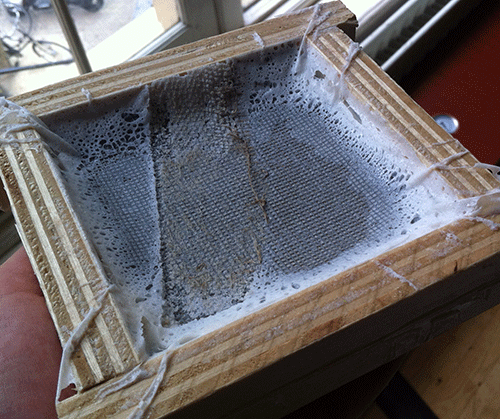 As you can see, the problem is that a lot of the epoxy ended up seeping through the cracks in the box, fusing some of it together. Luckily, because I applied a lot of vaseline to most parts of the box, I was able to chisel it apart without really damaging the composite (though I won't be able to re-use the box anymore).
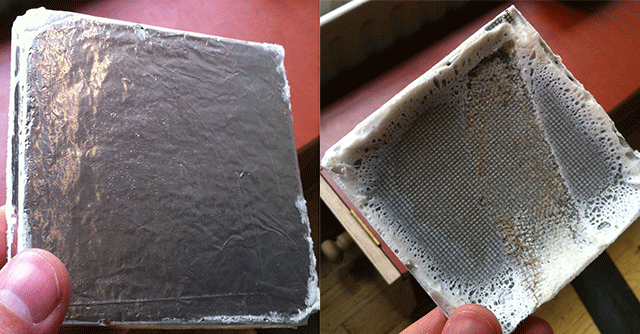
This second composite test made me really happy. It's super sturdy and practically unable to break with the force I could apply to it. The aluminum foil is also fairly smooth, so I'm getting closer to the 'silver' finish that I wanted to achieve.

I'm very impressed by the strenght of this, though it looks like I've used too much epoxy overall. There was so much that I couldn't actually take off the release material (insect gauze), but there was very little trouble actually getting it loose, thanks to the vaseline I used. Since I need to pull a composite over an object that was modeled on a computer, I found a fun STL file of Han Solo frozen in Carbonite, from Star Wars. I used the ShopBot to mill this out from foam, which I then coated in Gesso.
After coating it in gesso, I used cut the materials I've been originally using to size and layered them over the design. For this one I'm using 2 layers of linen on each side with a layer of burlap in between. I then mixed up some smoothcast 310 and brushed a good amount of it over the materials as I layered it. I tossed it in the vacuumbag and vacuumed it, letting it sit and cure after. Unfortunately, I could already see a complication. The materials I'm using together are just too thick to be able to convey the details of the milled piece. As it's curing, all it just looks like is a person being smothered under a sheet (Han Solo In Carbonite Under A Blanket). When it was cured and I pulled it out, it still looked the same. As I took out the original foam piece, most of the Gesso let go as well, but the inside of the composite holds a lot more detail. It could be used as a mold if the materials used weren't so porous.
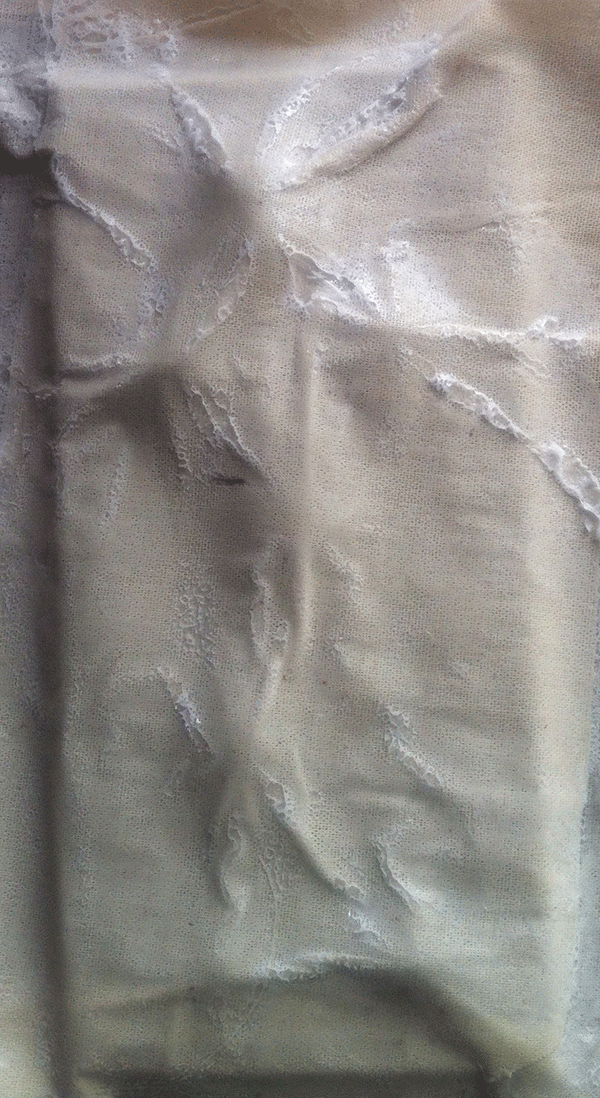 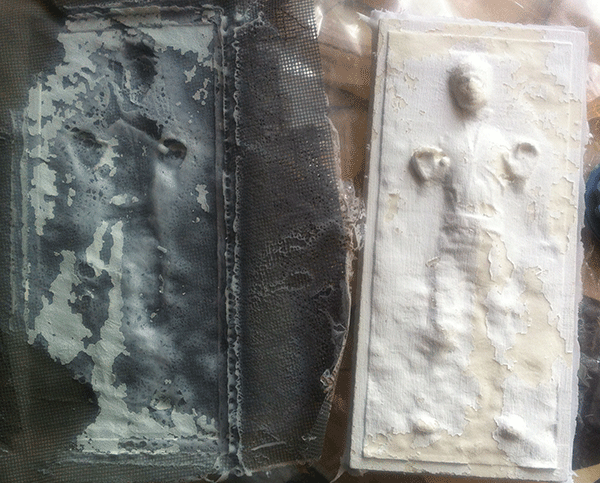 It seems like I will be needing a less detailed piece to pull a composite over..
|
