6. 3D Scanning and printing
This week I learnt to scan 3D objects and use 3D printers, the group assignment is here. There I was able to see the differences between the printers we used. The main difference I spotted was the precision of the nozzle, using Sindoh and Leapfrog, the layers of the print were very visible and you could feel them just by touching the object. On the other hand, as the FormLabs printers uses photolithoghraphy; the precision of the print increased a lot, but so the printing time did.
3D printers
I learnt to use three of the printers at Fab Lab Oulu, which are:
-
LeapFrog Creatr Hs
-
FormLabs Form 3
-
Sindoh
Setting up
Fusion 360
The first step was to create a sketch, which as was going to use as a base for all bodies I created. I only used the smaller objects as reference.
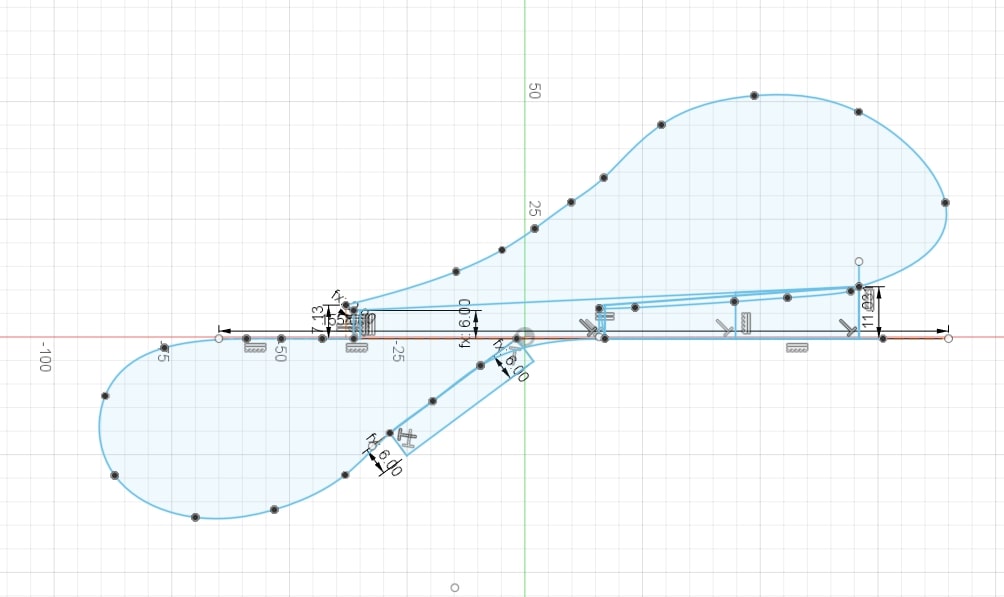
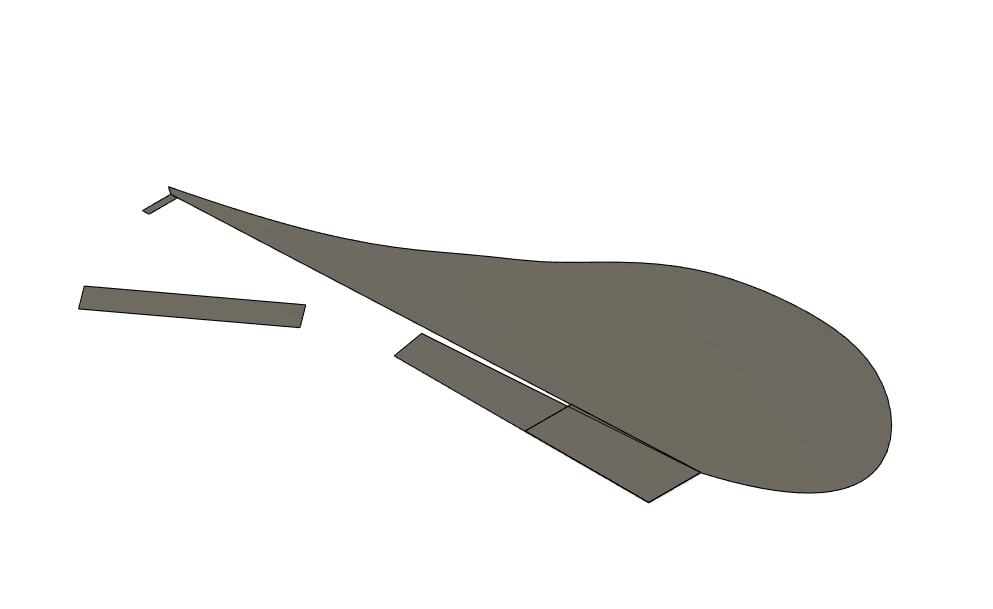
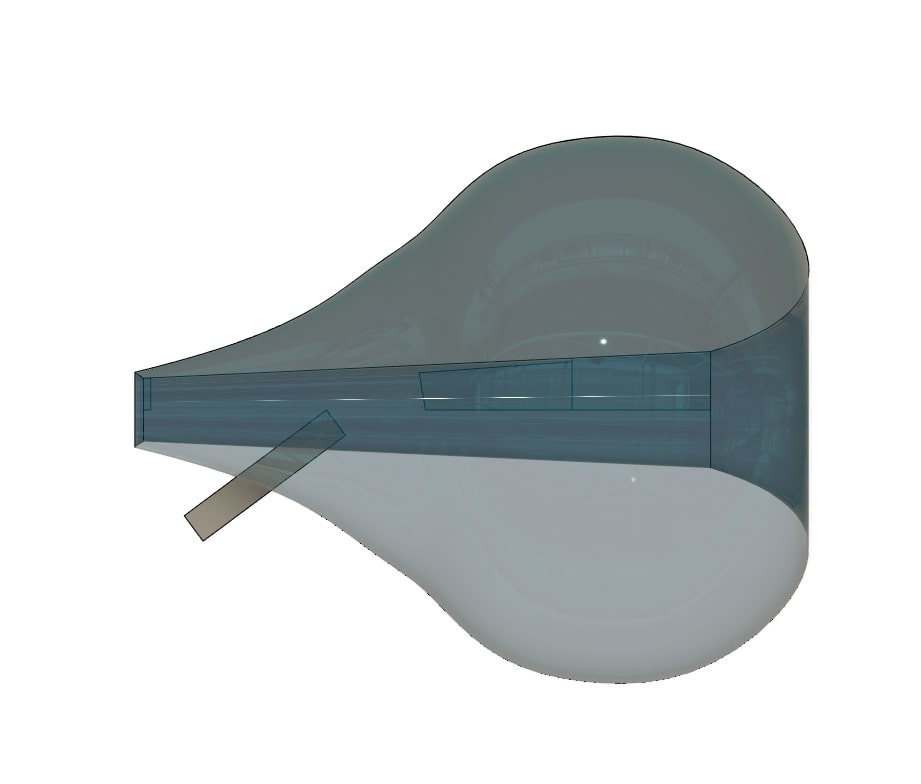
I extruded some parts of the sketches using Solid > Create > Extrude as you can see in the picture. I also changed the material selecting the body and using Right click > Appearance > Tinted glass.
Then I revolved the bigger body 360 degrees using Solid > Create > Revolve.
And I removed all the filling it using Solid > Modify > Shell with a wall thickness of 3mm, you can now appreciate the walls.
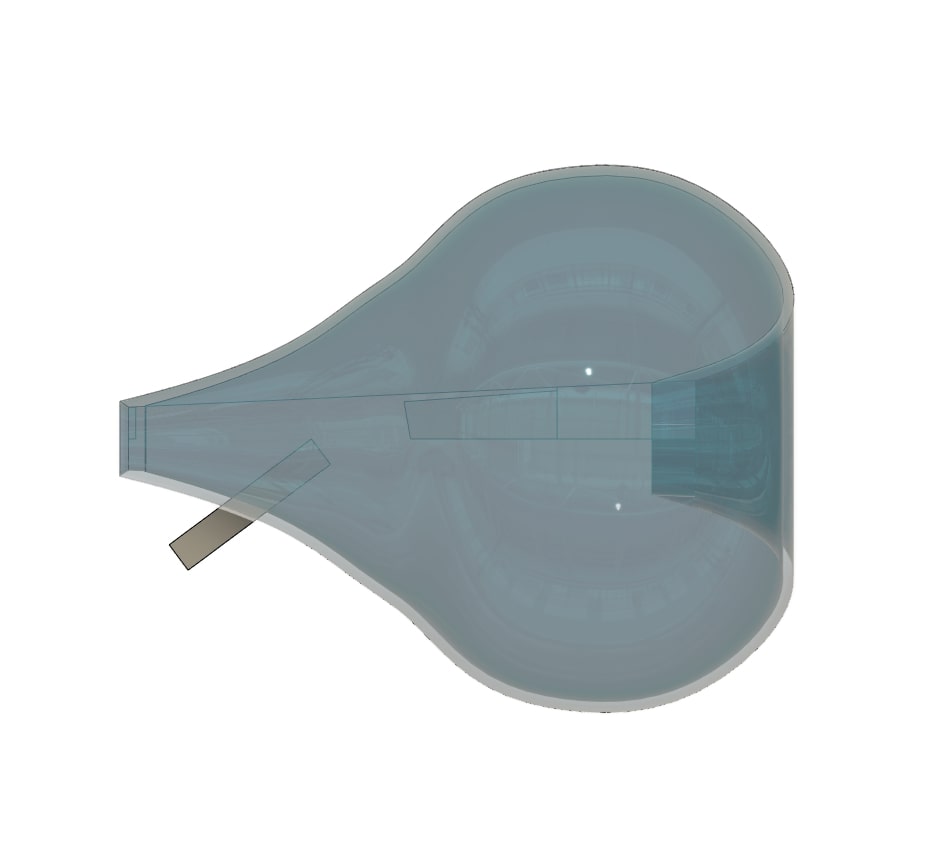
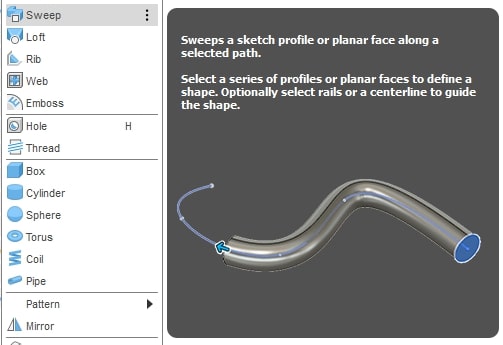
And the part I considered the most interesting was to create the handle of the bottle, for which I used a new tool: Sweep. I guided a ring of 3mm wall thickness along the edge of the sketch in the first picture.
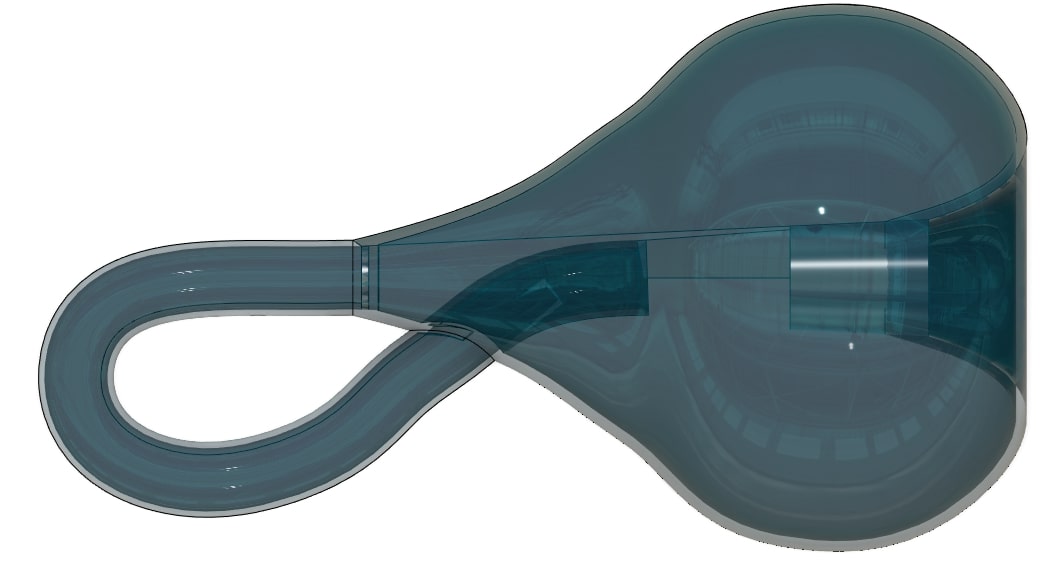
As you can see there is a huge gap right in the middle of the bottle, I connected the two parts using a conical shape I created by revolving the rectangular-looking shape in the first sketch 360 degrees, exactly as before with the bulb shape.

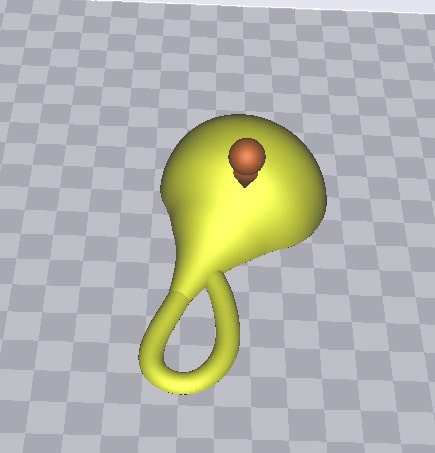
Joining all the bodies using Solid > Modify > Combine, this is the final result:
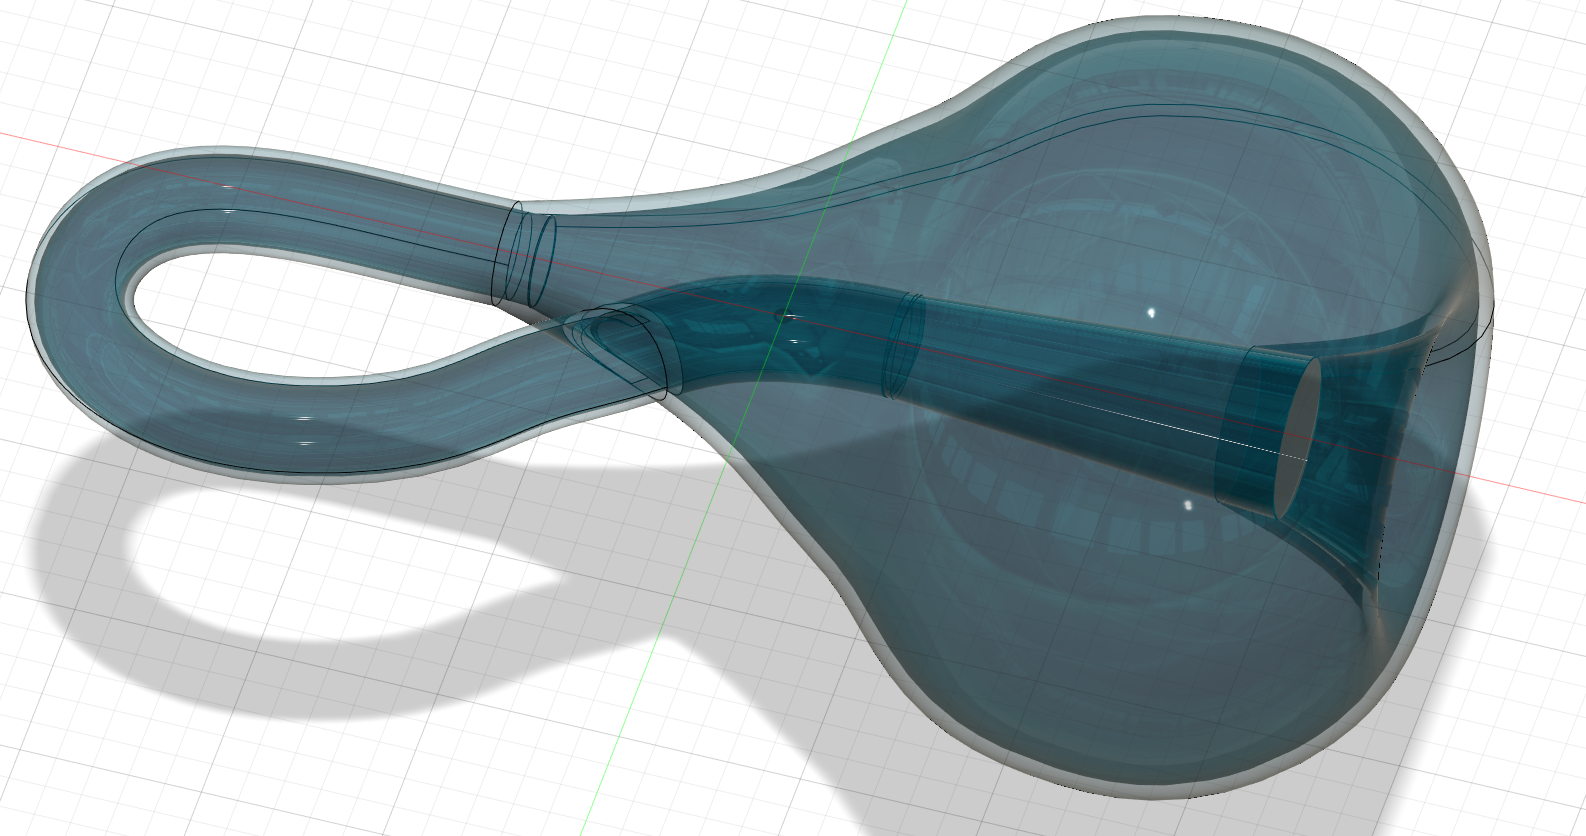
This object cannot be made subtractively, because the inner part of it can only be reached by following the hole in the bottom. There is just no way to remove the material from the inside
Which I exported selecting the body and using:

.stl files are probably the most common format.
Slicing
The file has to be imported to 3DWOX, which is the software used in the Sindoh printer using this icon:

Once done, the object will appear in the screen.
In order to print it, the bodies to be printed will have to be sliced in order to generate a file which the printer can understand.
Clicking on this icon will slice it.

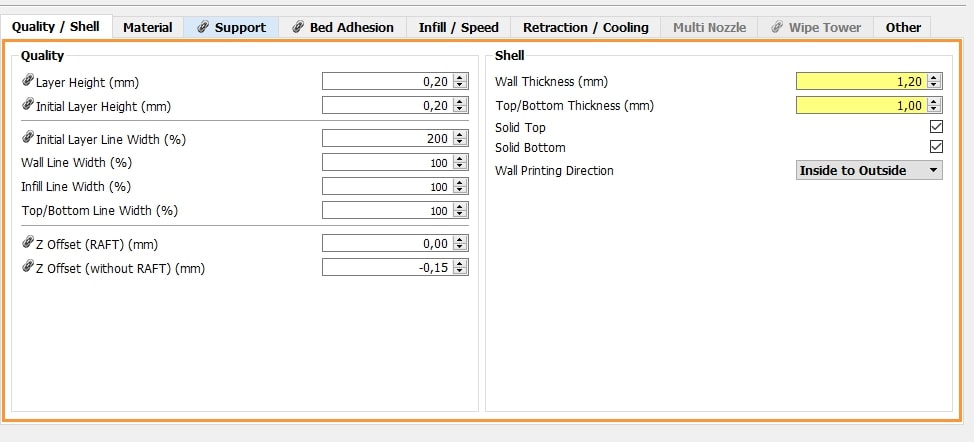
Then to adjust the slicing, go to settings.

A window will appear to adjust the settings of the print. It will generate all the layers accordingly. In my case:
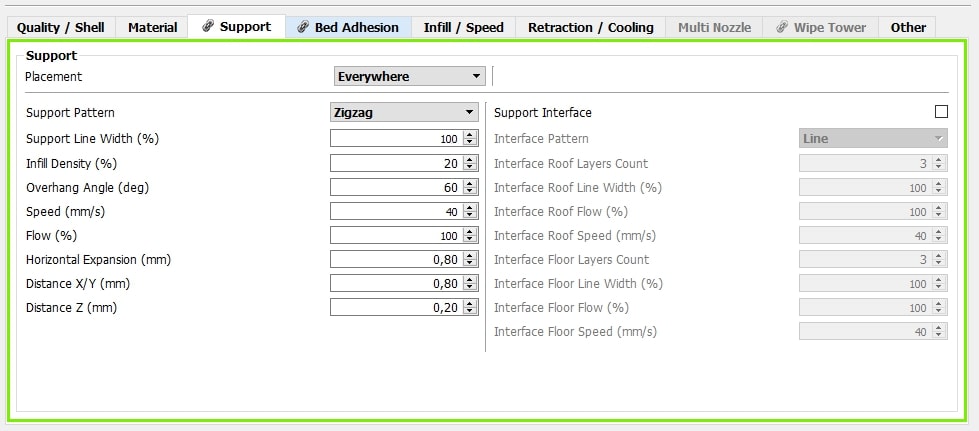

The slicing button must be ressed again after doing this
Looking at the bottle, I though that it would need supports to print the upper layers, and so I added it.
Printing
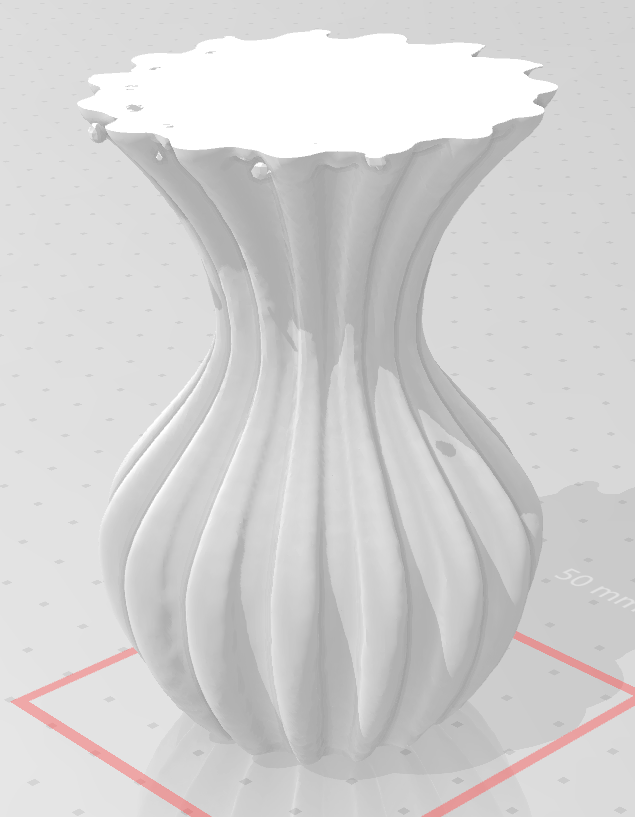
The result was not very nice, as the width of the layer was way too thick for the amount of detail I wanted. It also didn’t need supports, apparently the shape was small enough to hold itself. I easily removed them using some regular pincers.
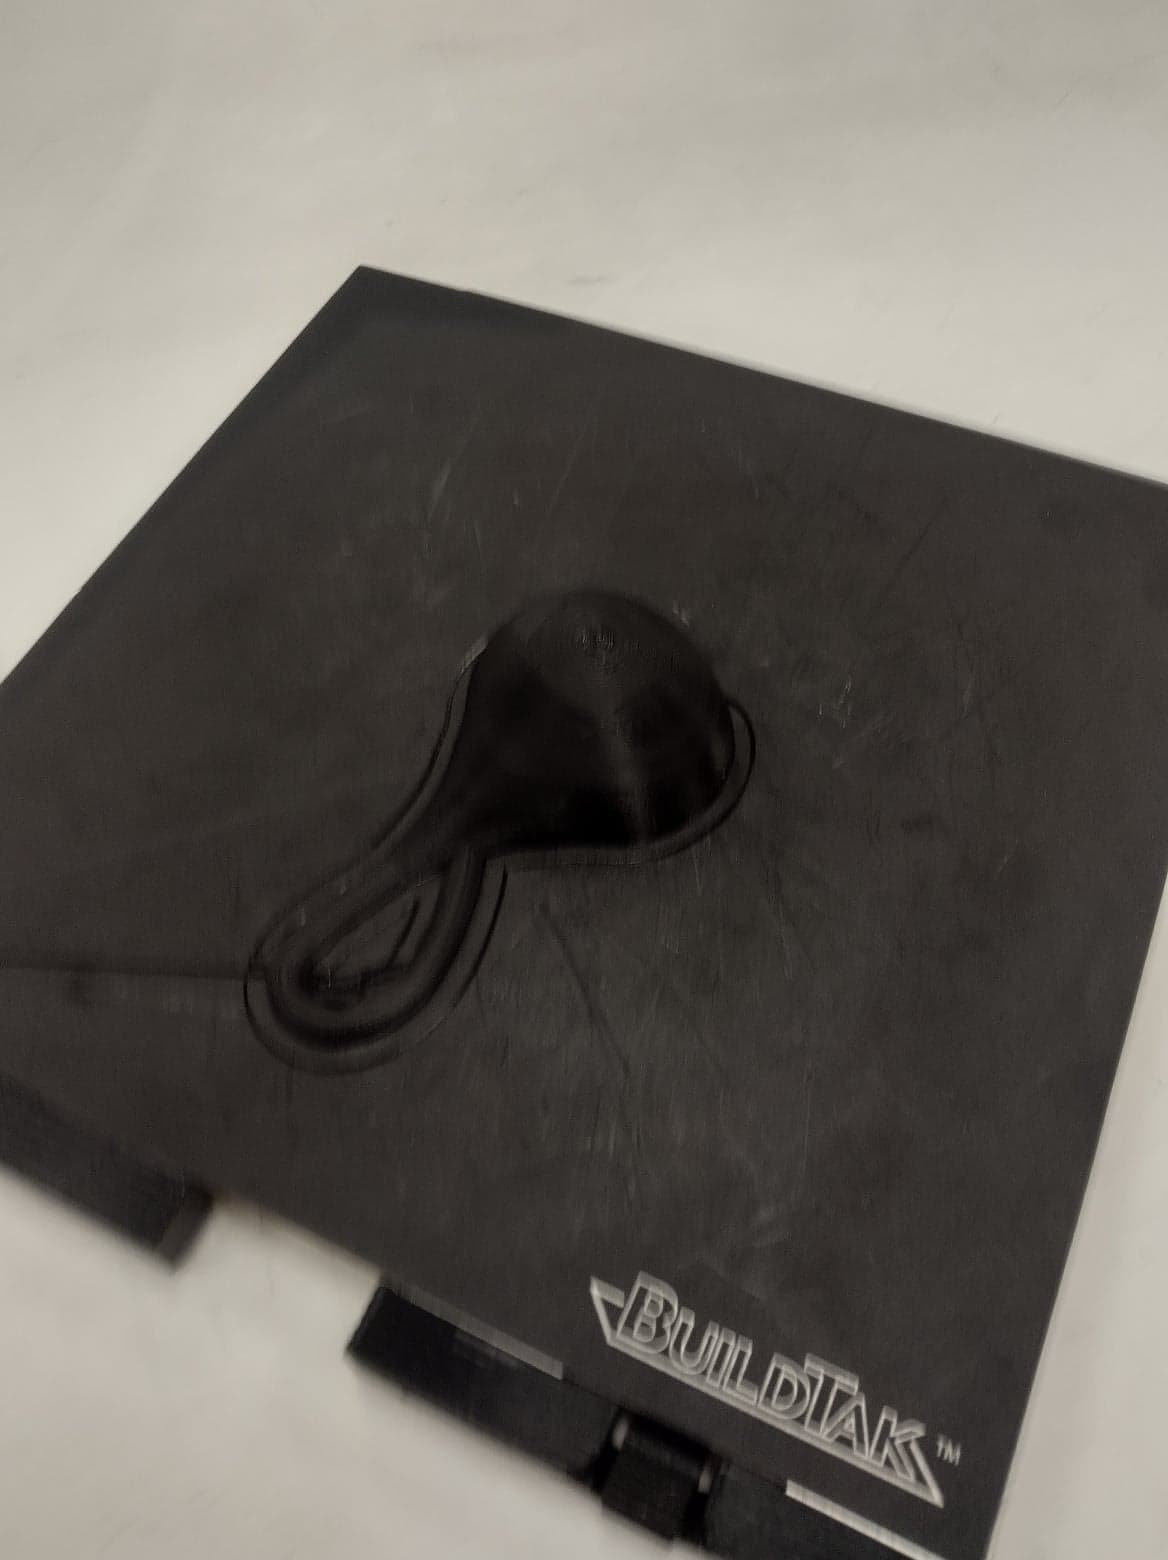
But the shape was quite good from the outside.
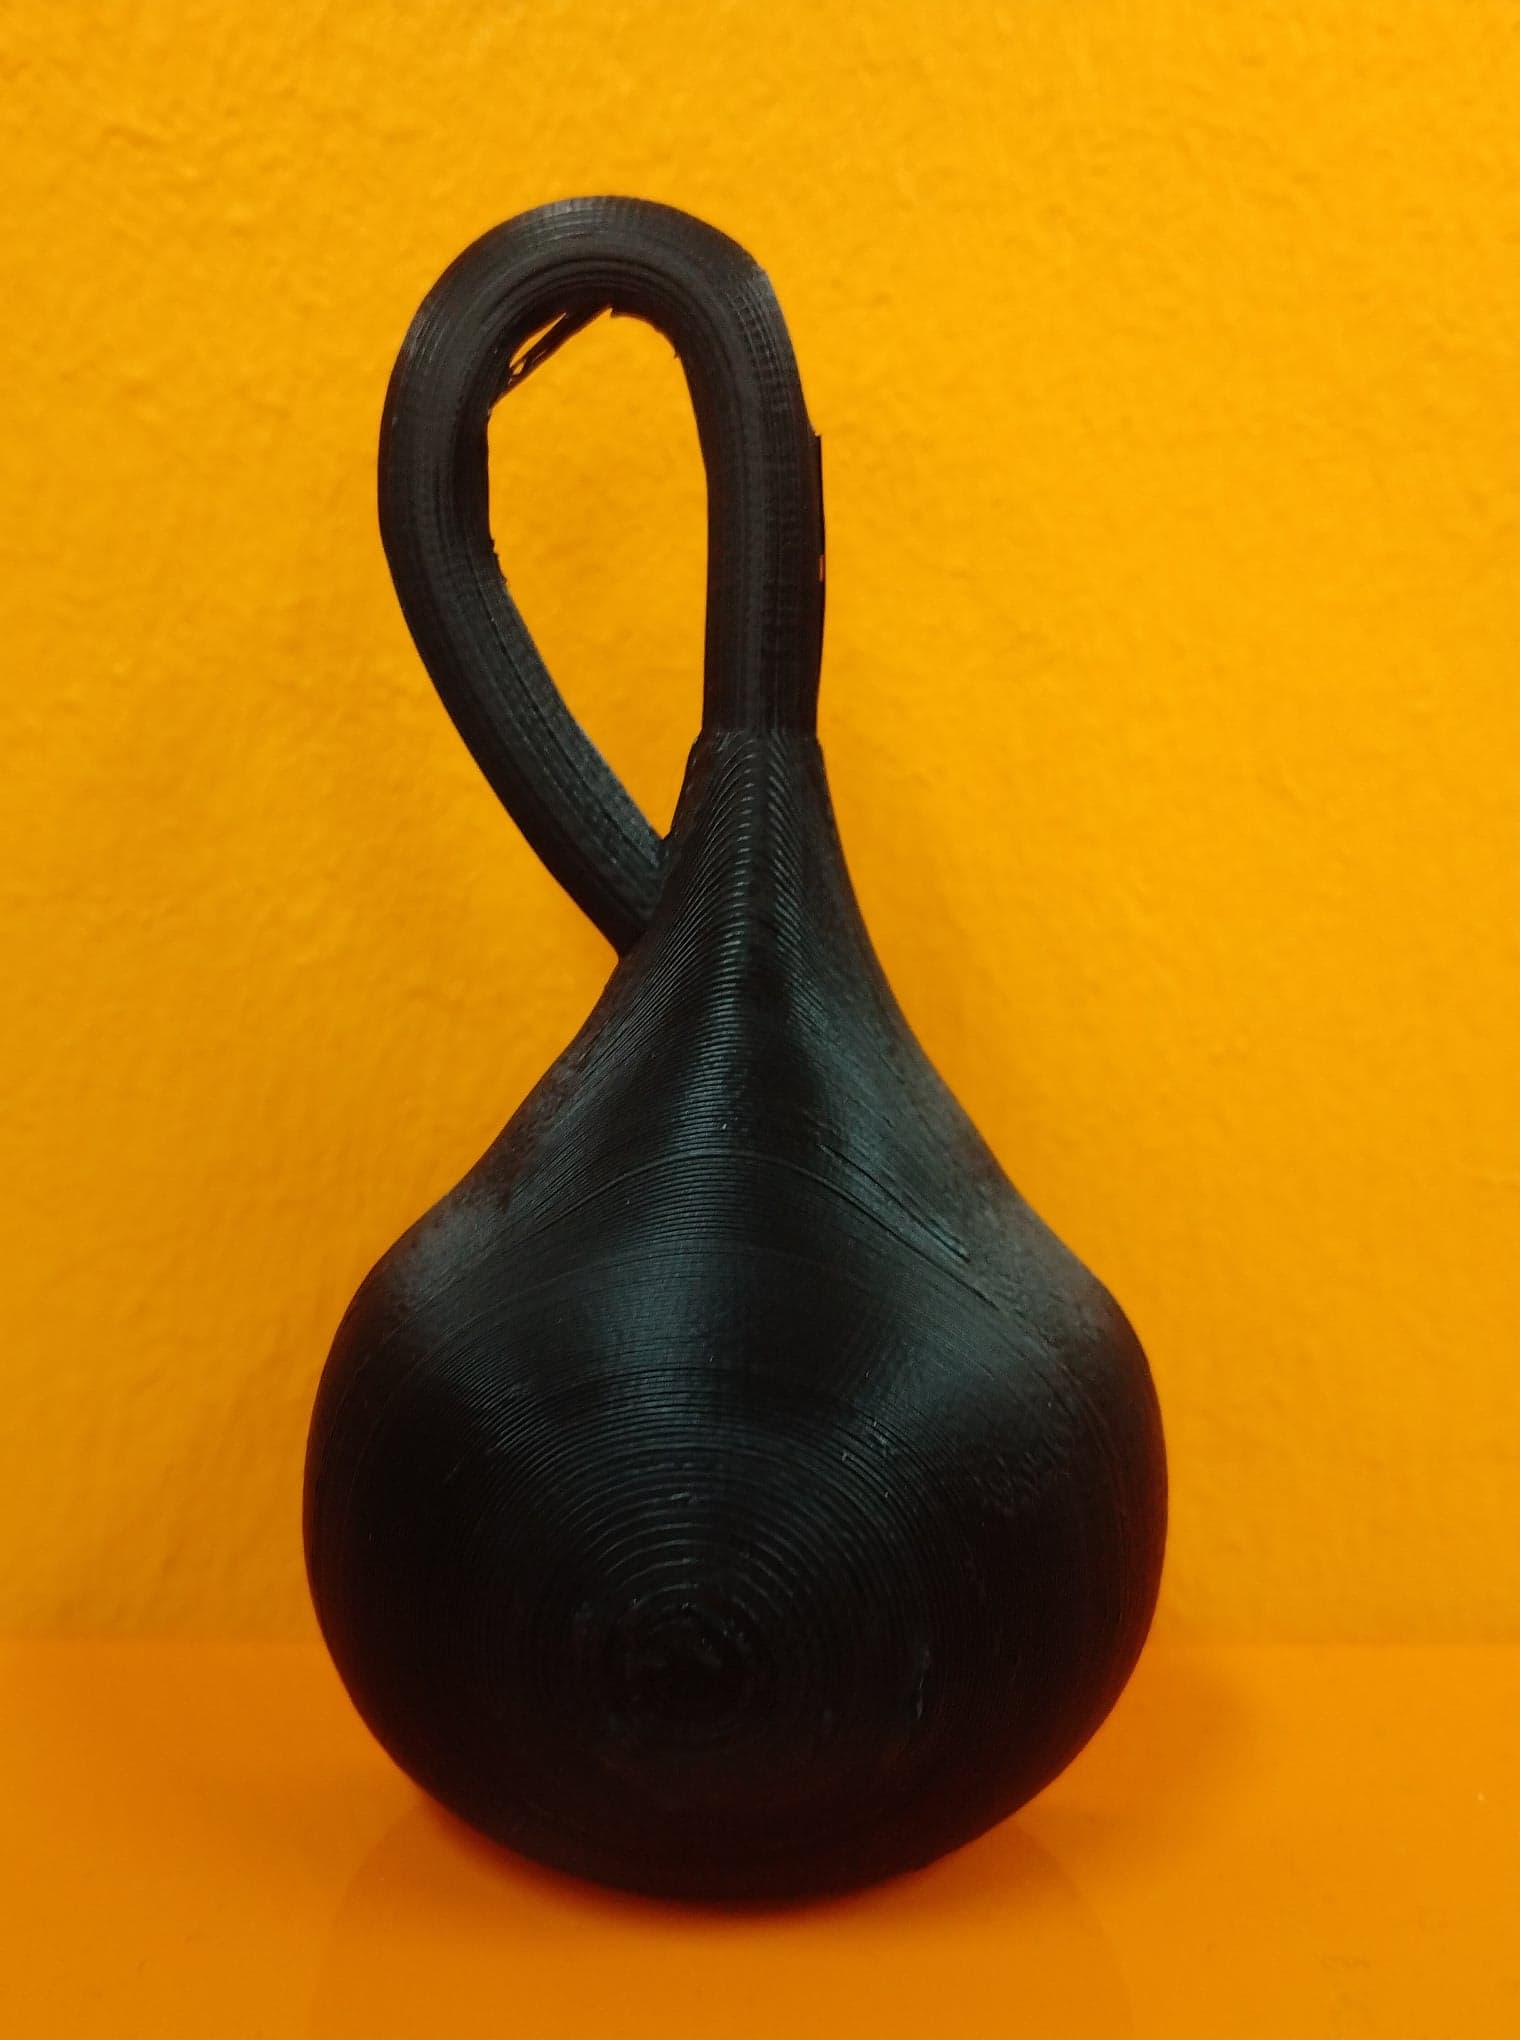
Second try
I was not very happy with the results and I had to print everything again, now with a layer height of 0.2mm and in a slightly bigger scale.

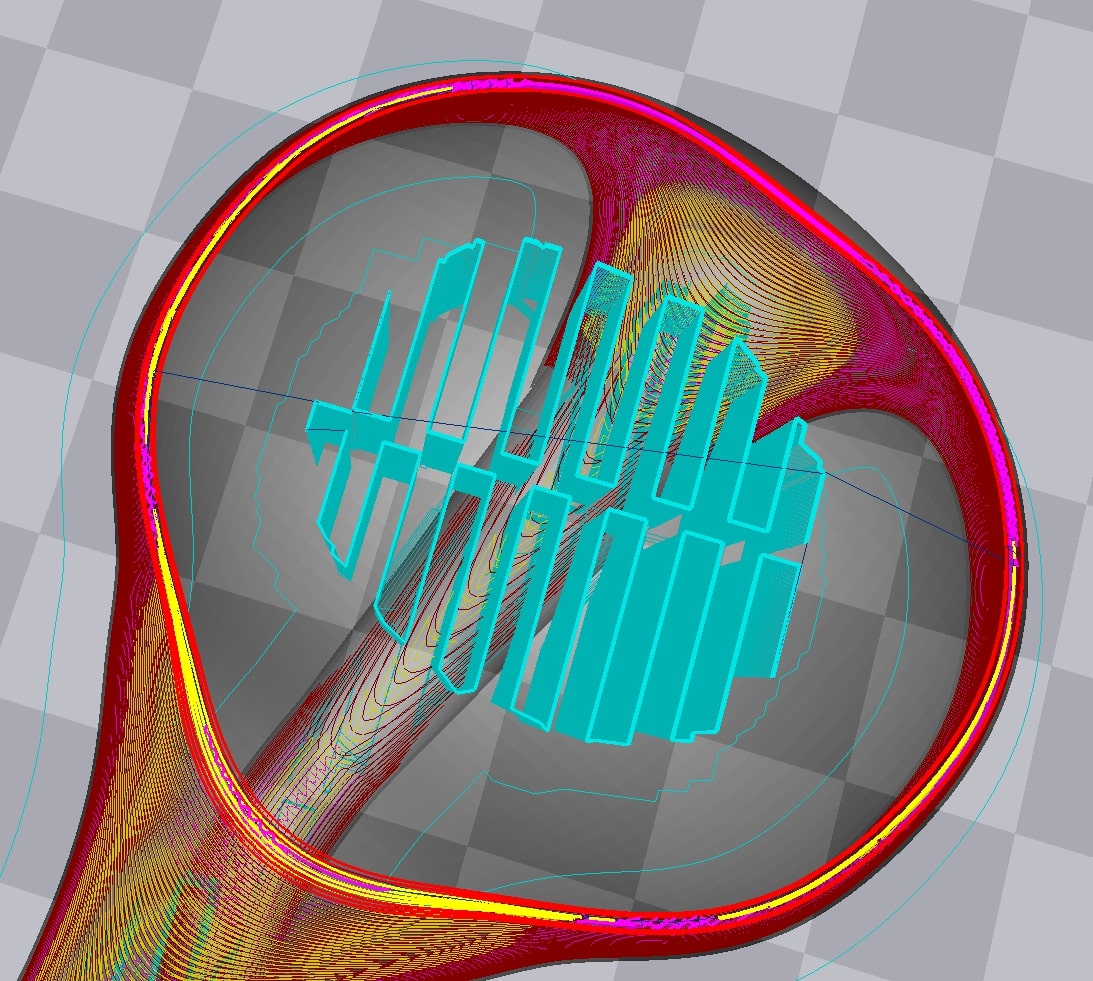
This is the sliced body:
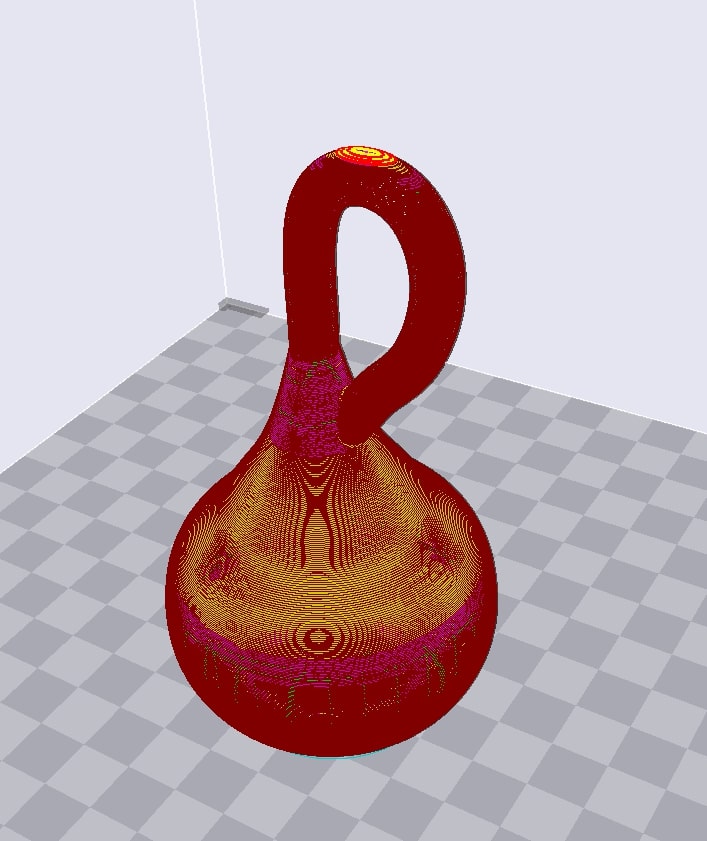
I didn’t use supports now…
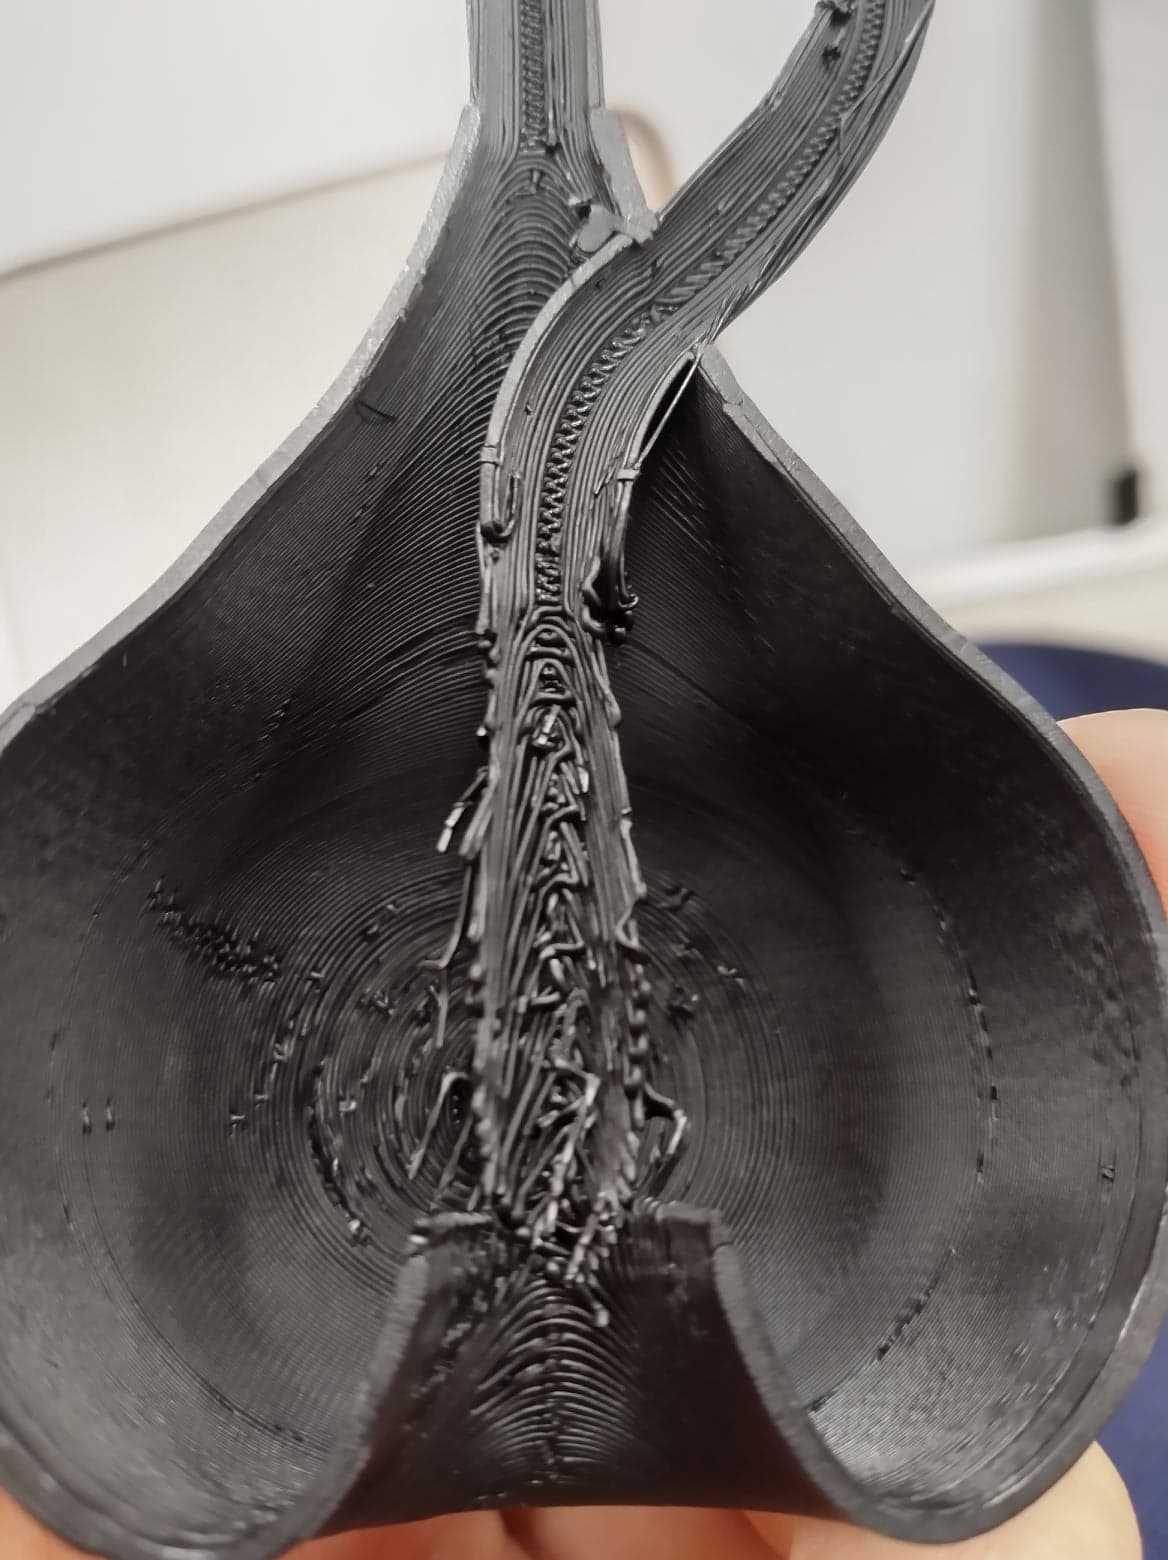
The filament was not as transparent as I expected, but when the inside can be clearly seen with a flashlight.

Scanning
First attempt
I tried to scan some christmas decorations using the MakerBot Digitizer in the Lab.
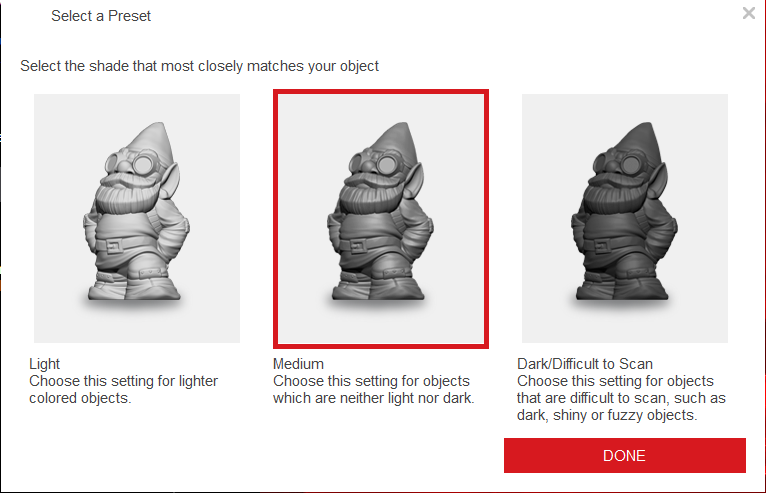
The first step is to open MakerWre for Digitizer. The live image of whatever is in the spinning table will be shown, the setup is very simple as really all that has tobe done is tell the program the approximate shade of the object. (In a black and white scale).
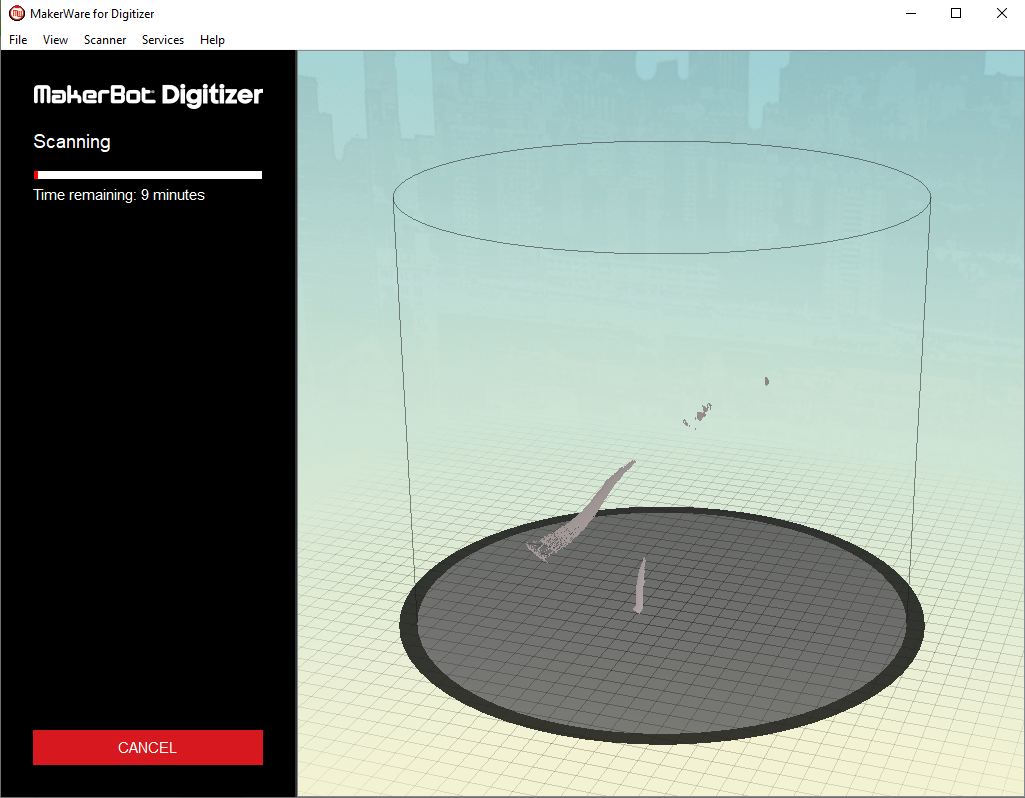
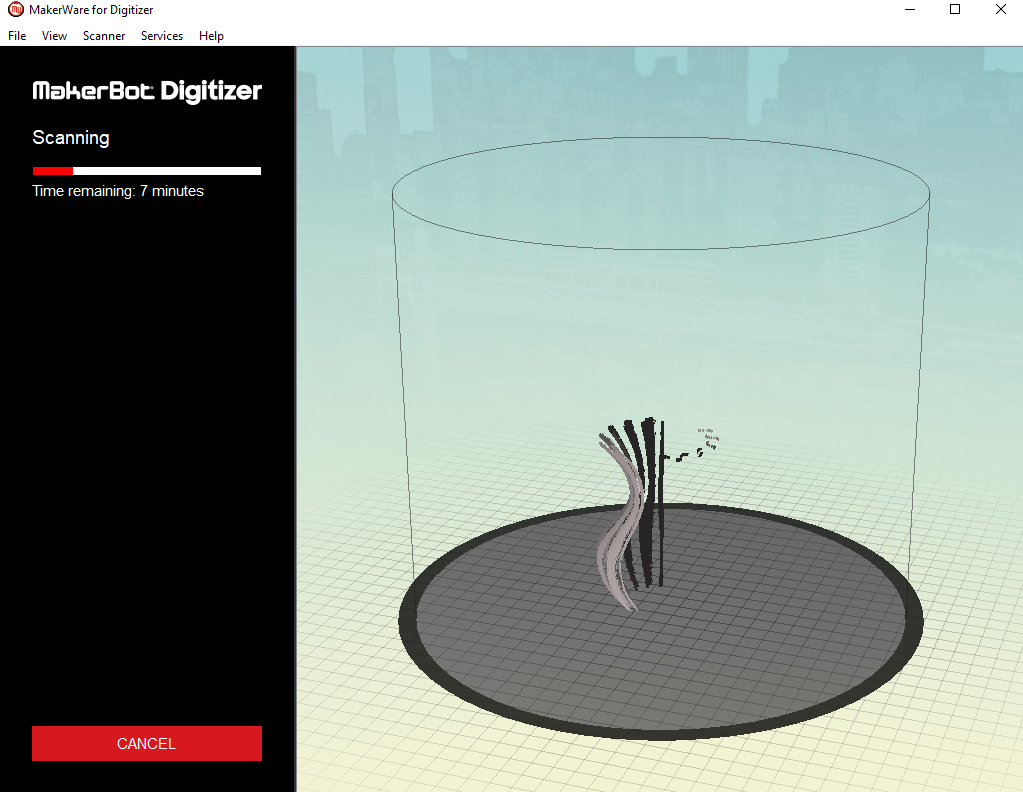
Using START SCAN, the object will be, well, scanned. This process will take a couple minutes, and the areas alreadyscanned will slowly pop up in the program interface.
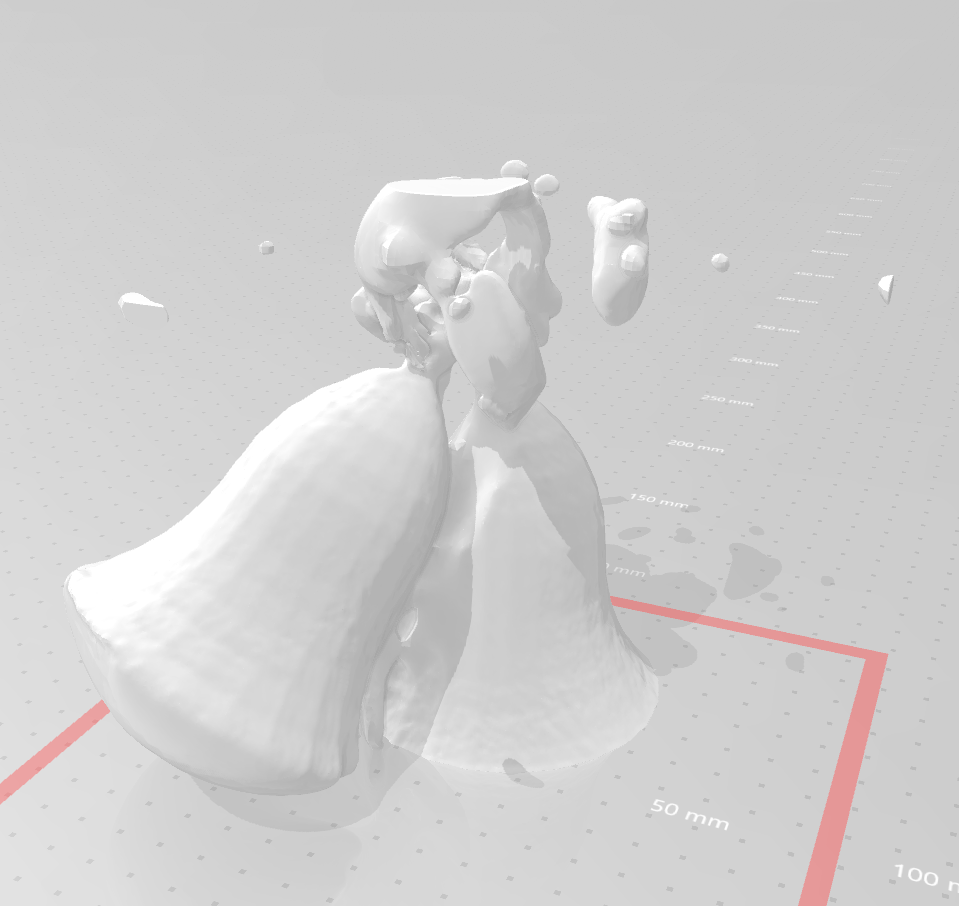
This is the result, as you can see the ribbon on top was very awfully scanned bcause it was made of a refletive material and it was also wiggling each time the rotary table spinned.
Second attempt
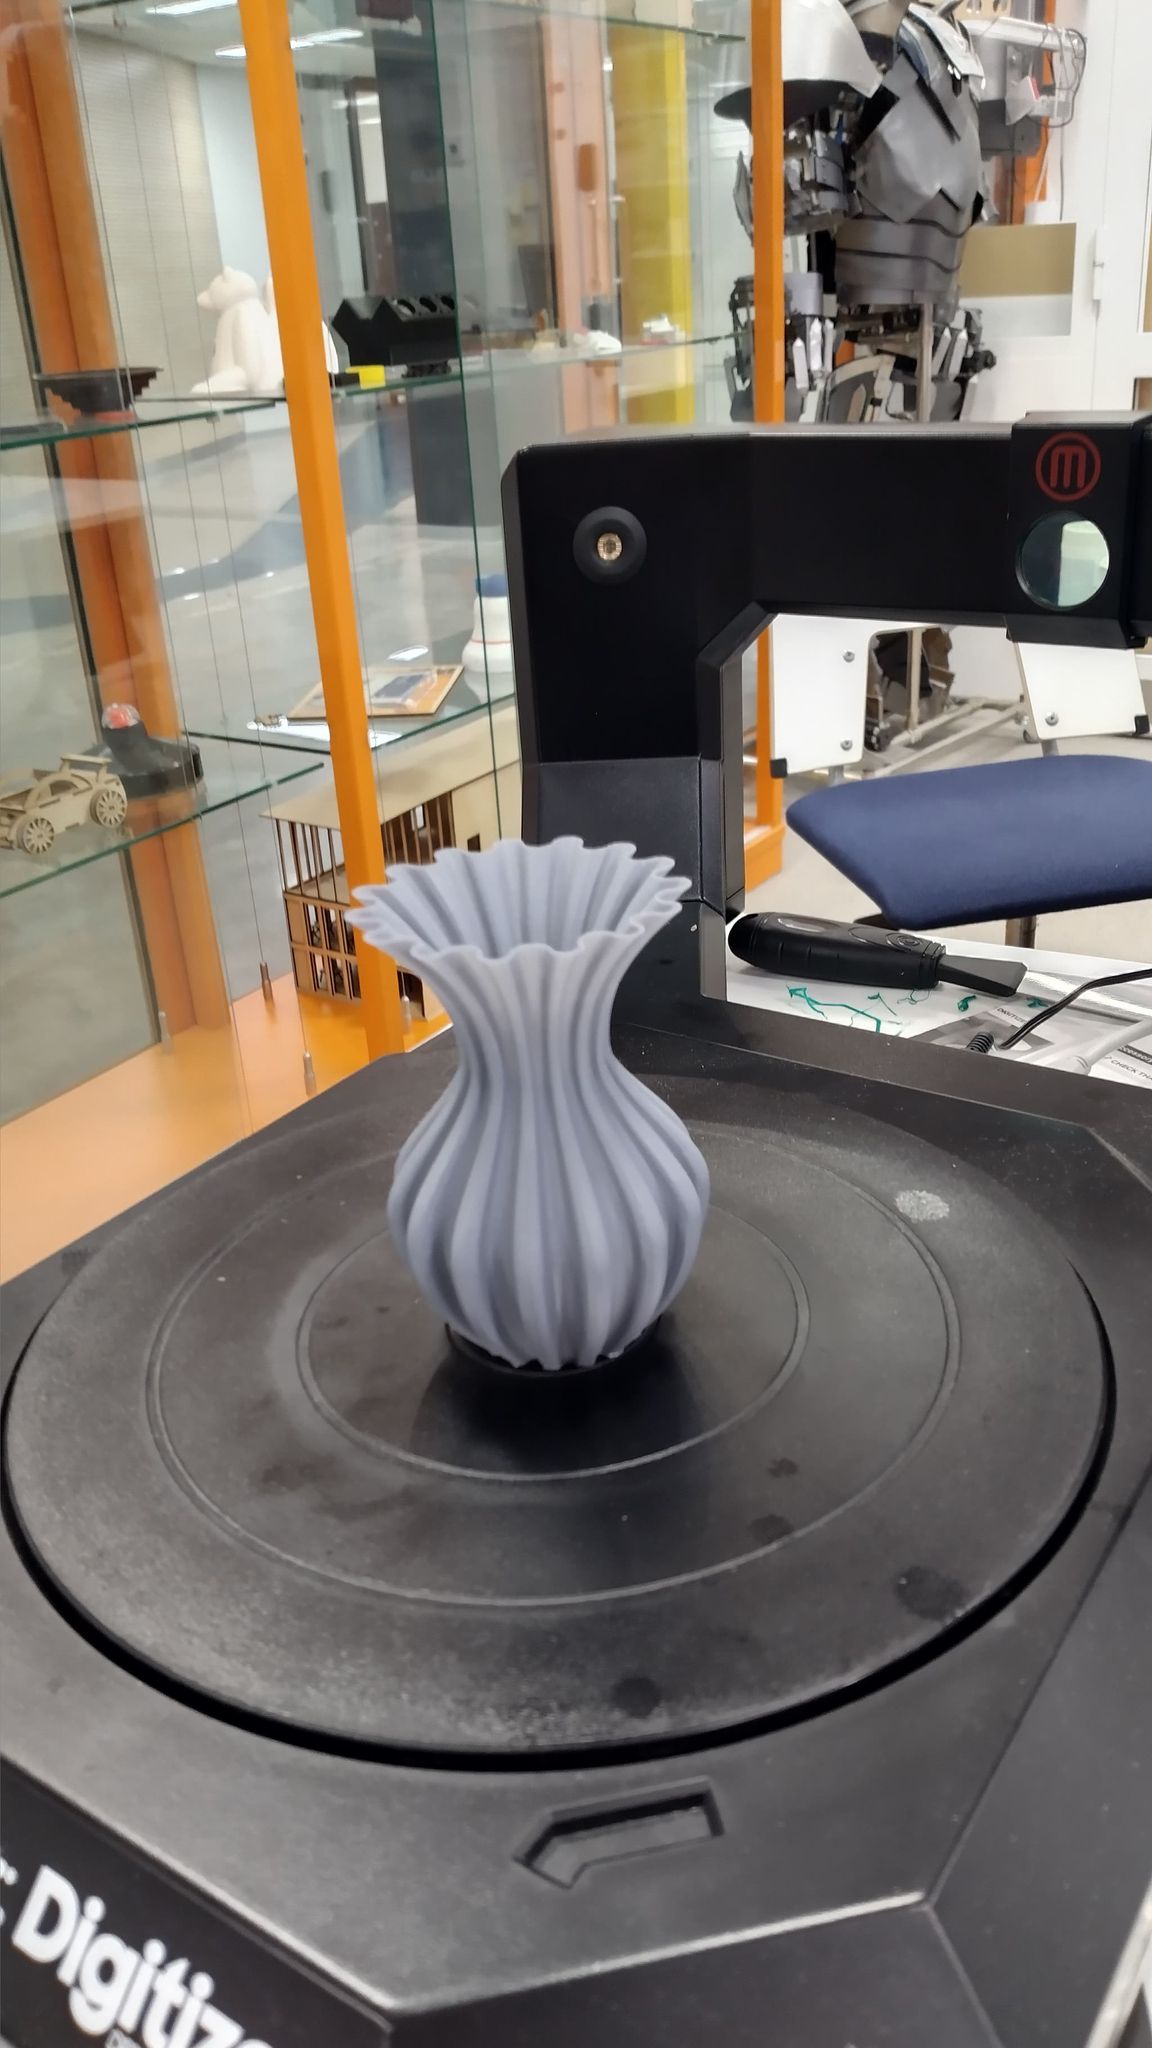
Now I chose a more solid-looking object, which was a flower pot with a rather simple shape.
I started the progam again:
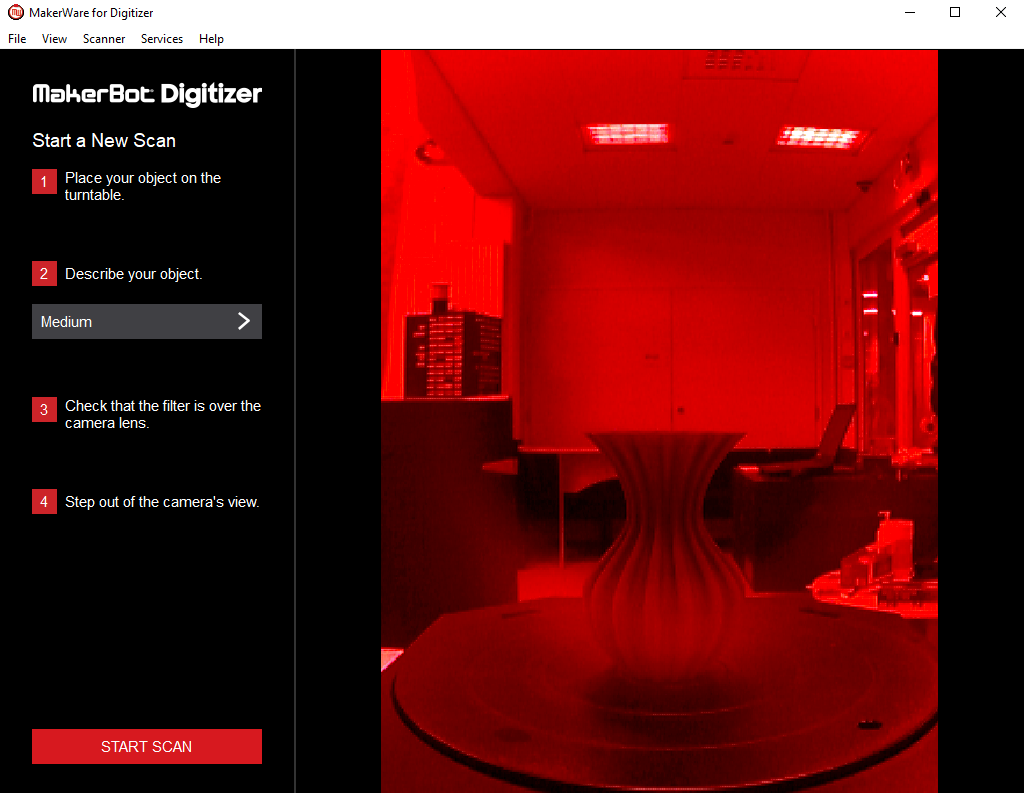
Using the medium shade option and procedeed to scan the object.
This time the object looked much better.
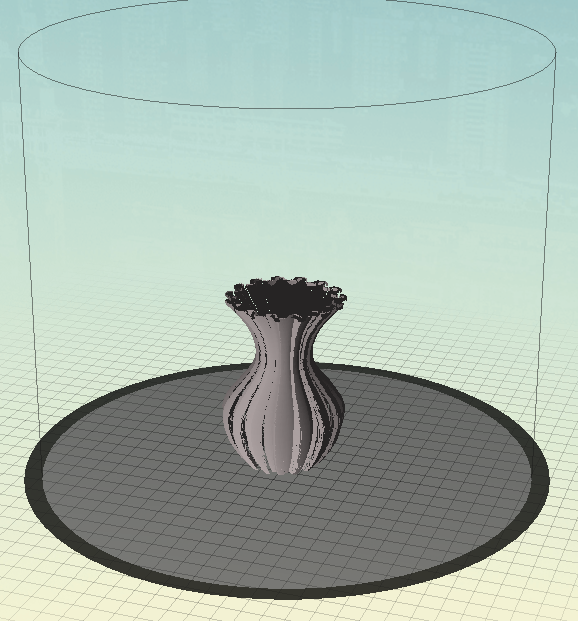
And this is the final result, which actually surprised me.