9. Embedded programming
This week I learnt to program the board I made two weeks ago (it uses an attiny412), using the UPDI programmer from Week 05.
Flashing bootloader
As wikipedia describes it:
A bootloader, also spelled as boot loaderor called boot manager and bootstrap loader, is a computer program that is responsible for booting a computer.
Our instructors mentioned that using the Arduino IDE was not ideal as they had some trouble before. I downloaded this binary file and flashed the bootloader in the command line using the following command:

Problems
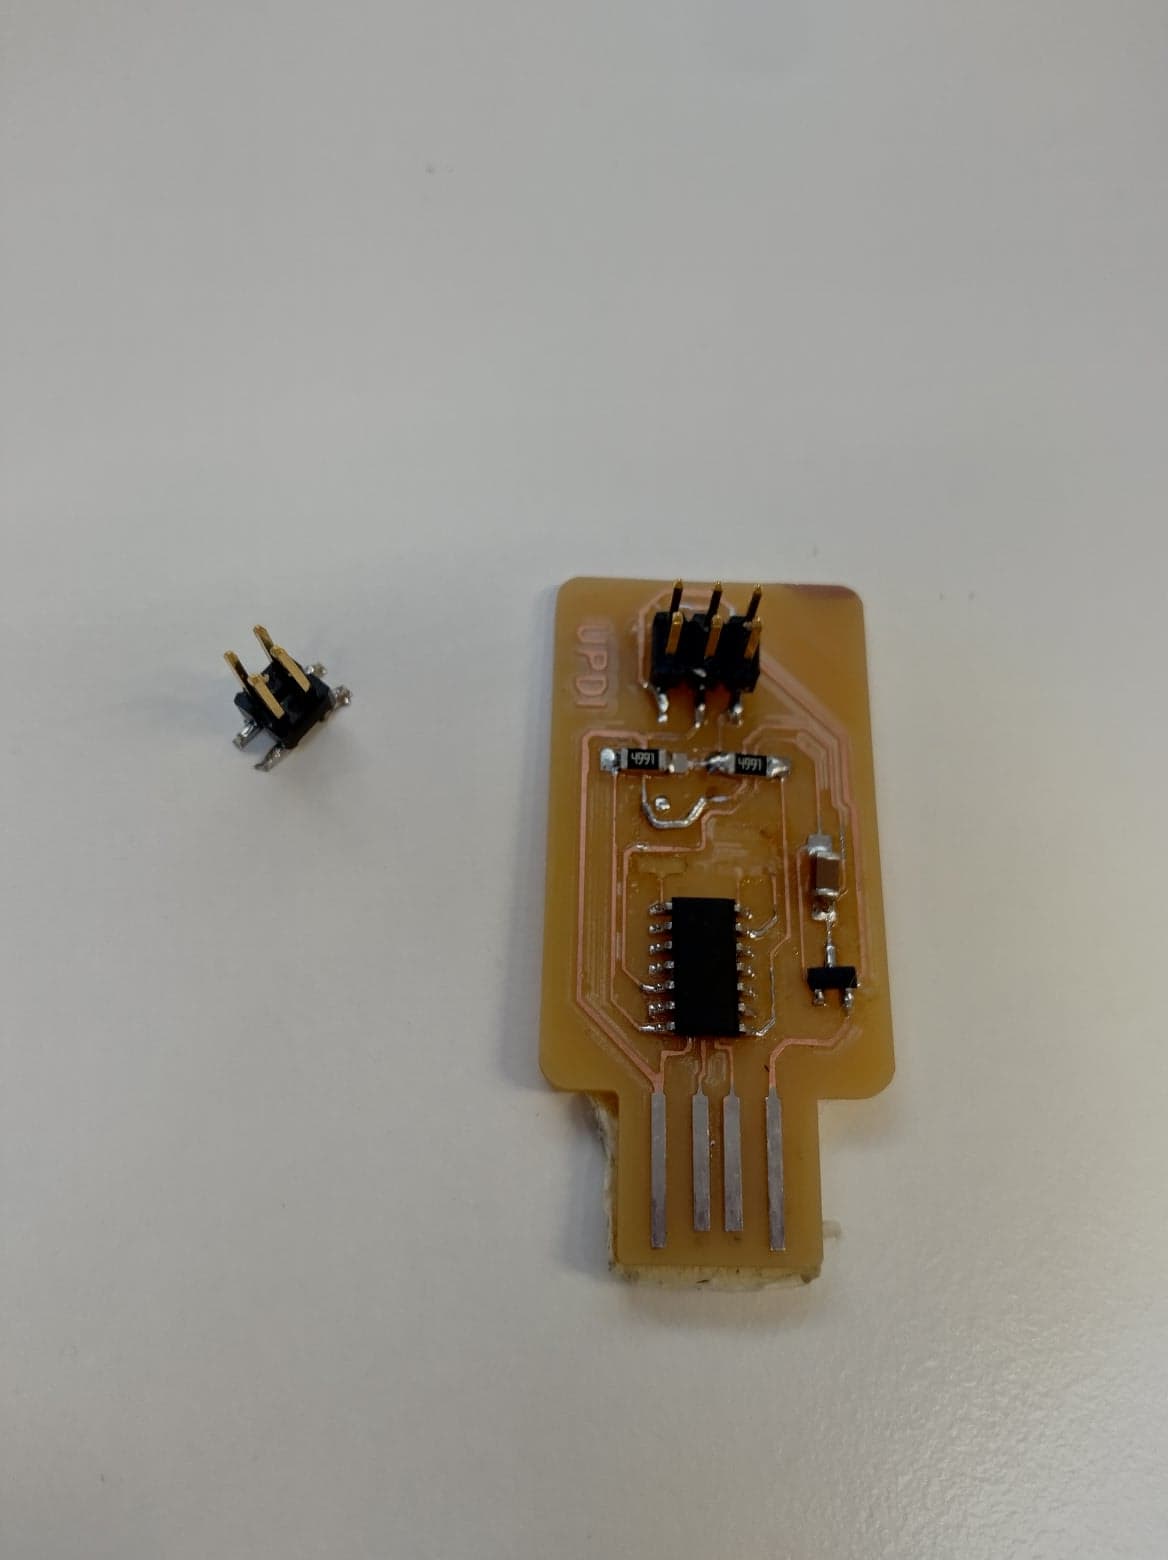
As always, something had to go wrong and in this case, my programmer broke, but it was quickly fixed by one of our instructors. Luckily, it was already programmed.
Loading firmware
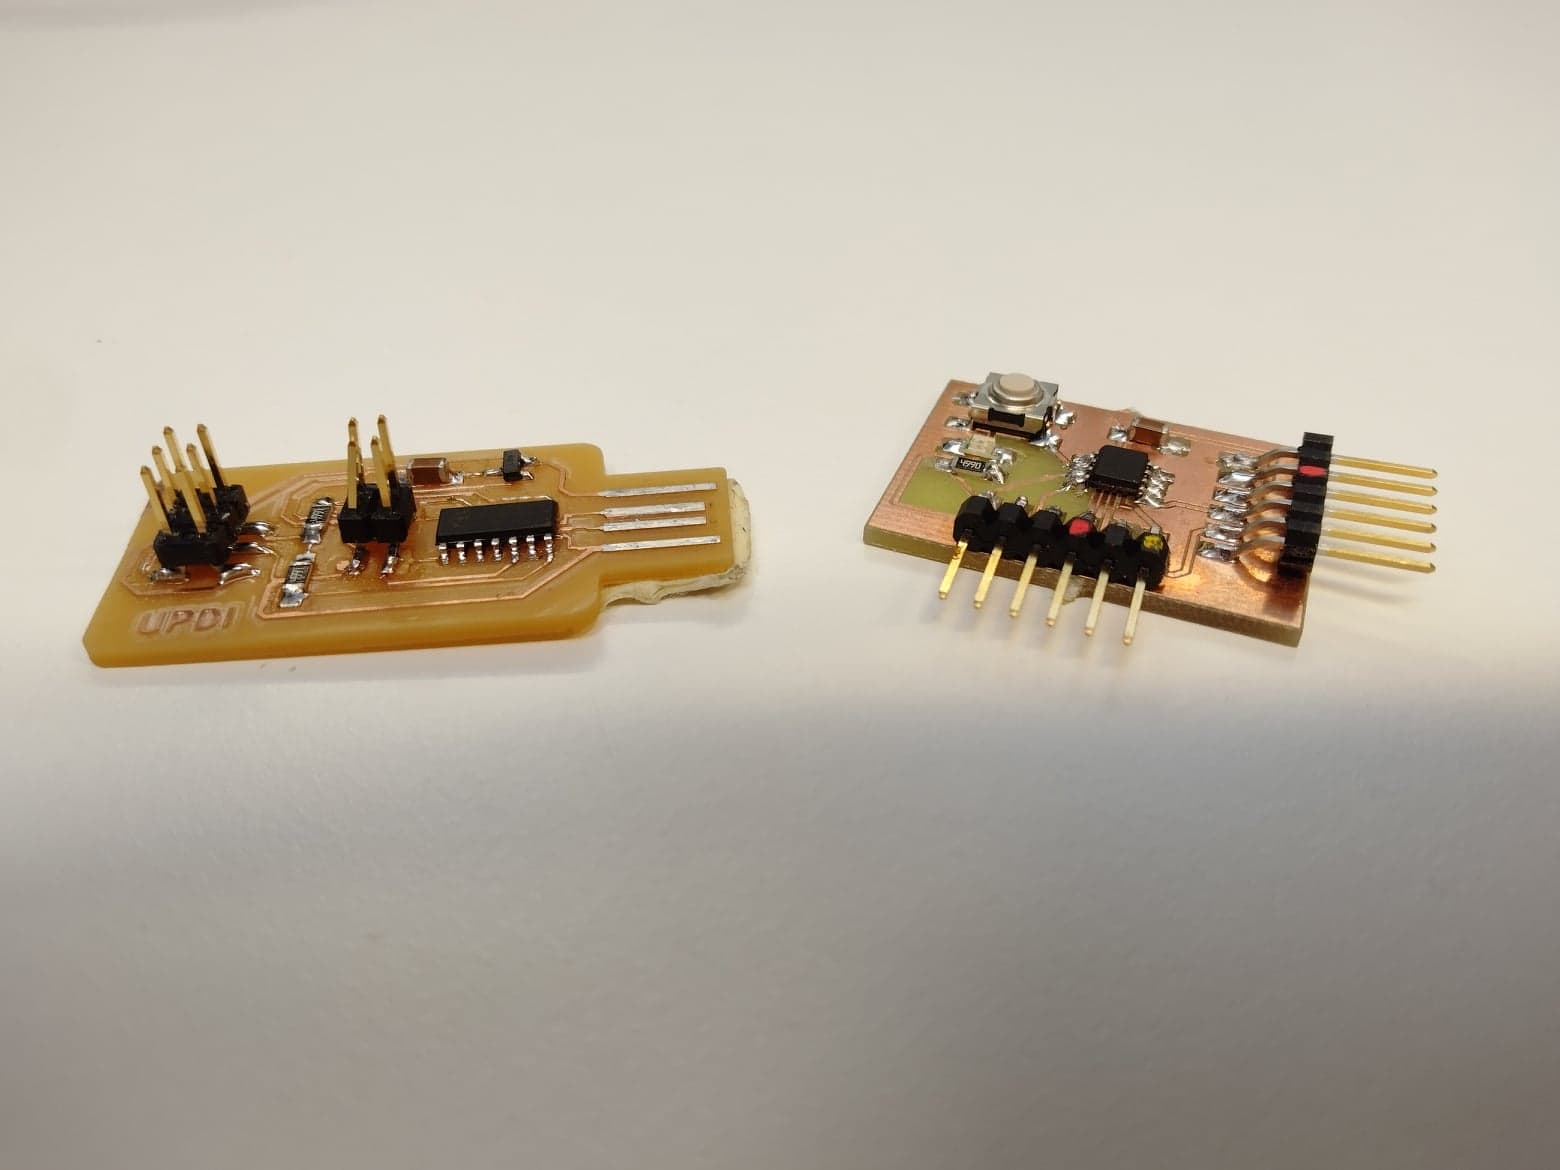
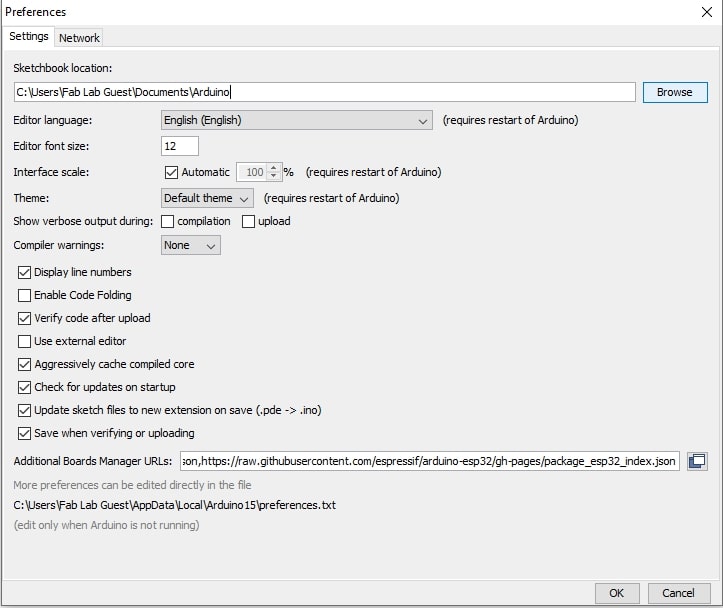
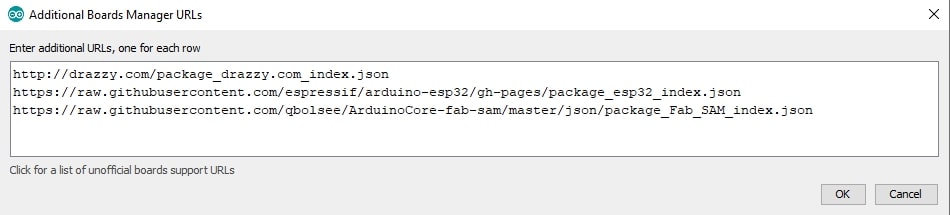
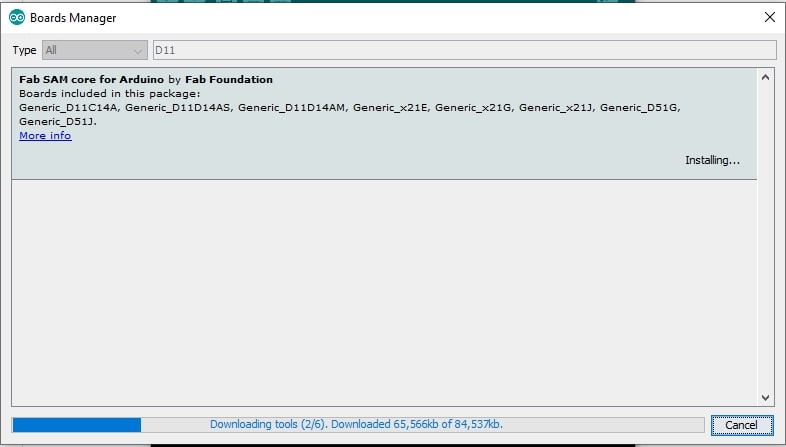
Now that the programmer knows how to stay alive, I had to upload the firmware necessary for it to be able to communicate with other boards. In order for the computer to recognize the programmer I had to install the Arduino Core for SAMD. This can be done by adding this link to the Additional Boards Manager of the arduino IDE.
I installed it and then I selected the appropiate board and serial configuration in the tools tab. I uploaded this sketch just as I would do with any other .ino program.
Porgramming with the programmer
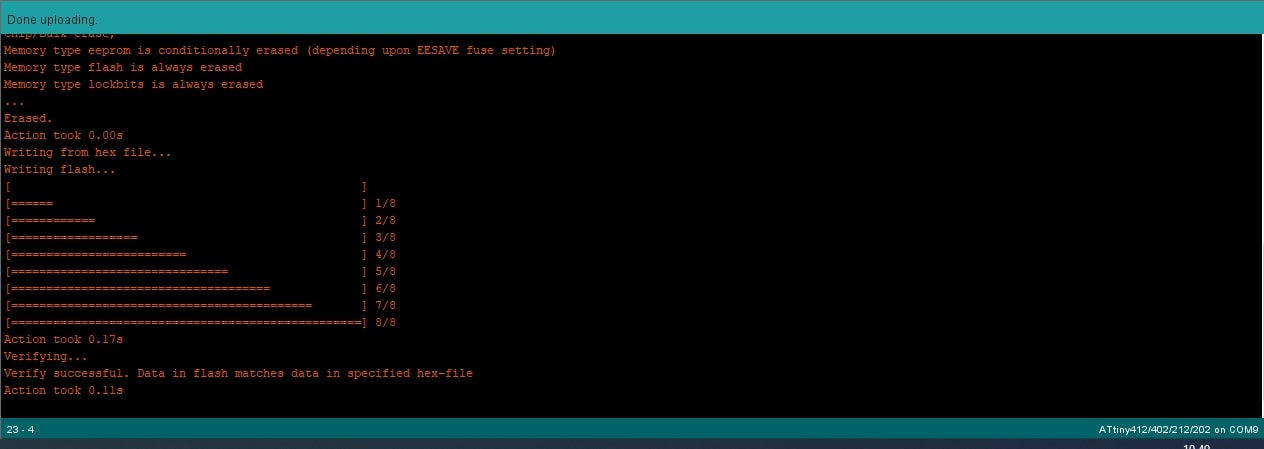
If everything has been done correctly, we whould now be able to program microcontrollers using this programmer. I my case I used the board I made in week 7, it uses an Attiny412 microcontroller.

In order for Arduino IDE to recognize the board, I first had to add another link to the boards manager section as I did before, but now using this link, and selecting the attiny412 board.
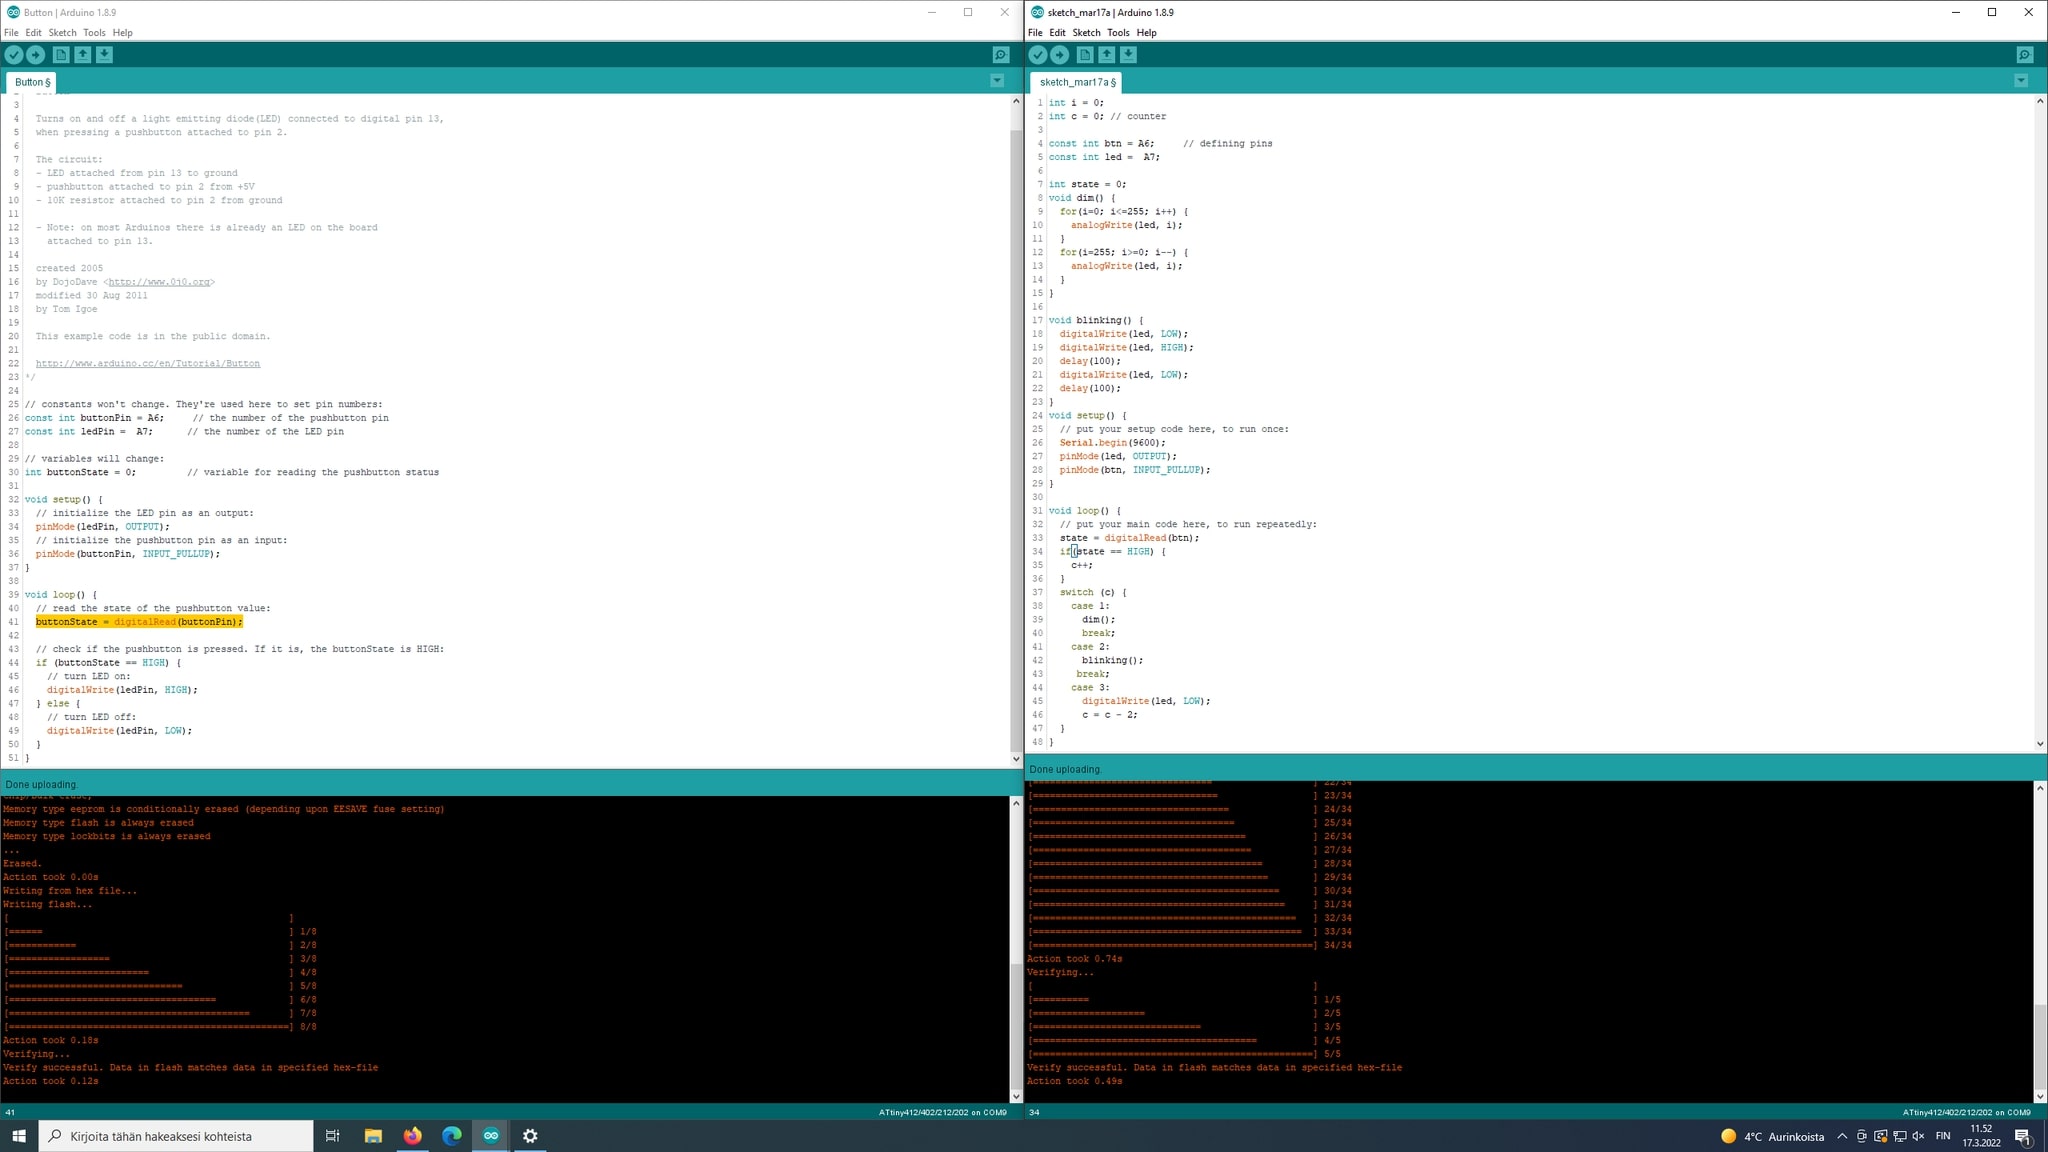
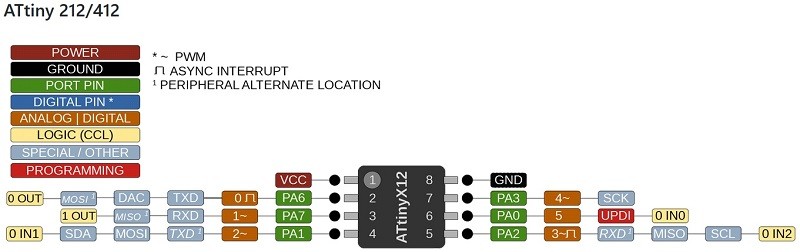
I first tried with one of the templates from Arduino IDE, and then mine, which made the integrated LED blink depending on how many times you click the button. The only real confusing thing here is to find the correct pin to use.
// Maximiliano Garcia Hinojosa      03.2022
int i = 0;
int c = 0; // counter

const int btn = A6;     // defining pins
const int led =  A7;

int state = 0;
void dim() {
  for(i=0; i<=255; i++) {
    analogWrite(led, i);
  }
  for(i=255; i>=0; i--) {
    analogWrite(led, i);
  }
}

void blinking() {
  digitalWrite(led, LOW);
  digitalWrite(led, HIGH);
  delay(100);
  digitalWrite(led, LOW);
  delay(100);
}
void setup() {
  // put your setup code here, to run once:
  Serial.begin(9600);
  pinMode(led, OUTPUT);
  pinMode(btn, INPUT_PULLUP);
}

void loop() {
  // put your main code here, to run repeatedly:
  state = digitalRead(btn);
  if(state == HIGH) {
    c++;
  }
  switch (c) {
    case 1:
      dim();
      break;
    case 2:
      blinking();
     break;
    case 3:
      digitalWrite(led, LOW);
      c = c - 2;
  }
}