10. Molding and casting
This week I learnt to make molds using different materials, and to cast objects using them.
Design
Much like last week, I had to choose and object that could be fabricated using a CNC machine, although in this case I had to design the mold, for the mold. You can see some example in the Group assignment page.
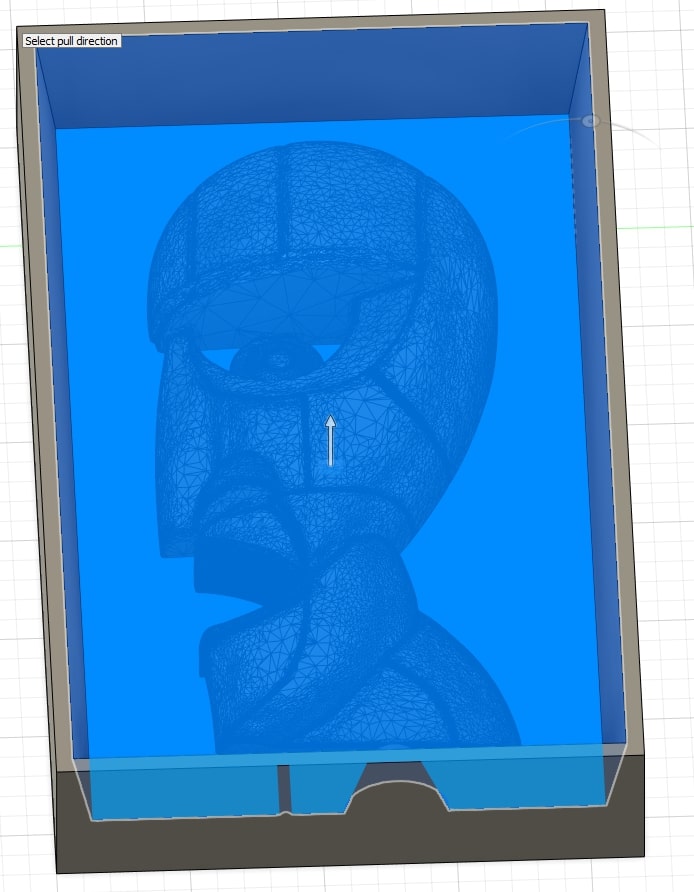
The design was to be milled in a block of wax approximately 3cm thick. I chose to make a mold for the two heads in The Division Bell almub from Pink Floyd.

I found a very good design in thingiverse. As it is a .stl file, I had to import it into Fusion 360 as a Mesh.
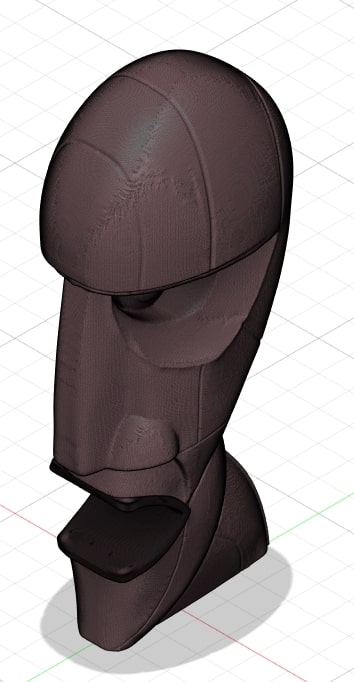
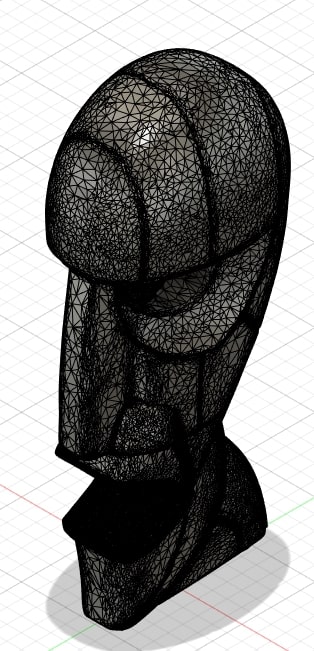
The design was veeery detailed and contained thousands of triangles.

Working with it was going to be a nightmare, so I decided to reduce the number of triangles in the design.
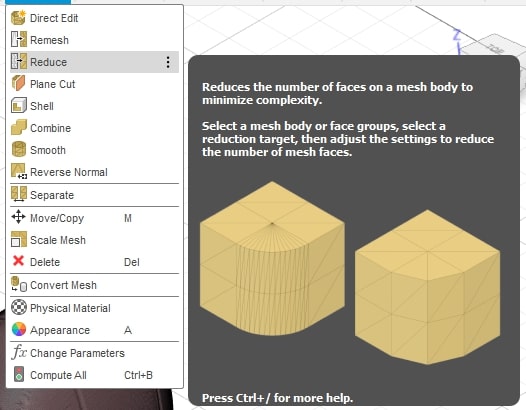
As you can see the number of triangles decreased quite a lot, and so the time Fusion took to make calculations.

Even after simplyfying it, this was a common sight.

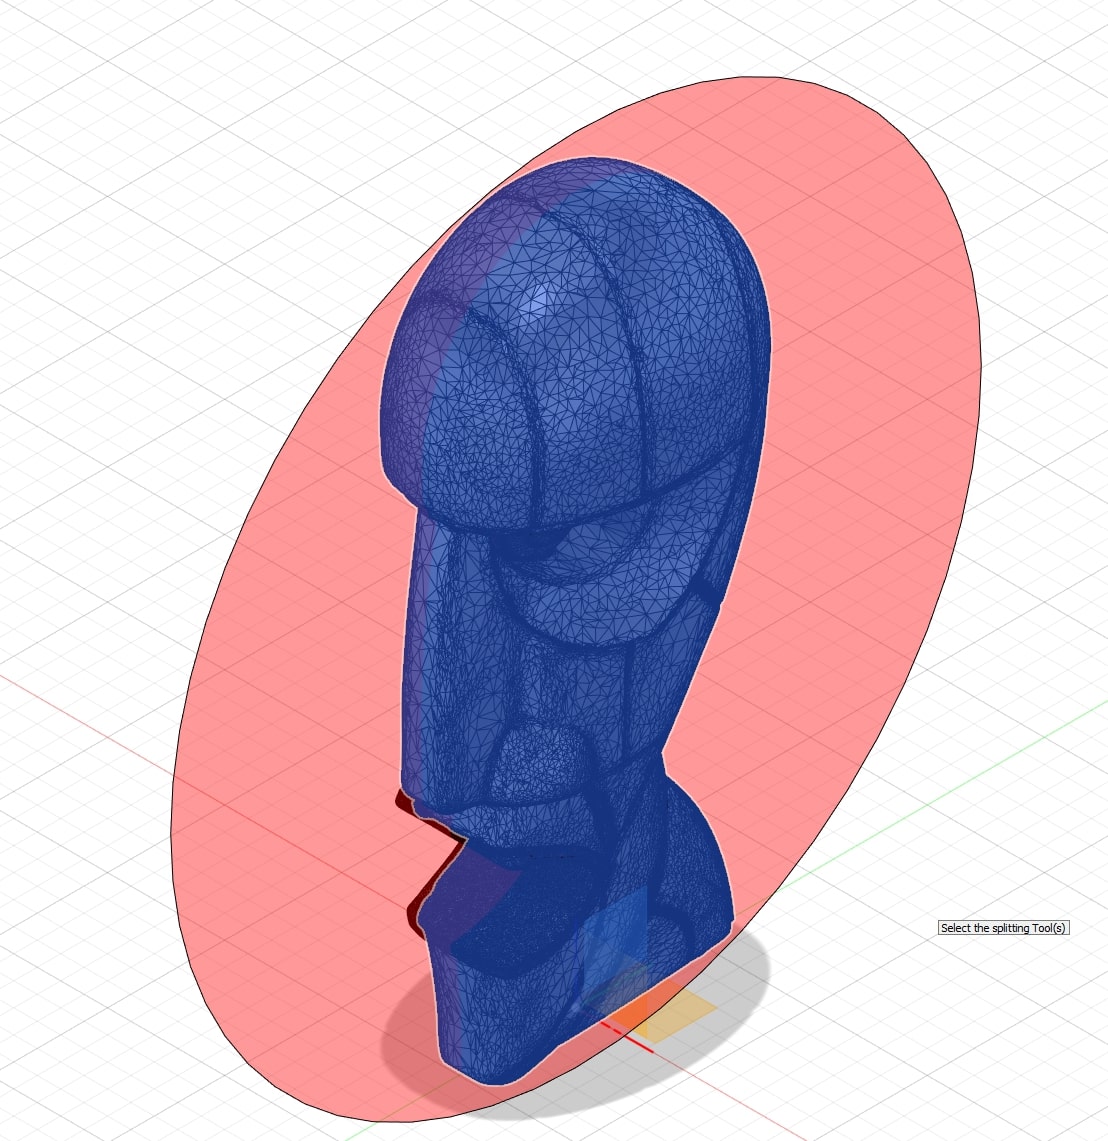
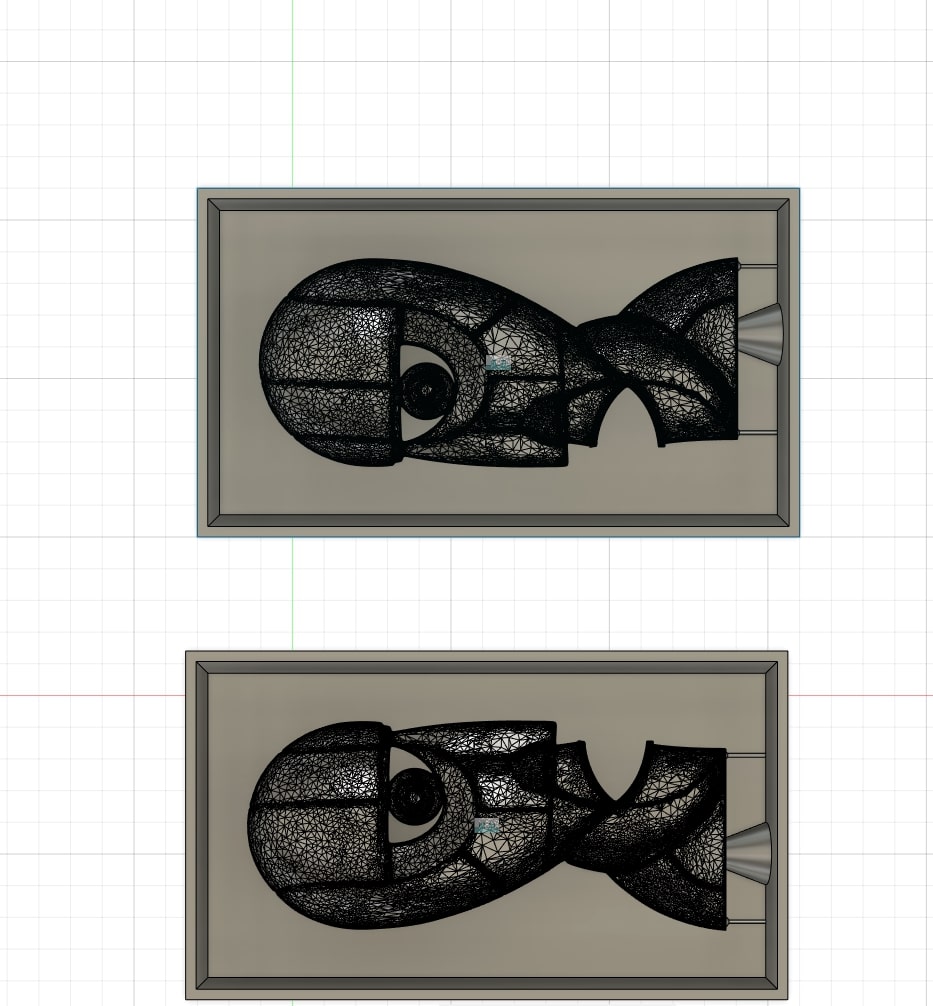
Once done, I converted the mesh into a body, which looked rather ugly, but at least with enough detail.
I sliced it into half to make a mold out of each side.
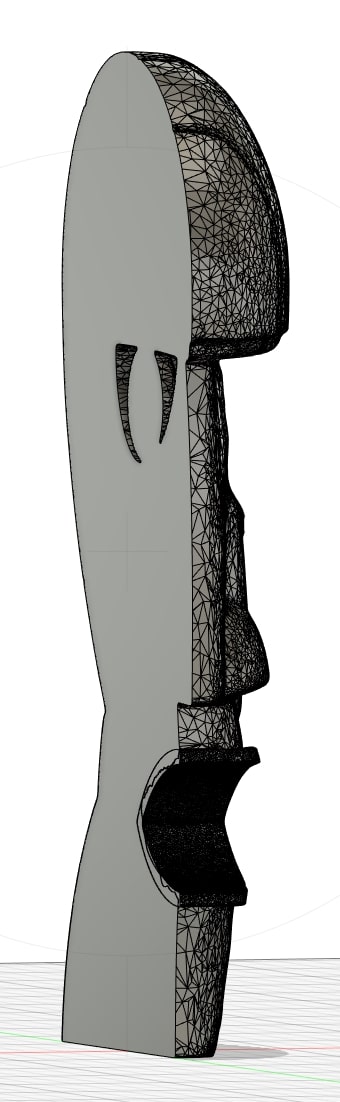
I placed it on a box with the approximate dimension of the block of wax. I placed it using the simple joint tool.
I extruded the walls 30mm and gave them a slope of 10 degrees.
Then I added one cone and two cylinders at the base of the head, this is so liquid can be poured into the mold and any aur may escape from it. I mirrored and attached the head using the joint command as before.
Then I added two rectangles to each side. I extruded the first one into the base and the second one from te base.
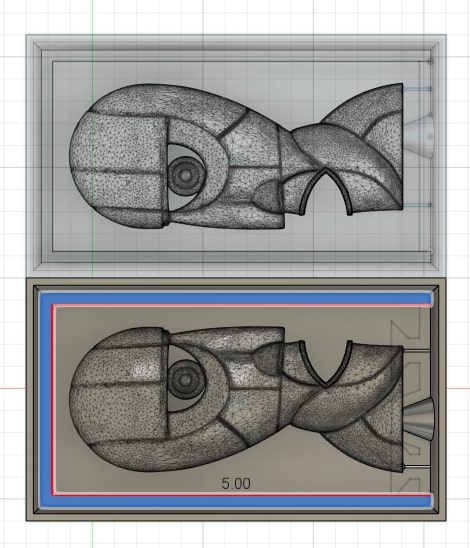
Then I exported each component separately as .stl files.
Fabrication
Creating the toolpath
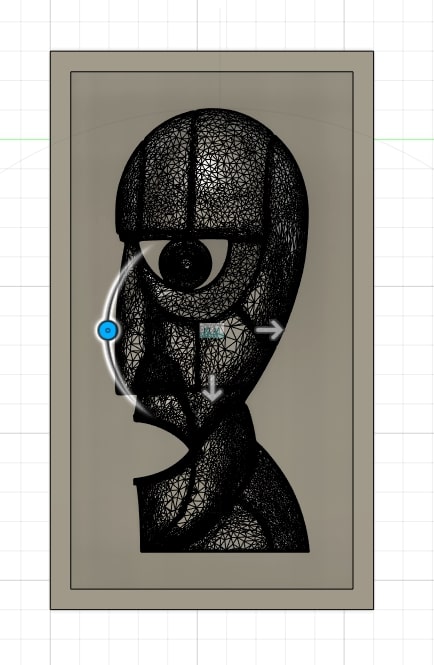
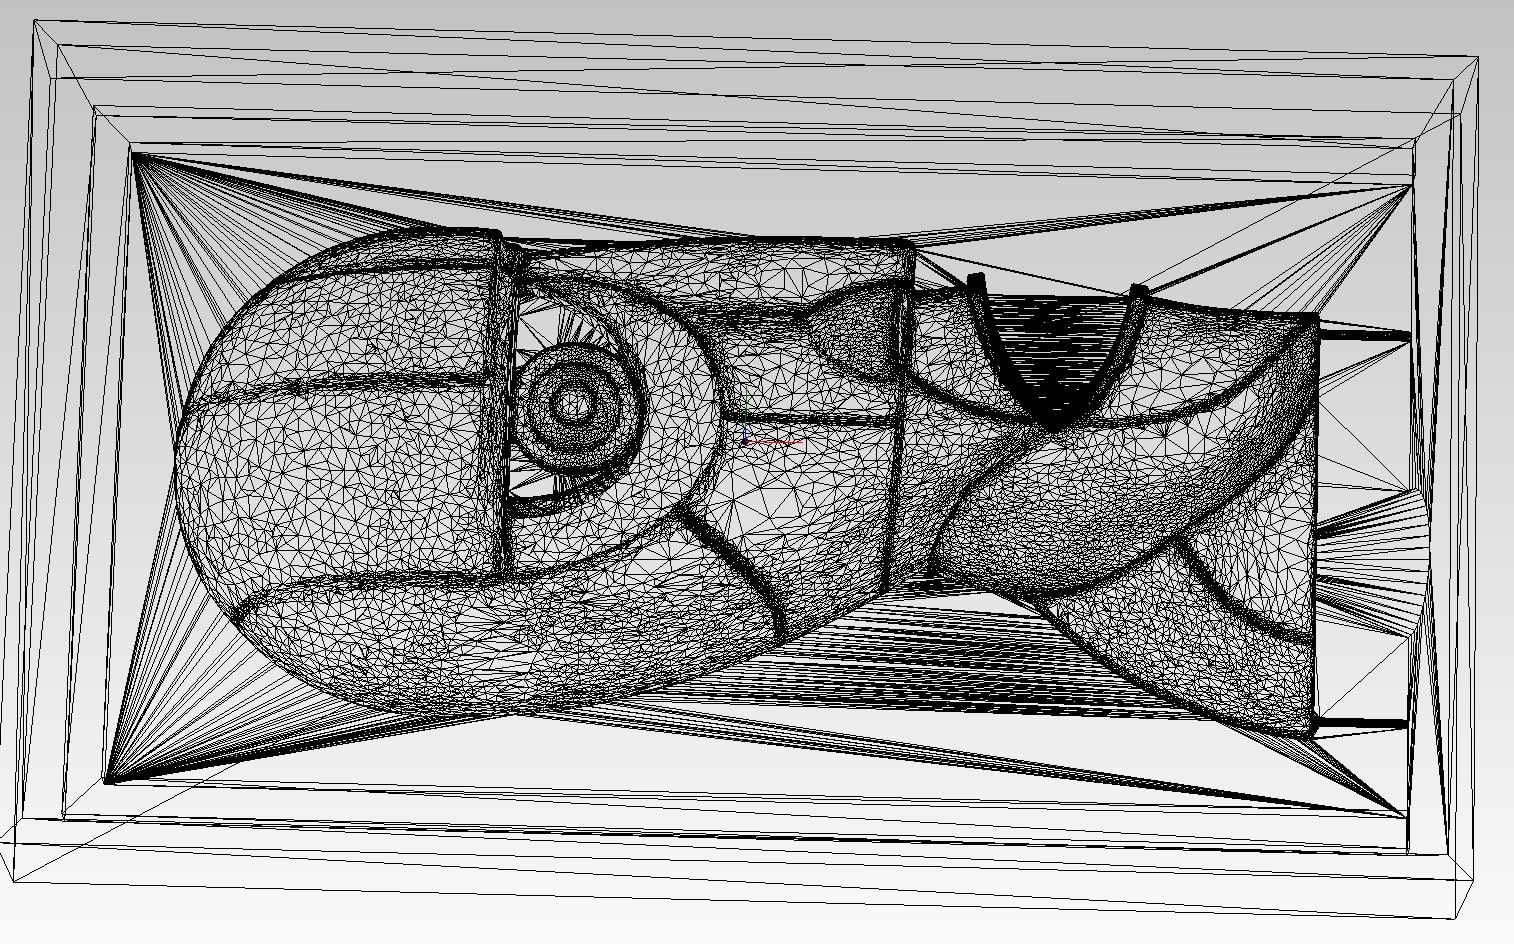
I imported the first .stl and this is how it looked like:
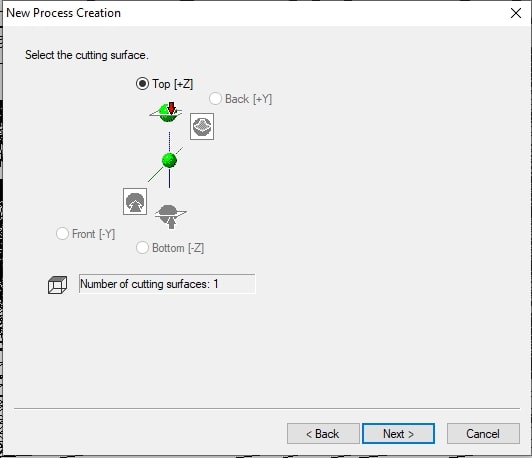
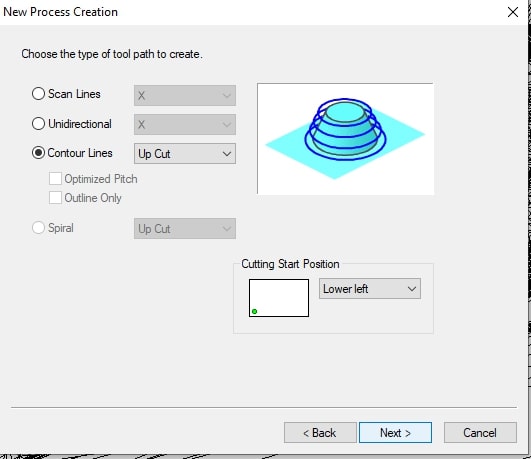
I created a new toolpath, which will dispose of most of the material.
(In the image the option roughing should be selected)
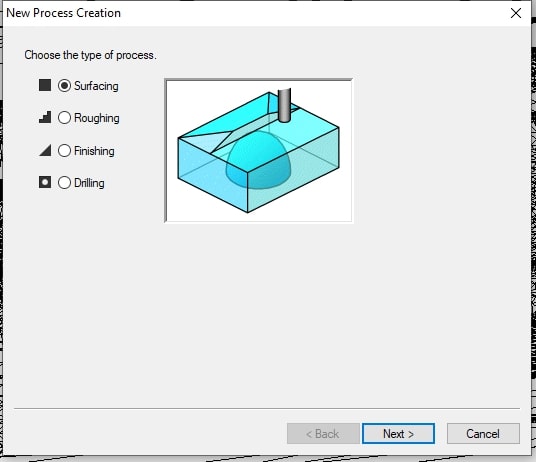
I used the default settings for most of the configuration.
Milling
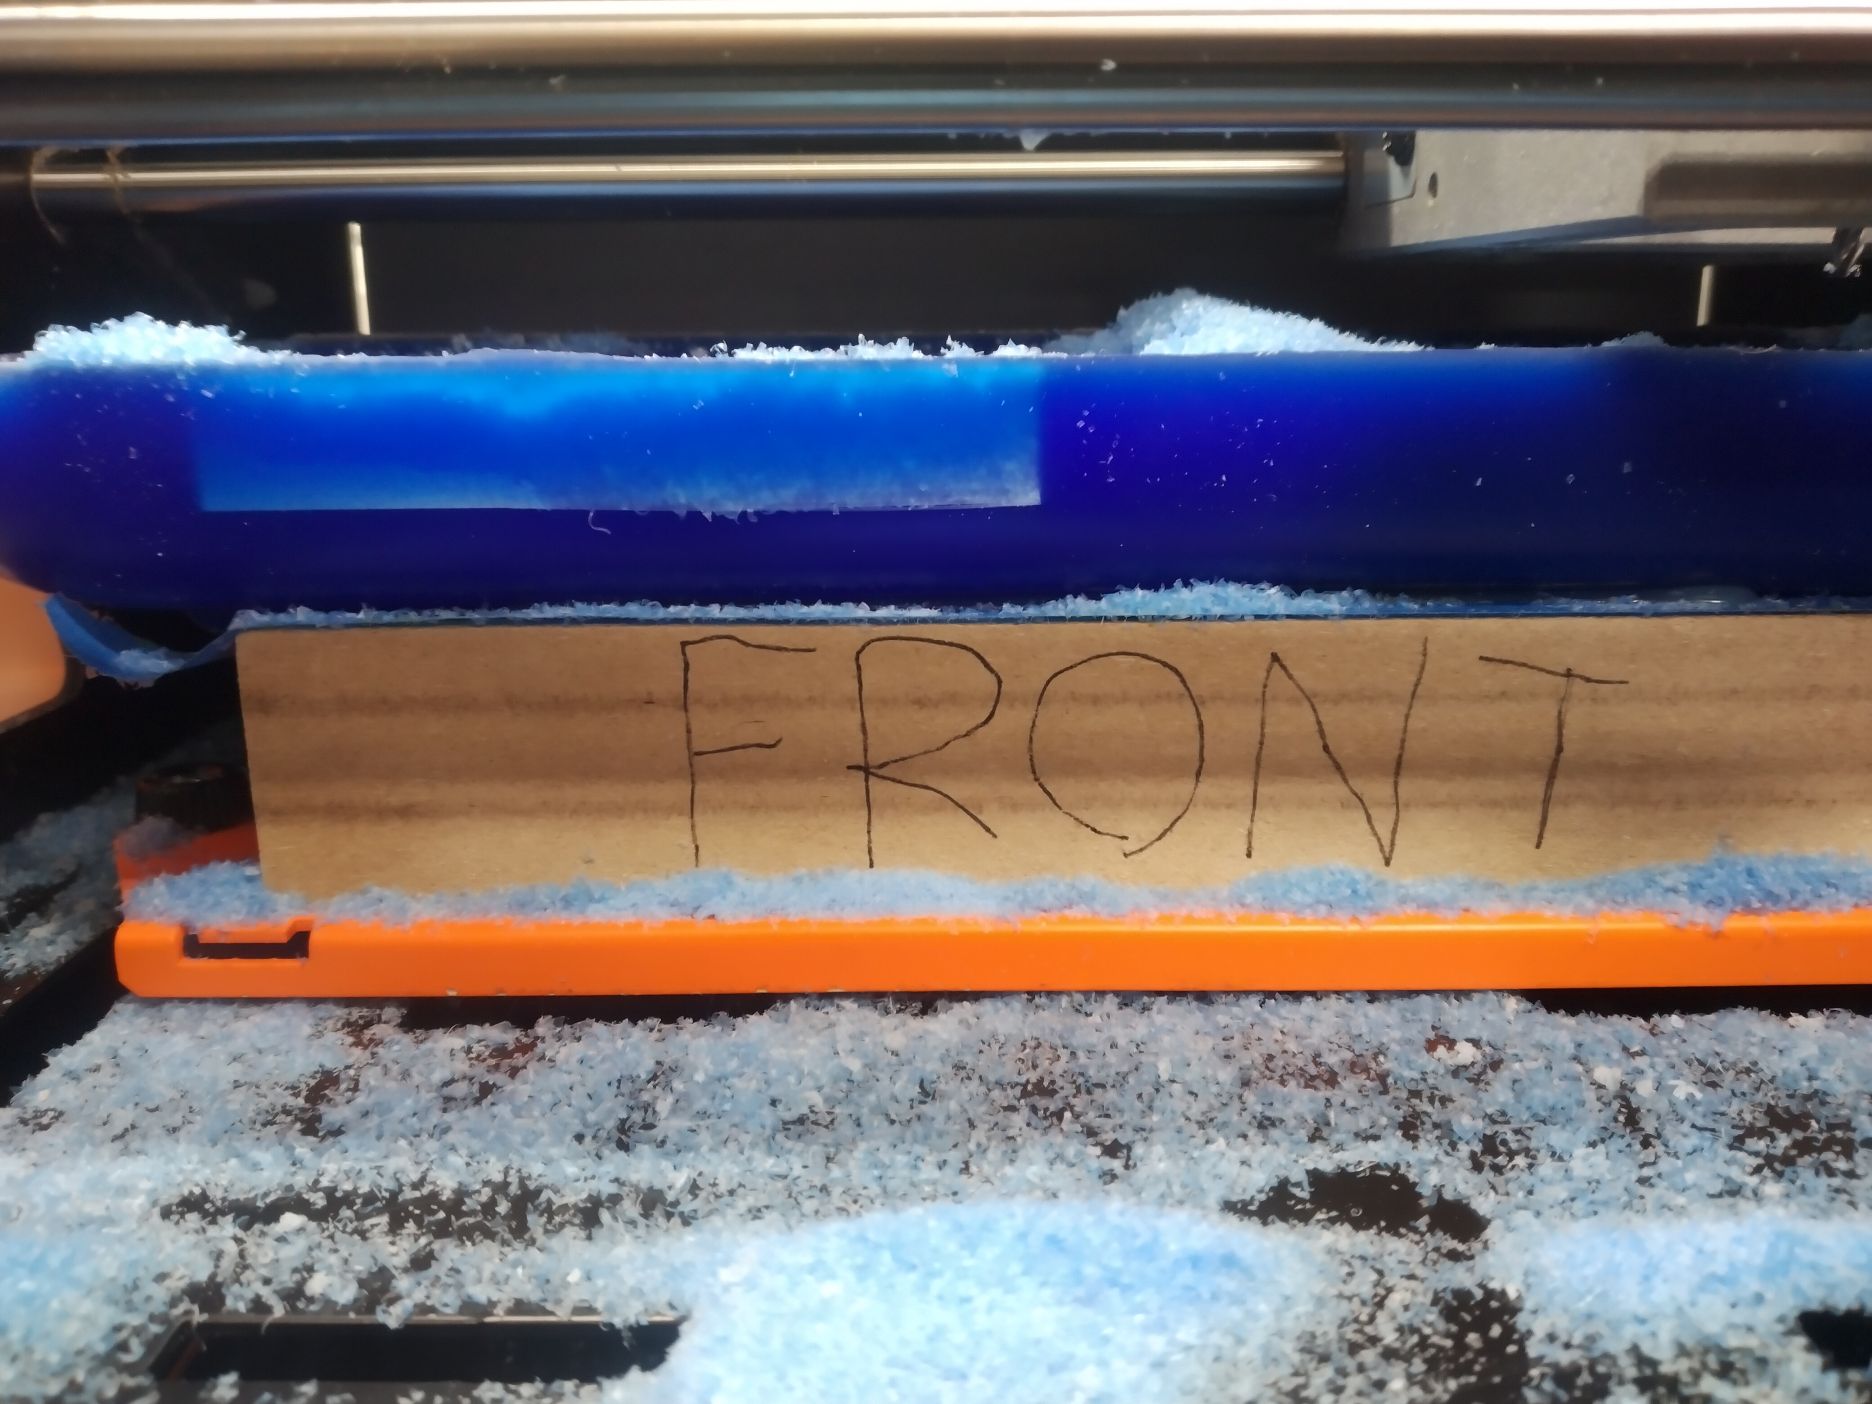
Using one of the SRM-20 machines I started the milling process, following the same steps as I did for fabricating the PCB. One problem I encoutered was the fact that I cdidn’t take into considration the inclination on the sides of the wax bloc which led to this happening:
Luckily, it didn’t represent much of a problem. I just had to set the origin of the next mold a little above.
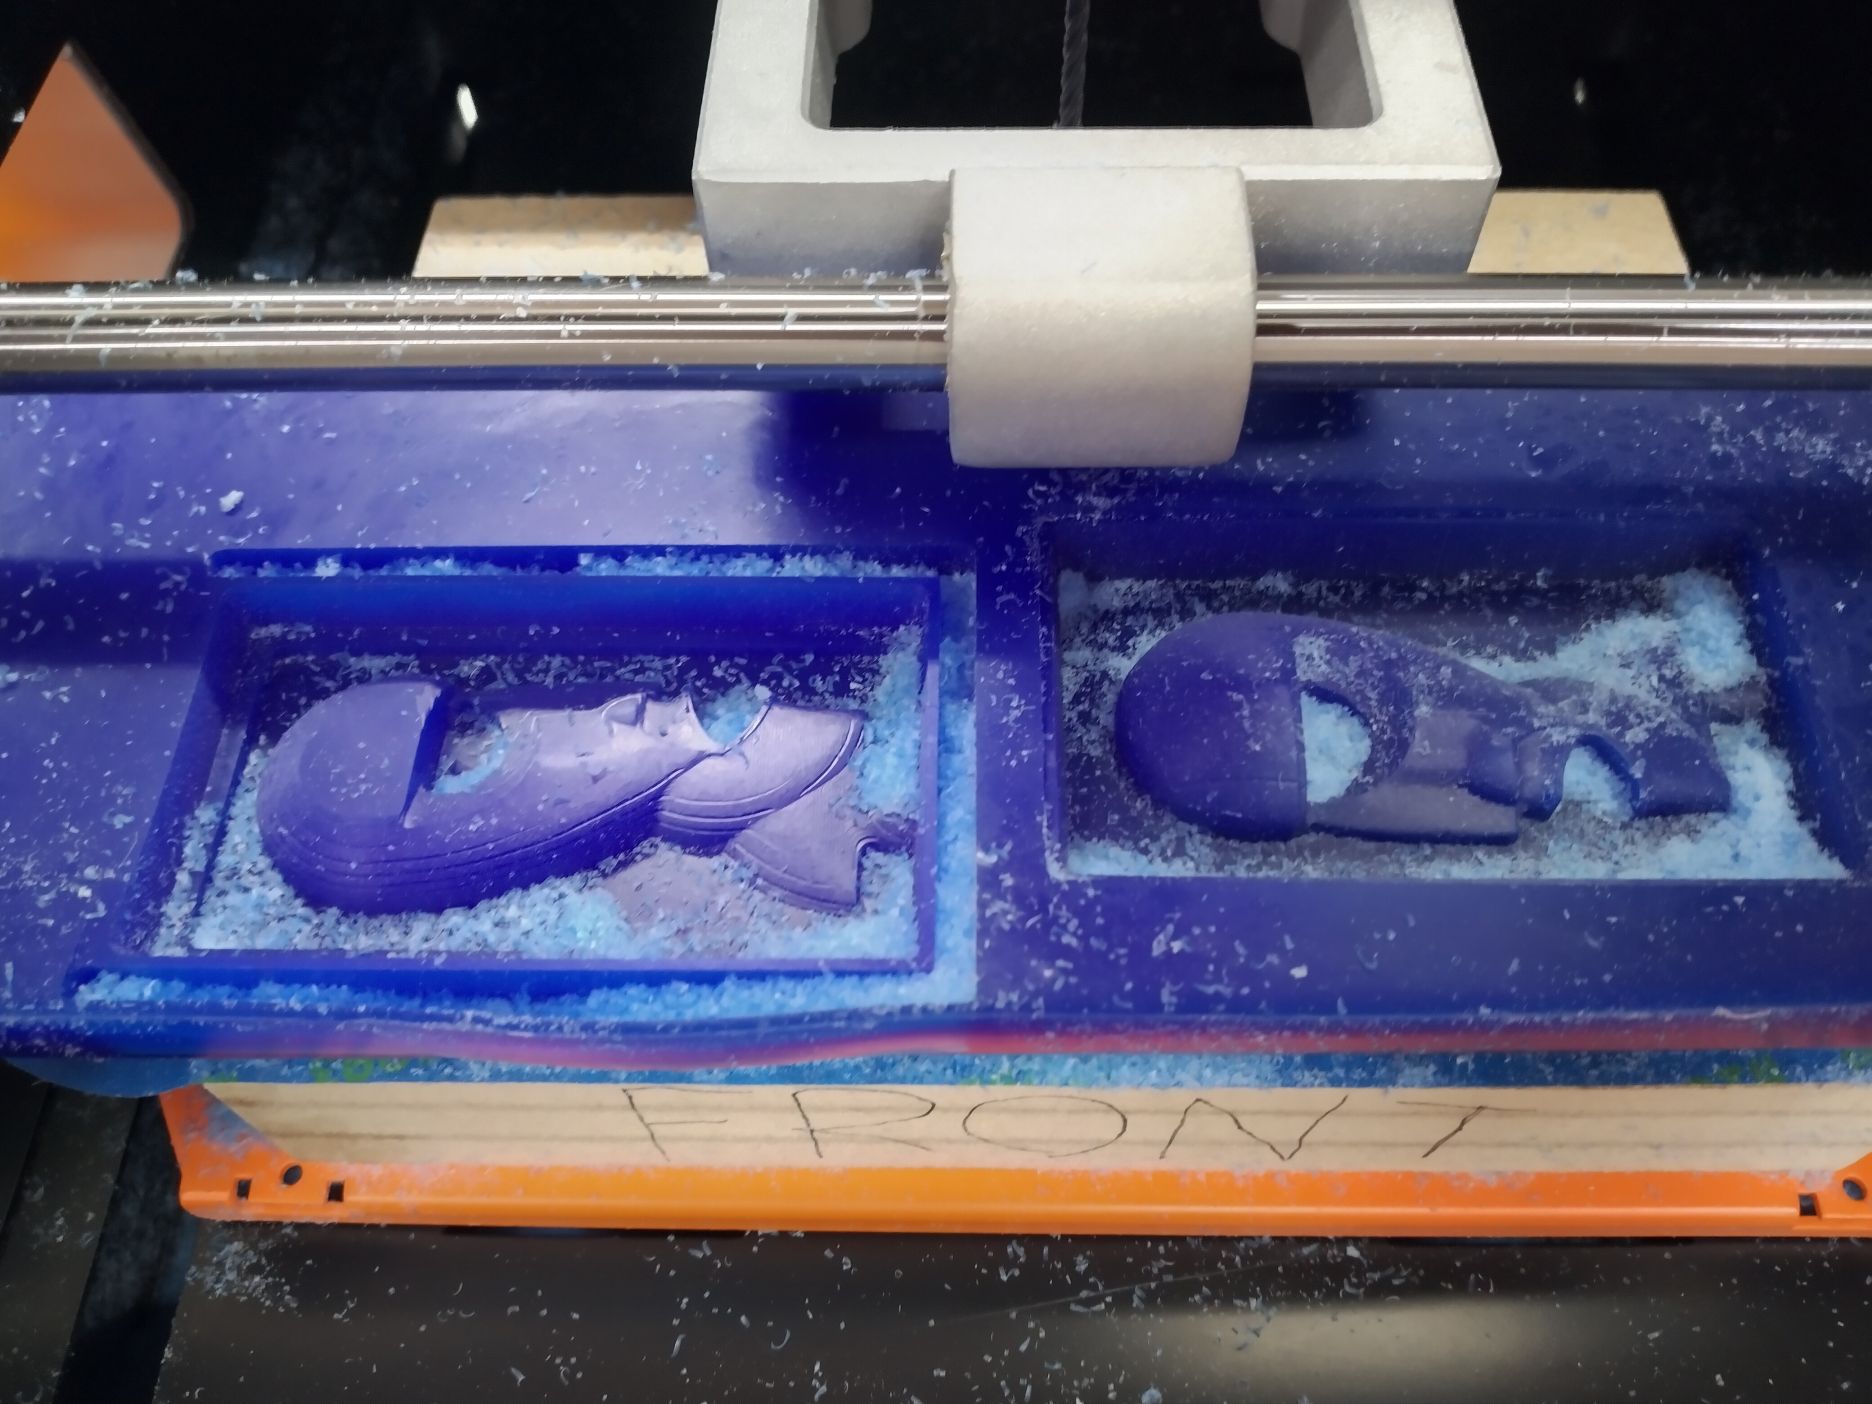
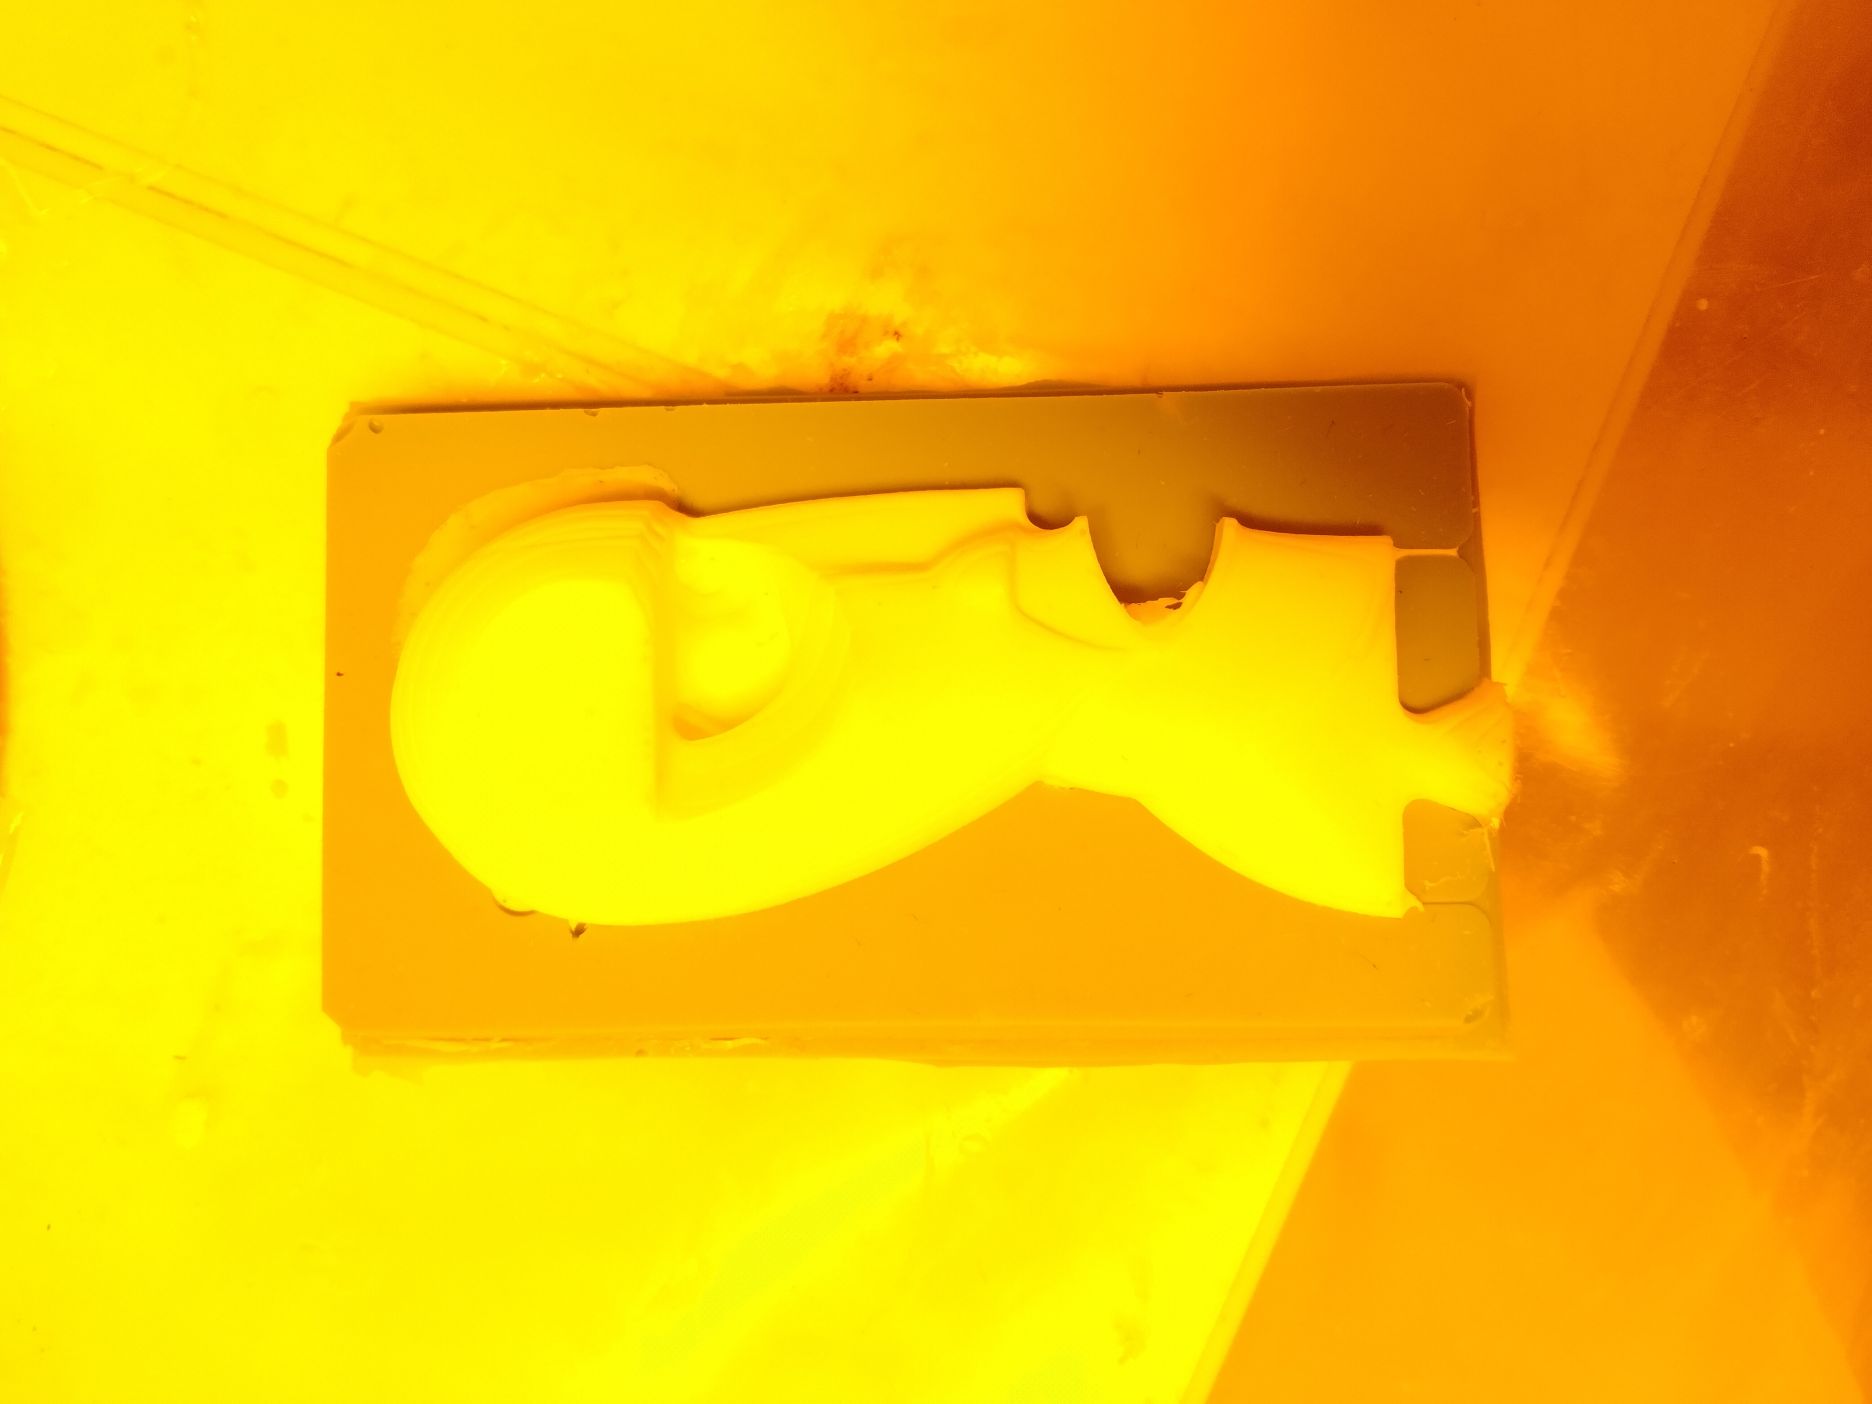
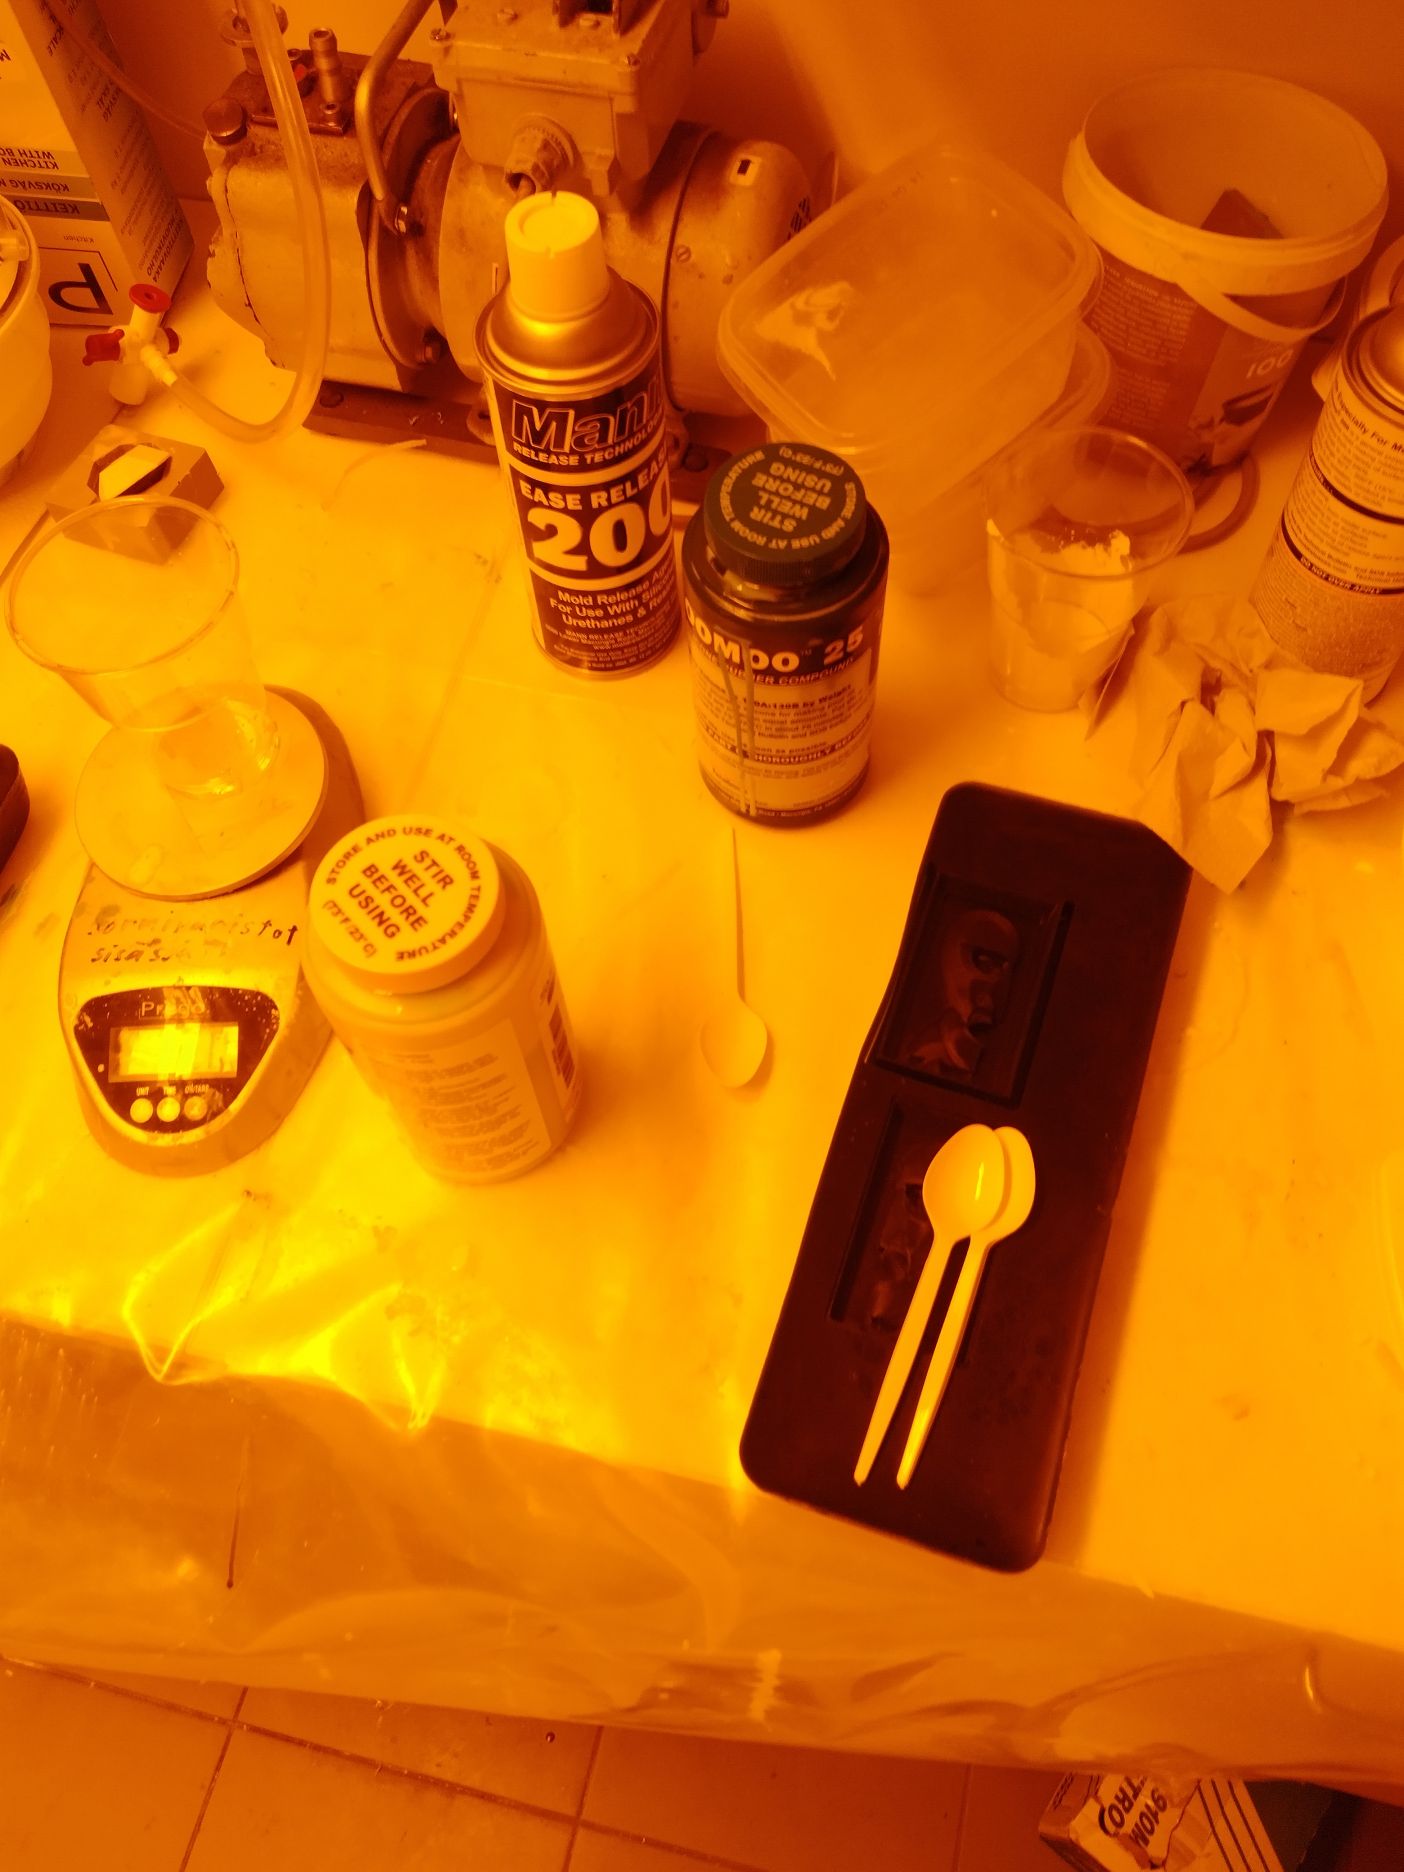
I took the mold and grabbed the material I needed to make the mold.
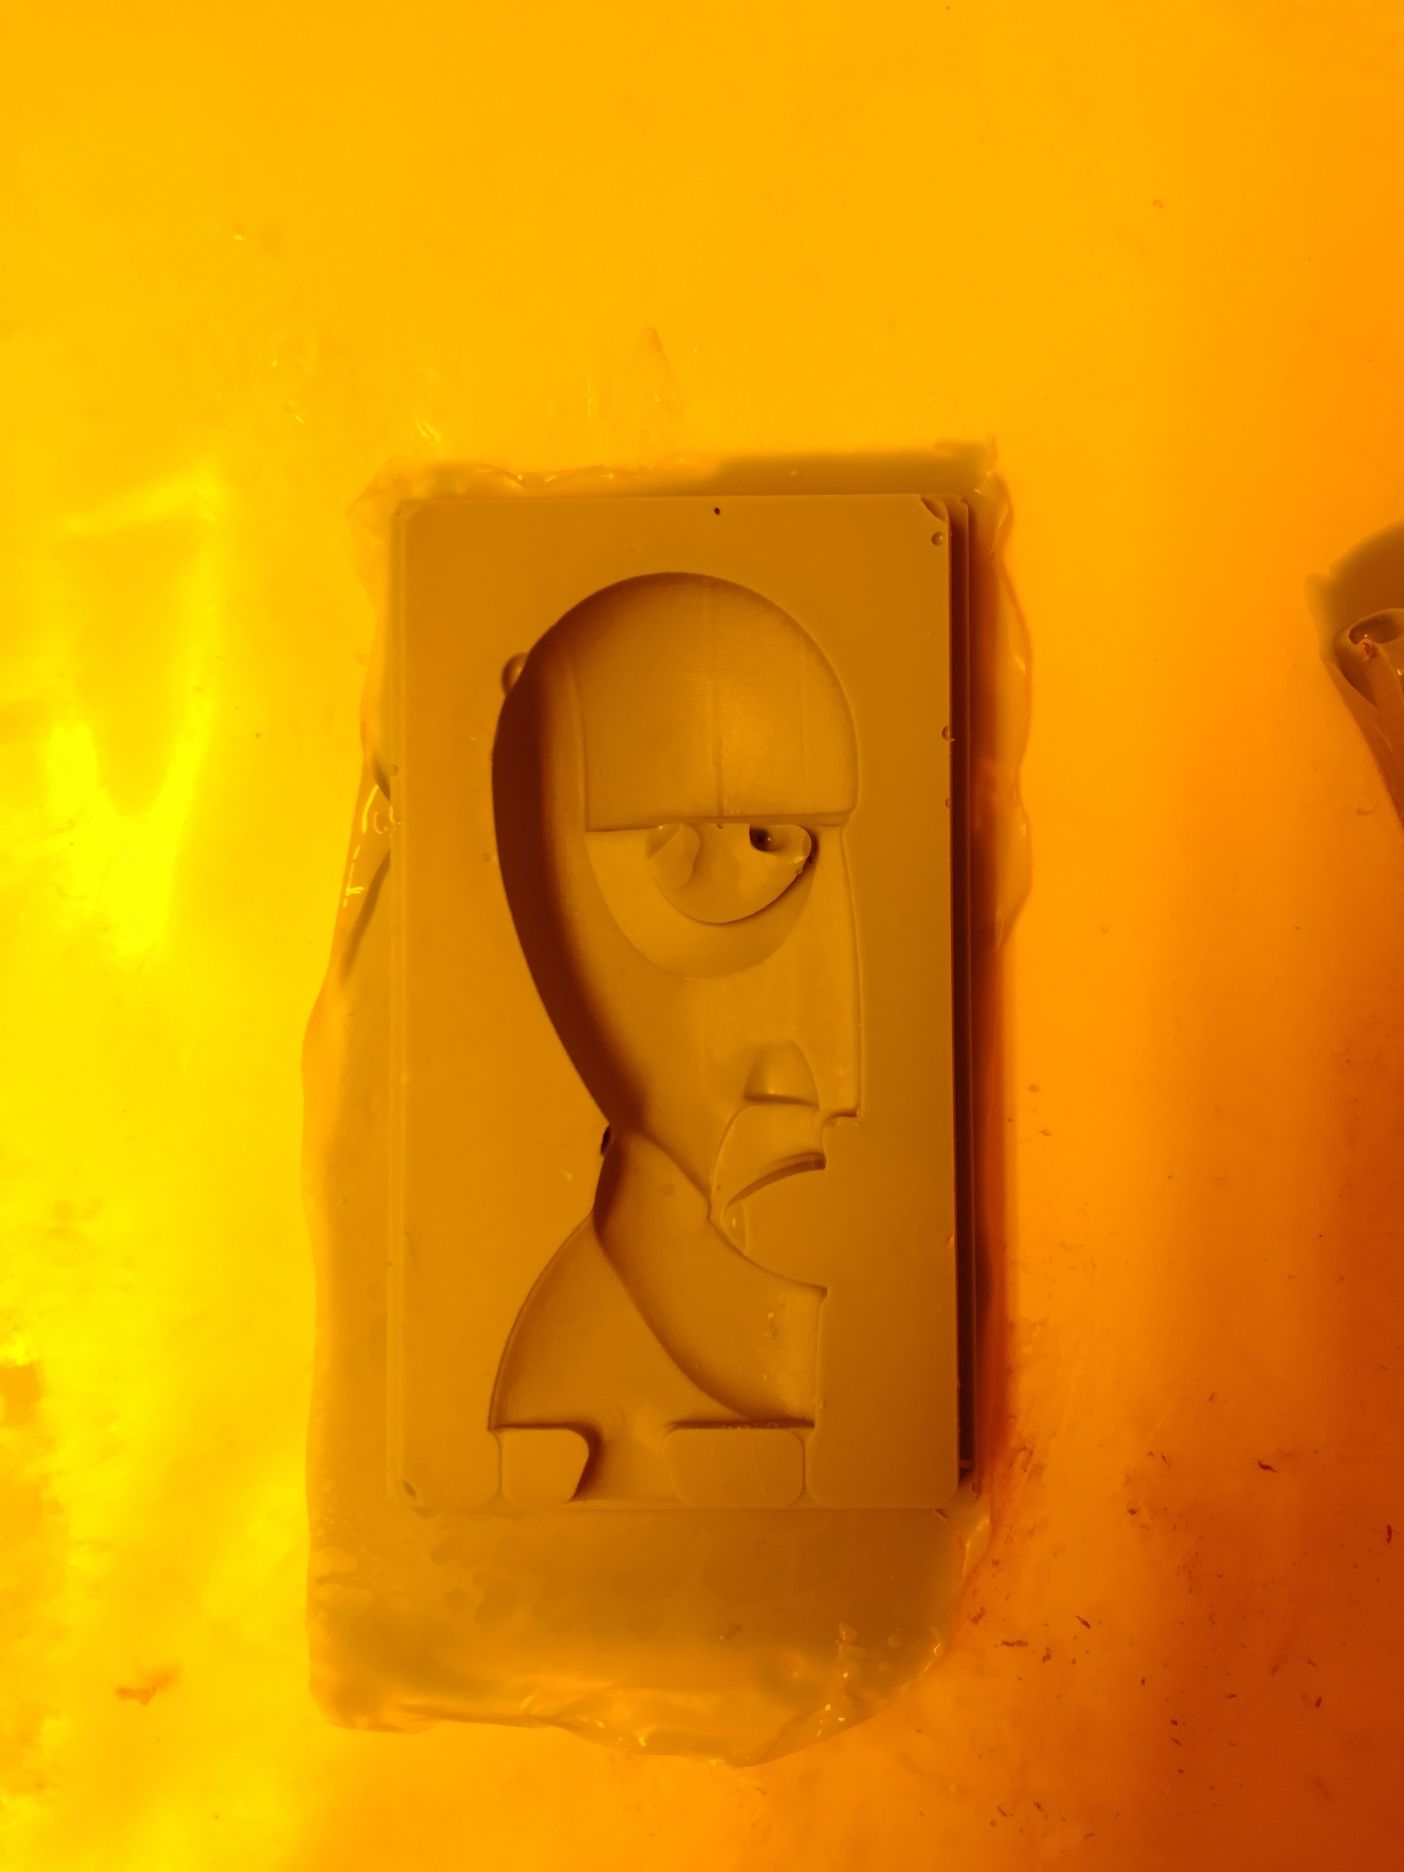
This is how the molds looked when they were ready:
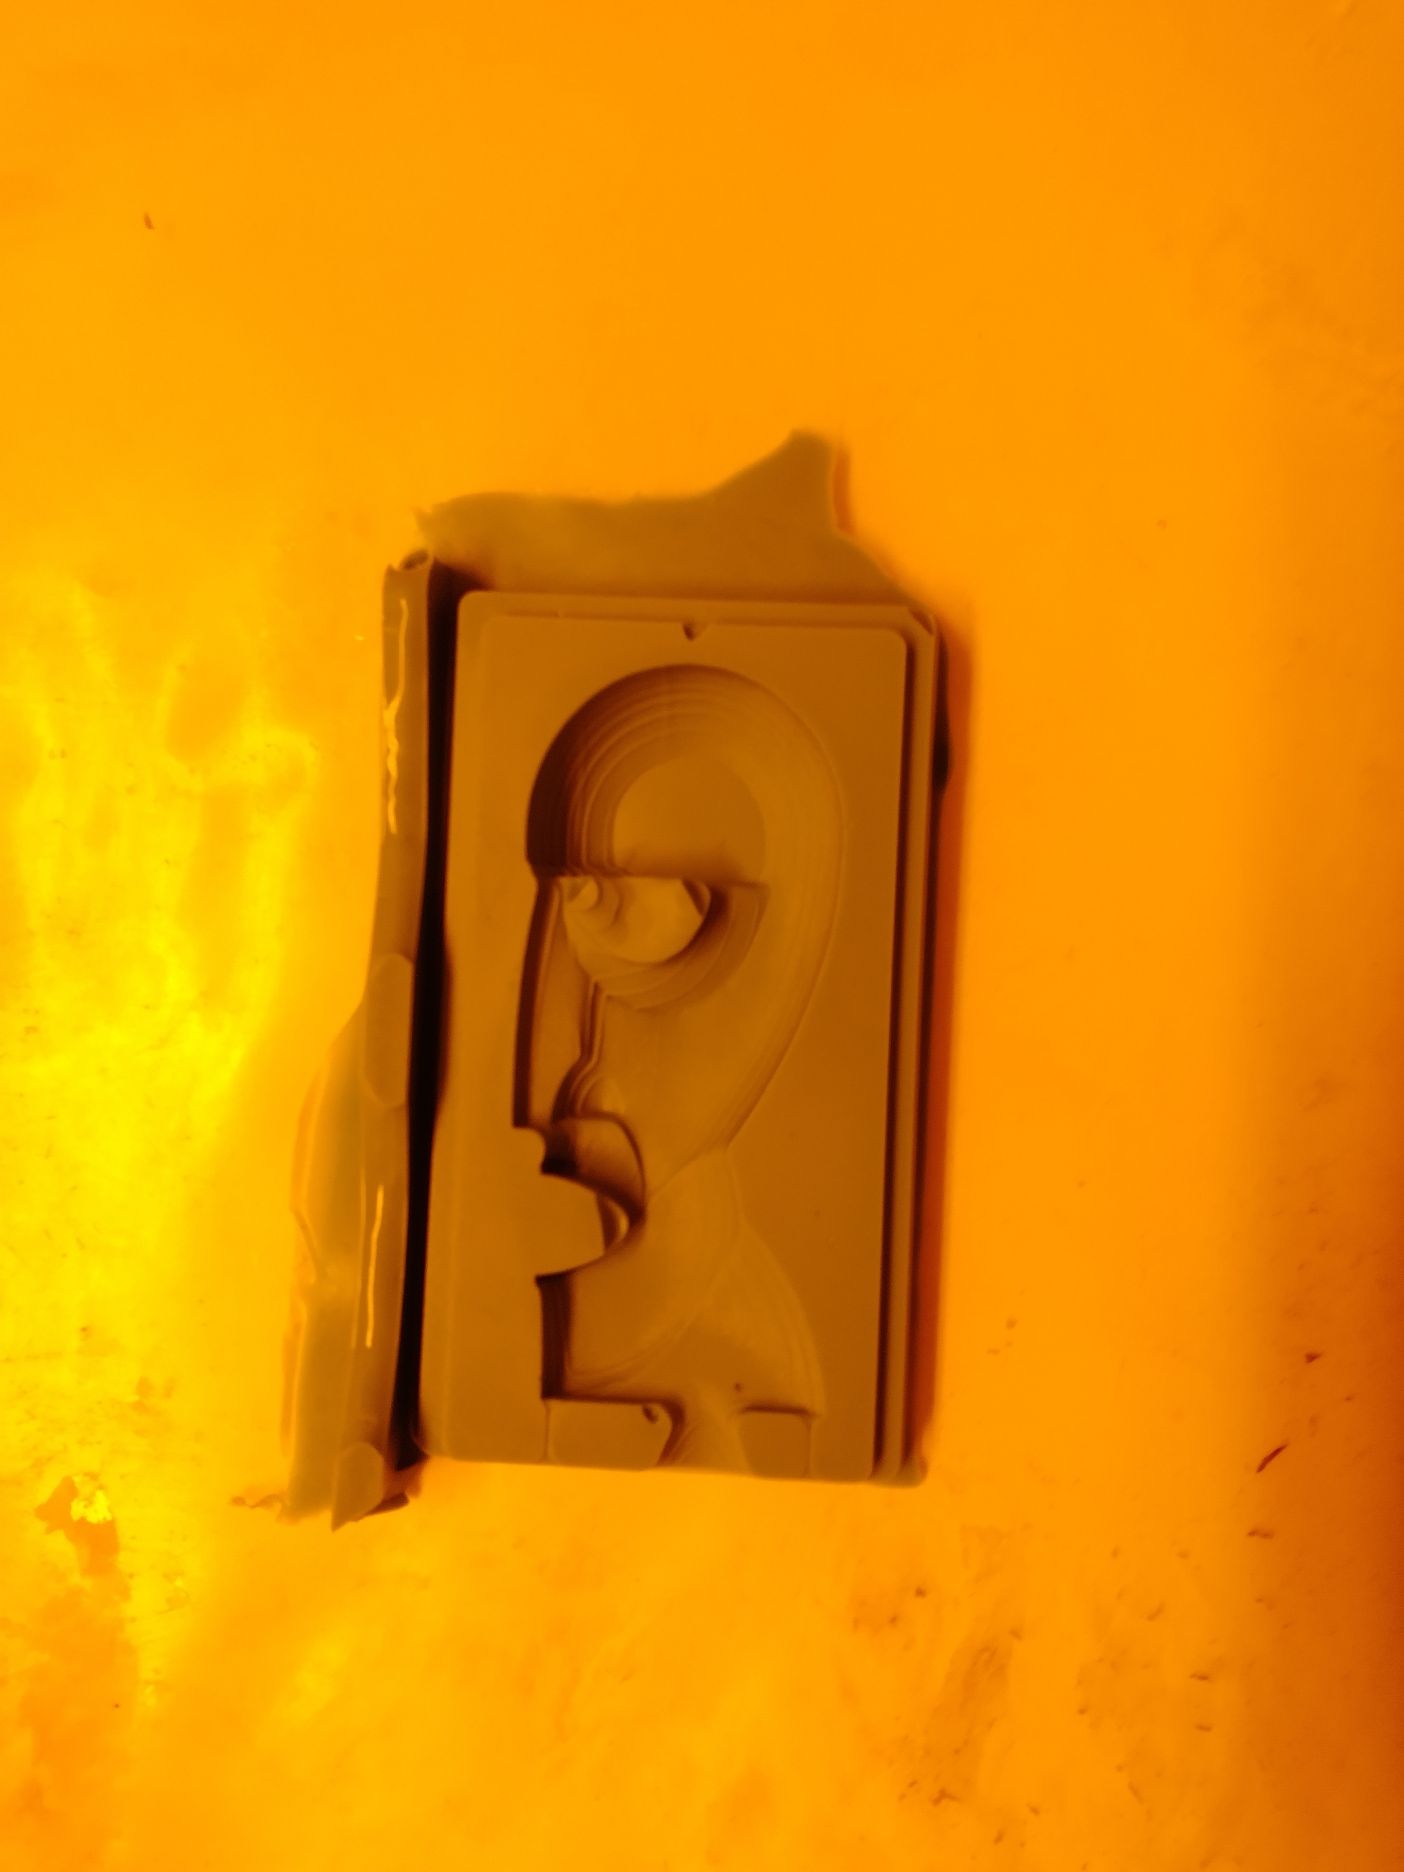
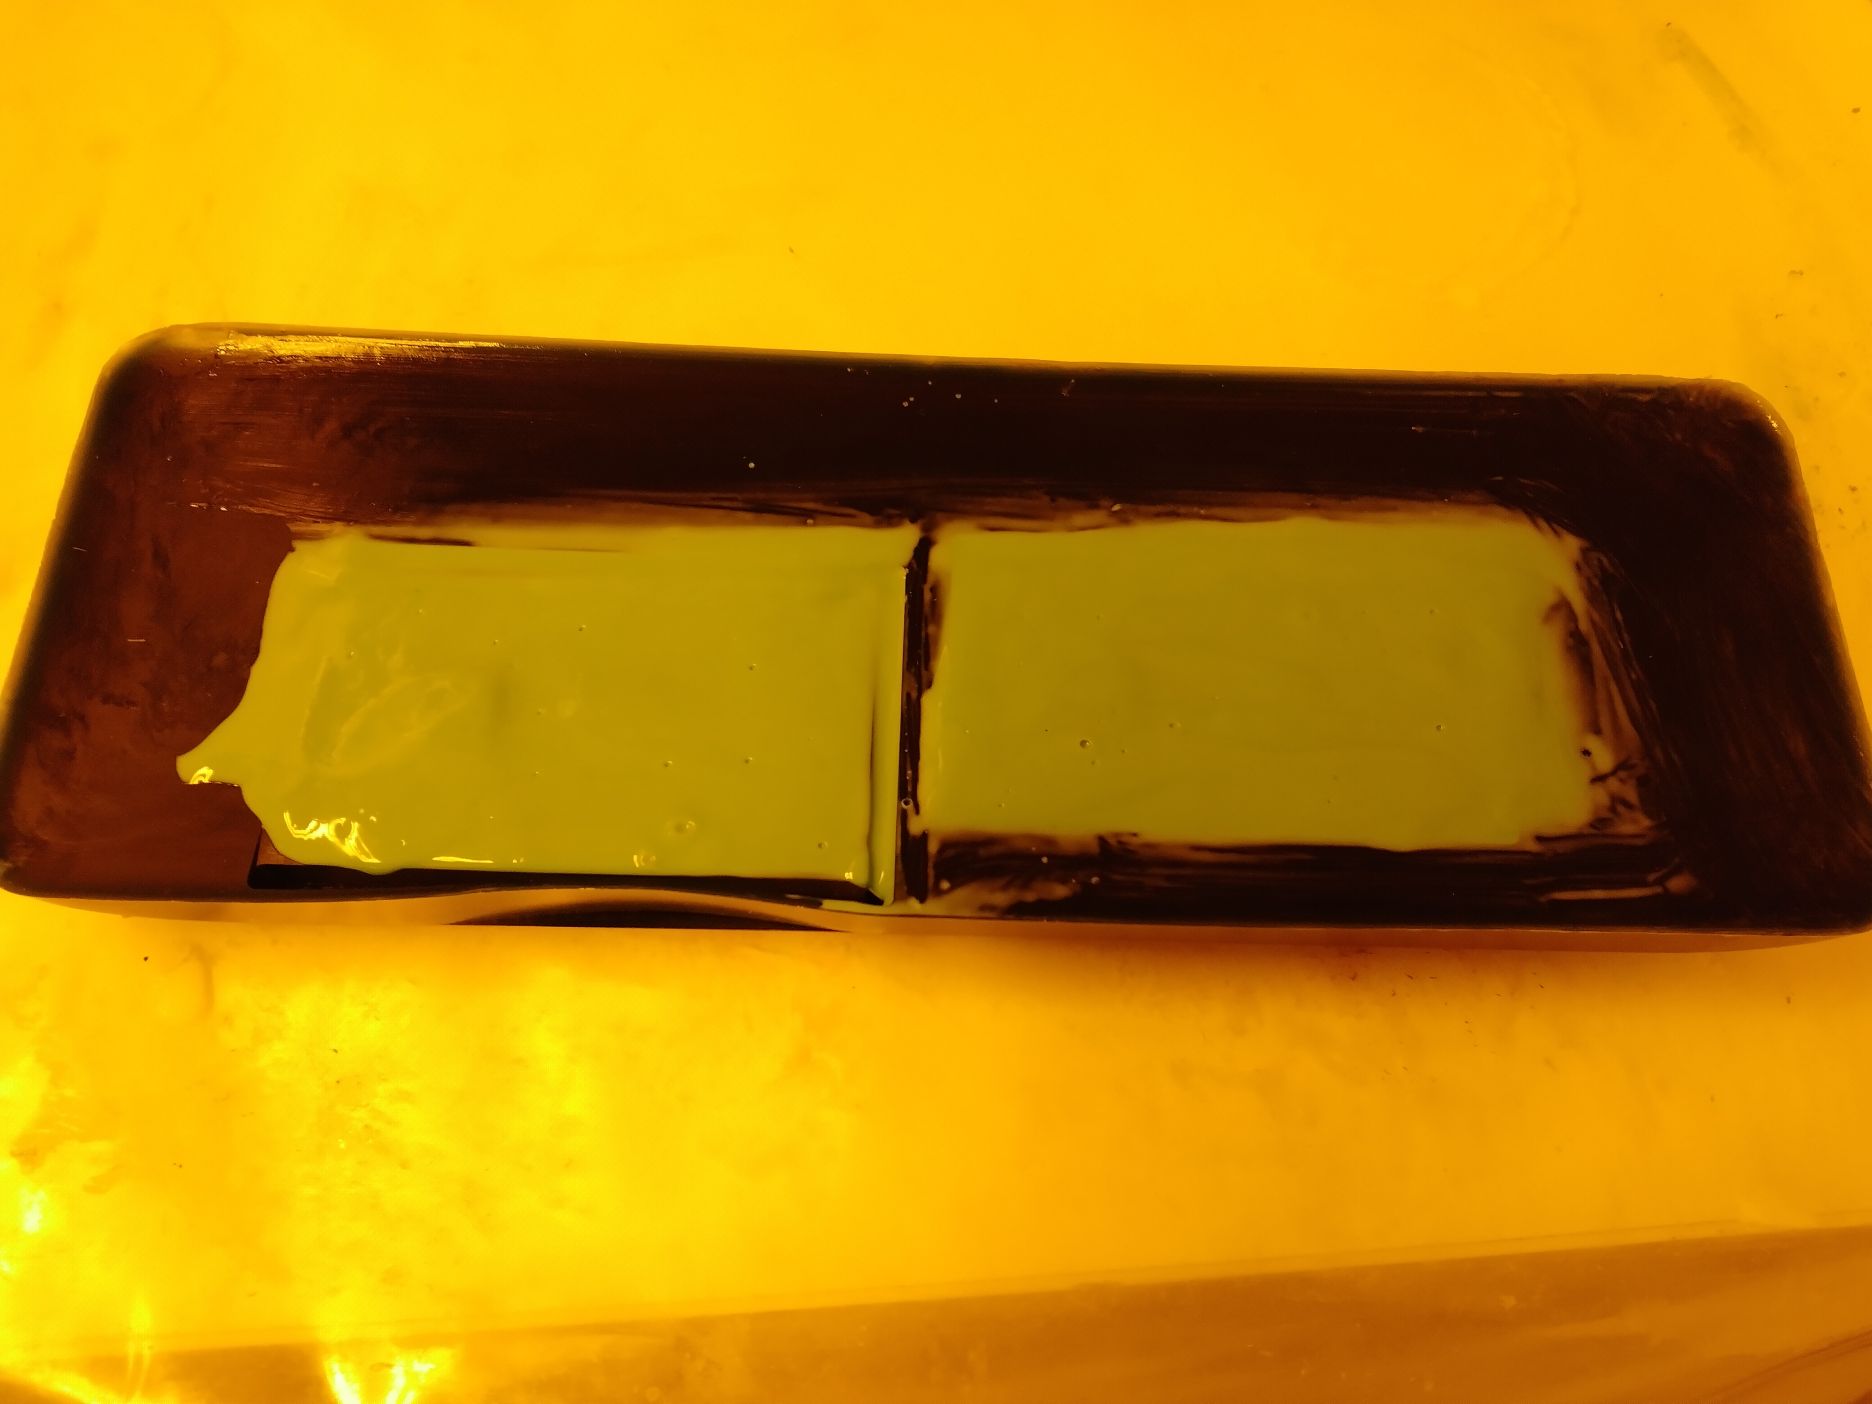
I baiscally did the same, but now using a different compund.
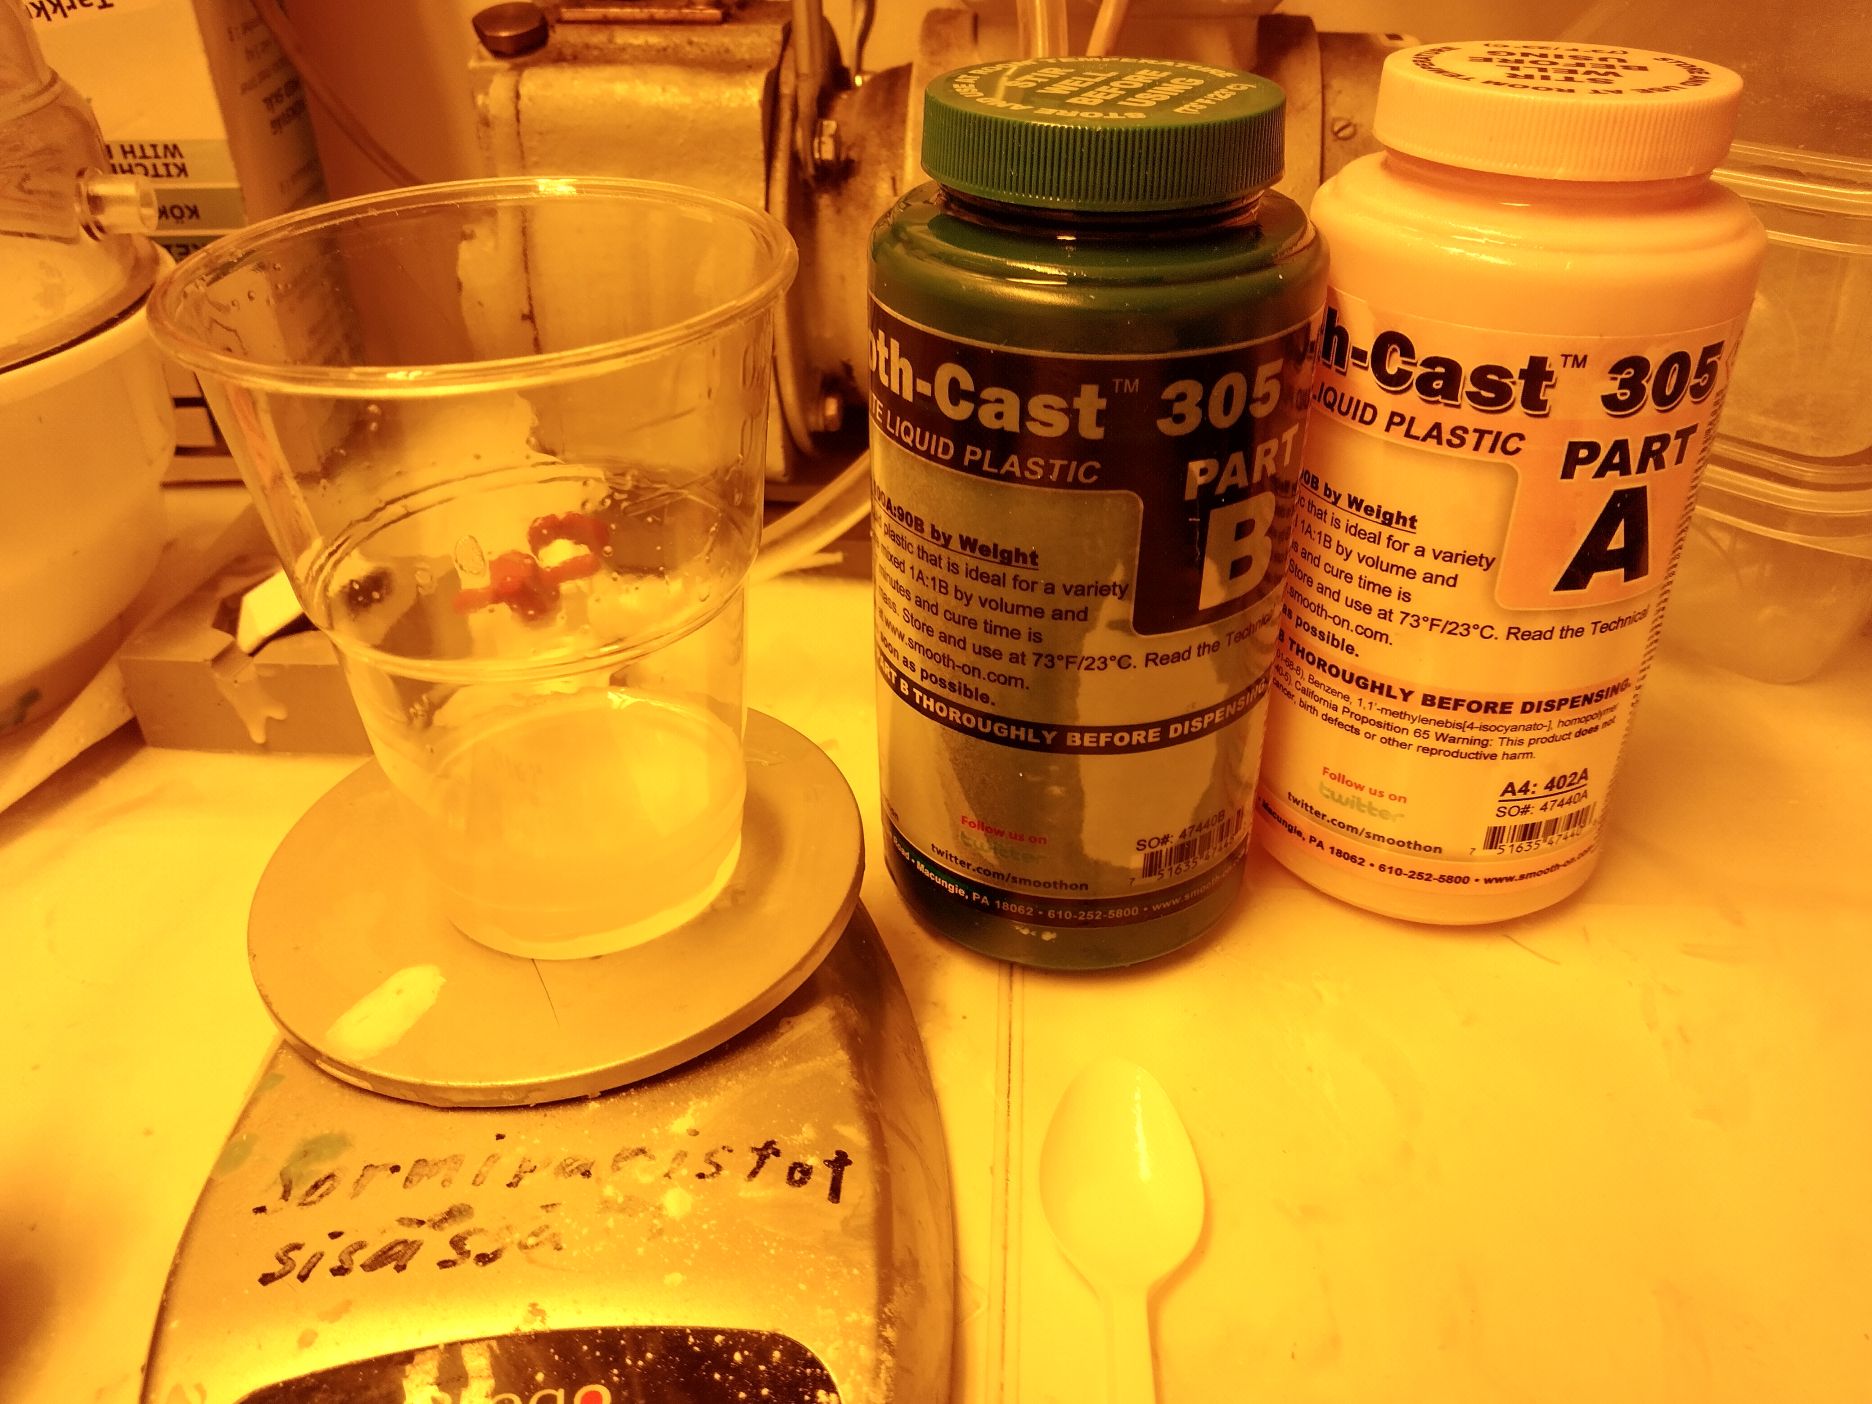
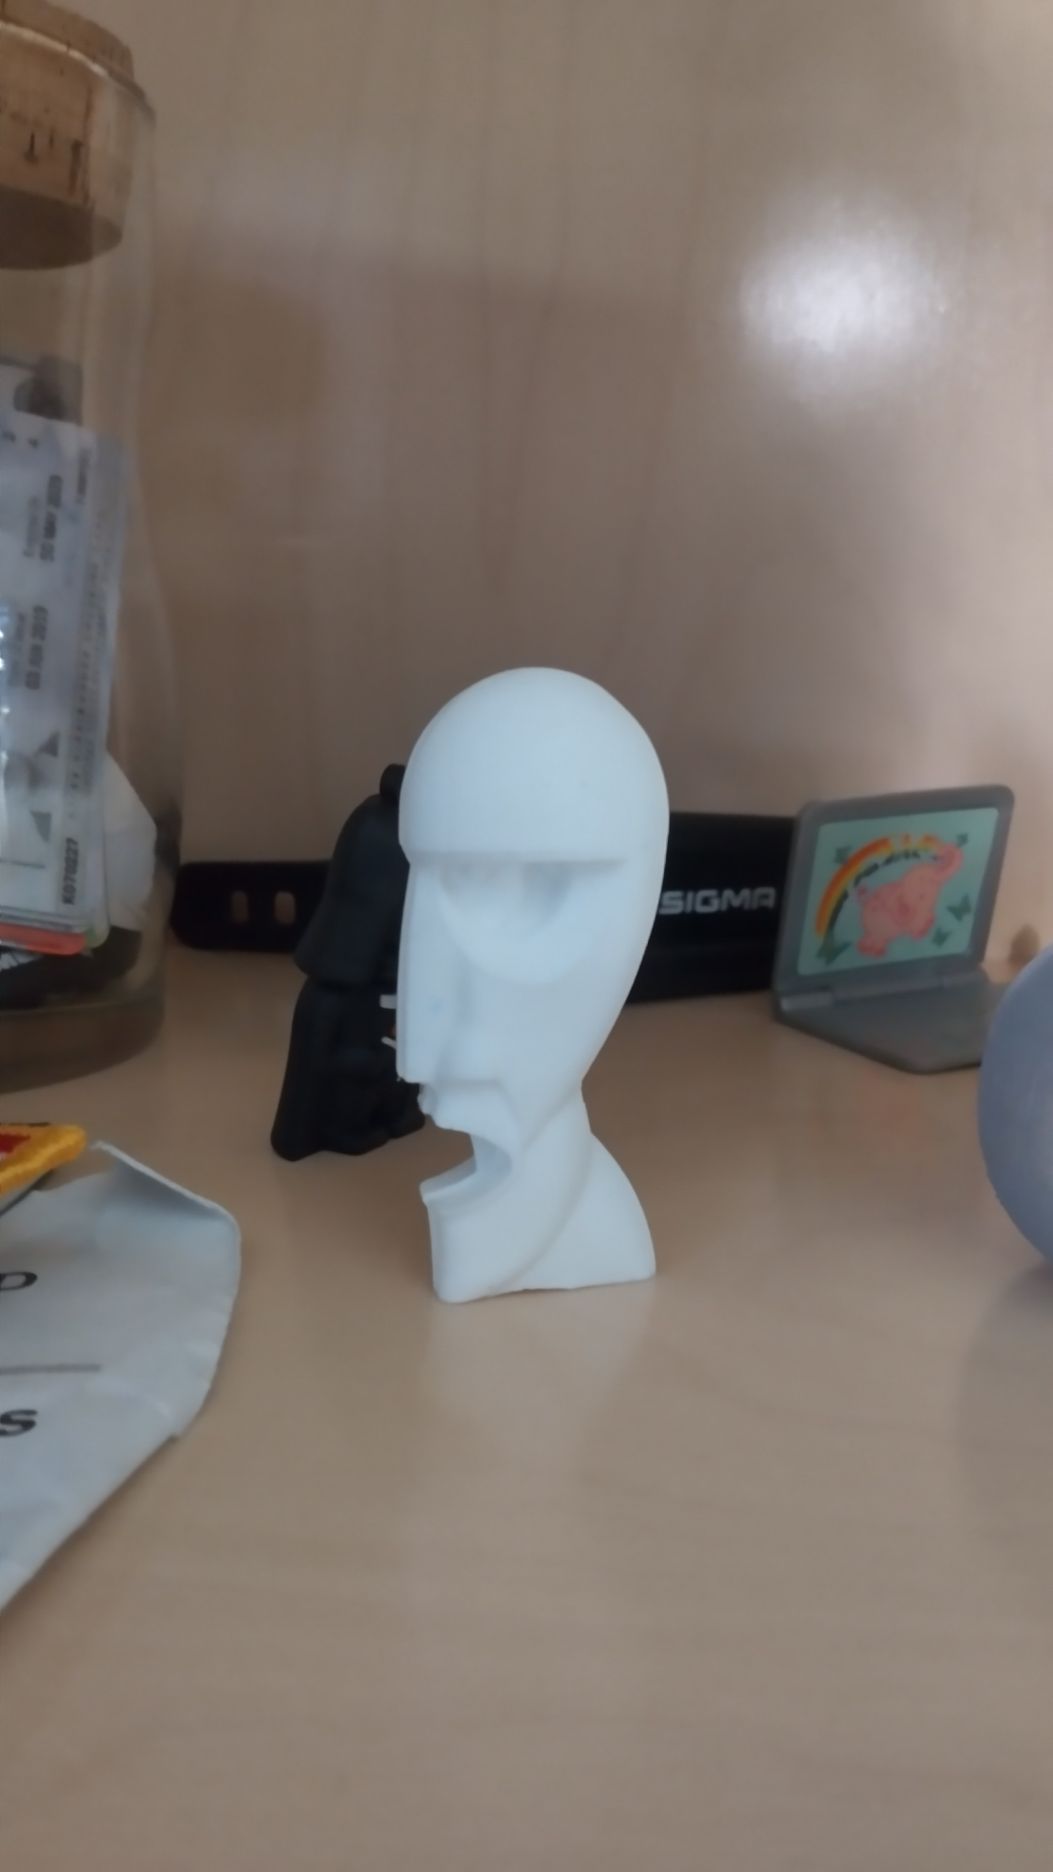
I poured the plastic, I had to hold the two pieces together with some tape becase they didn’t want to stick to each other.
Final result