Wild Card Week
This week we needed to use machine that we hadnt used before. I decided this week that I would use my labs embroidery machine. My teacher suggested that we use a program called SEWART. This program allowed me to import an image and then use the auto sew feature to create the toolpaths.
Working in Sew Art
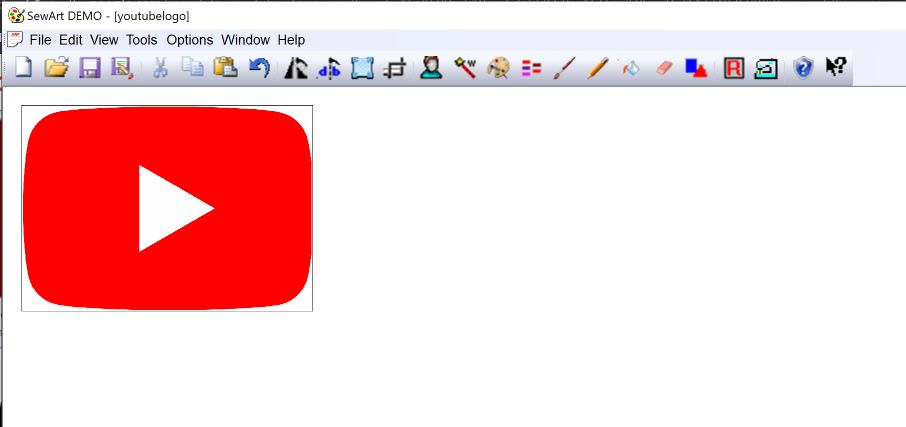
SewArt was one of the easiest softwares that I have used this year. There are only a few steps to get a good file to run on the machine. I used this link to download and install the software. After I had it install, I went on the internet to download a photo. I chose to use the youtube logo and since final format didnt matter, I downloaded the first one. After I had a file downloaded, I started to use the tool.
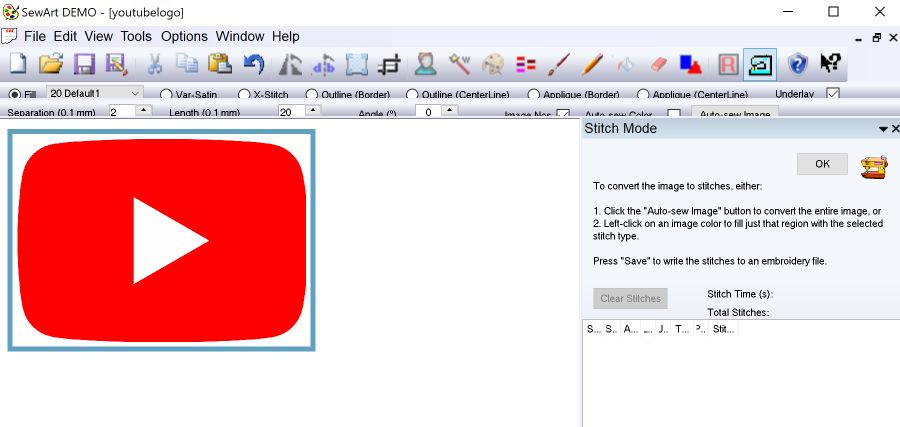
This first thing that I did once I imported the image was resize it. I scaled it down about 200% before I decided that was the size I wanted. The next step is to use the auto sew tool which detects different colors and then creates a toolpath for each. Instead of selecting all the colors in my file, I just selected the red exterior and white interior. This gave me the best result and also limited the time that it would take to make.
The next step was to set up the machine. The first thing that I needed to do was stretch out my material on the right size hoop. I chose to use the second smallest one because my design waas very close to the max for the smallest hoop we had. Of course, I could have edited the file size in sew art but also on the machine itself. The first step for setting up your material is to take the bracket of the ring. Then get your peice of fabric and lay it on top. Follow that up by putting the sheet of embroidery paper on top. I found it worked best to have two people to do this. One person would stretch it and the other one would put the bracket on. I then needed to stretch the material out even more once the bracket was on. I did this by pulling firmly on each side and working my way around. Once I screwed down the latch using a flat head screw driver, I was ready to use the machine.

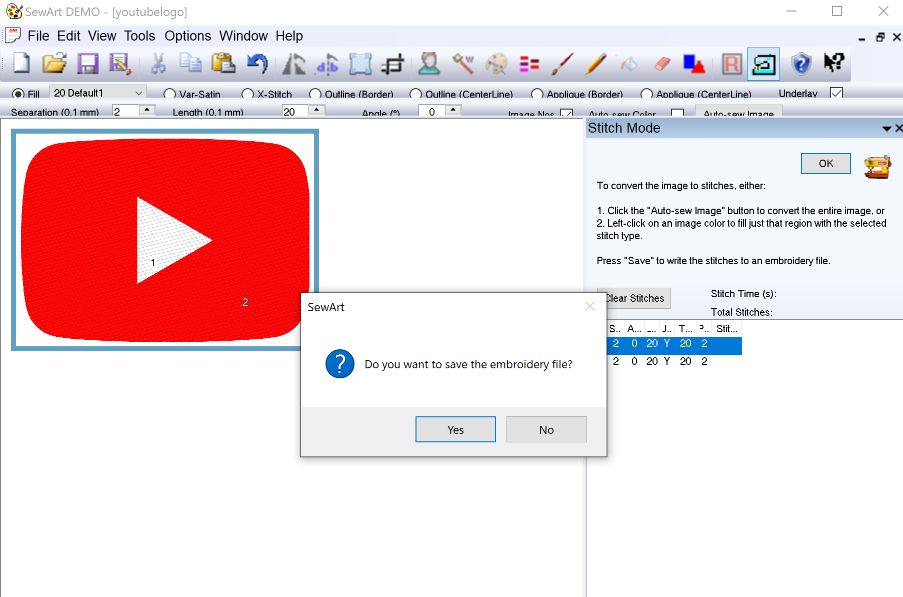
The first thing I did was export my file from the computer to the USB drive. I was having issues at first where my file would transfer over. We didnt know what was wrong as it would show up on the drive but wouldnt be read on the machine. I tried over and over again until it worked. I then plugged in the USB to the embroidery machine. The next few steps are hard to explain through text so I have added pictures for each.
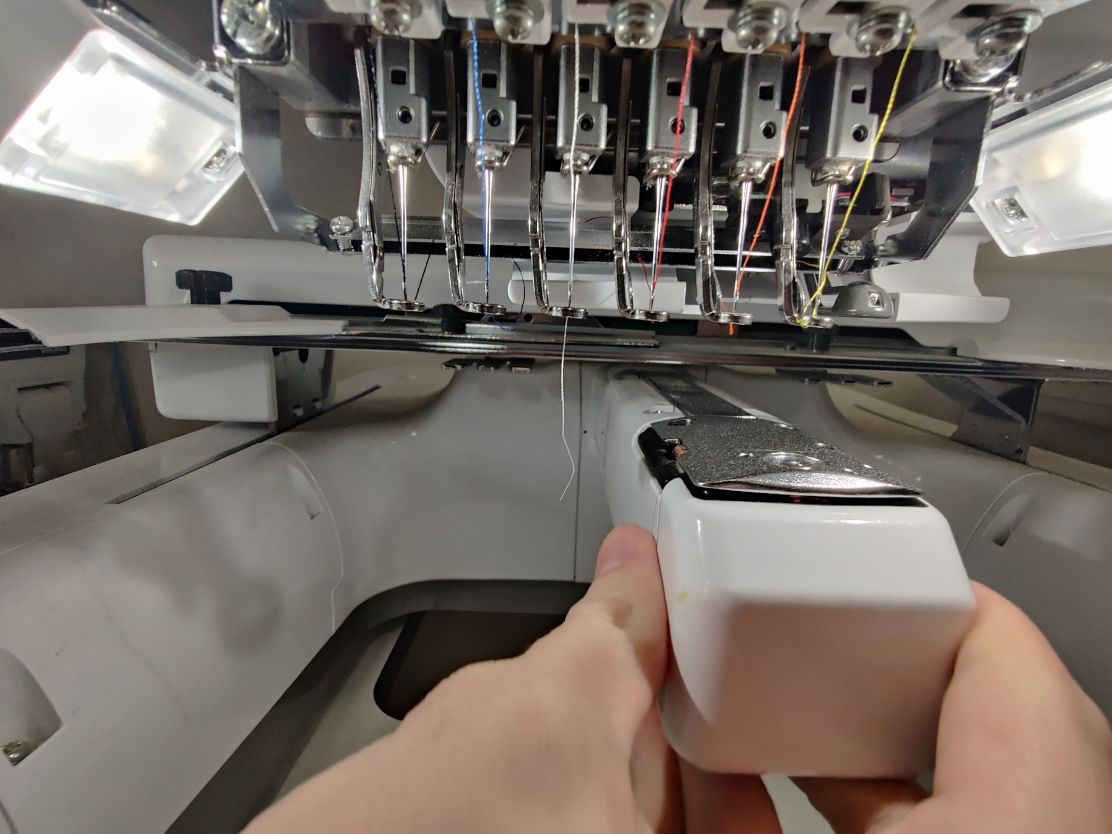
Loading Thread
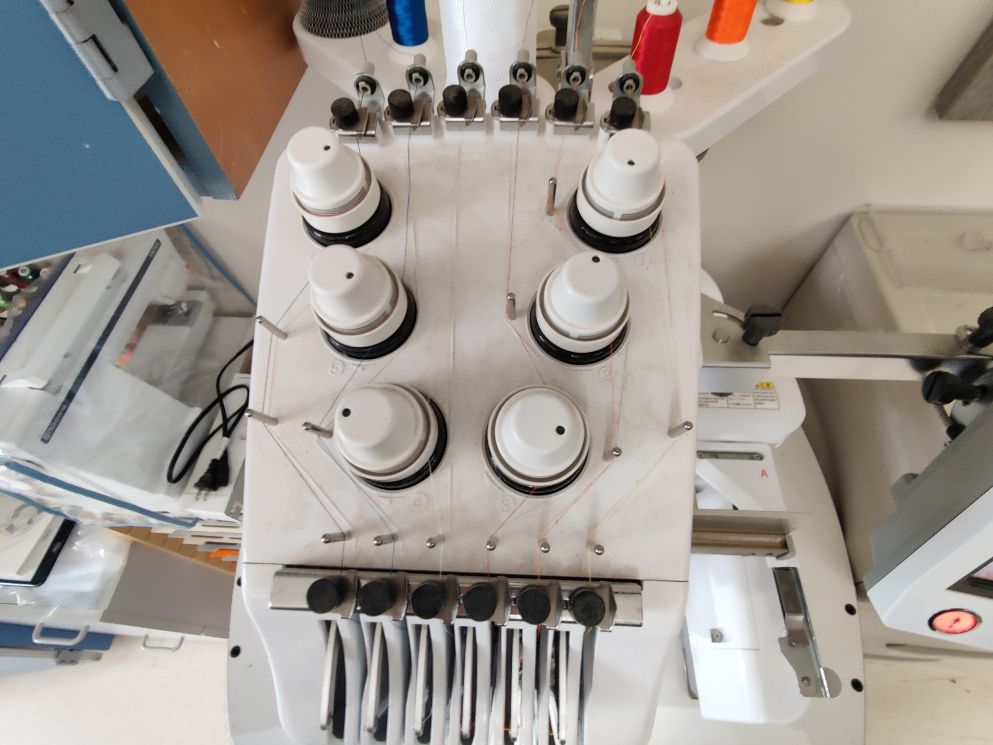
Making sure the thread is loaded properly is an integral part of the machine. Brother did a really good job of helping the user because they provided arrows for each specific move that needs to be made for the thread.
Loading file
Loading the file is eay, plug in the USB and then click on the usb drive icon
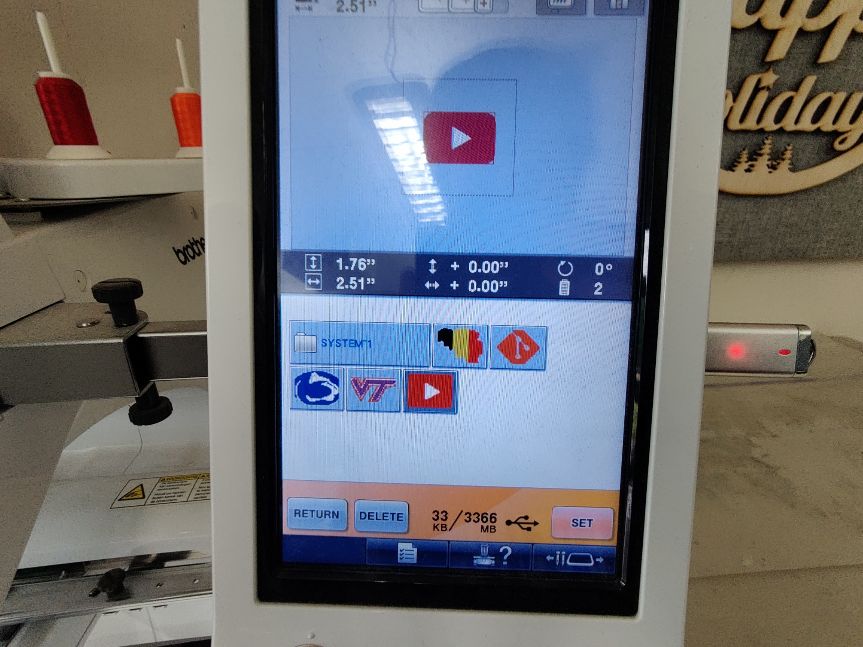
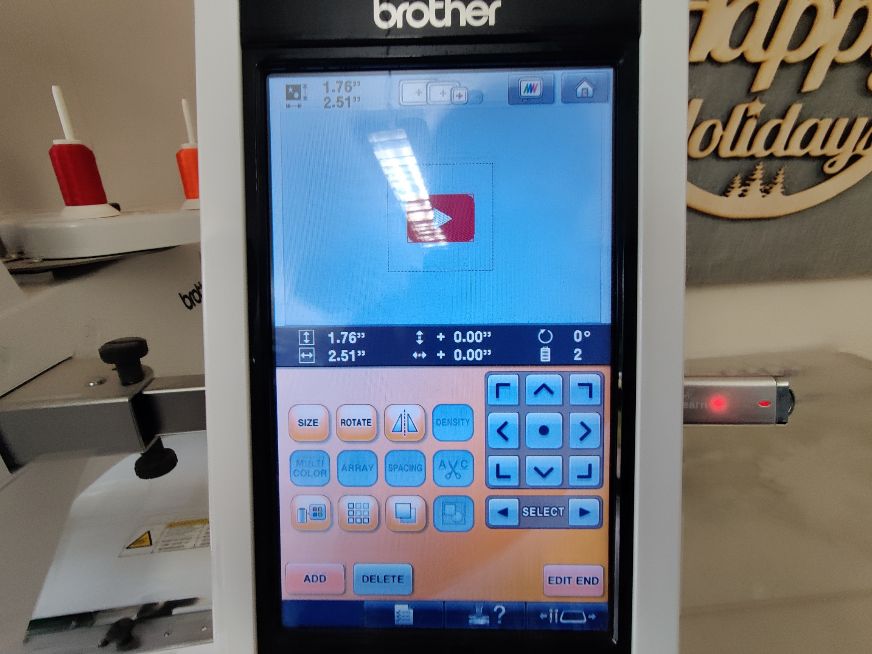
Sizing file
Sizing the files can be done right away once the file is loaded on
Checking the Thread
Making sure that the thread is loaded properly before use can help insure that it will work
Final Product
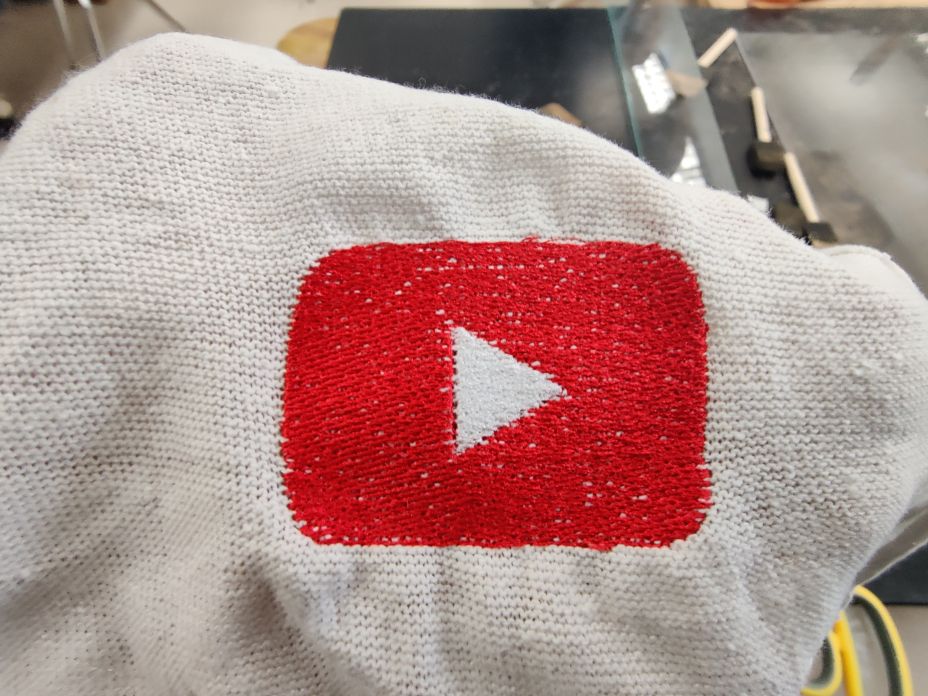
Here it is! I finished it and it looked good but because of the really flexable material, It struggled to lay consitent lines.
What I learned and Where I struggled
This week was a fun week where we were allowed to do something that we thought could be interesting. In 8th grade we had tried to use the machine but then the machine broke and I never got the chance. It was really cool to see how fast I could embroider something onto a shirt or socks. I struggles with getting the file onto the USB drive. I still dont know why this was happening the first time but after I remade the file it worked. This was the only issue that I had this week.