3. Computer controlled cutting
We had a lot of homework this week. We had to determine the characteristics of the laser cutter and make something on the vinyl cutter. The individual task was design, lasercut, and document a parametric construction kit, accounting for the lasercutter kerf, which can be assembled in multiple ways.
Vinyl cutting
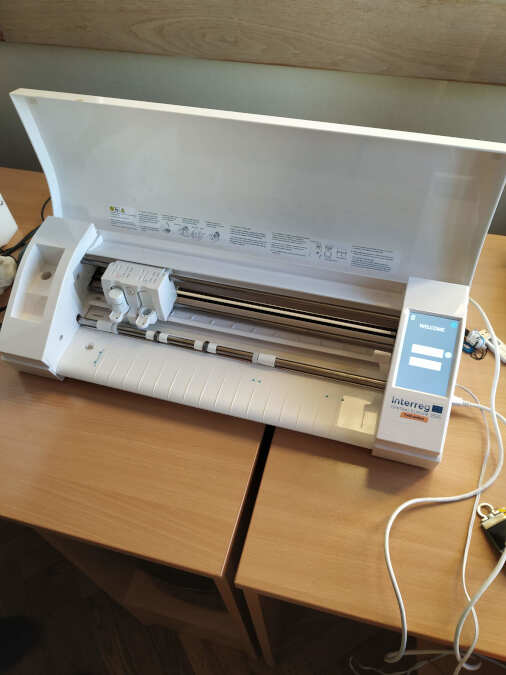
The task on the vinyl cutter was to cut something of our choice. I decided to use heat transfer vinyl which I later transferred to a tote bag. I used the Silhoutte Cameo vinyl cutter shown in the picture. For the design, I chose the Air Jordan logo (attached). I opened the image in Adobe Illustrator and exported it in dxf format.
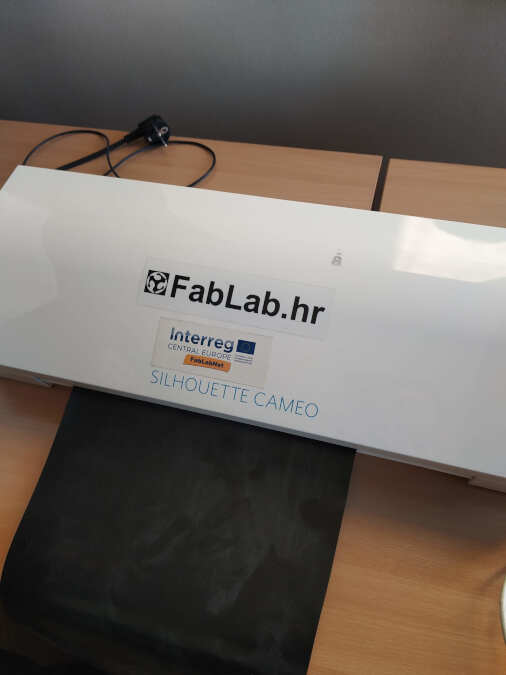
Silhoutte Cameo vinyl cutter has AutoBlade and dual-motor system. With the AutoBlade, we don’t have to manually adjust the blade. We can set the blade in the Silhouette Studio software program that can be found here.
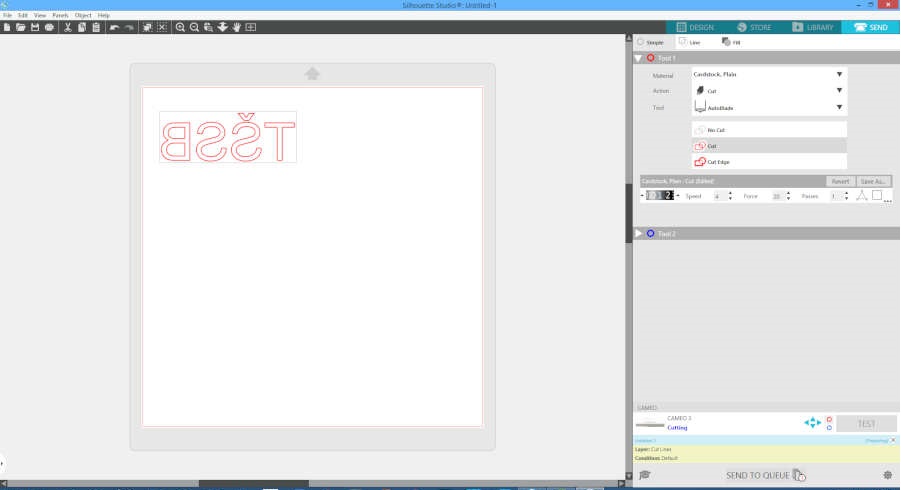
It is important to use the right settings because otherwise the knife cuts the whole vinyl. We just want to cut out the top of the vinyl which we peel off later. To test the knife, I wrote a text in Silhouette Studio and tried to cut it out. Since we are doing a heat transfer image we have to mirror it because the other side of the vinyl goes on the bag. I set the heat transfer vinyl and pushed the load button on the vinyl cutter. Cutter pulled the vinyl inside. At Silhouette Studio I clicked the send button and the cutter started to cut. The knife was set to level 3 which proved unsuccessful as the knife cut the entire vinyl.
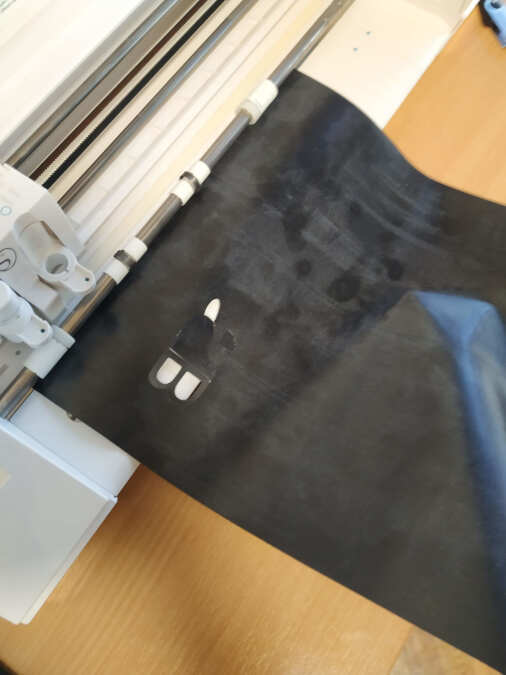
Failure! The knife cut the whole vinyl and ruined the vinyl.
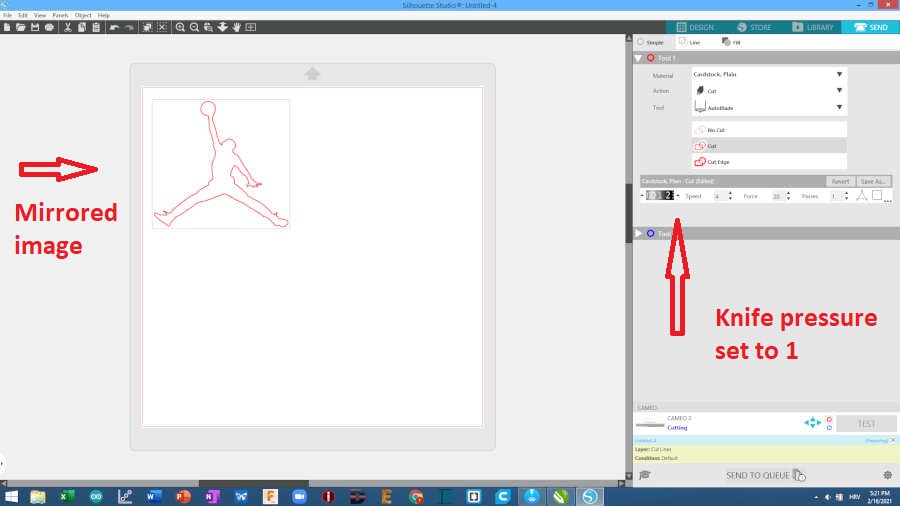
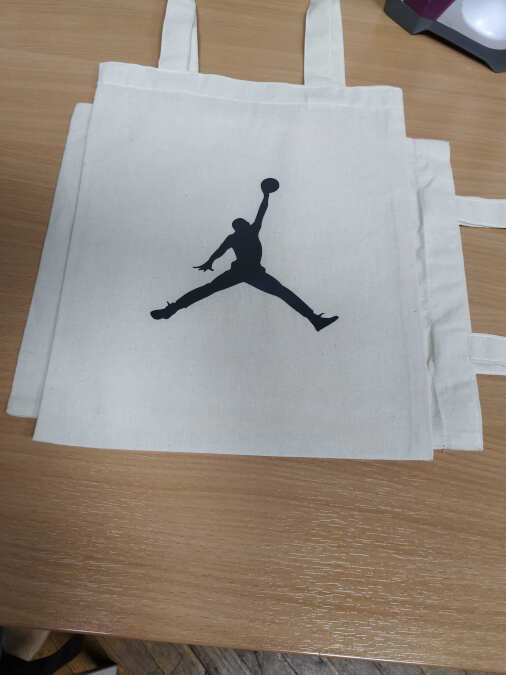
After that I set the knife to level 1 and tried to cut out my Air Jordan logo. It was successful. With a scalpel and fingers, I removed the part of the vinyl that was not needed. I then placed the logo on a tote bag. I ironed a couple of times over the vinyl to heat transfer to the bag. Working with the iron did not take more than 30 seconds.
Vinyl cutter in action
Removing excess vinyl
Heat treatment
Finished work
Laser cutting
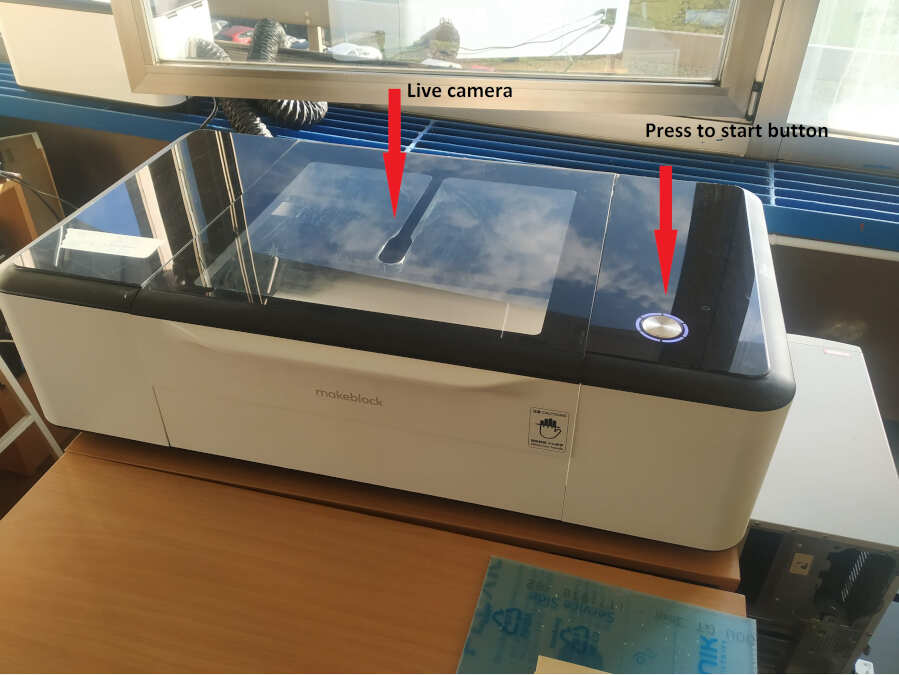
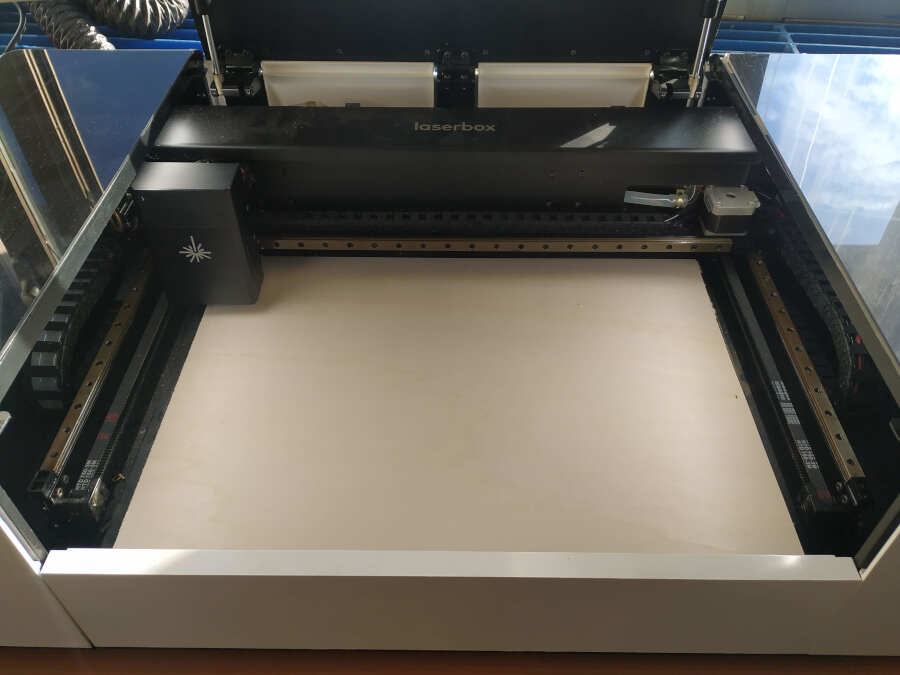
The second part of the task was working on a laser cutter. The laser cutter I used was a Makeblock laser cutter. It is a smart 40W CO2 laser cutter and engraver. Makeblock has live camera preview and laser has auto-focus. It comes with xTool Laserbox software. The working space of the laser is 500x300mm. There is no adjustable z-axis.
My colleague Tatjana and I made a group assignment, and then everyone made their own individual assignment.
Group assignment
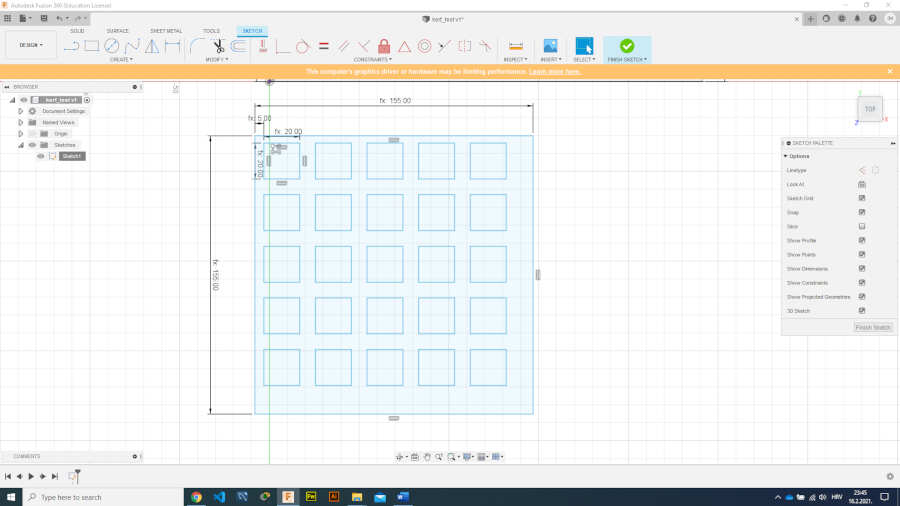
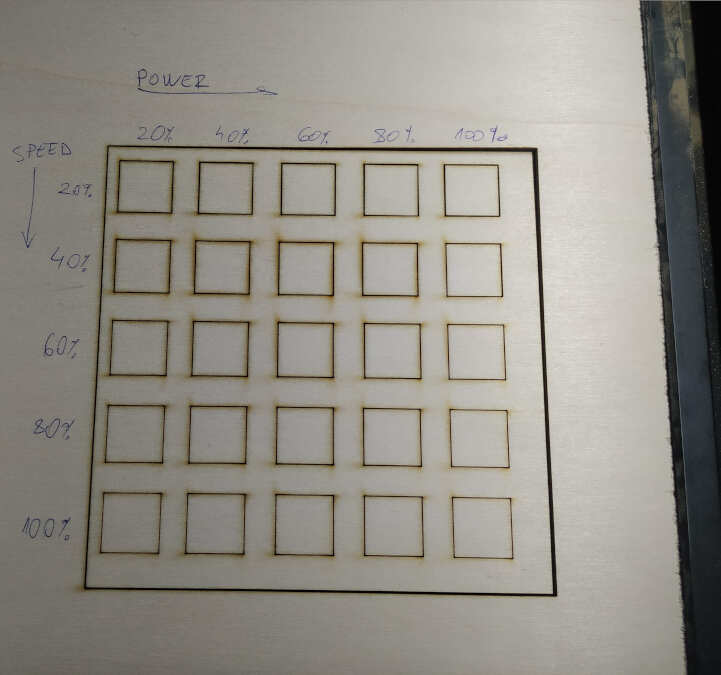
For group assignment we have to characterize lasercutter’s focus, power, speed, rate, kerf, joint clearance and types. The makeblock laser has auto-focus. To test power, speed and rate I designed squares 20x20 mm in Fusion and saved in dxf format for Laserbox software. For each square we set different parameters of laser speed and power. When importing dxf file in Laserbox software we need to set units, so I set 1 unit = 1mm. Laserbox software can be found here
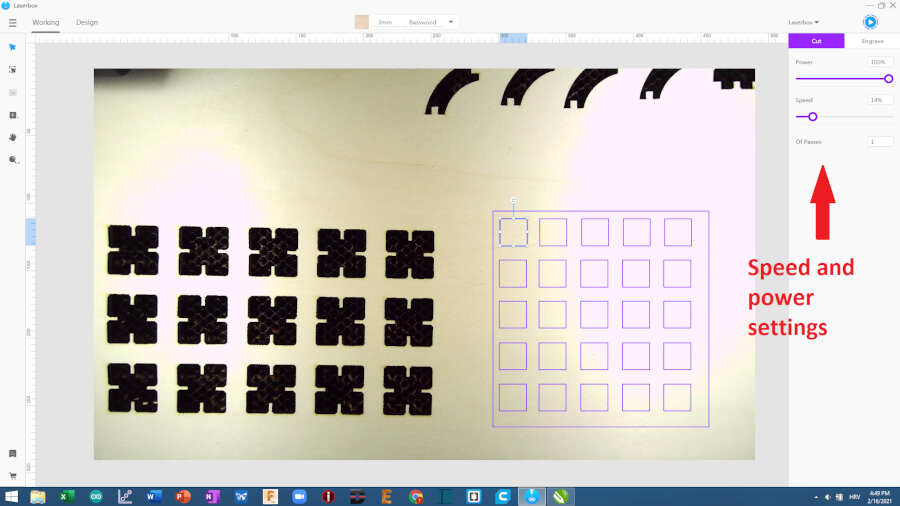
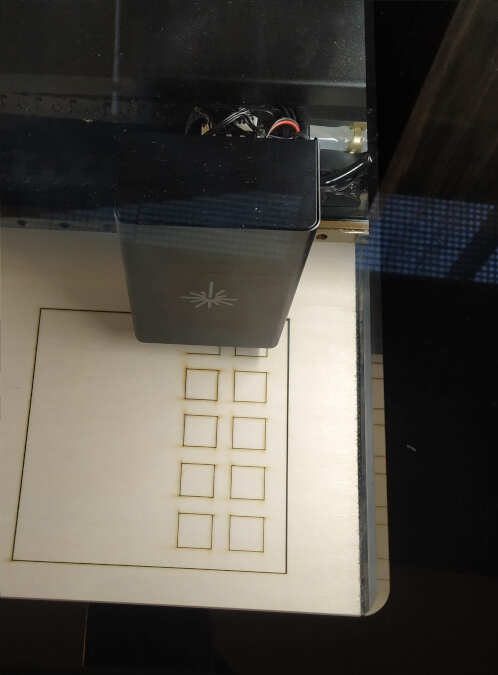
With live camera preview we place the test part where we want. Then we adjust the speed and power of the laser for each square separately and when everything is ready we clicked on the play icon in the upper right corner. The material we used was 3 mm thick plywood (the caliper showed 2.87 mm).
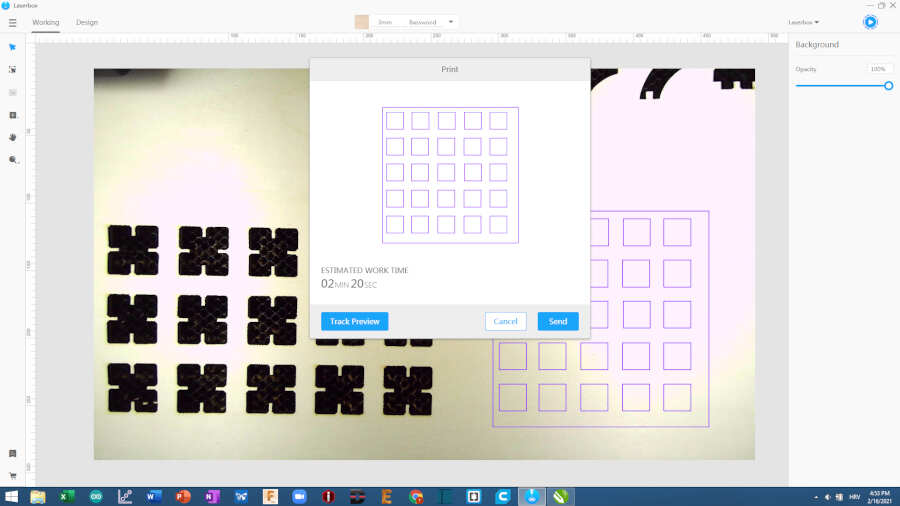
After clicking on the play icon we get a window where it says estimated work time. After that we click send. To start the laser, press the start button.
The result is visible in the image below. We can conclude that at a speed of 20%, the laser power should be between 40% and 100%. I set it 100% power and 14% speed. This is also the default configuration recommended by the software.
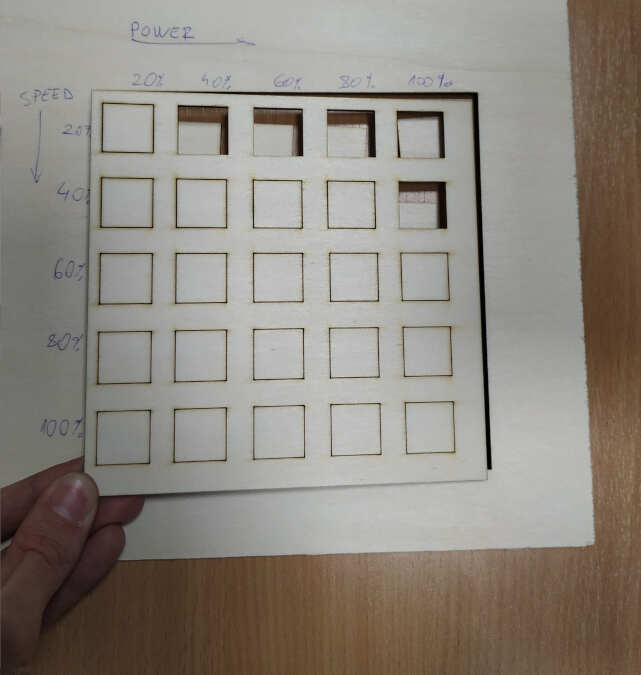
The back of the test piece.

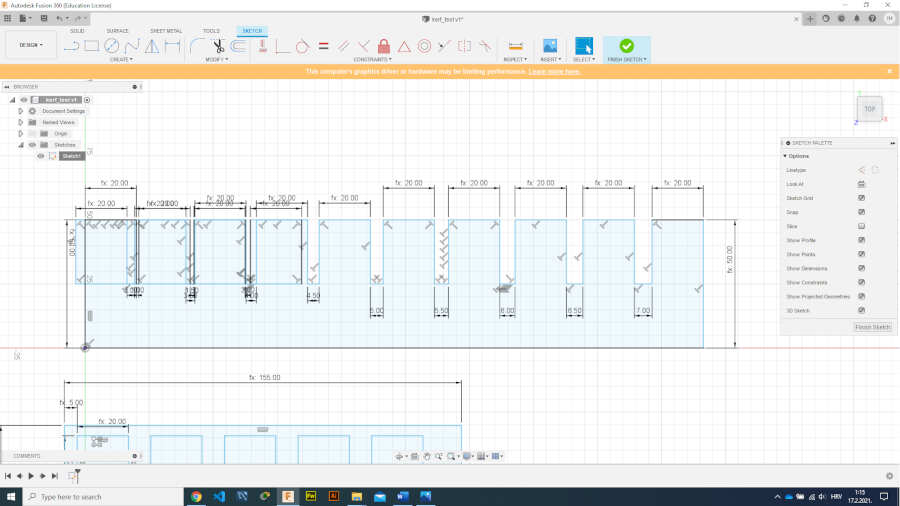
To figure out the kerf of the laser, I designed the kerf test in Fusion. Each „tooth“ should be 10 mm. I used 3mm thick plywood and 3mm thick plexiglass.
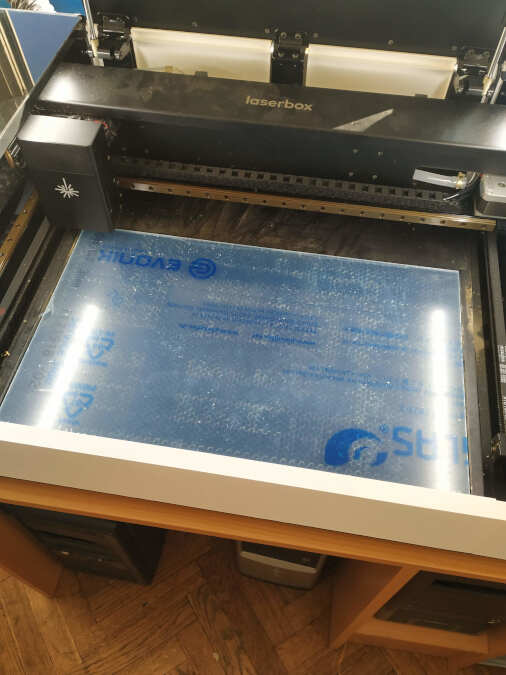
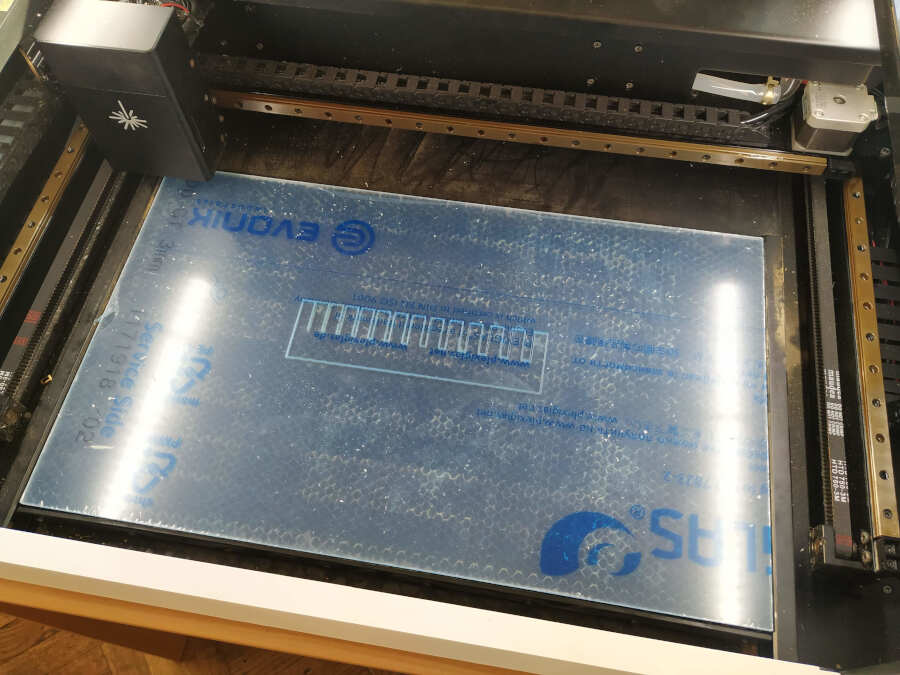
Cutting plexiglass 3mm thick
Cutting plywood 3mm thick


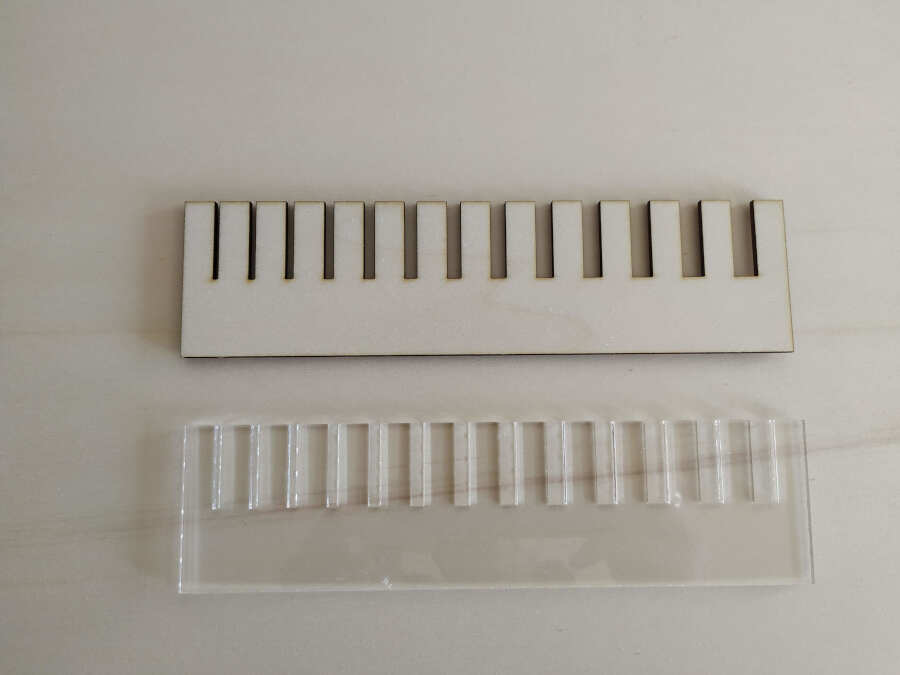
To calculate the kerf of the laser, I measured each tooth separately. I calculated the mean value. I subtracted 10mm (from design) from the mean value and got a kerf of 0.11 (0.22 / 2). The same kerf i got at plywood and plexiglass.
Individual assignment
For the individual task we had to design and lasercut a parametric construction press-fit kit, which can be assembled in multiple ways. For parametric construction I used Fusion. I designed two generic parts and saved sketch as dxf file. I opened dxf file in Laserbox software, placed parts where I wanted and started cutting. The material is plywood 3mm.
Parametric design is like a spreadsheet you’ve set up to make calculations; you choose which math function will be performed, input the different numbers, and your result depends on what those variables are. I started modeling by making the parameters table. That way I can easily change the design of the polygon.
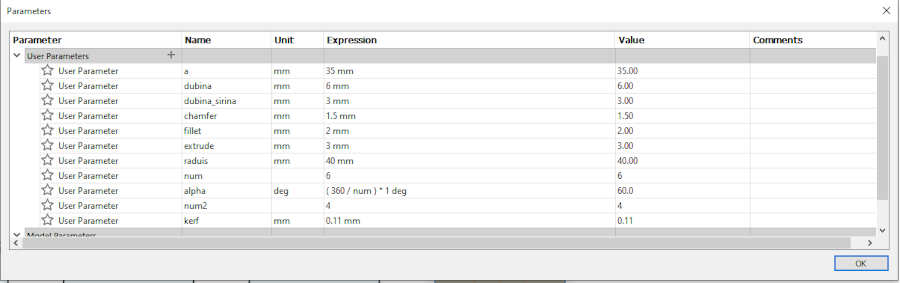
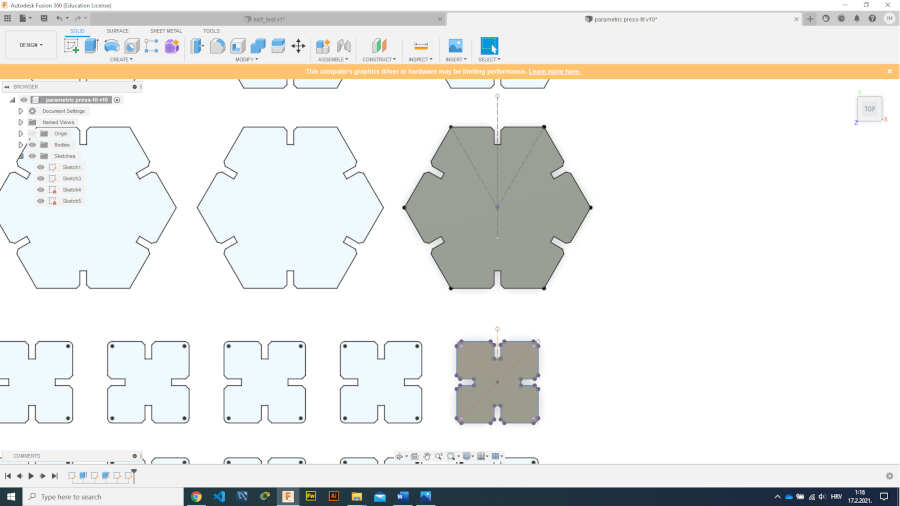
A polygon can be described by an angle, circumscribed circle, number of sides. If, for example, I change the number of sides parameter to 5 then the polygon is automatically adjusted as a pentagon. I can also change other parameters such as the size of the piece itself. I can do this by changing the radius of circumscribed circle or through the length of the side. In the following image you can see how I change the parameter number of sides and the design adjusts automatically.
Additional parameters I put are the depth and width of the cut and the chamfer. I had to consider kerf as well. Kerf is also one of the parameters. In the following image you can see how I change the parameter cut depth and the design adjusts automatically on all sides.
For the second part, I put an additional parameter for the number of sides. That’s how I got a square. I used a rectangular pattern to get as many pieces as I wanted. The last thing I did was project a geometry. I did this to remove construction lines that could interfere with cutting.
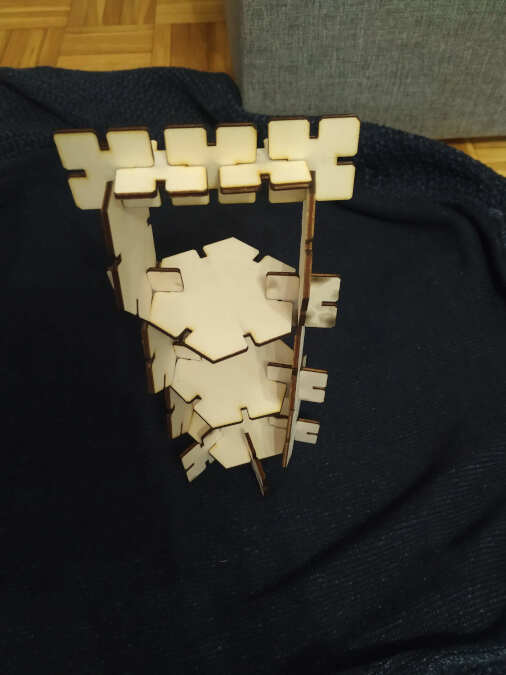
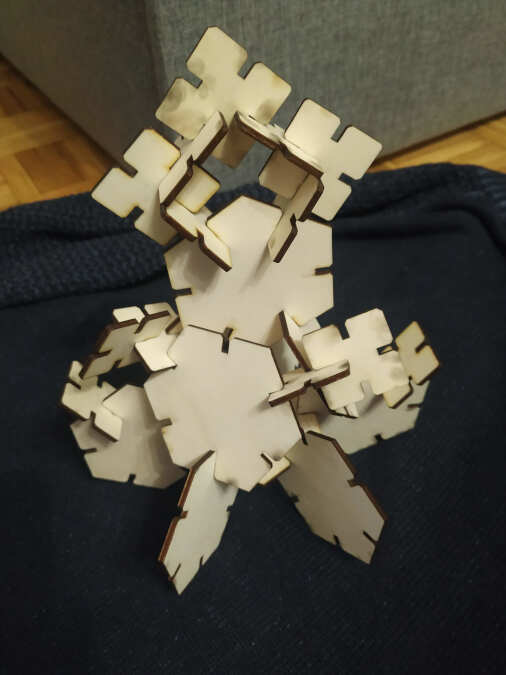
After the cutting was done I put together various constructions…