18. Wildcard week
For this week for now I experimented with drawing in the sand with a CNC but I plan to investigate with inflatables. Since it’s still Covid19 season that have to be put in the wait list for a bit.
Sand CNC
For this week the instructors from fablabbcn had tweaked the “Kraken” to write on sand. And we, as students we could play with it remotely. (Because Covid)
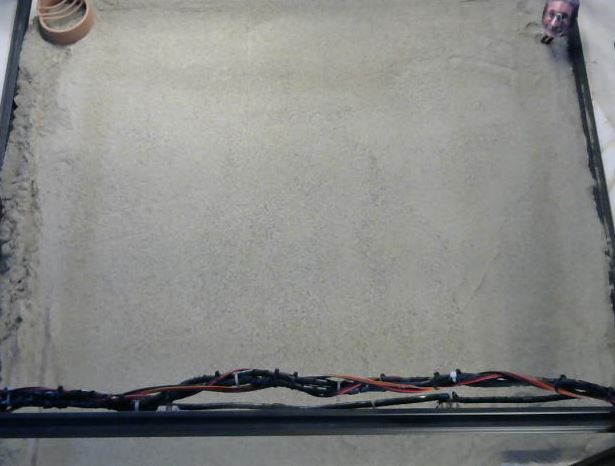
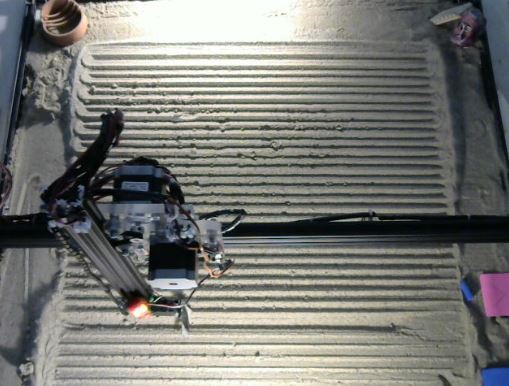
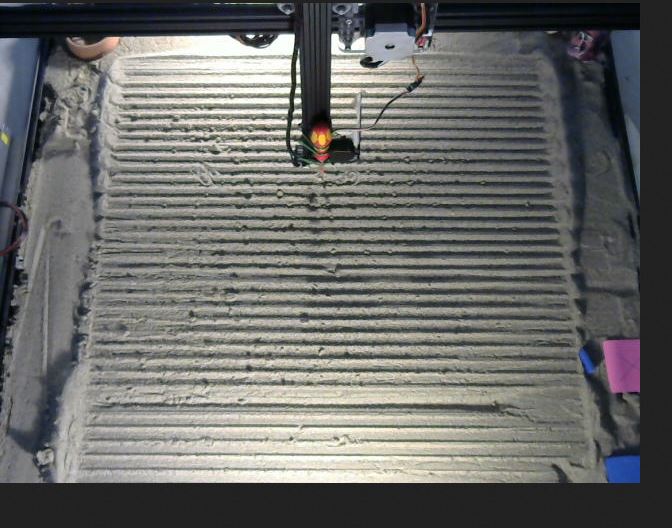
This was the machine this last Thursday, just cleaned and connected. Ready to be used by us.
Here is the link of what they made
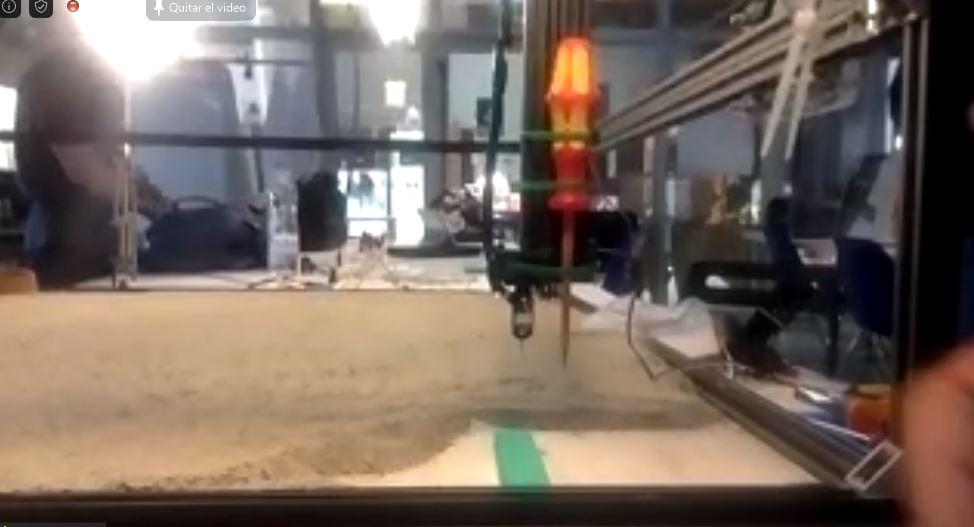
just ready to draw in the sand
The Setup
So, the schema it’s like this. They are using the Kraken. A custom CNC multipurpose machine that’s connected to an Arduino Mega. That CNC has a screwdriver attatched and a servomotor with a plate to perform some cleaning in the sand (or different kind of drawings)
Ready to screw sand and your h34rt

Clean plate DEPLOYED
But unless as we wanted to, the laser cannon wasn’t attatched to this CNC so we couldn’t play as James Bond Villains this week (for now)-
That machine (the arduino mega that controls it, that is) is connected to a rasberry pi.
Raspberry pi and microcontrollers. Similar in shape. Different in concept and purpose
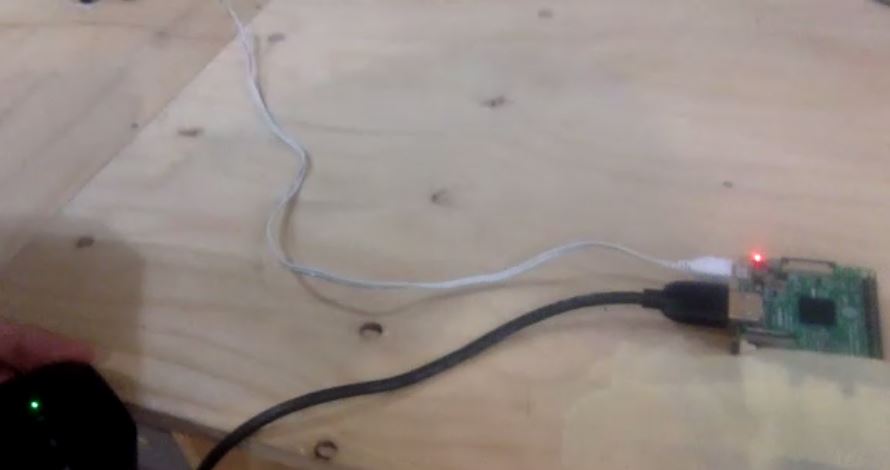
Small but powerful
At this point I think it’s important to understand the difference between a rasberry pi and a arduino (or any microcontroller). The raspberry pi it’s a micro computer. It has OS and it’s more powerful but also it’s more high level. Usually you don’t need a rasberry pi to make easy programs as we can do with a microcontroller. But also that extra power can be handy for other situations. This one is a case for that.
The idea it’s that rasberry pi runs several servers. Once for the CNC.js (the program that controls the CNC) and two more for each webcamera (to record what’s happening)
That raspberry pi it’s connected via USB (serial) to the arduino and it controls the CNC through a program, CNC.js
Then it allows remote control and it’s setted up with the router with the public IP behind a layer of authentification.
And we, as users we connect and send the GCODE (marlin) that’s installed in the arduino to control the CNC.
GCODE
Ok, luckily I had already a class on GCODE in the maker club and I’ve already drawn something in a 3D printer with a marker (more less)
GCODE it’s a machine language that’s a series of instructions coded to make the machine do certain orders. As far as we know, it’s commonly used by 3Dprinters and CNCs
You can perform individual movements via terminal or the cnc.js allows you to upload a bulk of GCODE files. (that’s a plain text file)
Those movements are better explained in the link but in this case we have to set some commands to make sure that everything goes smooth.
As I commented before, there is a servo motor with a plate. You should be aware (using both cameras) of the state of the plate so you don’t break anything.
So, the commands we had to use
G90
This sets the machine to Absolut coordinates mode. (G91 it’s to set relative coordinates from the point where the machine is) This is important because all the commands that says “go there” need a frame of reference.
G21
This sets units as milimiters. Because we don’t use imperial system here. M3tric 4ever.
M280 P 1 S 90
Remember that servo I’ve mentioned before? You better do, because this sets up the position of the plate so you can actually can touch the sand. Now, what exactly this command does it’s to say hey, to the servo motor 1 to set into the position of 90 degrees. You have to make it before the next command.
G28
This calibrates the home for x, y and z. This is important because maybe there are any kind of mismatch between where the machine think it is and where actually is. This reduces the error to thero. If you’re on a hurry you can only set G28 X Y to skip the slowest part of the Z calibratiion.
Constrains
It’s important to know the physical constrains of the machine. In this case the Z it’s set around 10-20 to draw (not exactly). The speed (Set to 3000 with a top to 5000) and x and y from 0 to 700 mm
Now we’re set to go.
Wait. We have to TRANSLATE A DRAWING INTO GCODE. And we’re recording this. HALP
Setting a drawing into gcode.
Ok, that day I freaked out a bit just because my internet connection wasn’t good enough so I had some problems. First we need a drawing. If you have one but you need to vectorize it you can check out the week2 because [I have some info for you!](http://fabacademy.org/2020/labs/barcelona/students/david-prieto/assignments/week03/#vectorizing-images
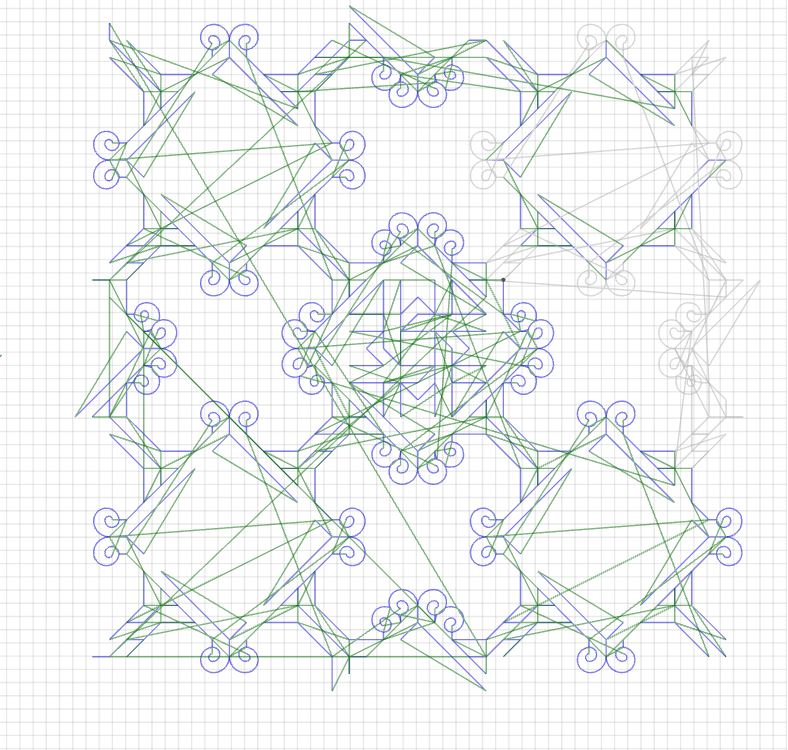
In my case I have already a drawing that I made in illustrator so it was already vectorized. Yay.
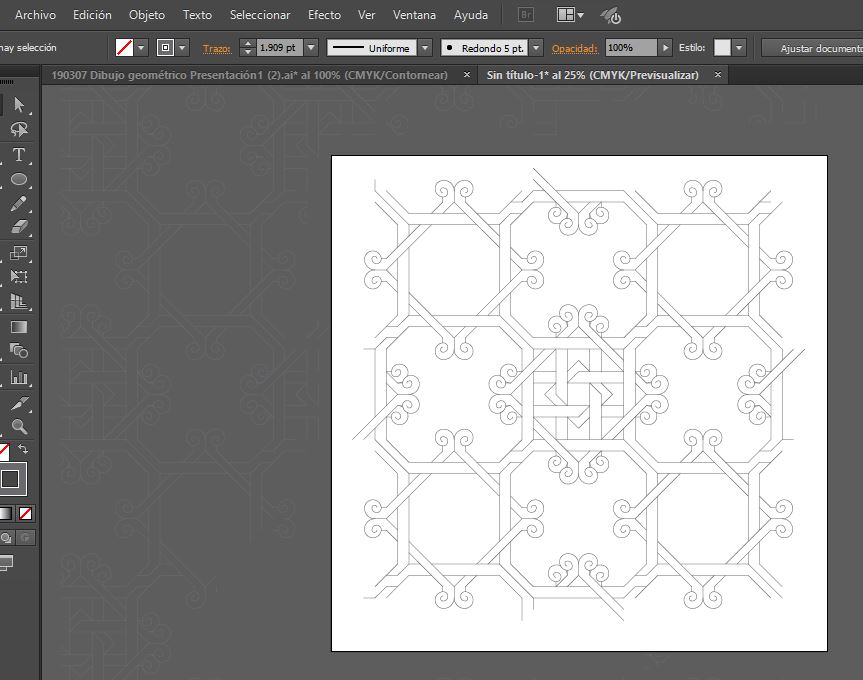
This is the physical version in my instagram
Then I setted up the scale (the dimmensions of the bed are setted up to 700 x 700 mm)
For this I set the part I want to trace as paths (or traces) without any filling.
Now I have a svg (in illustrator you can save as svg). And I tried some options to go through. In this case I didn’t have installed in the computer I’ve used inkscape (which has several plugins, but the most comon is gcodetools, that’s some Russian made). I’ve also found an standalone little program called SVGtoGCODE. That it was small and cozy but it translated everything into inches = (
I also found another python and rust program to make gcodes but I couldn’t make it work.
So later that day, Edu sent us a grasshopper code to make gcode specifica for that machine. Cool! (and also the cleaning code)
In this case Rhinoceros it’s a program who can import many vector files (including svg) so using grasshopper was easy.
The only thing it’s that to make the file you have to copy only data from the panel and paste in the text editor. If you press “copy all” you’re going to have the lines of the code like this:
35 G1 X34 Y45
instead of:
G1 X34 Y45
(and you need the latter)
Cleaning the GCODE and the Cleaning
Ok, now I had some trouble with the cleaning because if you cancel the operation, the plate of cleaning it’s still down. So you have to manually put it back again for the cleaning.
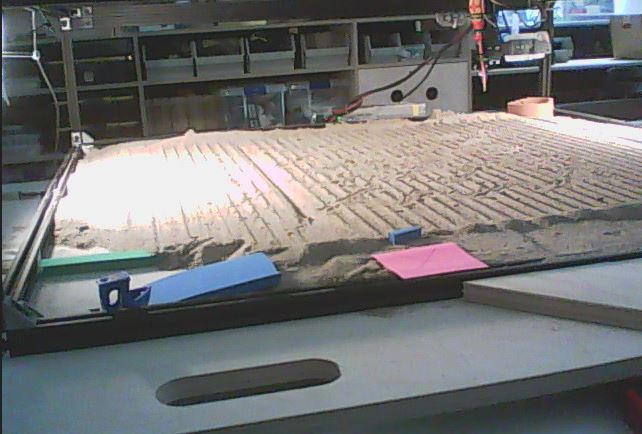
Also since I tried the drawing once but the sand was uneven. I had to adjust the Z values several times. First to 67 (that was the default value), then to 60, then to 50, then to 47, then to 43. And when I made it with 40 I finally erased the drawings that were before me.

Erasing the previous drawings
erasing done
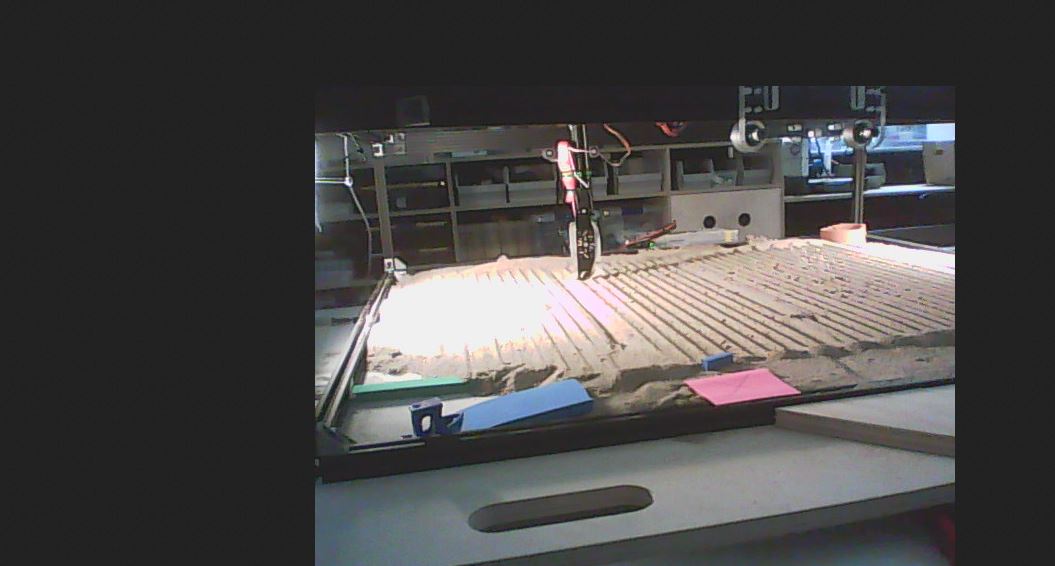
Here you can see that the left part it’s lower than the upper part
I passed once again, this time with a Z set in 41 hoping that it make the lines blurrier
The solution would be better make the passing more frecuent but I didn’t have the time because we all share the same machine.
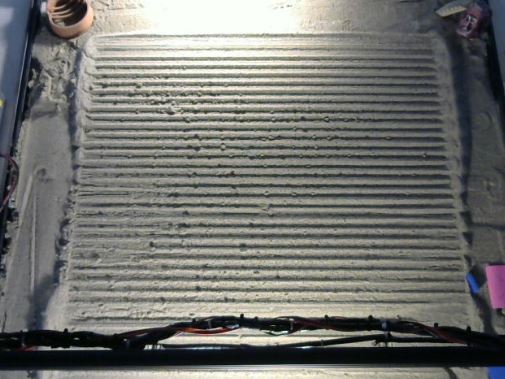
ready to go after the second pass
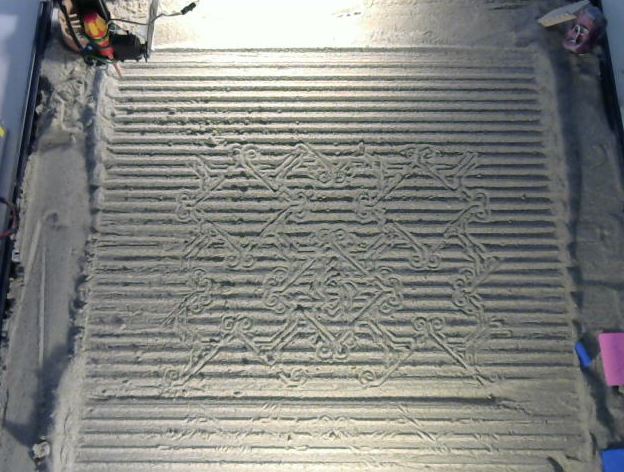
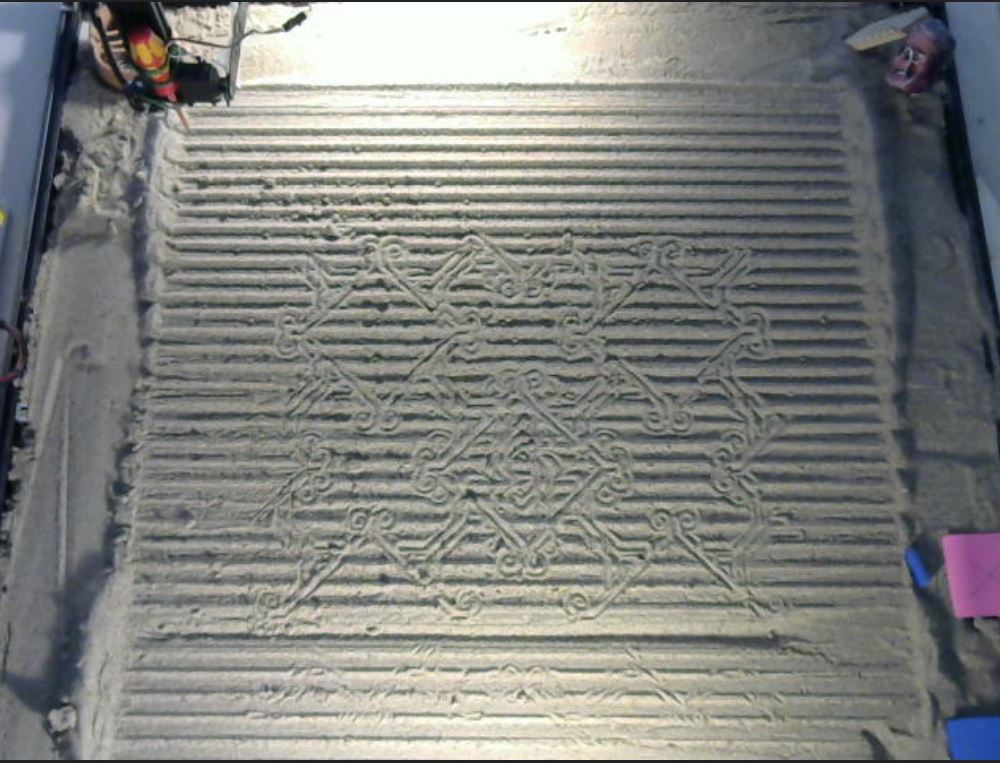
The actual drawing
Now we can upload the gcode we have made to the CNCJS
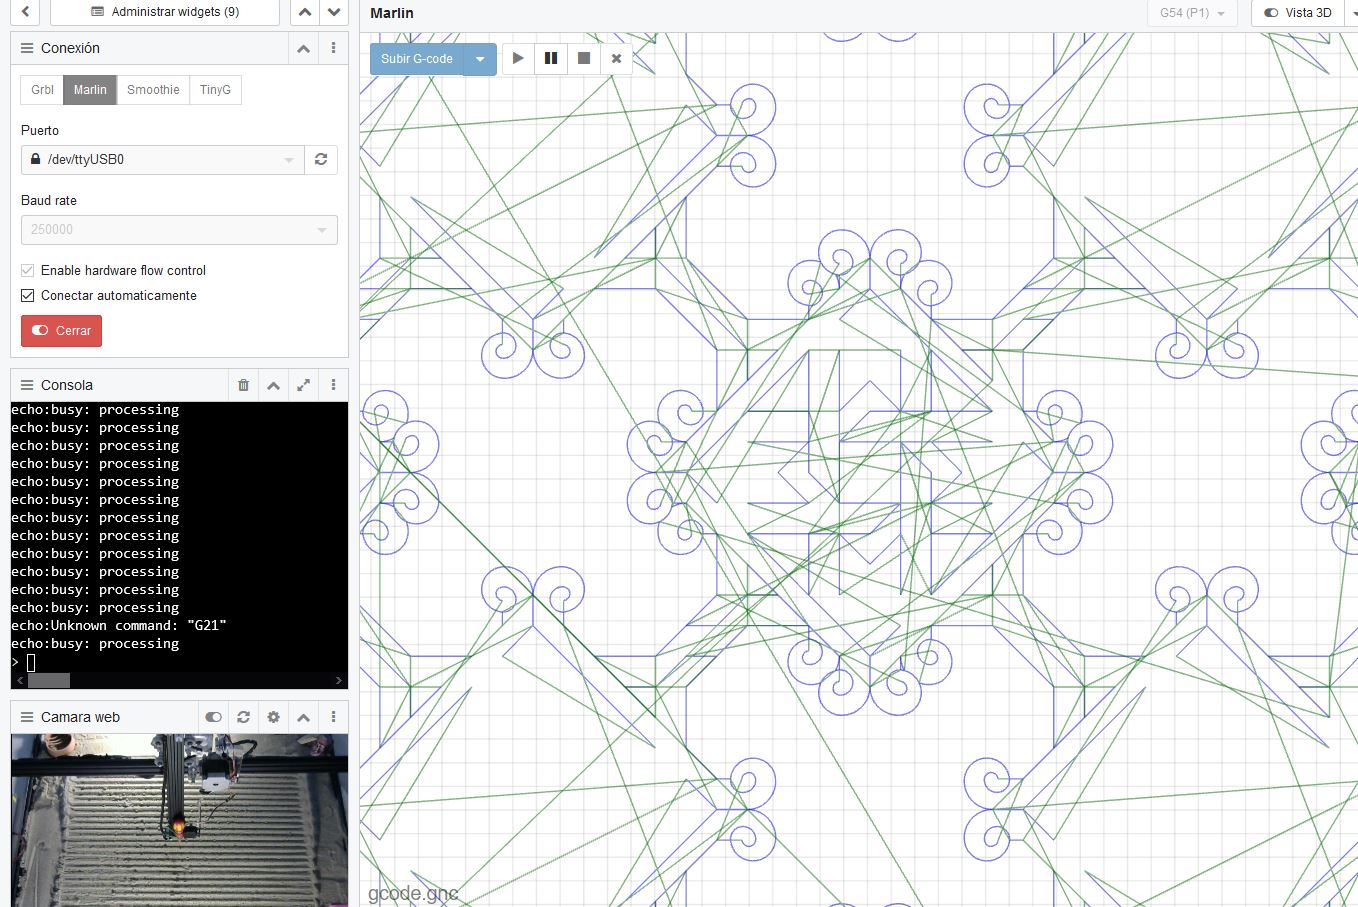
the gcode preview draws also the on air passes
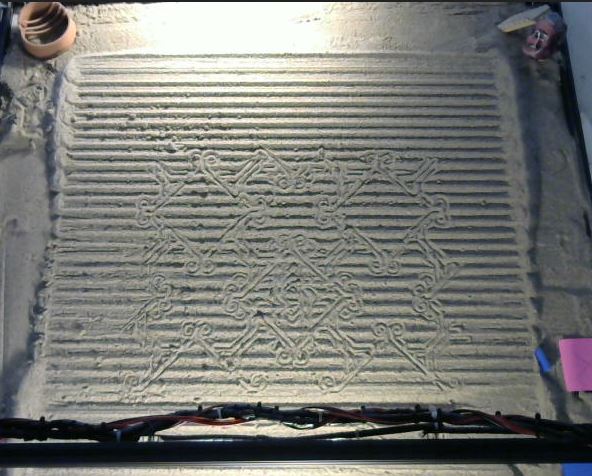
Once I upload the code, I setted up the Z to 19 and when I check that it’s drawing in the air, I setted again to 15. And here the result!
I like the output of the CNCJS when it’s in the middle of the drawing
Next step
Inflatables
One of the thing I liked was the sealed bags that I saw as an example of wildcard week.
For now I only have some links, but I will have more!
https://www.facebook.com/adriana.cabrera.1048/posts/101552510329516314
https://gmwgroup.harvard.edu/soft-robotics
http://archive.fabacademy.org/2018/labs/barcelona/students/javier-alboguijarro/week16.html
Design files
Remember to use download link as.. to download the files.