Moulding and Casting
- Salem AlMarri
- Super FabLab UAE
- Last Reviewed on 18/3/2019
- Last Modified by Salem AlMarri
Introduction
This week's task is to make a mold out of a wax block material "stock" using a CNC milling machine. Then, this mold would be casted by pouring a liquid material on the mold. The liquid would then be solidified taking the shape of the mold.
3D Design
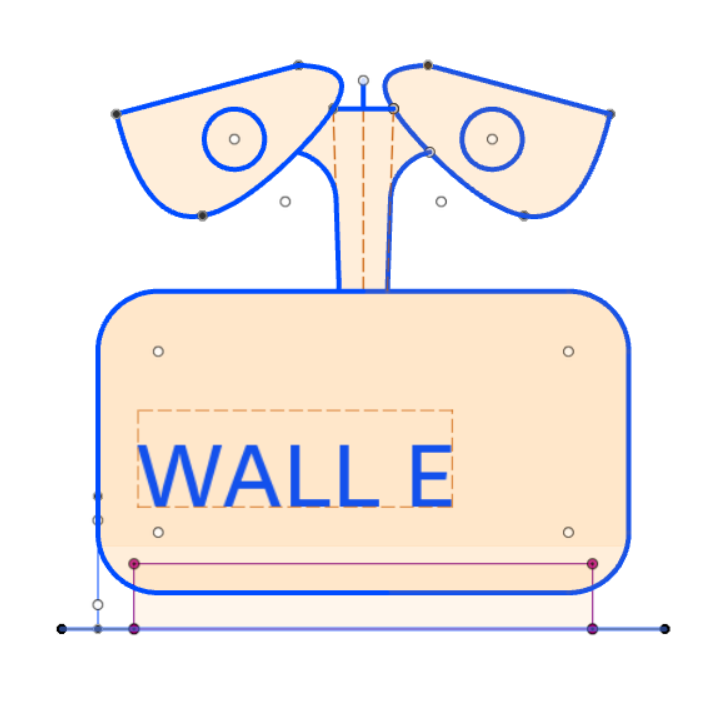
The design is based on WALL-E Robot. The drawing and design was made from scratch, and most of the features are influenced in some way by WALL-E.
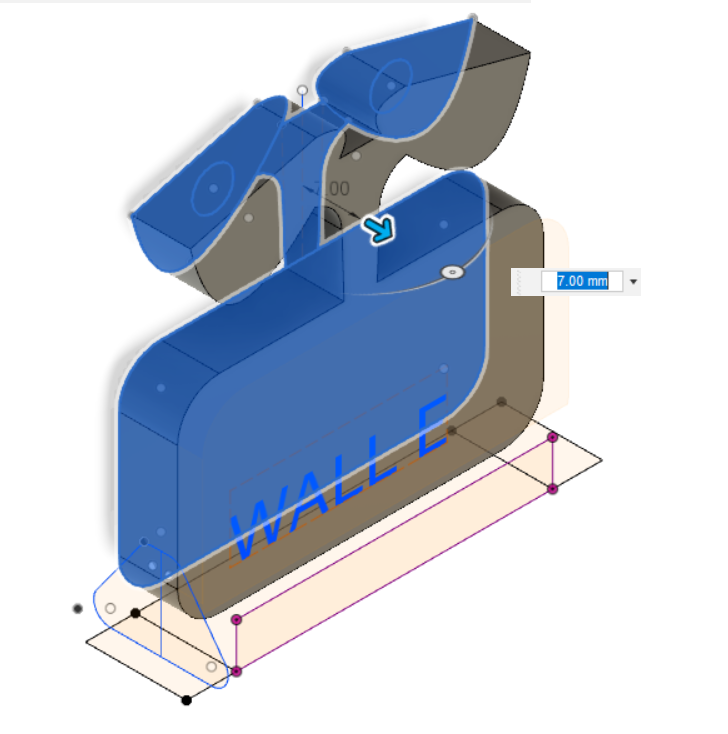
Extruding the drawing into 3D. To experiment more features, a different extrusion distance can be made for the eyes, robot neck, and body to add more details.
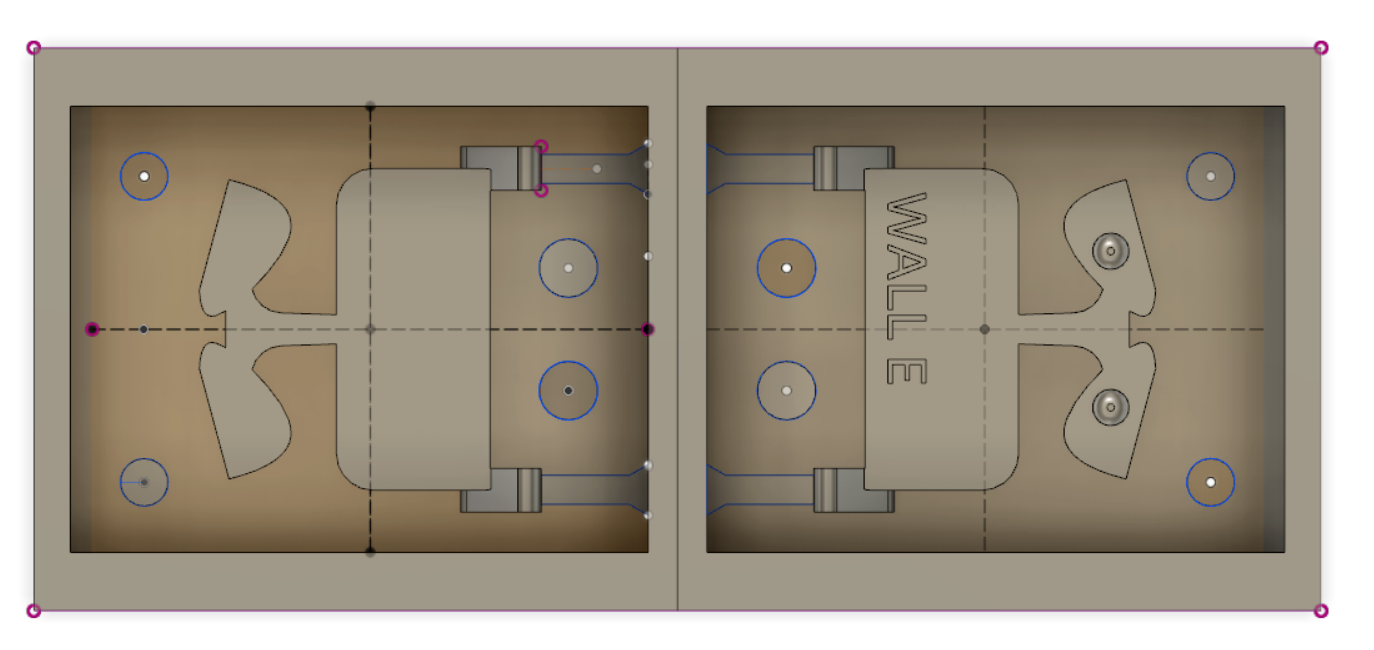
The extruded material was moved to mold template used in our FABLAB for our stock wax. (Made by my mentor Mr. Danielle Ingrassia)
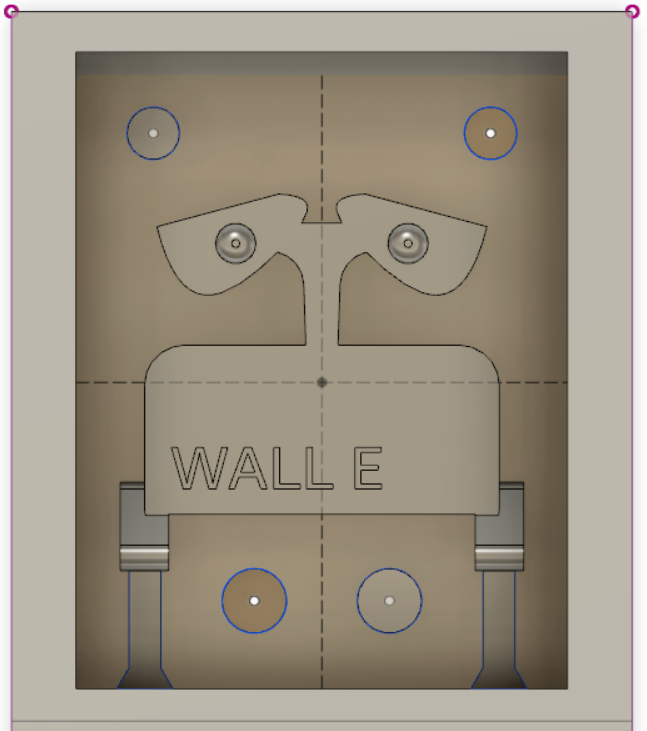
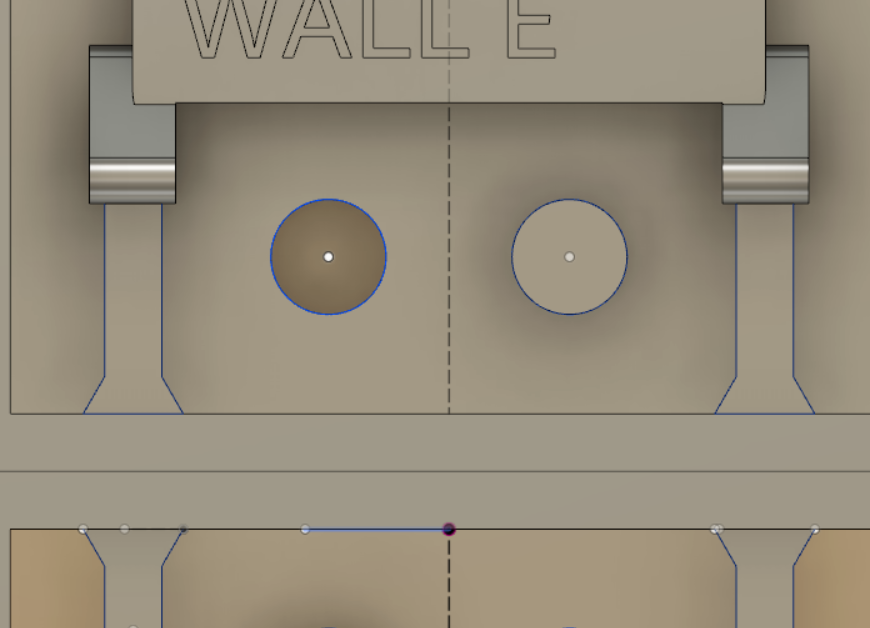
In the following screenshot, a sketch was created on the surface which includes both a pathway for liquid to be inserted in and another one for the air to move out. In addition there were four circles which were drawn, two of them will be extruded inwards and the other two would be extruded outwards. These circles would serve as pillars, or joints that would hold two sides of the mold together during casting process.

A closer look on the extruded sketch from previous picture, the sketch and extrusion is also mirrored on the other side of the stock template.
End result of designing process.
3D Design Manufacture
In this process, we are making a setup for each tool pathway process which would be used to manufacture and produce our mold. In this process, we specify each milling bit for each tool pathway and specify the process, whether it is adaptive clearing, and parallel clearing etc.
Milling tool for roughing.
Milling tool for small letters.

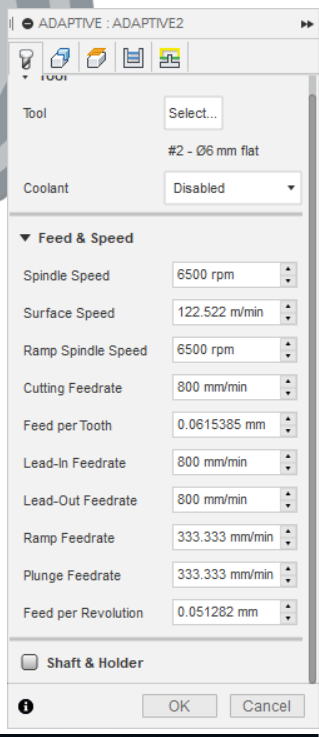
Tool pathway settings, in hear we can specify the spindle's speed and other parameters, in here we can change numbers for faster milling or finer milling.
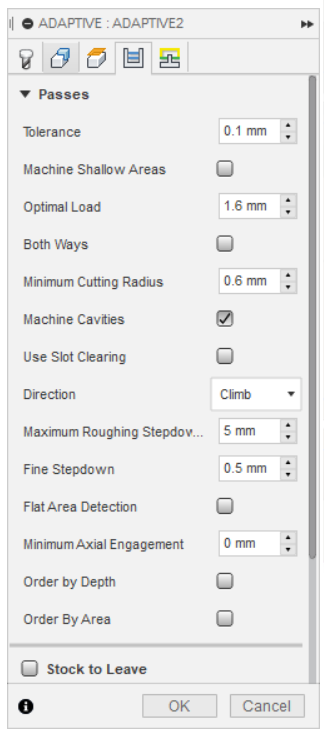
In here, passes can be configured, the parameter we tested was fine stepdown value. The smaller the value, the longer time it would be required for milling the pathway.
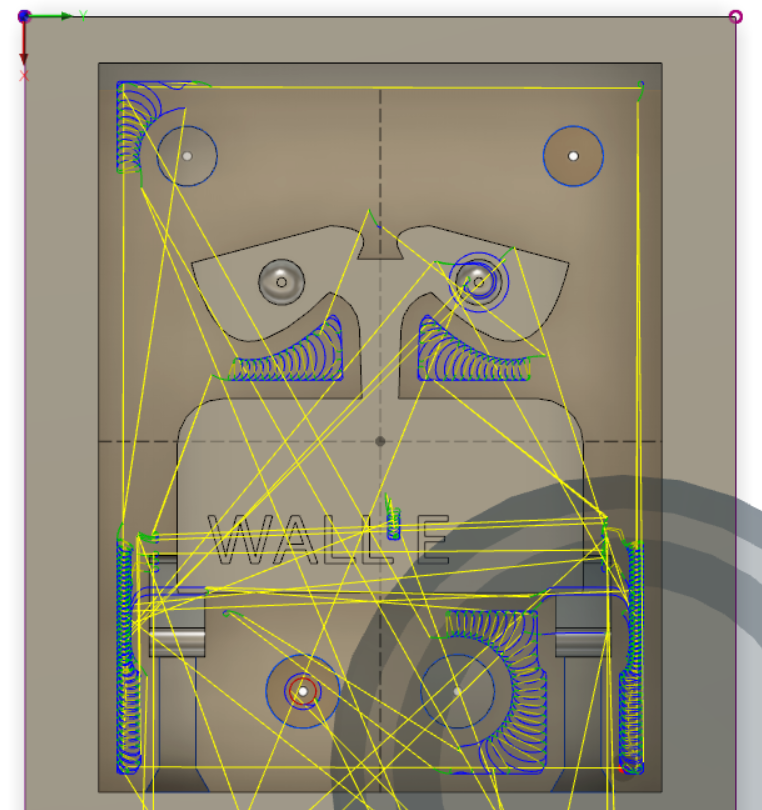
Simulation of tool pathway (Adaptive clearing), in here we can take note how with a bigger milling tool we are saving time and roughing out most of the layers. Afterwards pathways for finer ball-end milling tools would be made for finer details.

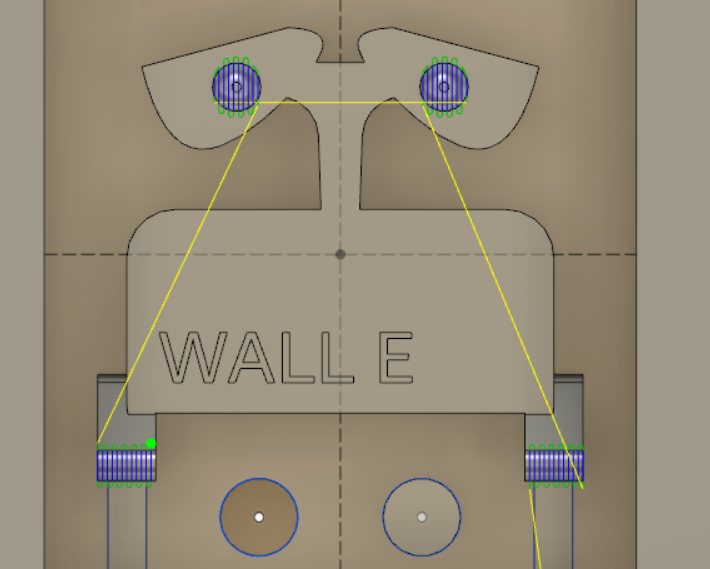
Adaptive clearing with a smaller milling bit.
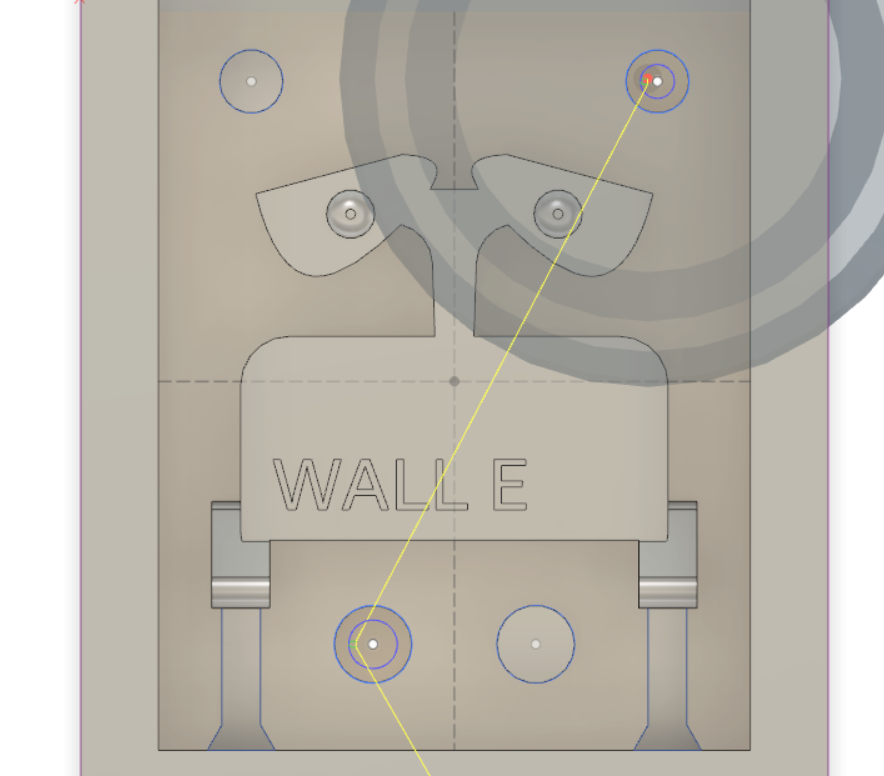
Circular clearing for the holes.
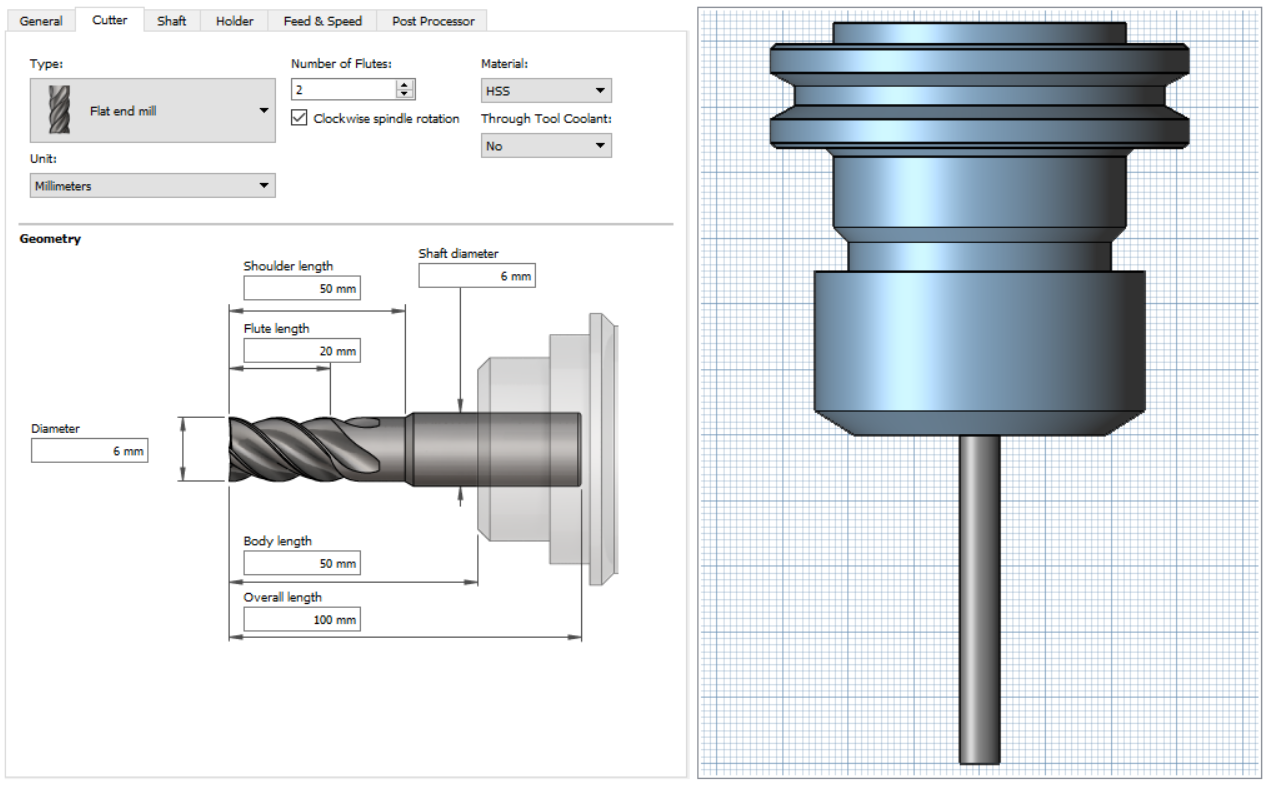
Parallel clearing to produce 3D details for eyes and robot's wheels.
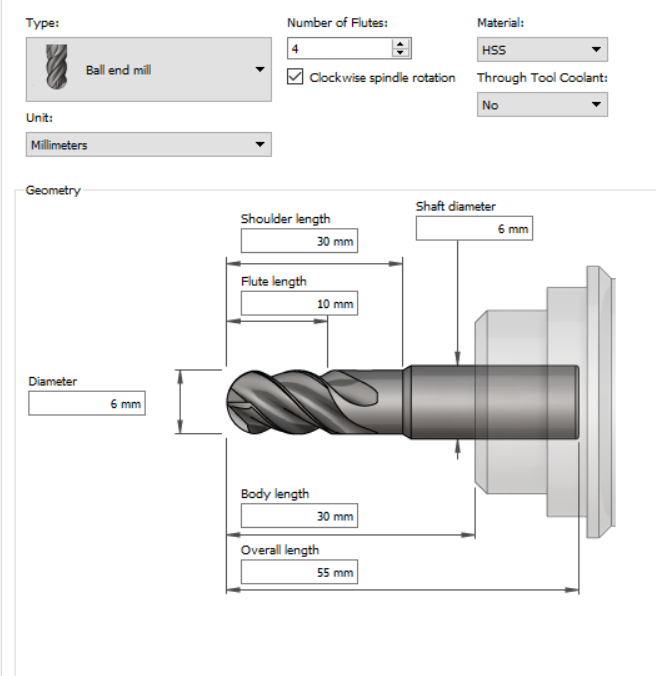
The parallel clearing was made using the following tool, a 6mm diameter milling bit which is ball end mill.
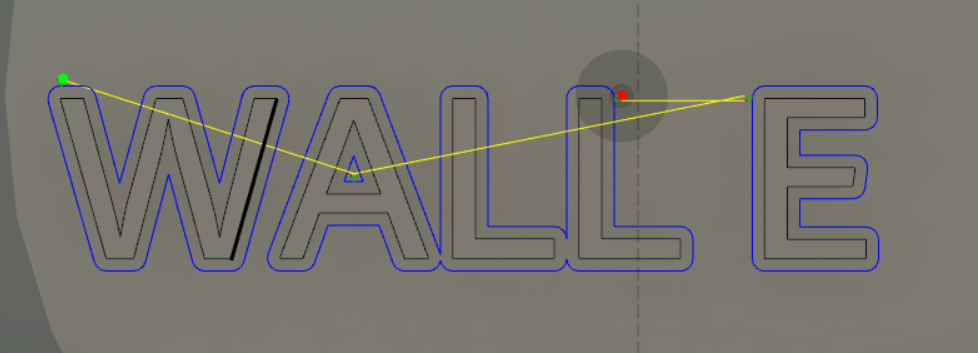
With 2D contour, and a 0.8 mm tool, the letters were milled on the object.
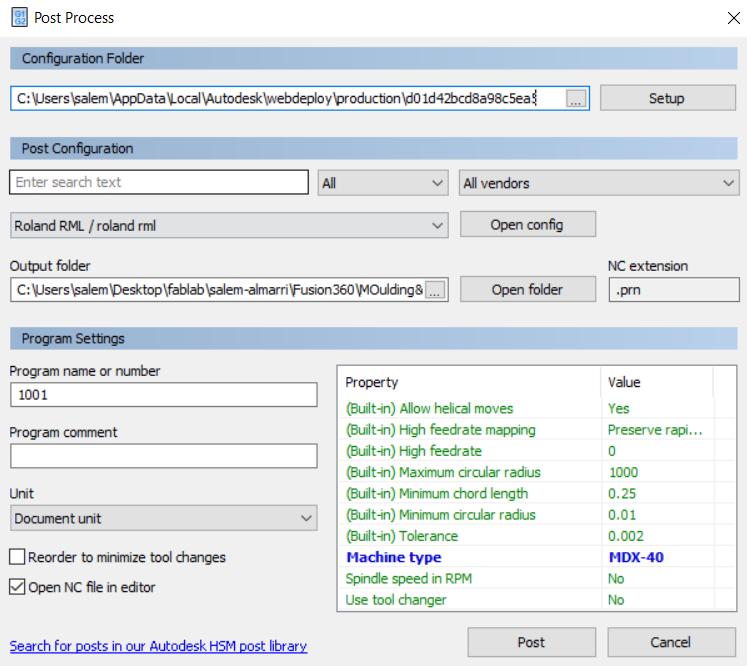
In post-process, there is no option for our Roland machine, the closest machien is MDX-40 of Roland, and it works.
Mold Manufacturing
This week's task is to make a mold out of a wax block material "stock" using a CNC milling machine. Then, this mold would be casted by pouring a liquid material on the mold. The liquid would then be solidified taking the shape of the mold.
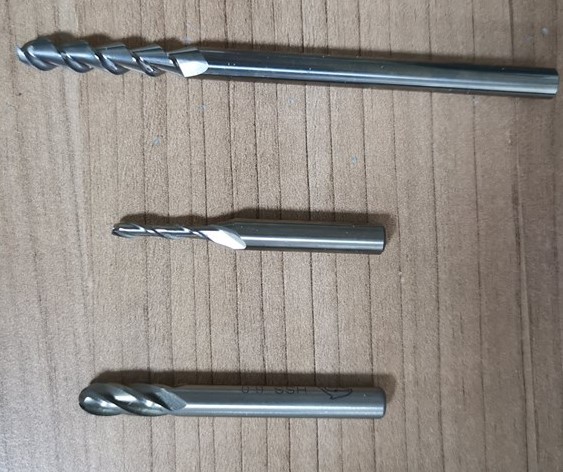
Three of the milling tool bits used for milling the wax mold.
Stock wax material along with the double-sided tape.
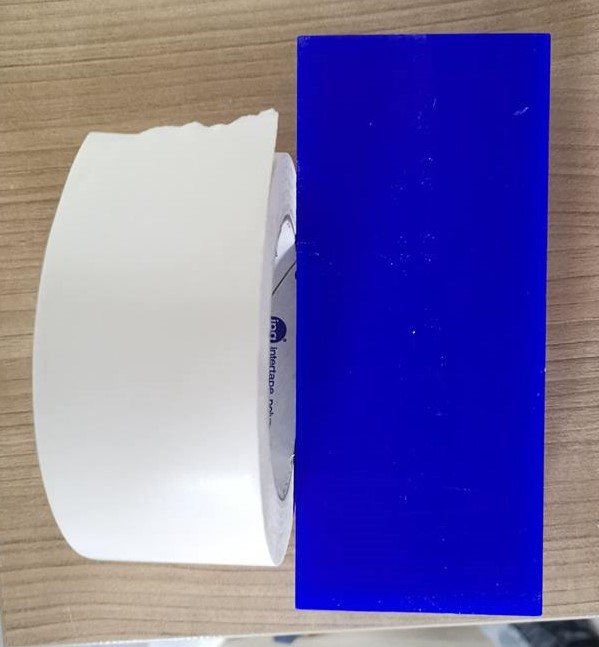
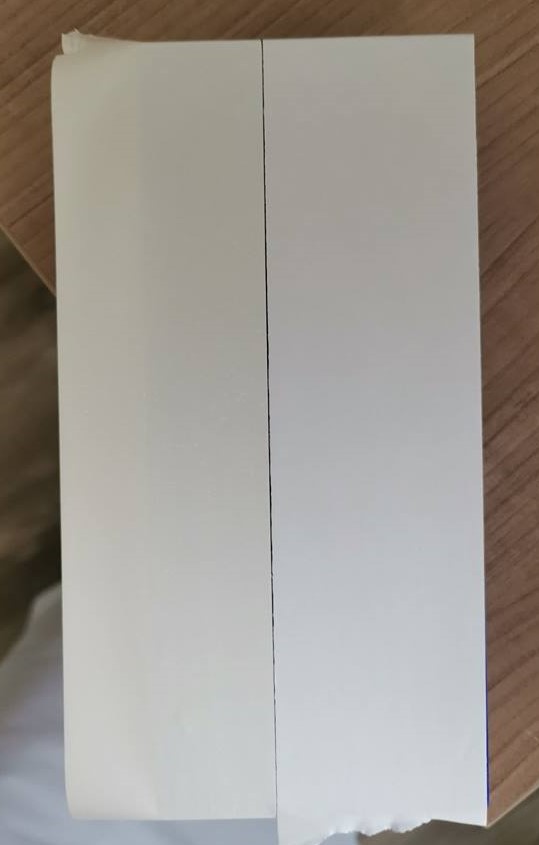
Applied double-sided tape on the wax material.
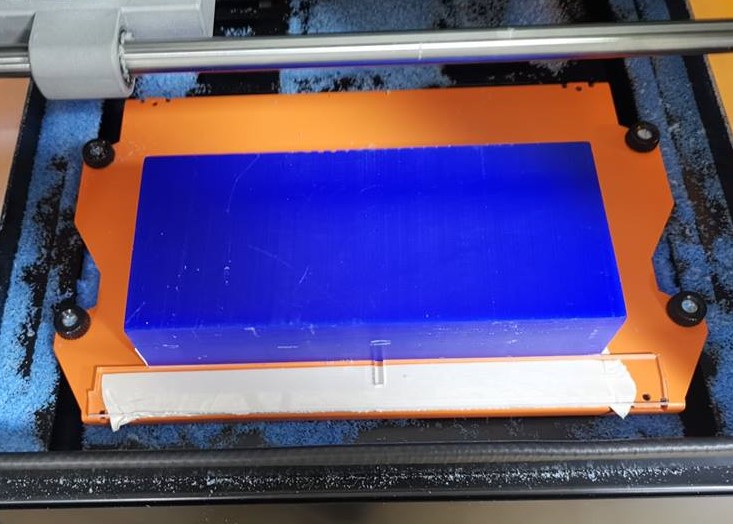
Placing the wax stock in the Roland machine.
Placing the spindle, and zeroing X/Y/Z axis. Note that for each pathway and tool replacement the z-axis must be zeroed.
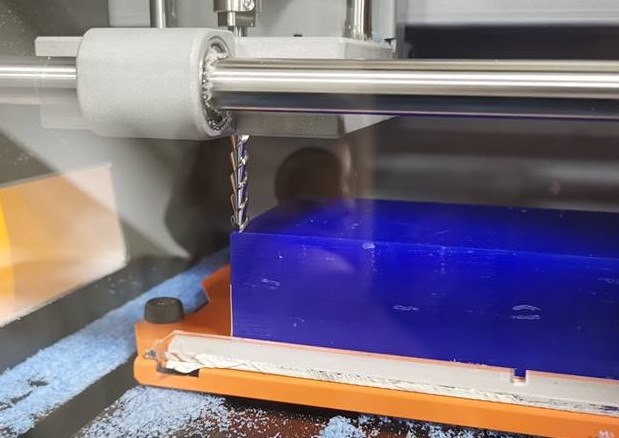
Starting the milling process.
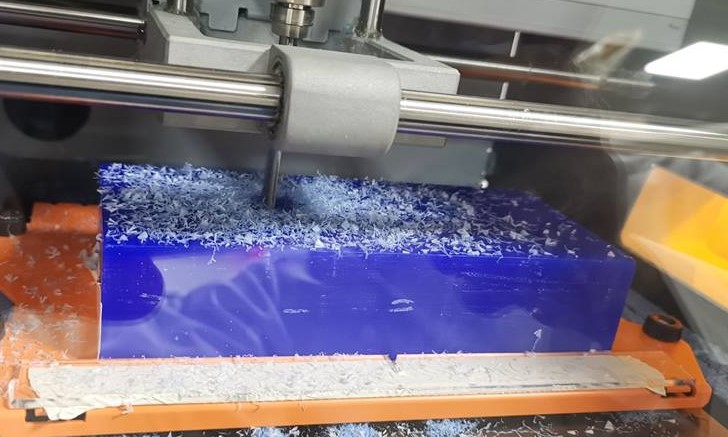
Results of first milling process.
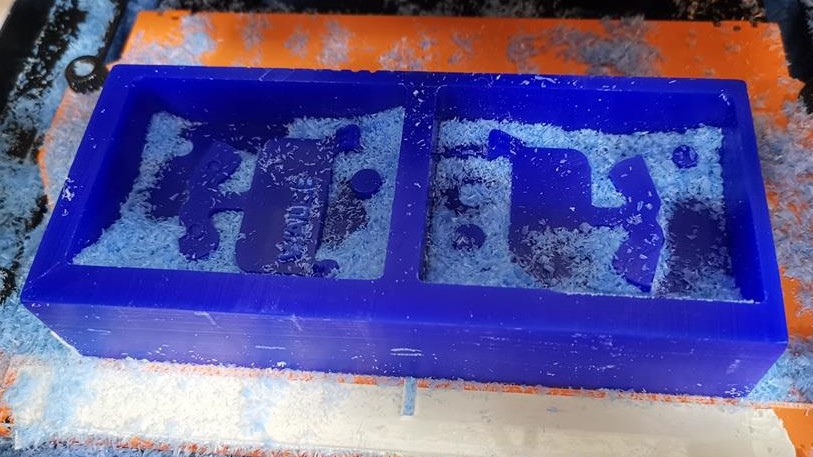
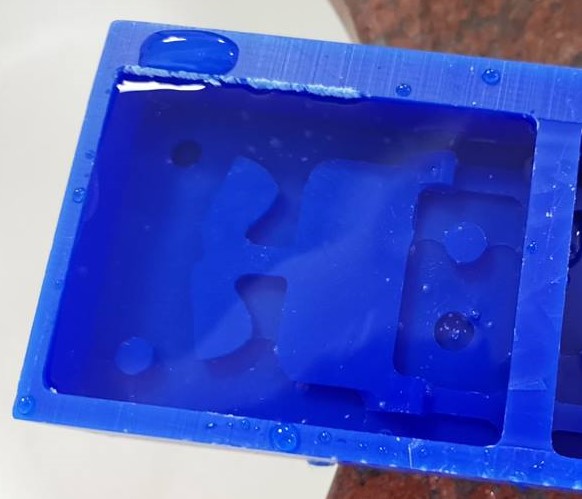
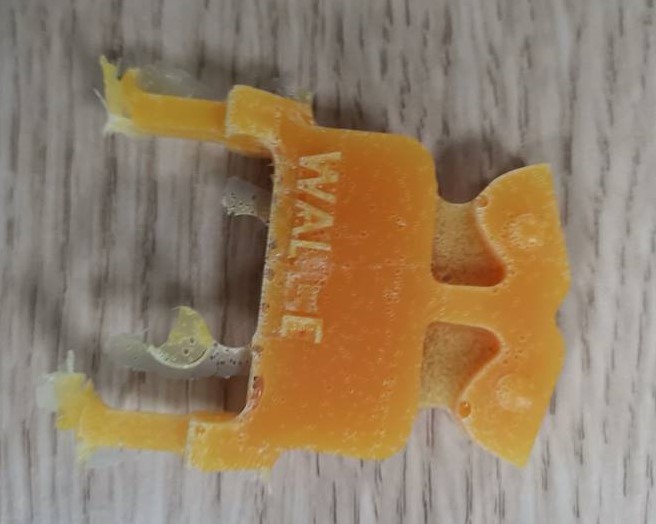
The mold must be cleaned carefully with water and dried, applying excessive force would cause minimal damage. This minimal damage caused my WALL-E mold to become WAL -E.

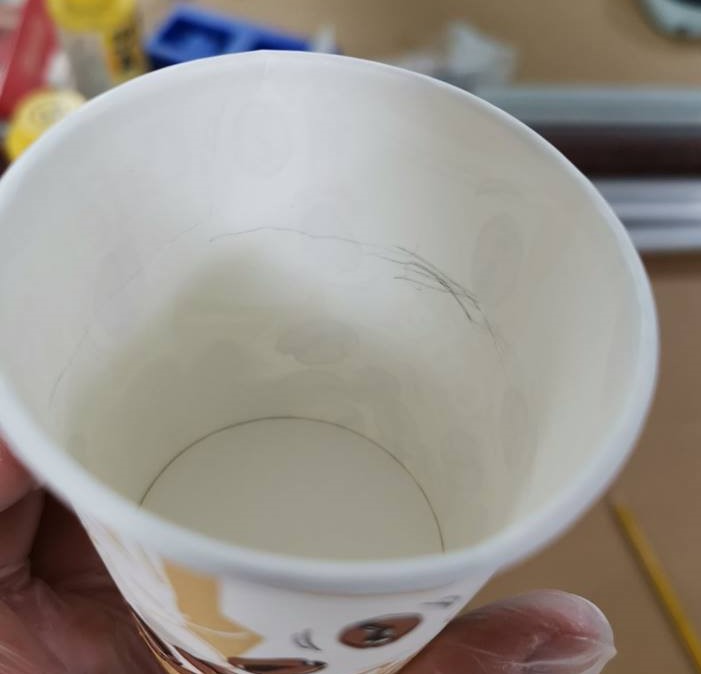
To estimate the volume required for one side is to fill the side with water, and pour it to a cup. The volume would then be marked.
Cup marking representing the required volume for casting the mold.
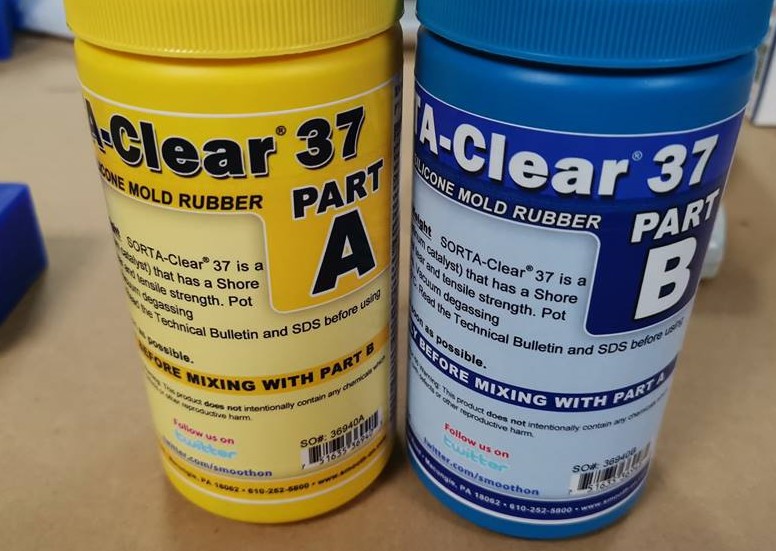
Silicone mold rubber SORTA-Clear 37 is the material used to cast the mold. (semi-flexible material): Reading the manual we learned that this silicone rubber is food and skin safe. Also the mix volume is 1A:1B volume mix ratio. In terms of safety it is required to wear safety glasses, long sleeves, rubber gloves etc. The curing time is 4 hours.
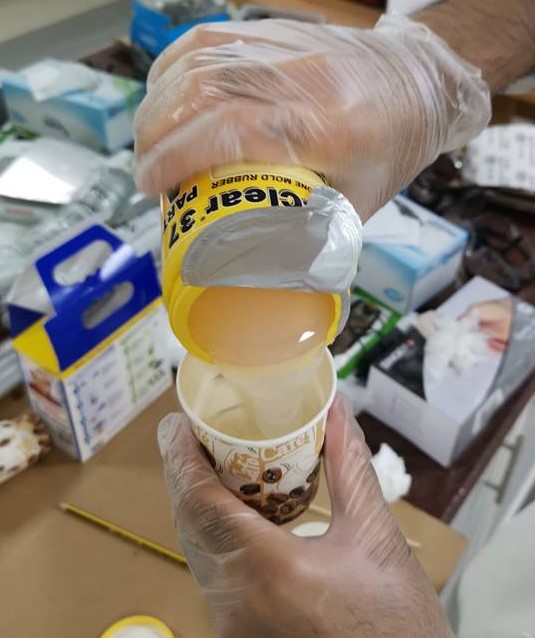
Pouring part A into cup.
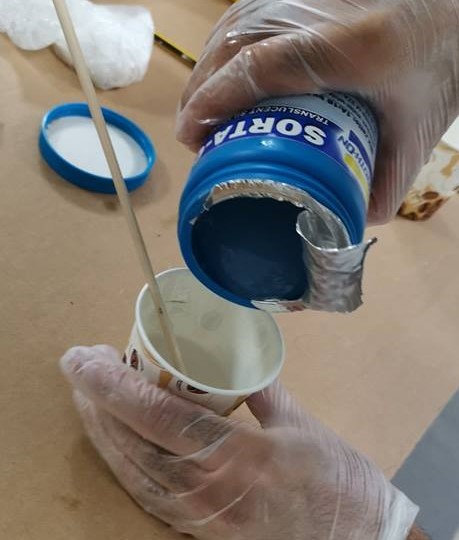
Pouring part B into cup.
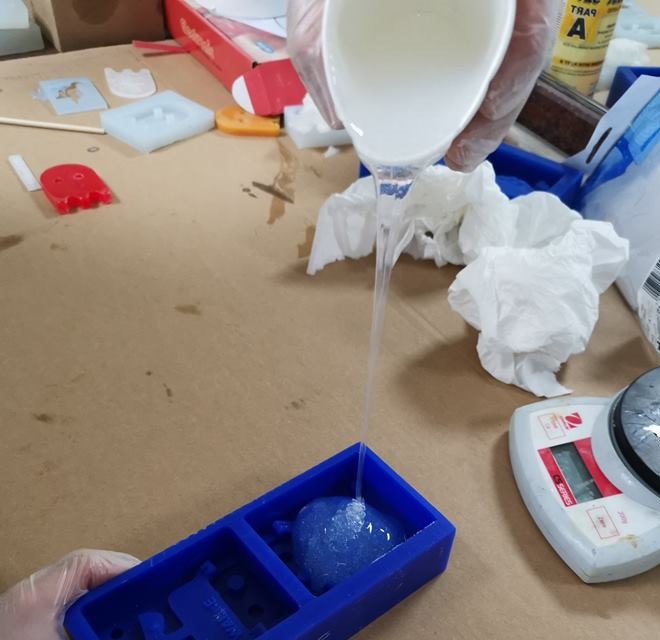
Pouring mixed liquid into one side of the mold.
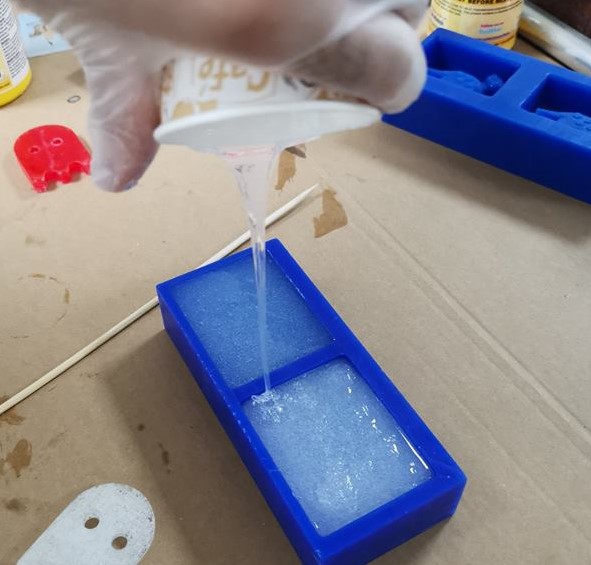
Pouring mixed liquid into the other side of the mold. Afterwards we wait curing time which is 4 hours as specified by material manual.
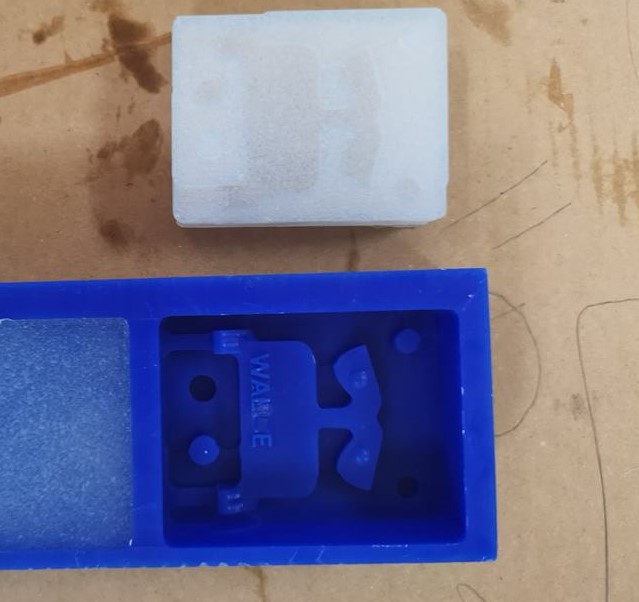
After the 4 hours cure, carefully insert a sharp tool on the edges to remove the casted mold.
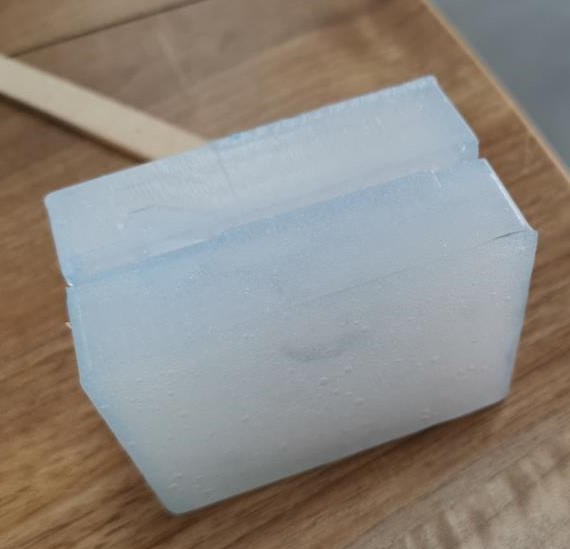
Verify whether both sides fit into each other. Note that 2 holes and 2 pillars were made to help fitting both sides together.
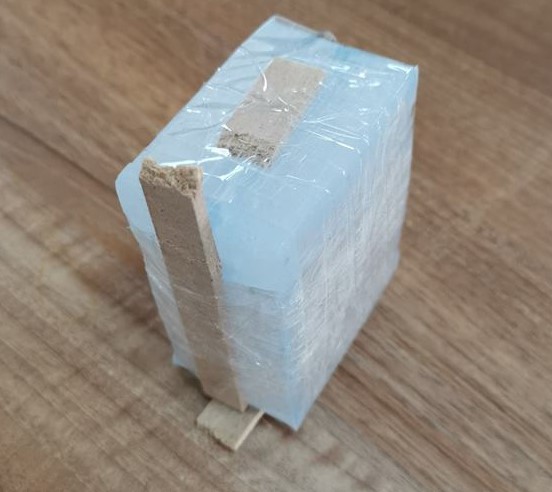
Recycling material like the fulling would be used around the two faces of molds along with tape to ensure that the mixed liquid won't find a way outside the mold in the process of casting.

Taping both faces while placing a piece of MDF wood around the mold.
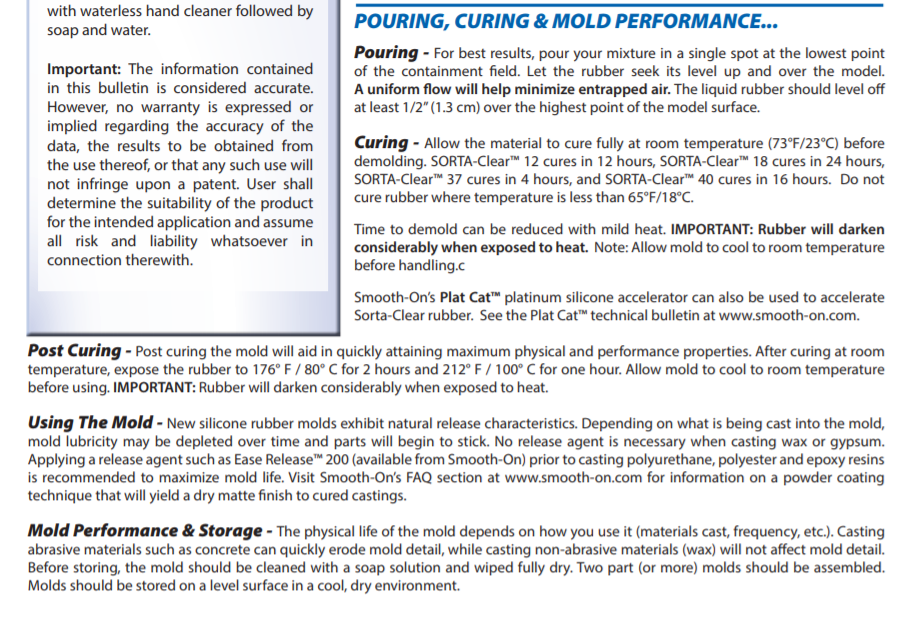
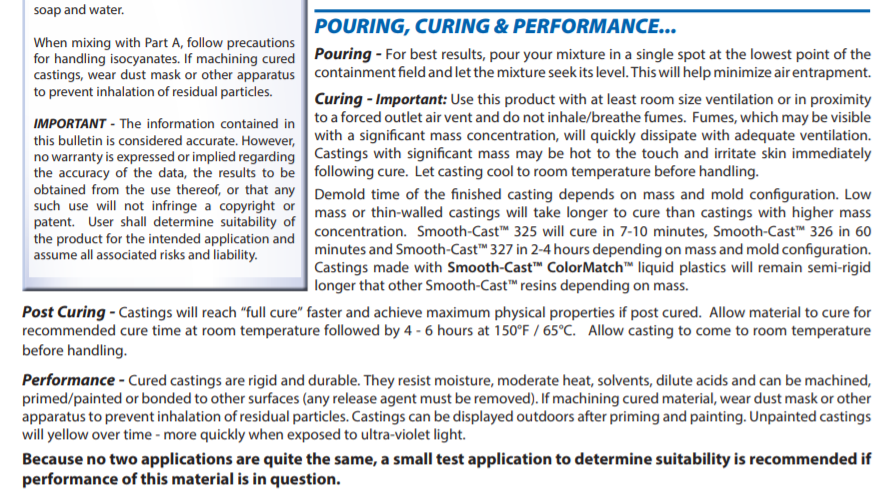
The casting will be made using the following material. Smooth-Cast 325: According to the manual, this urethane resin is specifically designed for adding color pigments. It takes 2-4 hours for curing. The mix ratio is 1A:1B by volume. In terms of pouring for best results, pouring into a single spot of lowest point achieves best result if air particles were minimized.

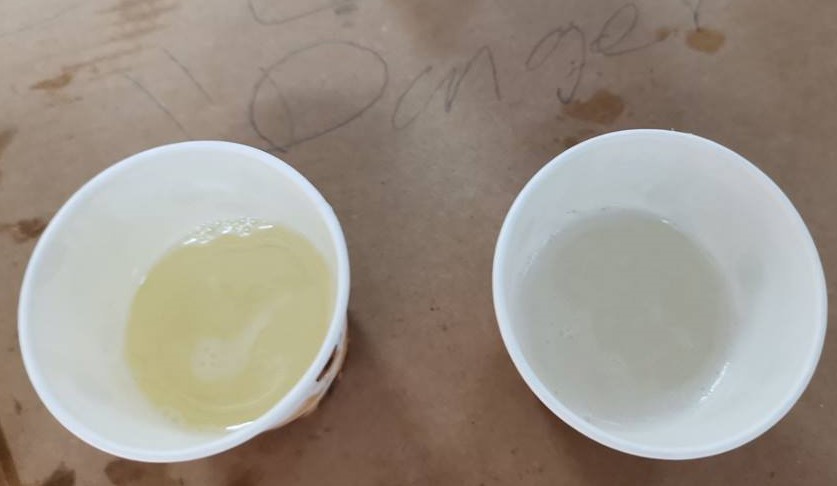
Both bottles were shaked well before being poured separately into two different cups.
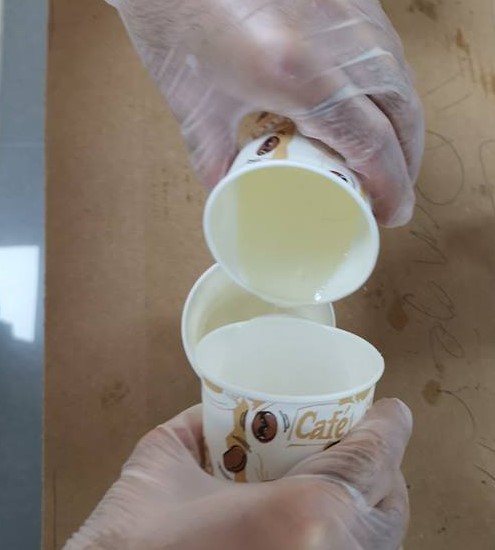
Pouring both cups into a third cup slowly.
A color like the following can be added to the mix.
While mixing A and B, color pigment can be added.
Before pouring the mix, I have added a paper cone into the mold. The mix is then poured slowly in one of the two holes, the other hole was made for air to escape the mold.
After curing, the material such as the MDF and tape are removed.
Removing the MDF and tape which was placed around the mold.
Result of the casting within the molds.
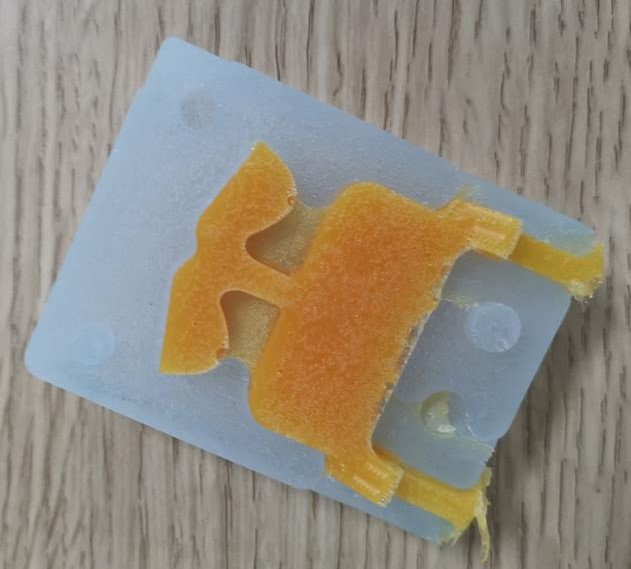
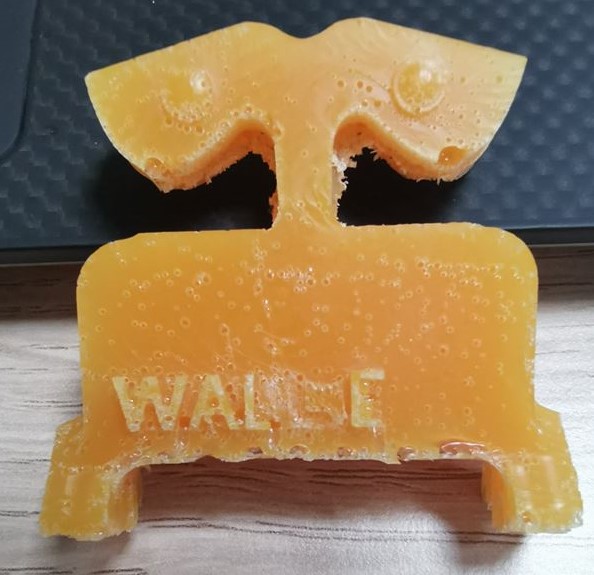
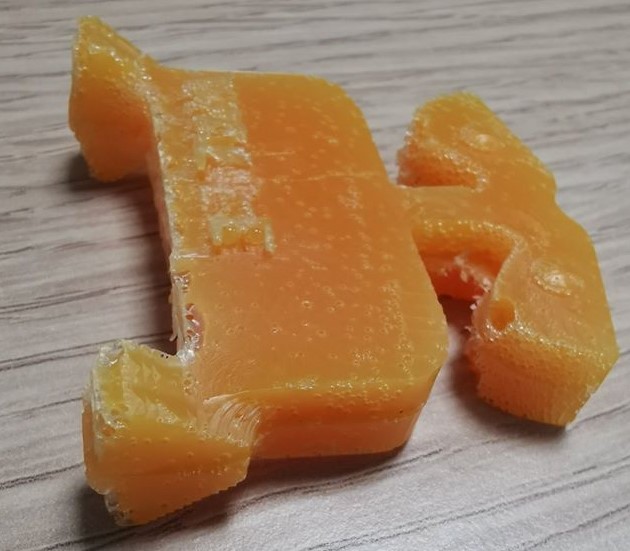
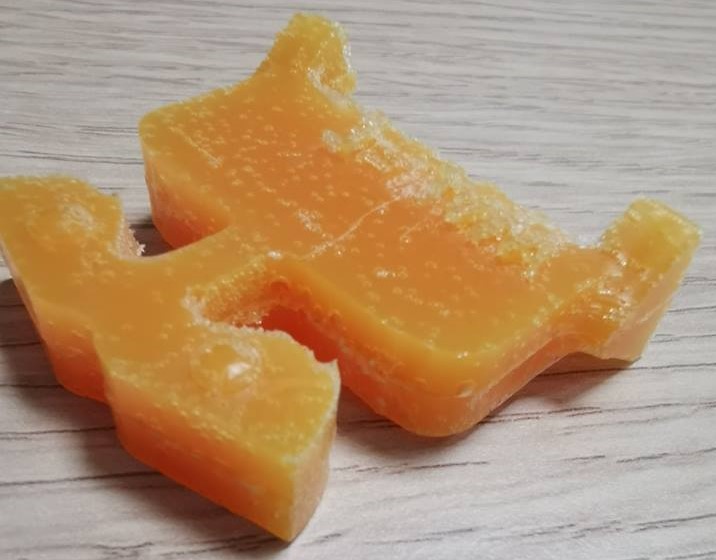
Removing the cast from the mold, the result is as follows.
The two eyes can be seen rounded, and the space between the wheel and the body can be seen as not right angled but filleted just like the design. Although by decreasing the step size from 0.5 to a lower number, this details may be even finer.
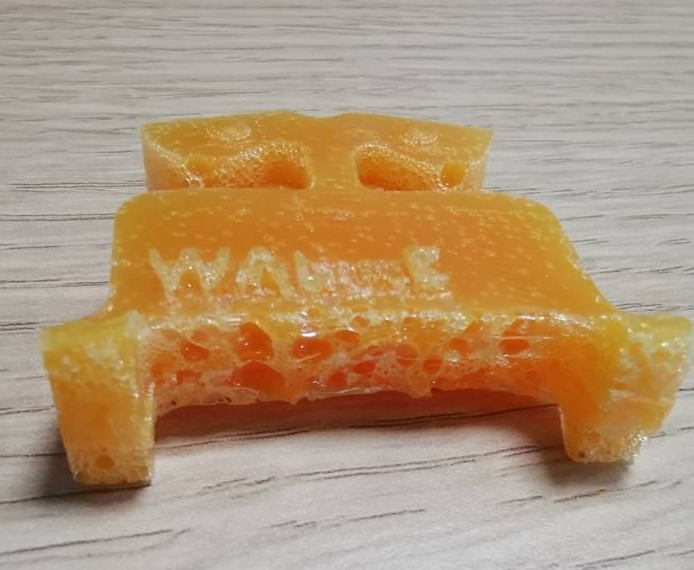
The bottom part, were the casting was, we can see lots of air was trapped and did not find its way to leave the mold. This is unfortunate result.
The upper parts like shoulders and eyes (which were at the bottom at time of casting), seem to have very little bubble formation.
After removing excess material, the final result is as follows.