Wildcard Week
- Salem AlMarri
- Super FabLab UAE
- Last Reviewed on 30/07/2019
- Last Modified by Salem AlMarri
Introduction
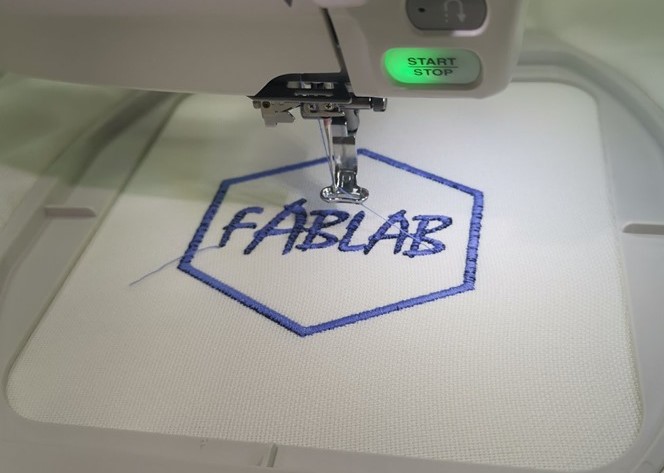
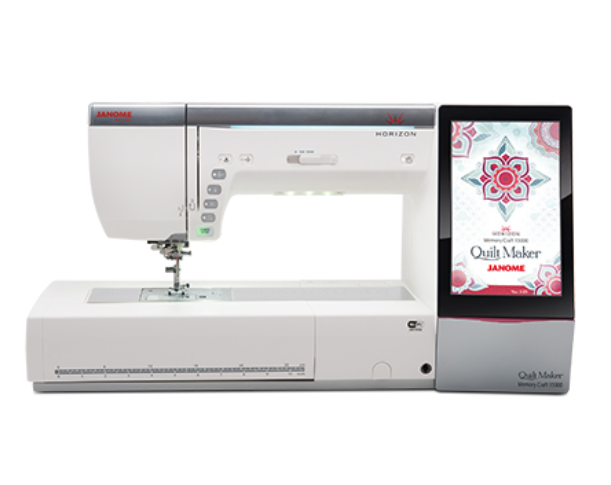
In this week I decided to learn how to use Horizon Quilt Maker Memory Craft 15000 machine from Janome. I never thought that one day I will be using an embroidery machine, nor have I worried about inserting a thread inside a needle. It all became interesting to me when I have learned that such machines like this one existed. Especially when all you have to do is design something, prepare the requirements, and the rest will be taken care of by the machine.
Automatic Embroidery Machine
Computerized embroidery machines is a sewing and embroidery machine can be used on garments, quilting, home decor, shirts, etc. The machine use this week is found in the below image. The Hoirzon Quilt Maker Memory Craft 15000 from Janome.
Preparation
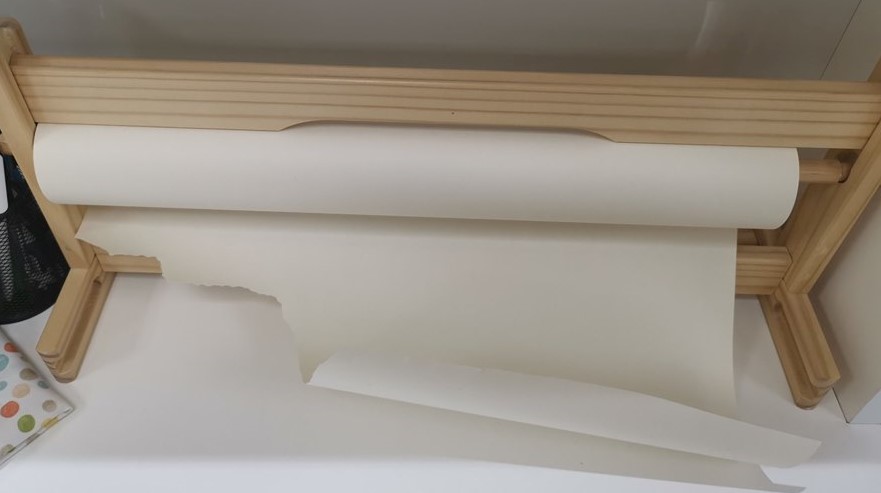
There were three available textile rolls at our disposal in the lab.
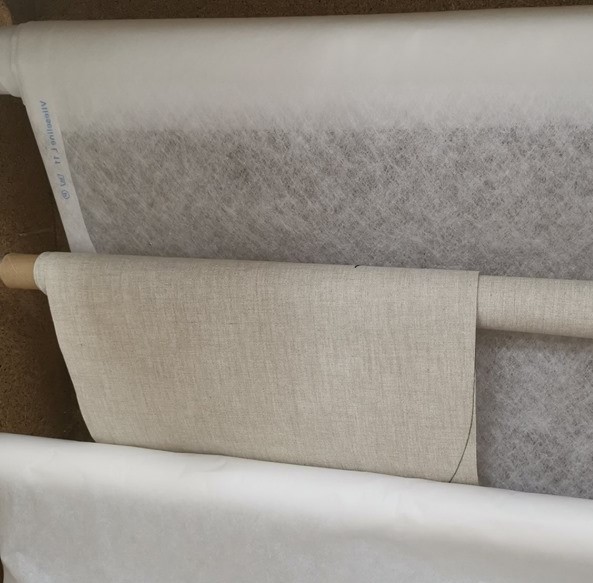
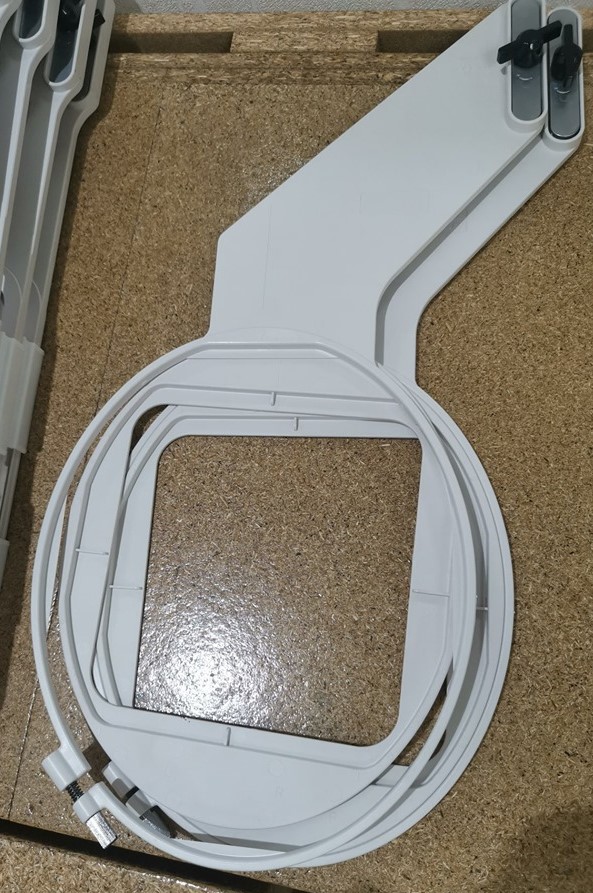
A hoop, which is a strip used to hold the textile material in a structure which can be fixed on a bracket to position the garment correctly underneath the needle. The embroidery work is only done within the hoop area.
To support the textile inserted in the hoop structure, a paper taken from the roll below is placed within the hoop just behind the textile. This way the textile is supported and the embroidery work is done neatly.
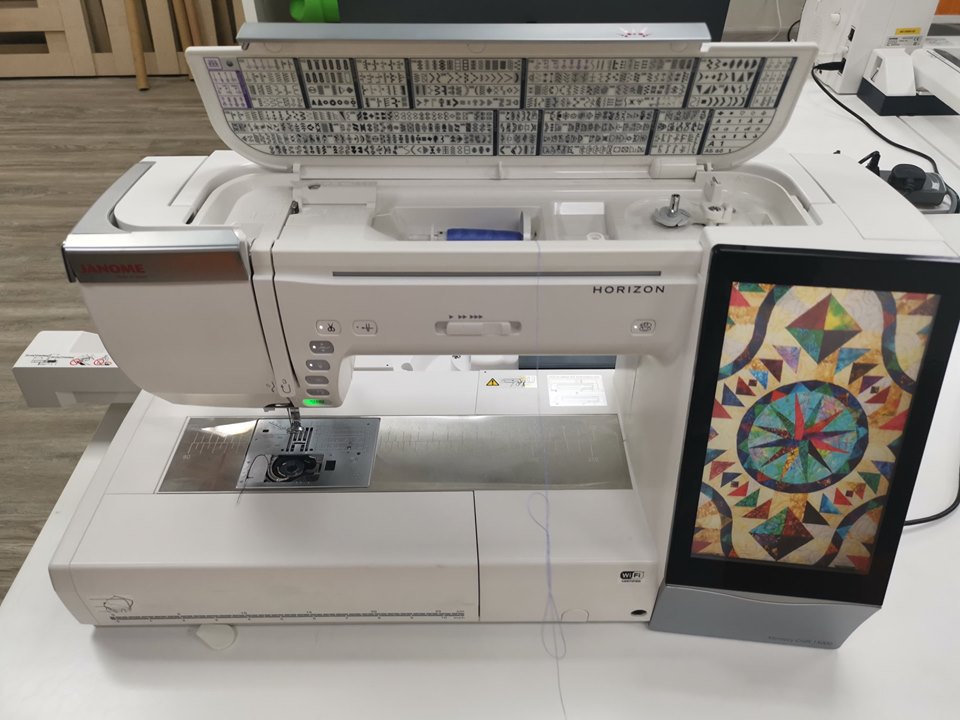
The hoop structure, containing both the textile and the paper material positioned just underneath the needle.
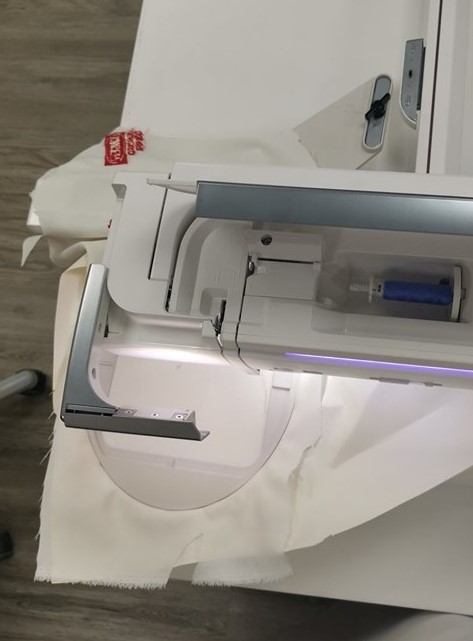
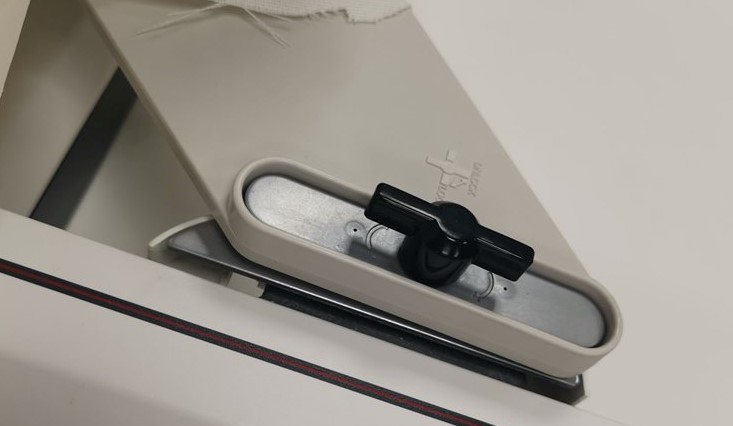
The following handle is positioned on a certain bracket found behind the machine, rotating the handle locks the hoop structure on the machine.
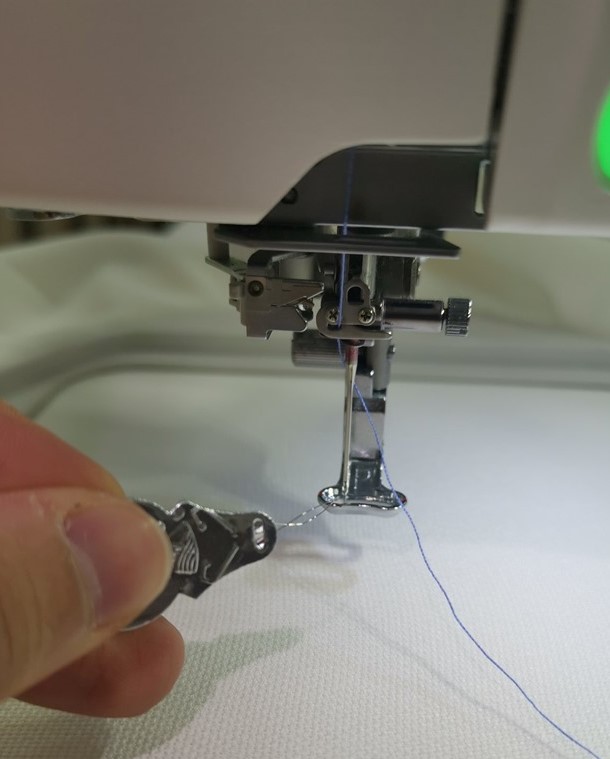
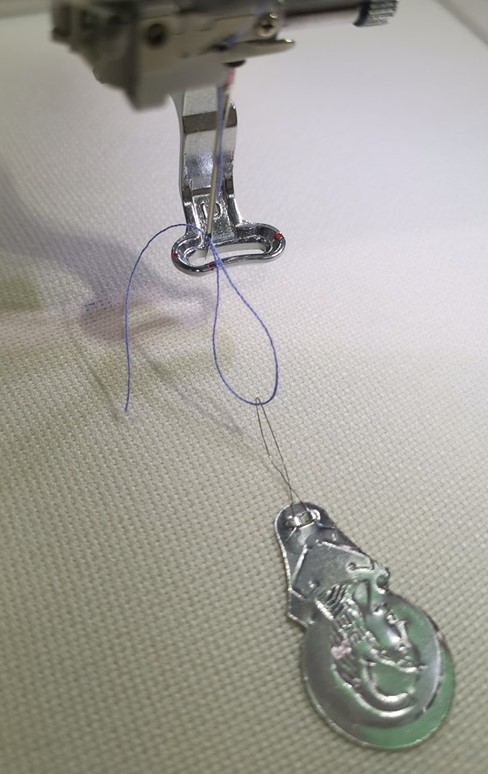
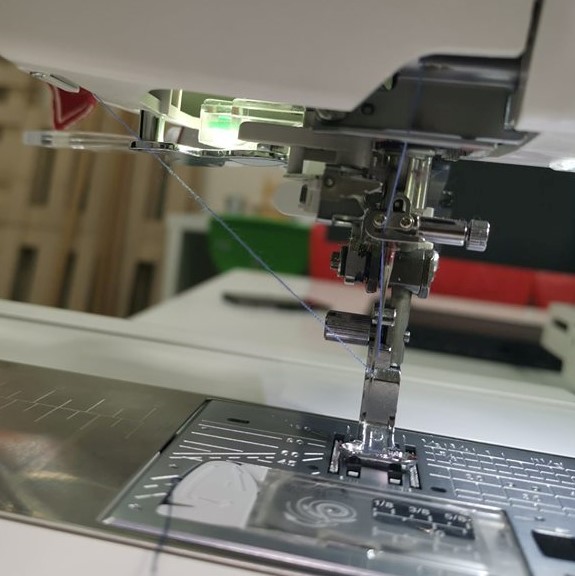
Using the aluminium tool, the thread can easily be inserted inside the hole close to the needle's tip. The aluminium tool has an aluminium filament which can be inserted inside the needle's hole. The thread can then be inserted within the aluminium filament. The aluminium filament is then pulled back, allowing the thread to pass through the needle's hole.
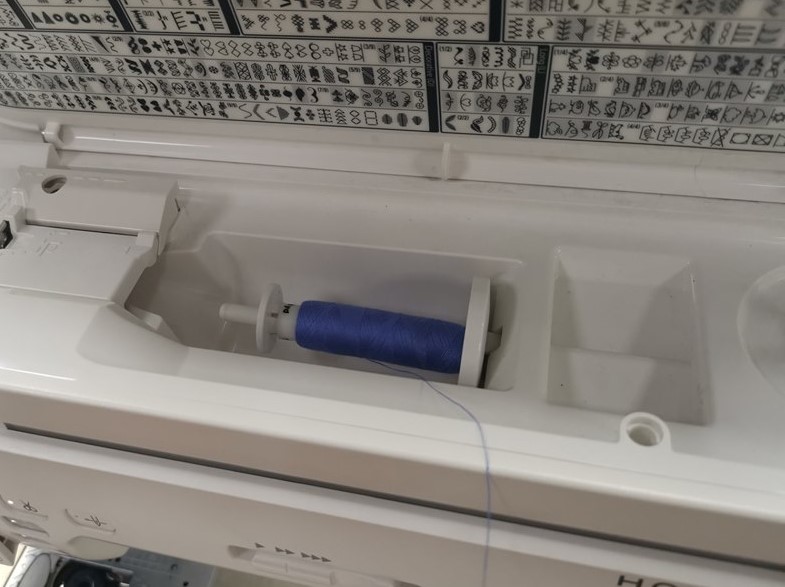
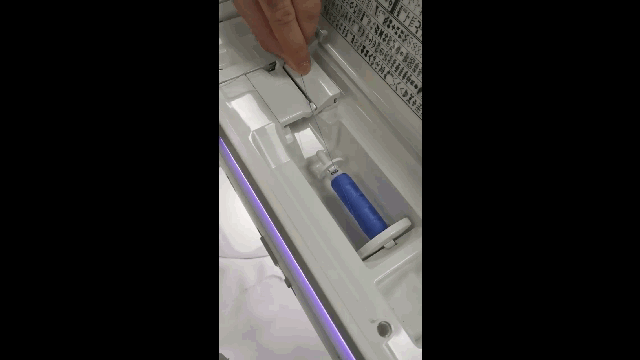
Passing the thread through the machine has not been documented yet. The way the thread is passed through the machine is by placing the thread in the specified compartment as shown in the image below, and then passing the thread through a set of locations found on the machine, the locations are marked using numbers.
Embroidery Design
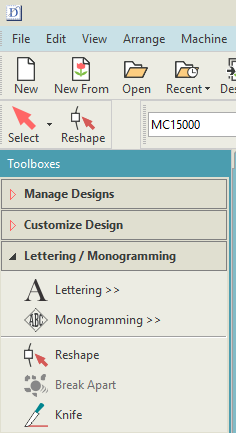
The design was made using Digitize V5 Embroidery Software from Janome. Launching the software, creating a new file, and then on the top left corner, a toolboxes list is found. The following design was made using Monogramming.
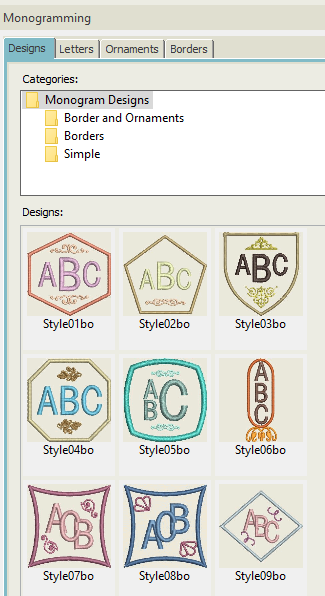
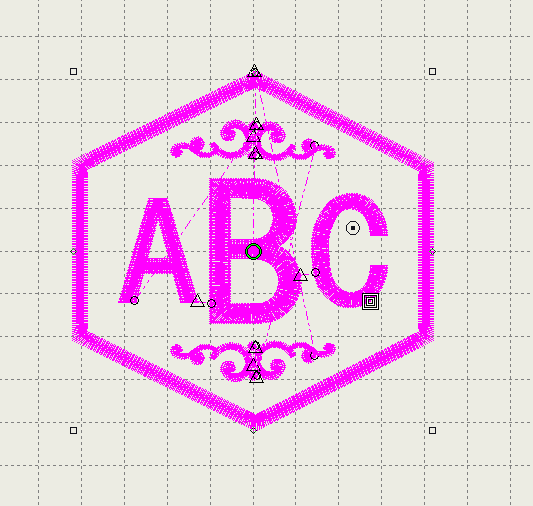
On top right corner, in design section, monogram design samples are found. One of the templates have been chosen.
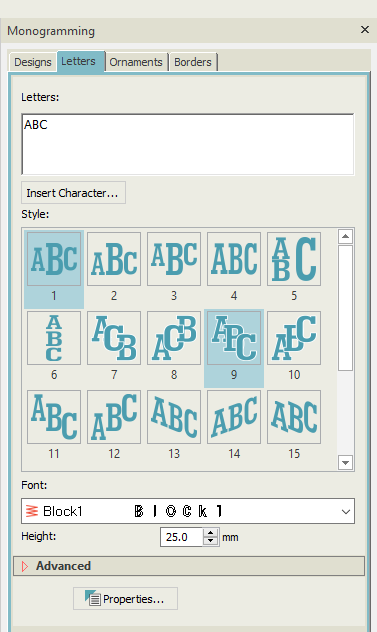
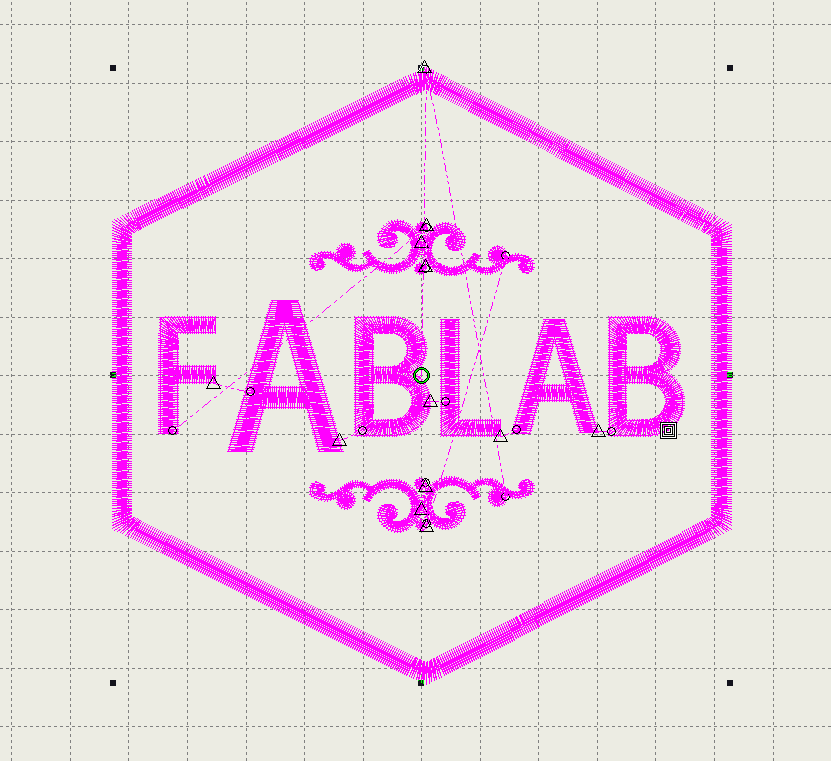
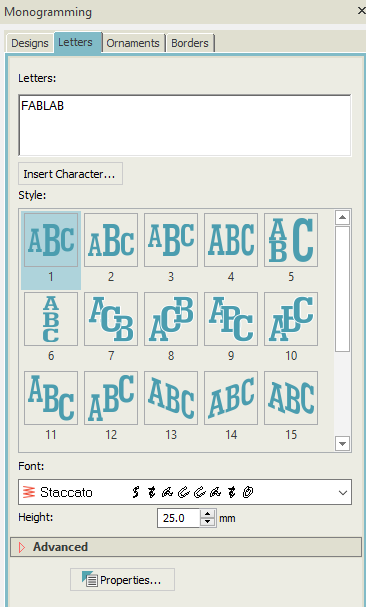
On the same corner, in letters section, the letters can be edited, the letters can changed, as well as the font and the character style. So simply, the letters were edited to become "FABLAB", and the font has been changed to staccato.

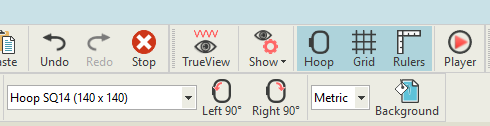
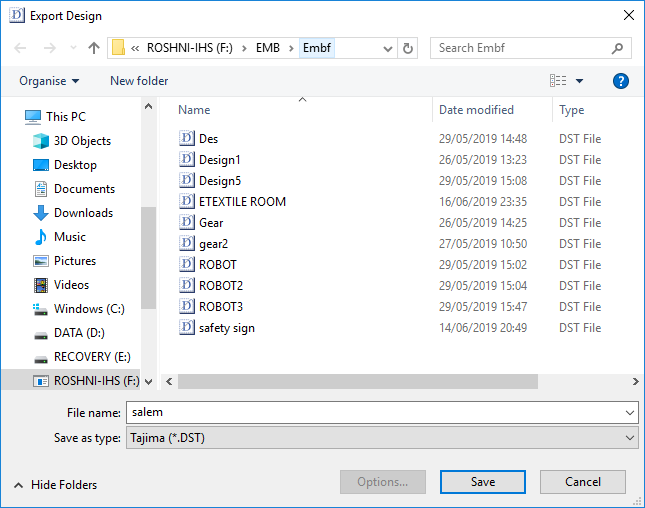
To enable the choice of Hoop structure, the Hoop icon between Show and Grid must be enabled. Then, on the bottom left corner of the screenshot, a list of Hoop structures can be chosen, in our case we have chosen SQ14 because it is available in the lab. The file was then saved in EST format and exported into DST format to be used by the embroidery machine.
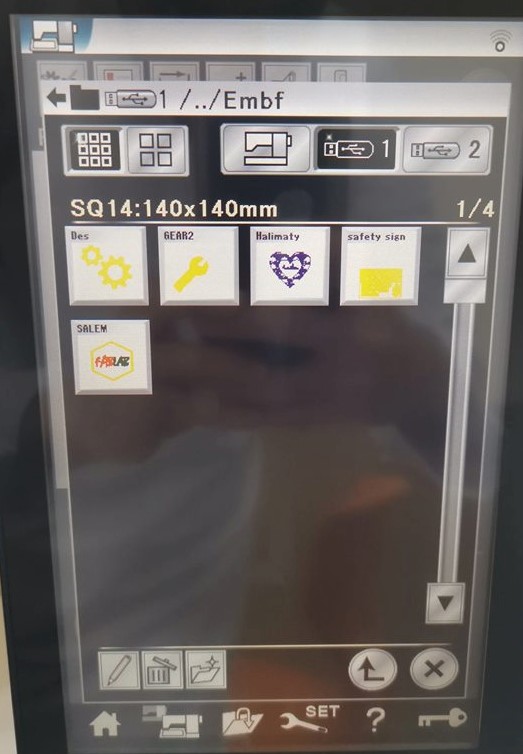
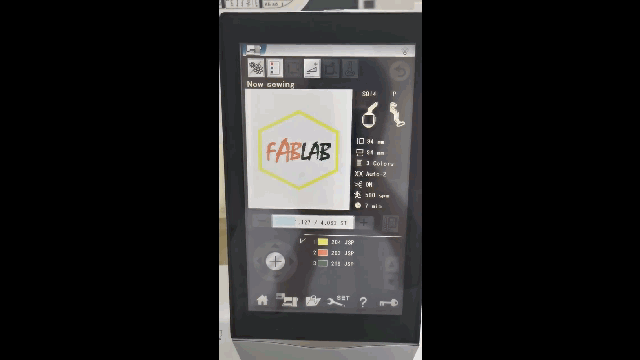
After inserting the USB containing the DST format design file. Clicking on file browsing icon at the bottom of the screen, and then clicking on the USB, a set of design files are shown as in the image below.
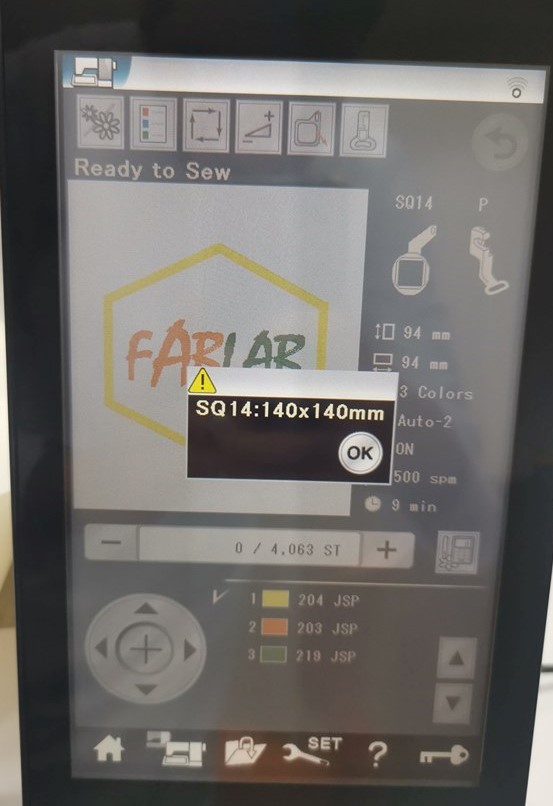
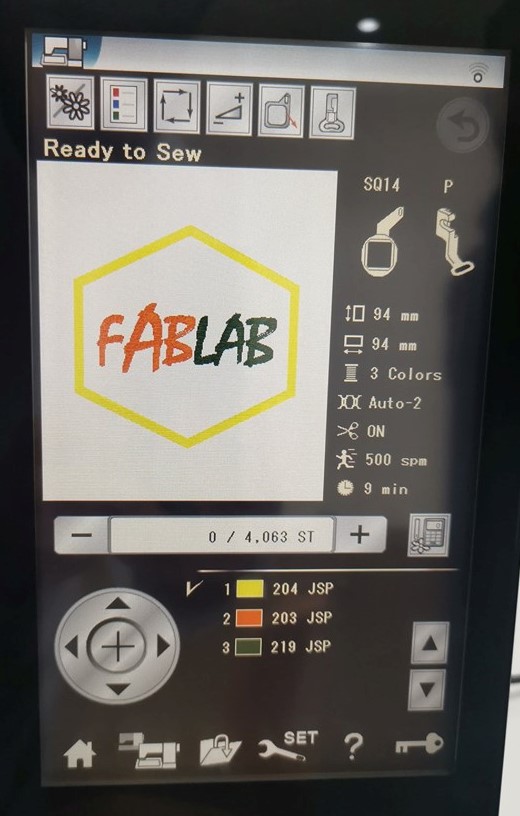
After selecting the desired file, and clicking "OK", file information are shown on the screen. It is important at this point to verify if the Hoop structure shown is the same one going to be used. Also the embroidery dimension, along with the duration required for the job.