Week 8
-
COMPUTER CONTROLLED MACHINING
Group Assignment
Test runout, alignment, speeds, feeds, and toolpaths for your machine.
Individual Assignment
Make something big.
Testing our machine (GROUP ASSIGNMENT)
This assignments is well documented on this site. At this assignement, we use the CNC router of the Fablab. The machine is a Shopbot router, so It uses a controller software installed on a Windows PC. This software looks like this:
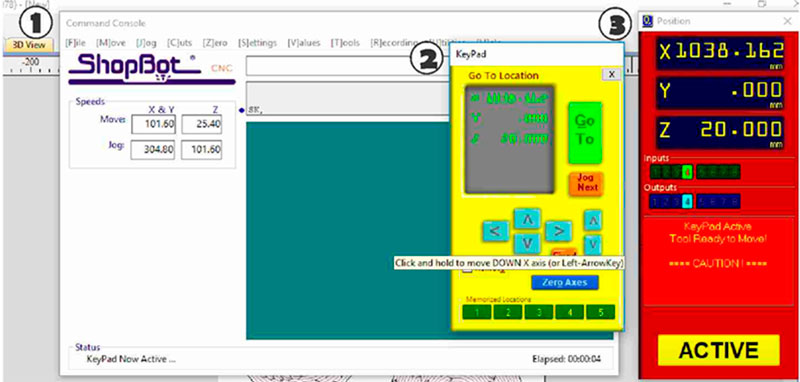
Taken from Siliva's page.
To test the machine, we run a profile, a pocket climb, a raster and a conventional pocket. All of these, were calculated by an online tool to get the right feed rates and spindle speeds. So, the parameters were these.
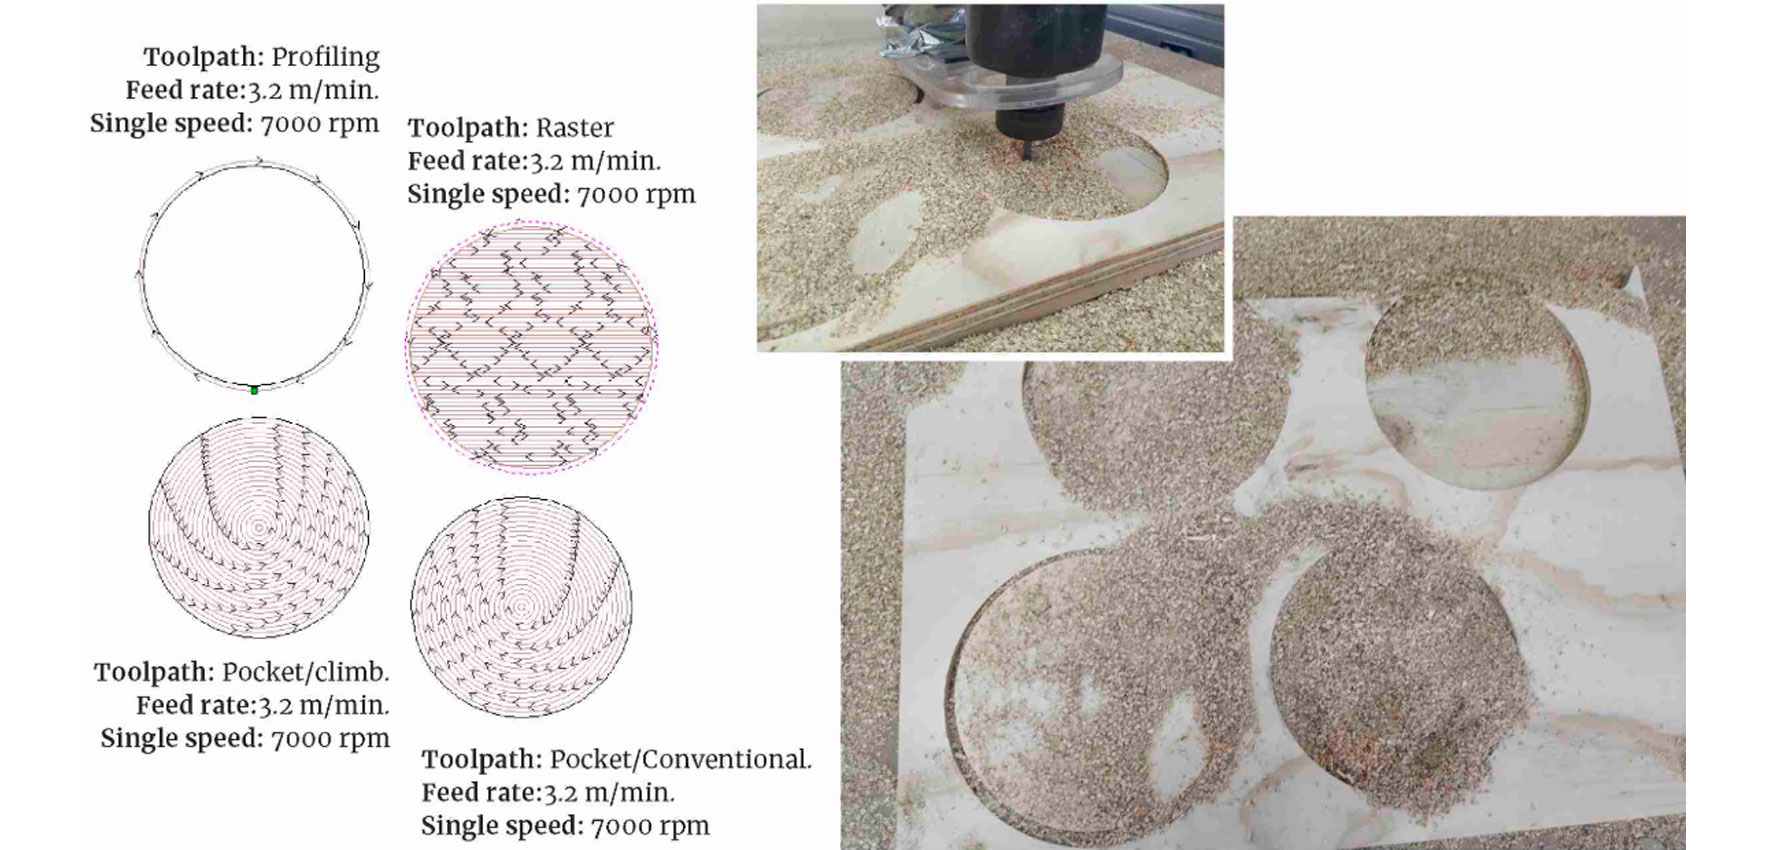
Taken from Siliva's page.
Actually, we get a verry good result of this test, so this parameter were used on our personal assignments this week.
The next test was the pressfit. We tried some variations on the dimensions to obtain some interference un the joints. This way the pieces can be assembled by force (just a bit of force).

Taken from Siliva's page.
Finally, we stablish the best interference to get a strong fit on -0.20mm per piece.
Make something big (INDIVIDUAL ASSIGNMENT)
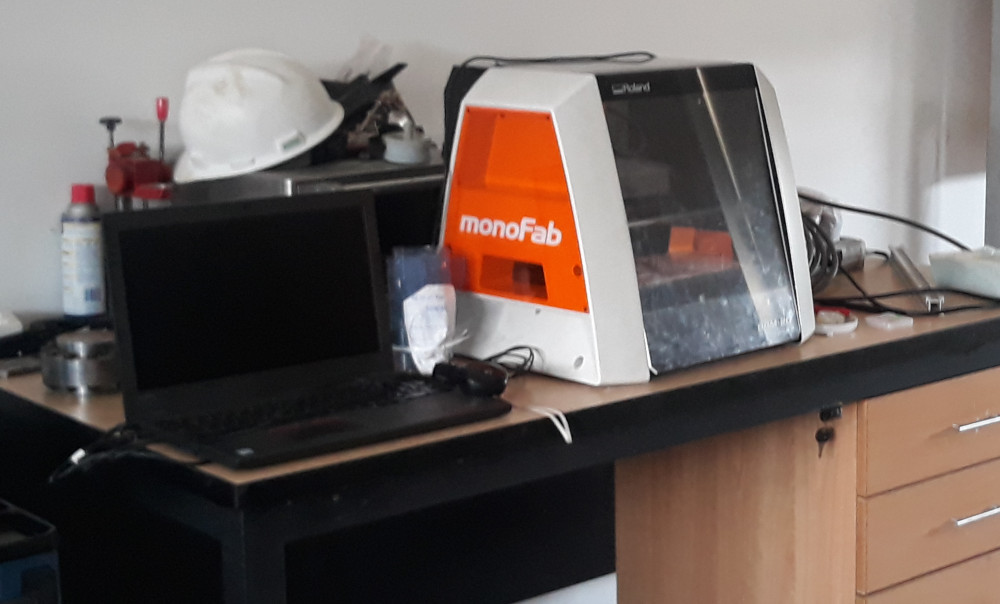
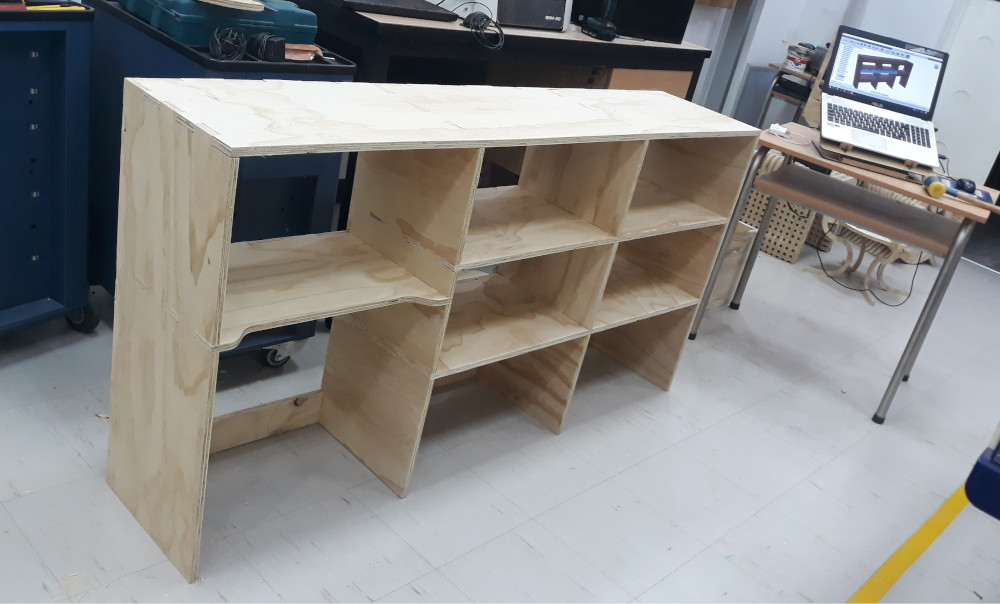
To this assignment, my intention was make something functional and simple. So I decide to make a shelf to the Fablab, to the room where the Shopbot is. There are so many things there.
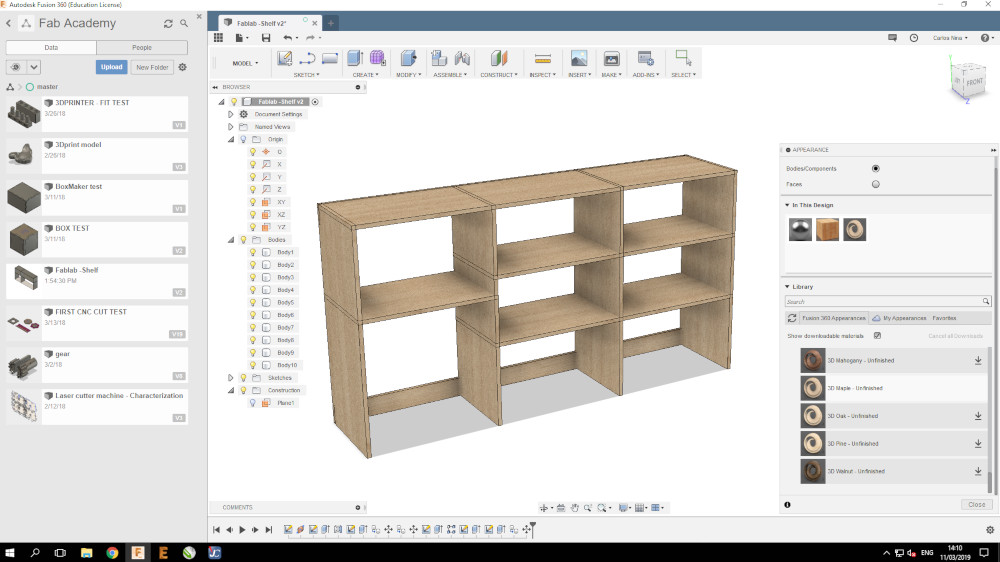
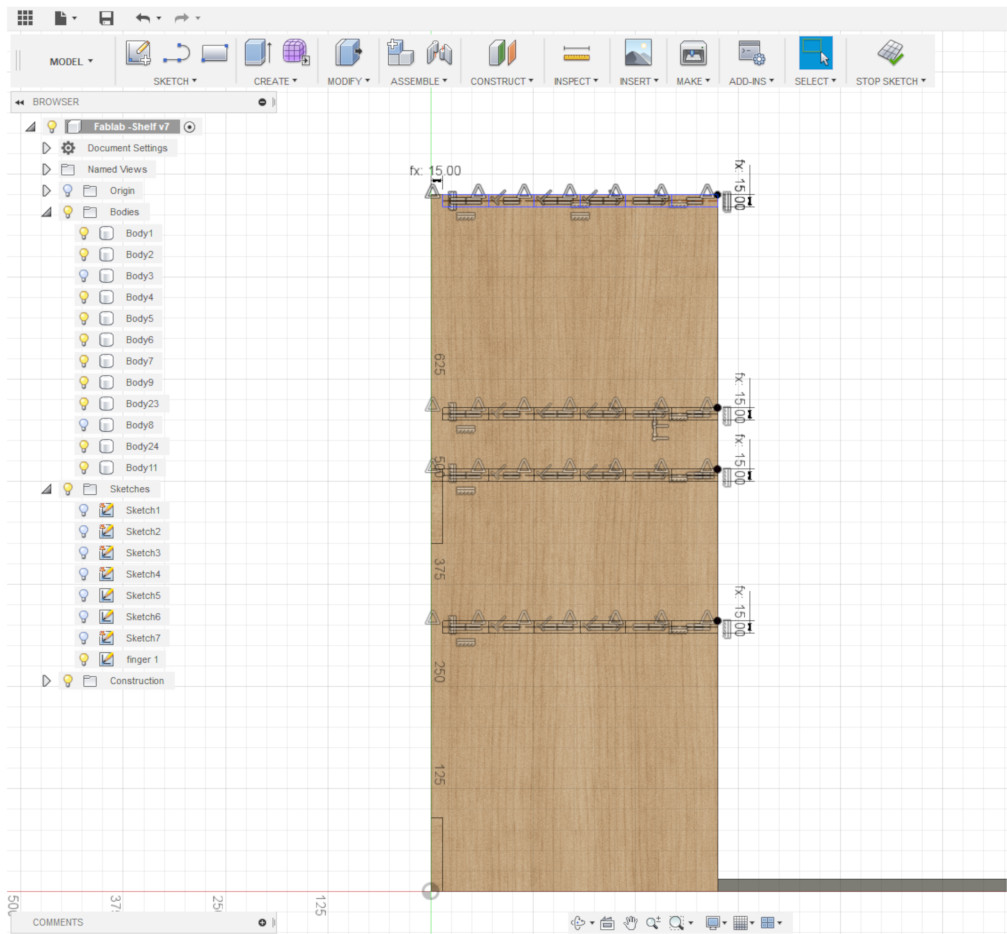
The first step was make a 3D model. I did it with Fusion 360, because I tried before and the procedure to generate the pieces to cut is more simple than others like Inventor.


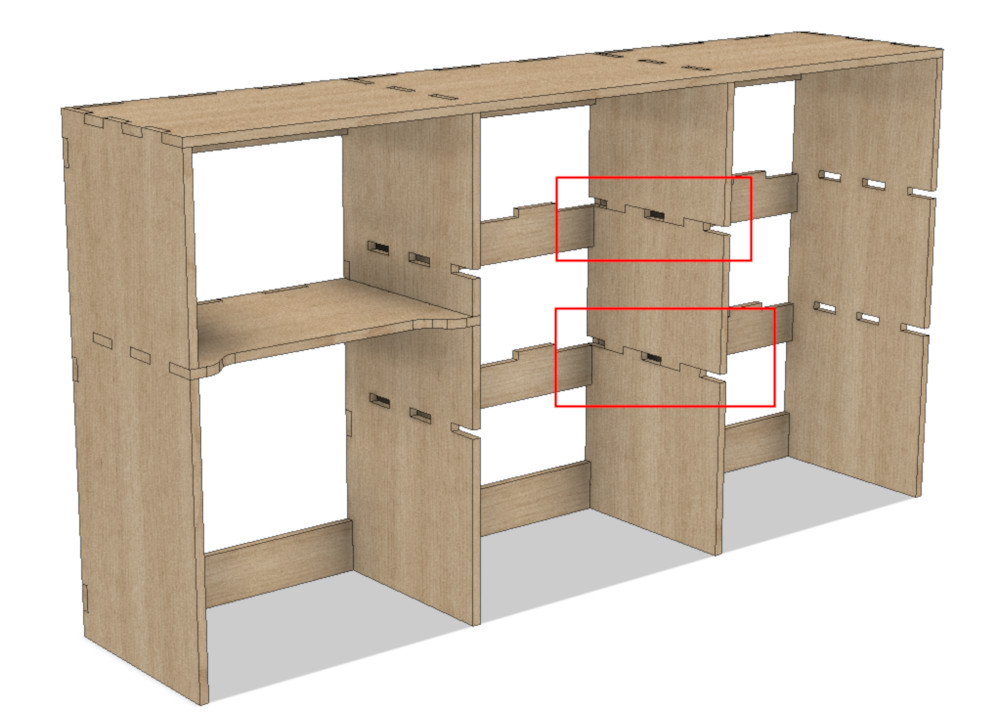
This is how will look.
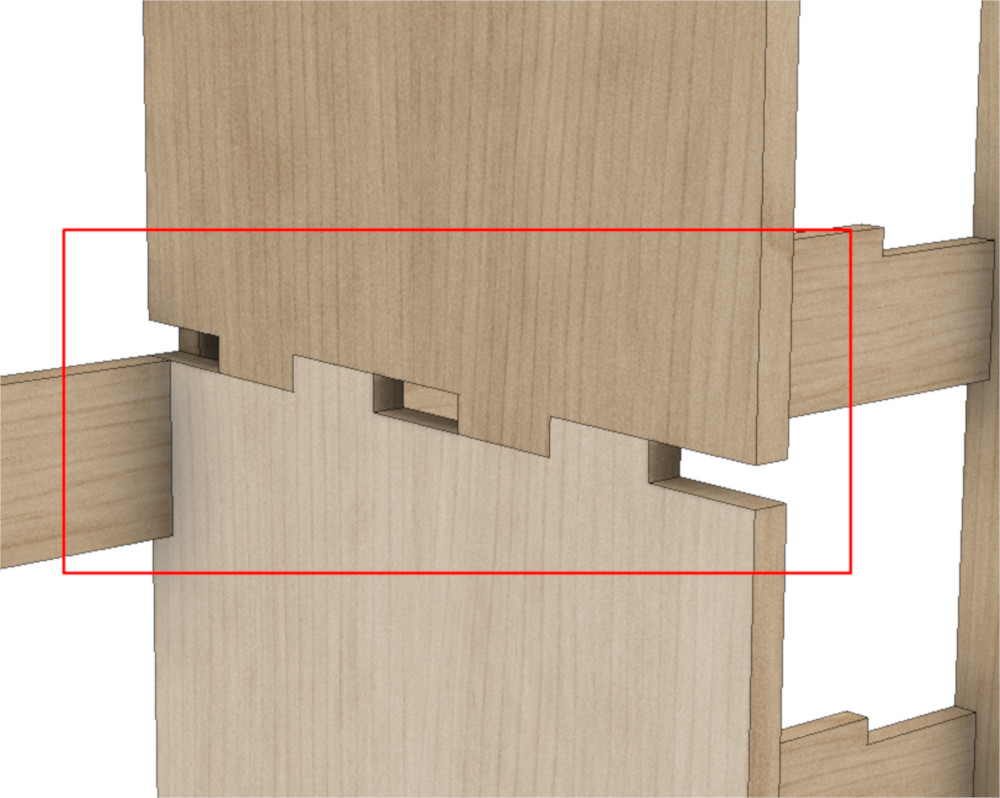
Now, the mot important part begins: make the fingerjoints. This is a very time consuming task. Additionally is a common source of errors, if you don't be careful.
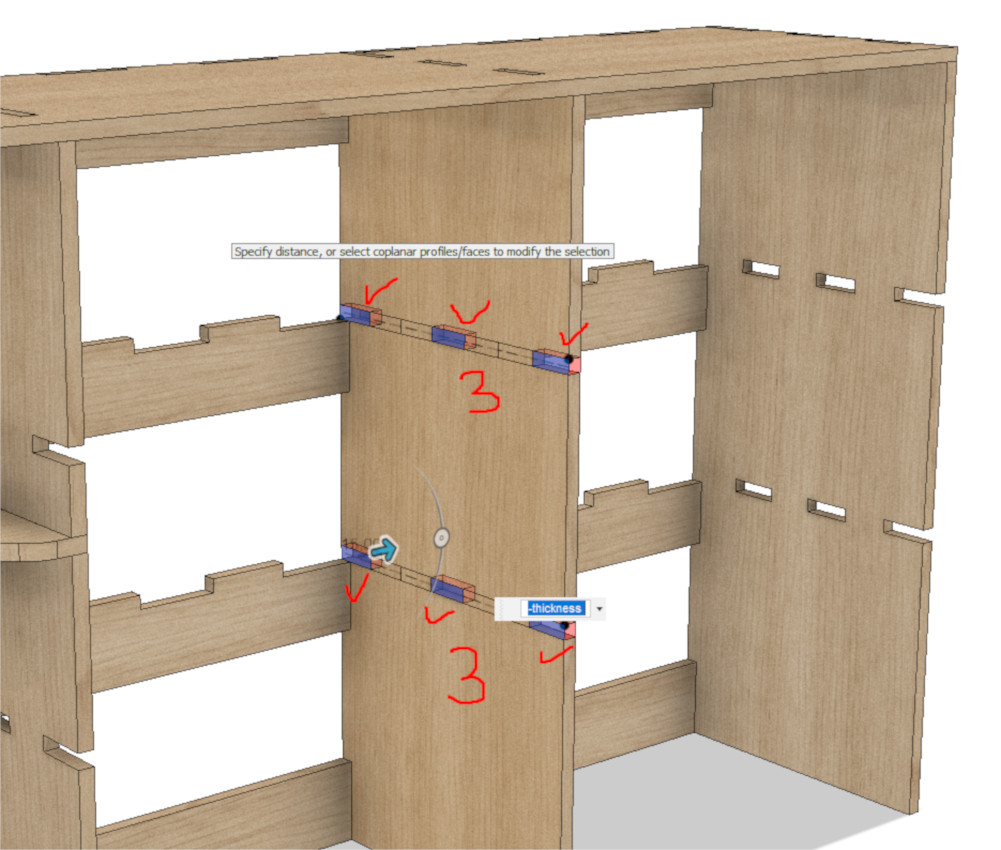
Because of this shelf, it has crossed panels, I was to think in an easy way to make that union. Most of the options I found, require a slot on both sides of the panels. It was not an option for me, because I did this at night and I want to did it fast.
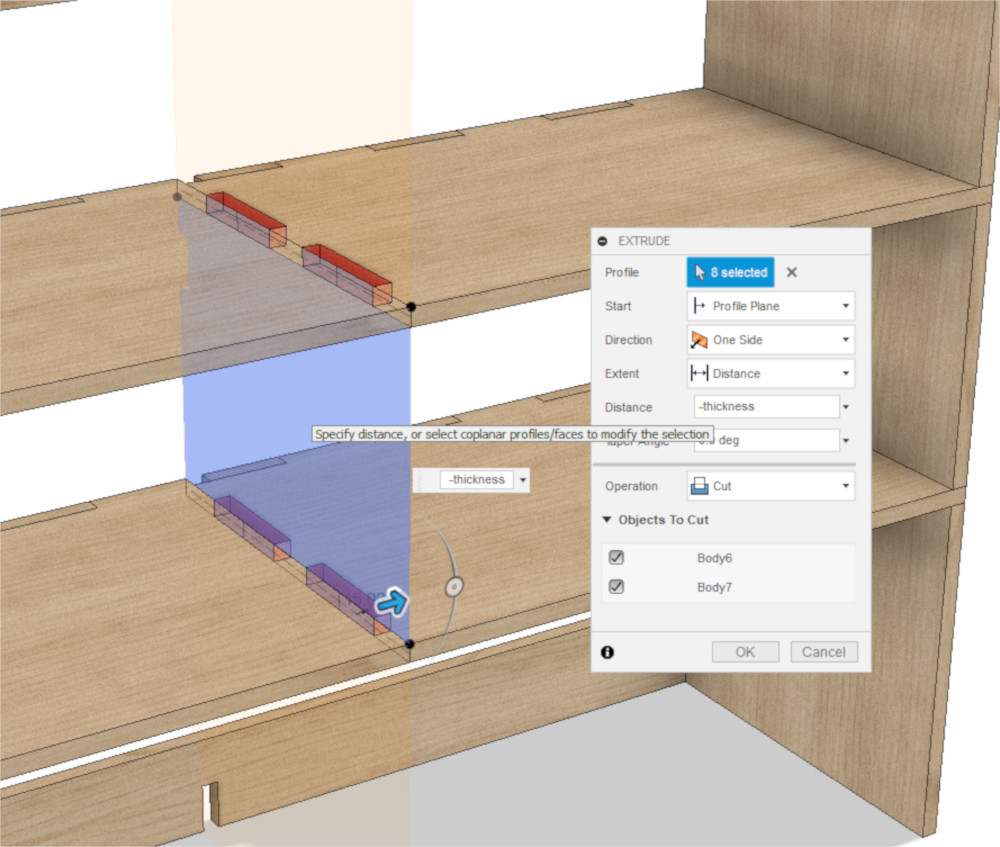
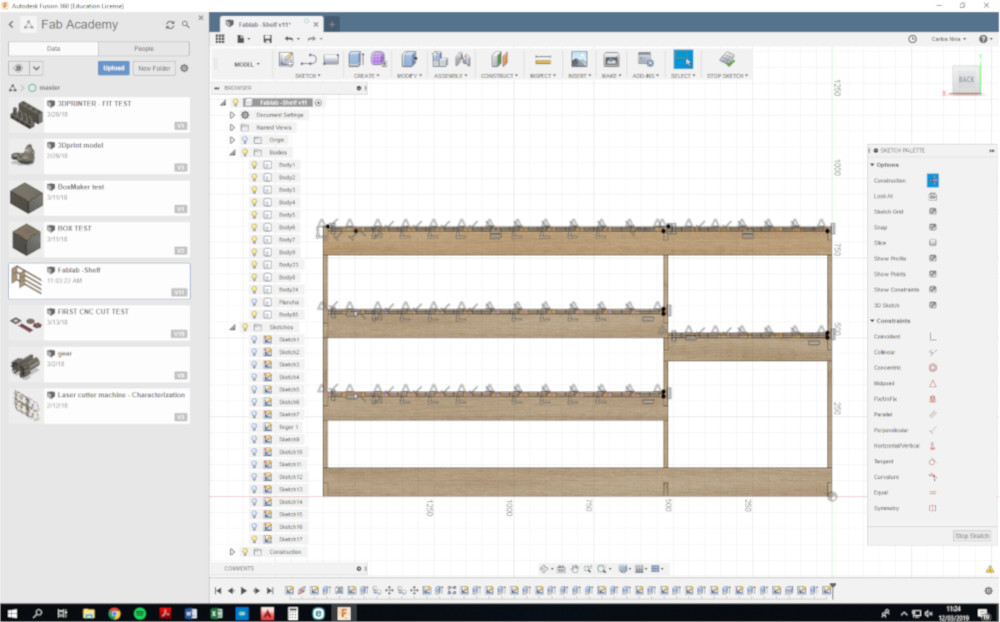
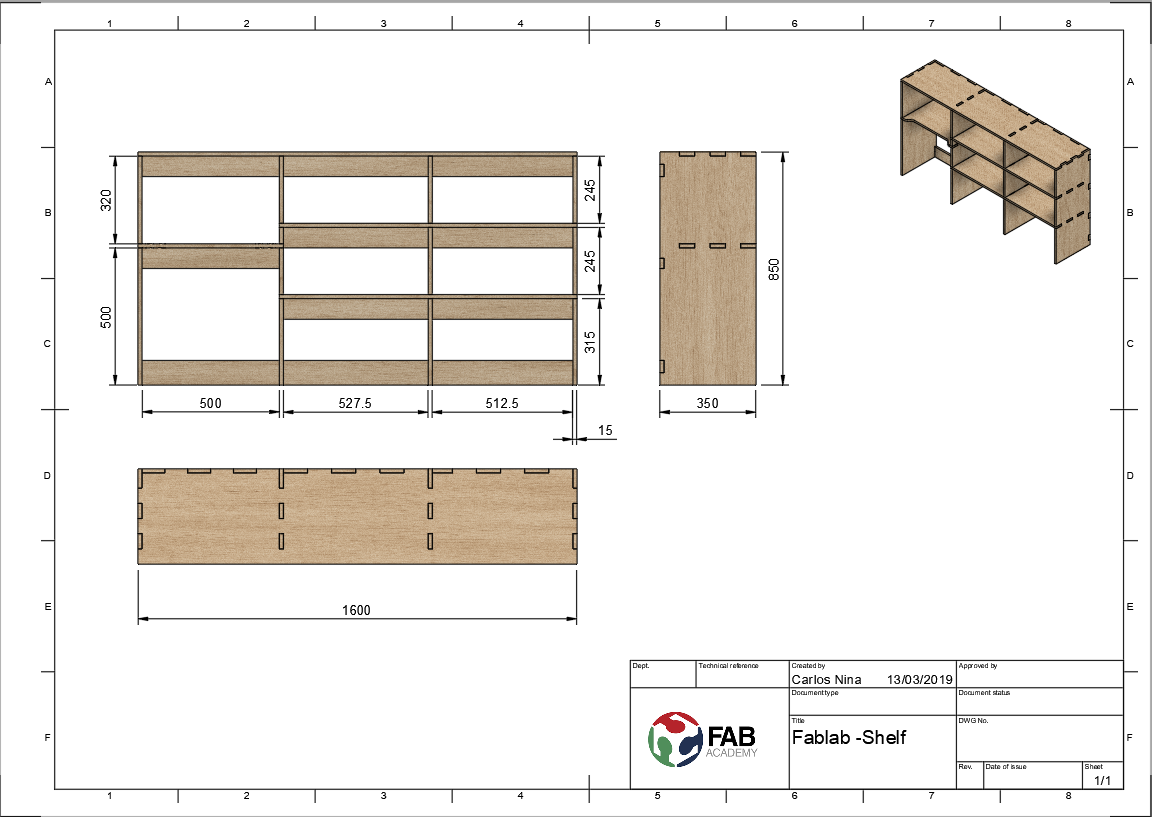
Finally, this is the 3D model finished.

The assembly drawing looks like this.
After that, is time to use de CNC router. The parameters that I used are the next.
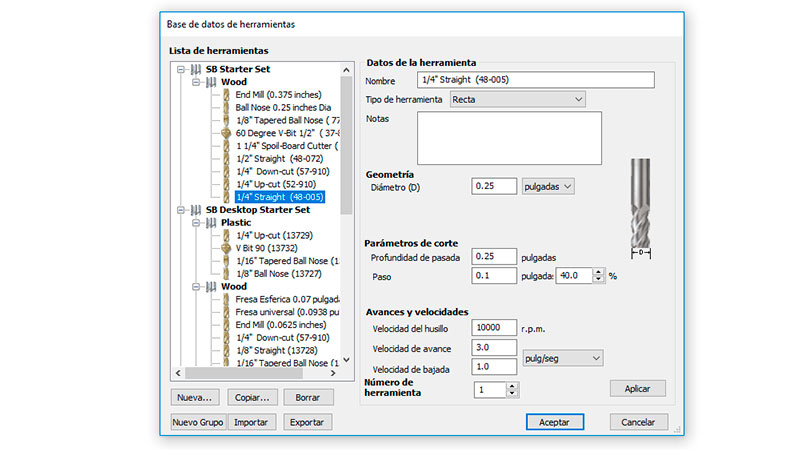
The mill tool selected is straight (square form of the cut) of 1/4. The depth on each pass is 4.8mm.
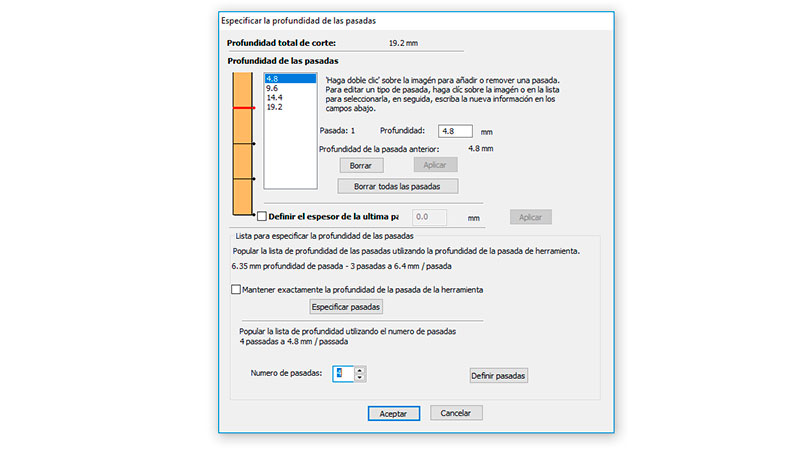
With this presets, I proceeded with the mill on the Shopbot machine.


The resume of the job is this:
The final result of a long night:
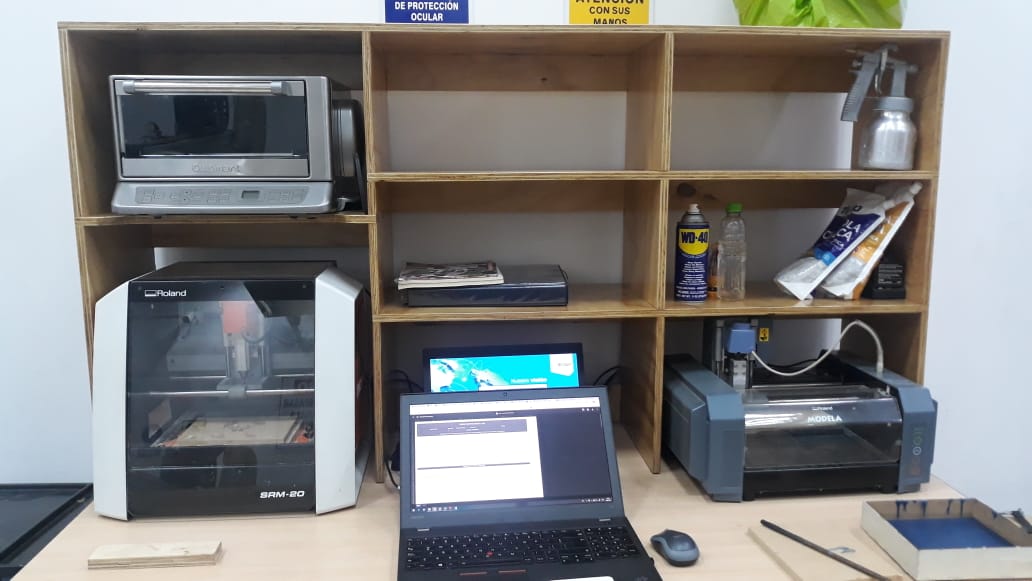
Update (06/07/19): Today, the shelf was installed and looks great.
Files of this assignment: