Week 10
-
MOLDING AND CASTING
Group Assignment
Review the safety data sheets for each of your molding and casting materials, then make and compare test casts with each of them.
Individual Assignment
Design a 3D mold around the stock and tooling that you'll be using, machine it, and use it to cast parts.
(GROUP ASSIGNMENT)
This week, the group assignment was well documented on the page of Ivan, at this link.
Designing a 3D mold (INDIVIDUAL ASSIGNMENT)
This model was made with Fusion 360. Is part of a remote control that I am modeling to my final project.
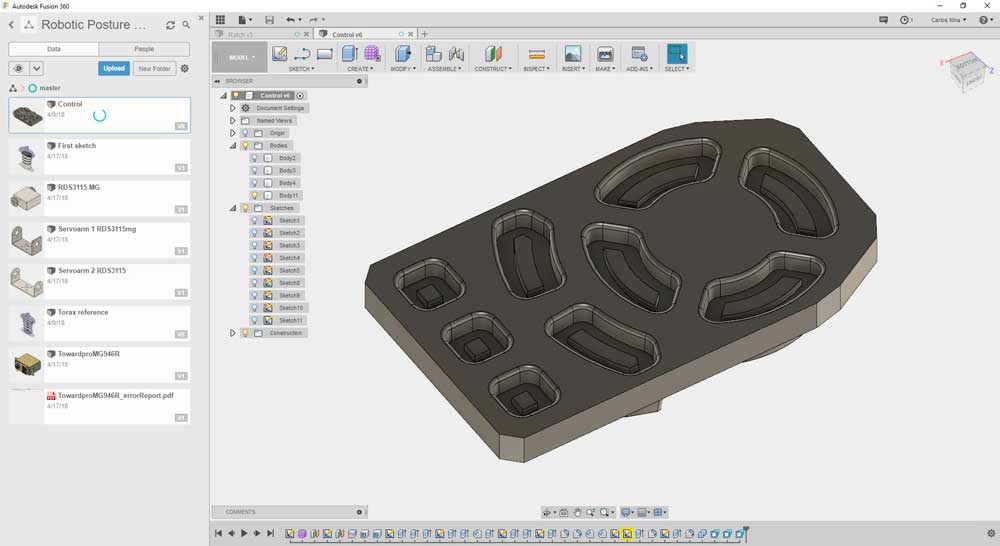
Once the 3d model was made. I create the both sides to machine.
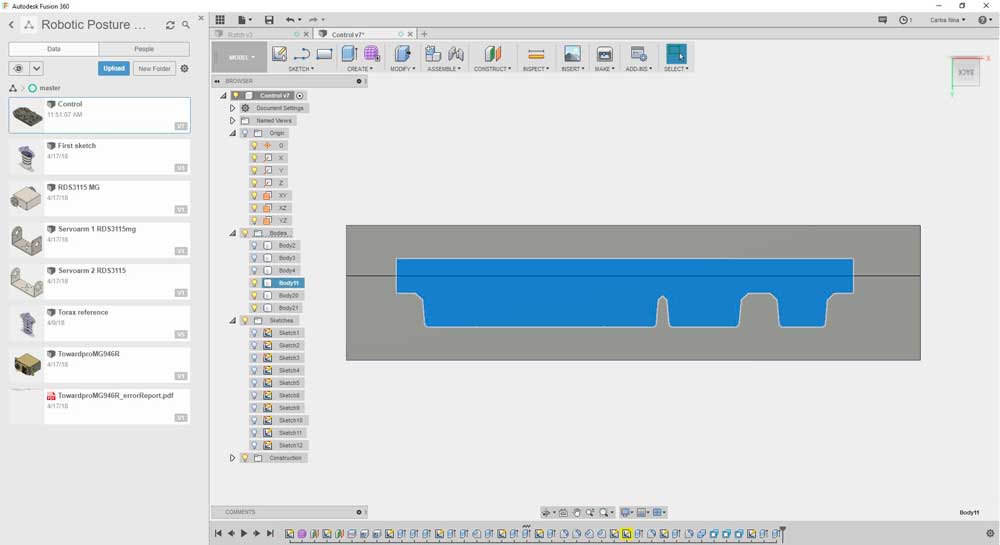
At the beginning I was obtaining the mold parts. The upper side:
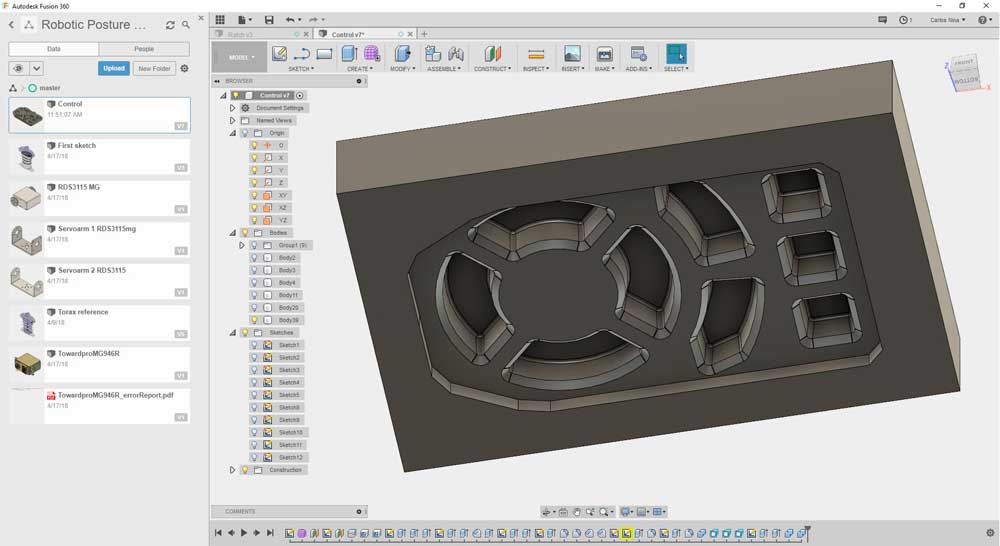
The lower side:
So, the result was both sides of the mold, including the holes to introduce the liquid rubber.
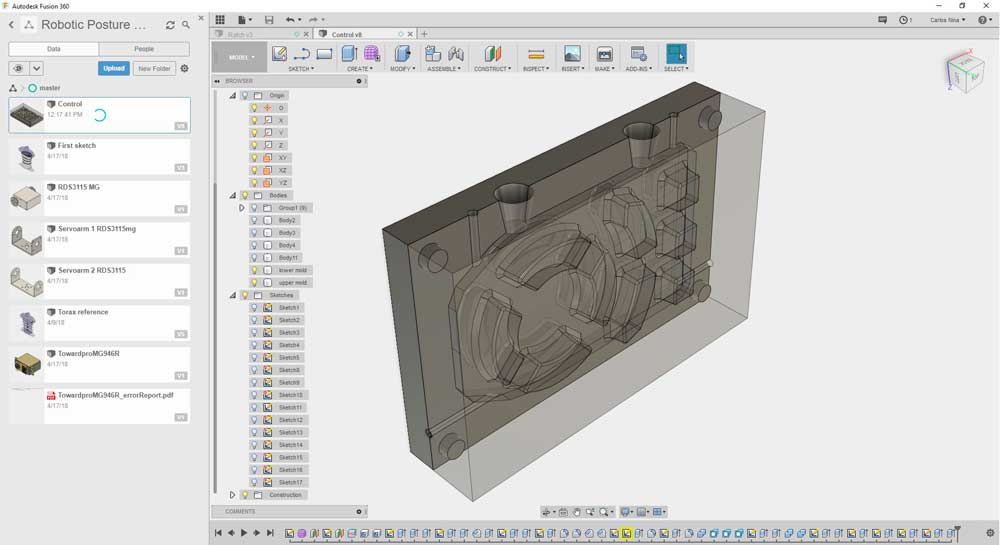
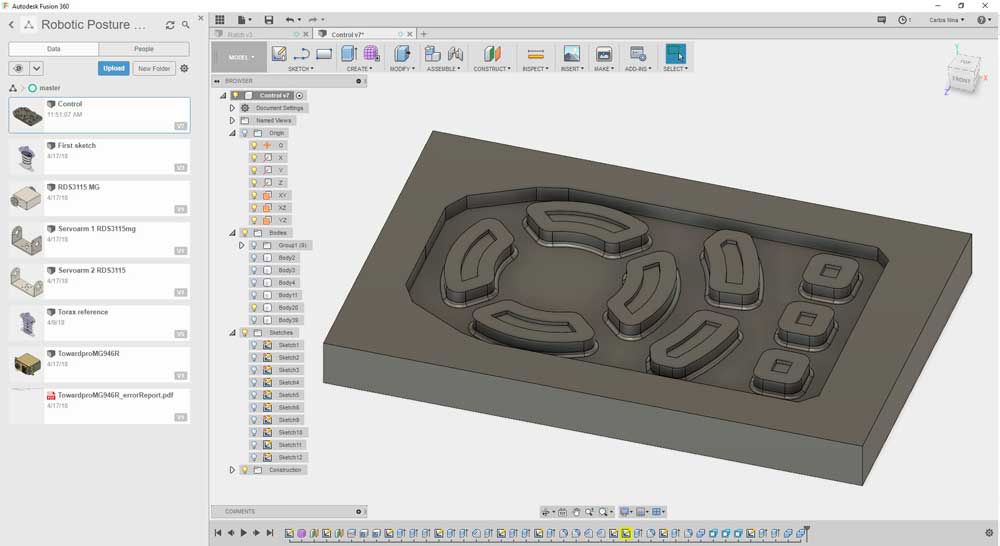
This way , I can see all the parts and holes needed to the casting process. The next step was obtain the negative parts of this solids.
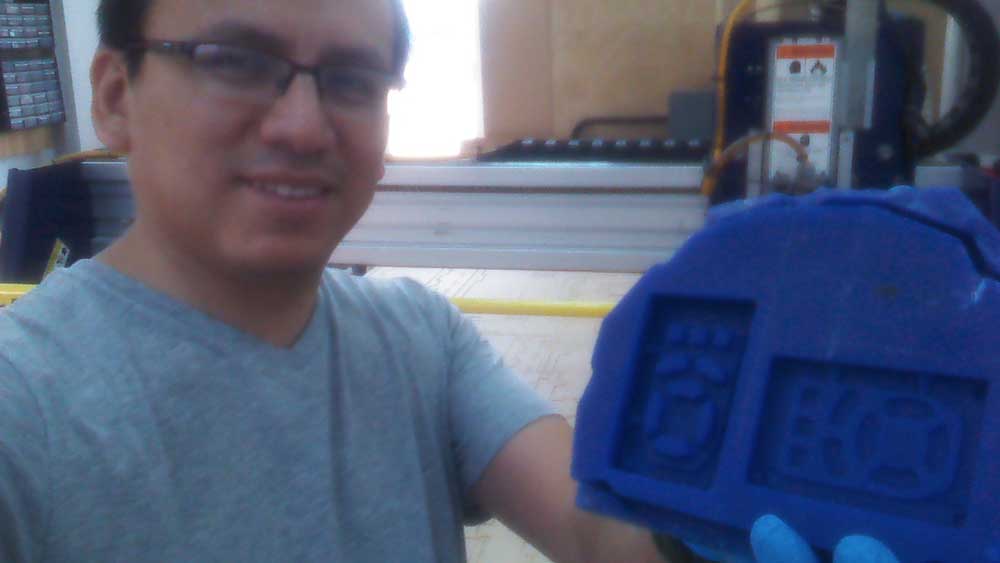
Finally, the molds are modeled.

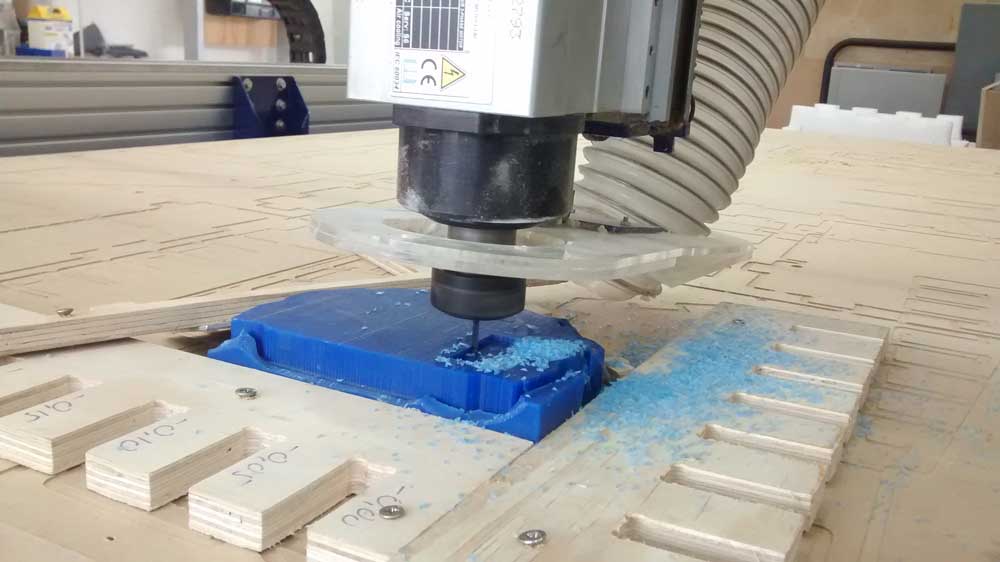
Machining a 3D mold
All the parts of the 3d model was made considering a finish path tool diameter of 1/16" and a rough path tool diameter of 1/8". This is important, due to if you consider a slot in your piece, the minimum width must be the same of the finish path diameter.
Obviously, if we make a slot thinner than the milling tool, this can't be machined.
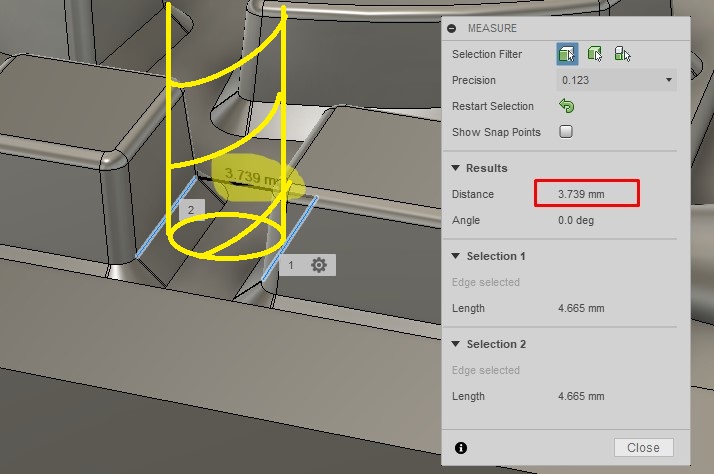
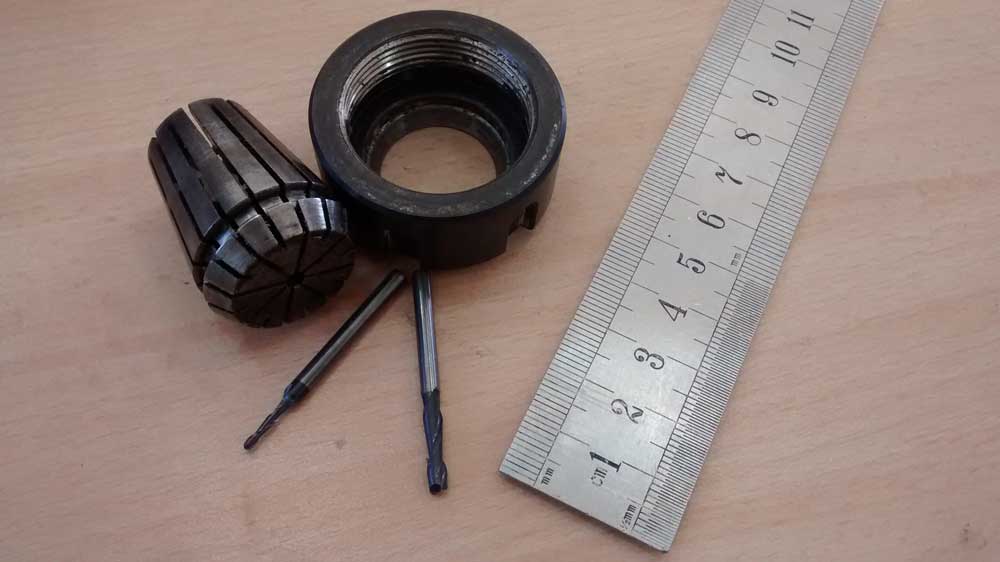
Mill tool diameter of 1/16" (straight end) and 1/8" (round end).
Wax piece fixed to the Shopbot CNC machine.
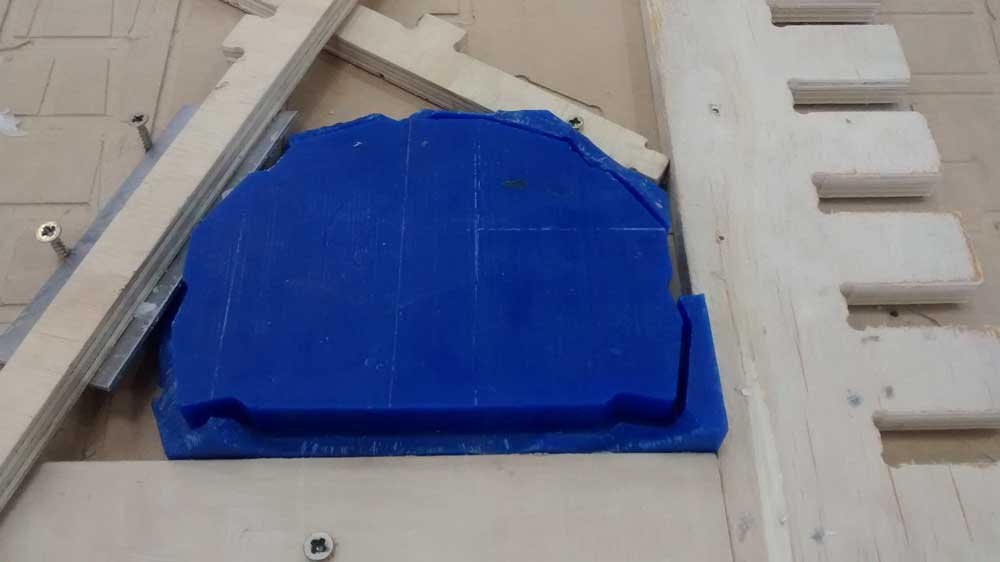
Starting the machining process.
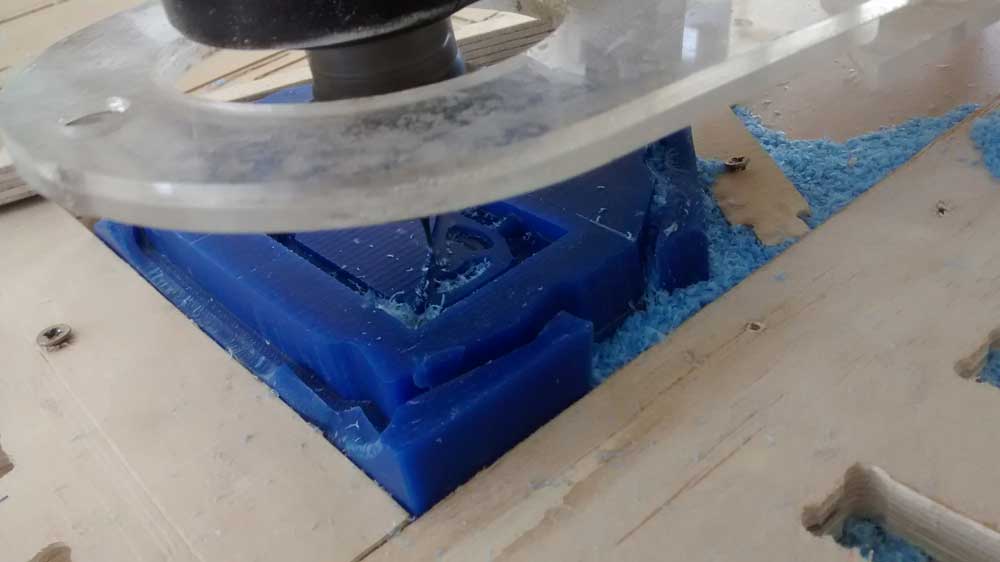

Rough path finished. Is time to change the tool.
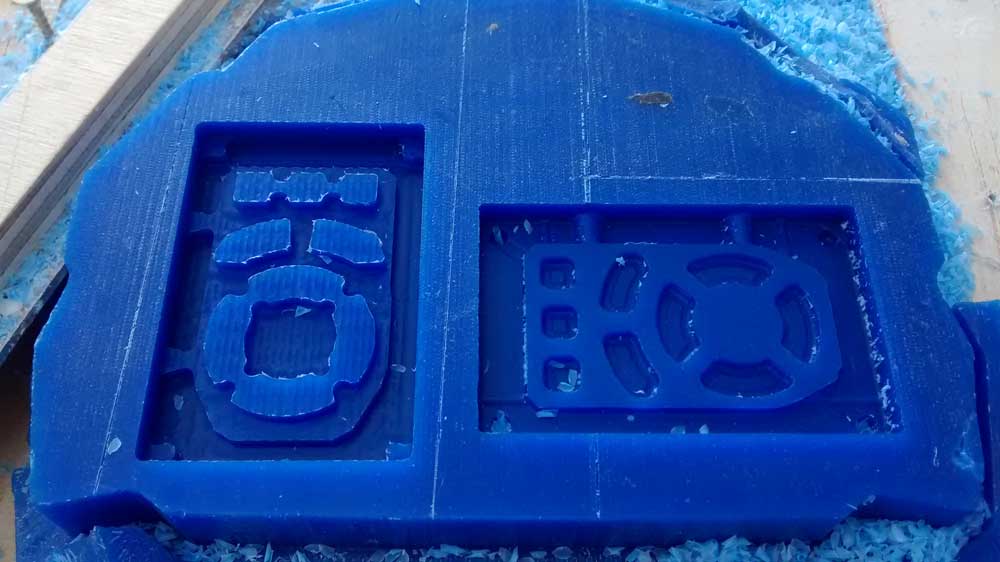
Machining ended.
Molding
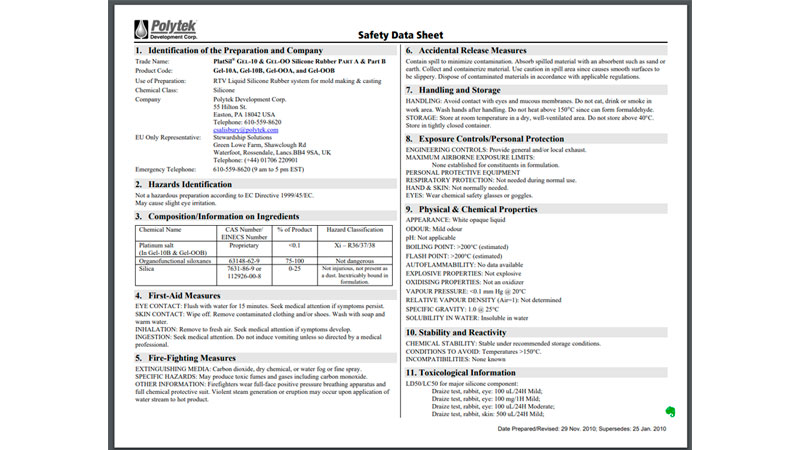
To probe the mold creation, I use the Instamold product. The details of the product are here, and the use instructions are here. Although there are no specific safety data document for this product, in the website of the manufacturer I read its safe for skin contact.

The product must be mixed with water, on equal parts (on volume).
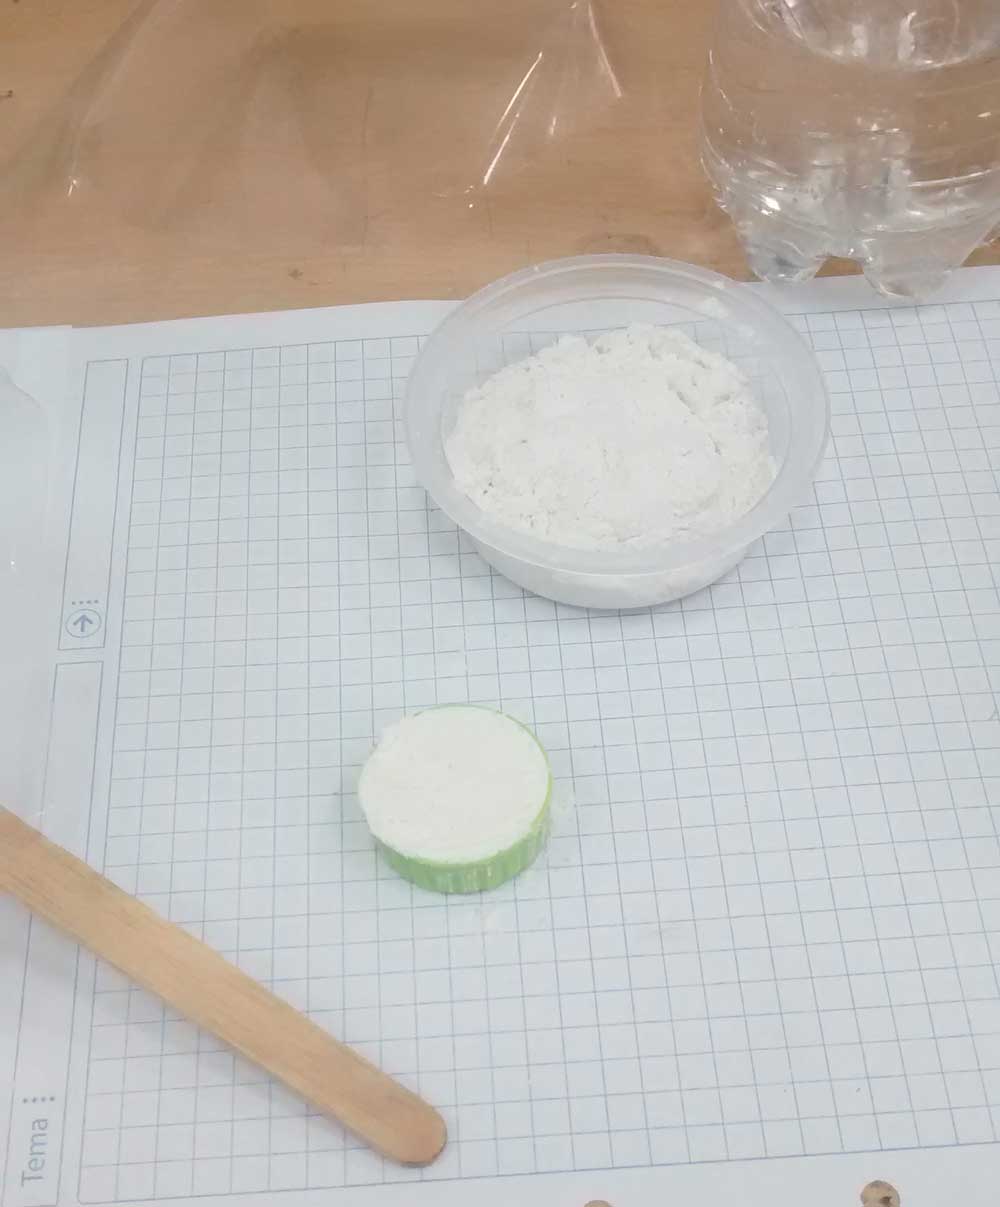
This is the consistency of the mixed product. It takes me 2 minutes, but I can perceive there is some solids. I tried to mix for one minute more, but the consistency does no change so much. So, its time to made the mold.

Once the product is verted on the wax, it need a entire day to cure.
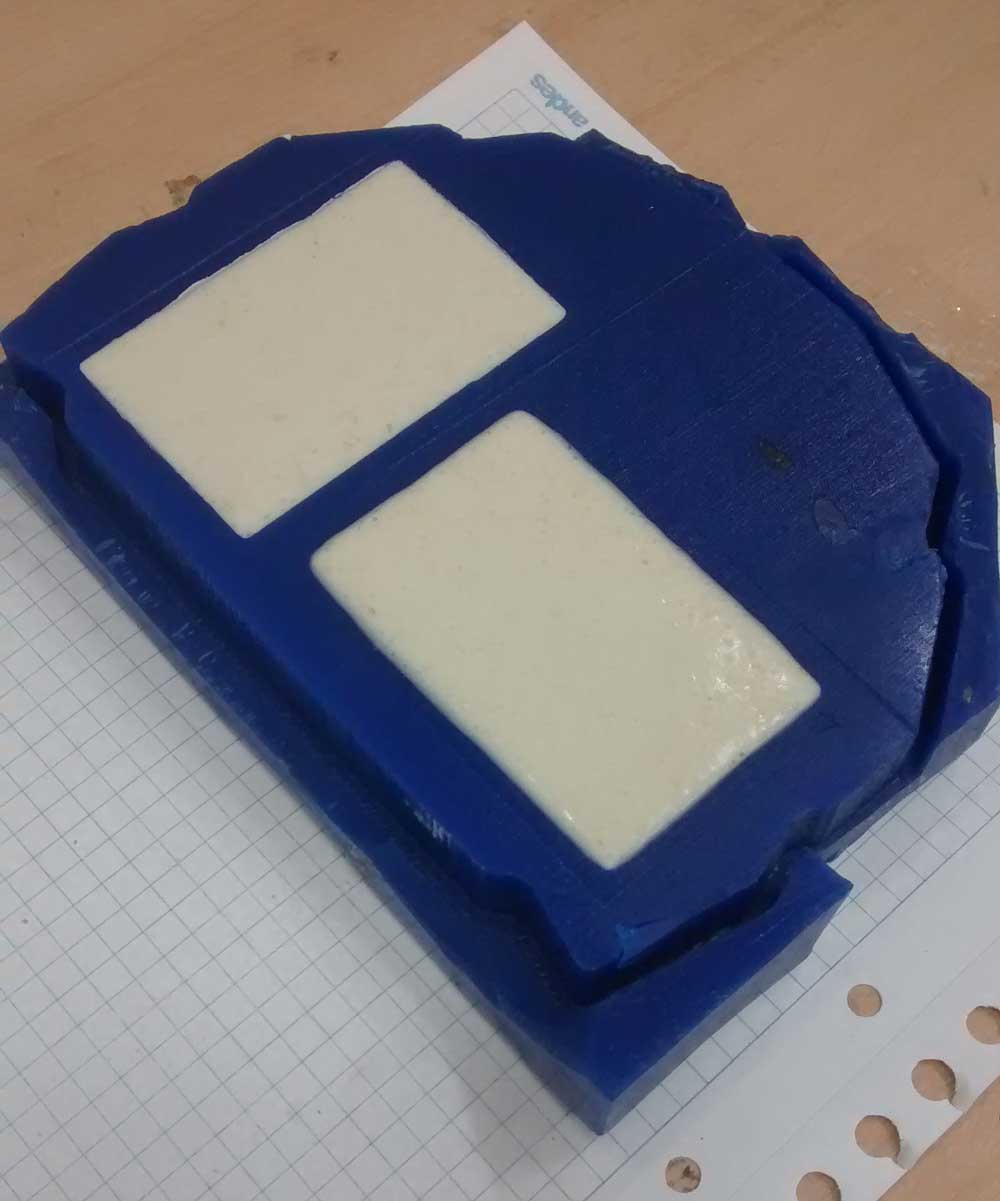
One day after. The molds has a consistency flexible and some wet. At this point I can see that material is too fragile to my purpose of cast a silicon piece.
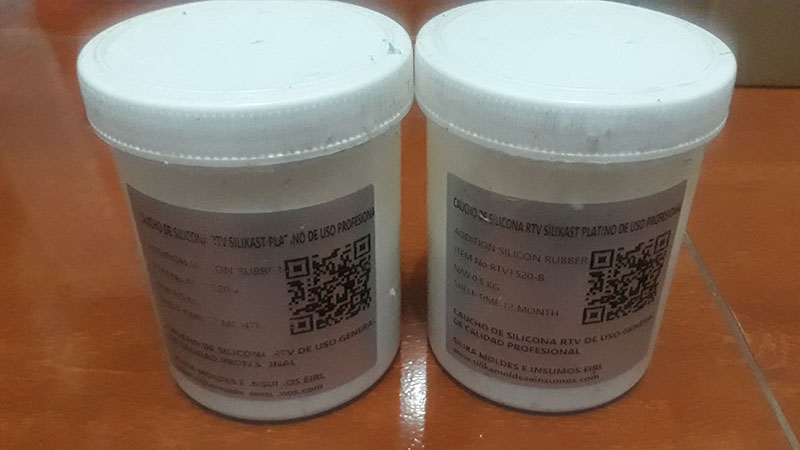
Another product that I used was RTV platinum silicone from a local supplier. Unfourtunally, I couldn't found a safety information too. But, I found tha safety data of another manufacturer of RTV platinum silicone.
So, I will assume that it is similar to my product. The safety data is in this link.
This product, apparently, has a low risk of hazzard. Obviously, is not eatable. We need to be carefull with the eye contact and large exposure to the vapour. But, with a careful handling on a vented room would be enough.
The product that I used is this bi-component silicone.
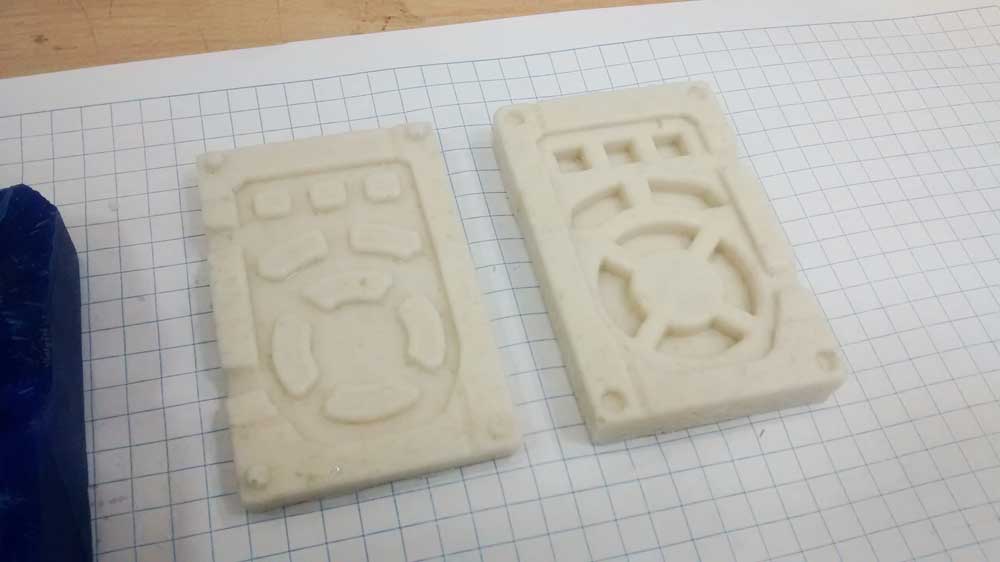
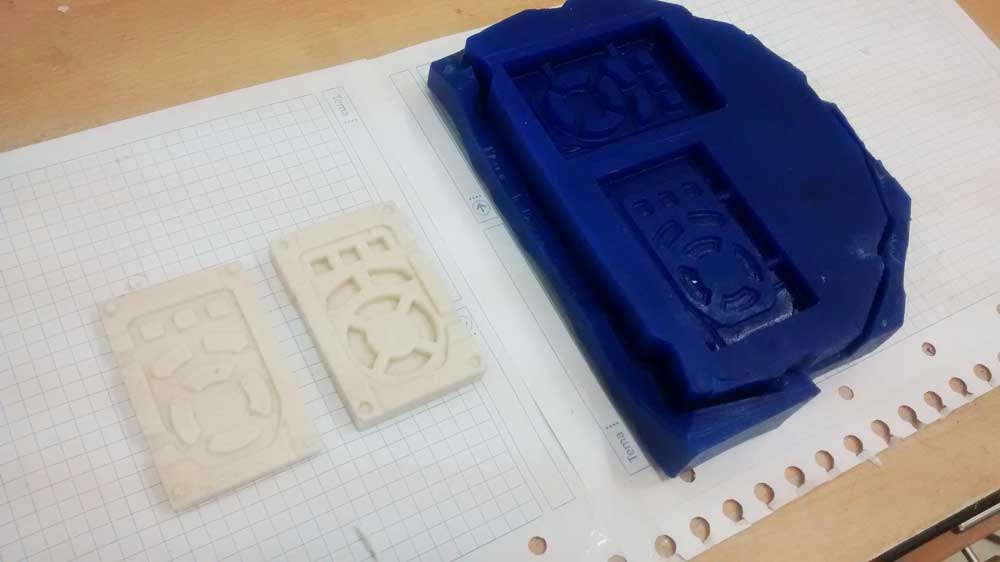
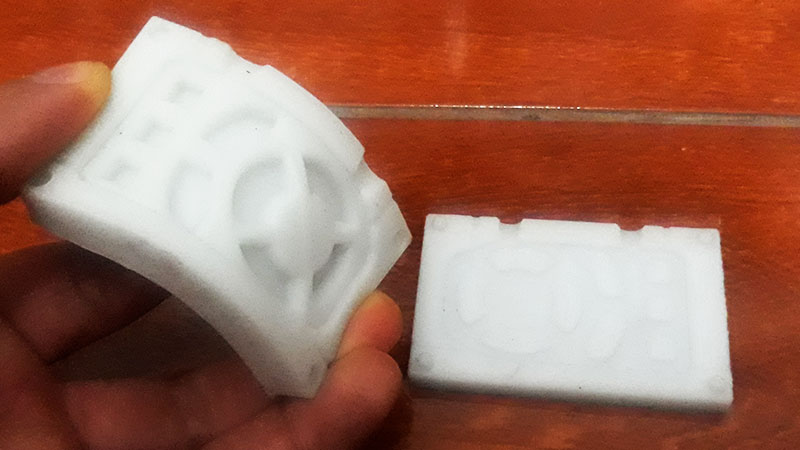
After mix both components in the same proportion and cast on the wax mold, the result is this.
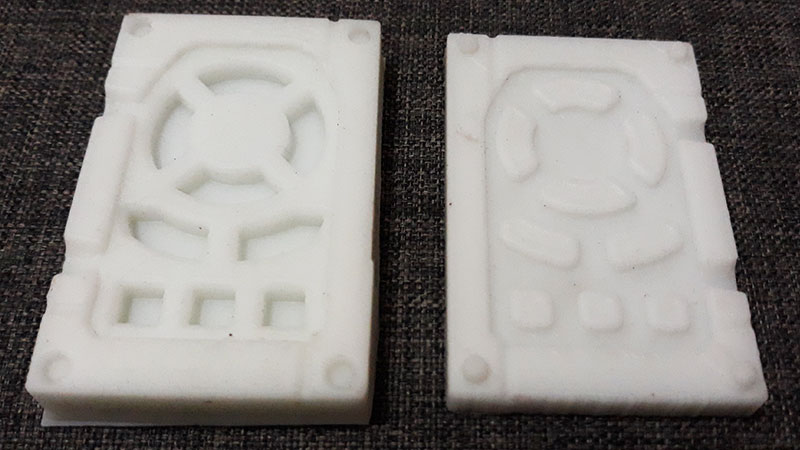
This time, the pieces are completely flexible. This time, the details are so much clare. I think is a great result.
Files of this assignment: