Week 21 Final Project Summary
Idea
The wooden night lamp is a night lamp I created based on my kids and loving the looks of wooden lamps furniture etc. I was inspired by wooden pallet lamps that I have seen on the internet. For the future I want to make lamps that also have a charging station (wireless) and lamps that are more kid friendly (wtih colors, round edges, etc).
What parts and systems will be made?
-
The table using the lasercutter or cnc milling
-
The coil holder by 3D printing
-
PCB for the lamp by cnc milling
What processes will be used?
-
Designing in Fusion 360
-
3D printing
-
Lasercutting or cnc milling
-
Programming the lamps pcb board
Board
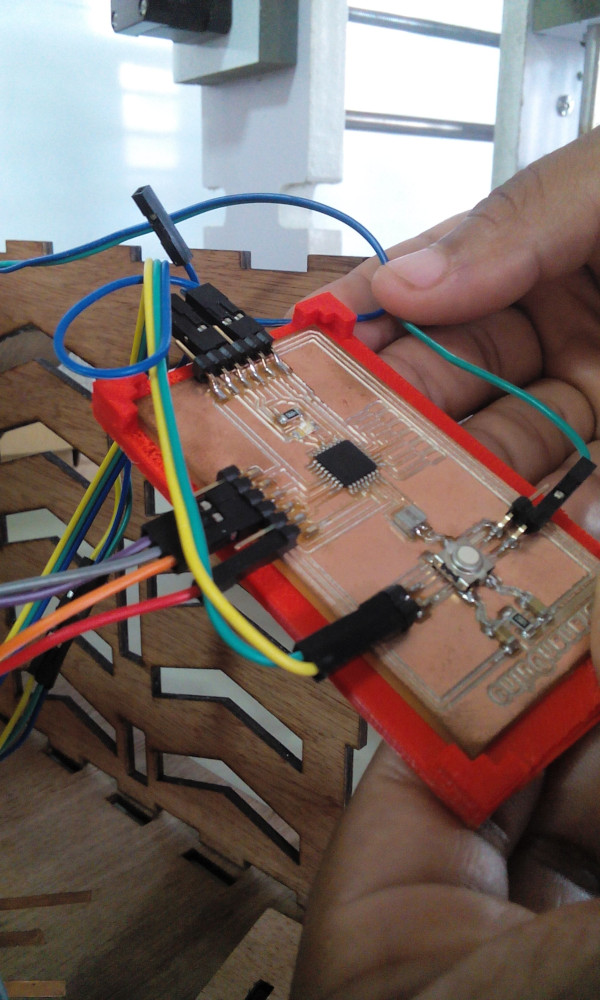
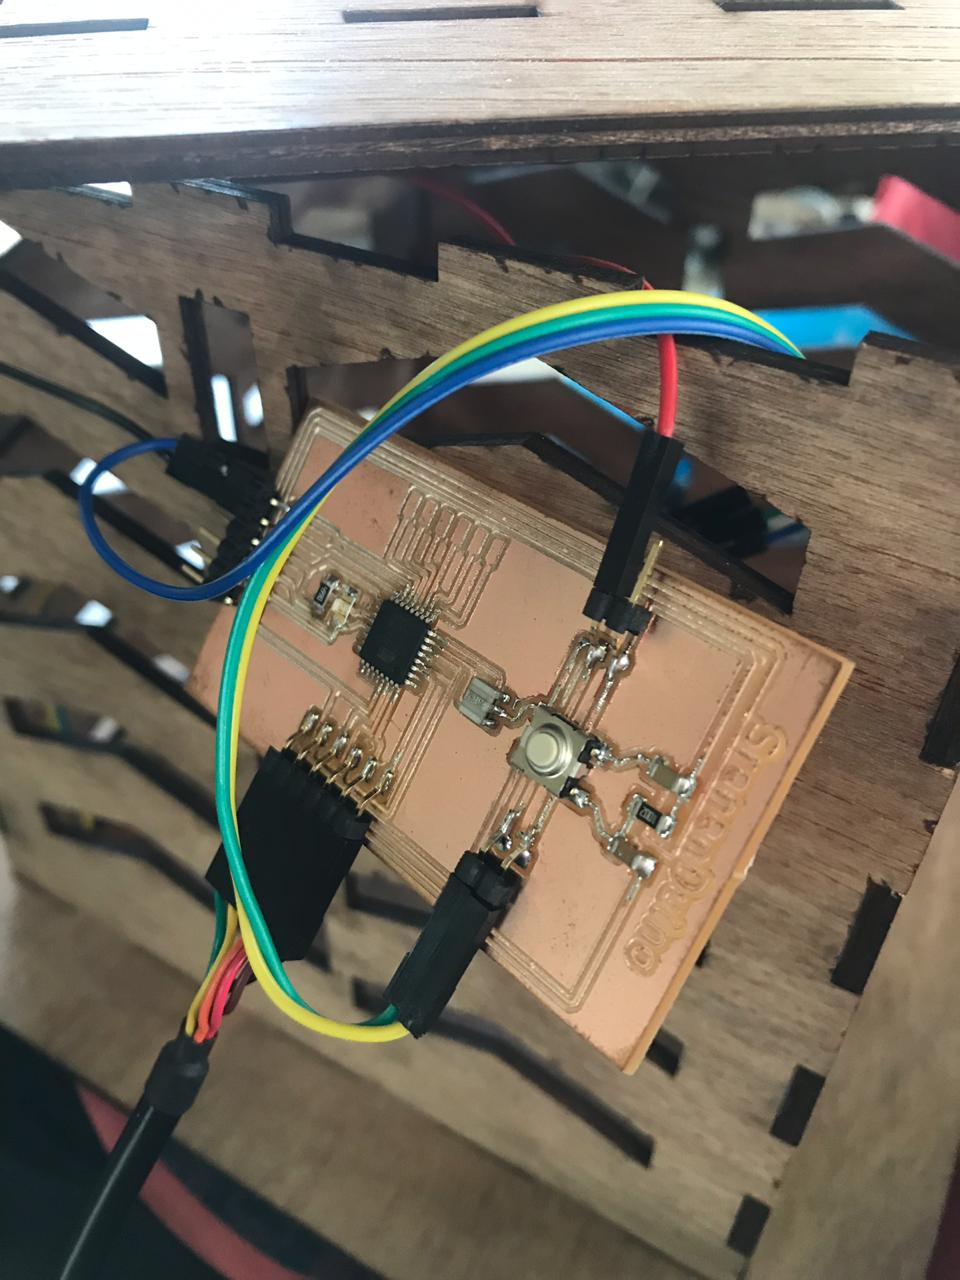
Components Srananduino board
The Srananduino is based on Neil’s design. The components used for the Srananduino are:
-
Atmega 328P
-
Connector 01⤫06 (2⤫)
-
Capacitator 1Uf
-
Capacitator 0.1Uf
-
Resonator
-
Phototransistor
-
Resistor 10K
-
FTDI pinheader
-
Button switch
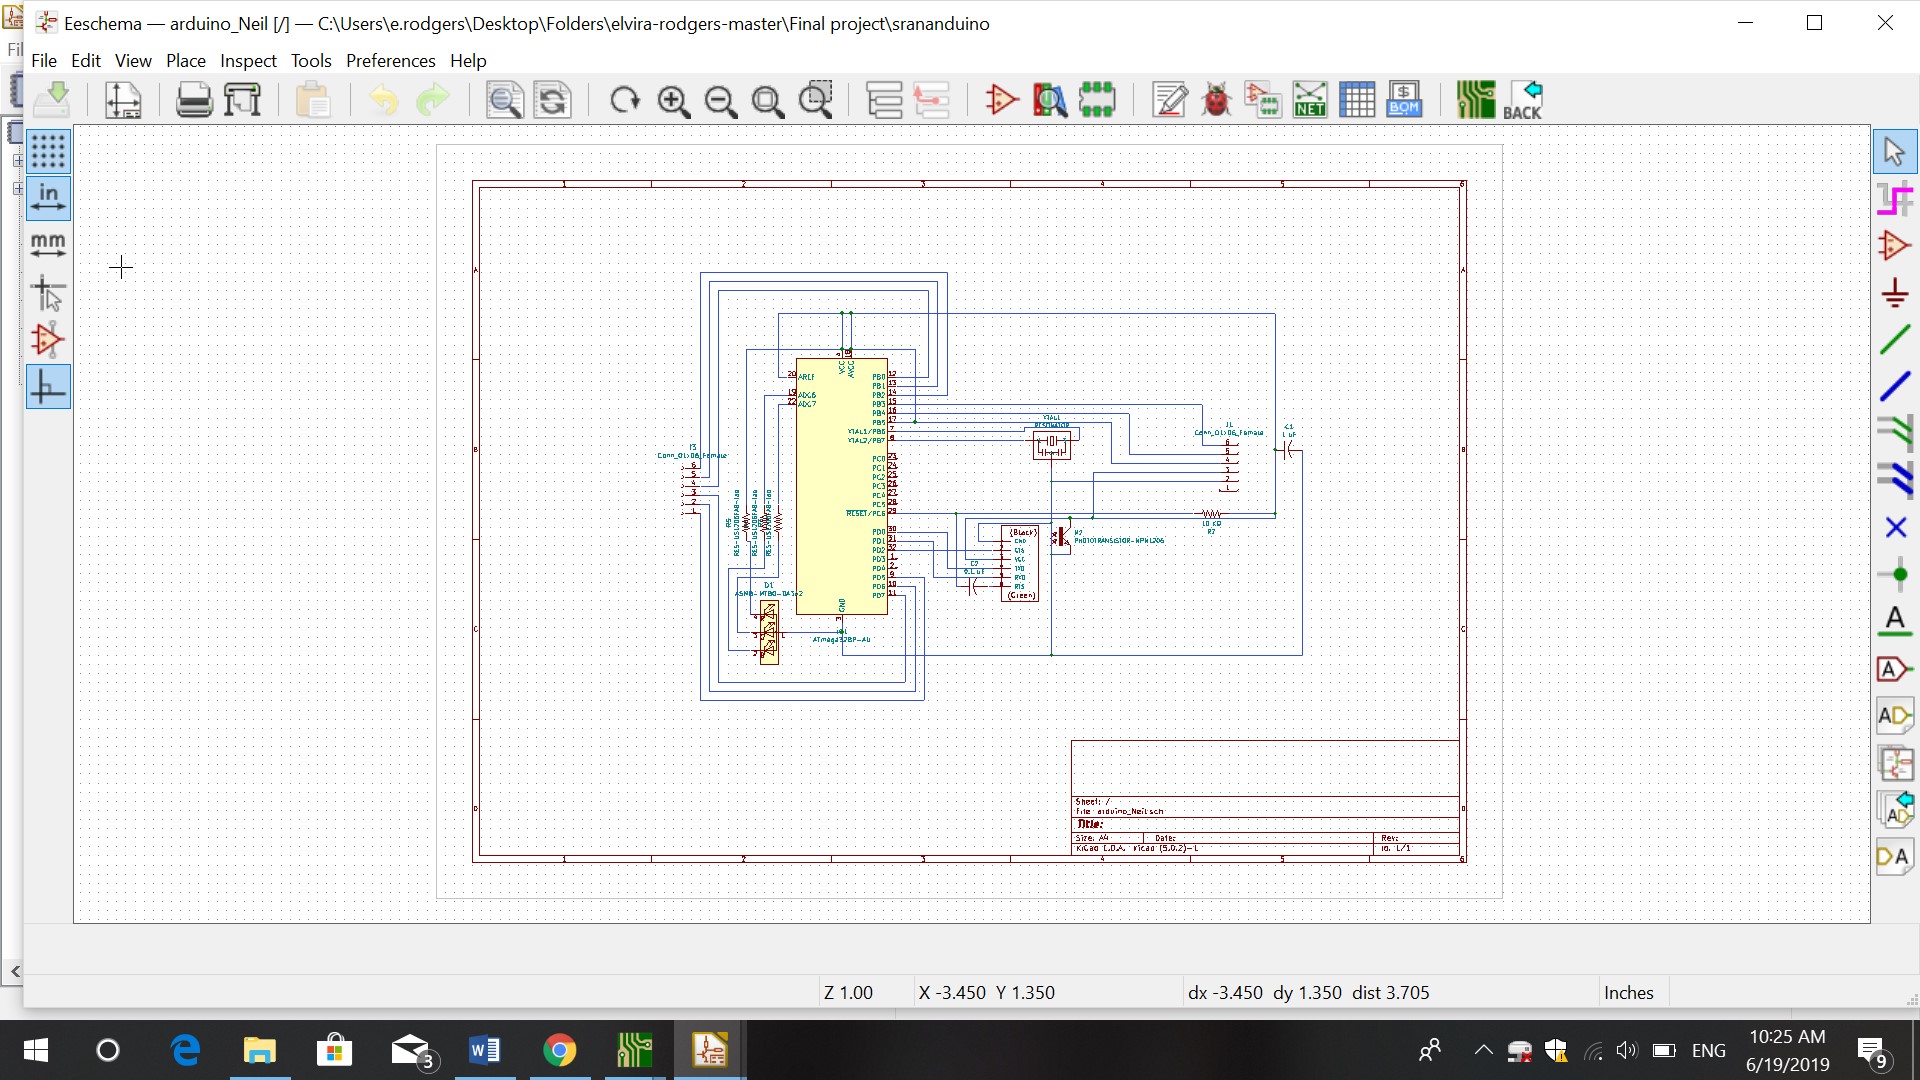
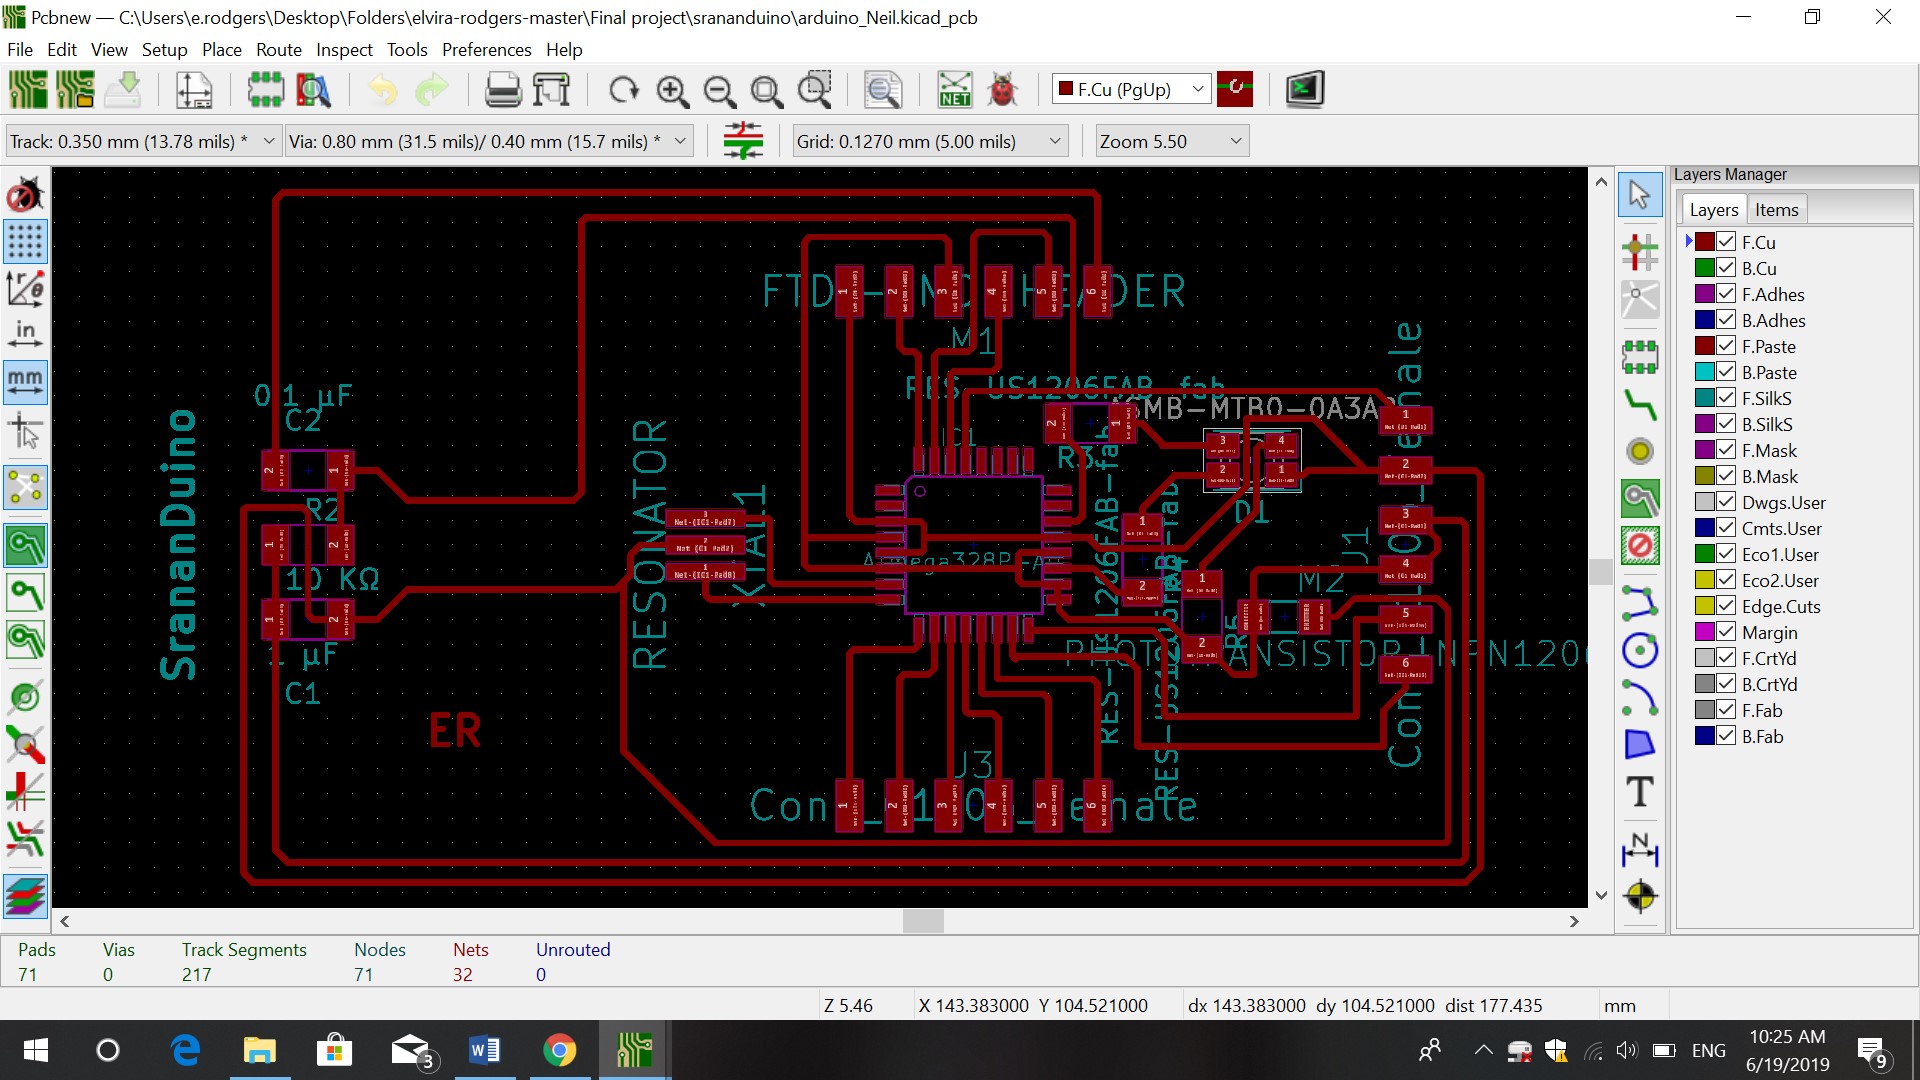
The board was designed in KiCad. For the steps see week 11
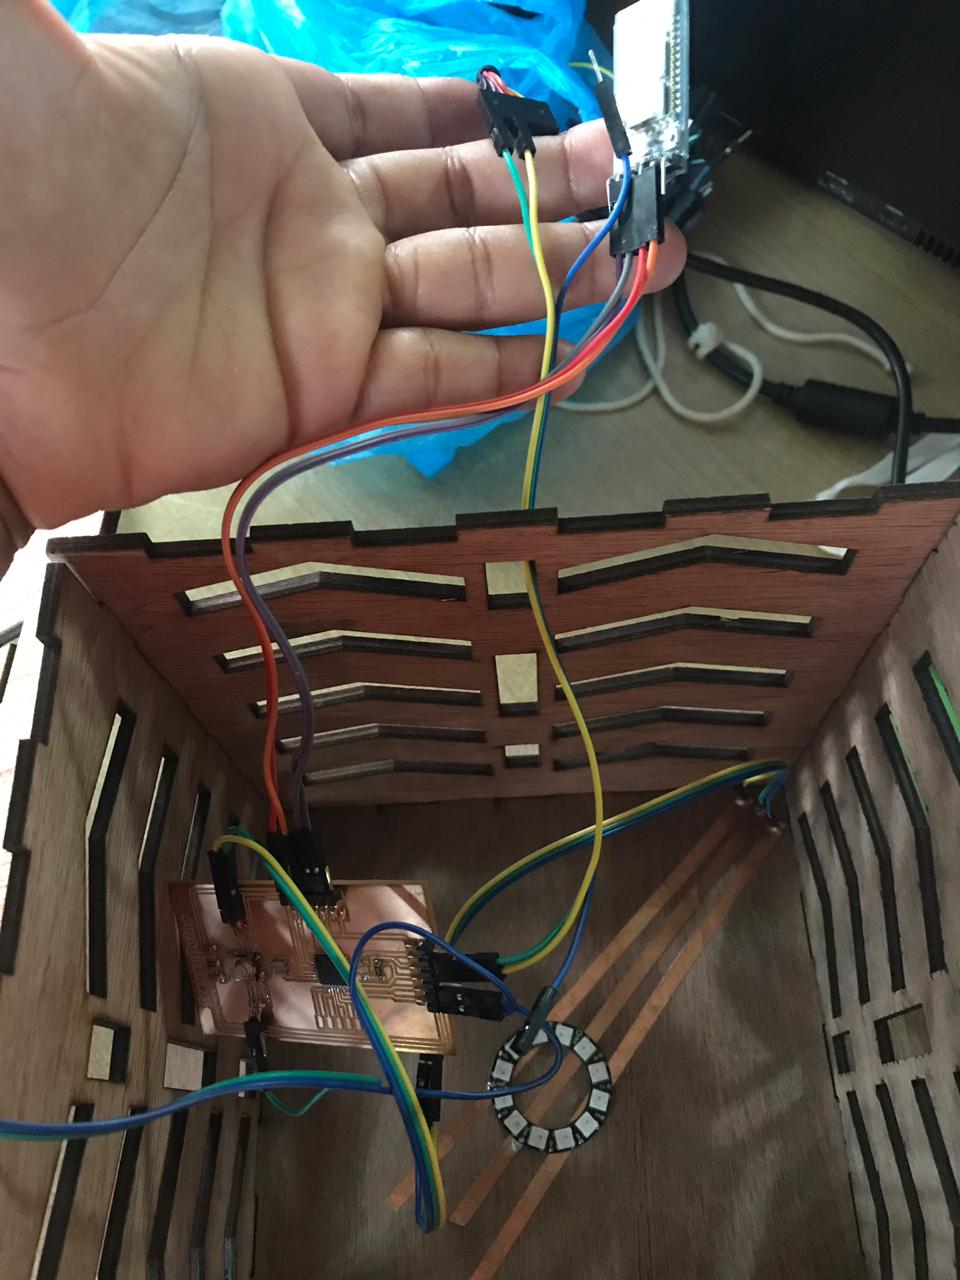
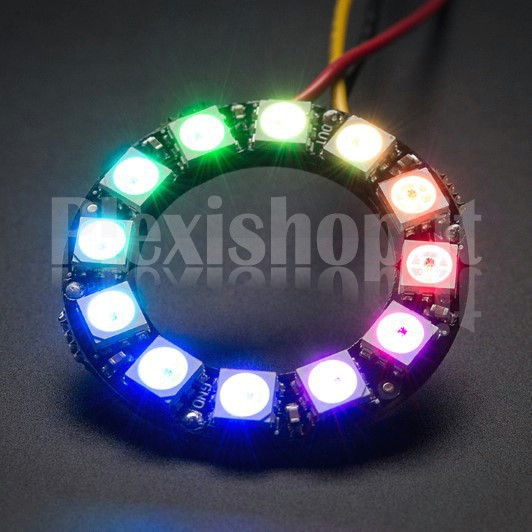
Instead of RGB LED lights I used a Neopixelring.
Programming
For the programming I used Arduino based on Neils design to program the neopixel.
void setup() {
  pinMode(photoTran,INPUT);
  strip.begin();
  strip.show(); // Initialize all pixels to 'off'
}

void loop() {


    // Turn them off
    while (analogRead(photoTran) > 1000)
  {
    lamp(high);
    delay(1000);
  }
    lamp(low);
    delay(1000);
}
void lamp(uint32_t a)
{
  for( int i = 0; i<NUM_LIGHTS; i++)
    {
        strip.setPixelColor(i, a);
        strip.show();
    }
}
This code lets the blue Led light up.
Bluetooth module
To make the apk, this online software was used. Via this I got more info how to create the apk. The bluetooth module is the HC-05, which comunicates through serial to the arduino. It just receives ‘1’ or ‘0’ from the tablet and sends it to the arduino. This lets the lamp turn on or off using the app.
Websites used:
3 Microcontroller with bluetooth
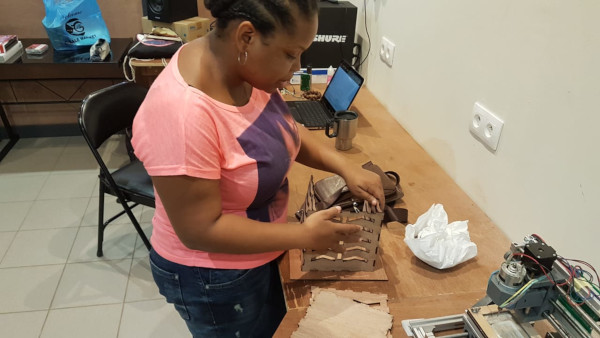
Wooden case
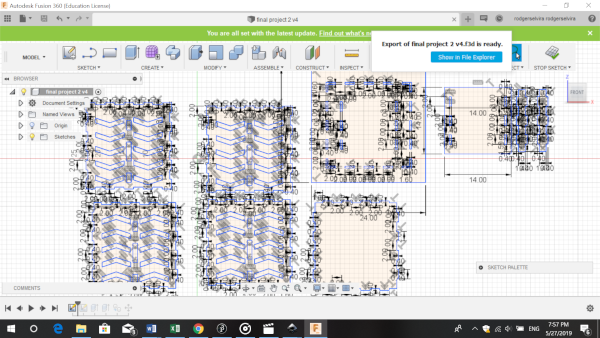
Computer controlled cutting
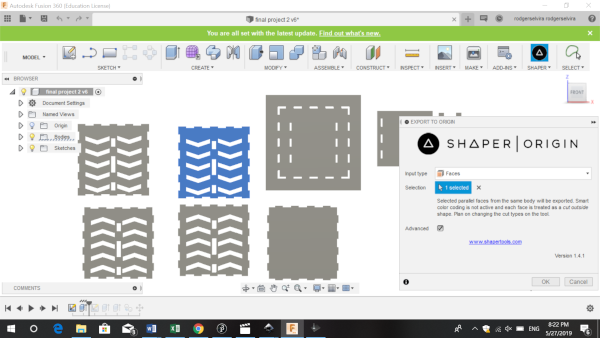
I lasercut 4 mm plywood. First I made my design in Fusion 360. I extruded it to 4 mm, because of the thickness of the wood.
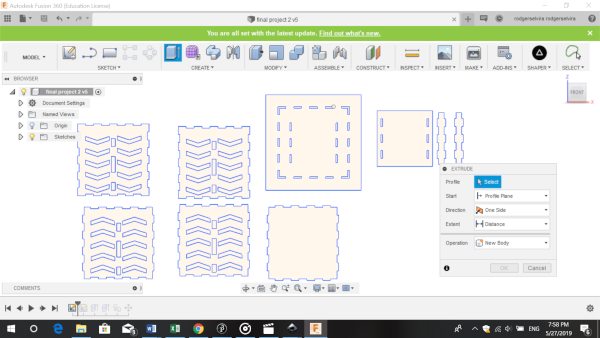

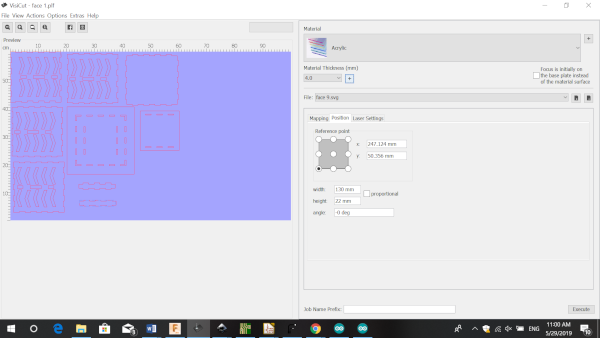
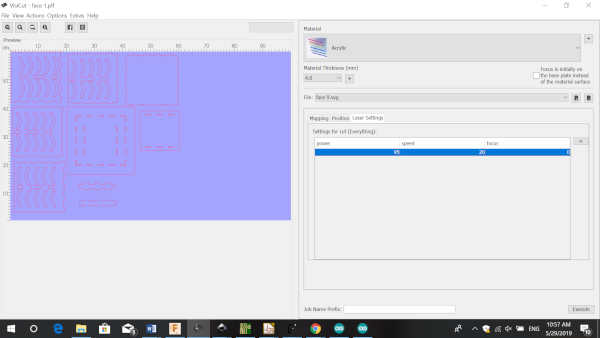
After making my Fusion design, I went to shaper and saved all the faces as svg files. I then opened the files in visicut. I changed the position to the left corner. And for the lasersetting a power of 95% and speed of 20%. I also changed the material thickness to 4 mm. At last I exported the lasercode. When saving the file you have to add .gcode after the file name.
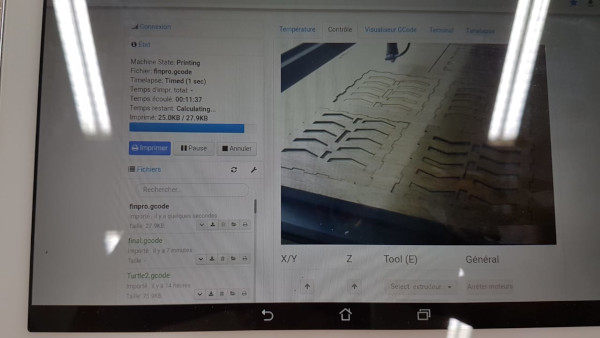
I uploaded the file to the Lasercutter server. Set the XY en Z position using the tablet connected to the lasercutter and started cutting.

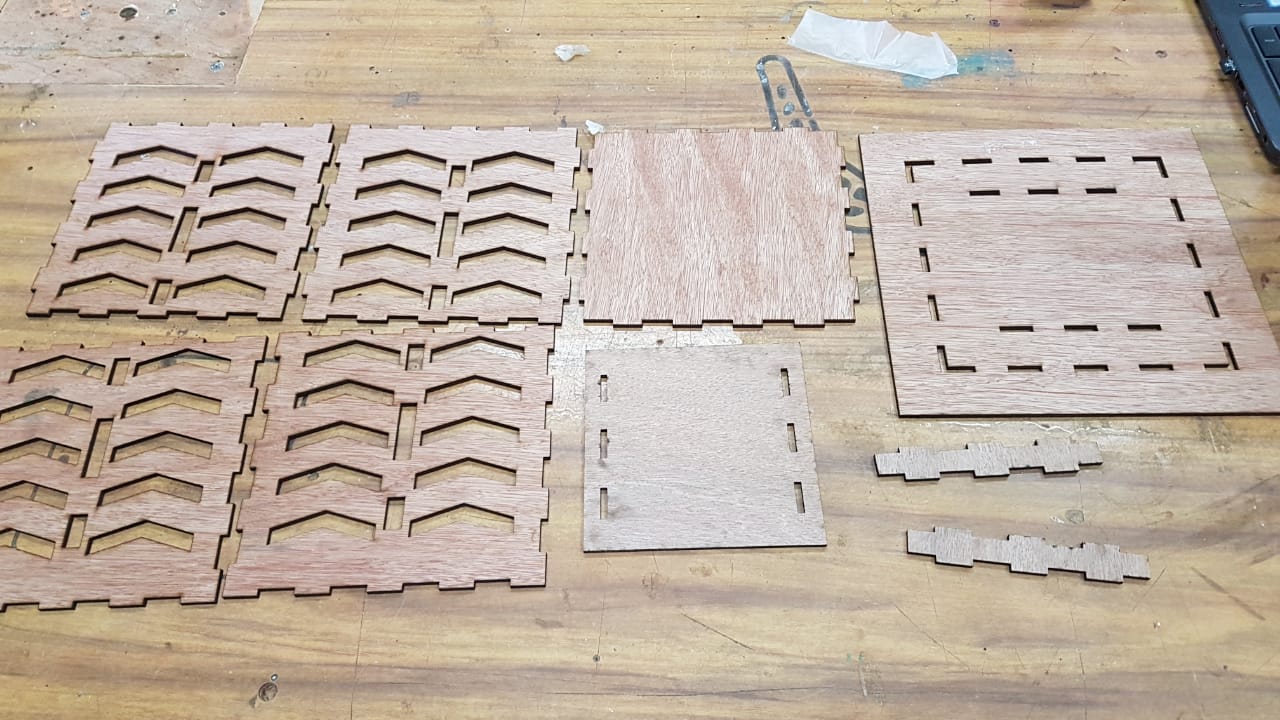

For more info see week 13 and week 20
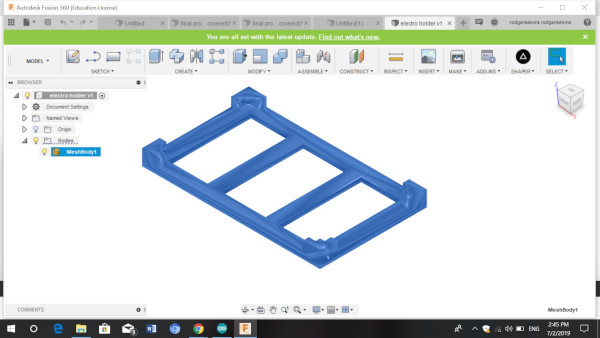
Board holder
3D design
For my 3D design I made a holder for my board in Fusion 360
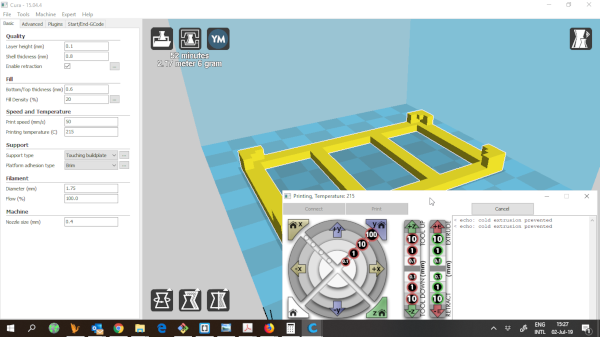
I then used downloaded Cura 15.04.4 to print the holder. Connect the USB to your computer. First you open the file in Cura, then check the time it will take for your print. Via file- print, you can send your print to the printer.
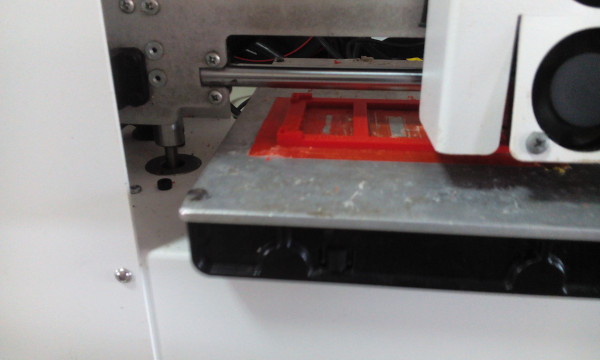
Result boardholder
The result of my boardholder. It fits perfectly.