Week 3 Computer Aided design
This week we had to model (raster, vector, 2D, 3D, render, animate, simulate, …) a possible final project, and post it on our class page. I haven’t worked with these programs yet, so I wasn’t familiar wih them. First I downloaded the programs. For 2D I tried out Gimp and Inkscape and for 3D I tried Fusion 360.
2D Design
Gimp
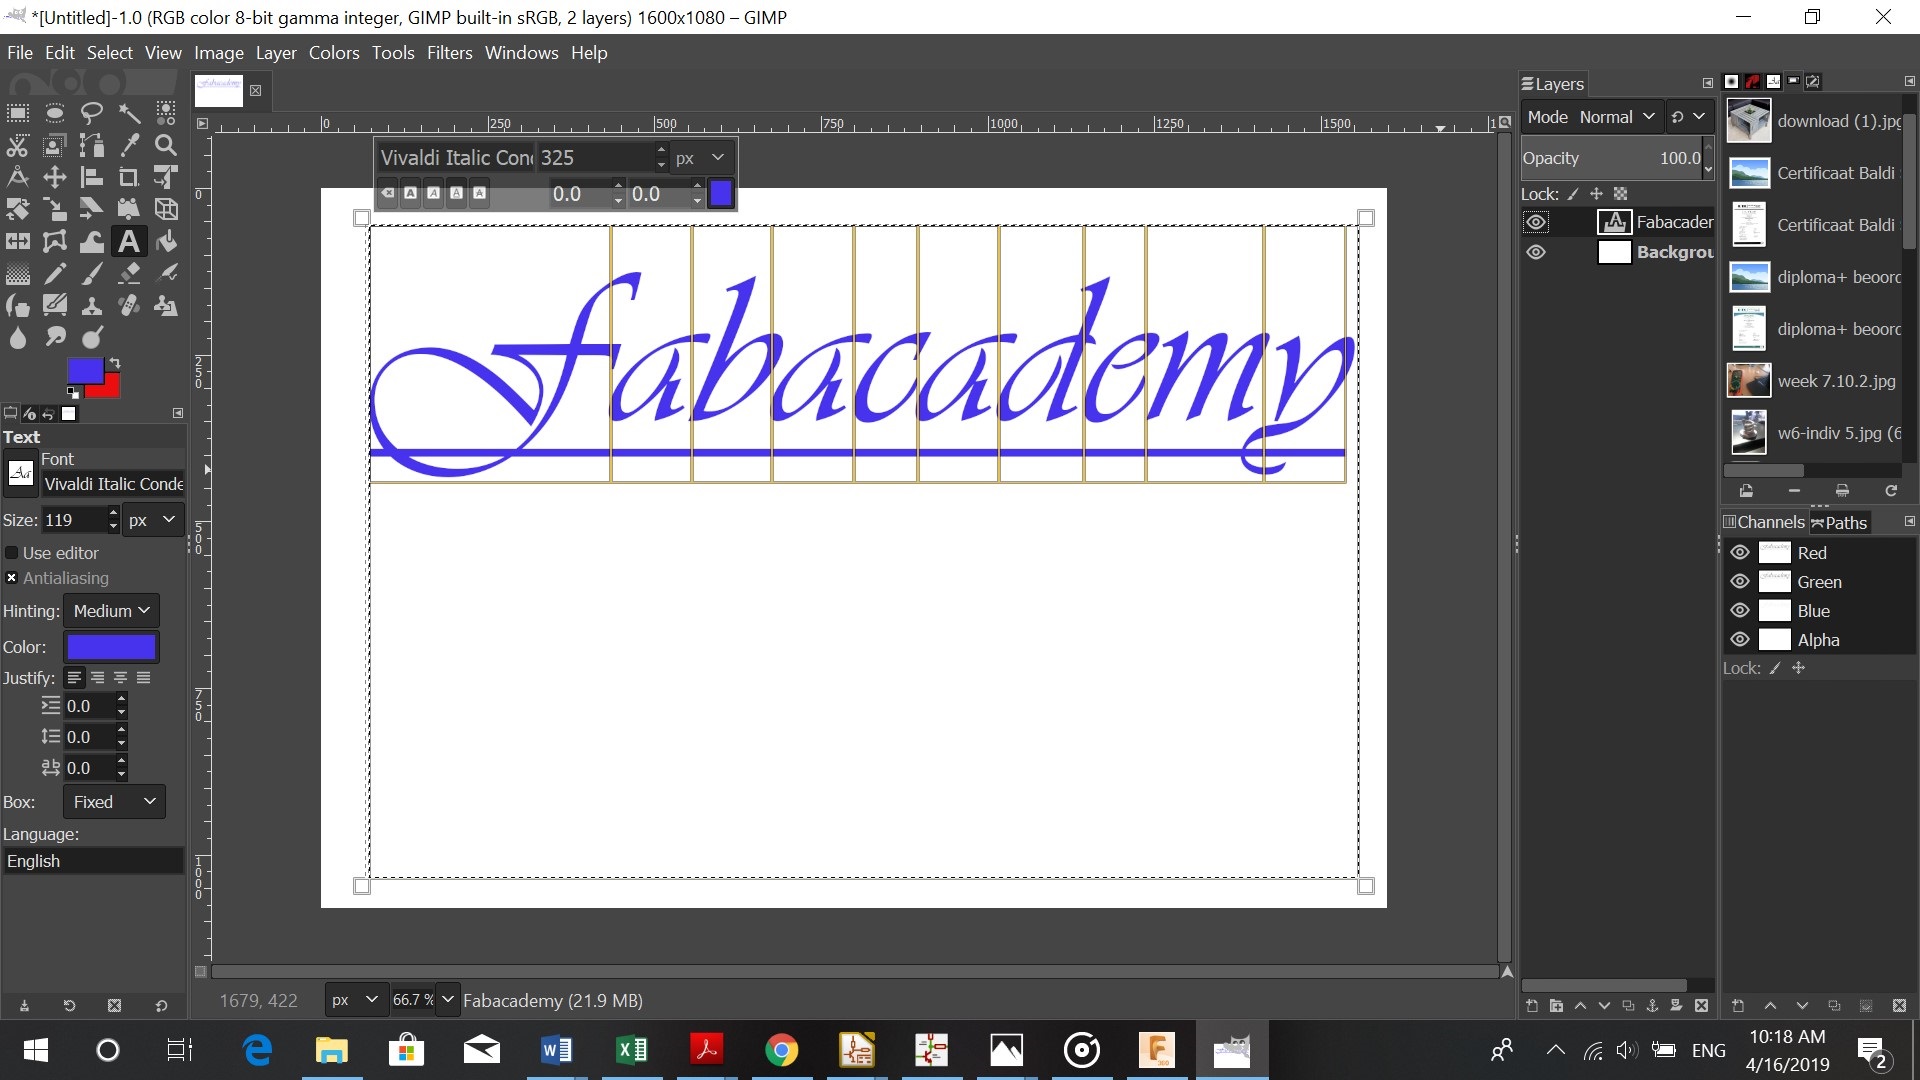
I did a simple image in Gimp and added text. Gimp can also be used to edit images (Scale etc.)
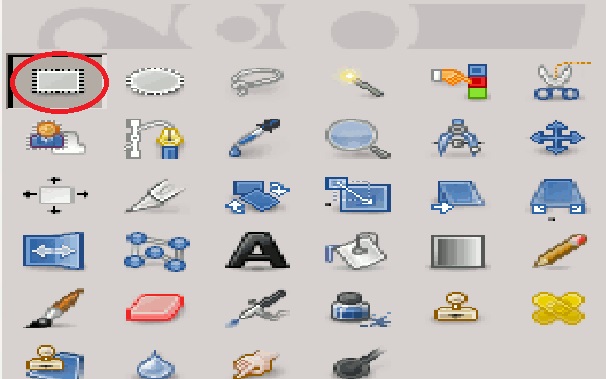
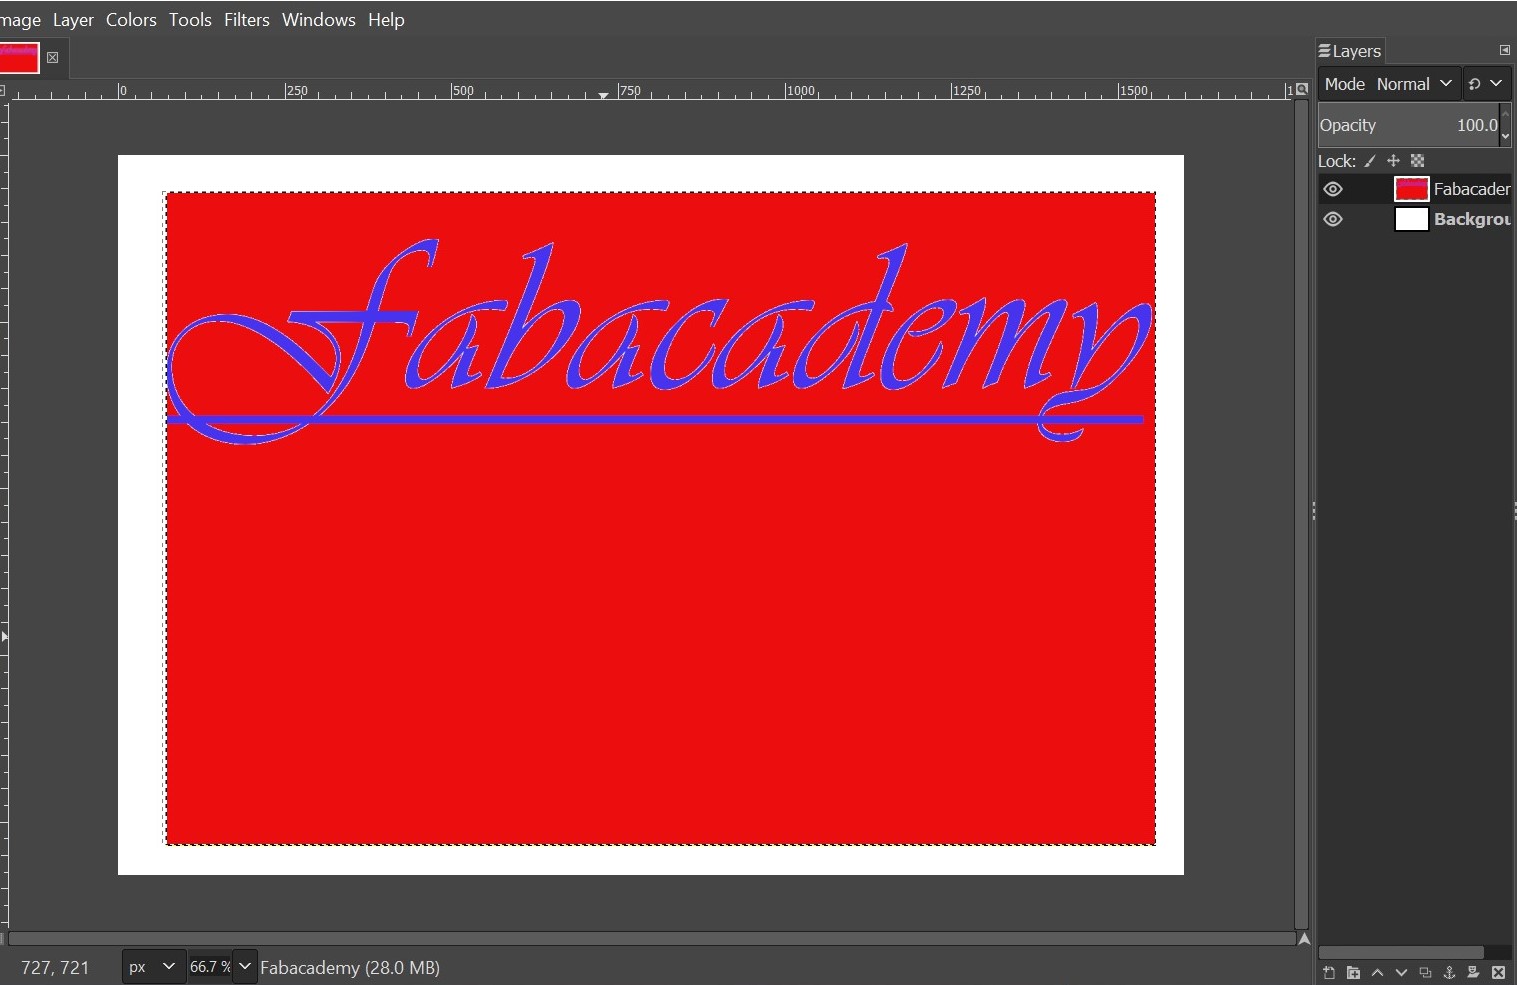
First I opened a new file. I then used the rectangle tool to draw a rectangle.
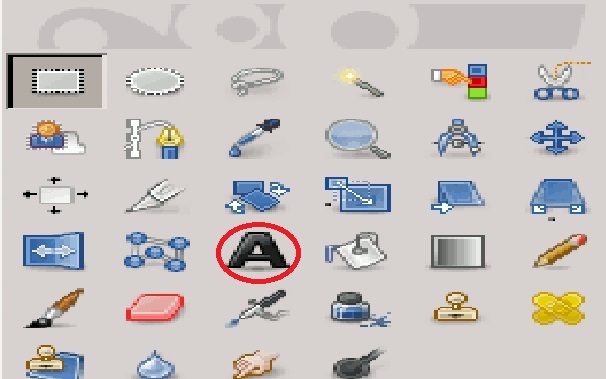
I used the text tool to write in my rectangle and adjusted the lettertype and size.
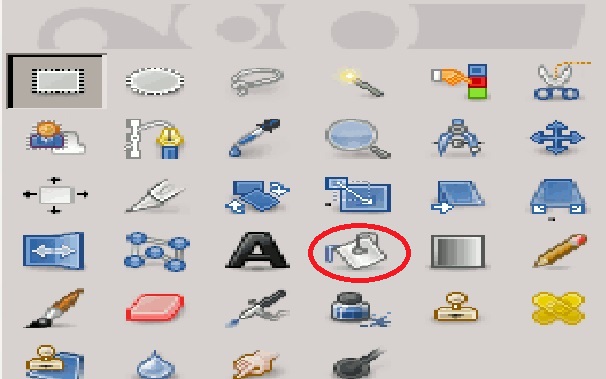
Using the bucket fill option I changed the background color into red and saved it as a jpg image.
Inkscape
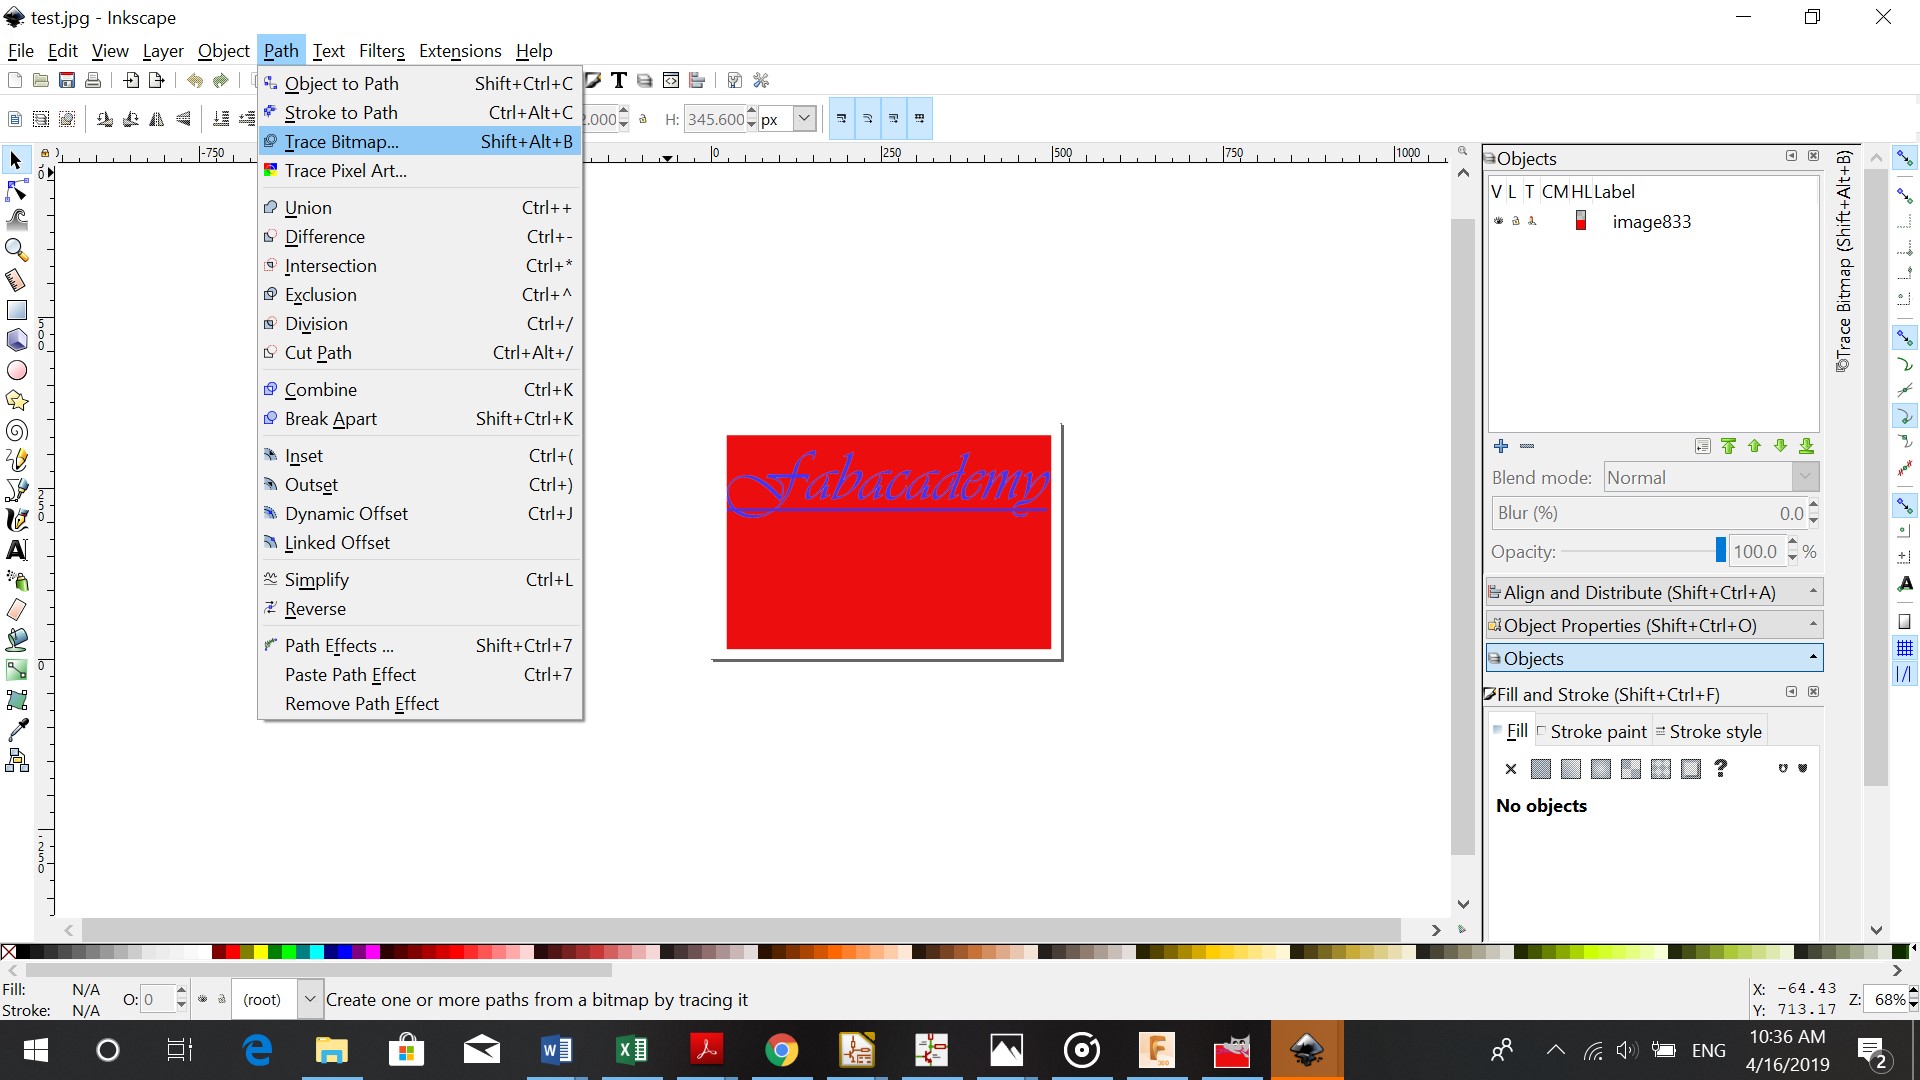
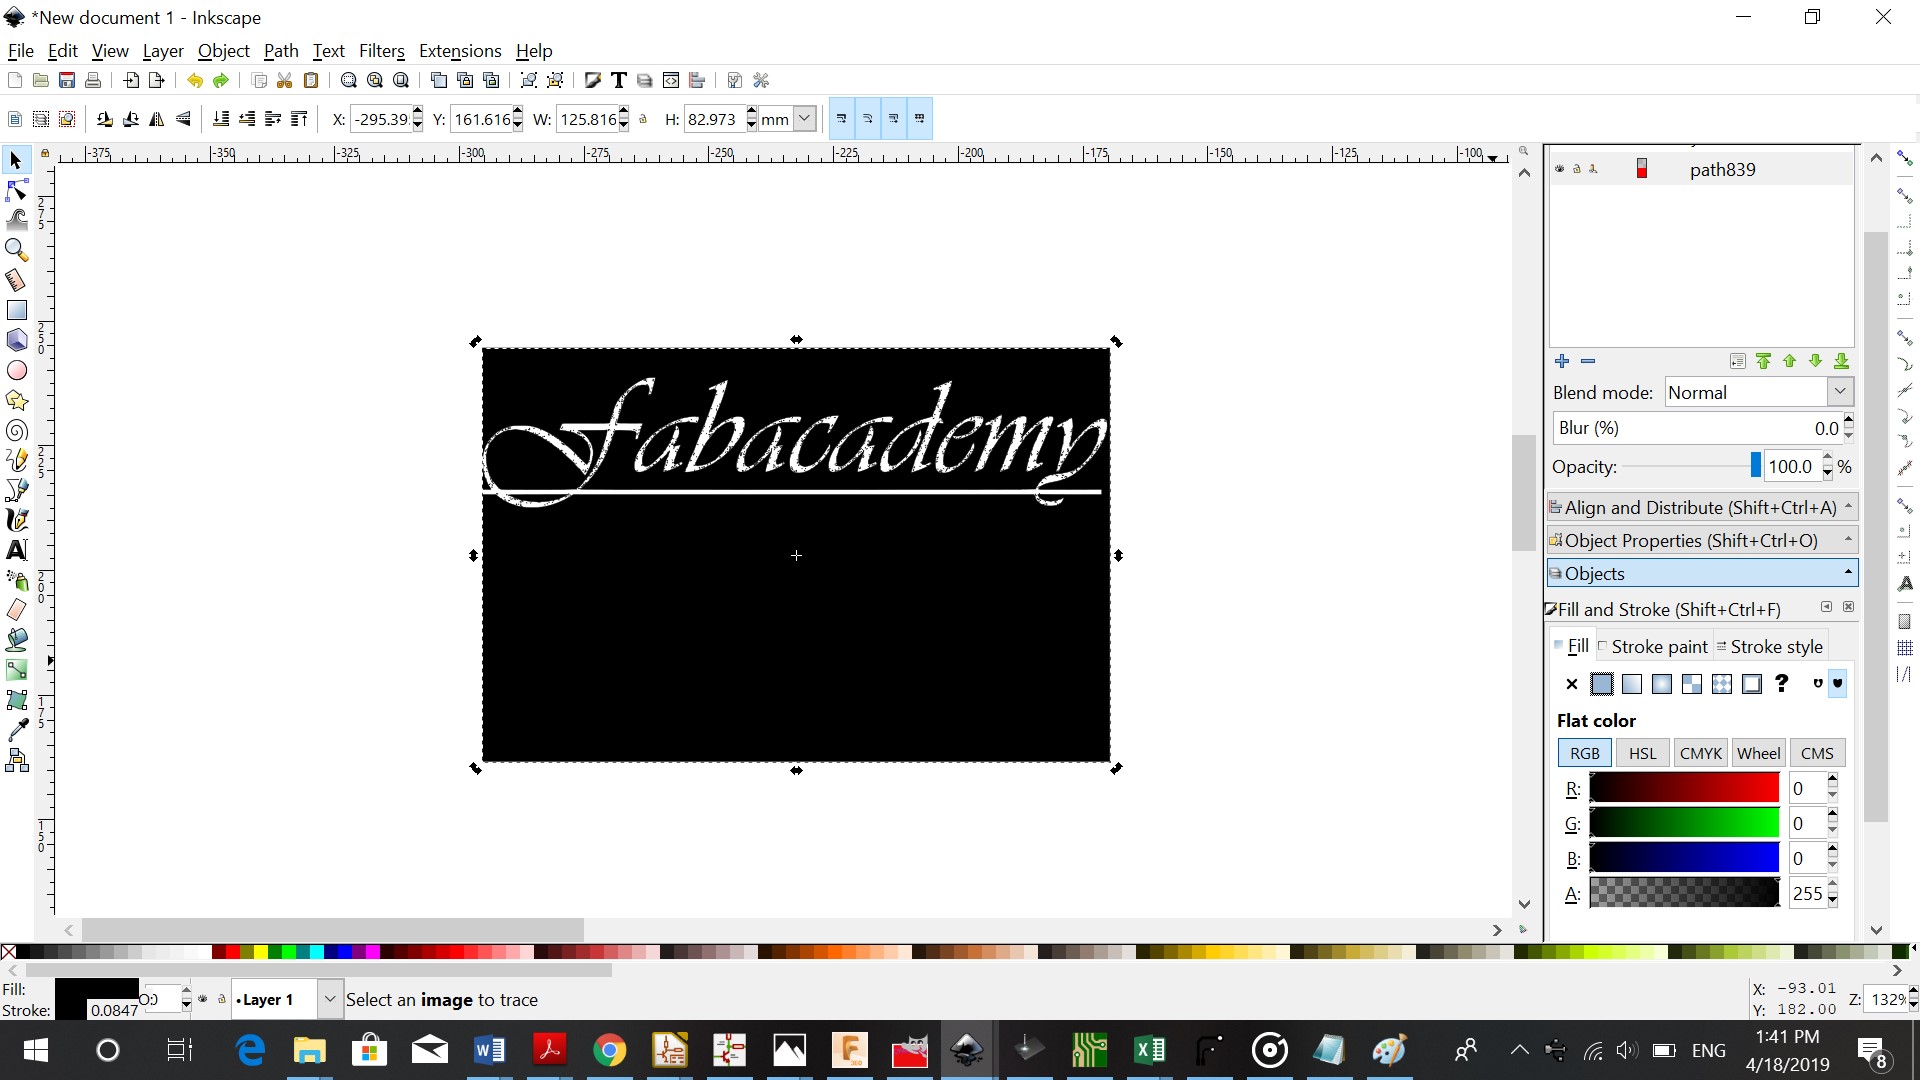
Inkscape is a professional vector graphics editor for Windows, Mac OS X and Linux. It’s free and open source. The image I created in Gimp, I imported into Inkscape.
I used Path- Trace bitmap-update-remove original.
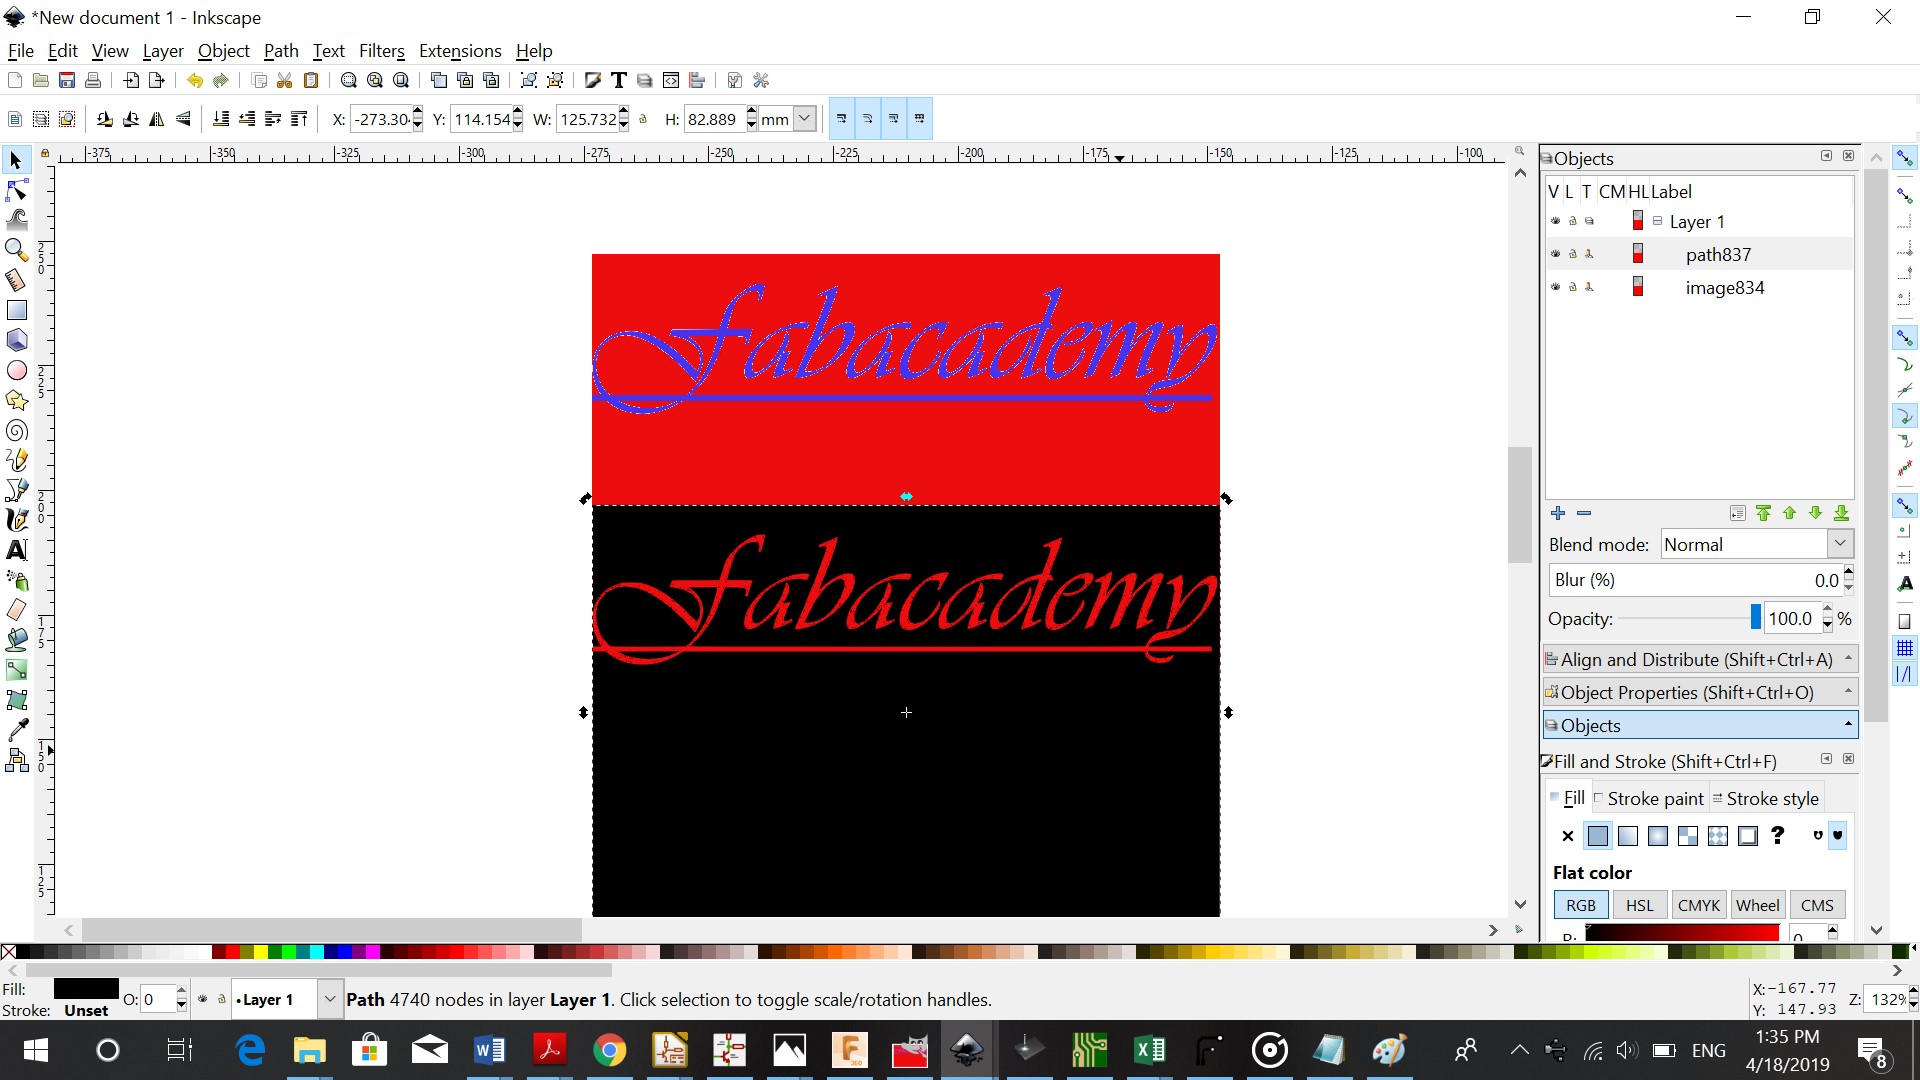
This leaves you with a black and white image.
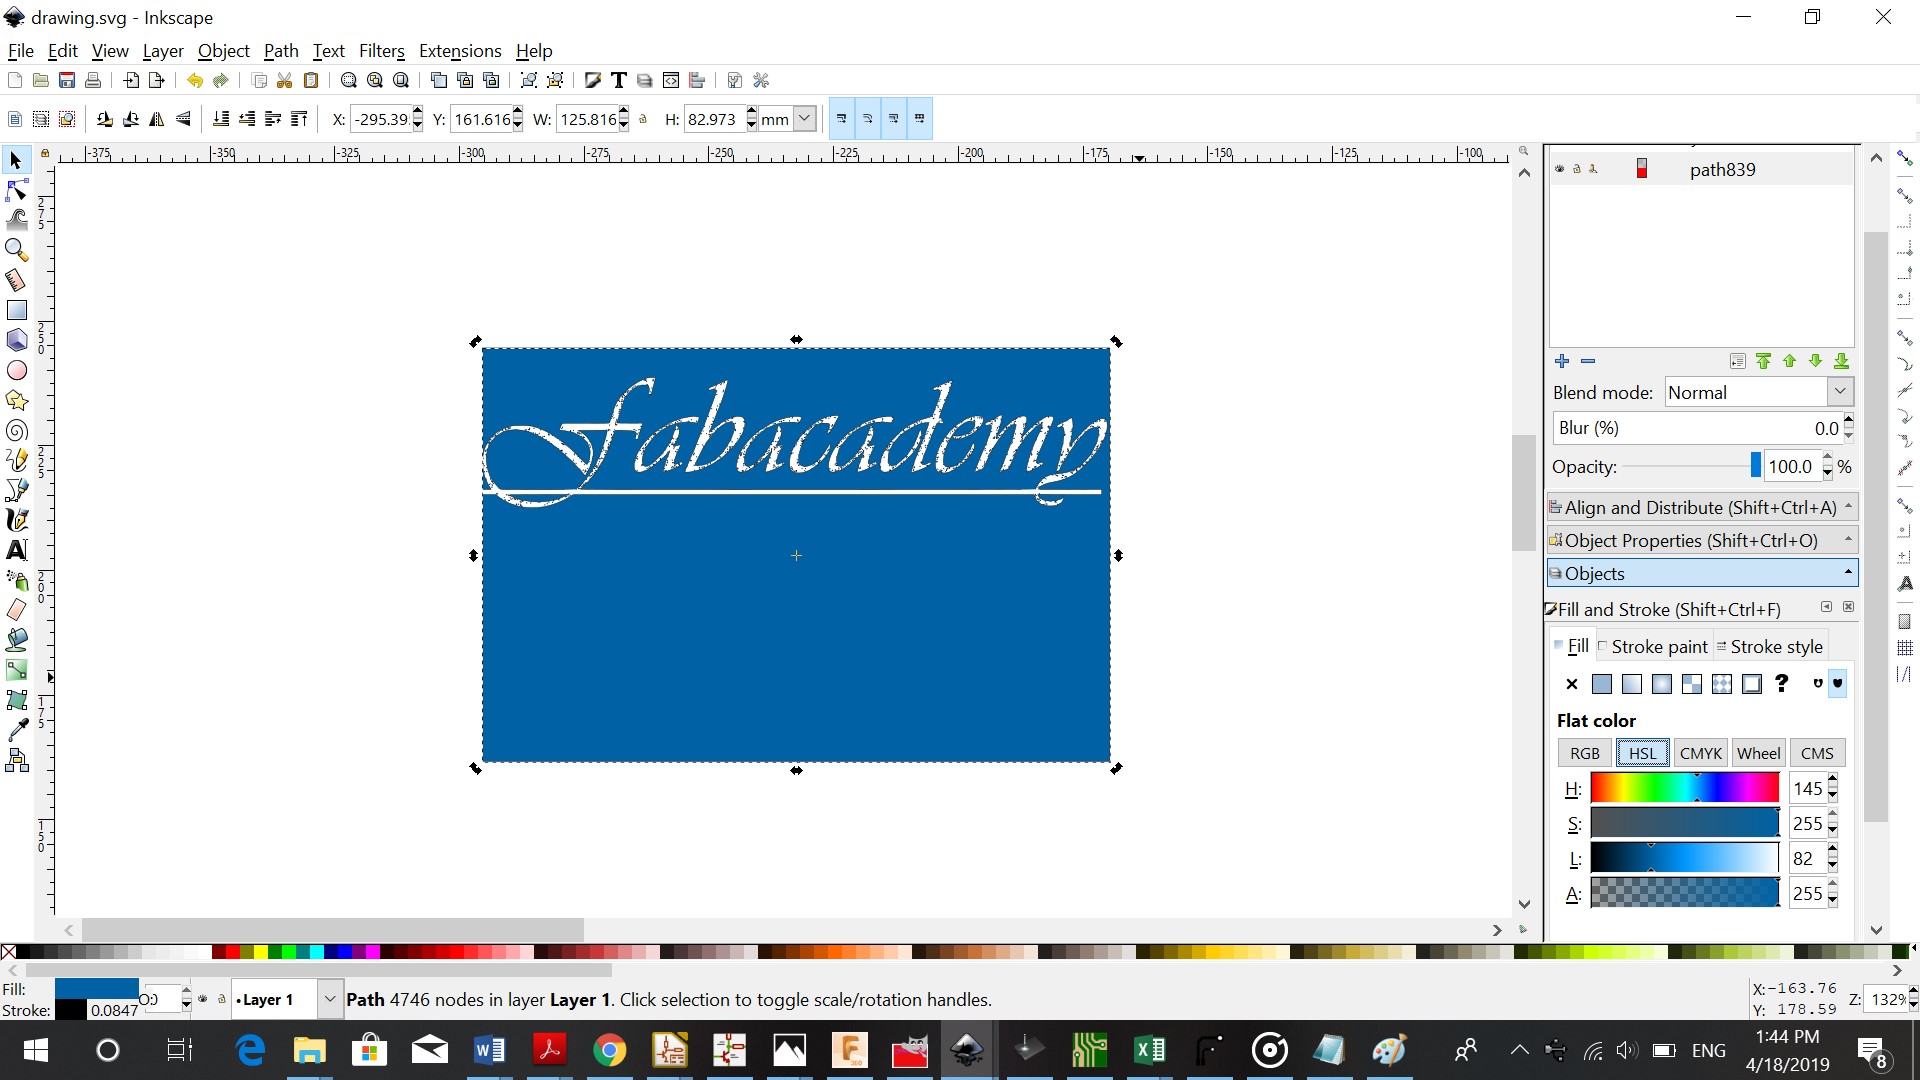
You can change the color of this image by using the fill option.
3D Design
Fusion 360
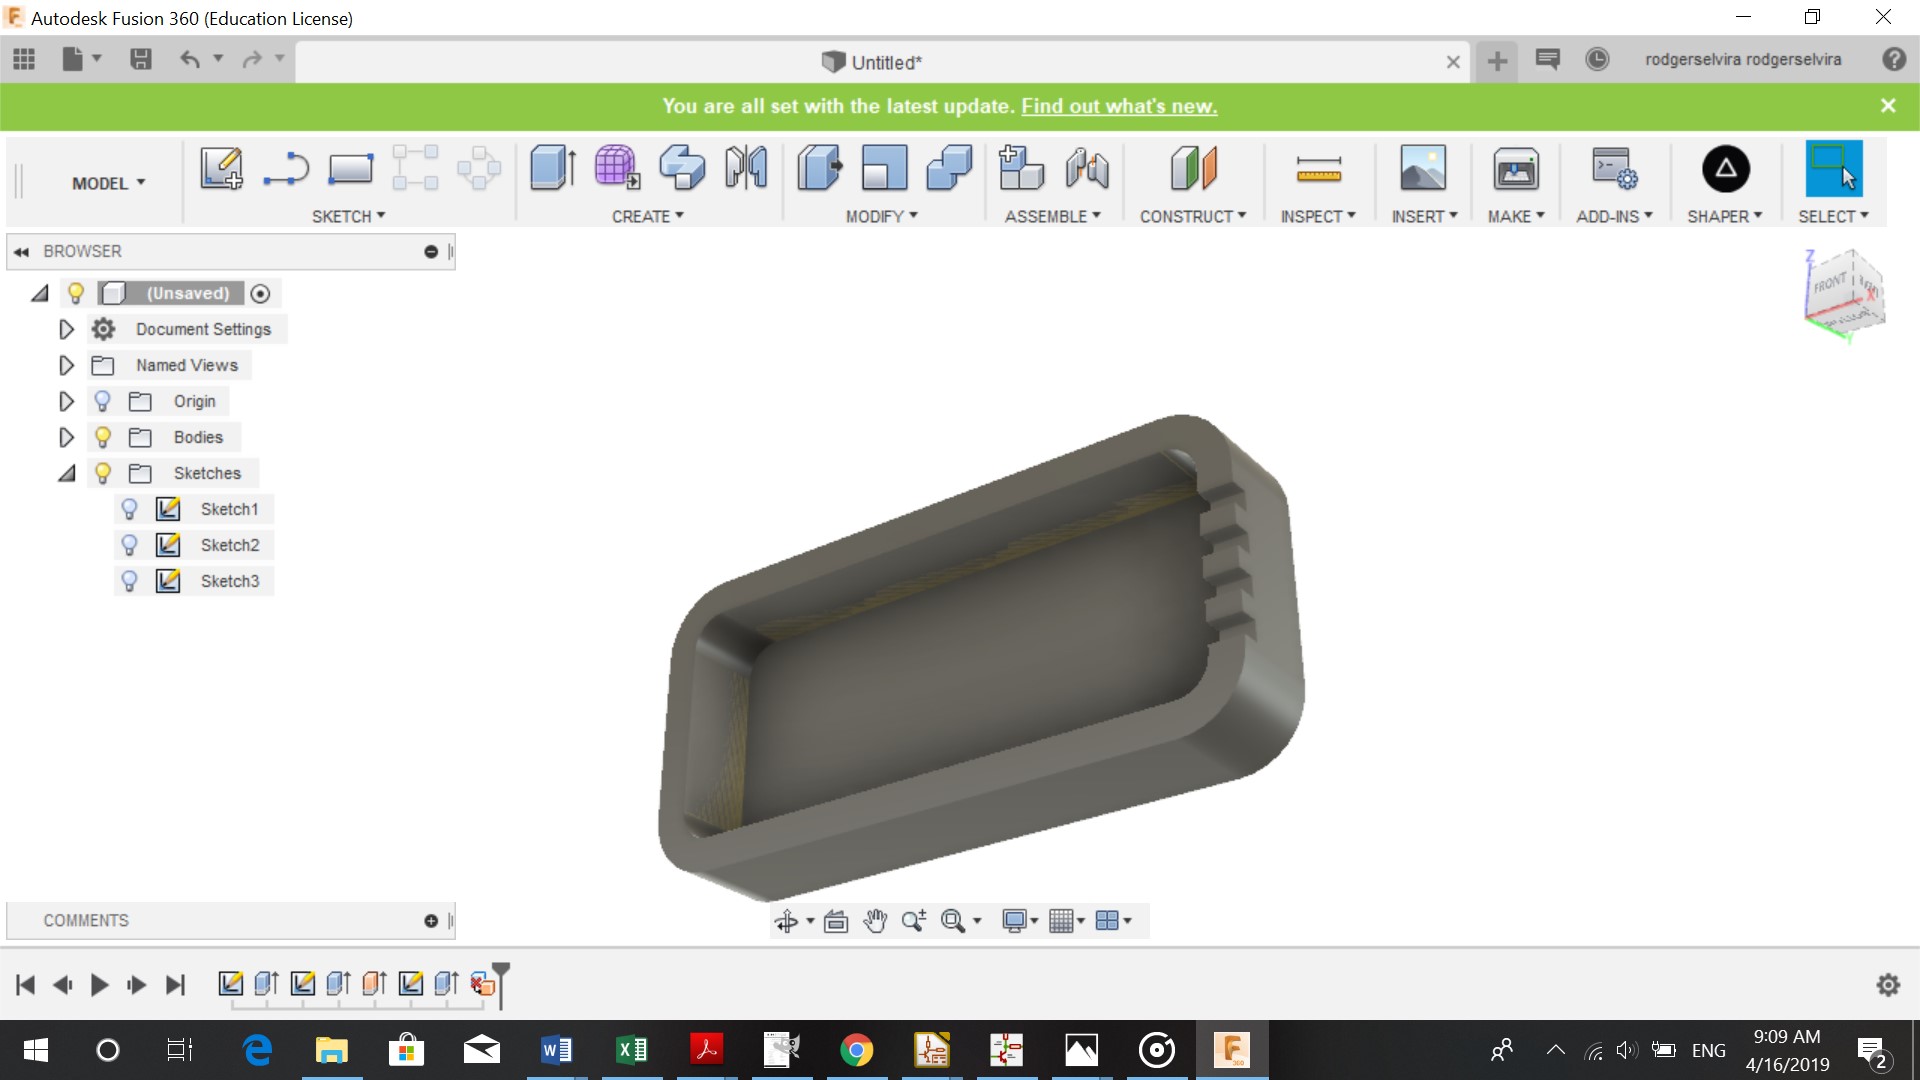
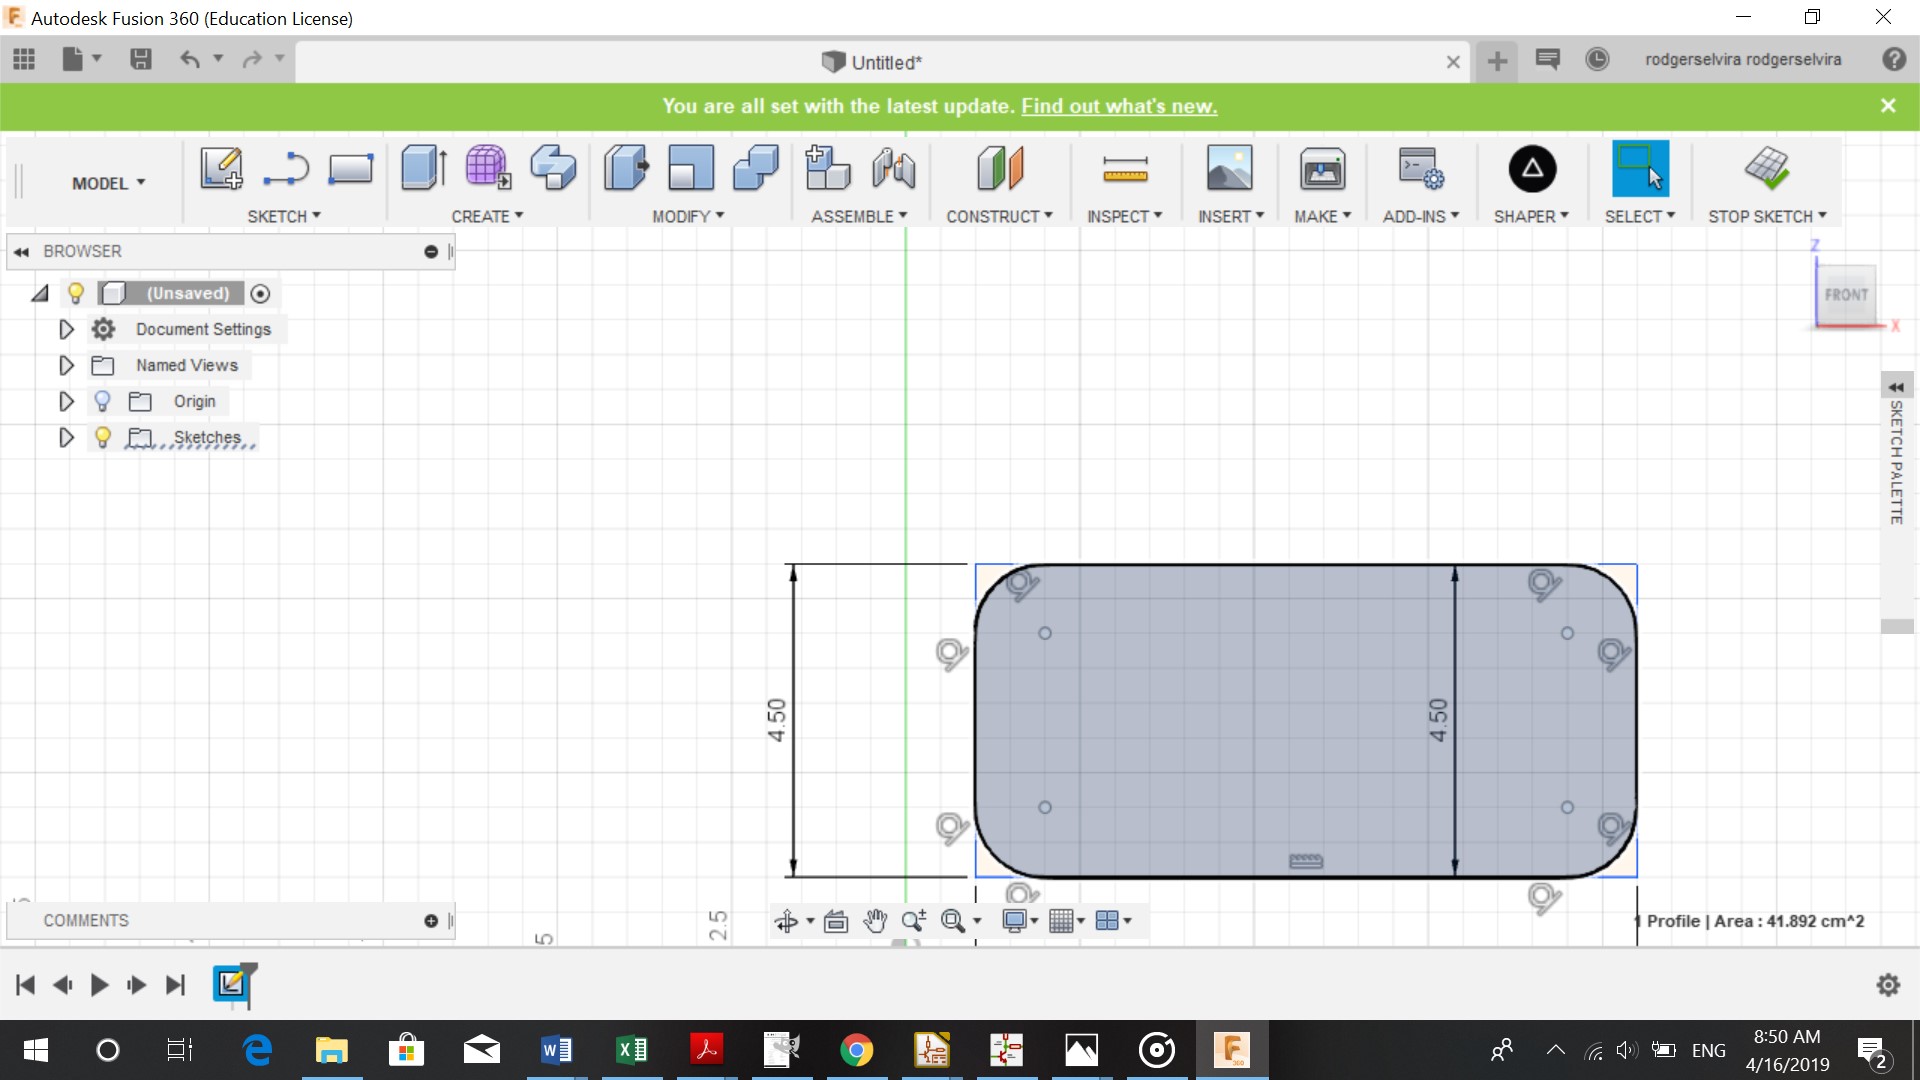
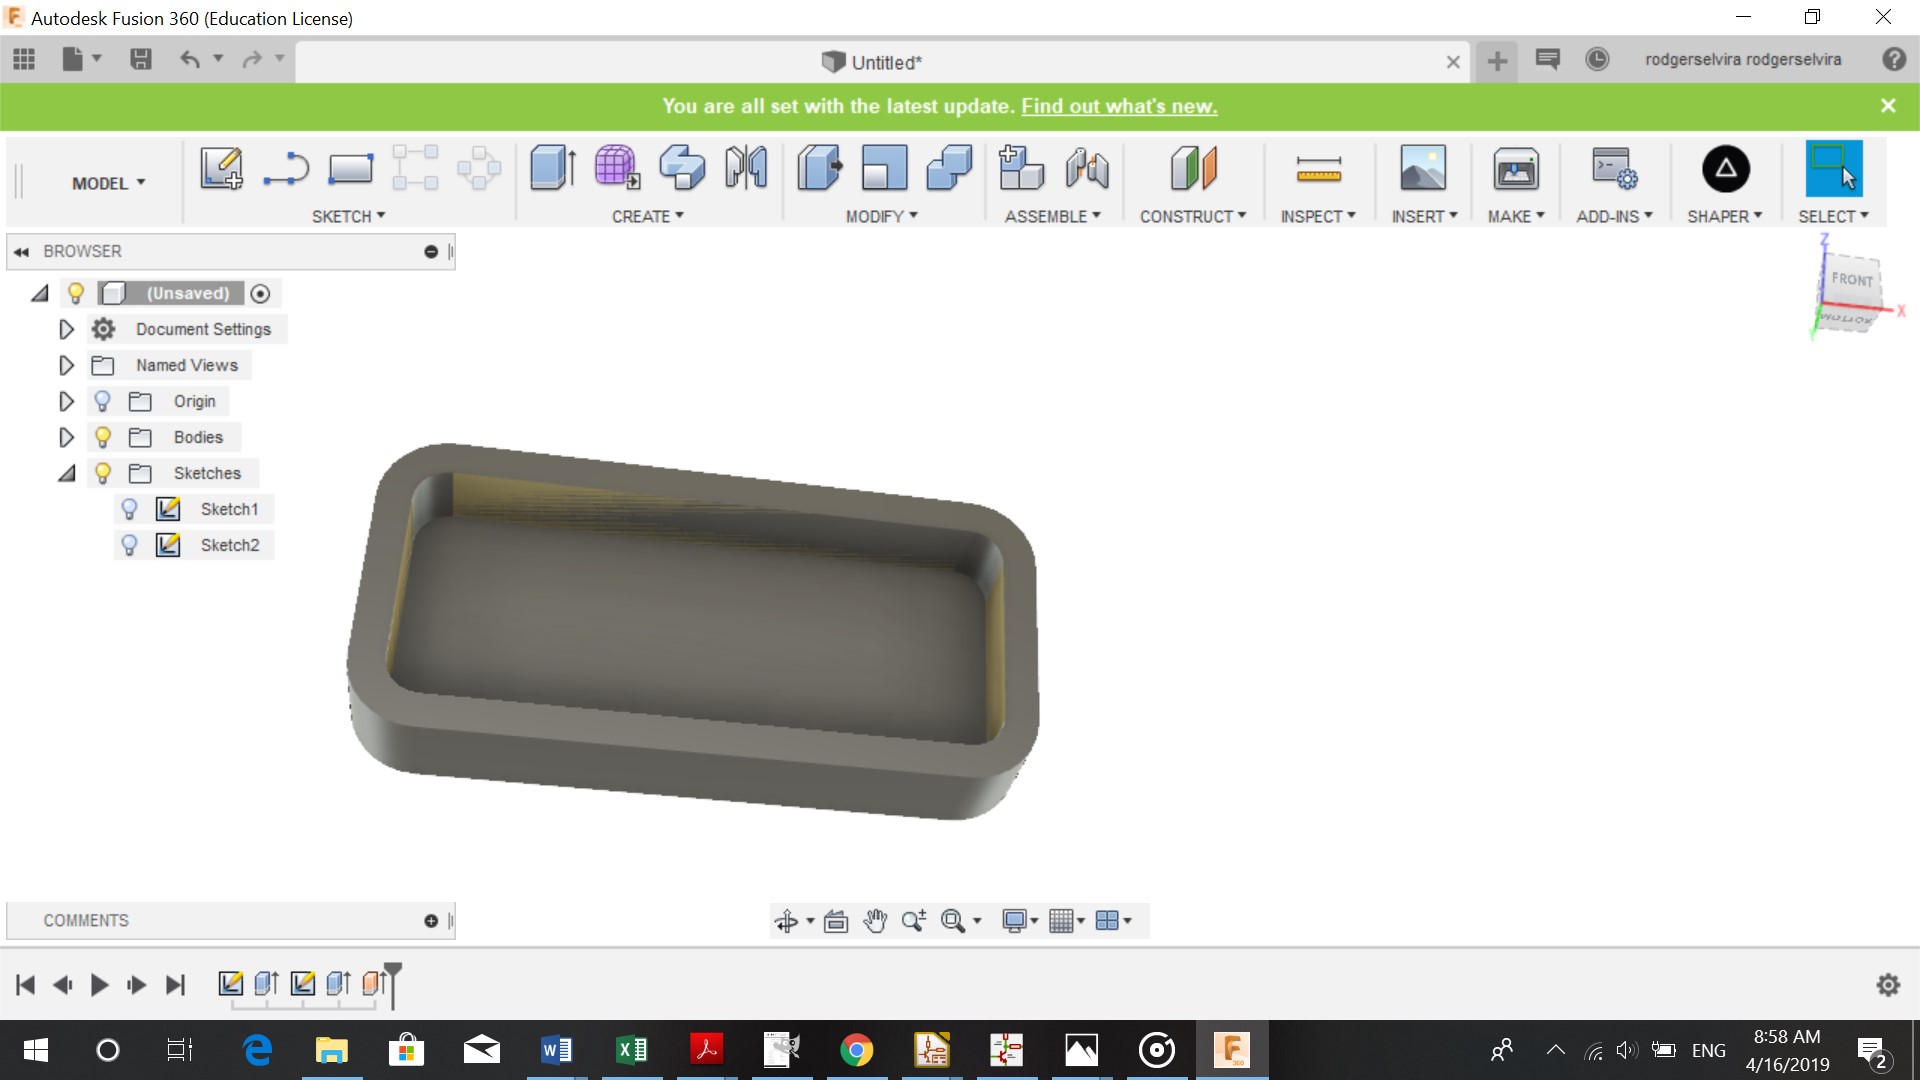
In Fusion 360 I sketched a holder for my wireless charger. This holder will hold the coils of the wireless charger. I started off by skectching a rectangle of 95 mm by 45 mm. I didn’t want pointy corners so I used arc (one of the sketc options) to round out the corners. Atfer that I extruded my sketch by 1.5mm. By extruding your sketch you get a 3D view of what it looks like.
I clicked on sketch again and made a rectangle in the middle of the body and used arc to round out the corners.
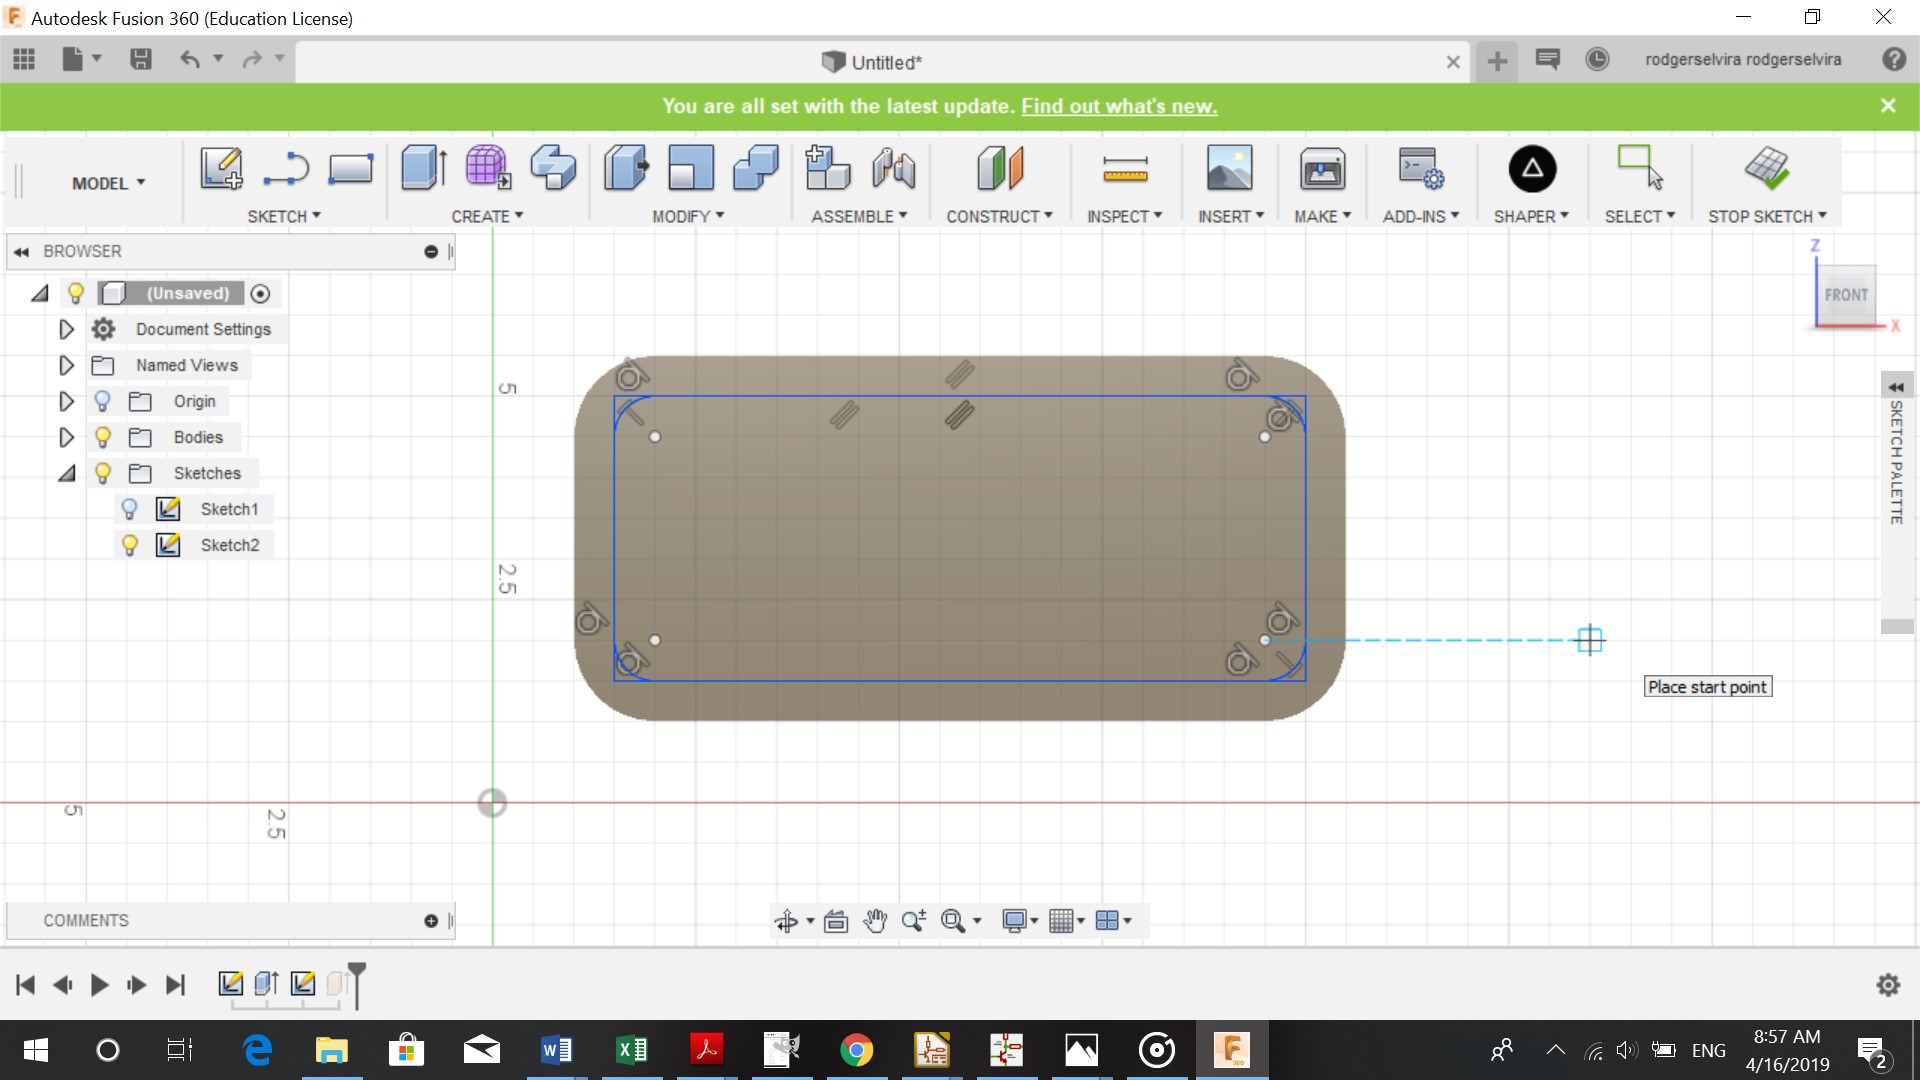
I extruded the sketch by - 1.2 mm.
I then turned the body so the side was visible. There I sketched 4 rectangles of 3mm by 3 mm (for the the cords that connect to the PCB)
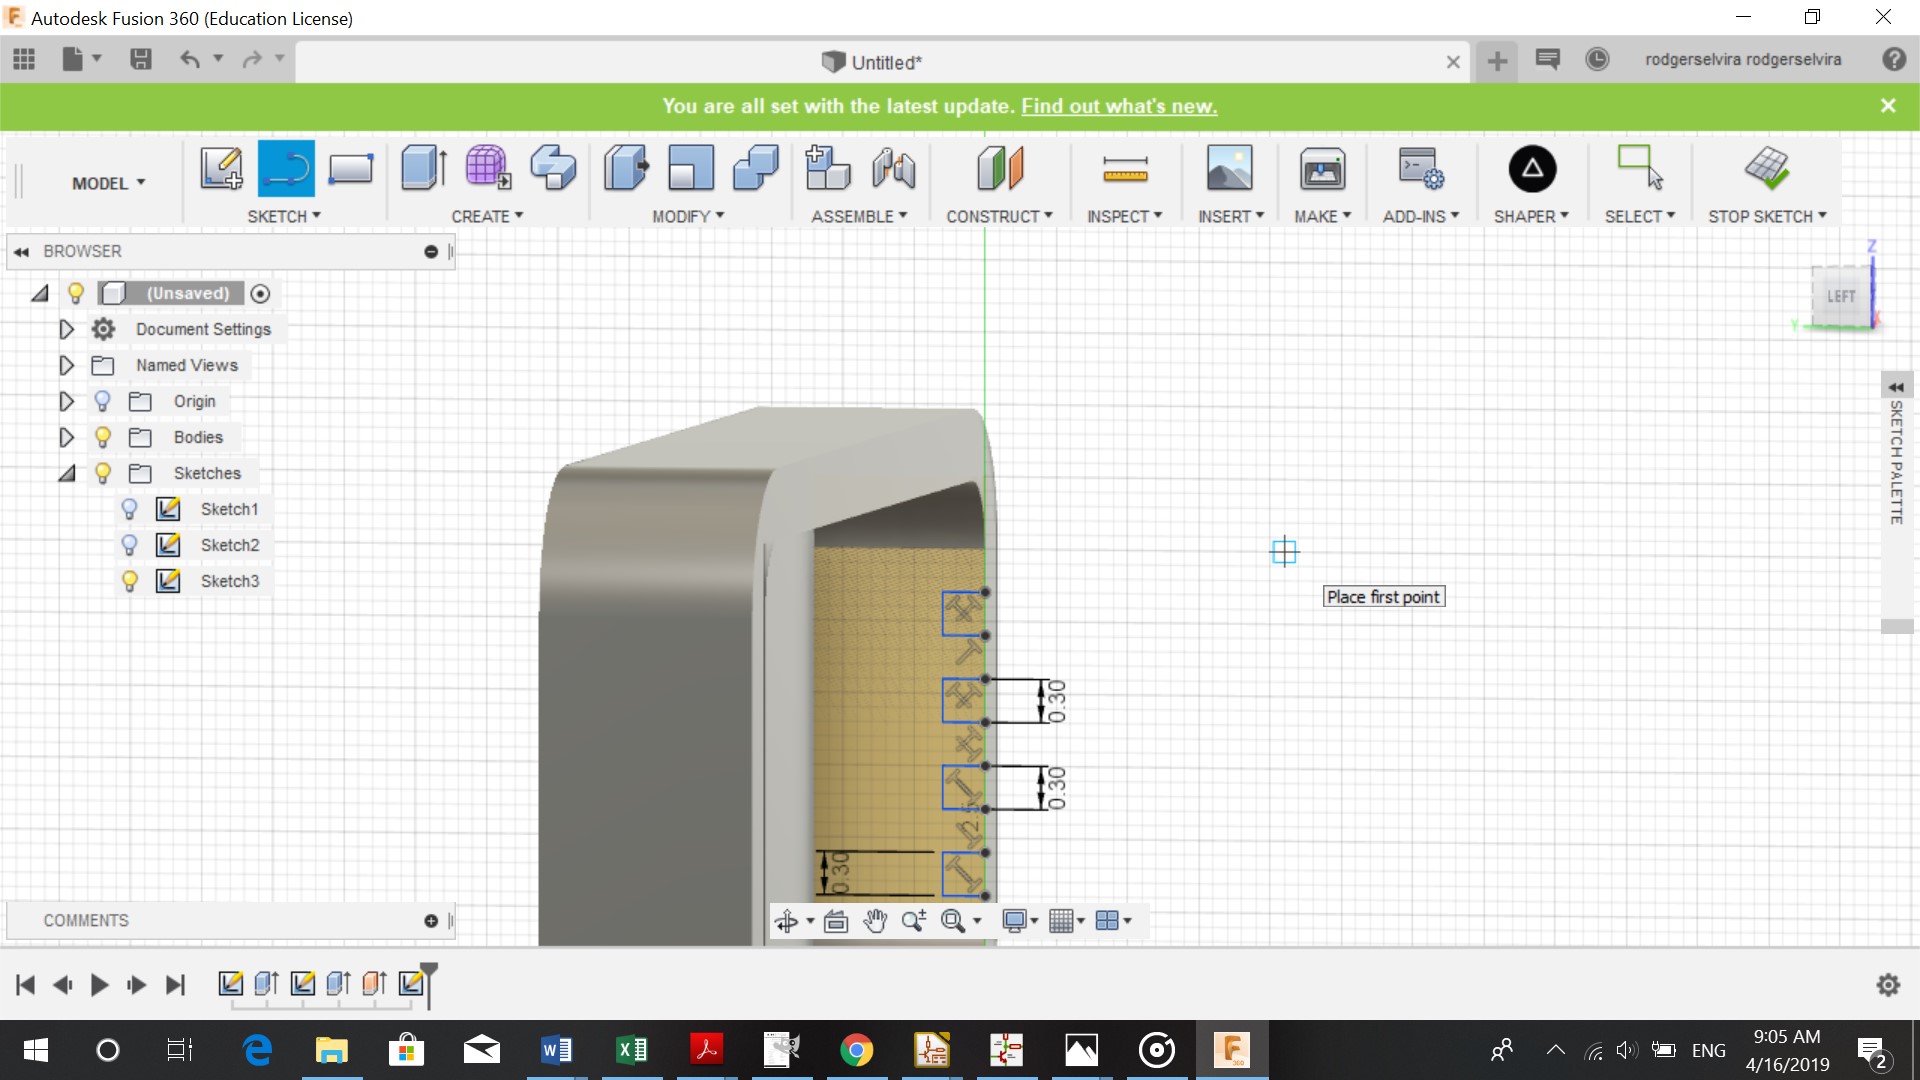
And extruded them. I got this design.