Week 3 - Computer Aided Design
Assignment
- model a possible final project, and post it on your class page *-raster, vector, 2D, 3D, render, animate, simulate (progression of representations?)
Moelling a potential a final project
As a designer I have a farily well established design method to translate my ideas across from my brain to an array of digital formats depending on the situation. This almost always starts for me on paper, where I will sketch out any ideas that come into my head including construction ideas; ideas about the final aesthetics, or potential physical functionality. From a paper based drawing, I'll either ink my pencil lines, or add colour as appropriate. Nearly all of my images are scanned:

>
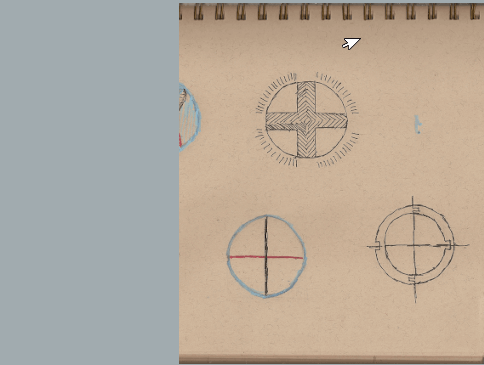
Here is the GUI of my scanner scanning a sketch of a potential final object.
I then tend to use Adobe Illustrator to vectorise my drawings, and simplify things down somewhat.
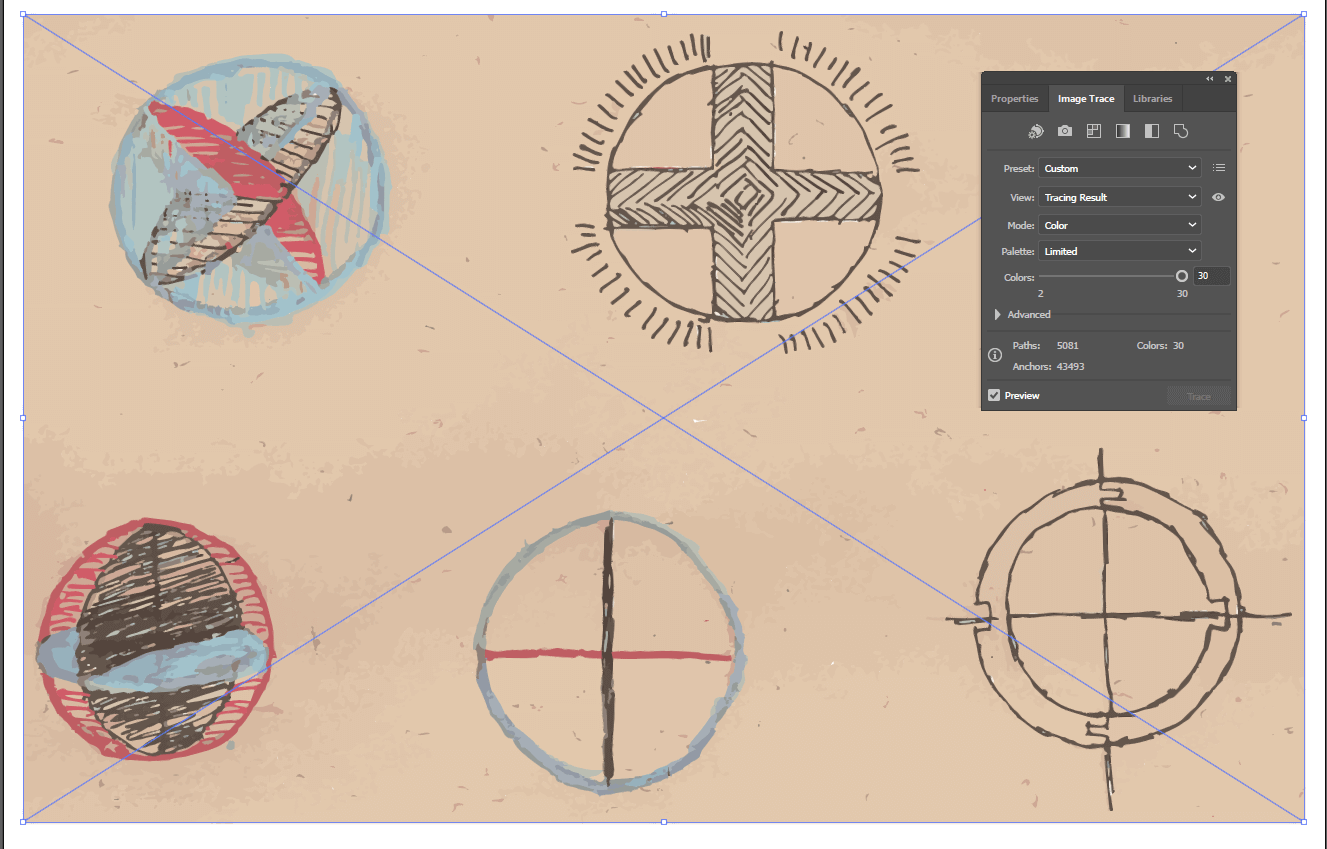
The Image trace function has many different presets which can be customised for the specific situation very easily with the dialogue box. Options for number of shades/colours, number of paths/corners, and the interlocking nature of the vector paths.
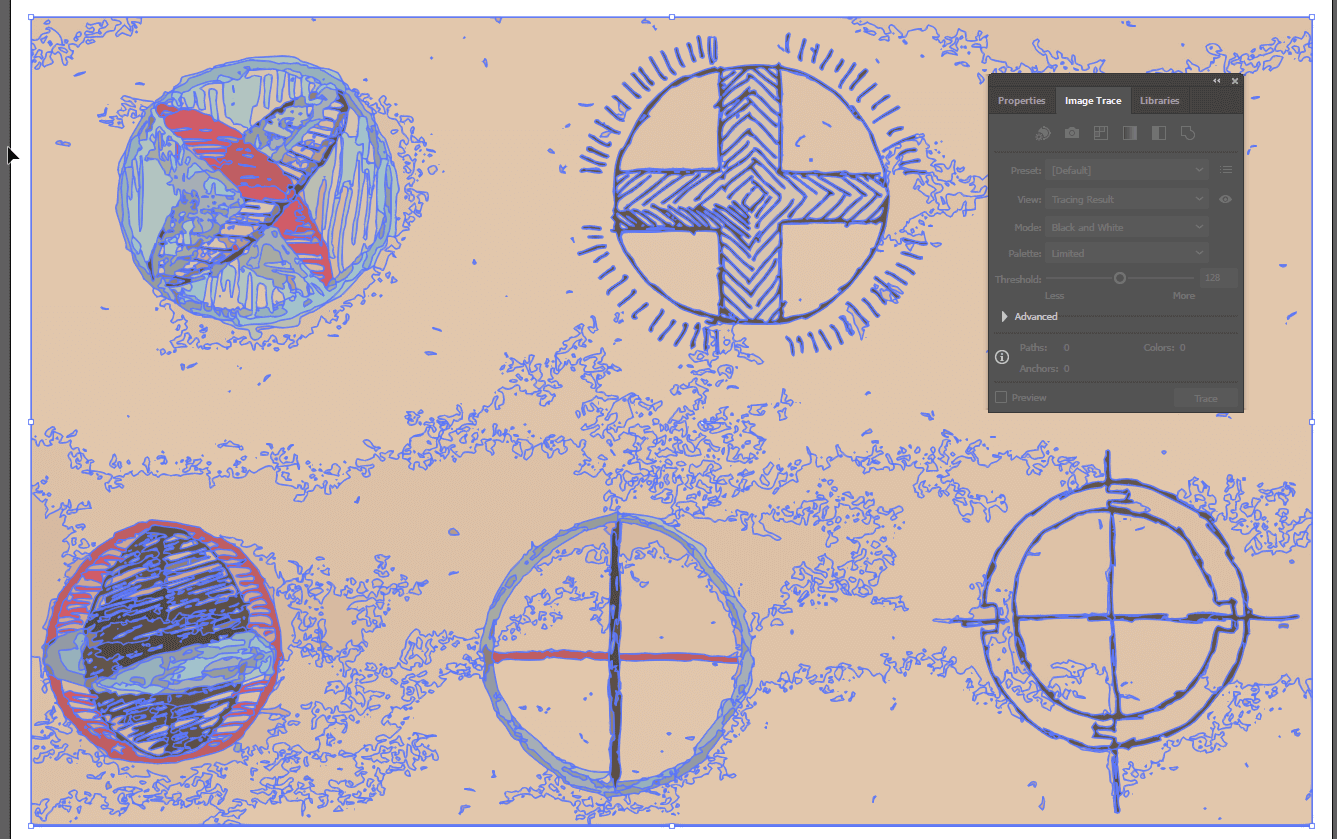
The Image trace result is then expanded to create all of the individual parts seperate from the image as a whole.
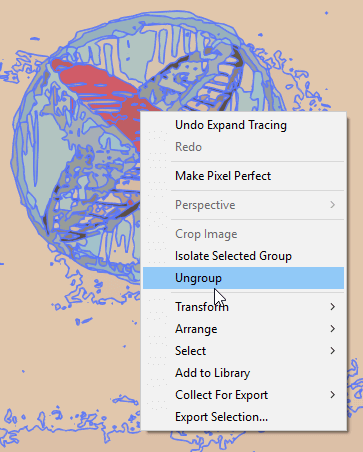
These by default are grouped together to sustain the integrity of the image.
I finish by tidying up the image, cleaning out the background paper (this is easier with fewer colours so fewer blocks to delete out). I have not found a fast way of clearing the images up, but the select - > same option allows large areas of the paper colour to be deleted leaving the artifcats needed for the future.
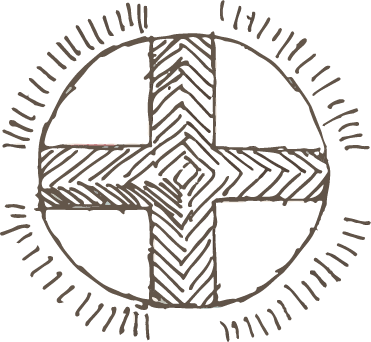
Laying out the idea in my head on paper to continue working from.
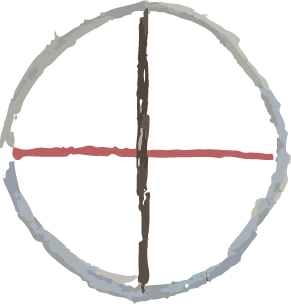
Laying out the basis to draw a trimetric view from.
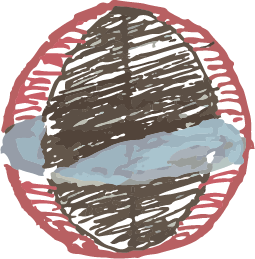
I was trying to draw the planes the strips were laid on.

And another angle
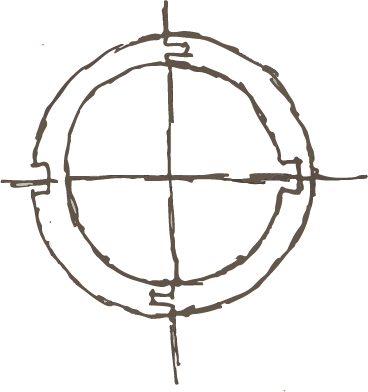
Thinking about potential laser cuttability.
Following on from sketching I re-installed Solidworks (05/02) which took some time, my next step is to create a 3D version from the drawings above, from which I can create either an animation or simulation. I want to make an animation where the ball spins slowly.
This'll be clearly done, because I'll add it to the top of the page.
I have been thinking about trying to create something with the flow simulator I found as it produces some cool things:
I switched into Solidworks to create a 3D model from which I can render/animate, I use the drawing as a guide to create a sphere from three edges.
Animation - Solidworks
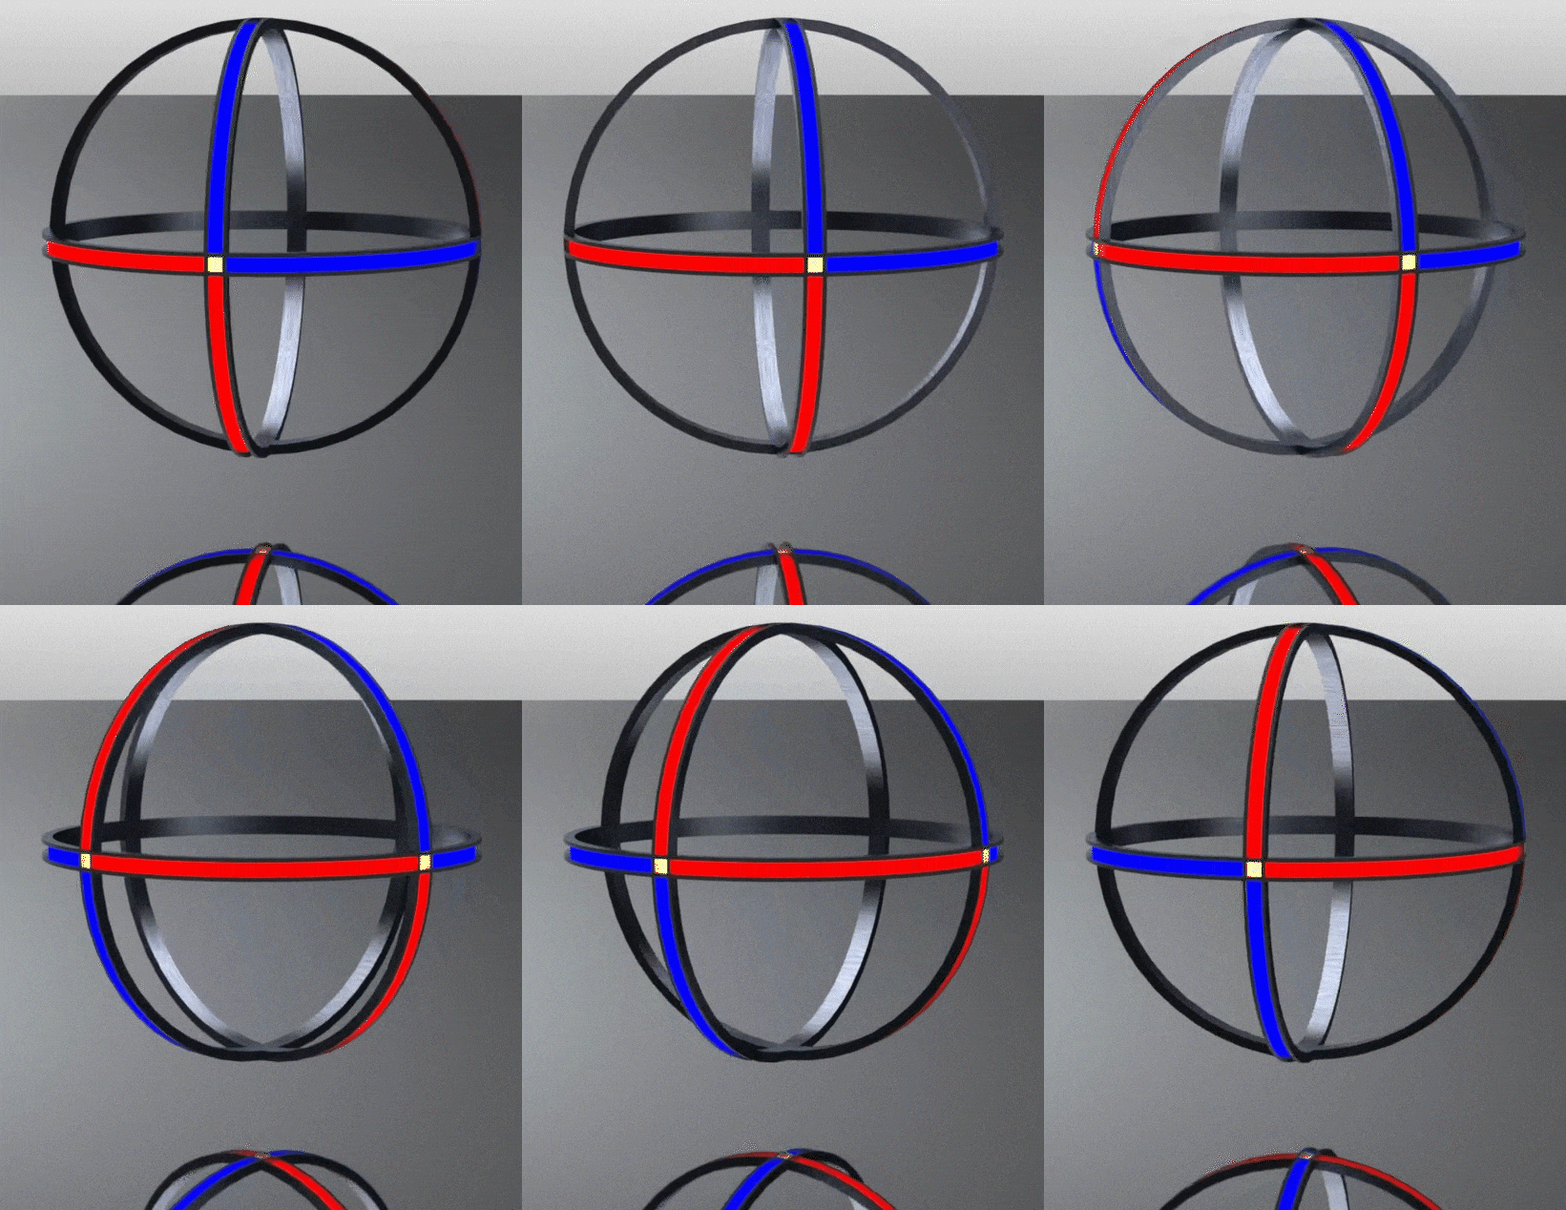
Here is a final animation of a representation of a final project. I have been thinking this week about light up juggling balls for light painting.
Below is an explanation of how I went from the above sketches and vector images to the above spinning animation.
Software
- Solidworks
- Premier Pro
- Solidworks Visualise
- Photoshop? (editing gif images)
It seems either impossible or out of my understanding to embed .mp4 videos into these markdown documents so attaching the original render is hard. Let alone considering for the file size of some (a few of which reaching into the many hundreds of megabytes).
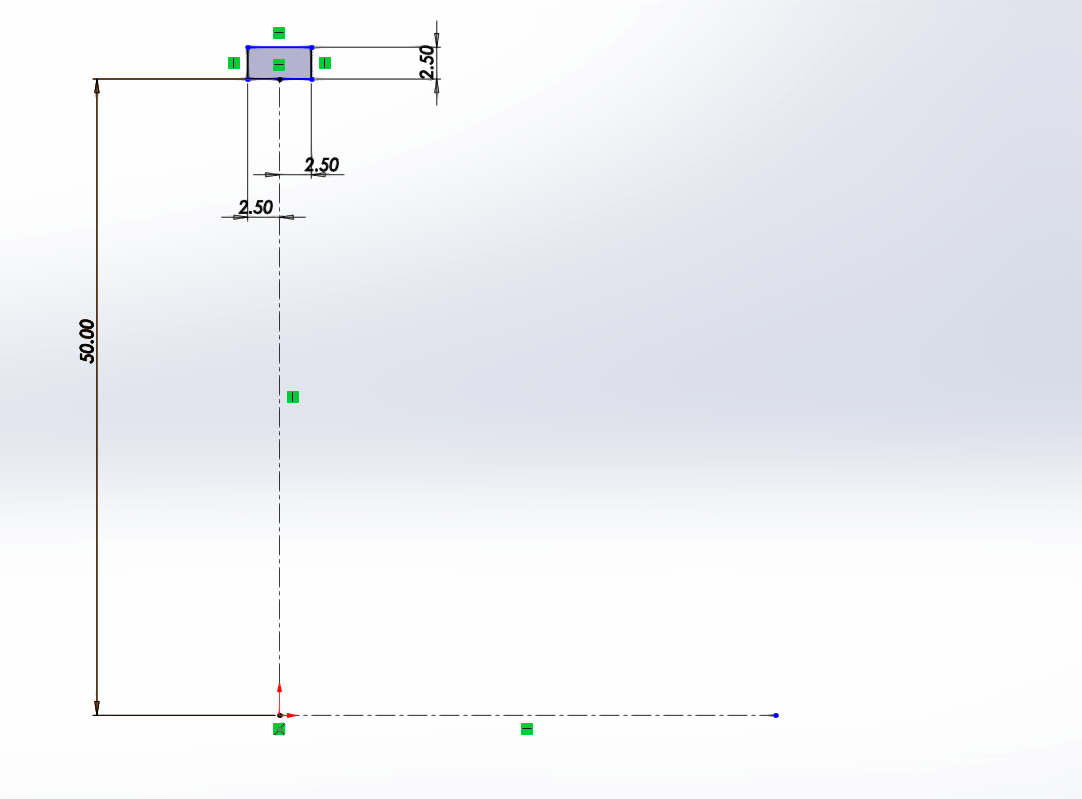
Starting the modelling process, by creating a revolved ring. I initially make a new sketch and lay out where I want the ring to go.
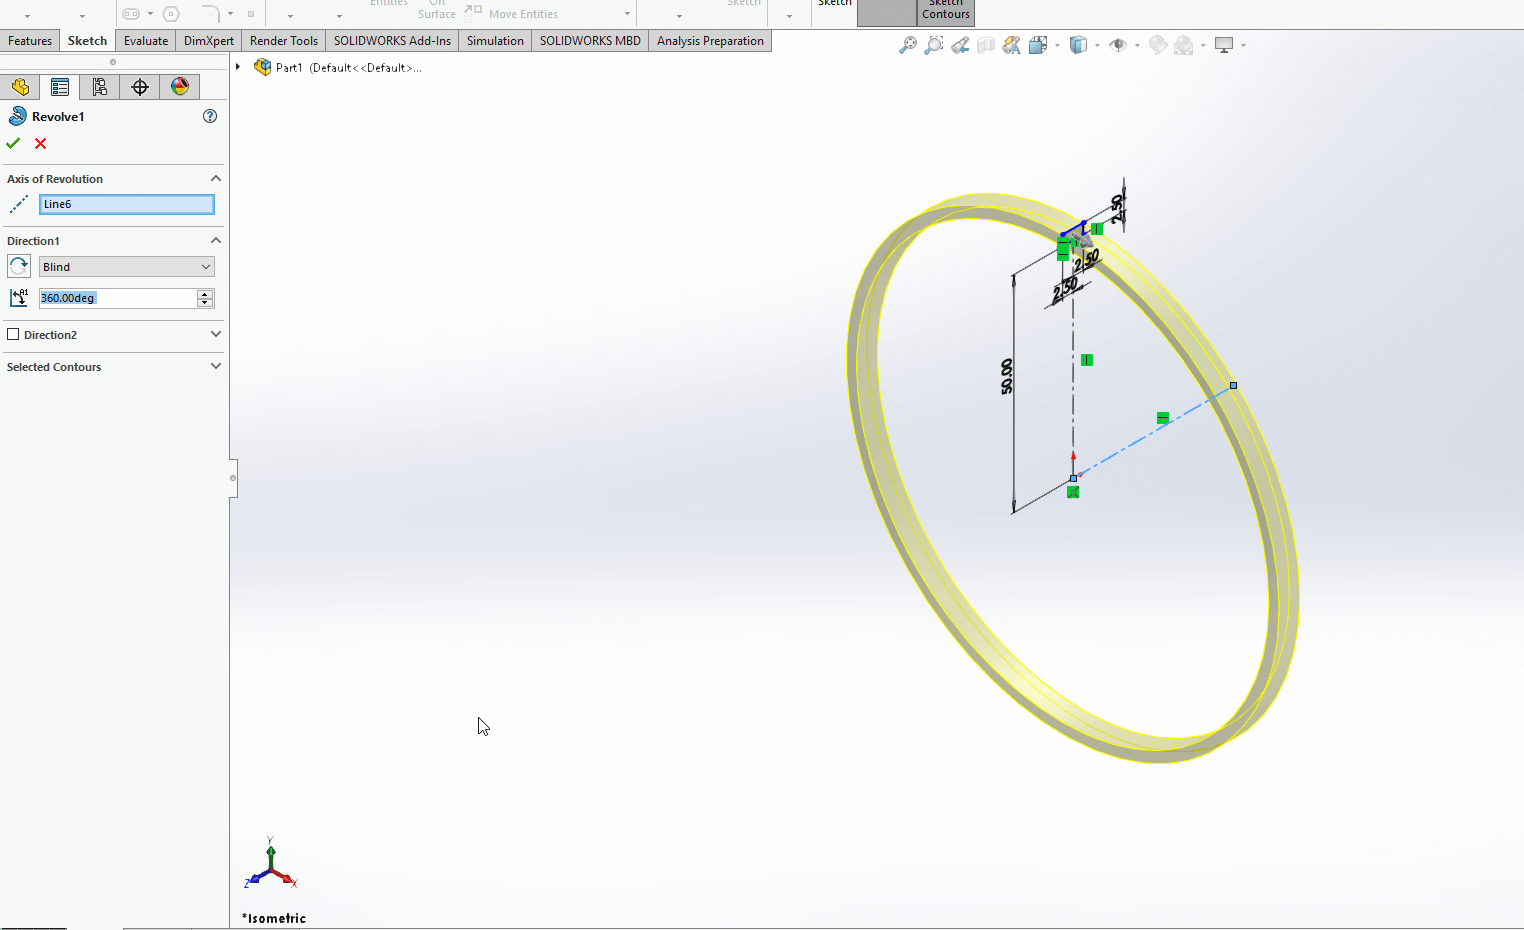
This box is then revolved around the construction lines.
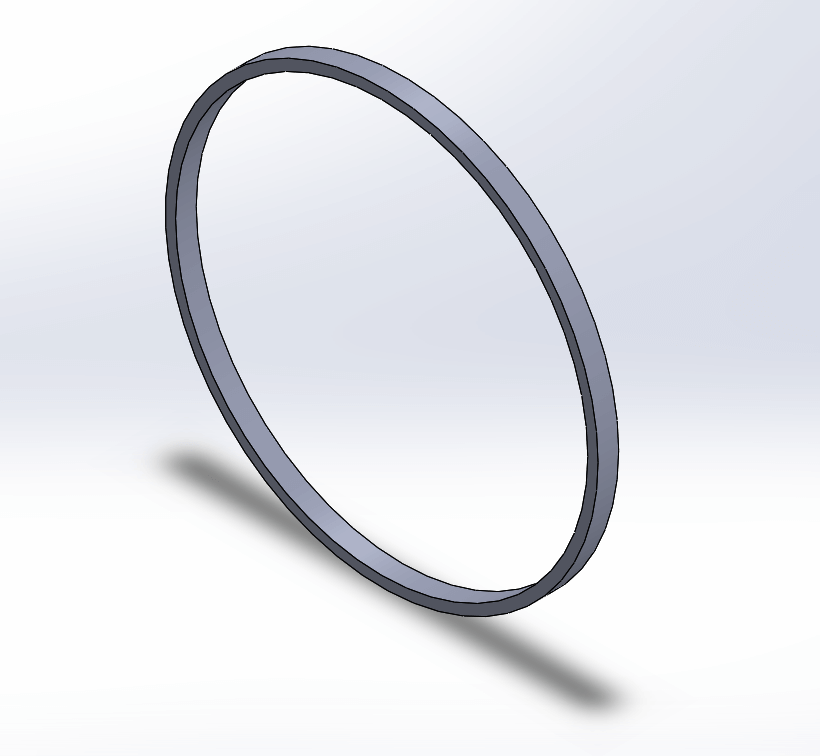
Ring 1 created
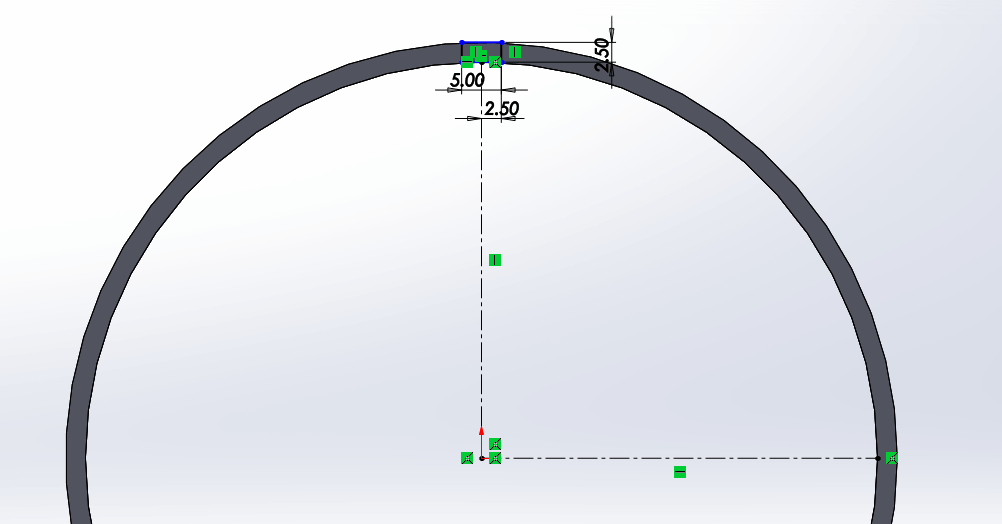
Starting again on a perpendicular plane I created a similar box to revolve again.
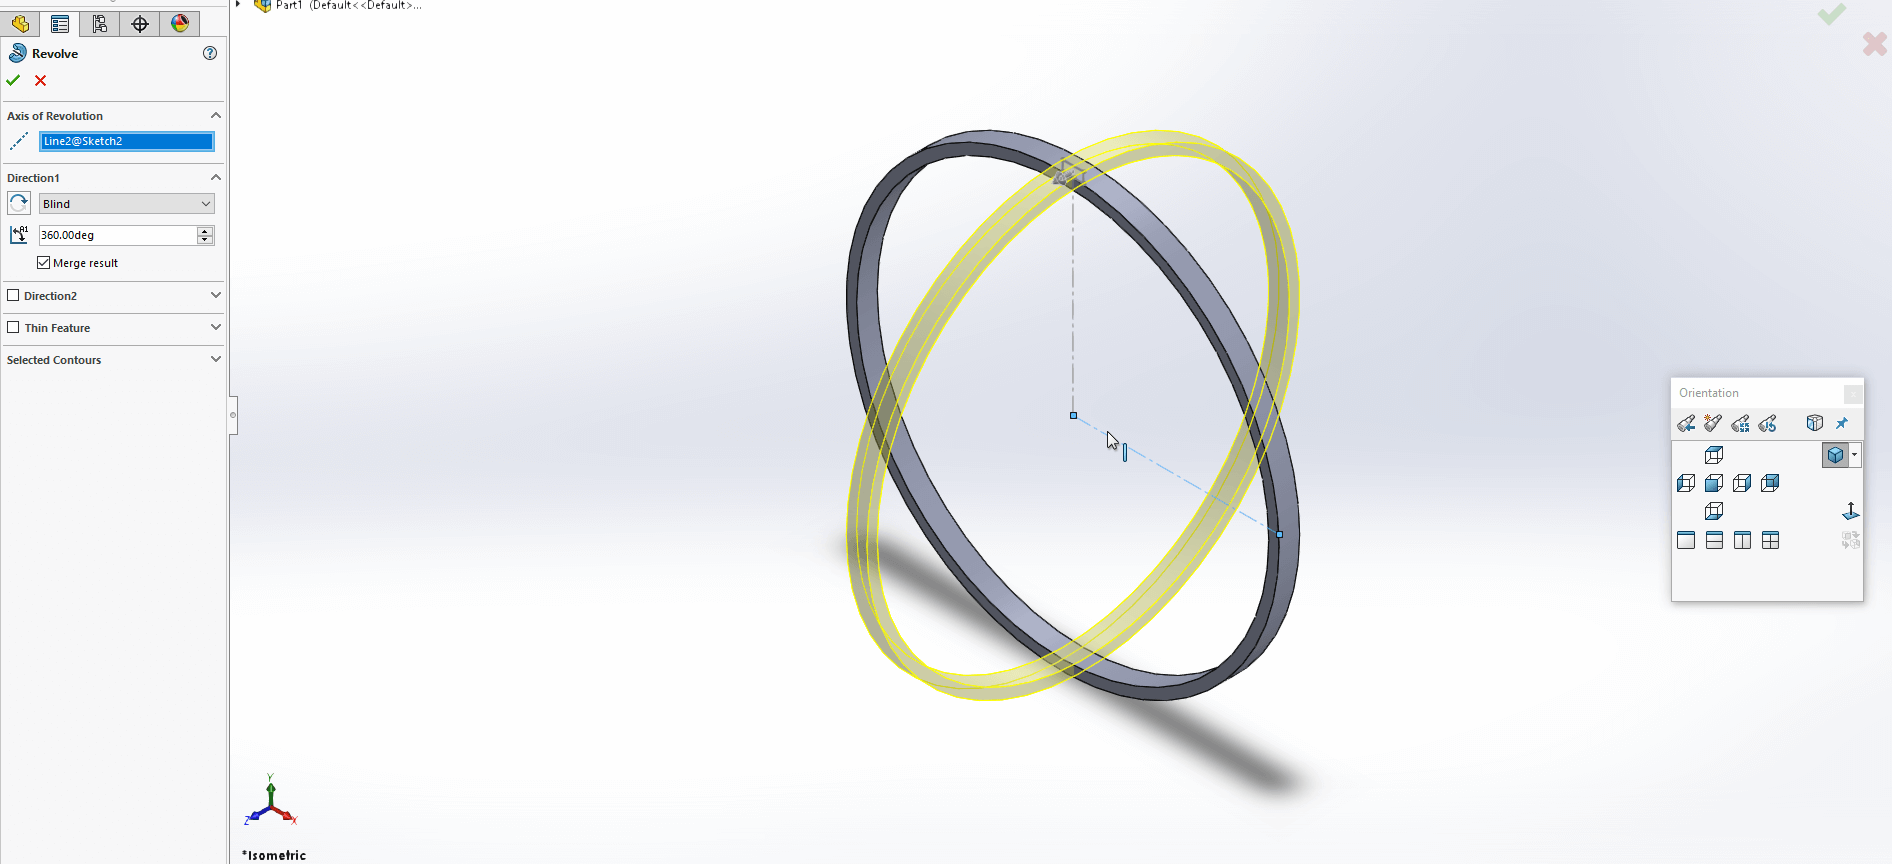
Revolved second side.
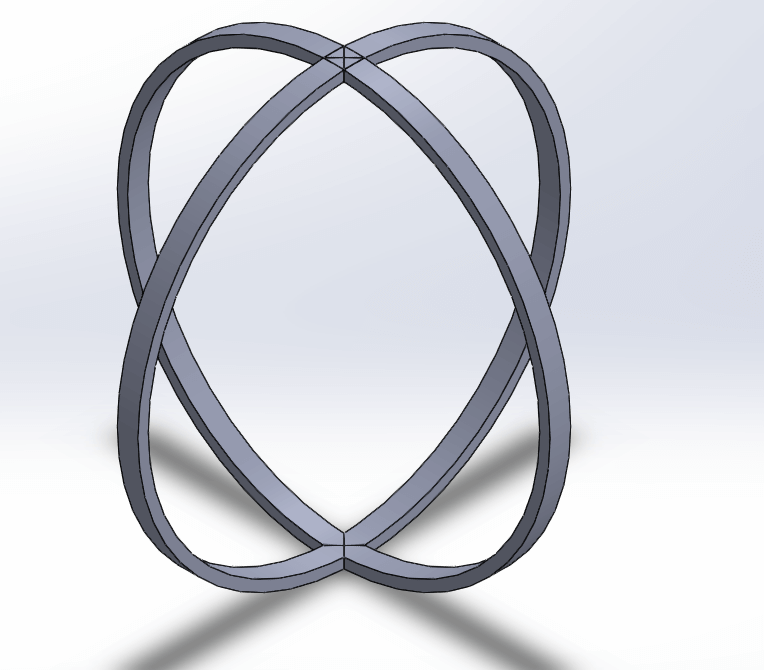
Second ring complete.
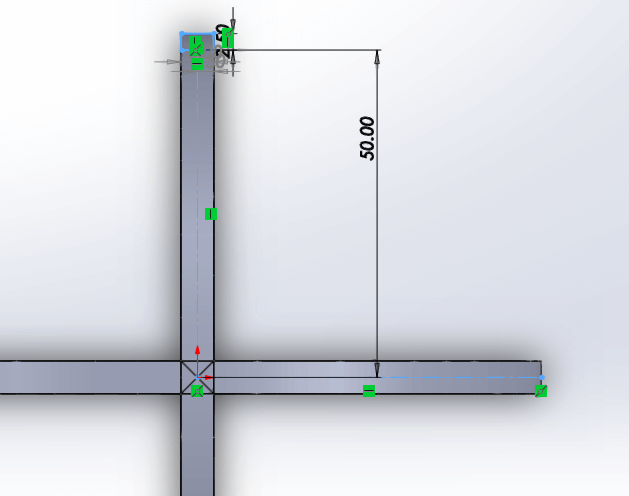
Creating the third ring.
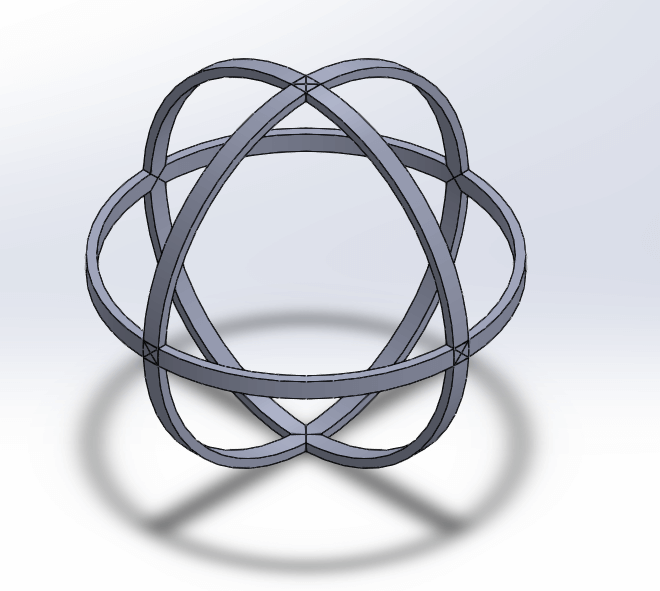
Completed rings
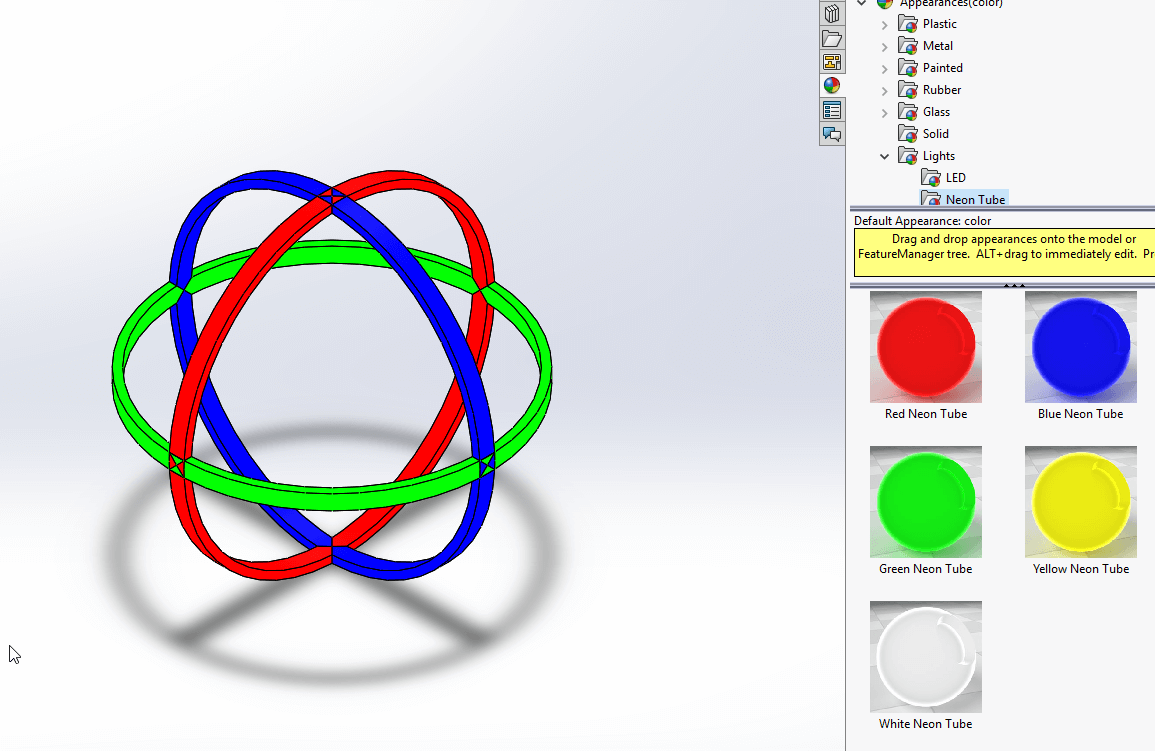
Adding colours to test rendering.
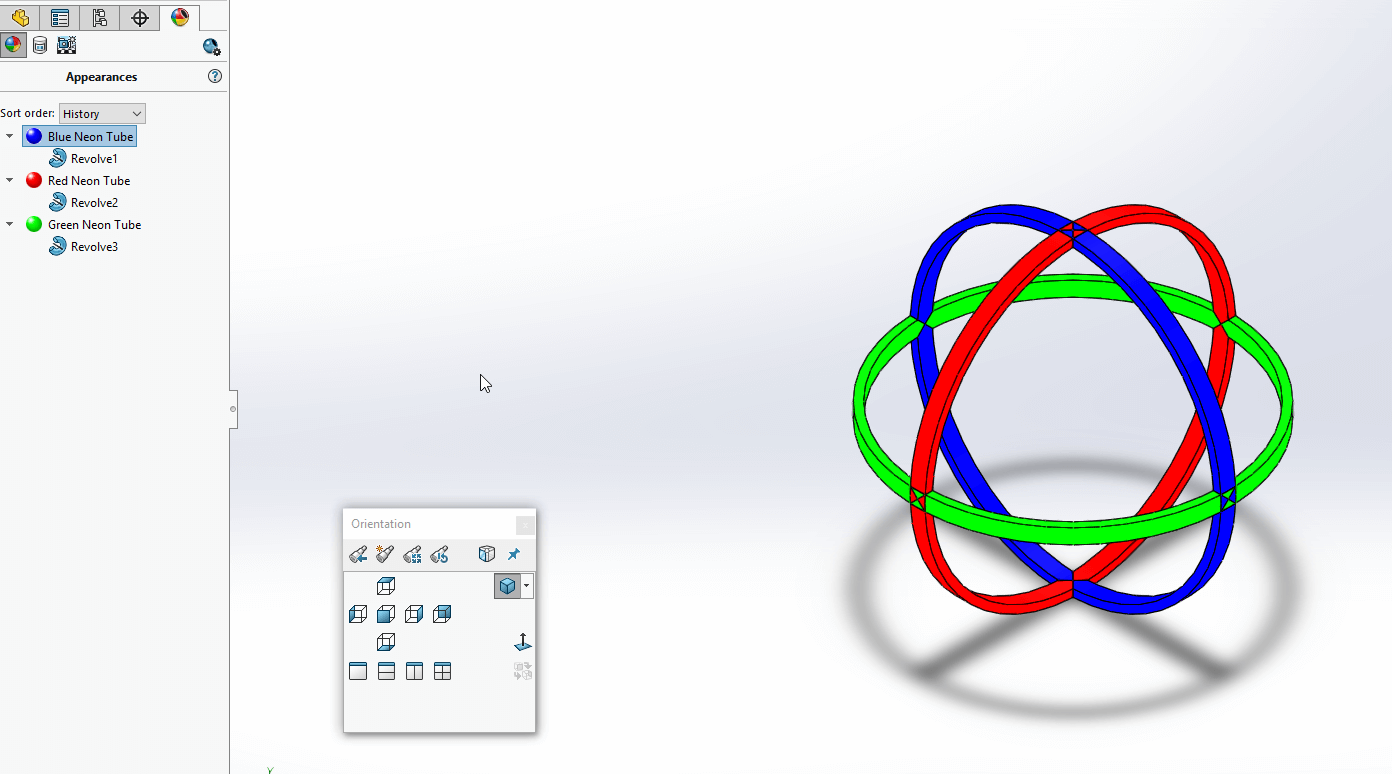
Appearances panel to manage appearances.
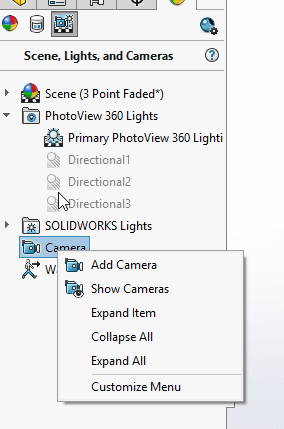
Adding a camera for rendering.
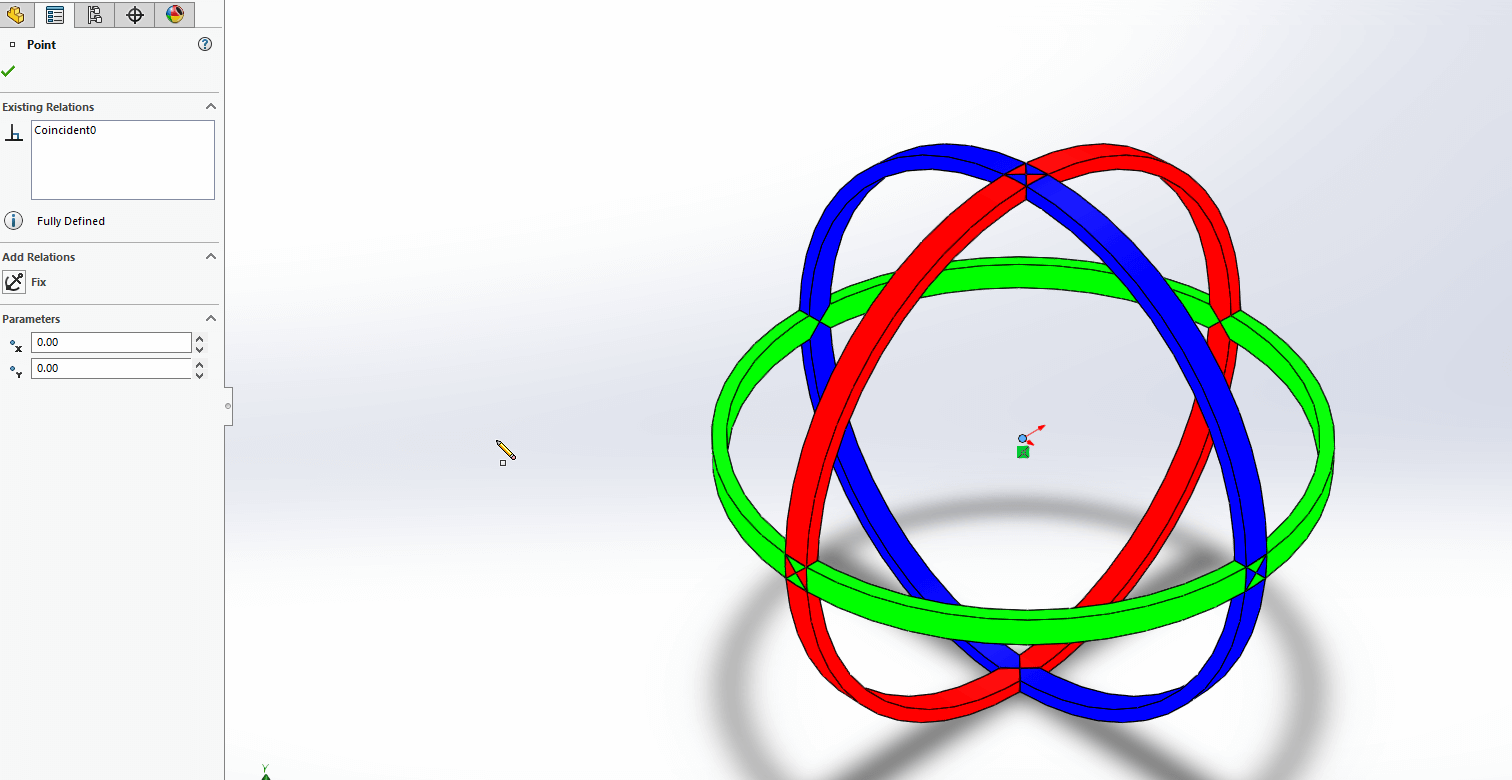
Camera's can be pointed at a point, I wanted to create an animation of the ball spinning to show it better. Here I am adding the point for the camera to point at.
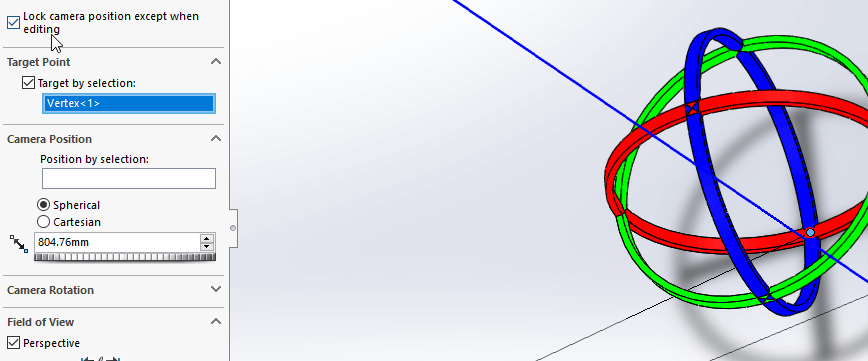
Target by selection camera options
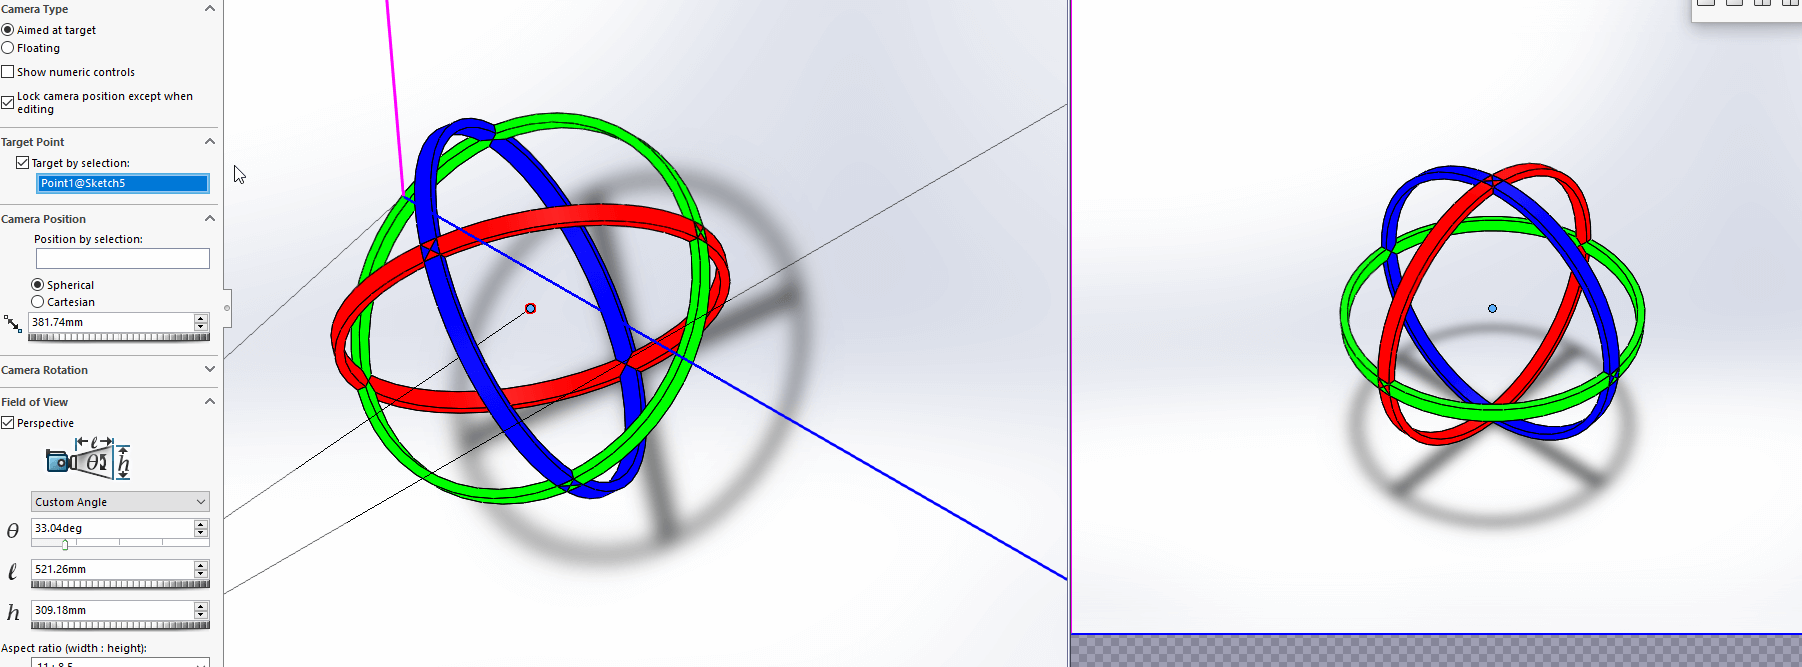
Camera side by side normal view.
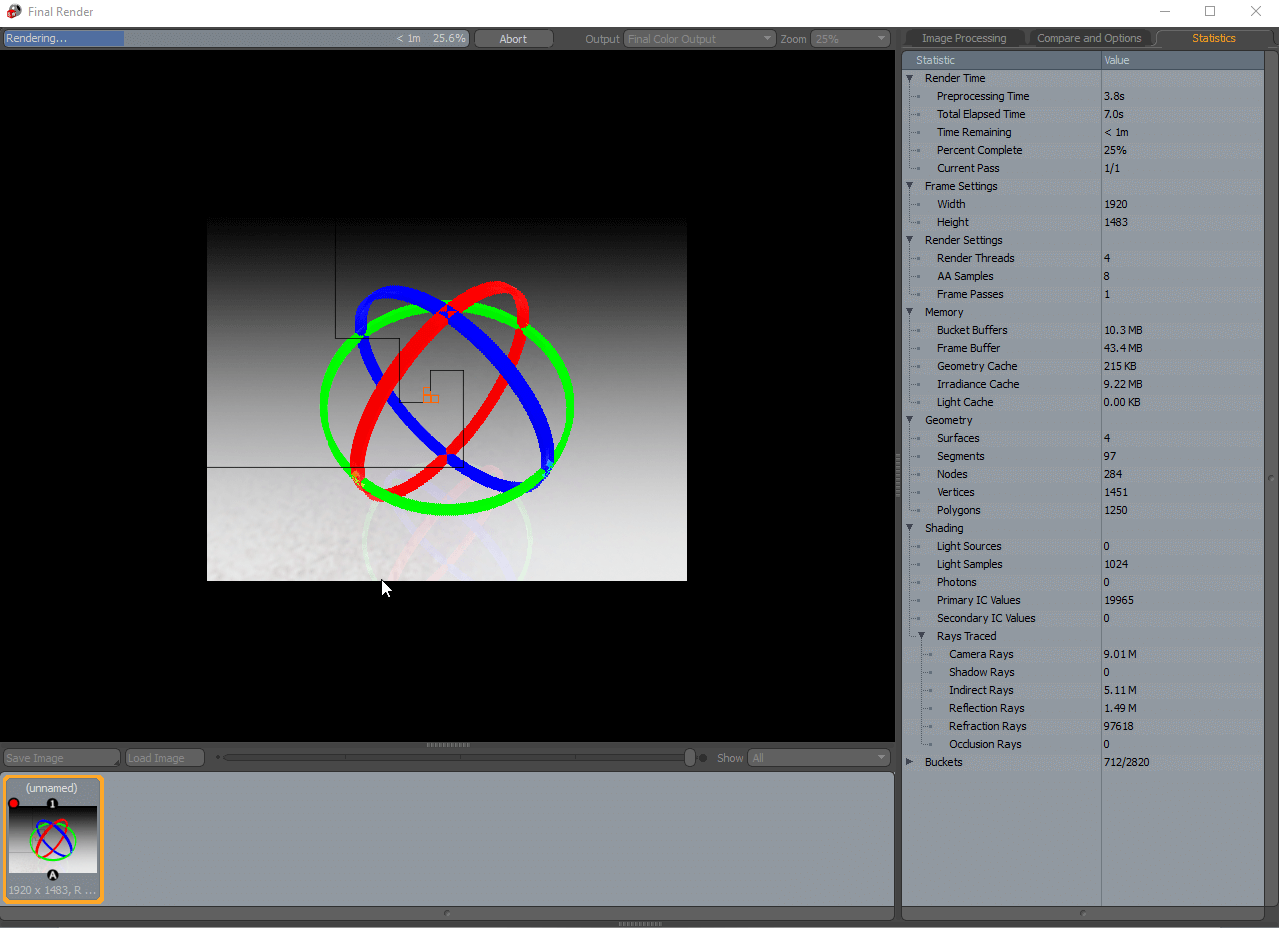
Testing the render process.
First Render
Initial render to test the system
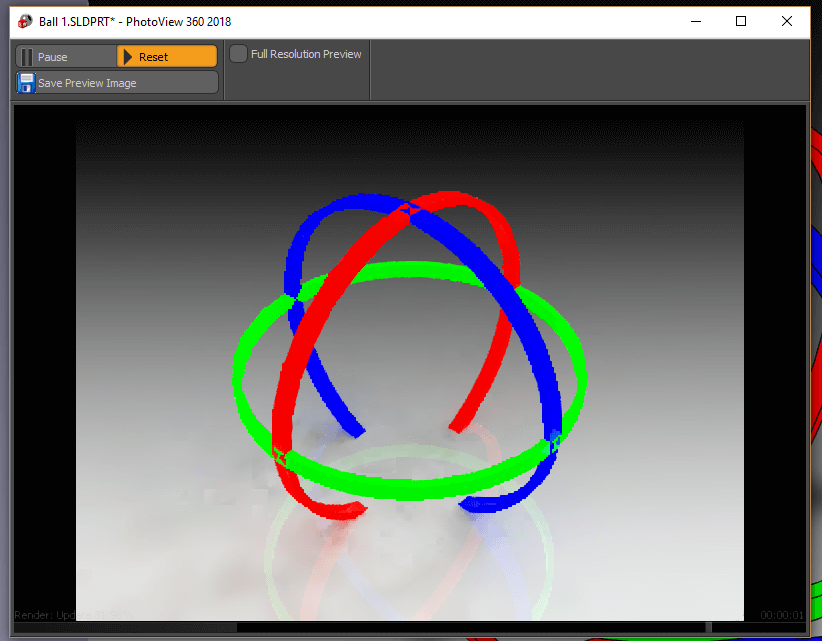
I noticed it was possible to clip the floor through the model, so it would be neccessary to avoid that.
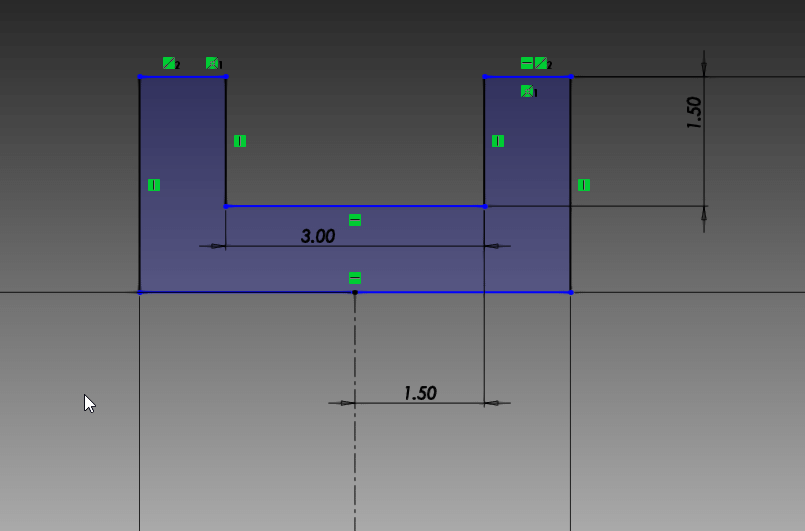
I didn't like the way the way the rings crossed looked, so I went around and edited the ring structure to get rid of the crossing elements.
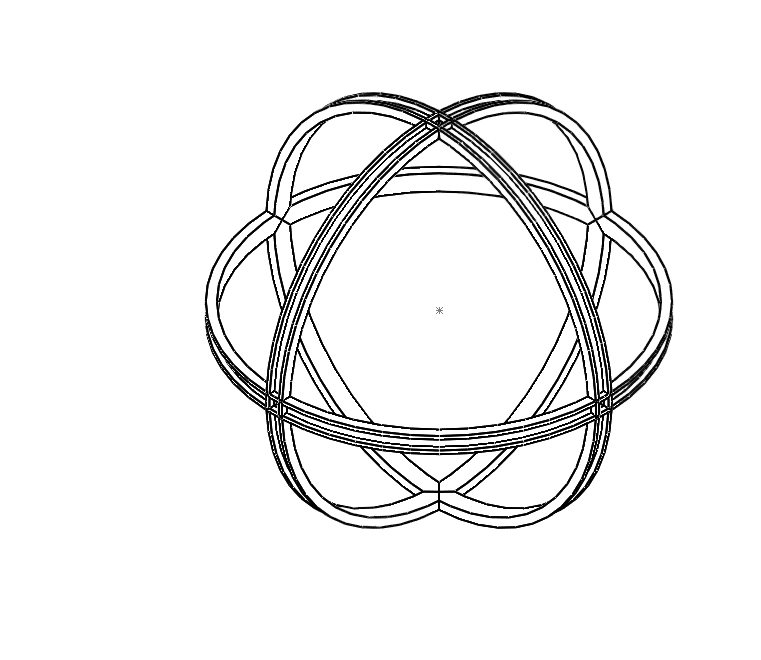
Here is a wireframe representation of what the edits did to the rings
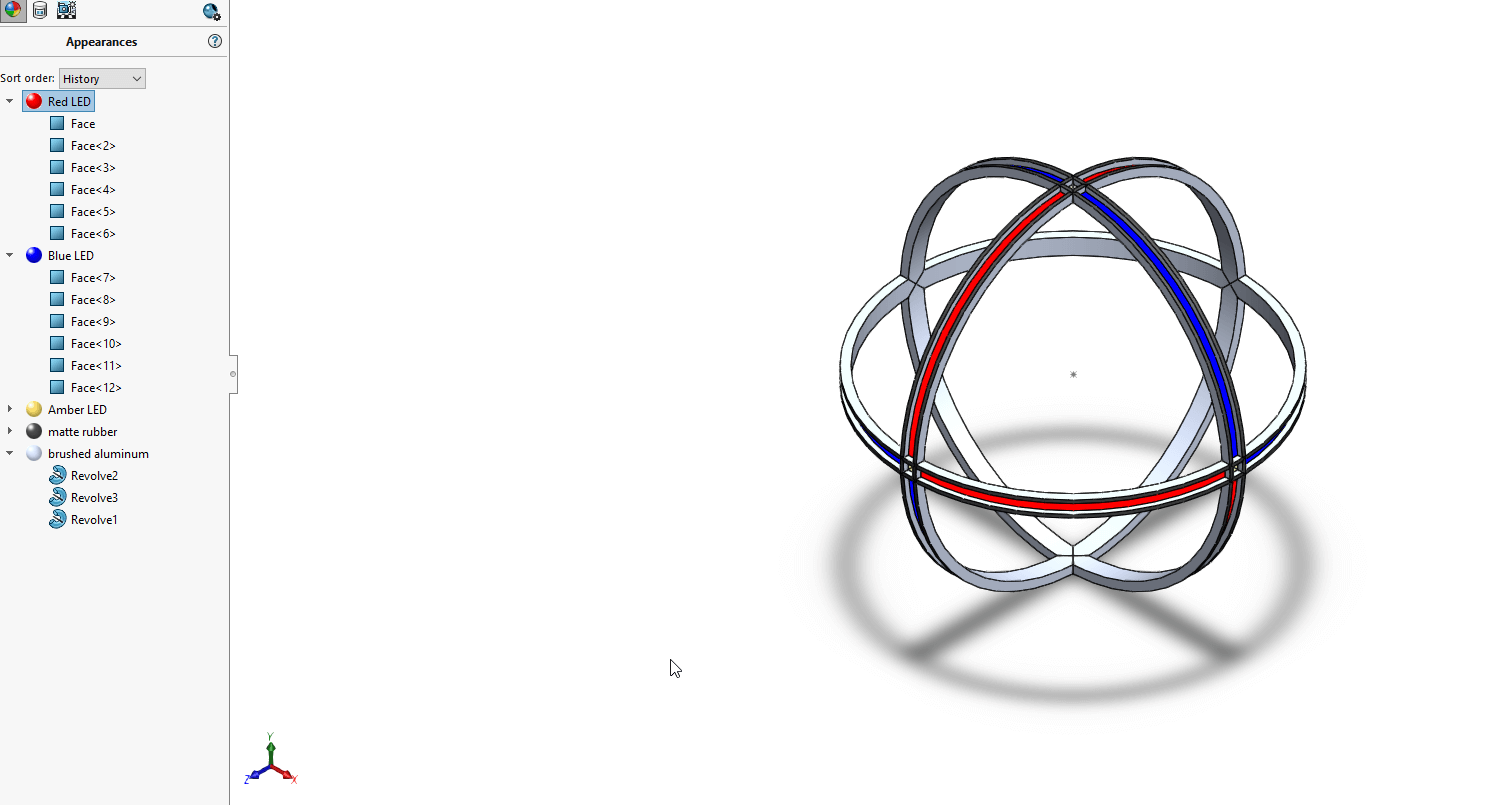
I went back and changed the materials switching the lights just to the rims and making the rest of the model metal.
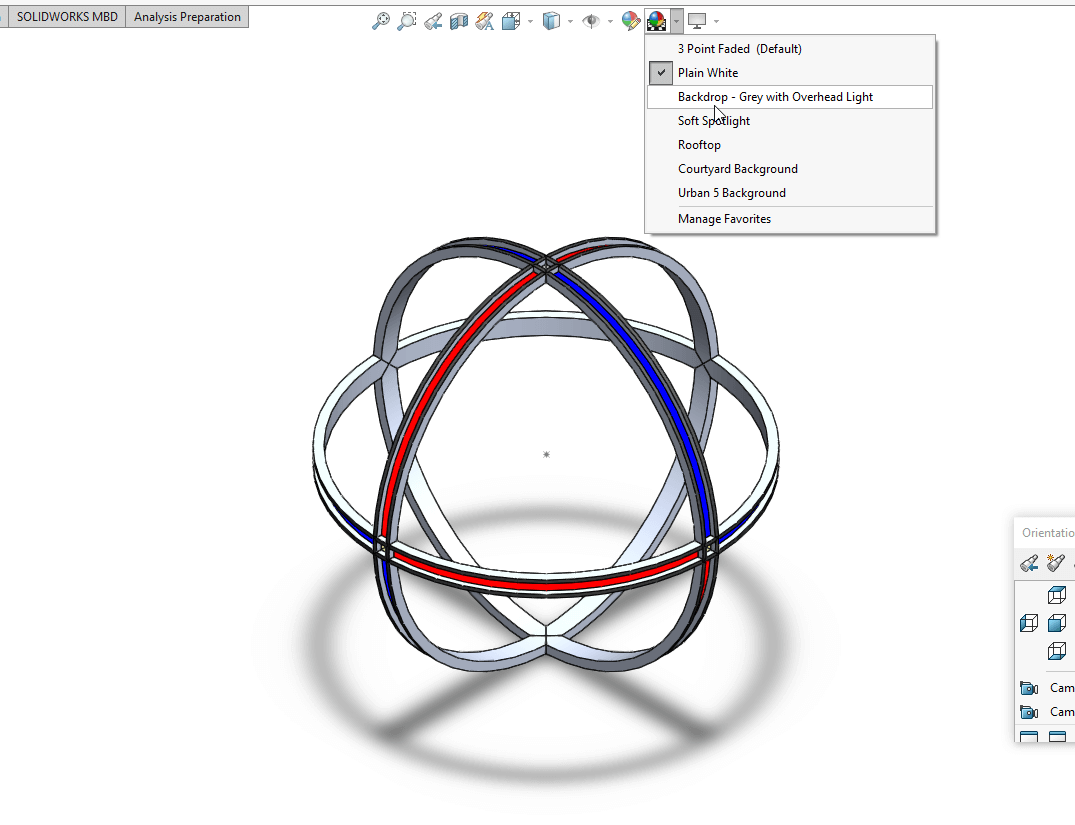
Setting the scene.
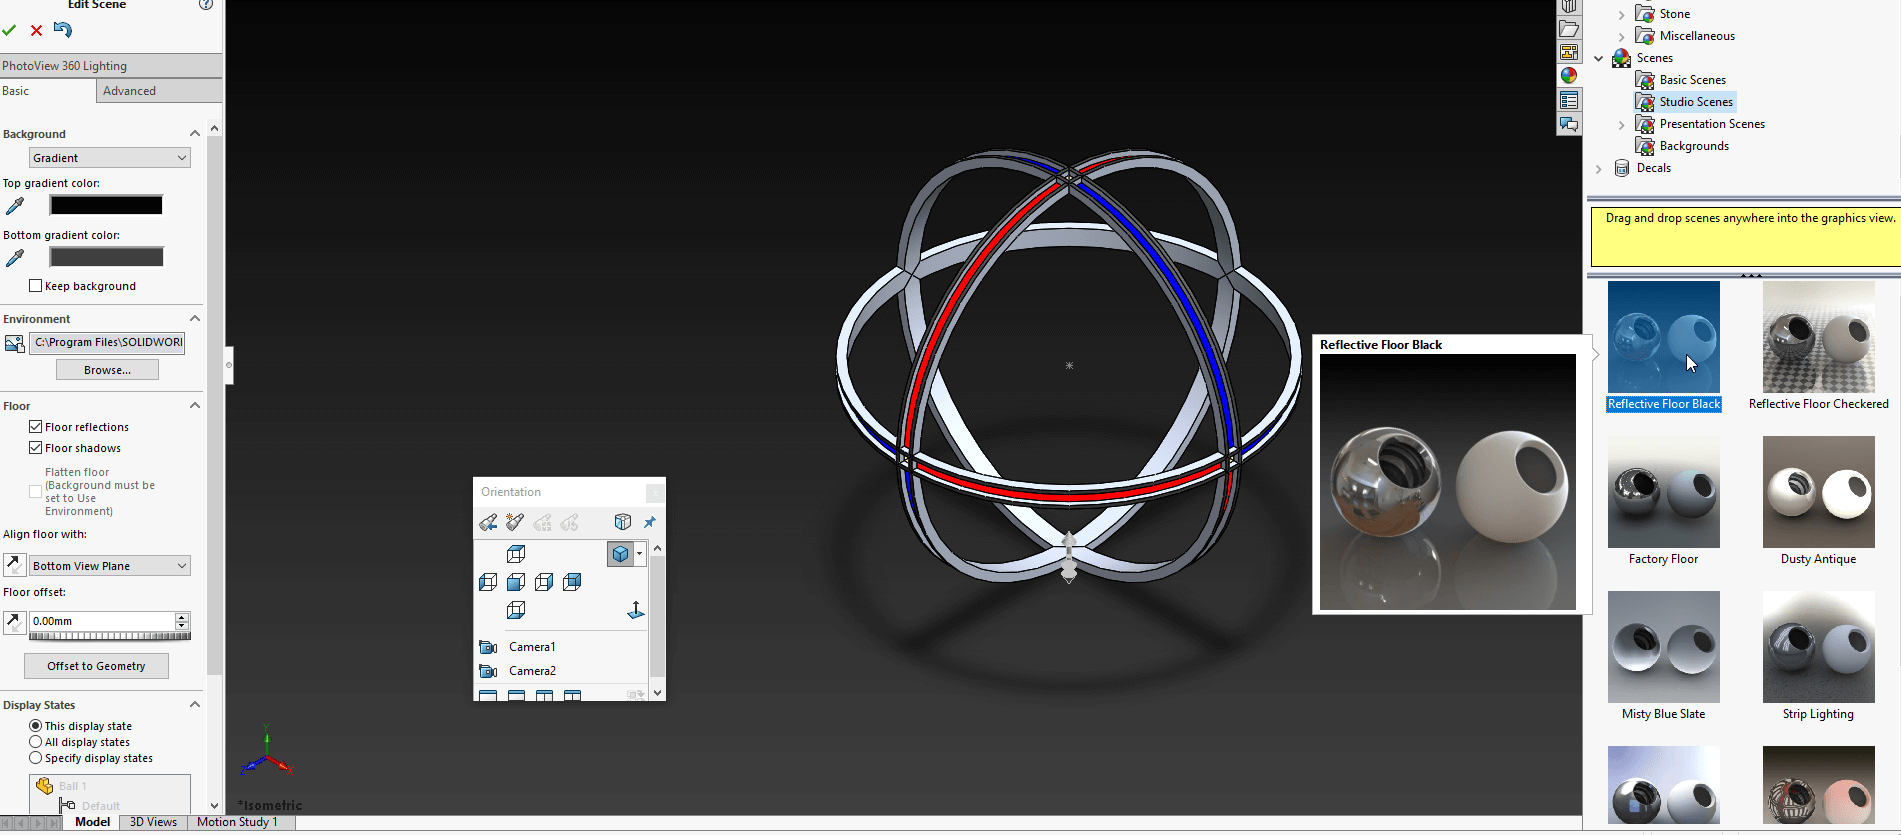
And setting the background up.
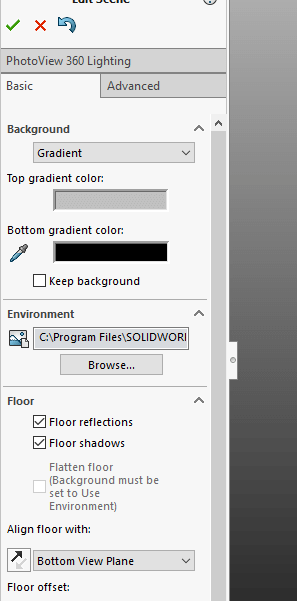
The background gradient can be edited fairly easily.
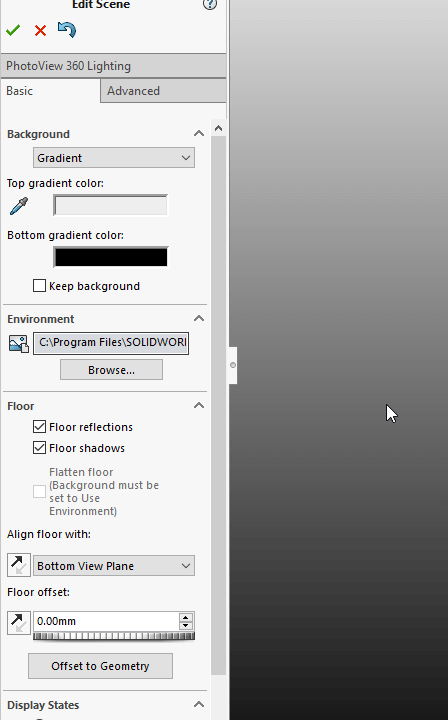
Editing the background gradient to better display the model
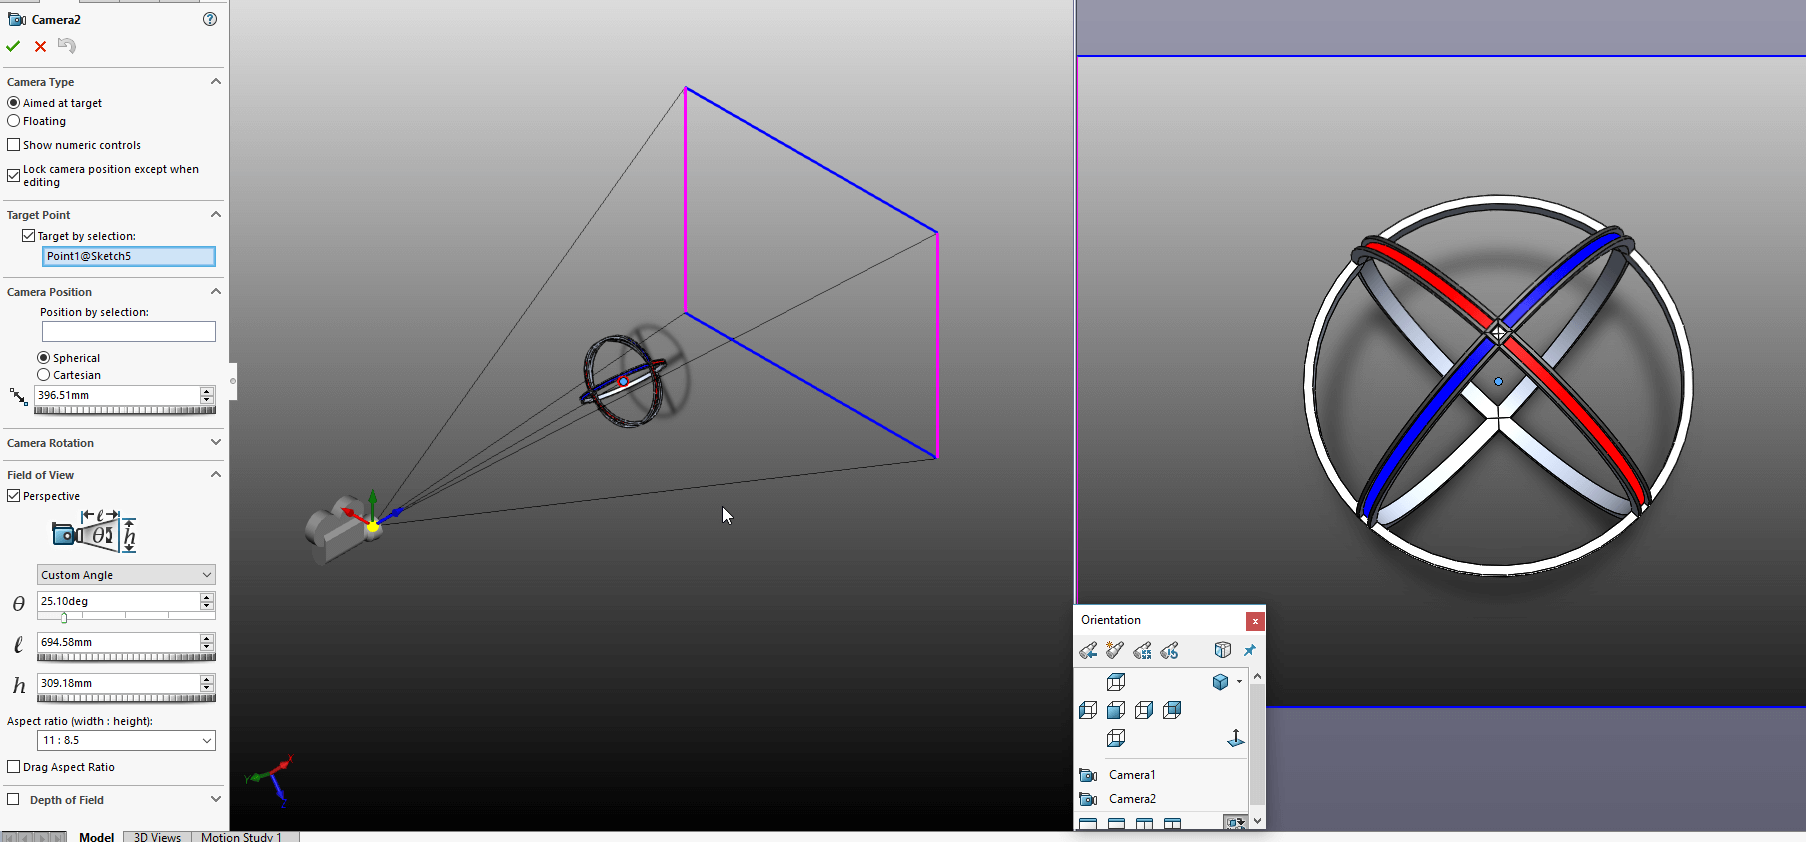
Adding another camera for final rendering
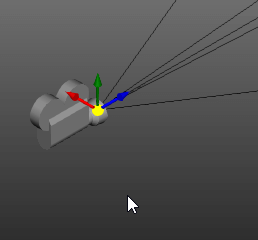
Editing the Camera position
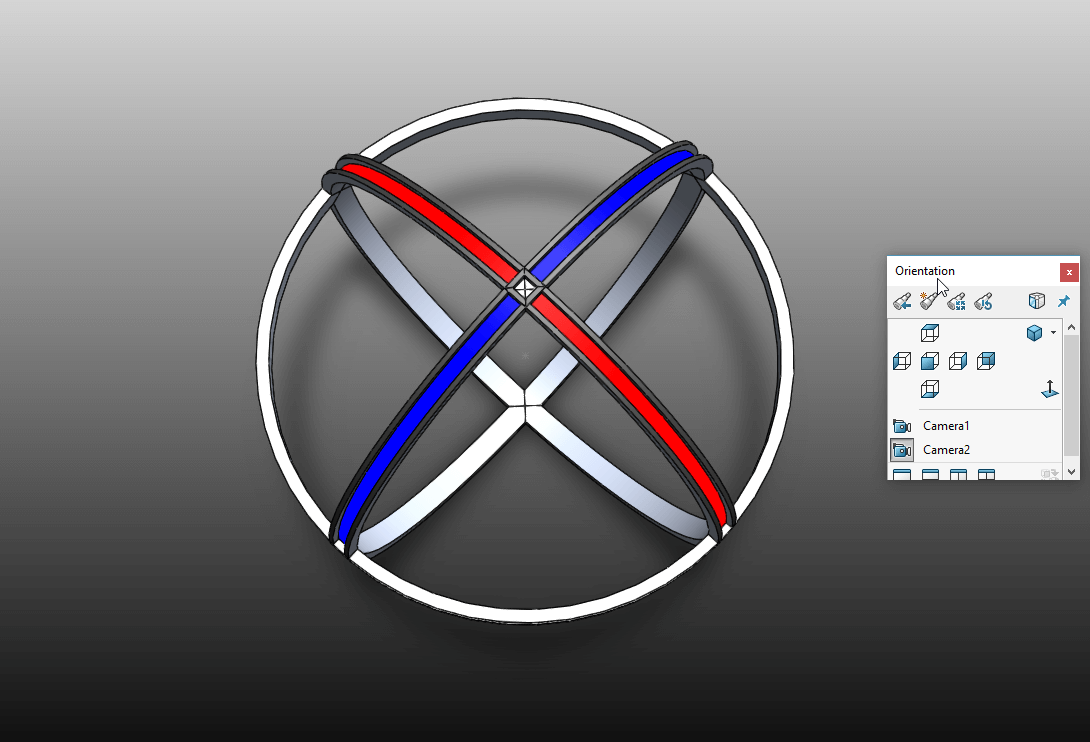
Checking that the camera is pointing in the right place.
Final Renders
Solidworks Tool Tabs:

Rendering Tab

2D CAD Tab

3D CAD Tab
Solidworks Visualise
So apparently I forgot to take any screenshots whilst doing this process - but basically it's an add on to solidworks for rendering animations among other things.
Solidworks Photoview360 seems to struggle with animations created from motion studies within the program. There were always either frame rate , resolution, or time issues. I decided to switch to Visualise on recommendation from another student at Brighton - Kyle.
It was easy to import the solidworks model as is, I then added a turntable (I shall add images later) which makes making animations rather simple.
I simply exported the render from Visualise, importing it into Adobe Premier Pro to edit it. I cropped the image down to save file size, and reduced the speed so it was easier to see.
That animation is the one at the top of the page. (and below)
