Week 16: Wildcard Week
In this week we had many options what we could do. We were able to choose robotics, textiles, composites, biotechnology and cooking. I decided to use the old-fashioned option for designing the castings and testing as many different materials and methods as possible.
Again I would like to thank my kind colleague Aleksandra Konopek, who helped me with many usefull tipps concerning this week assignment. I want also to thank Daniel Bruns who gave me an advice about using the vacuum former.
The following options I tested for casing design in this week:
. Vacuum forming
. Folding of Yoshimura-Pattern
. Composites
For Vacuum forming and also for composites I needed a mold, which I unfortunately could not mill in our lab, as our mill is out of order. Instead of milled mold I decided to print a 3D form and use it instead of plaster cast for the vacuum and also for the composites form.
Vacuum Forming
Formech 300XQFormech 300XQ: Manual
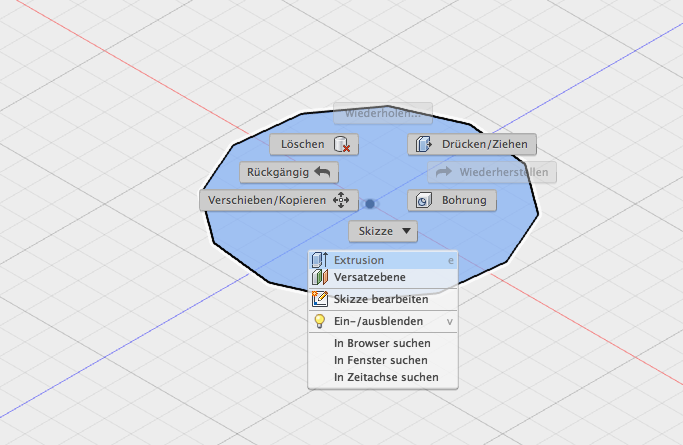
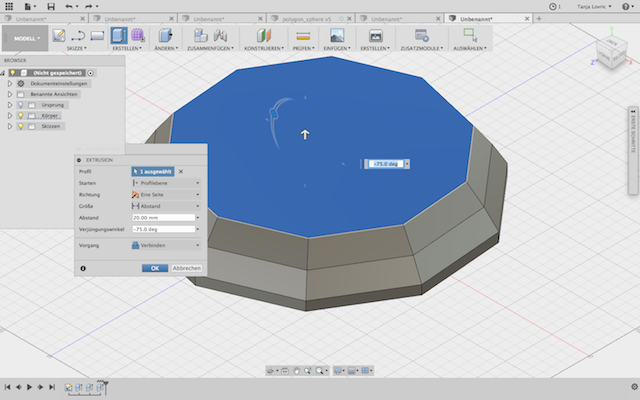
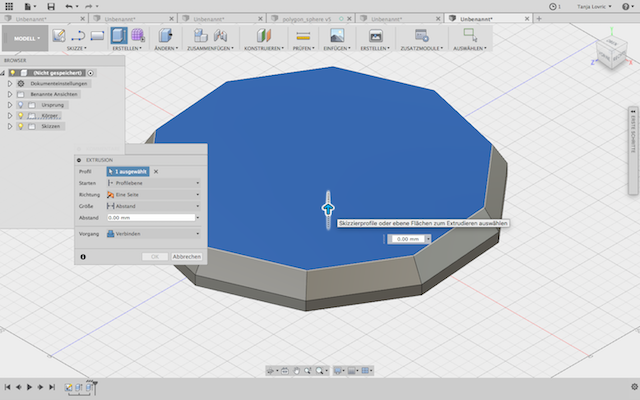
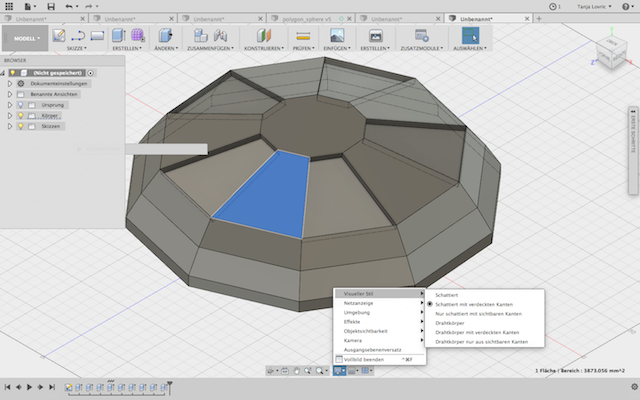
Using Fusion 360 I created a polygone skech first. This I extruded and while I was extruding it I could change the angle of this new body. This I repeated with other parts. Before extruding I had to stop the activated skech.
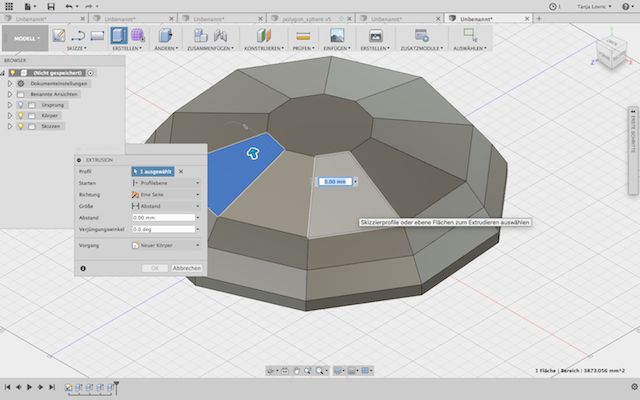
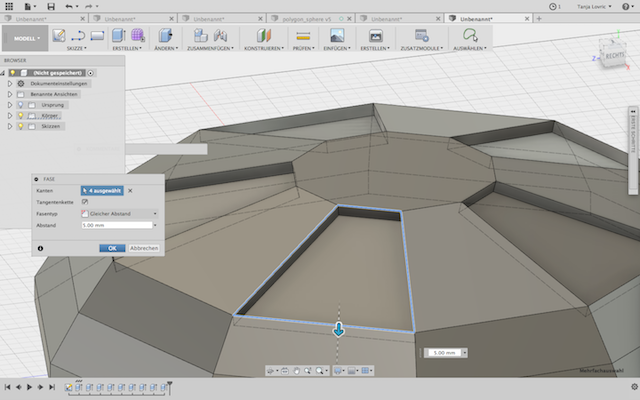
Now I extruded segments of the upper surface to become some relief-like structure.
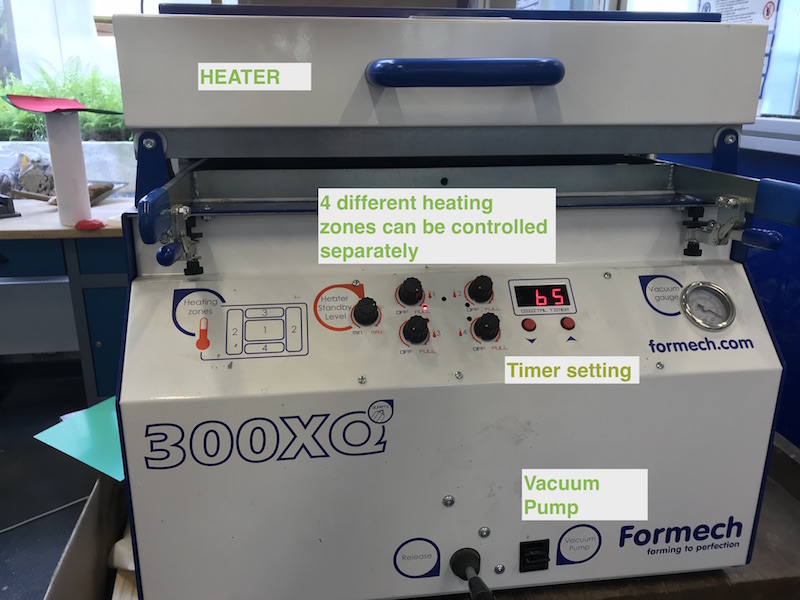
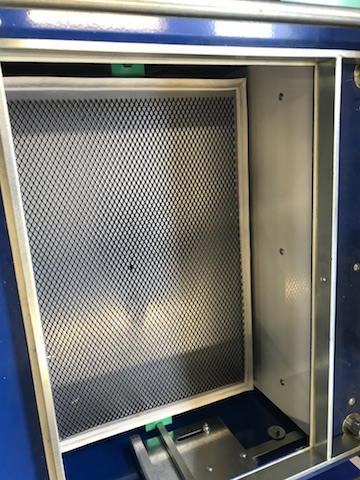
For vacuum forming I used vacuum forming machine Formech 300xq. It has a forming area of 430x280 mm and the height of 220 mm. Maximal material thickness of the foil is limited with 6 mm.
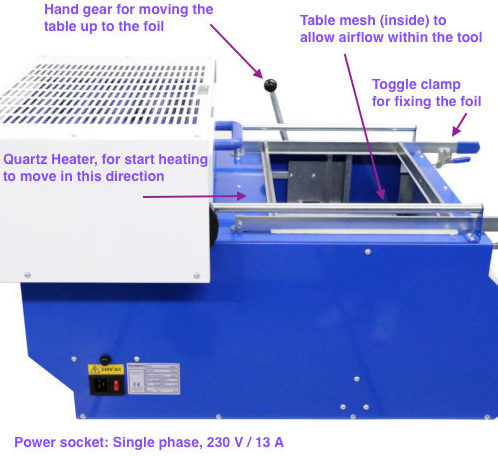
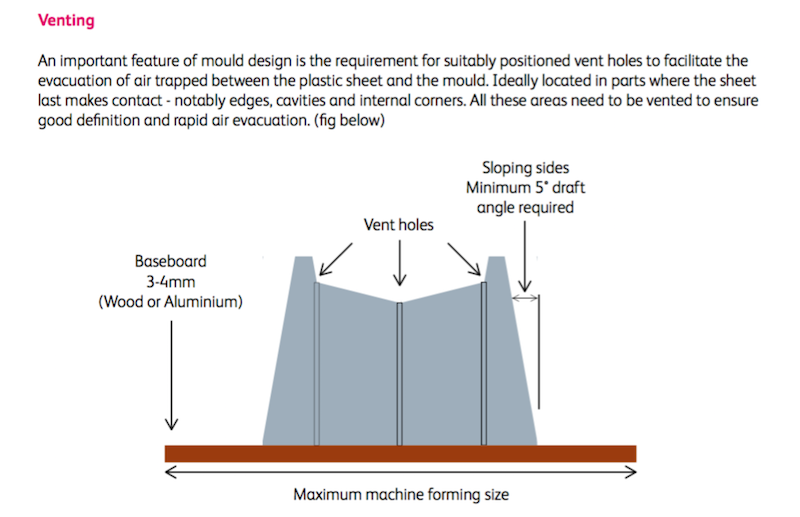
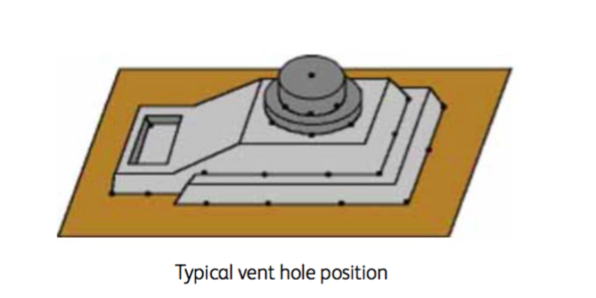
Here you can see the vacuum mesh which allows the air flow from the area between the foil and the form to come further in the first step. Besides there is a hole in the middle of the ledge which allows the air flow to the outside.
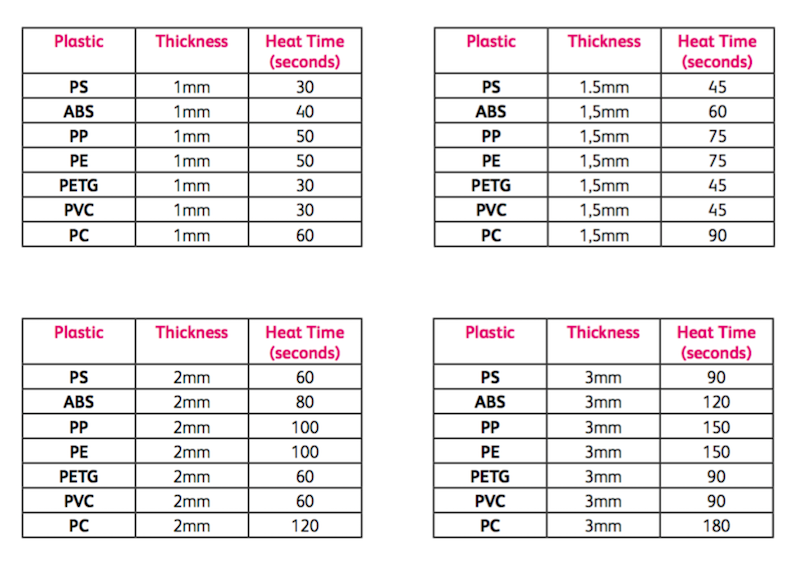
The folowing table could be usefull for the selection of the right heating temperature and time for each thickness and plastic art. But I think you will have to estimate the right heating time for your plastic by experimenting. I become the tip from Daniel Bruns, our collegue to monitor the plastic surface from the side. I did so and I made a movie of the characteristics during the heating time. If you take a look at the movie aou could possibly see it. It is not easy to see how the plastic starts to melt and makes some reverse movement. After theat it melts again. It is important to catch this moment as the plastic goes up. Now it is the right moment to do the vacuum forming.
It is very important to make also the hohles through the 3d form to enable the airflow from entire surface. This is esspecially important for complex surfaces.
Following image shows the stepps of the vacuum formin prcess. This image is made by manufacturer Fomech.
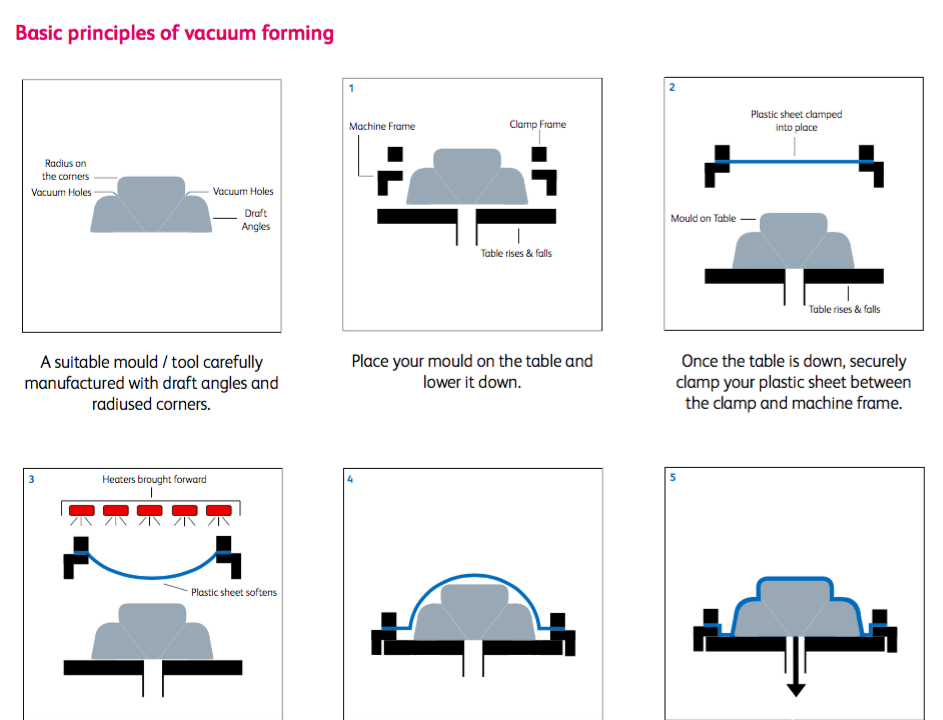
1. Before heating and forming check if there is a additional protection foil on it and remove it.
2. Put your 3d part in the middle of the forming area.
3. Now you can place the foil into provided frame and fix it with the available toggle clamps.
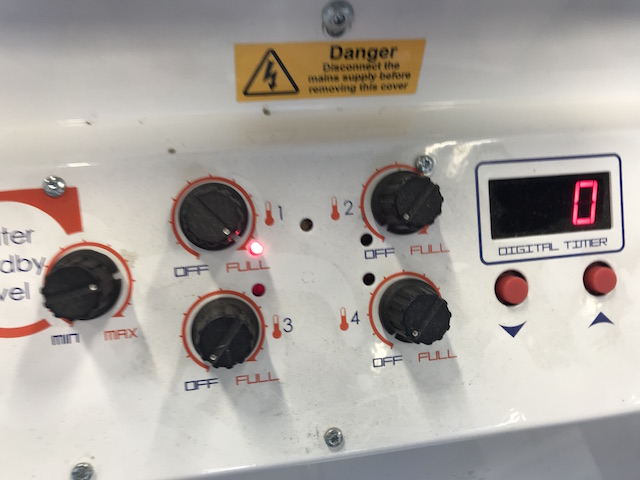
4. Estimate the right heating time and temperature for your plastic.
5. Switch the heater on and monitor the plastic.
6. When it starts to bulge and after that to streighten again push the heater to the back side. It has to be pushed completly to the back side, otherwise it will not be possible to pull the hand gear which will move the vacuum table up.
7. Switch the vacuum pump on and press the hand gear down.
8. After forming is finished, switch the vacuum pump off and press the release lever.
Troubleshooting
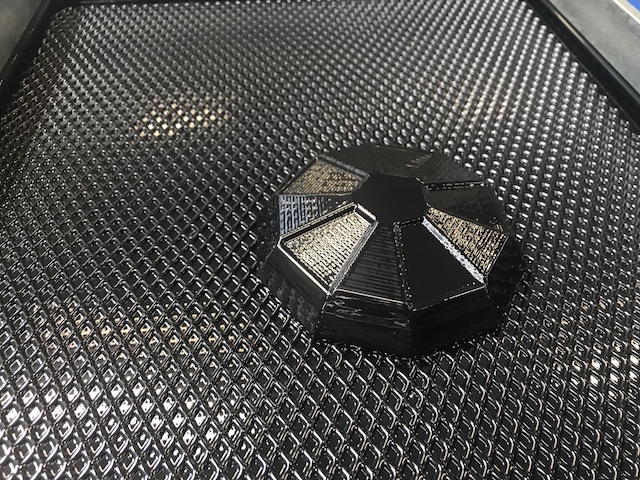
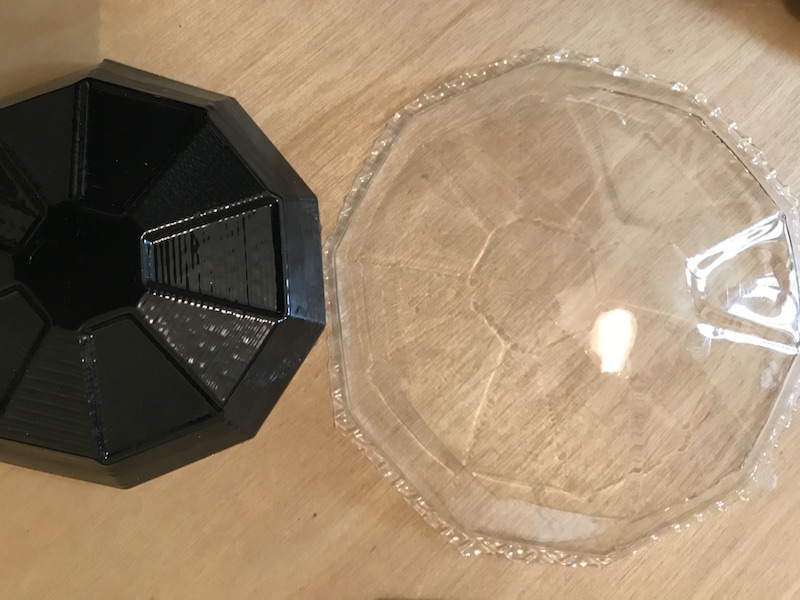
As I used a 3d print for vacuum forming I hoped that it would work. It did work but using the first example (black plastic) I could not release the 3d print out of the vacuum form after forming it. Another 3d print (transparent foil) I used had to be printed fast. So I have choosen the low quality option for 3d printing. As the foil was very hot during the vacuum forming, it influenced the surface of the 3d print and both got bumpy texture. Next time I will use the right method for this, which means I am going to mill a negativ form and than make a cast using probably plaster. Also I am going to make some ventilation hohles in the 3d form to ensure the right definition and rapid air evacuation.Folding of Yoshimura-Pattern
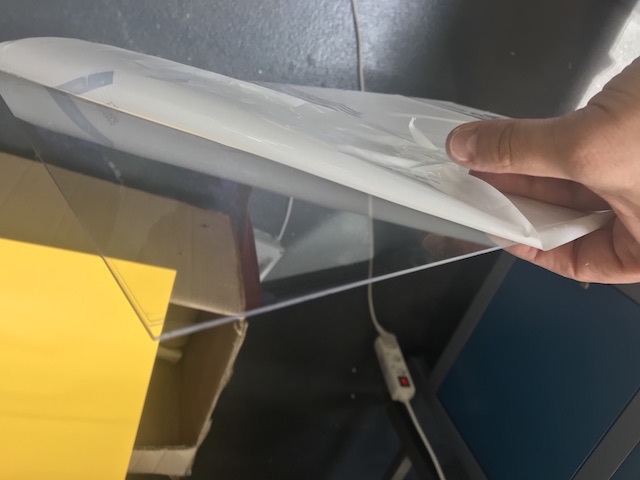
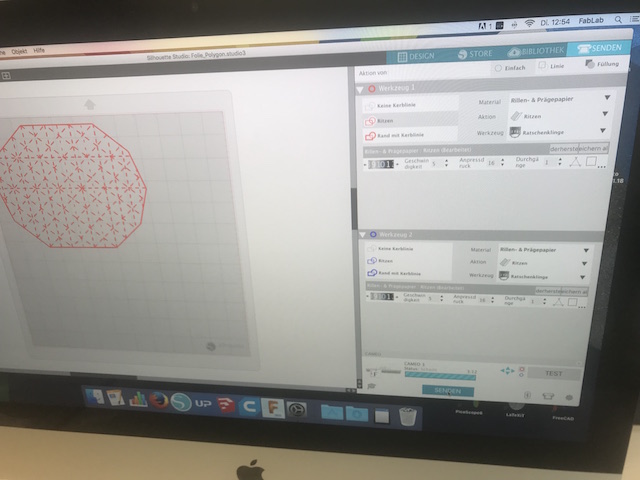
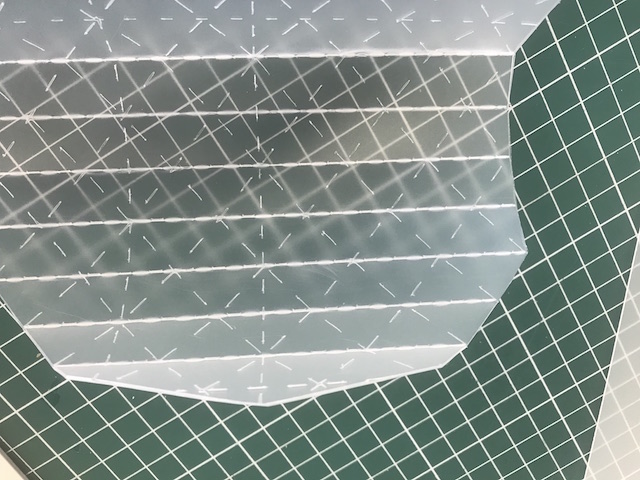
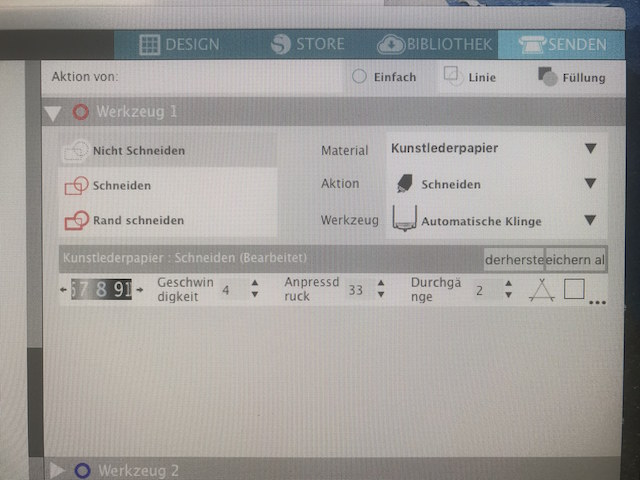
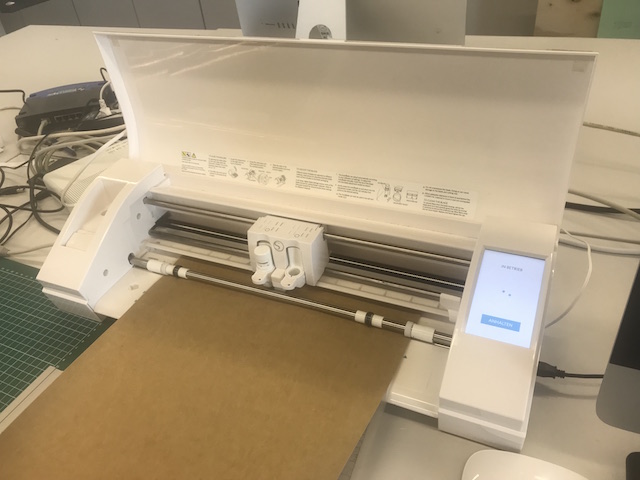
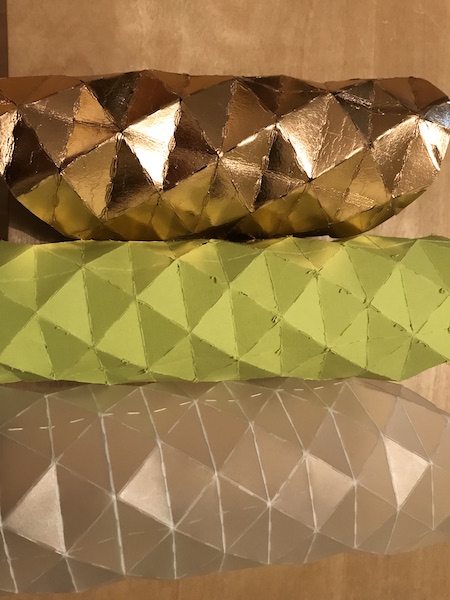
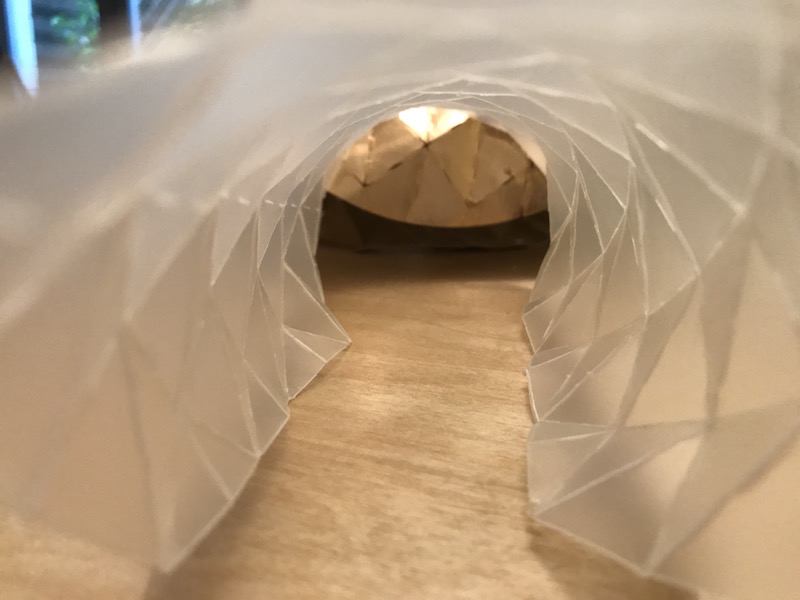
I also wanted to try some other shapes for the casings. Folding technics I like very much, so I decided to test following pattern, which also Aleksandra used for her final product.For cutting the foil I used Cameo cutter as our laser cutter was out of order. It worked fairly well. The settings are to see in the following image. After cutting it, I have folded it by the hand. During the folding I could not imagine that it would work. At the end of the process I discovered suddenly the right design I planed to create. I would like very much to test some other folding technics and use some other materials.


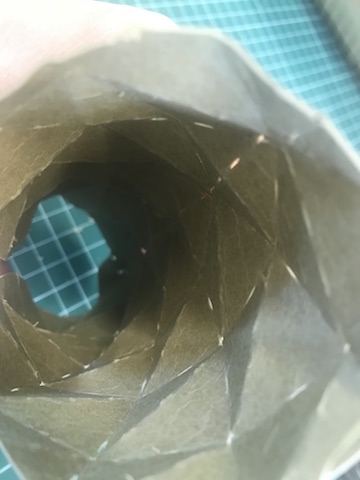
I made some tests with other materials like washable cardboard and paper.
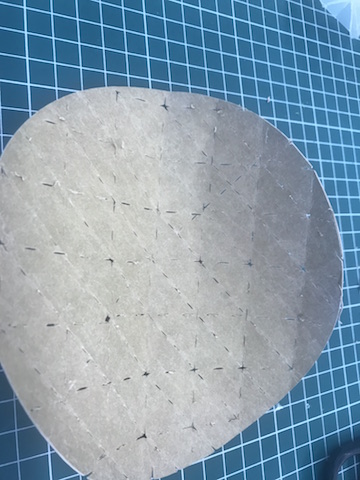

As to see in the following images, this folding technic works with different materials.
Smal Composites Test
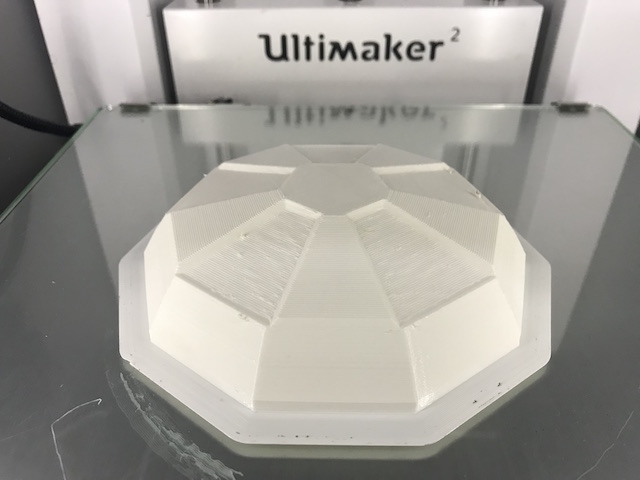
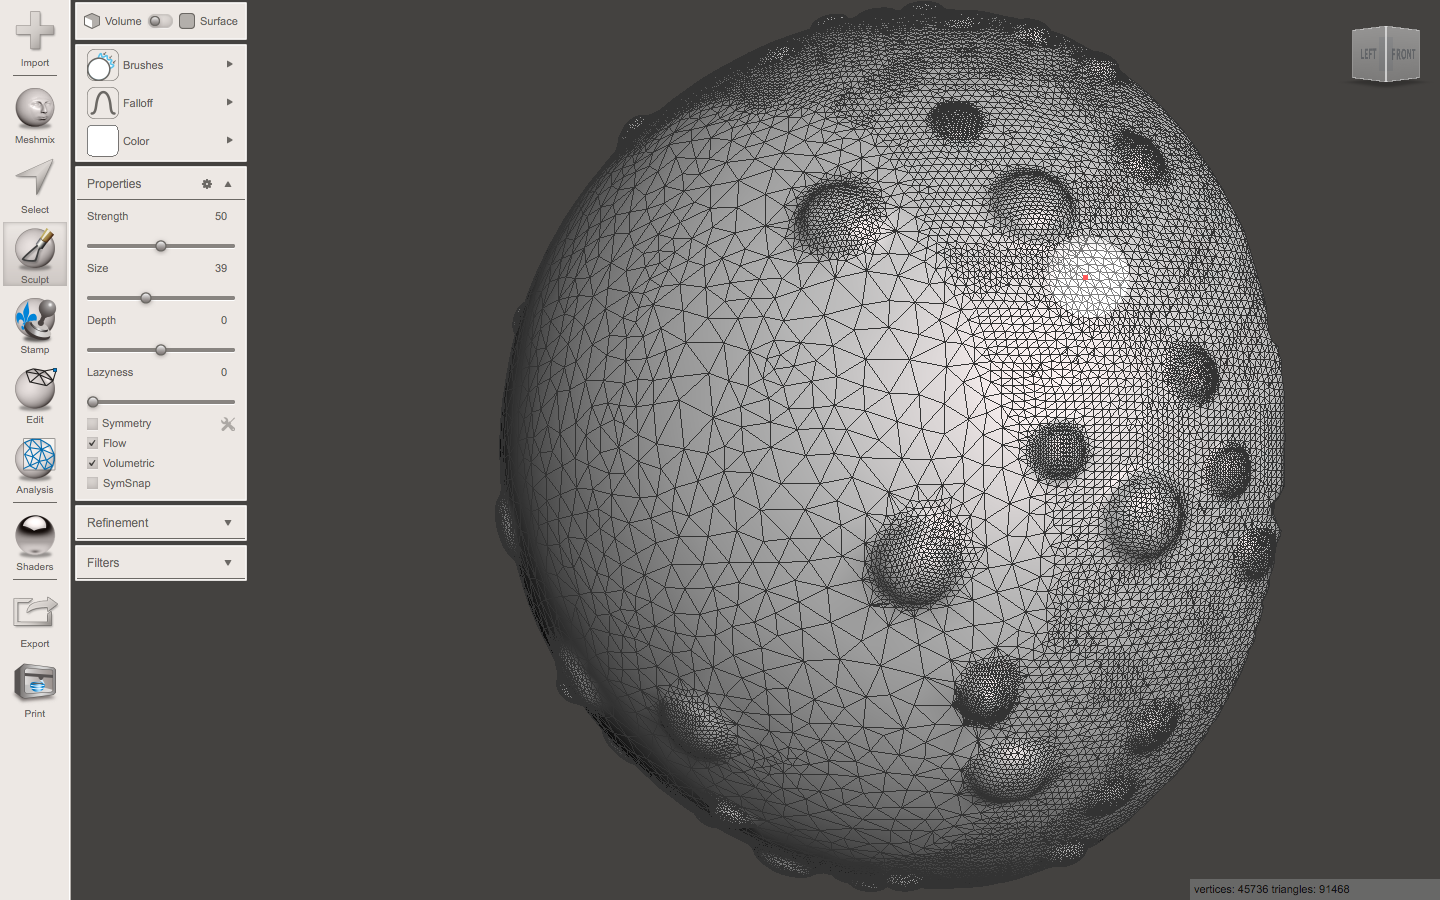
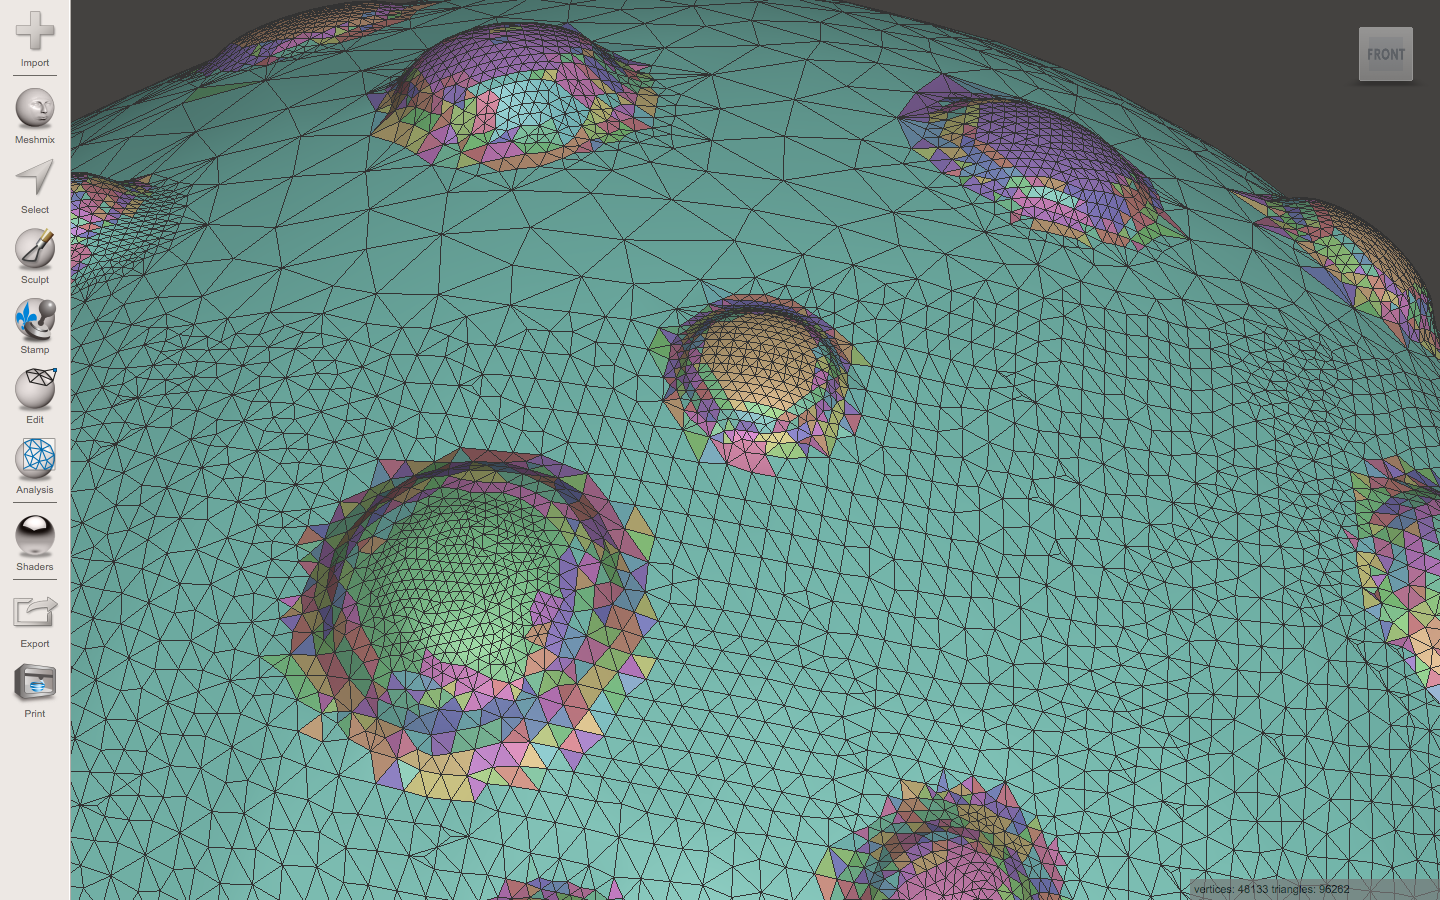
I wanted to desig some 3d mesh like object. To do this I had to design the sphere in Fusion 360 first. Maybe I was wrong with this. If so please give me some feedback.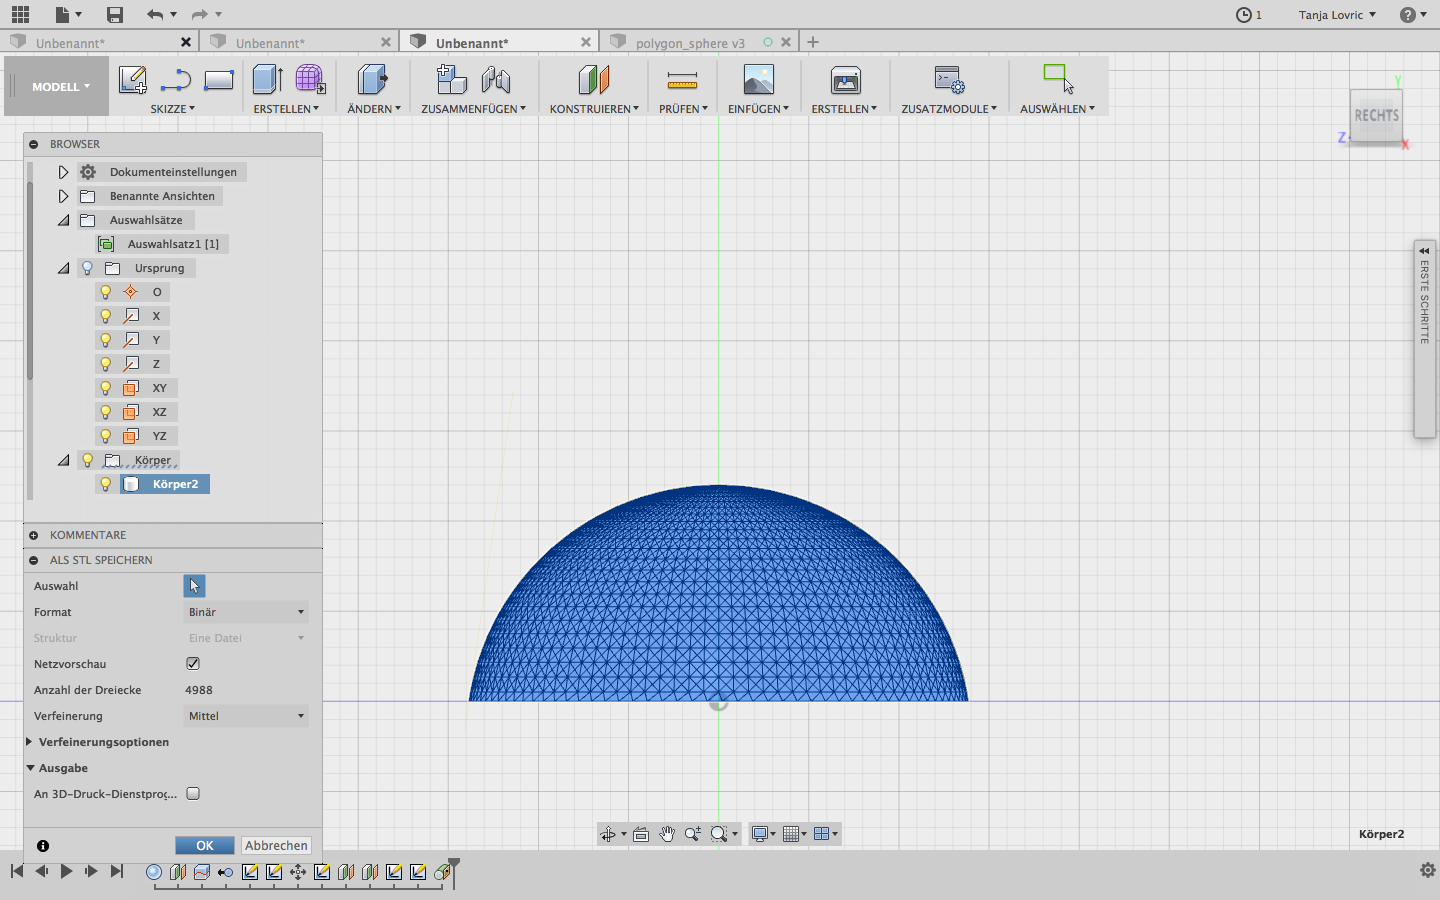
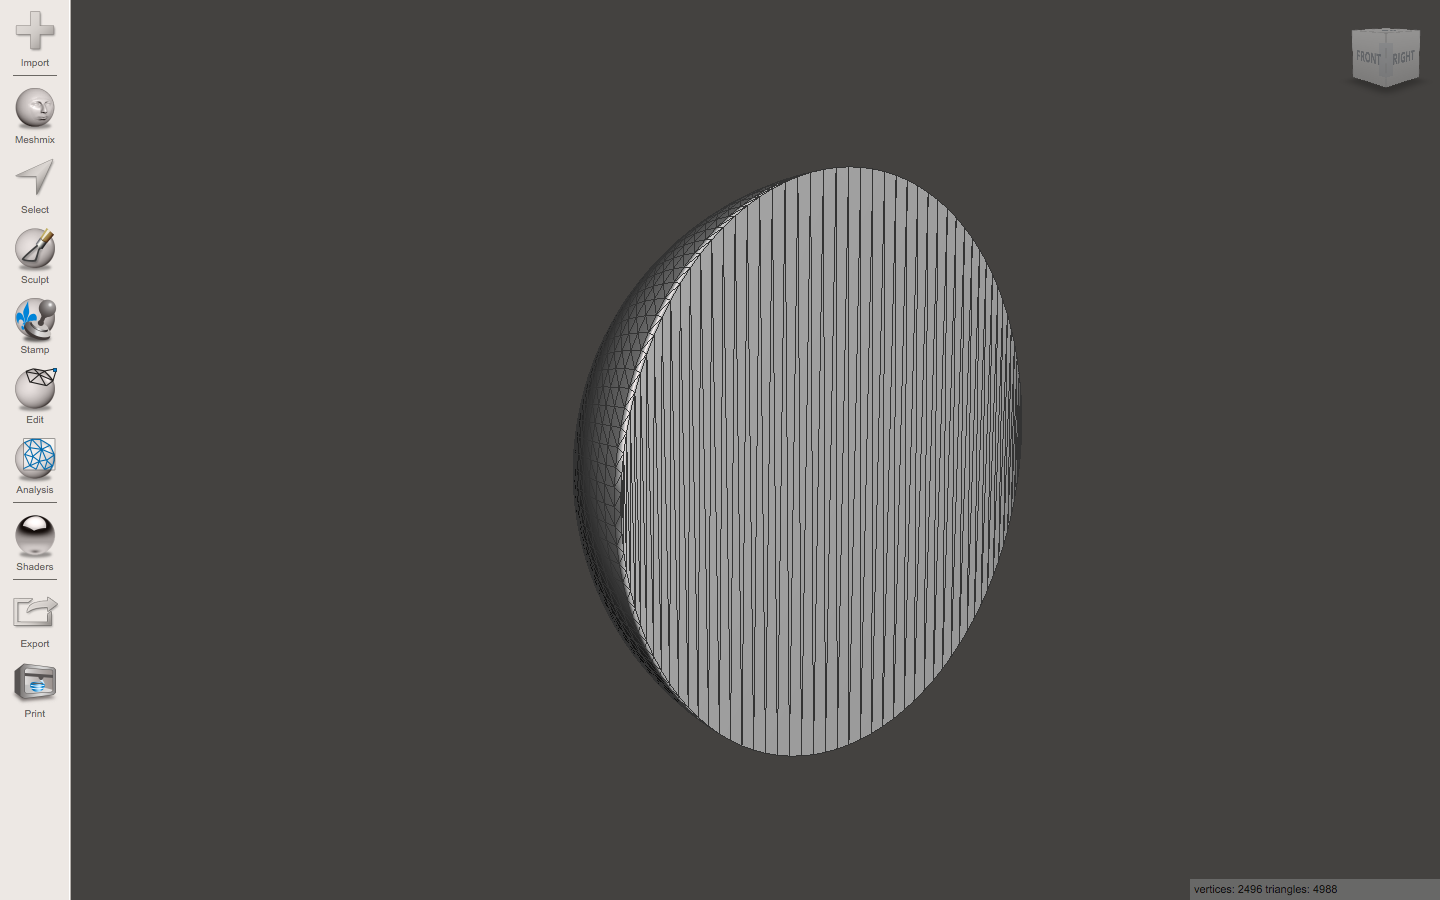
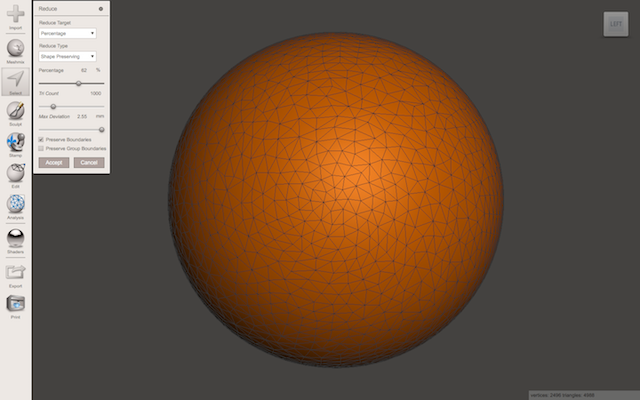
I exported the sphere to Meshmixer. It was the first time I was using this program and I am still not so familiar with it as I used it just for a short period of time. But it is quite interessting and I would like to use it for my final project to design meshes. My MacBook Air is not so powerfull, so I have to use another computer for this part.
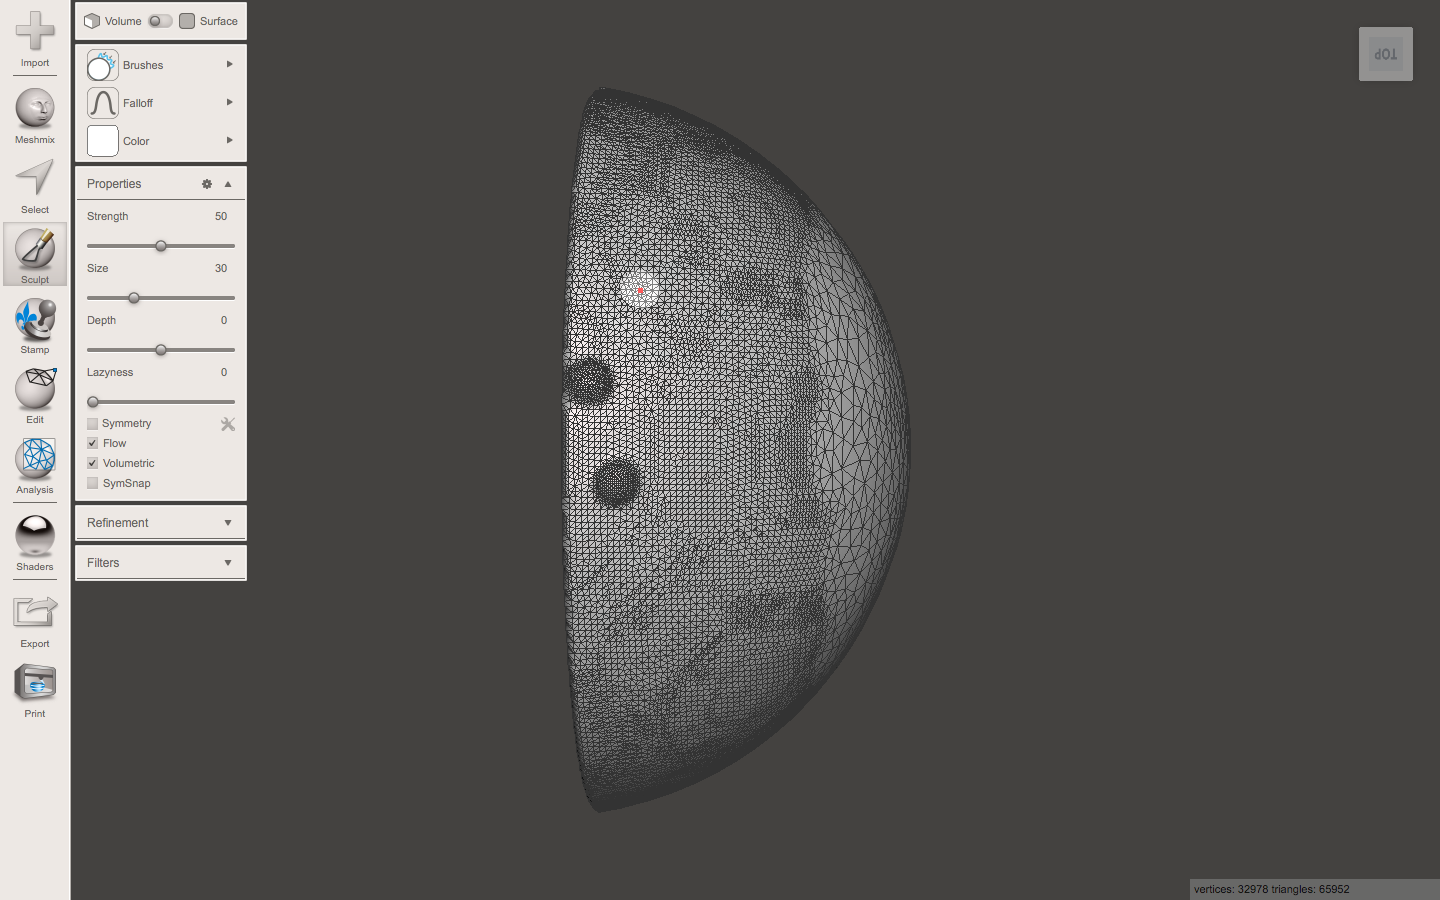
Meshmixer is a product of Autodesk as same as Fusion 360. So I could use it anyway.
MeshMixer Download
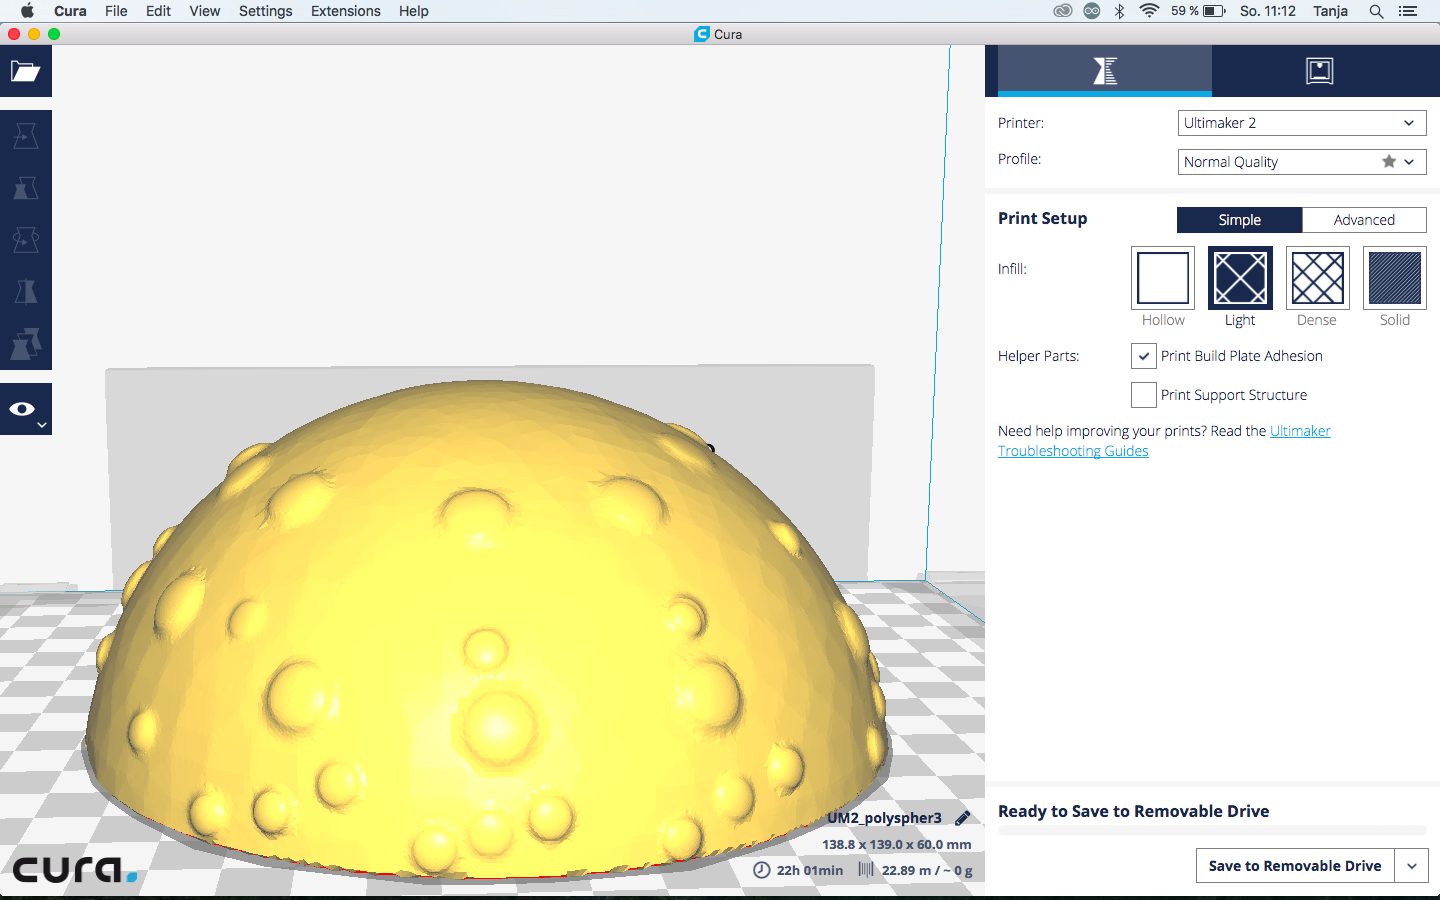
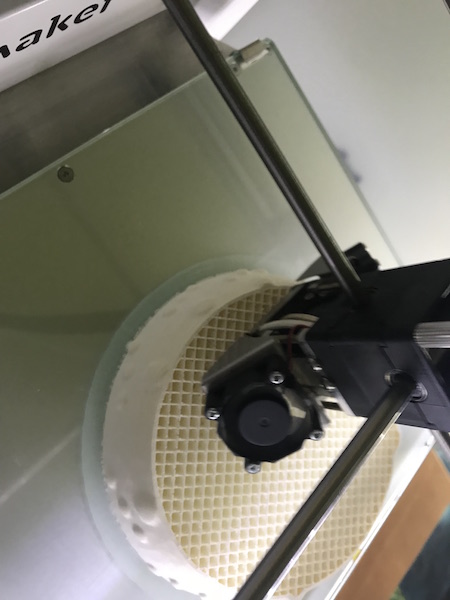
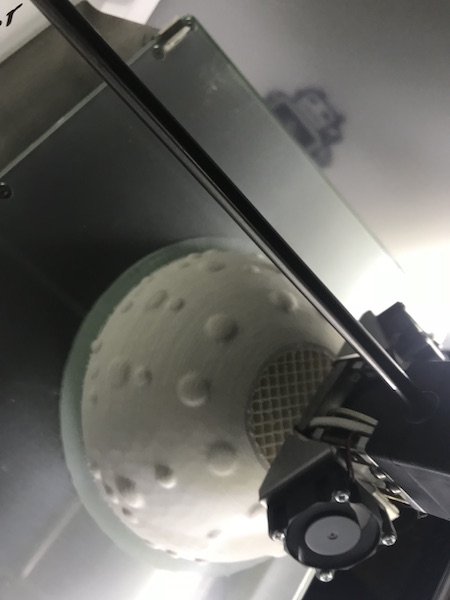
I printed the sphere using Ultimaker 2 and wanted also to make some vacuum forming test. The composite drying process lasted to long, so I had to quit this idea.
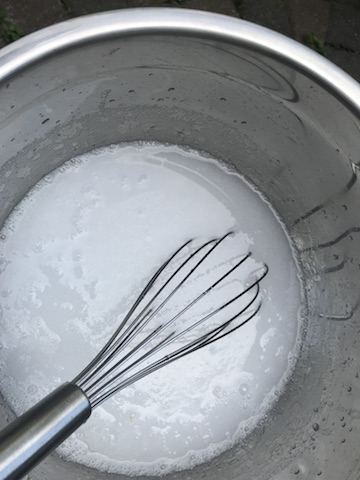
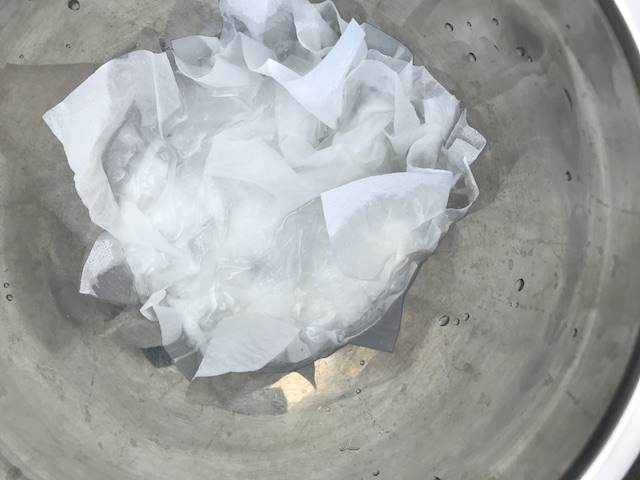
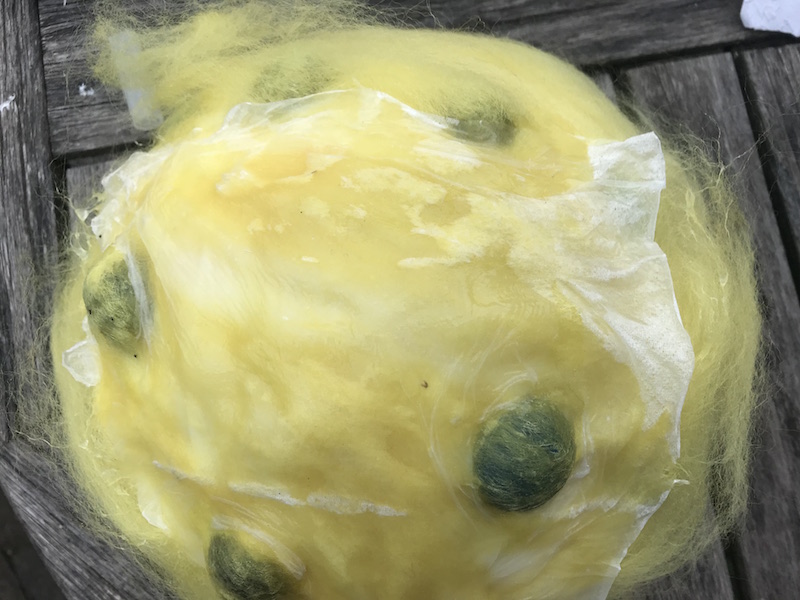
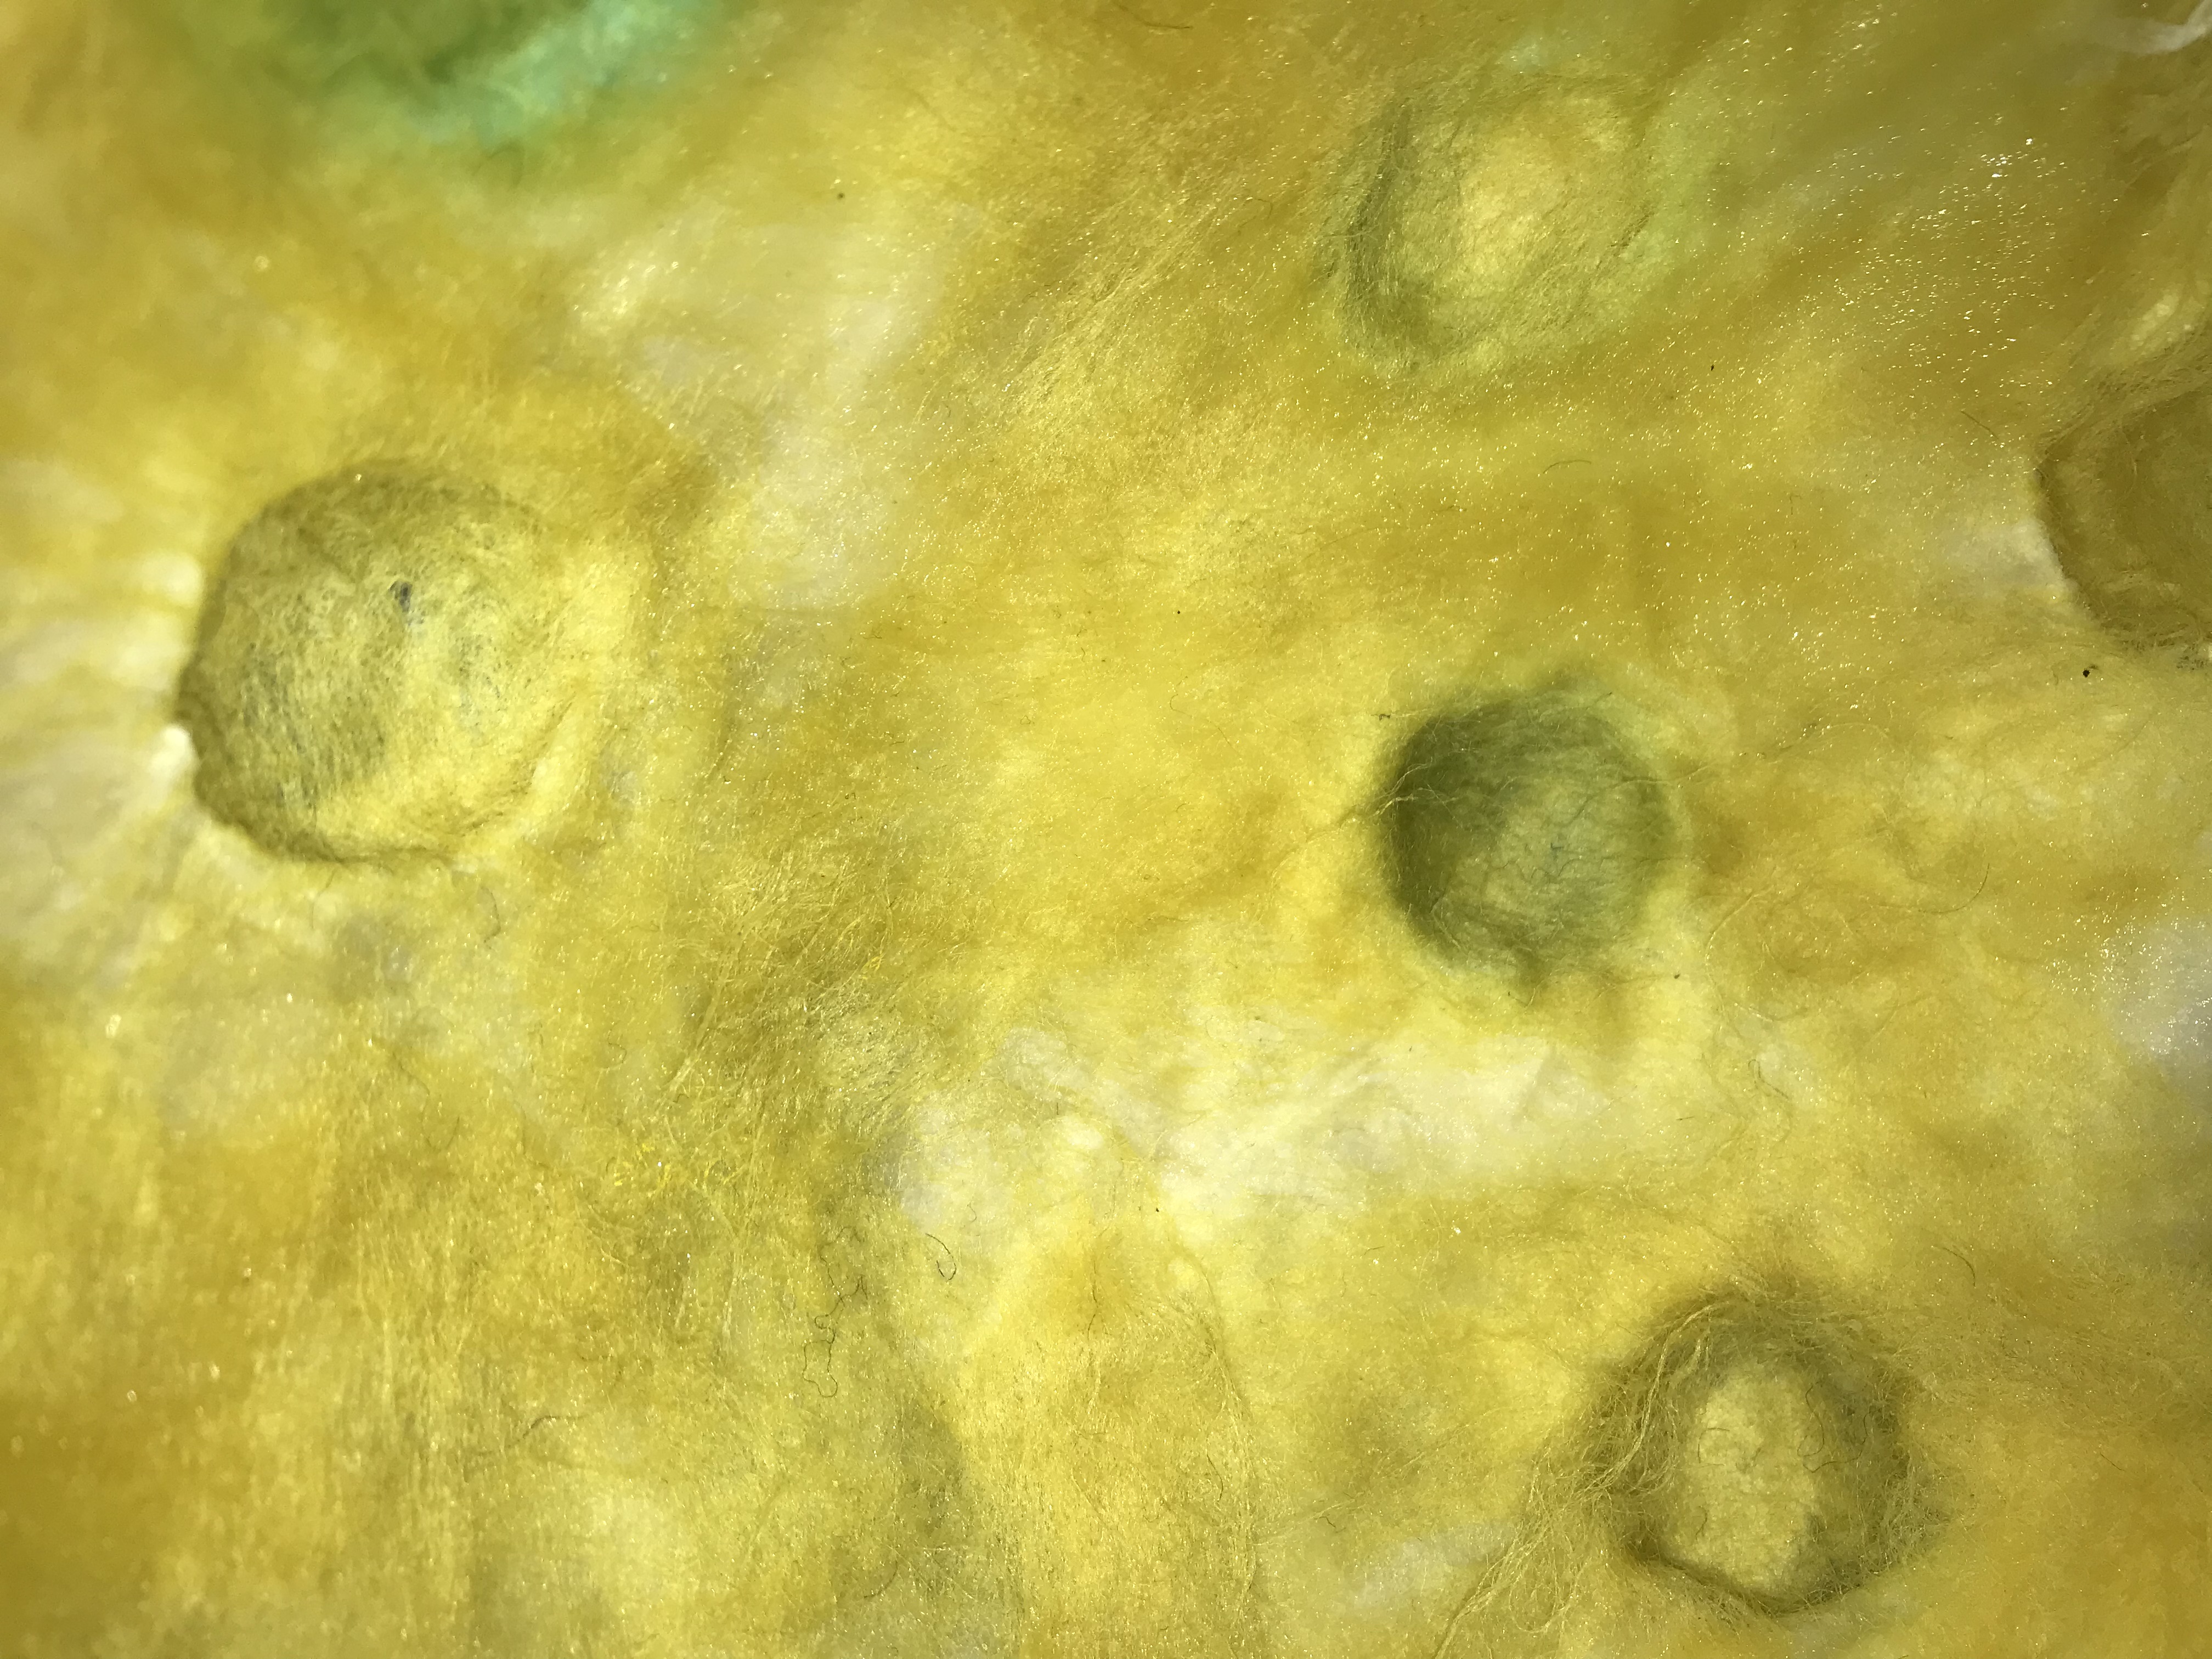
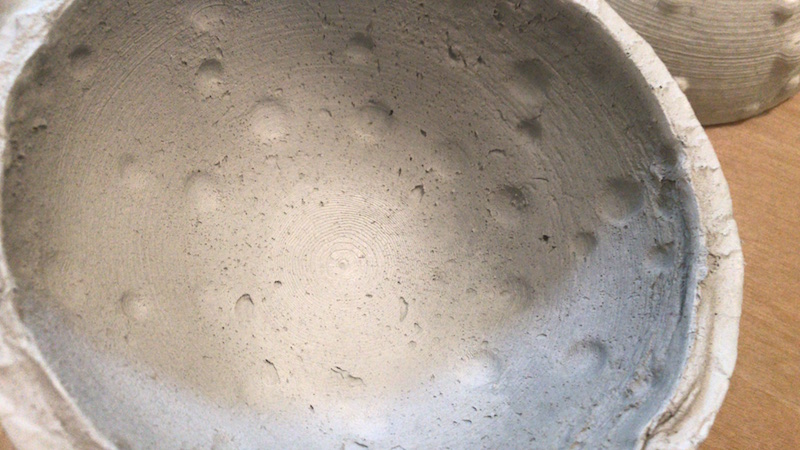
I wanted to make some composites test using other materials than resin. I made a mistake because I did not read up on composites instructions. So I did not used the vacuum bag for that. I used self made paper mache out of facial tissues. For this I have put the tissues into the mixture of water and cement, which I have mixed after manufacturer's instructions. I used loose wool as a connection fiber for this construction. I use this normaly for felting.
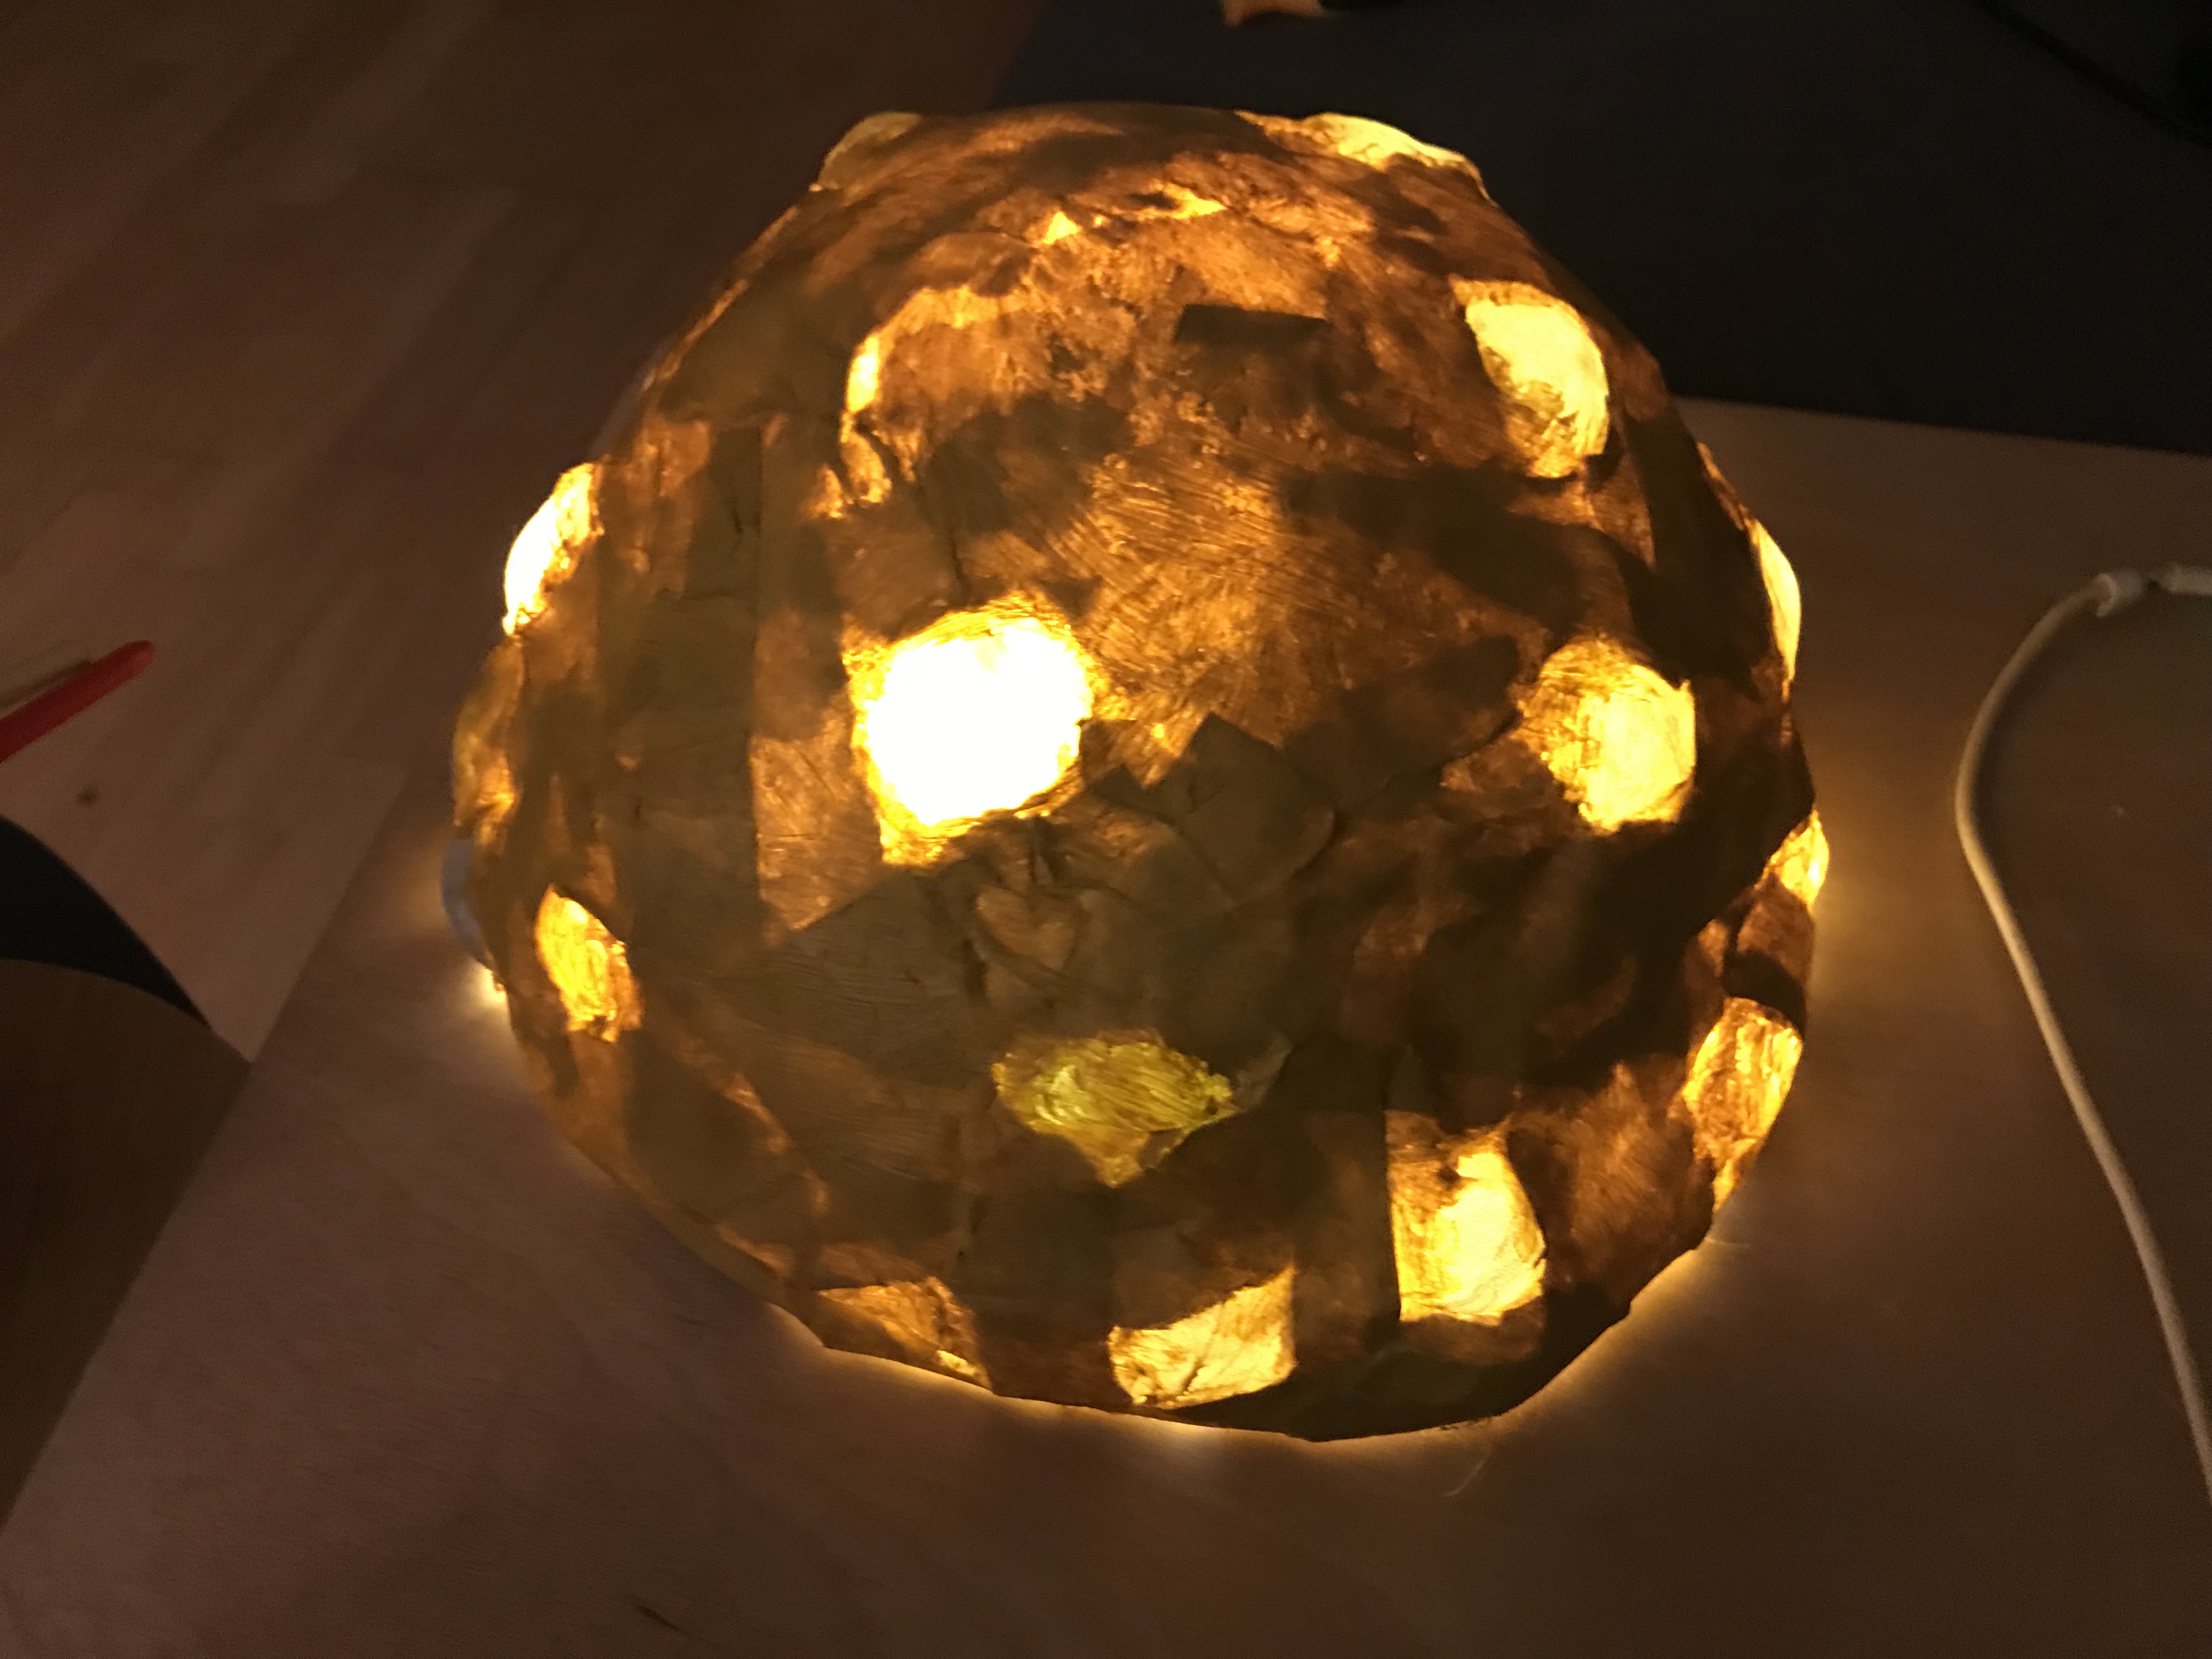
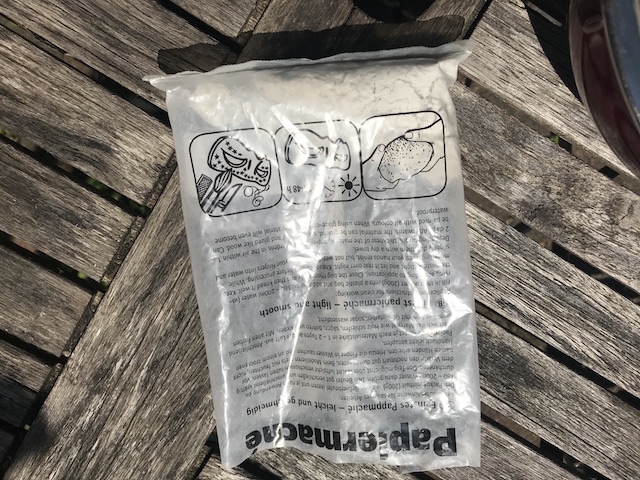
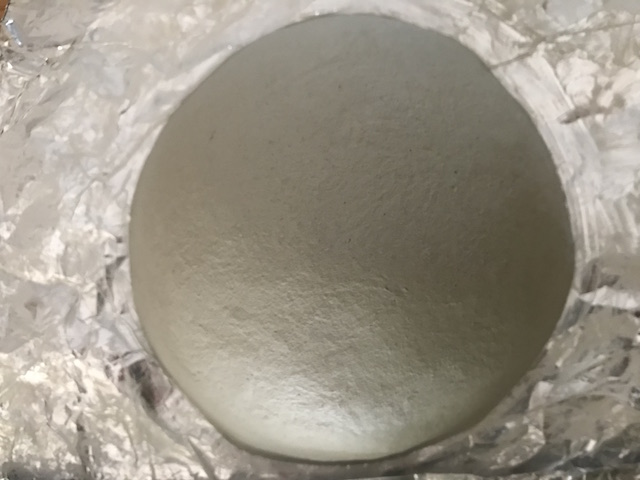
I also tested a paper mache product which is very finly grounded. I put it into a plastic bag and mixed with a drop of water for about an hour. After that I had to wait for about 6 hours until I could use it. Later it needed three days for the form to get dry. The surface was not so nice as I expected it to be.

Downloads
| Fusion 360 Object: Vacuum forming (stl/zip) | download |
| Mesh mixer Object: Bubbles | download |
| Yoshimura Pattern (dxf/zip) | download |