Week 1 assignment
Principles and practices, project management (Jan 28)
Week 2 assignment
Computer-aided design (Feb 4)
Week 3 assignment
Computer-controlled cutting (Feb 11)
Week 4 assignment
Electronics production (Feb 18)
Week 5 assignment
3D scanning and printing (Feb 25)
Week 6 assignment
Electronics design (Mar 4)
Week 7 assignment
Embedded programming (Mar 11)
Week 8 assignment
Computer-controlled machining (Mar 18)
Week 9 assignment
Molding and casting (Mar 25)
Week 10 assignment
Input devices (Apr 8)
Week 11 assignment
Output devices (Apr 15)
Week 12 assignment
Composites (Apr 22)
Week 13 assignment
Networking and communications (Apr 29)
Week 14 assignment
Mechanical design, machine design (May 6)
Week 15 assignment
Interface and application programming (May 13)
Week 16 assignment
Applications and implications (May 20)
Week 17 assignment
Invention, intellectual property, and income (May 27)
Week 18 assignment
Project development (Jun 3)
Week 19 assignment
Project presentation (Jun 10)
Computer-controlled cutting (Feb 11)
Summary:
This has been a bad week. I have done a little draft of the logo of my project but I haven’t completed it because I’d like to do the press fit. I have done many errors with cardboard and laser cutting. All the tests were time consuming and in the end I haven’t completed a press fit construction kit. My best result was being able to bend the cardboard without burning it or breaking it while bending it. Here below my week experience.
My vinyl cutter experience
(to be completed..)
This week we have to try the vinyl cutter. Last week I haven’t tried to use
Inkscape because I wanted to try 3D CAD. Now it is the opportunity and the right
motivation.
First I followed some basic tutorials:
Tutorial
elements
Basic tutorial
Later I found another tutorial to draw something related to my final project: a
fish!
In the end I did a funny fish

This fish is not suitable to be cut with vinyl cutter. I have to modify it. Time flows so I have to think about the press fit construction kit which is the real assignment of this week.
My laser cutting experience
(to be completed..)
First of all I will show the laser cutting machine we have at Fablab Cascina
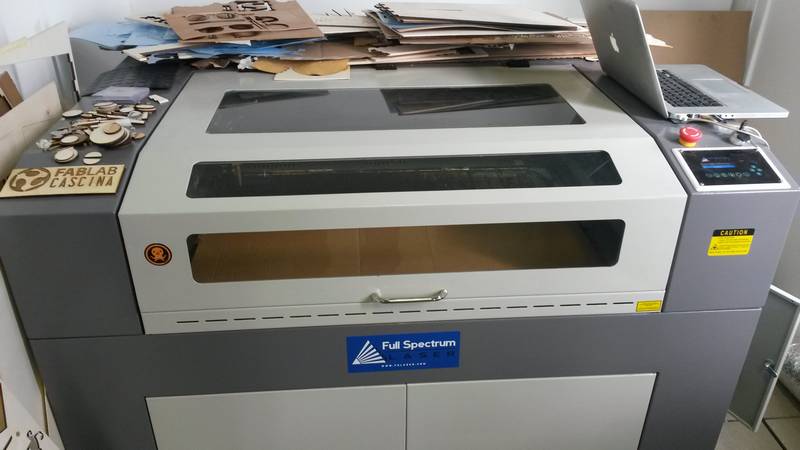
I like when you turn it on, it looks like you turn on a nuclear reactor. No, I haven’t ever seen a nuclear reactor :)
In the beginning I tried some joints. The first one was the simplest one but
problems hide even in the simplest things. It was a useful test to understand
the basis.
Anyway, let’s start with errors!
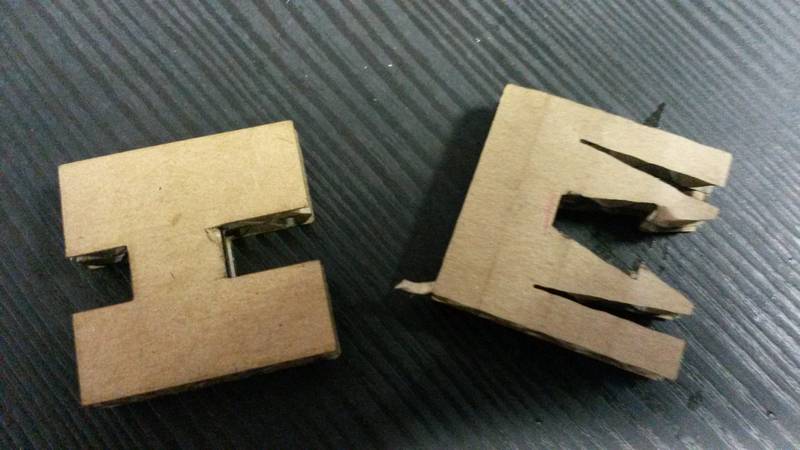
The first joint is the simplest one but I missed something about the kerf..As
you can see below
I had to think more about the kerf and I took the caliper to have the cardboard thickness. You can’t see the numbers because they blink then it was difficult to take the picture.
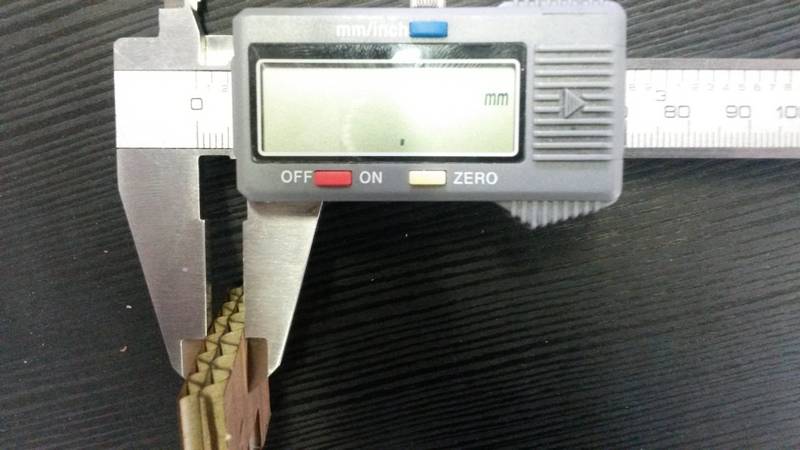
The thickness of the cardboard is 6,25mm. According to the thickness I did
the “female” joint of the cardboard 6,05mm. Remeber, you have to consider
0,2mm for the kerf. If you want to consider the kerf in the “male” part
you have to increase your measure, that is 0,2mm more. Finally the joint fits.
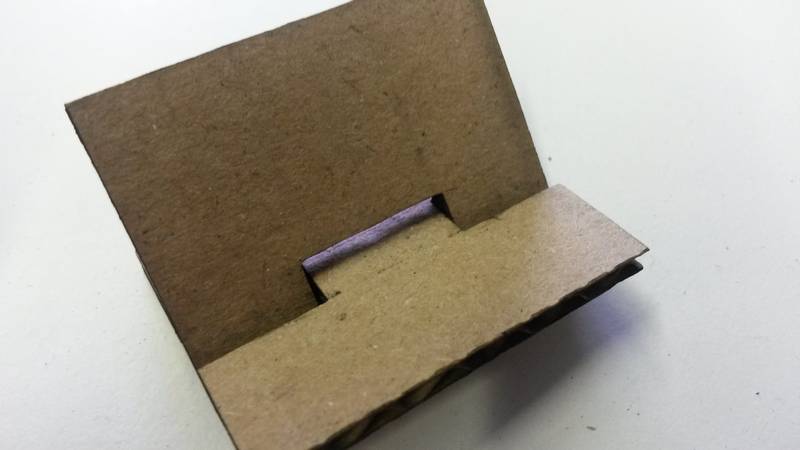
Ok with the kerf, but..
As you can see above I didn’t consider the depth of my joint.
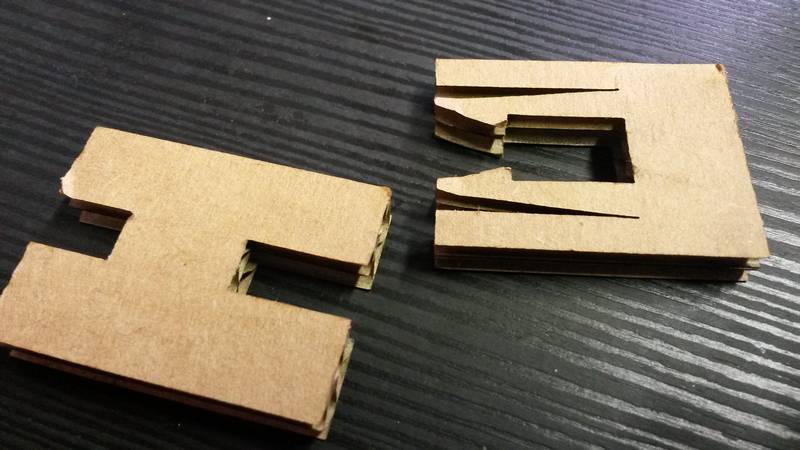
Again..more job with Inkscape and finally below there is my first joint that
works!
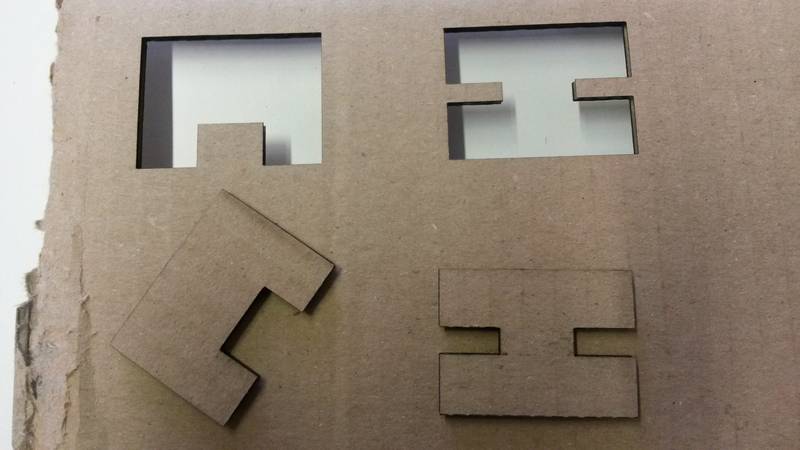
Now that I was the master of a simple joint ;) I wanted to complicate things
but unfortunately time was not my friend. I did some tests on two more
complicated joints but I was not successful.
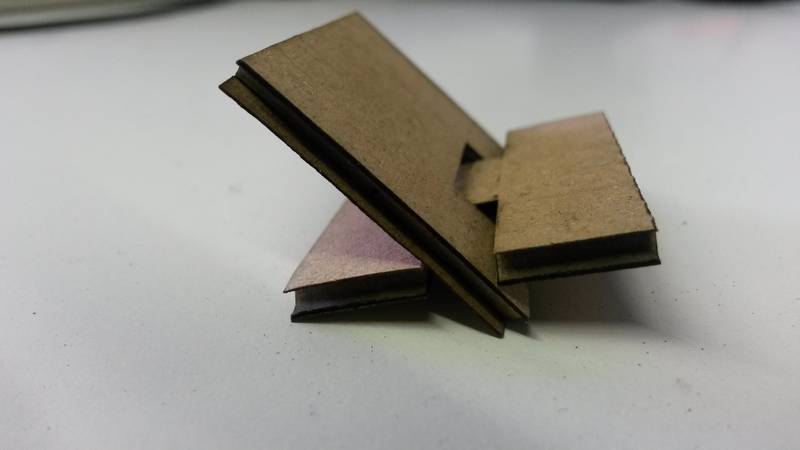
I liked the idea of a snap fit joint. You can see an example of animated gif image on the first page of this file (I was not able to extract the gif from the .ppt file). snap fit ppt file
The first snap fit joint was not so bad but it moves too much.
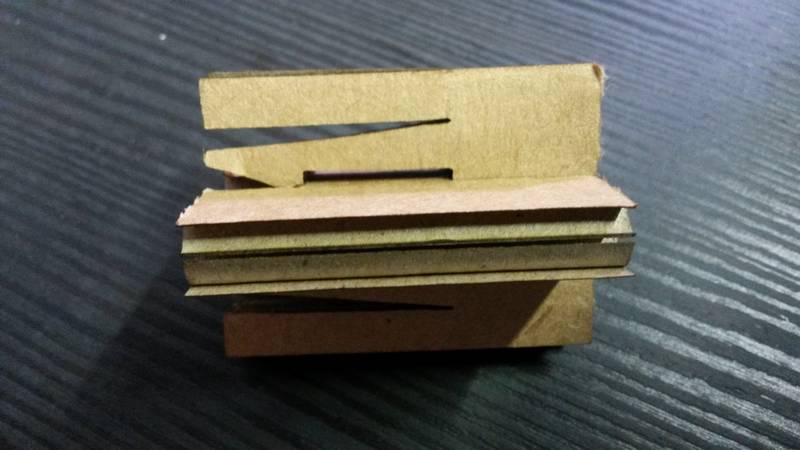
Trying to do a snap fit which doesn’t move too much I did a larger base
but..if the base of the “triangle” is too thick the cardboard can’t bend in the
right way.
I saw a different snap fit joint with thicker base but..too thin.

All these test were very time consuming. Even if a bit frustrating, I liked
very much thinking and testing the joints but I had to think about a press fit
construction kit.
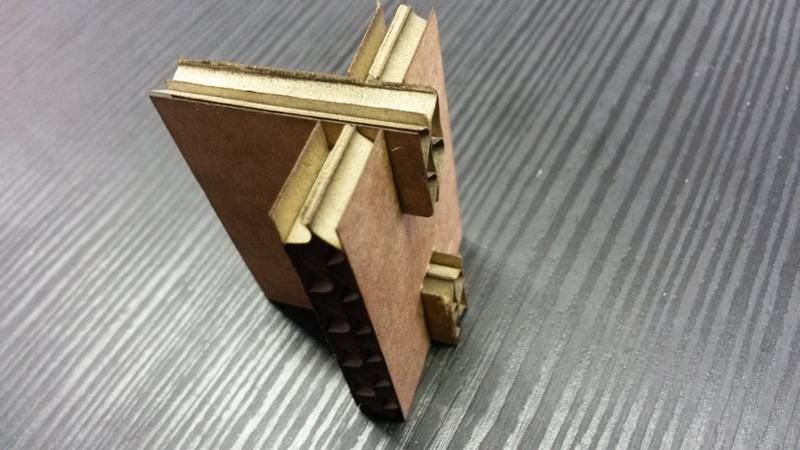
I saw a nice job
here
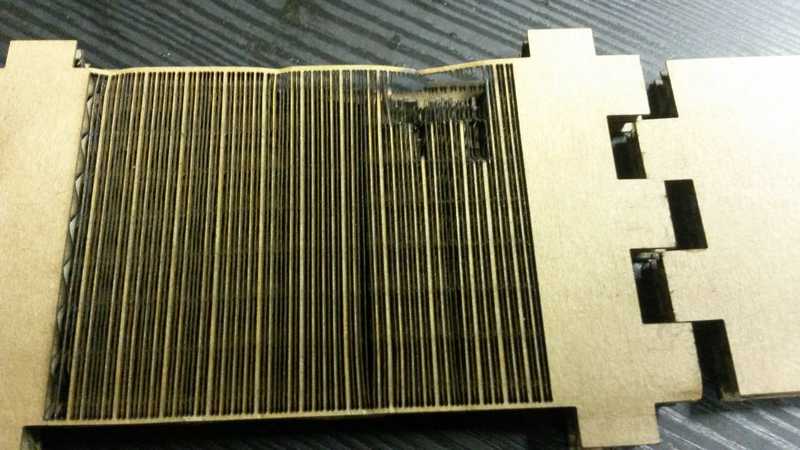
. I wanted to test the technique to bend the cardboard (and even the wood) with
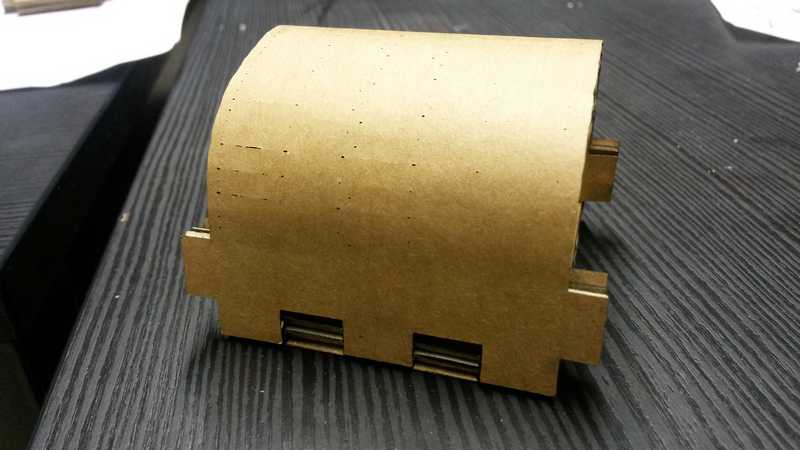
those little incisions. My local instructor suggested me to do a similar
box for a speaker. I liked the idea and I started to learn how to bend the
cardboard.

Bending the cardboard was a nightmare for me..
BE CAREFUL! If you do the lines too near and you don’t consider laser power you risk your life..
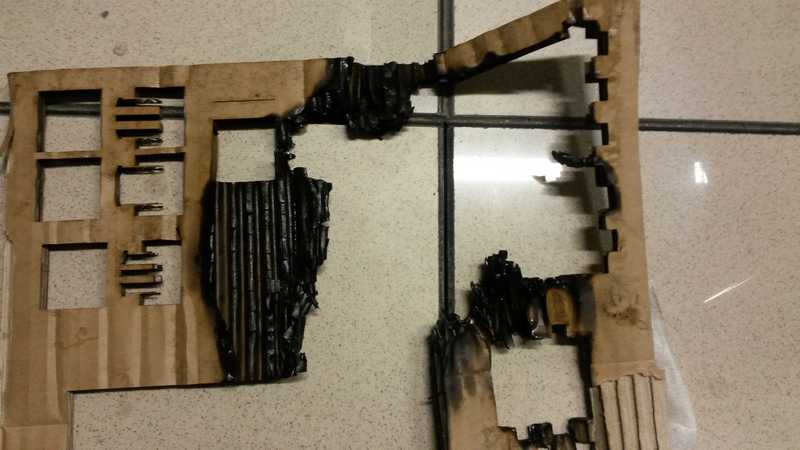
After this shocking images, I have to describe some technical details.
If you want to use incision you have to draw the lines with a different color
(usually red) and then you have to change the parameters to use with that
color.
Here is a summary of the parameters I remember.
When you draw a line you have to give a stroke width of 0,01mm otherwise
the laser will pass many times on the same line and you risk to turn fire on.
I used a cardboard which was thick from 6,25mm to 6,85mm.
When I did the incision I gave the laser a power from 15% to 17%.
When I wanted to cut my cardboard I gave a power of 60%. I found this is the right one that allow me to take away my pieces from rest of the cardboard.
I did some tests and in the end I found the right power to bend the cardboard.
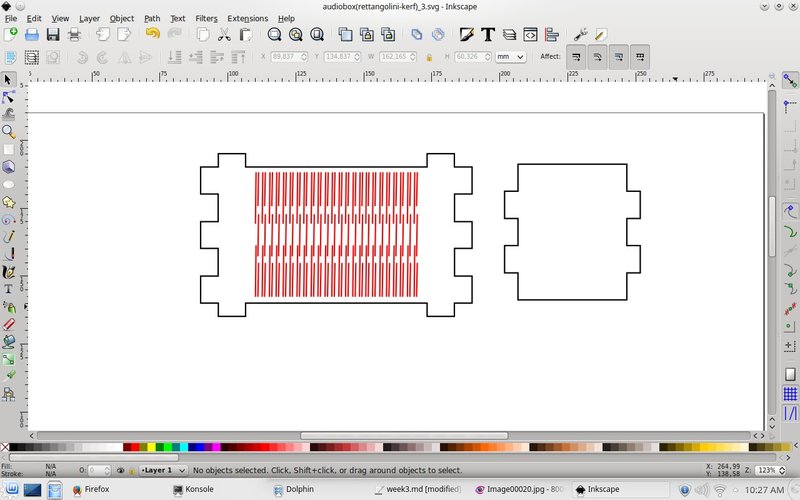
Here below there is a screenshot where you can see the different colors of the
lines. I increased stroke width just to do a visible line. The 0,01mm stroke
width is really difficult to see in a screenshot..
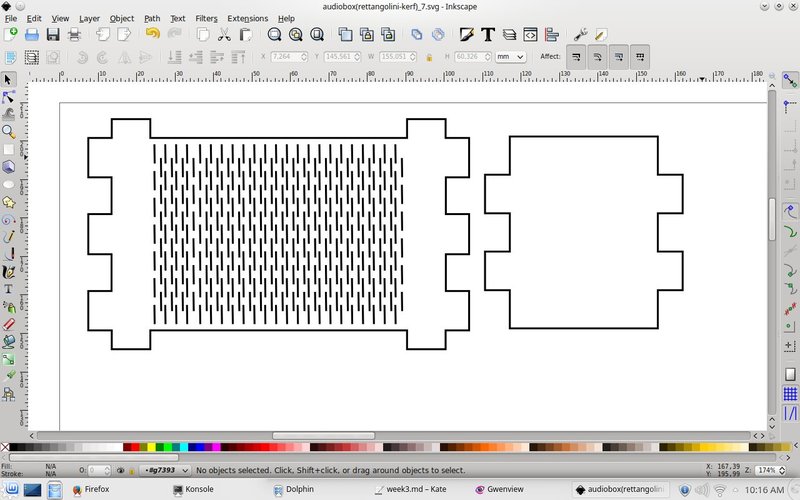
After the fire, I reduced the distance of the lines and the power of the laser to 10%. My local instructor told me to try to do little cuts instead of incision. Here below you can see that the lines are black and not red as with the incision.
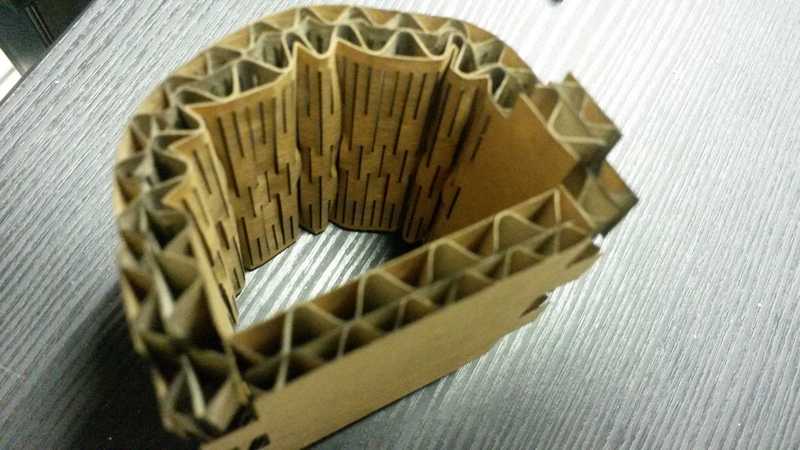
I tested it but as you can see below, when I tried to bend the cardboard it
broke in two parts.
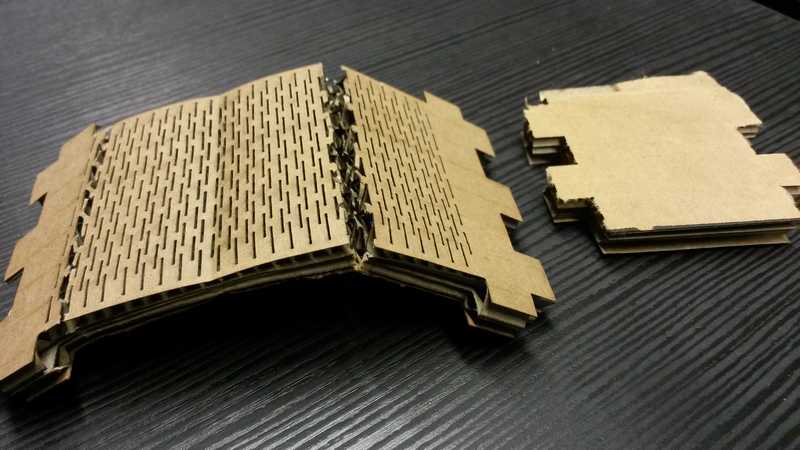
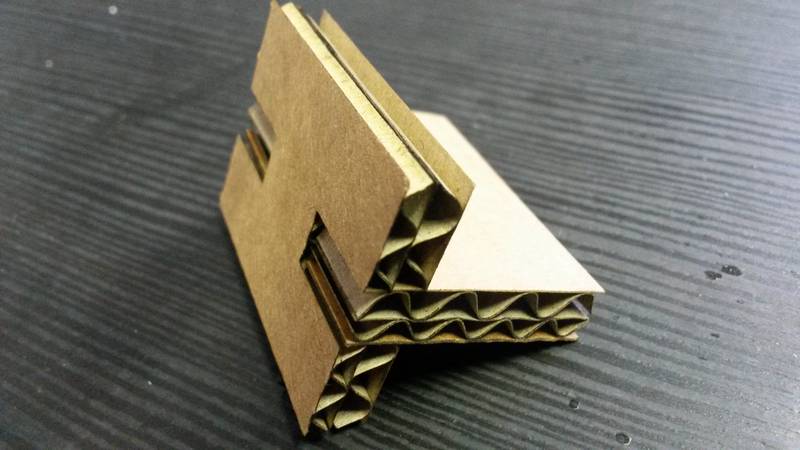
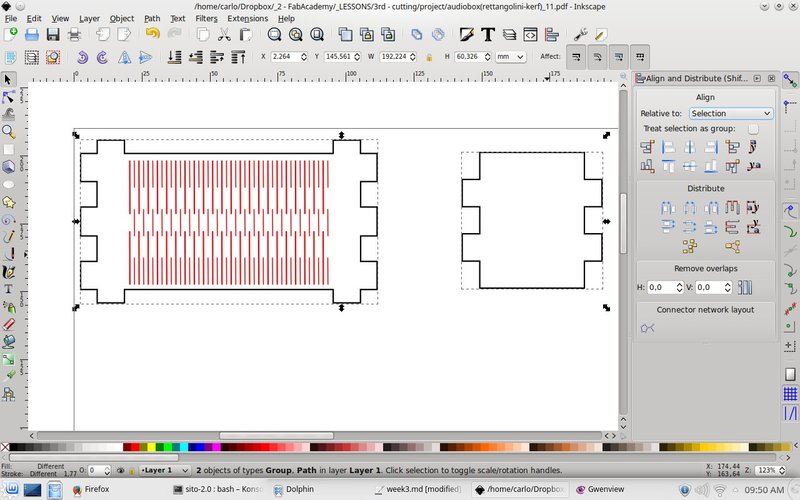
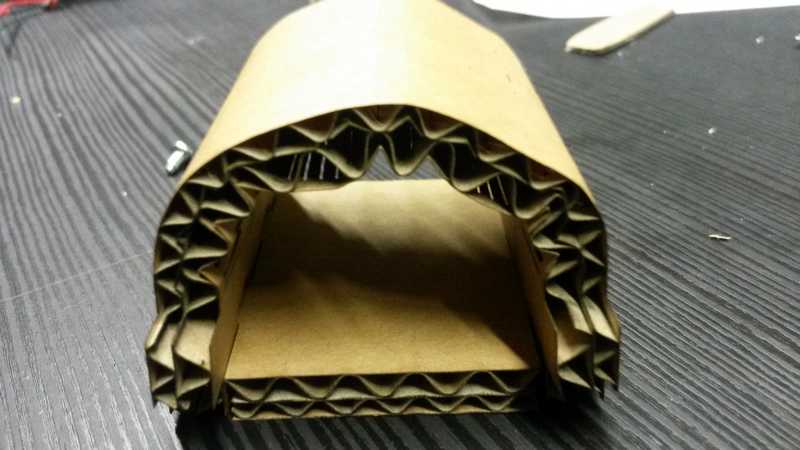
I was nearly to give up and to write that cardboard was not the right material to use with this technique of bending BUT..the last test was the most successful one. I found a cardboard with different thickness (6.85mm) so I decided to increase the power of the laser a little bit (17%). I also increased a little bit the distance between the lines as you can see below. You have to compare the screenshot below with the other one above with the red lines.
The result is quite encouraging. I could bend the cardboard without any effort and the joints fit quite well. In this last test I re-drew the incision lines again and there is one thing I haven’t understood. Why if I did the red lines with 0,01mm thickness the laser passes on them twice? I know that this helped with the incision and that this is the reason because of the cardboard bended better than before. I think I have to do more tests.
Conclusions
In the end I am not satisfied about my job this week. I hope I will have more time in the next weeks. Furthermore I am not so satisfied about Inkscape. I noticed that if I set one dimension, it is not so uncommon that when I check it again it changed a little bit and this is so frustrating. Anyway I definitely have to do more practice and I have to use Inkscape or test some other 2D tools in the next weeks.
Project files
Here are the files. You can find the file with which i started for the audio box and the final file with the little fish.