Electronic Production
Toprint Fabisp board for this weeks task I already prepared my machine with Fabmodule.Refer previous assingment for Fabmodule Installation.
Fabisp milling on Modella MDX-20:
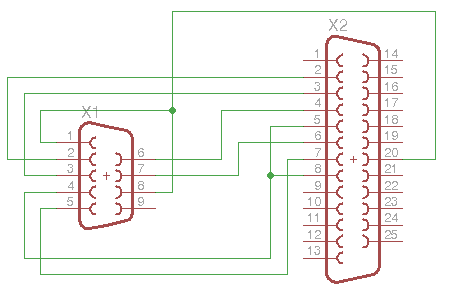
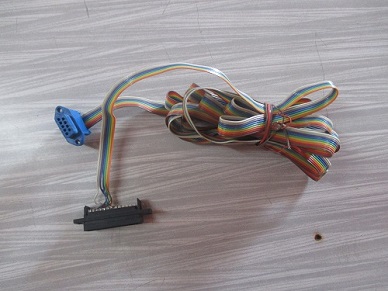
For FabISP milling we have Modella MDX-20 Machine.First I made USB interface to communicate with Modella Machine with following tutorial given here
USB Interface.
 |
 |
Connected Modella MDX-20 through this USB interface;In ubuntu terminal executed 'sudo fab' command;following window appeared on screen asking about input format file.Inbuilt its showing accsess to .cad and .png files.
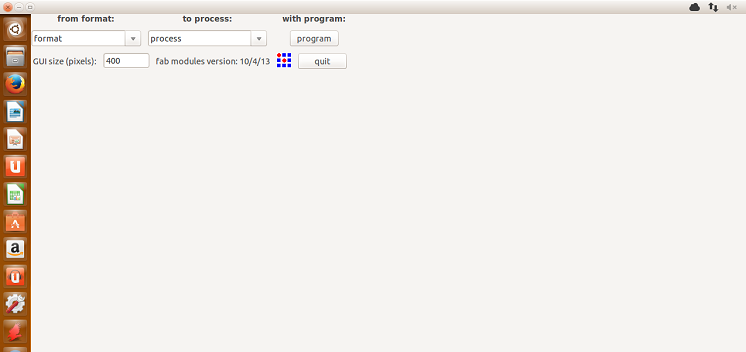
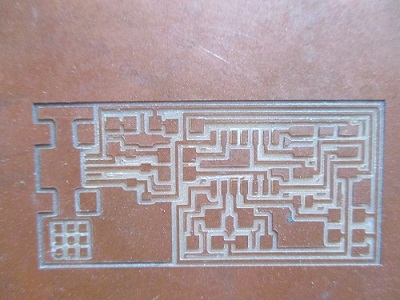
Step :1 Software settings 1.Selected HELLO.ISP.44 pcb board for milling ;downloaded .png format file from here. As we have .png file format for traces; selected .png format under 'from input format' window.As shown in figure.
 2. Moving towards 'Input Process' window and selected target machine which is Modella MDX-20.Converted .png file format into .rml(readline markup language ) format.
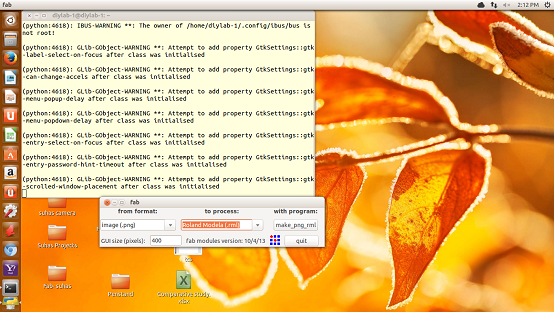 3. On clicking on this conversion new window comes on screen which having porceses 1)from png 2)To path and 3)To rml
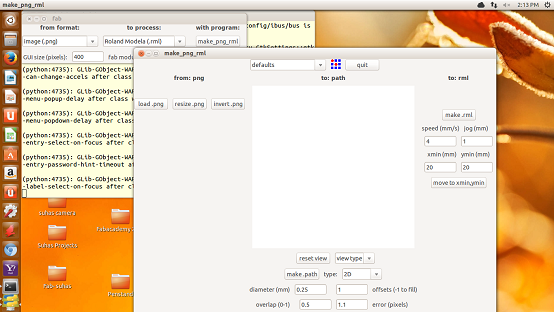 4.In next step click on 'load png'--> selected file from destination address.Refer figure.5.Now selected bit size for milling as 1/64 for copper board PCB.
  6.Parameters settings are as follows:
offsets: 2
error: 1.1 pixels
intensity: 0.5
z: -0.1 mm
Path: Segment.After make path it shows cutting path.
6.Parameters settings are as follows:
offsets: 2
error: 1.1 pixels
intensity: 0.5
z: -0.1 mm
Path: Segment.After make path it shows cutting path.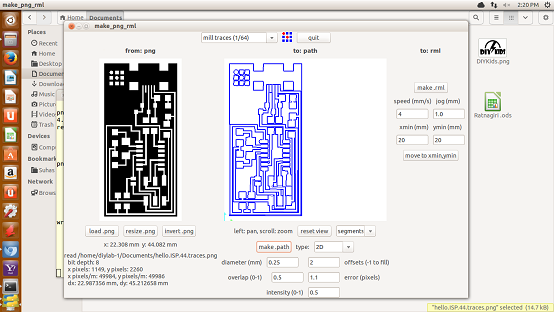 Make rml and start begin Milling process after hardware setting . Hardware Setting :
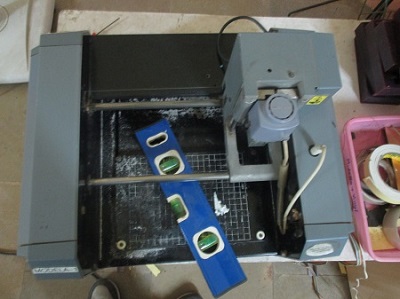
1.First check modella machine bed with Bubble level ;set it.
Make rml and start begin Milling process after hardware setting . Hardware Setting :
1.First check modella machine bed with Bubble level ;set it.
 |
 |
7. Check once with view button and clean it with brush.PCB looks like this 8. Now select another .png image for border cutting and using 1/32 bit cut it with giving depth. Final milled Fabisp board..
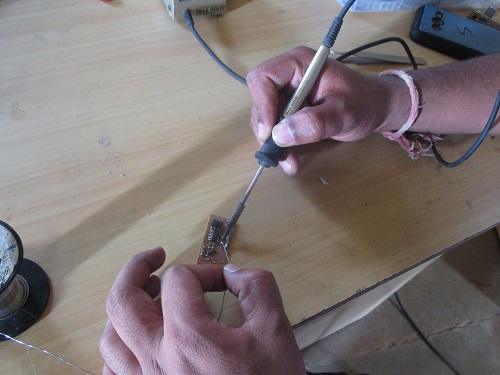
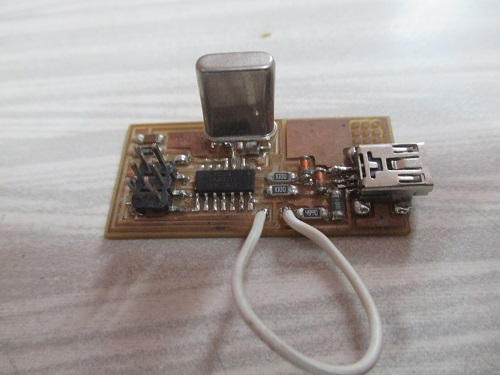
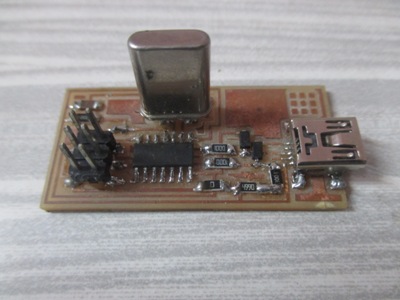
 Soldering : As per given component list soldered Fabisp board.For programming two jumpers are connected with wire and 0 ohm resistor.
 |
 |
 2.Installed avrdude ,avr-gcc with following tutorial given here.Downloaded frimware folder and unzipped it.
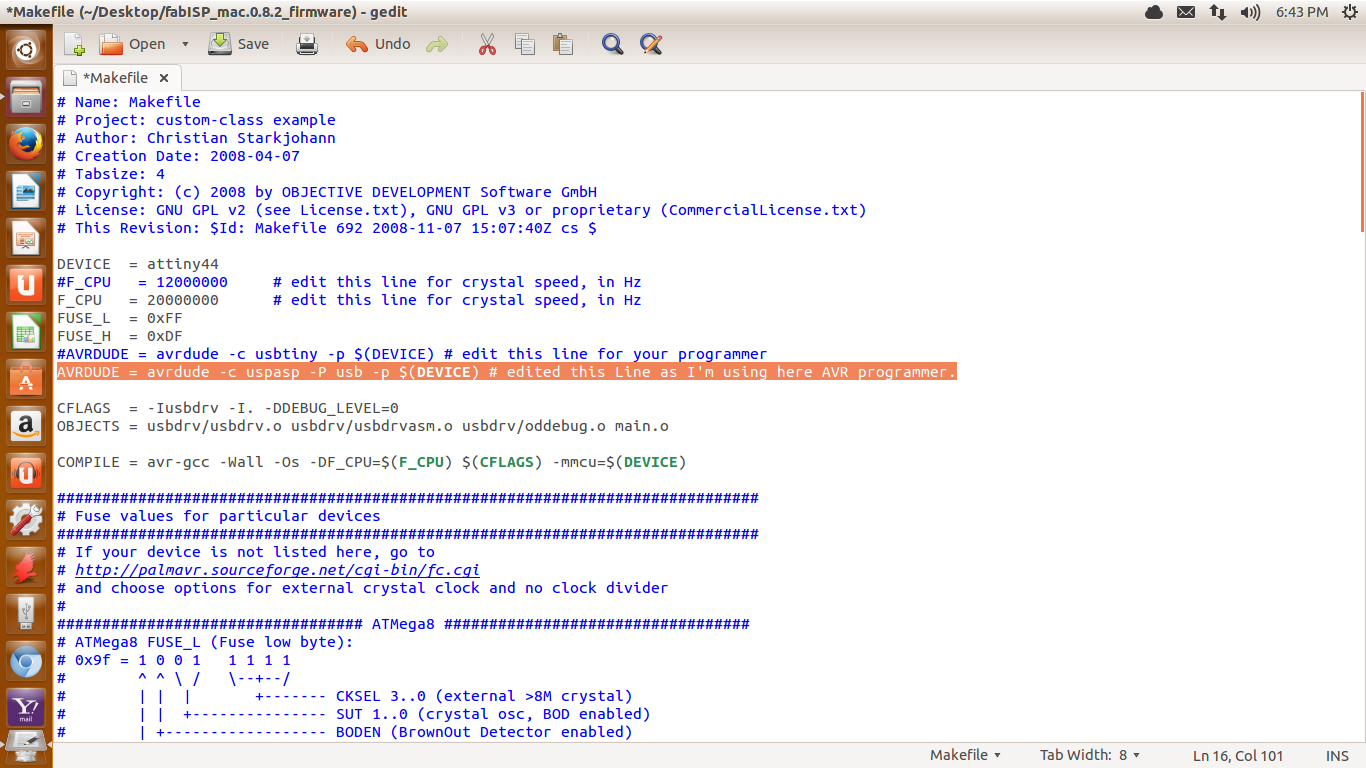
3. Edited Make file as here avr programmer is used .Highlighted part indicating changes made in Make file.Save it.
2.Installed avrdude ,avr-gcc with following tutorial given here.Downloaded frimware folder and unzipped it.
3. Edited Make file as here avr programmer is used .Highlighted part indicating changes made in Make file.Save it.
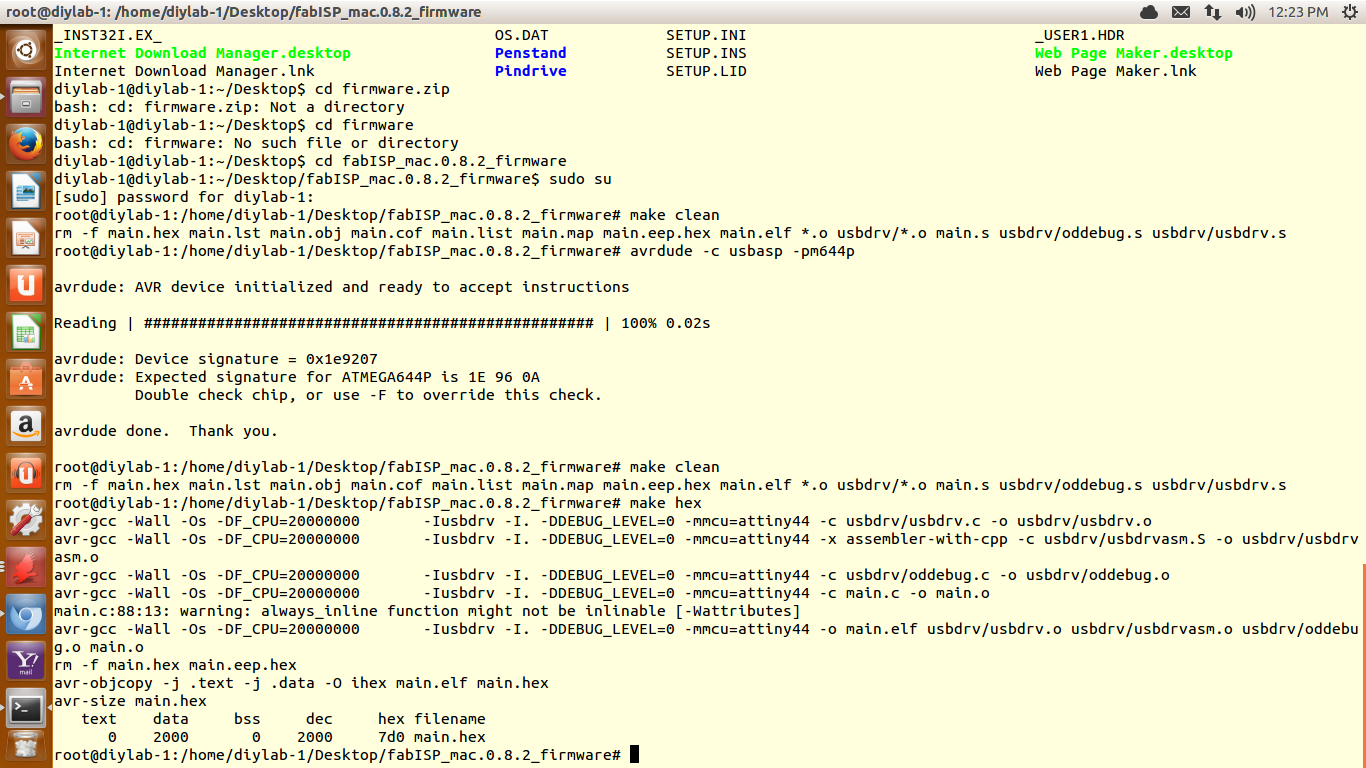
 4.Now move towards desktop inside firmware with cd desktop/firmware command. To get administrative authentication type 'sudo su' ;It asks password.
5. After authentication ,to connect with AVR programmer run following command. avrdude -c usbasp -pm644p After this... make clean make hex
4.Now move towards desktop inside firmware with cd desktop/firmware command. To get administrative authentication type 'sudo su' ;It asks password.
5. After authentication ,to connect with AVR programmer run following command. avrdude -c usbasp -pm644p After this... make clean make hex
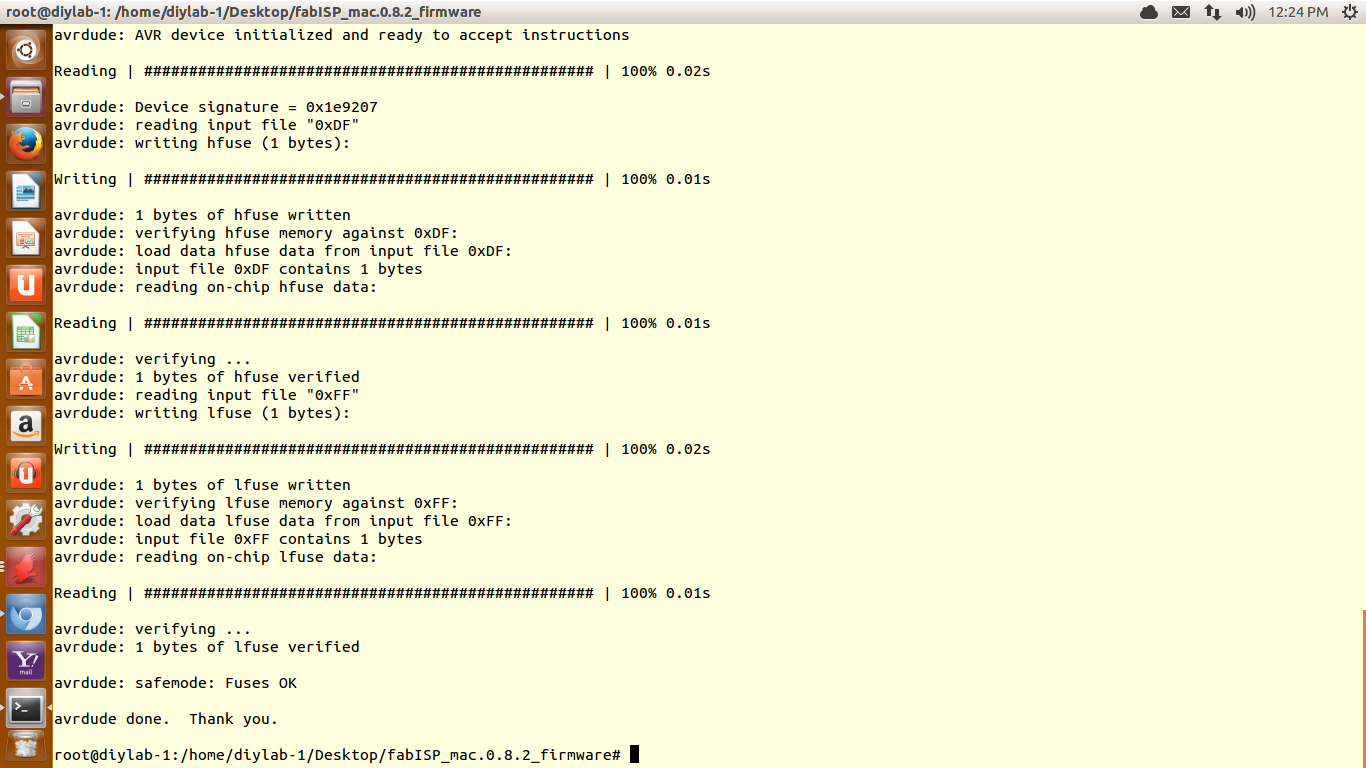
 6. make fuse
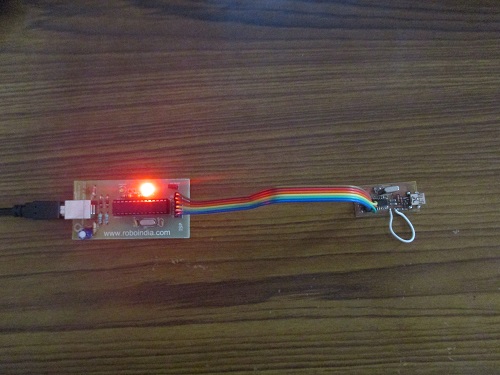
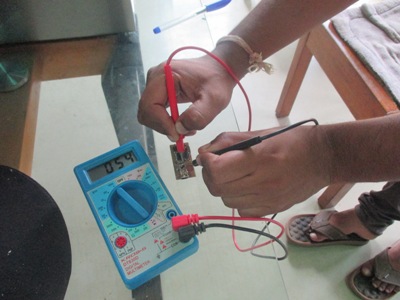
 7. Now final one command is 'make program' I got error message here There is no suitable response from board .Trying to resolve this error
This error message is hardware related ,so i checked all Fabisp with continuity tester; some bugs are there i fixed it and tested but its not work.
-----------------------------------------------------------------------------------------------------------------
So finally I decided to make new board; printed and spldered new one board with precision.Here i ntaken advice from our local and remote guru during fabrication. Rechecked all components packages as per tutorial but still it also showing same error message as last one.
Again tested all connections with continuity tester. Once acknowleged procedure for burning source code with our gurus all this are same and correct as last one.
I dont know why this comes because this time hardware is fine and tested.
7. Now final one command is 'make program' I got error message here There is no suitable response from board .Trying to resolve this error
This error message is hardware related ,so i checked all Fabisp with continuity tester; some bugs are there i fixed it and tested but its not work.
-----------------------------------------------------------------------------------------------------------------
So finally I decided to make new board; printed and spldered new one board with precision.Here i ntaken advice from our local and remote guru during fabrication. Rechecked all components packages as per tutorial but still it also showing same error message as last one.
Again tested all connections with continuity tester. Once acknowleged procedure for burning source code with our gurus all this are same and correct as last one.
I dont know why this comes because this time hardware is fine and tested.
 |
 |
Error continued afetr make fuse ....
Did efforts to fix this with different programmers but still its continue. Compared this with another boards and shown to teammate Apeksha , who did this successfully. she also tested all this and did same but there is no result.
Stuck here ...:(