1 Molding and Casting: Fabricating FabLab Badge Coins
1.1 Introduction
This task is an individual assignment for FabAcademy, aiming to create a FabLab logo coin through digital modeling, 3D printing, silicone mold casting, and resin/metal casting processes. The project demonstrates key manufacturing steps while emphasizing surface finish quality and rational mold design.
1.2. Mold Design Using FreeCAD
1.2.1 Design Concept
The coin features FabLab's classic logo as a relief pattern, with dimensions of 30mm diameter and 4mm thickness. The minimalist design ensures easy demolding while maintaining visual impact.
1.2.2 Modeling Process
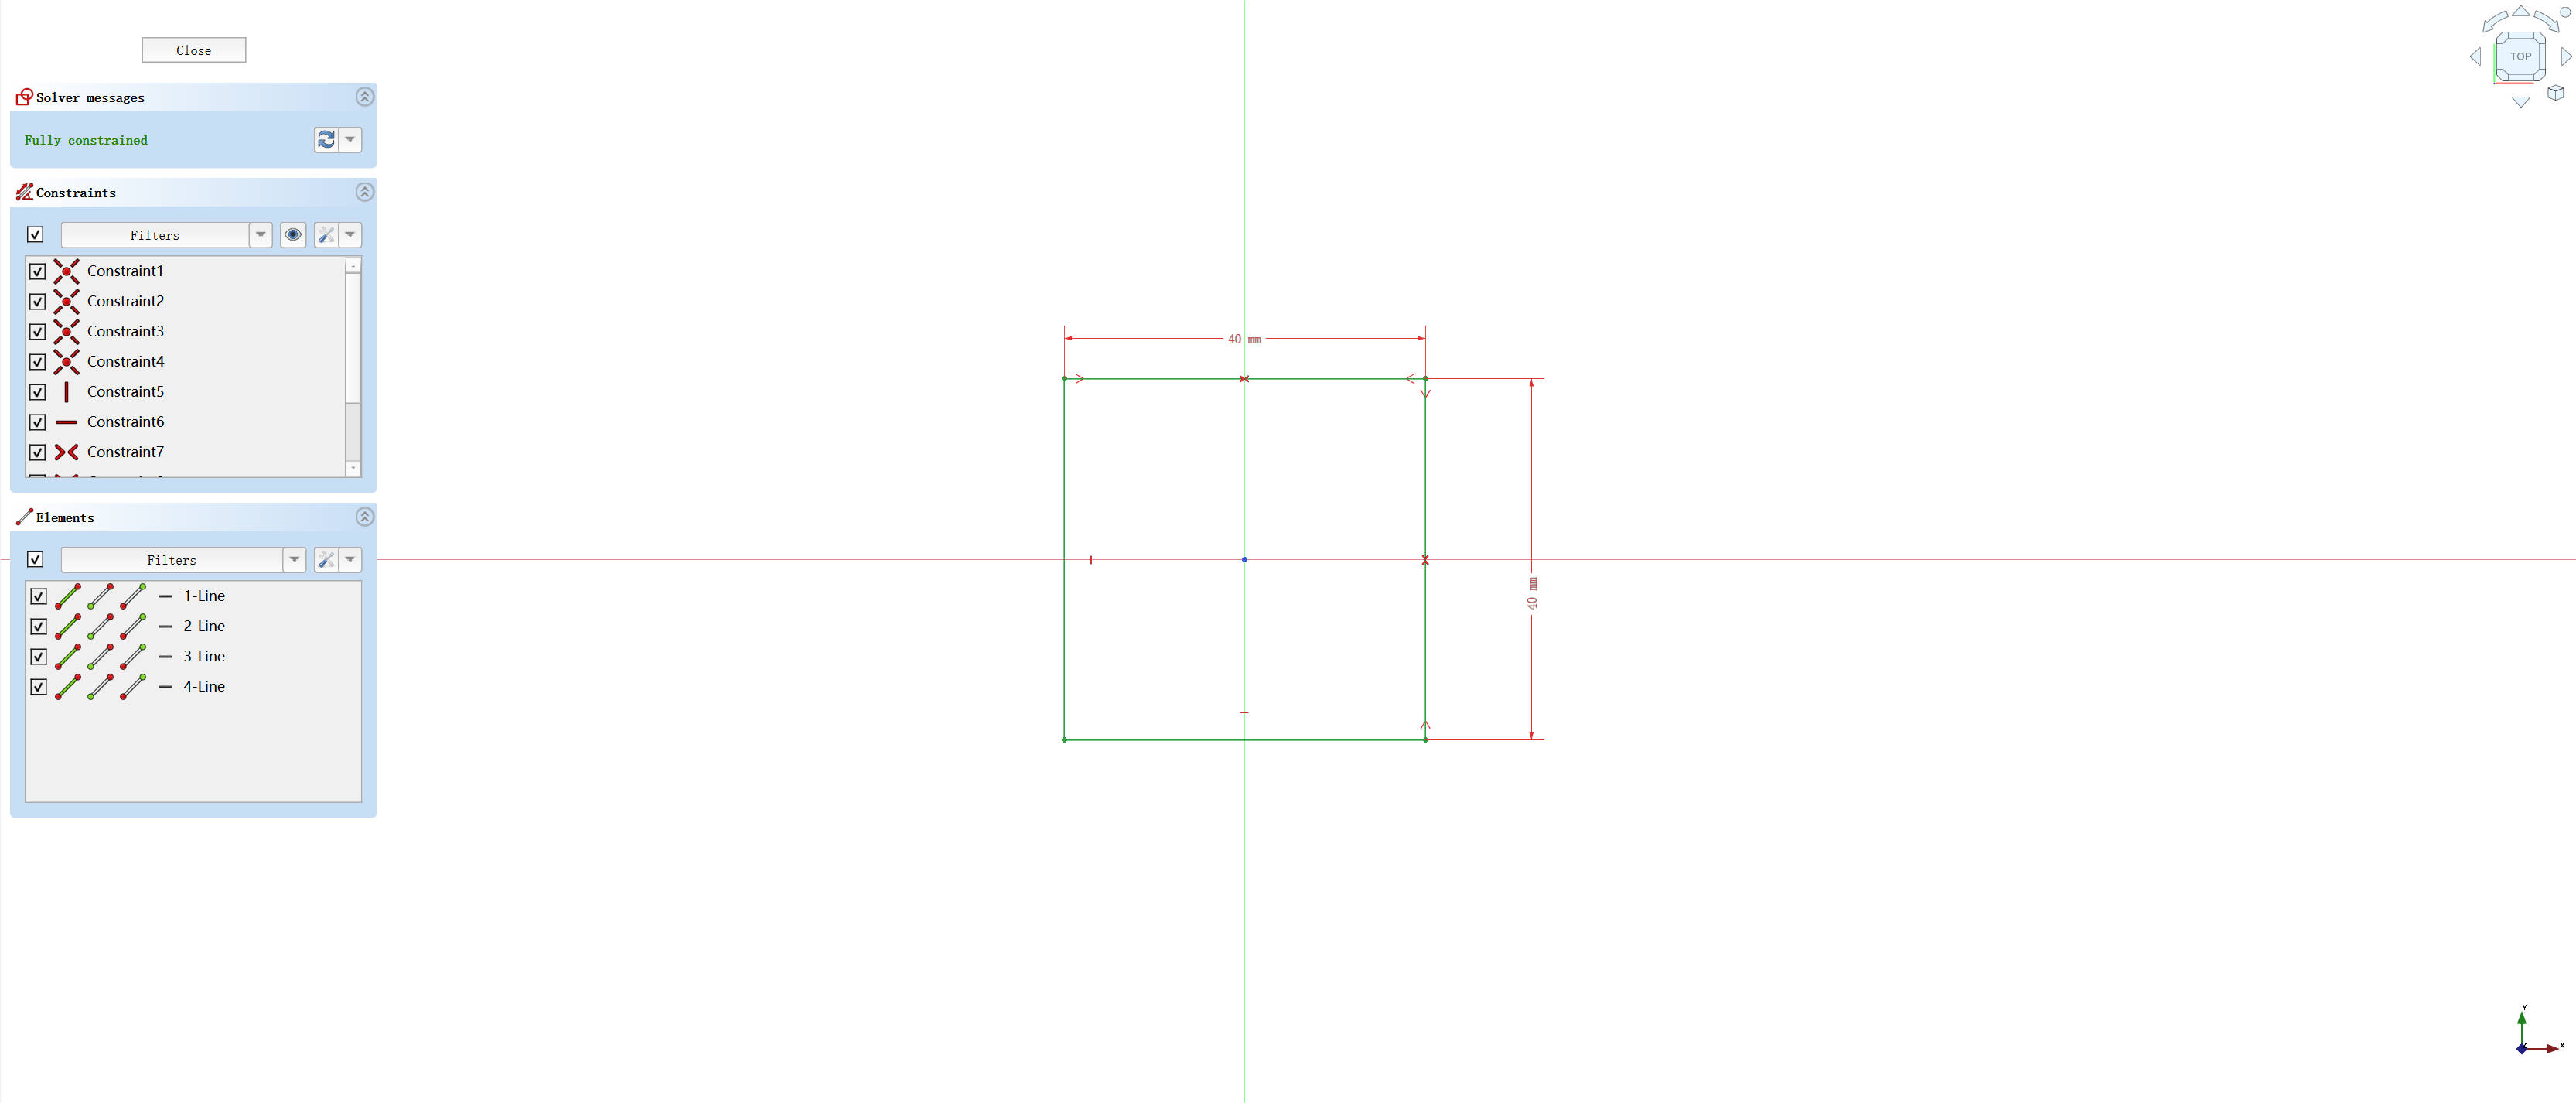
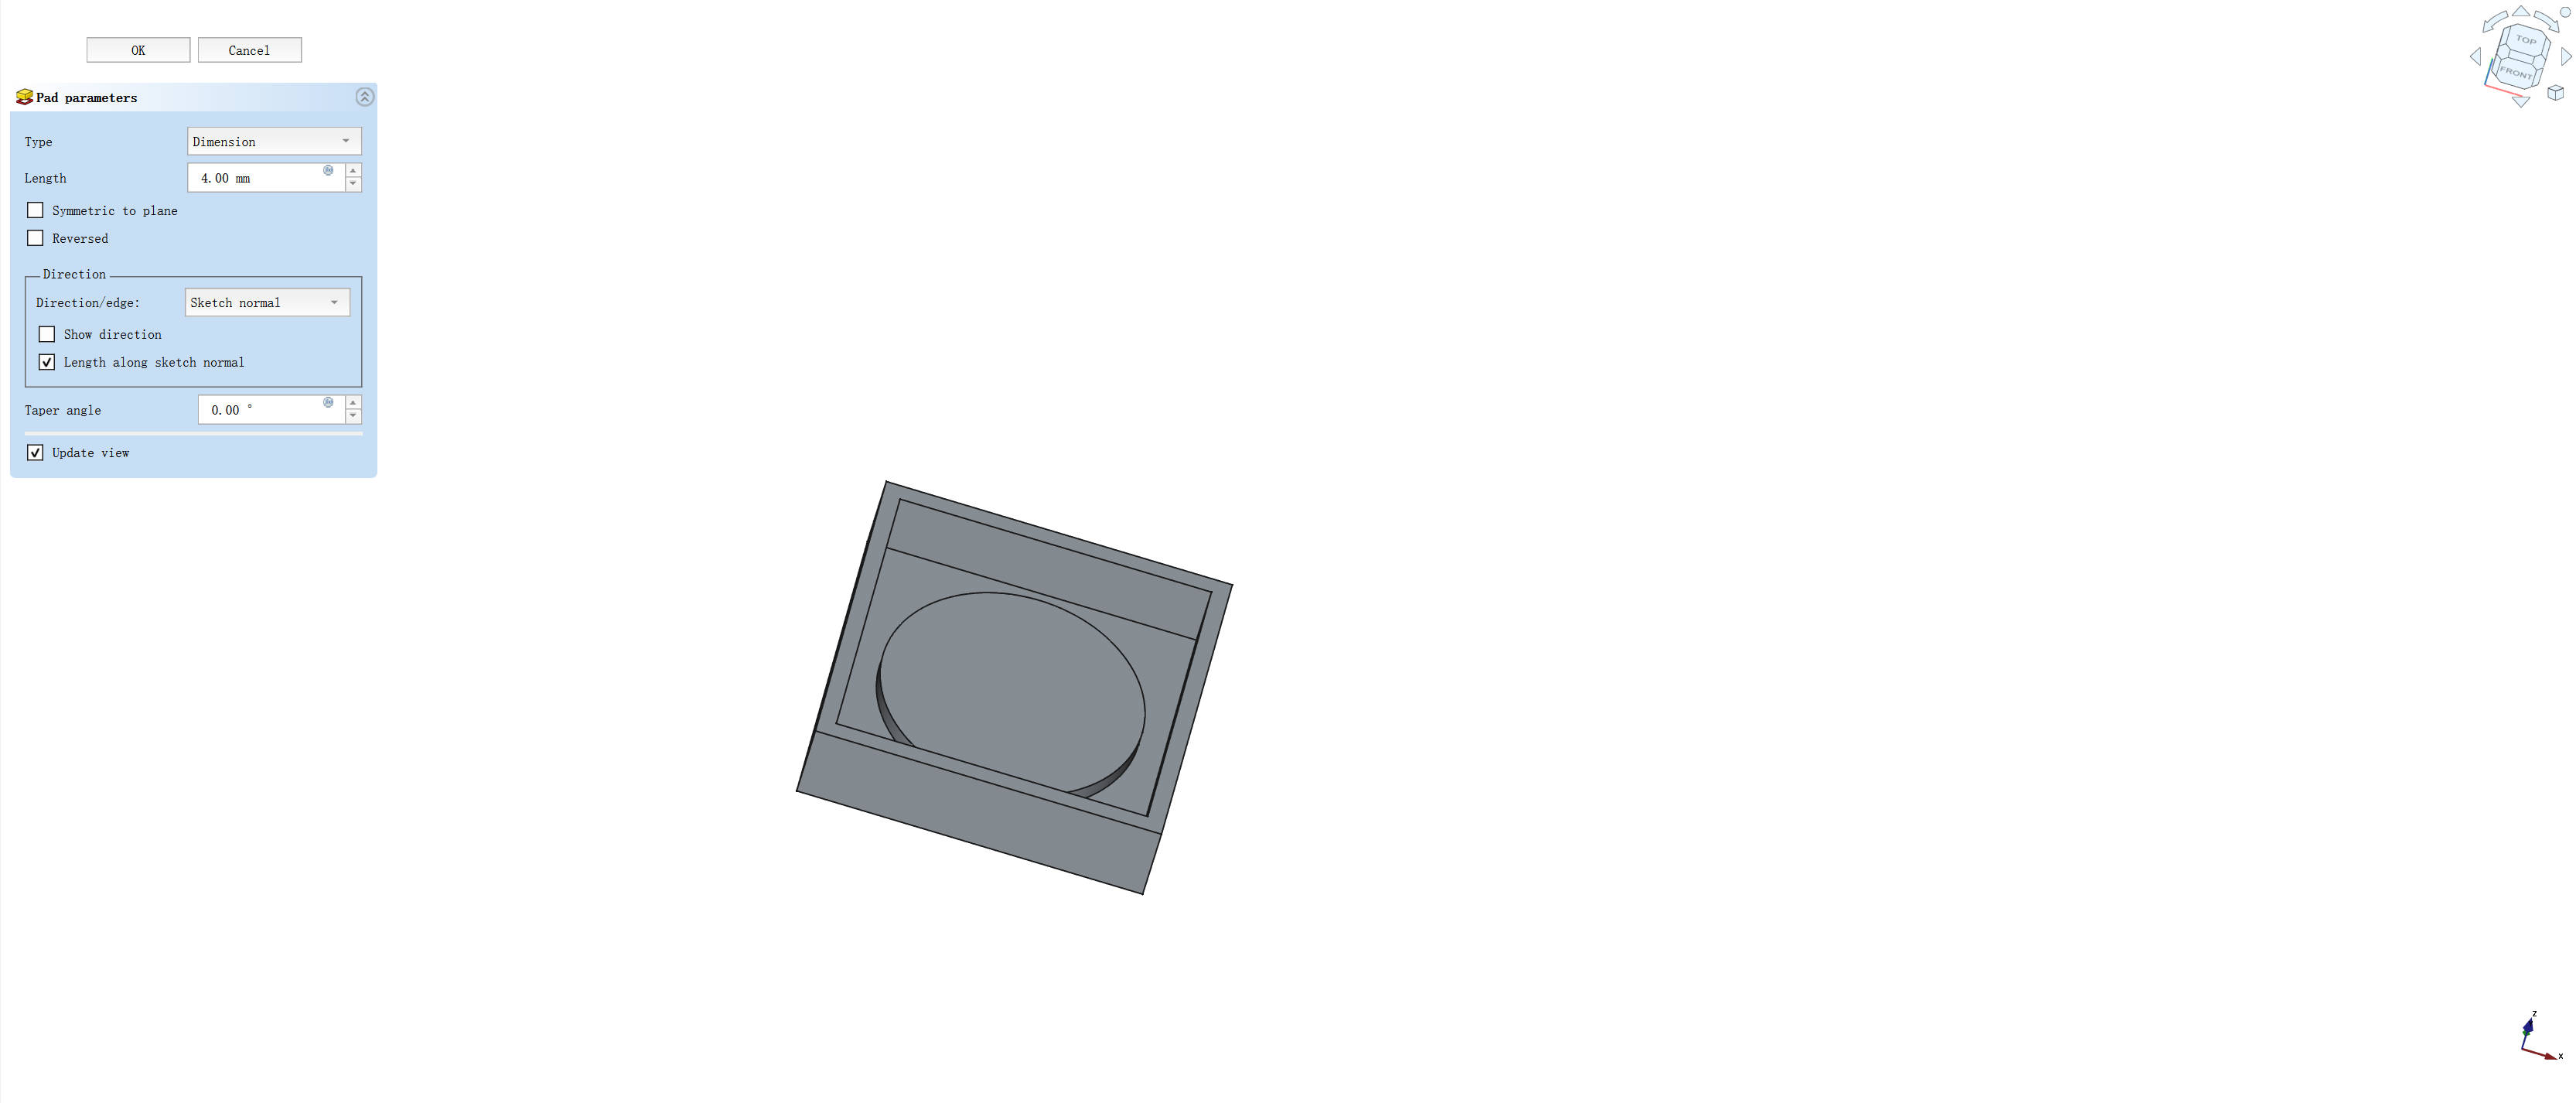
- Create a 40×40mm square sketch in FreeCAD
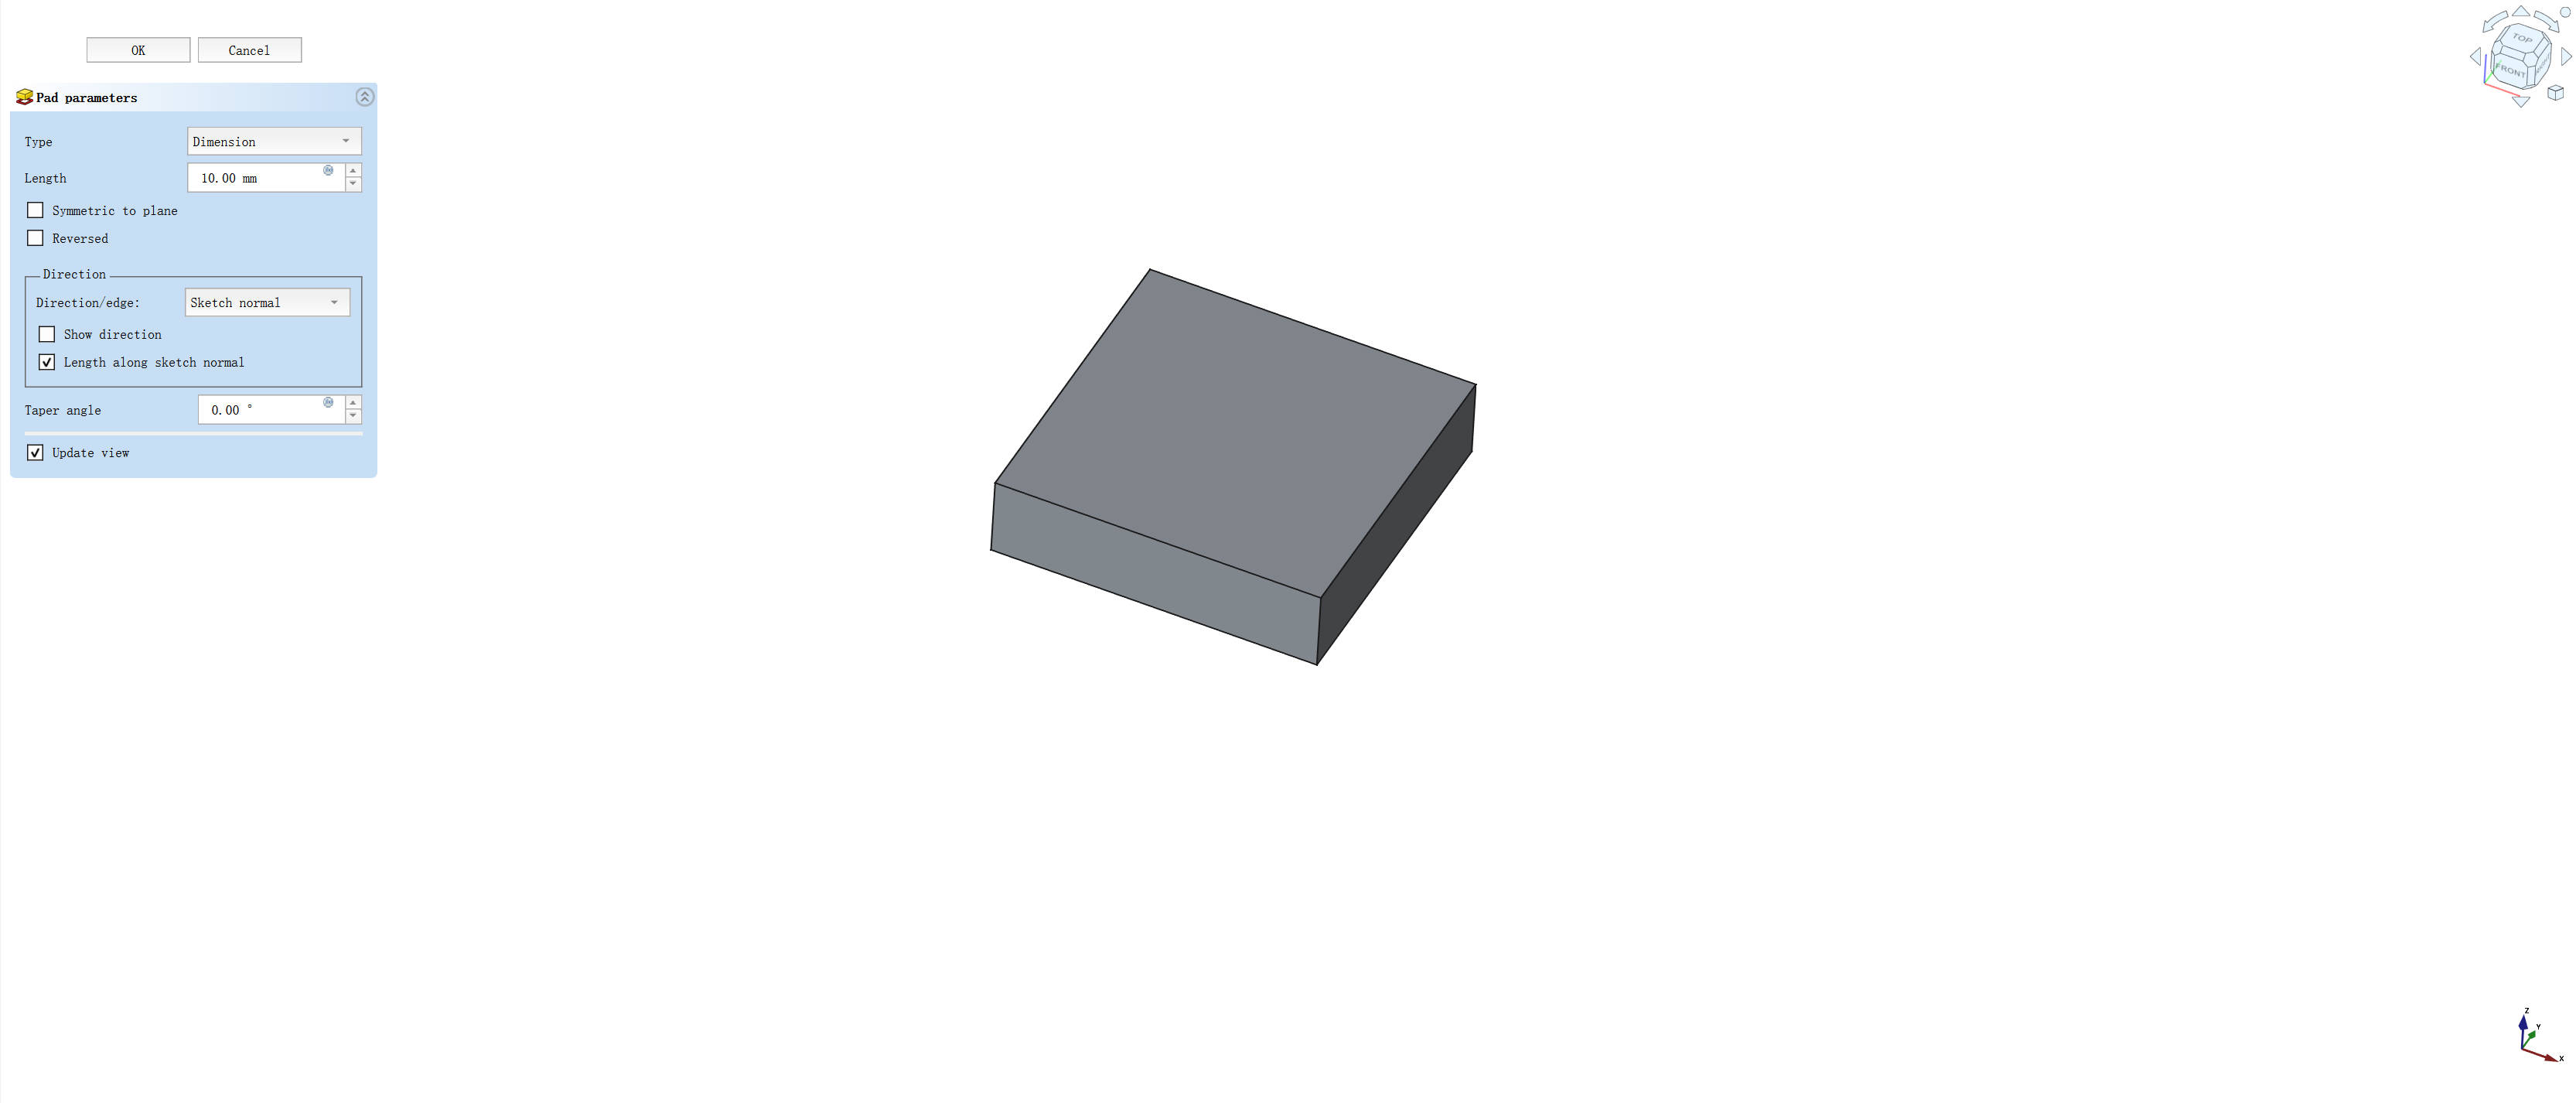
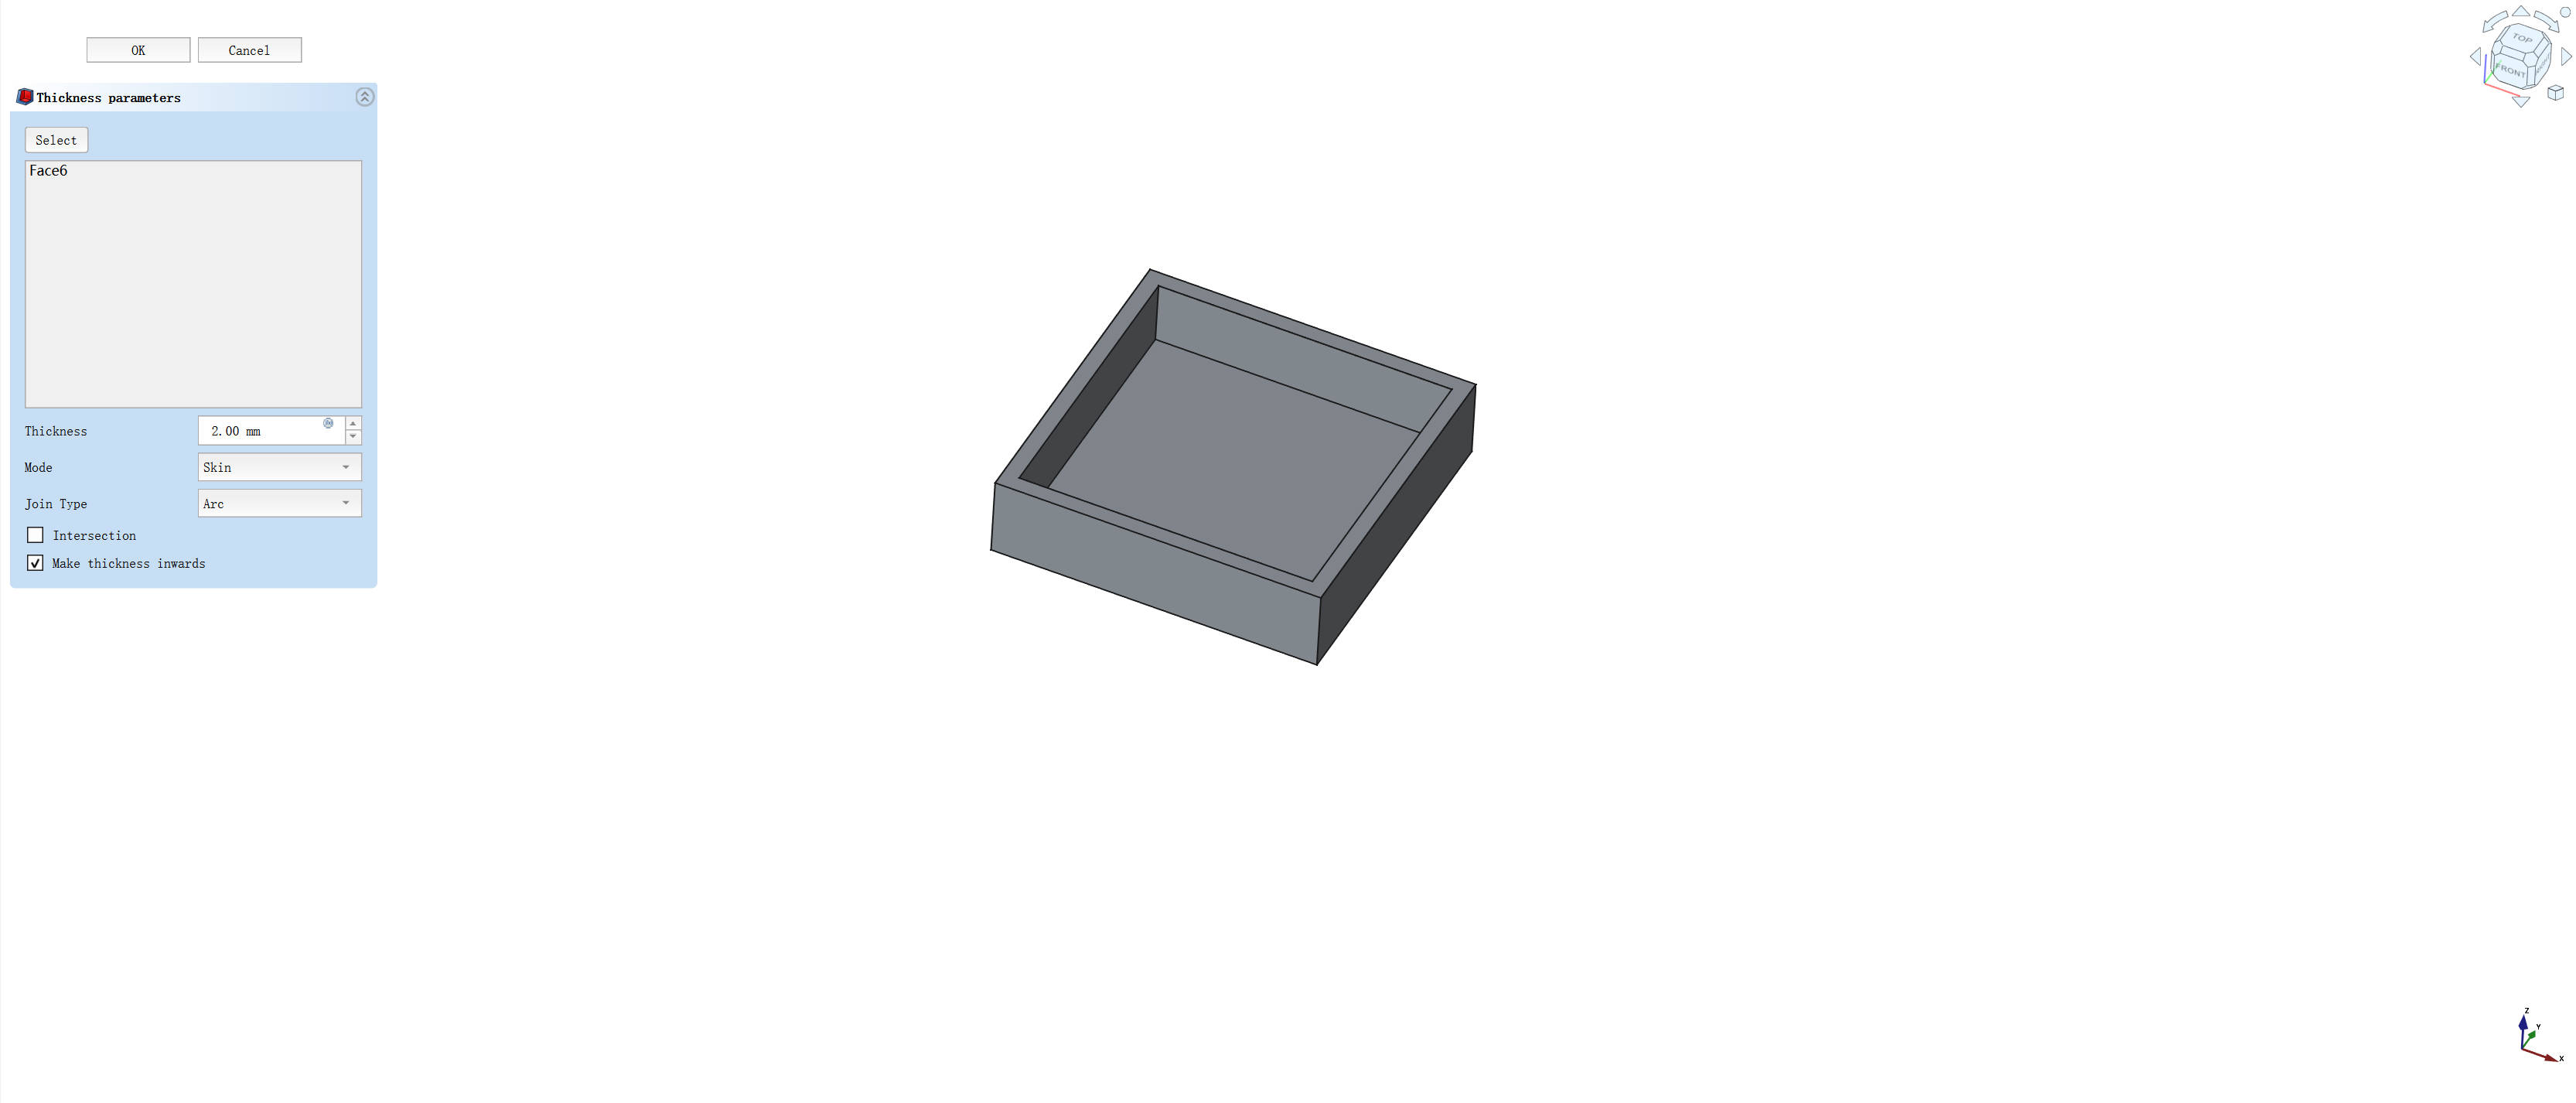
- Generate a 3D box using padding and shell operations
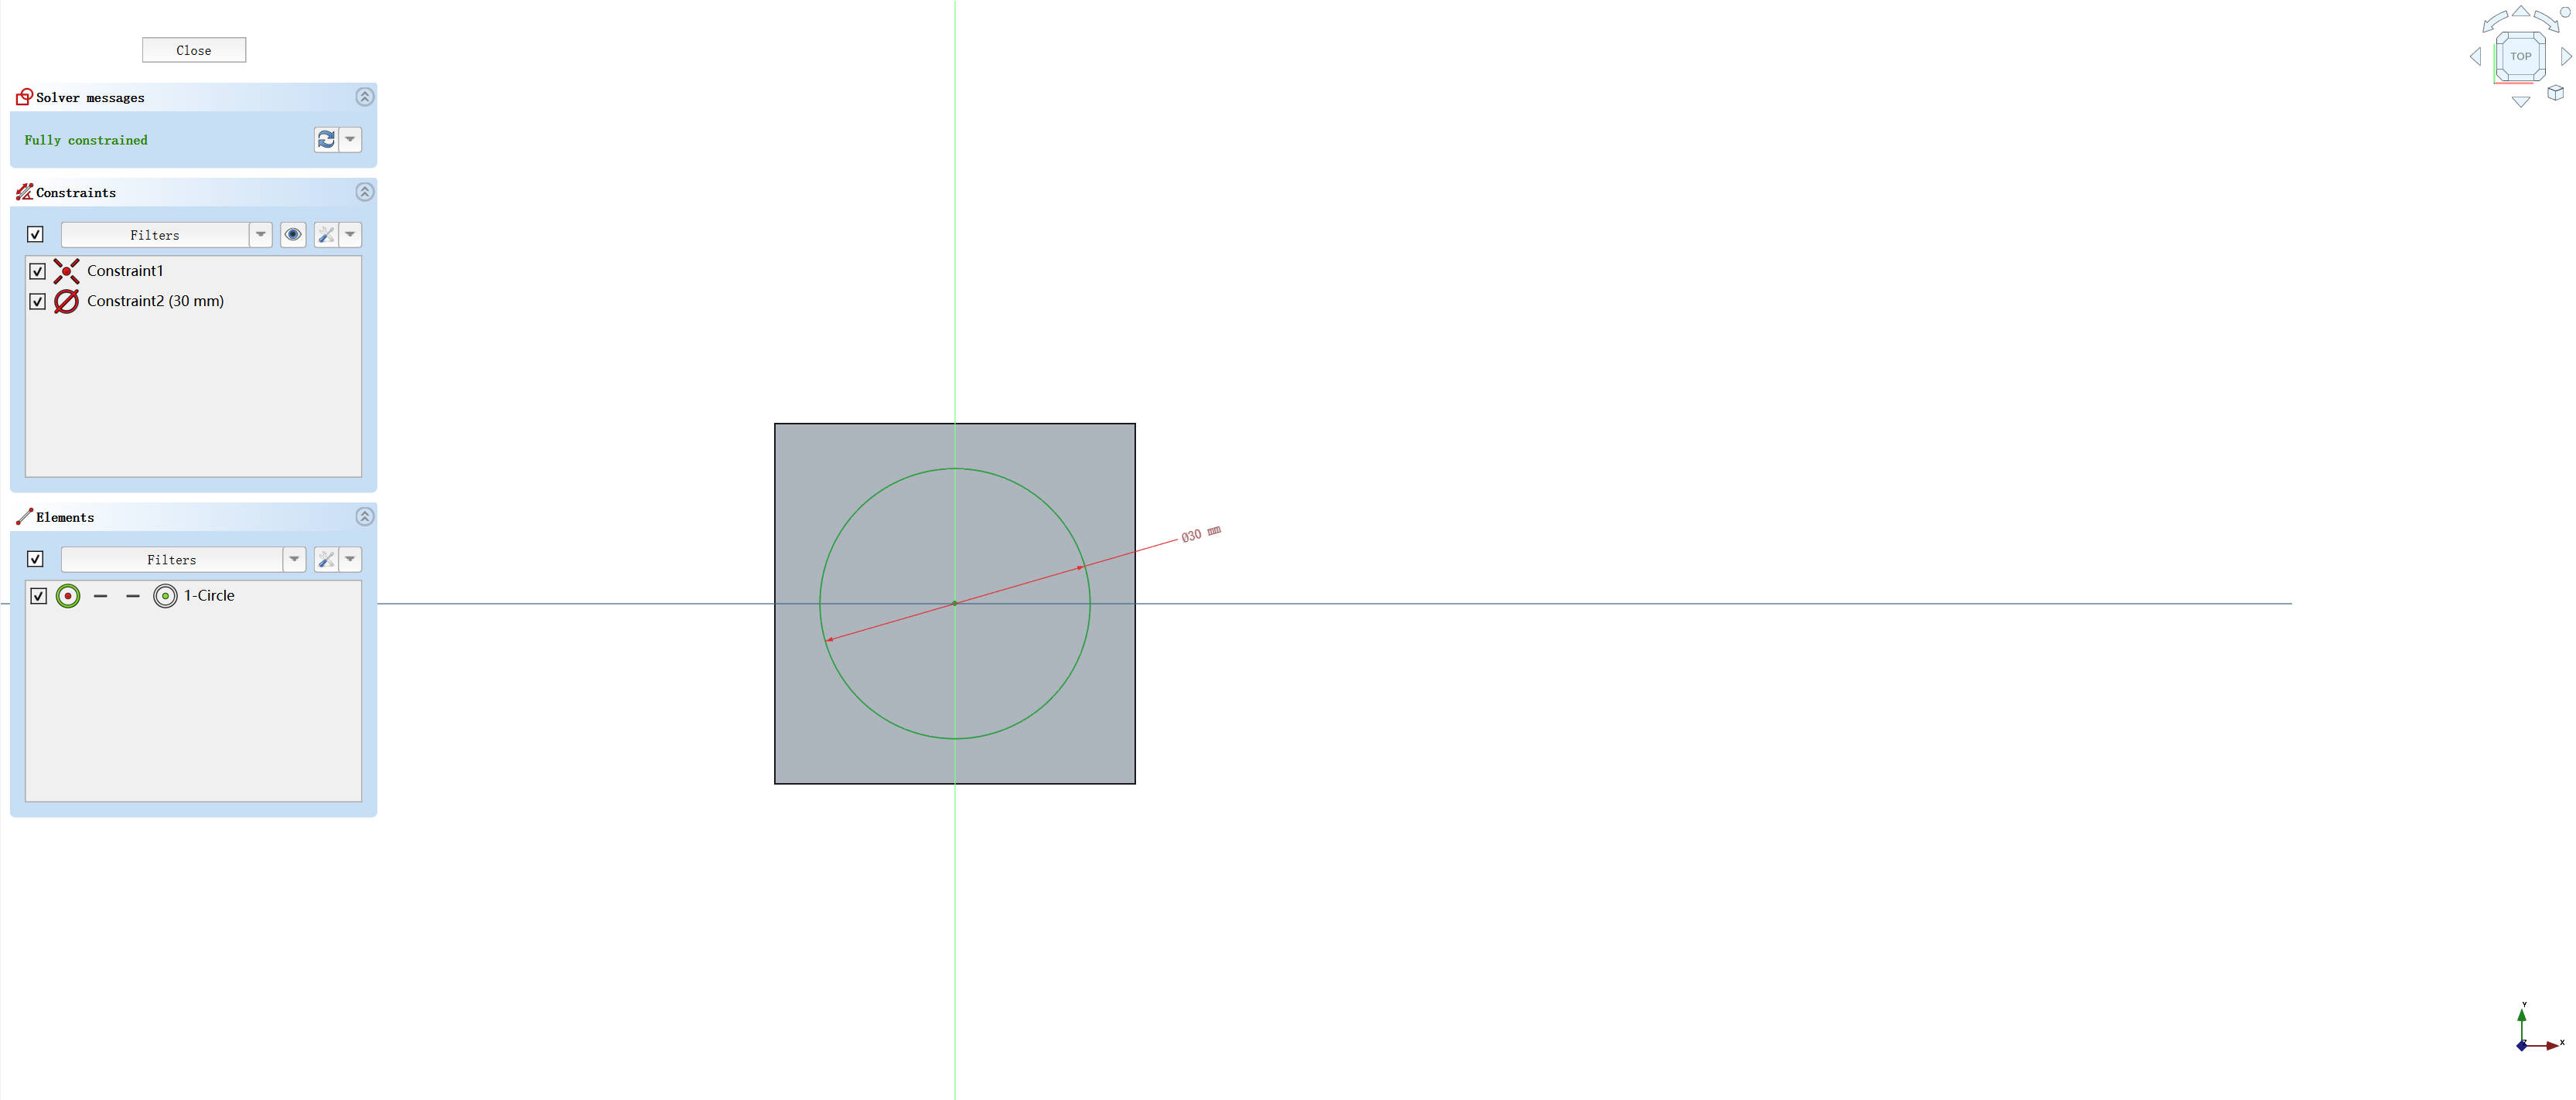
- Sketch a Ø30mm circle as the coin boundary
- Apply 2mm extrusion to create the base structure
- Import FabLab logo in SVG format and convert to 3D path
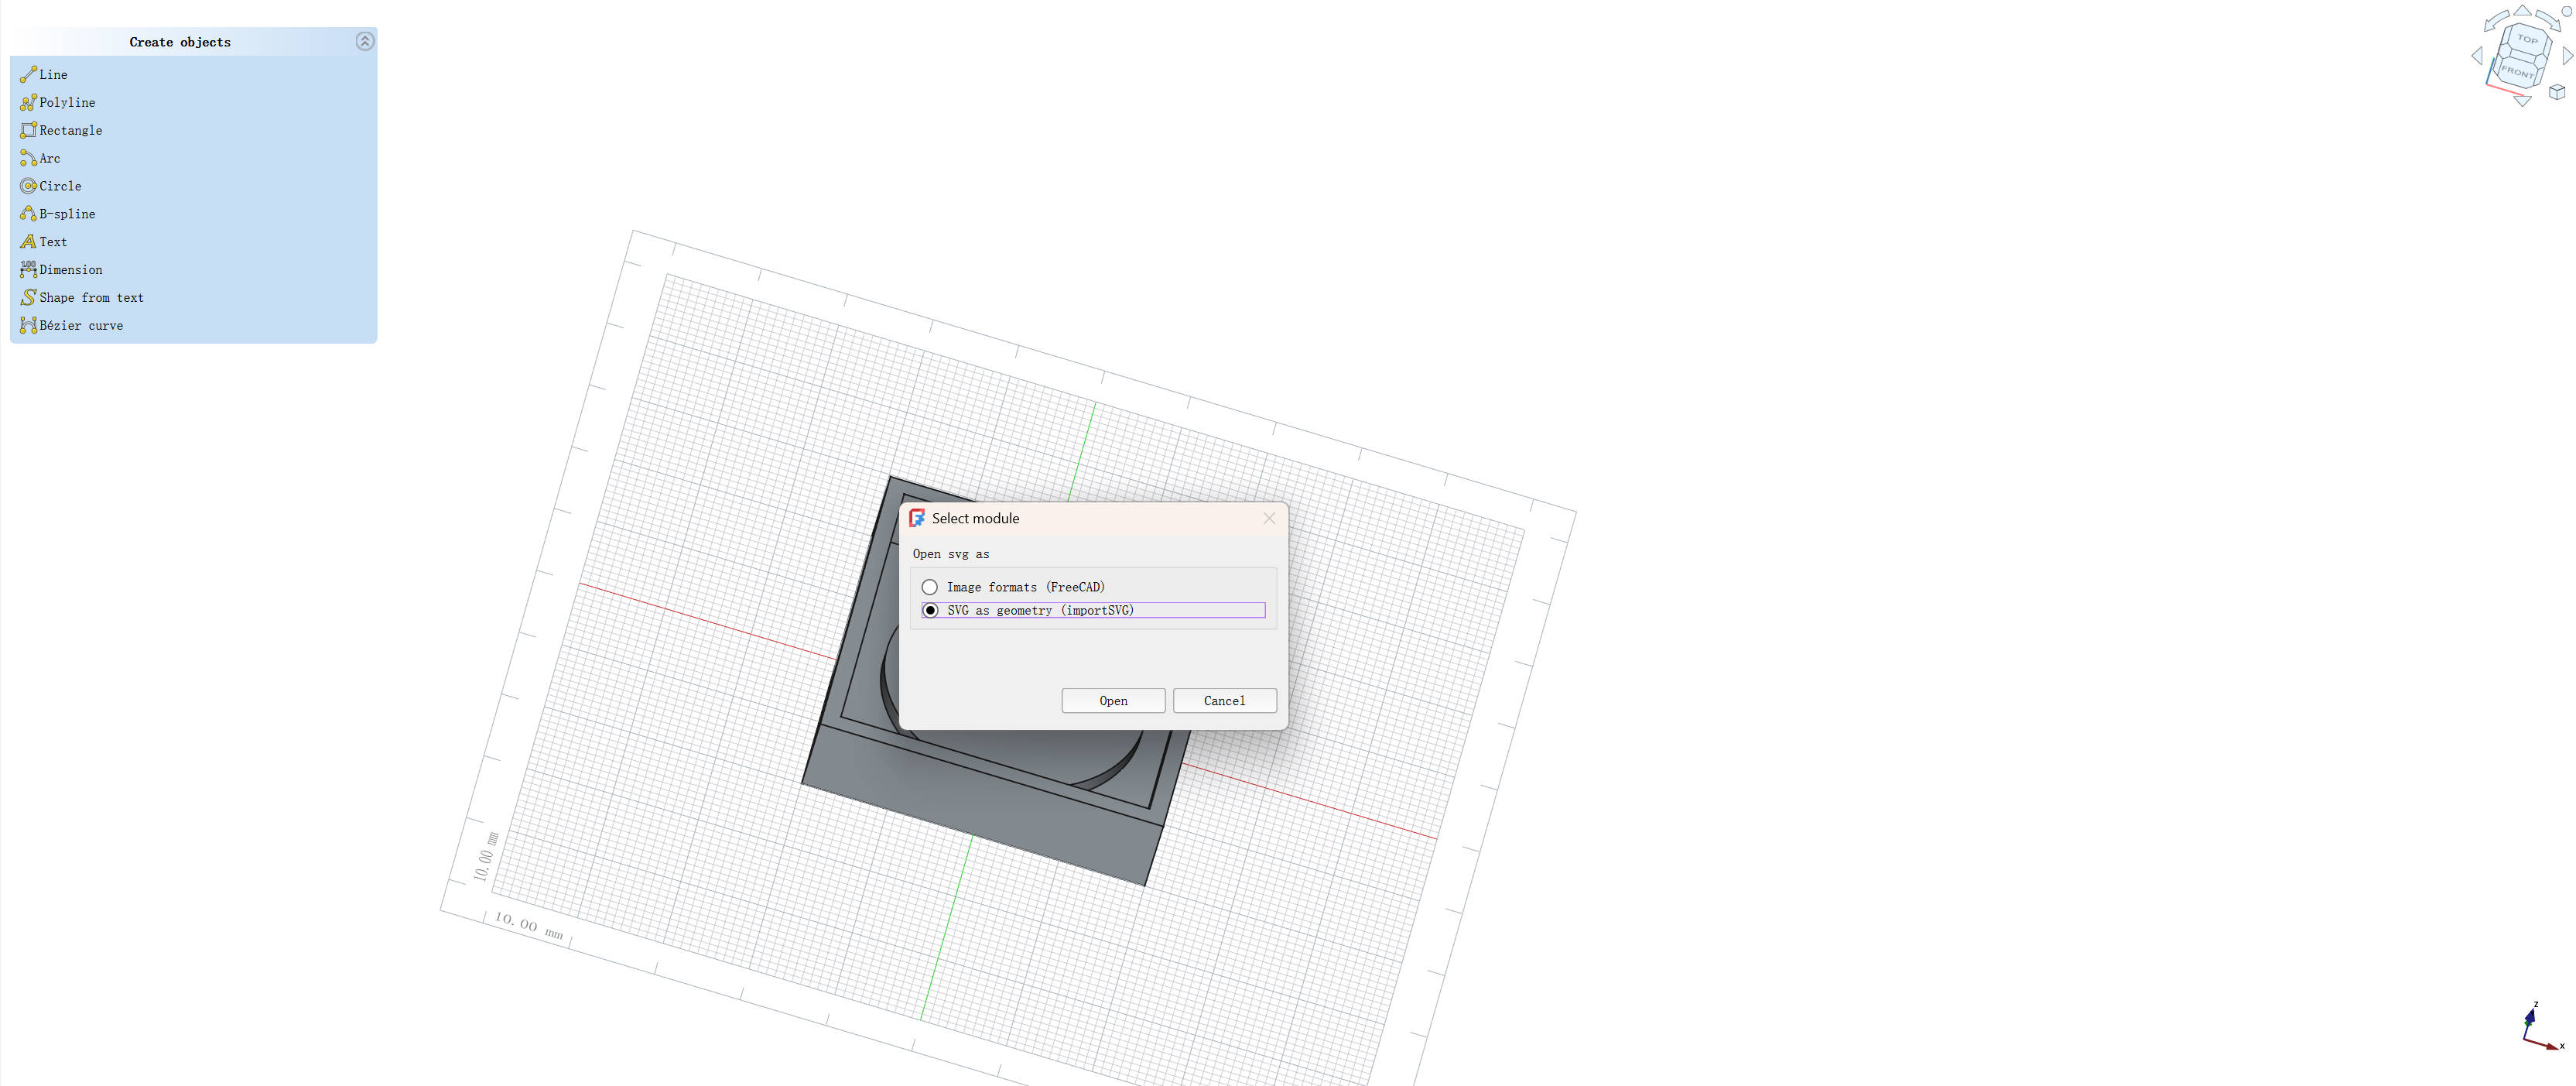
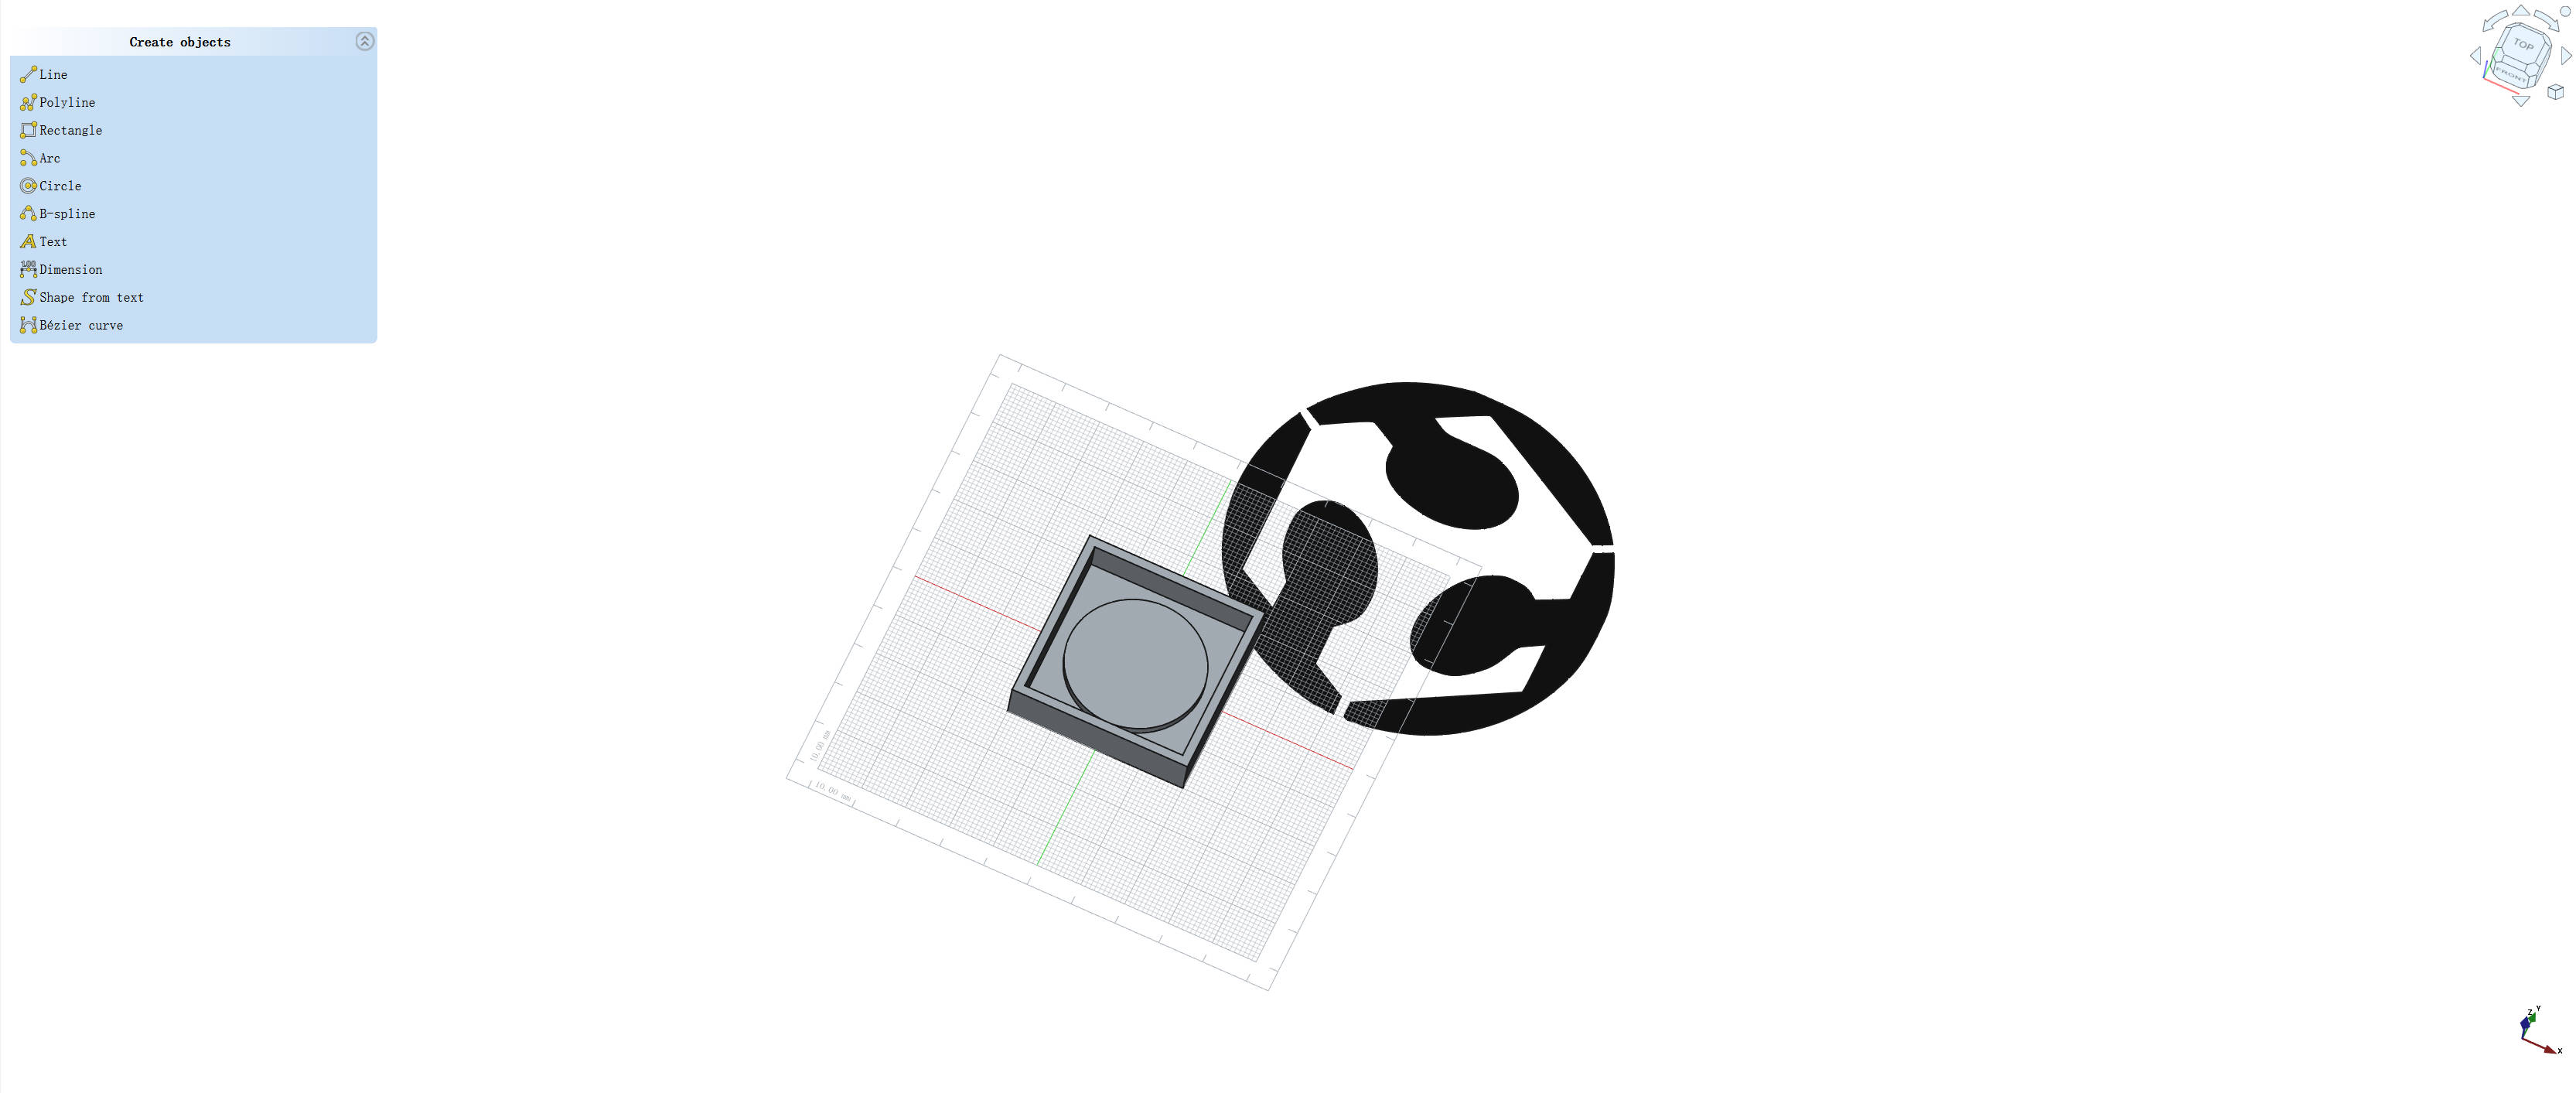
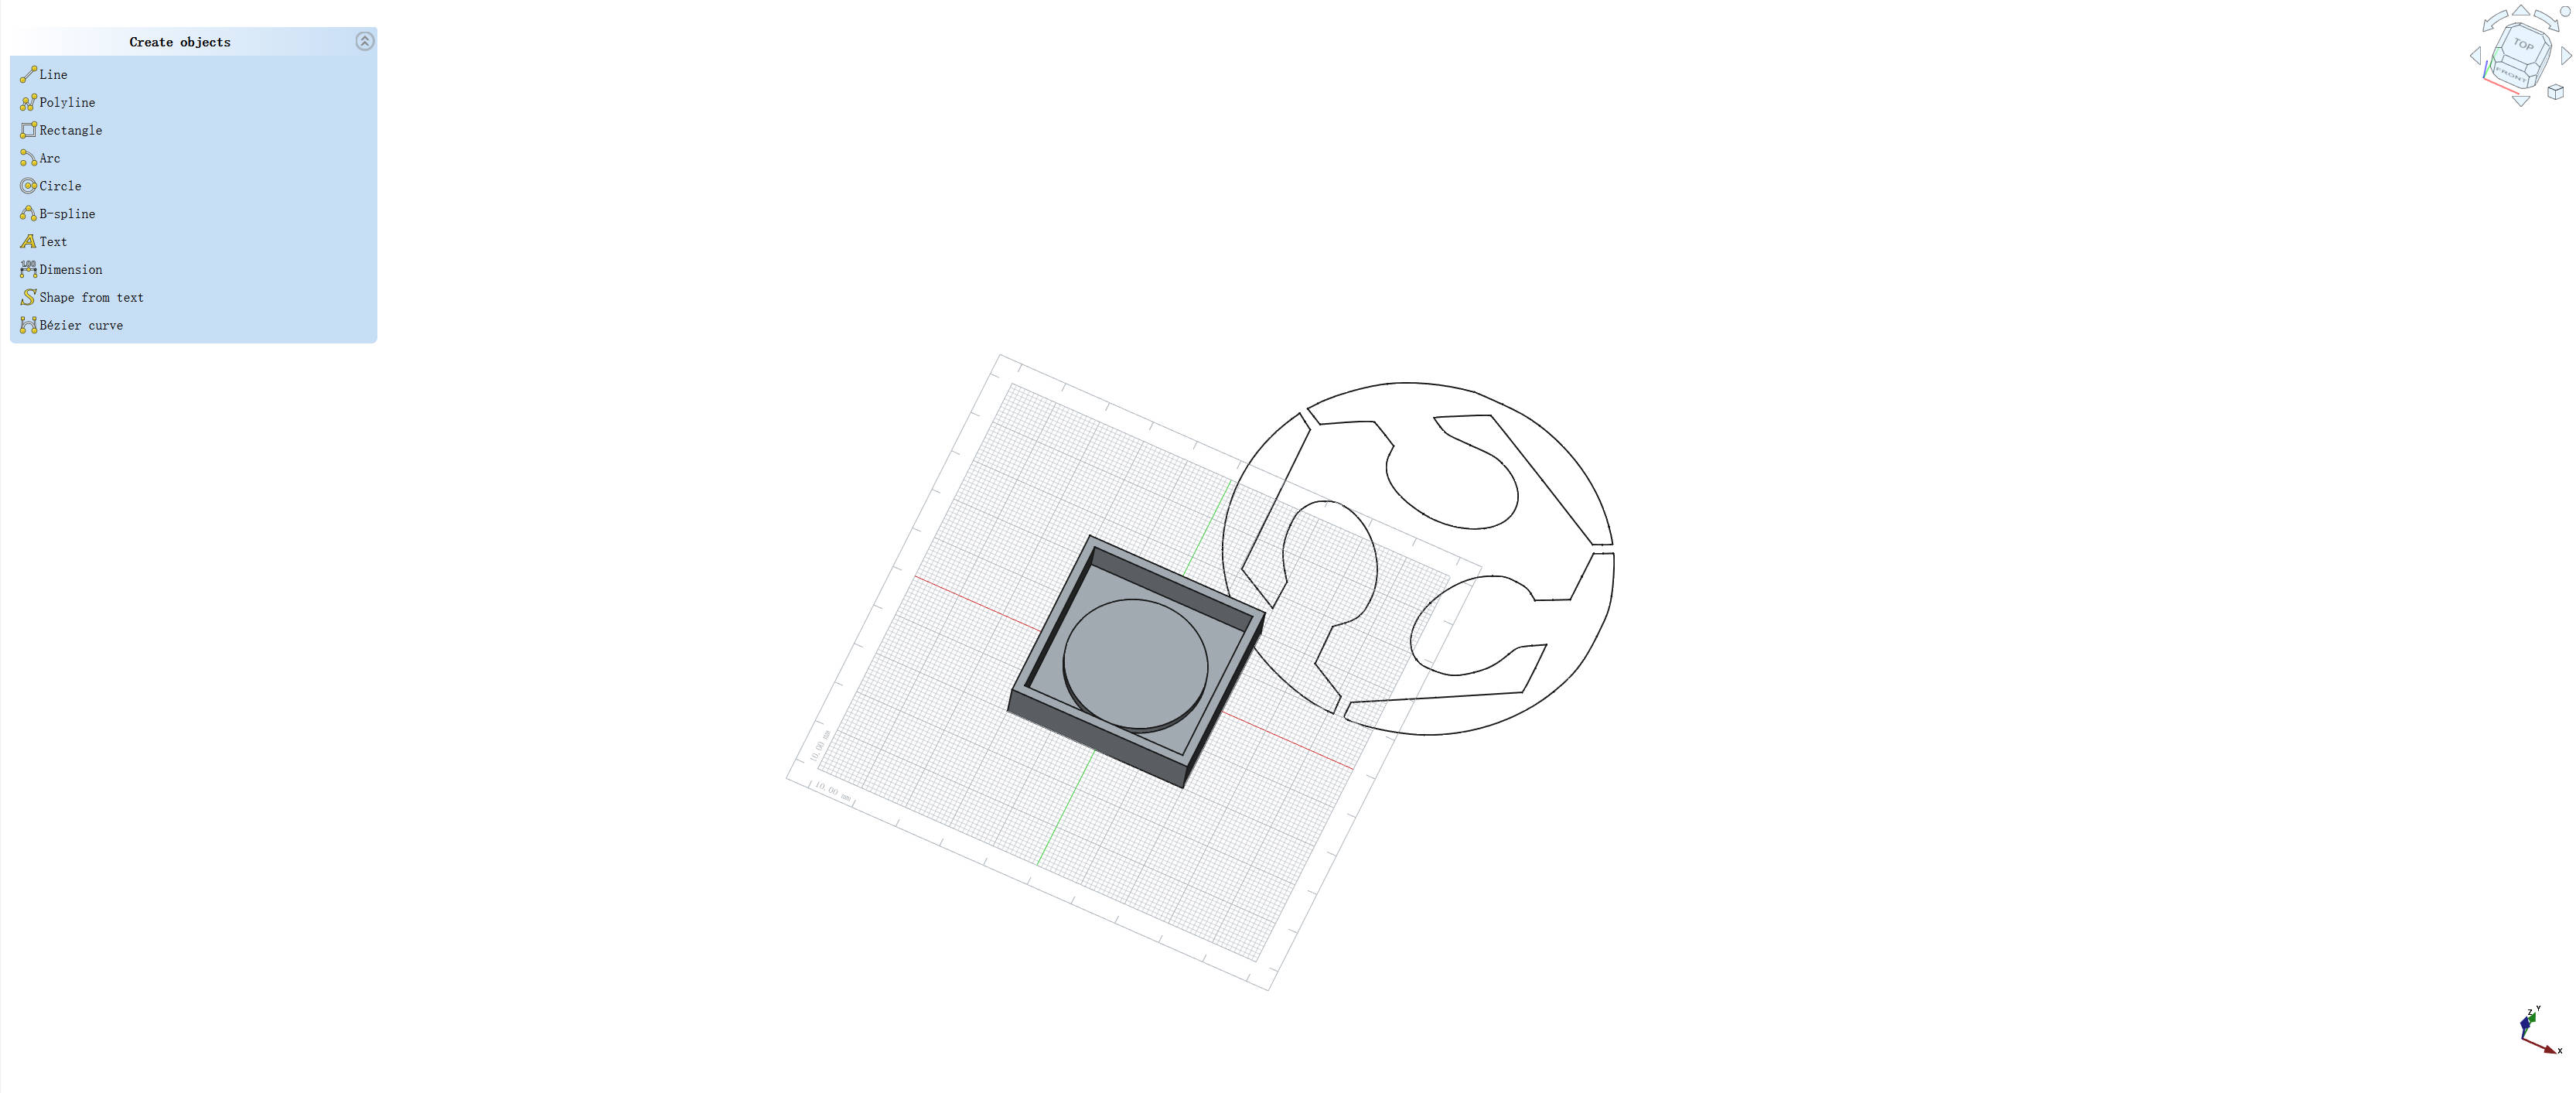
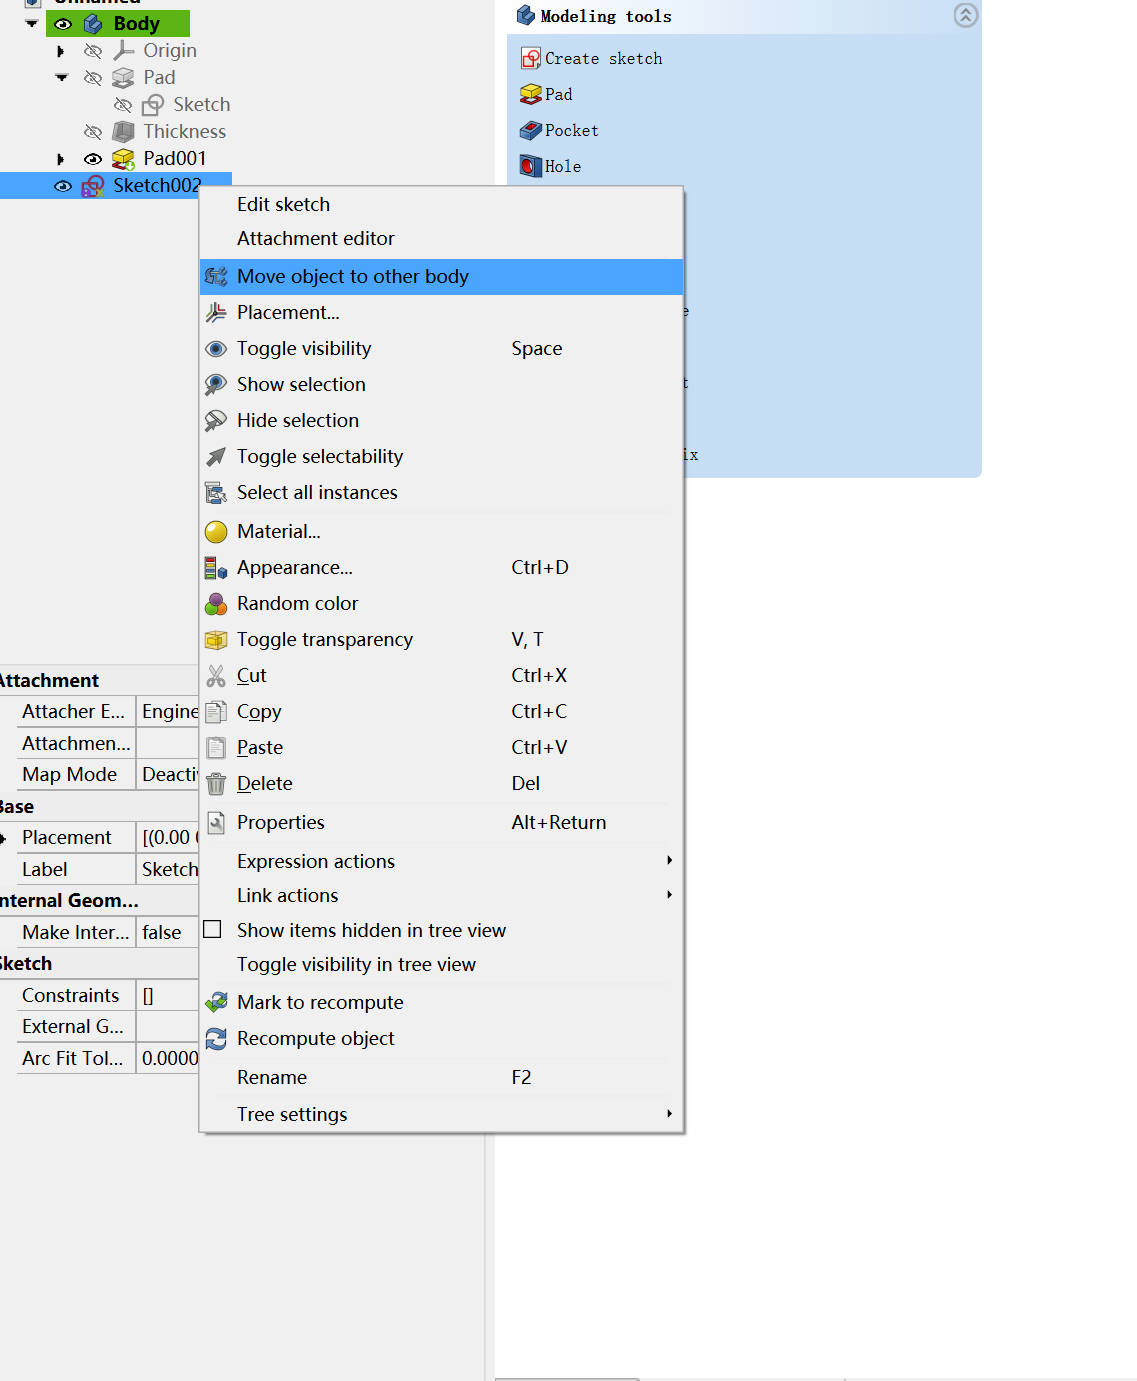
- Adjust logo dimensions through scaling and extrusion
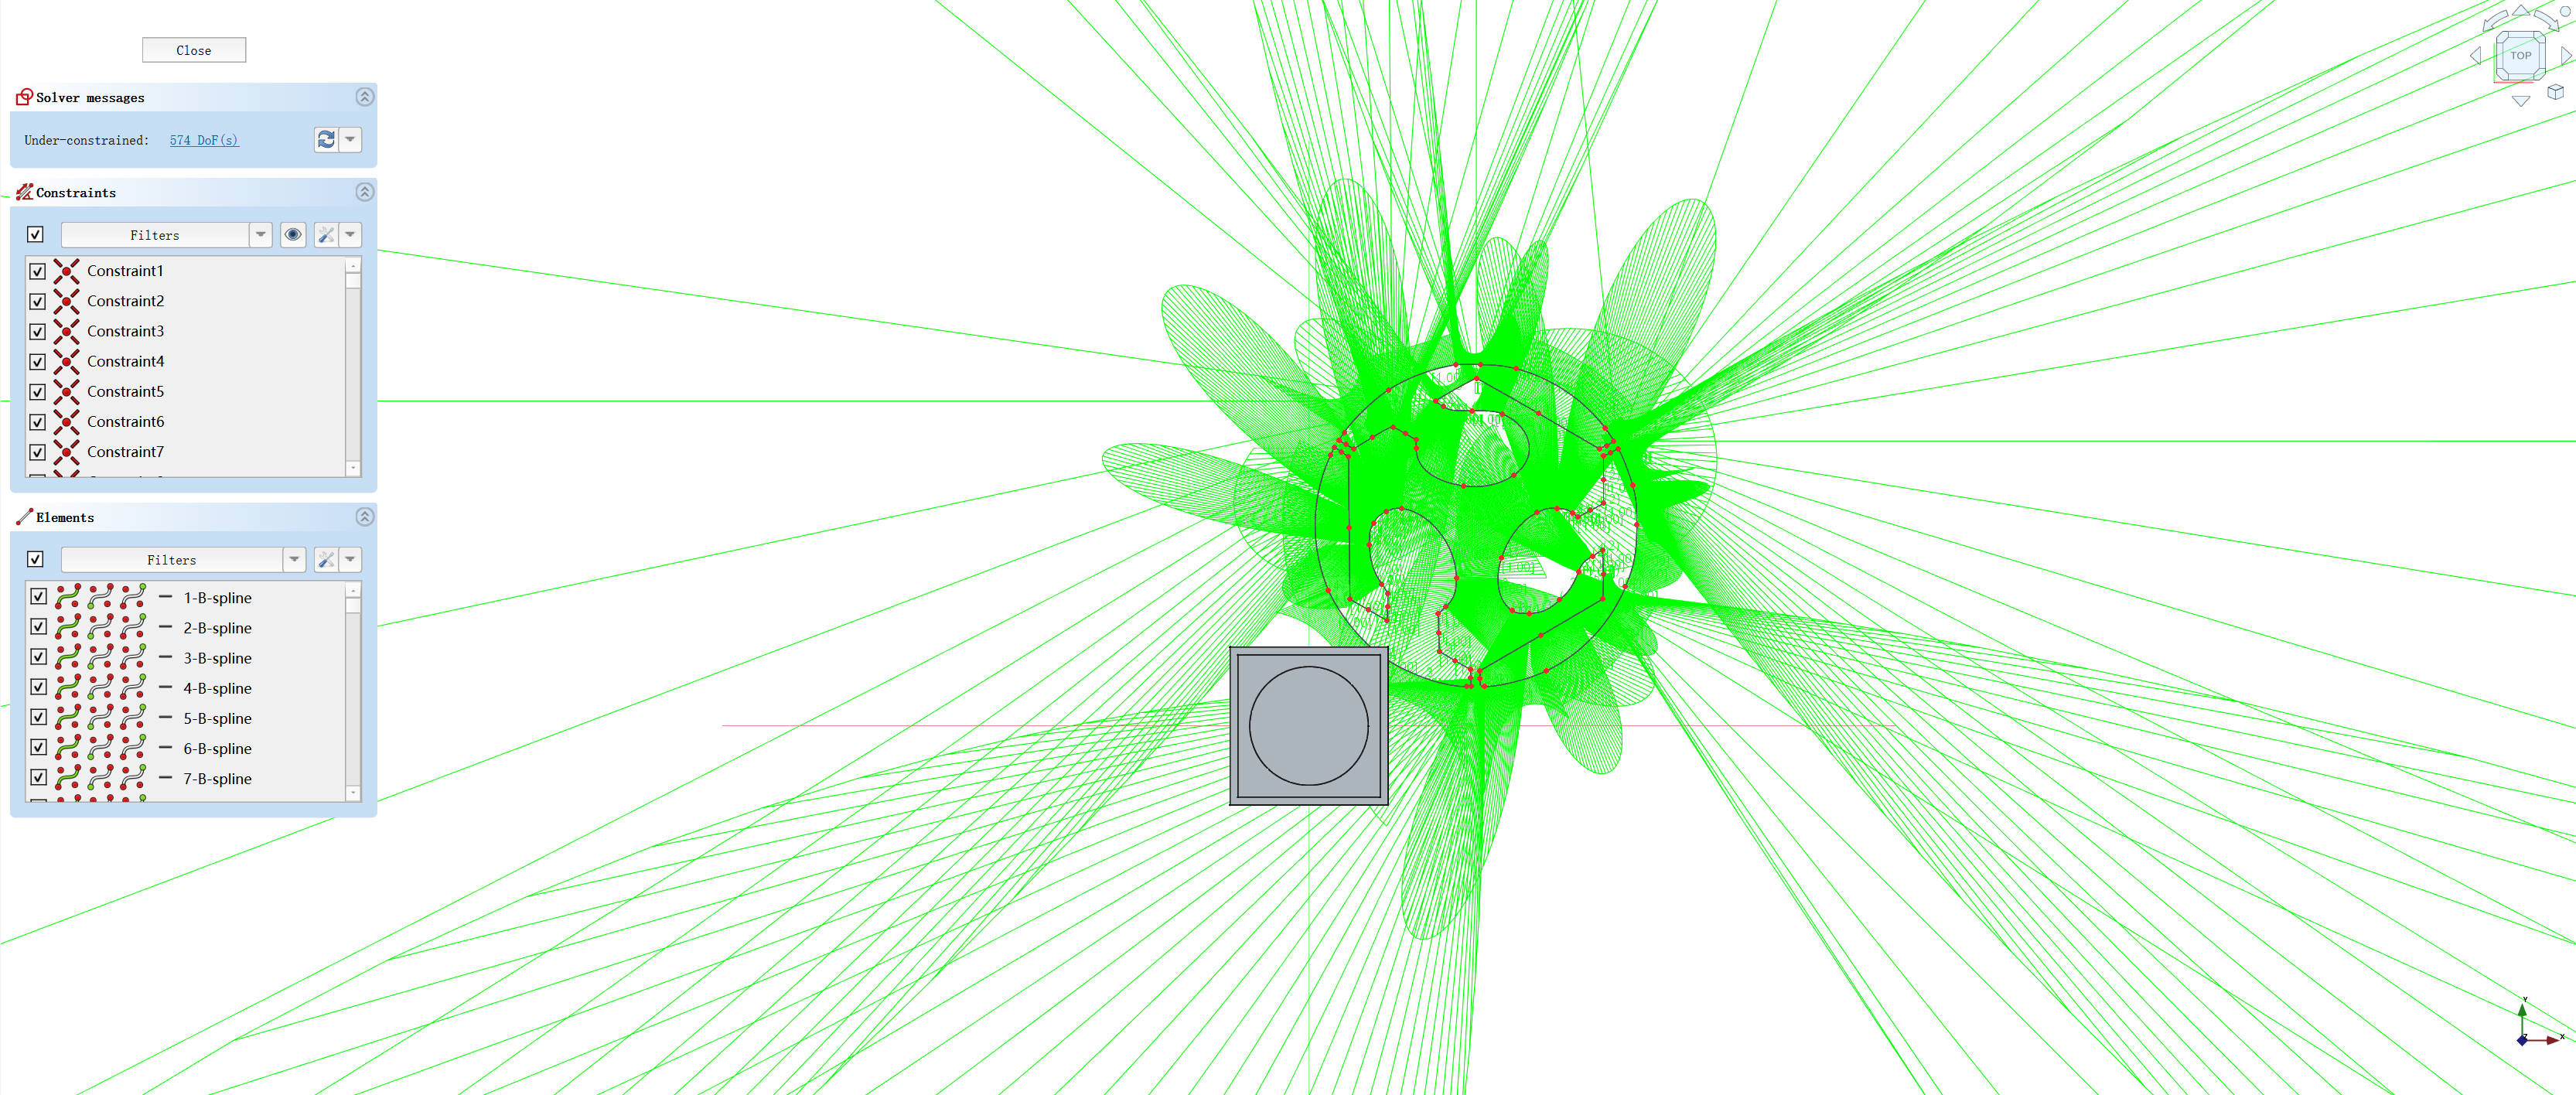
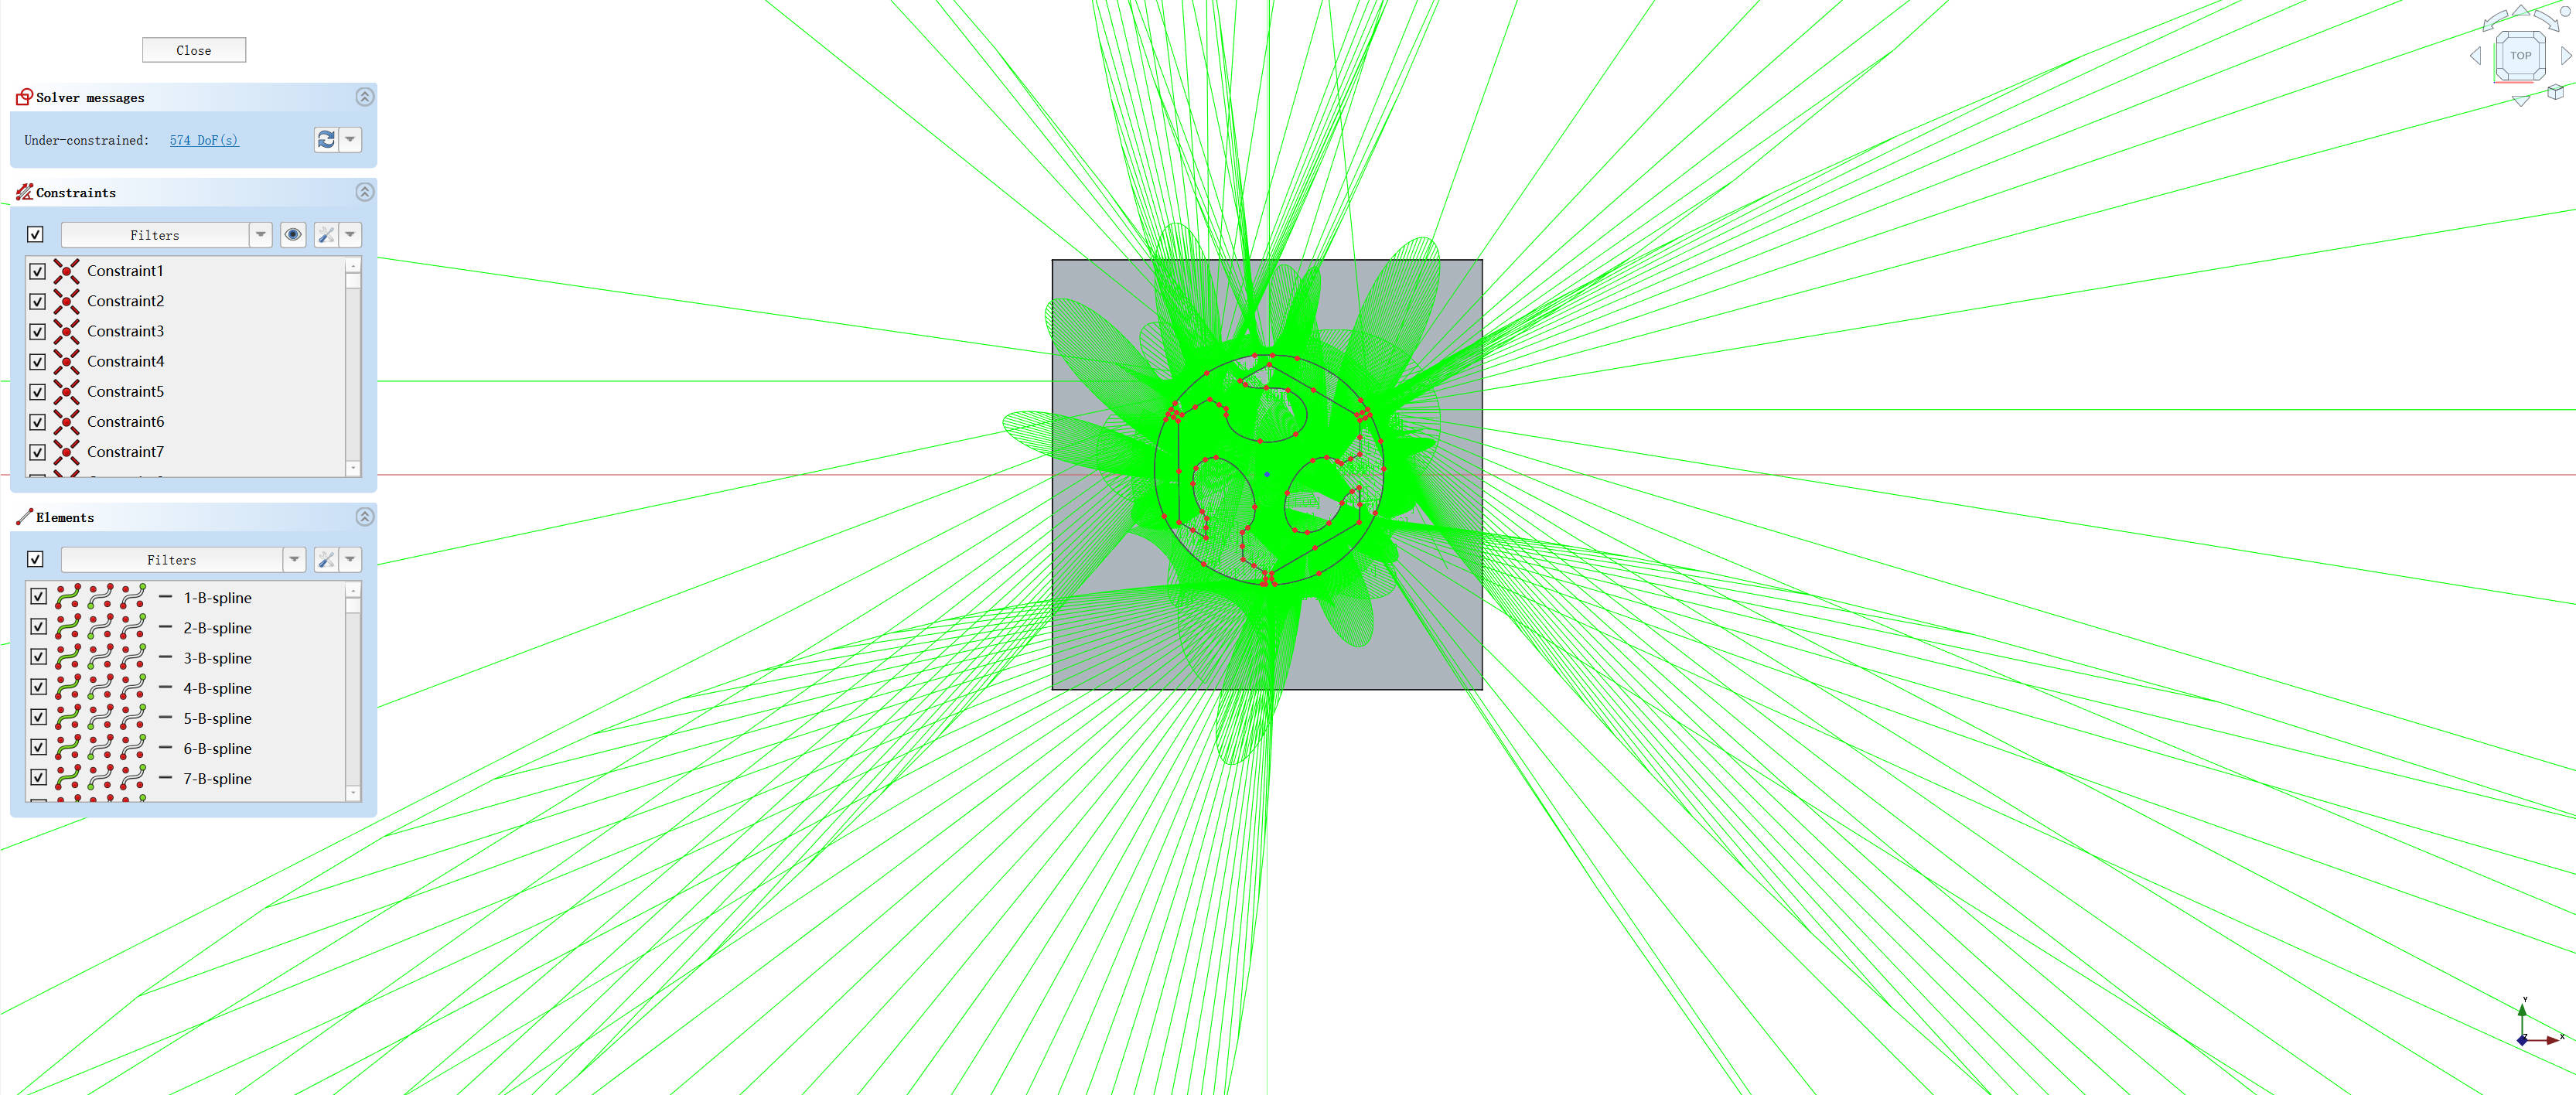
- Create relief effect using Pocket/Pad tools

1.2.3 STL Export
The complete mold with integrated sprue was exported as an STL file for 3D printing.
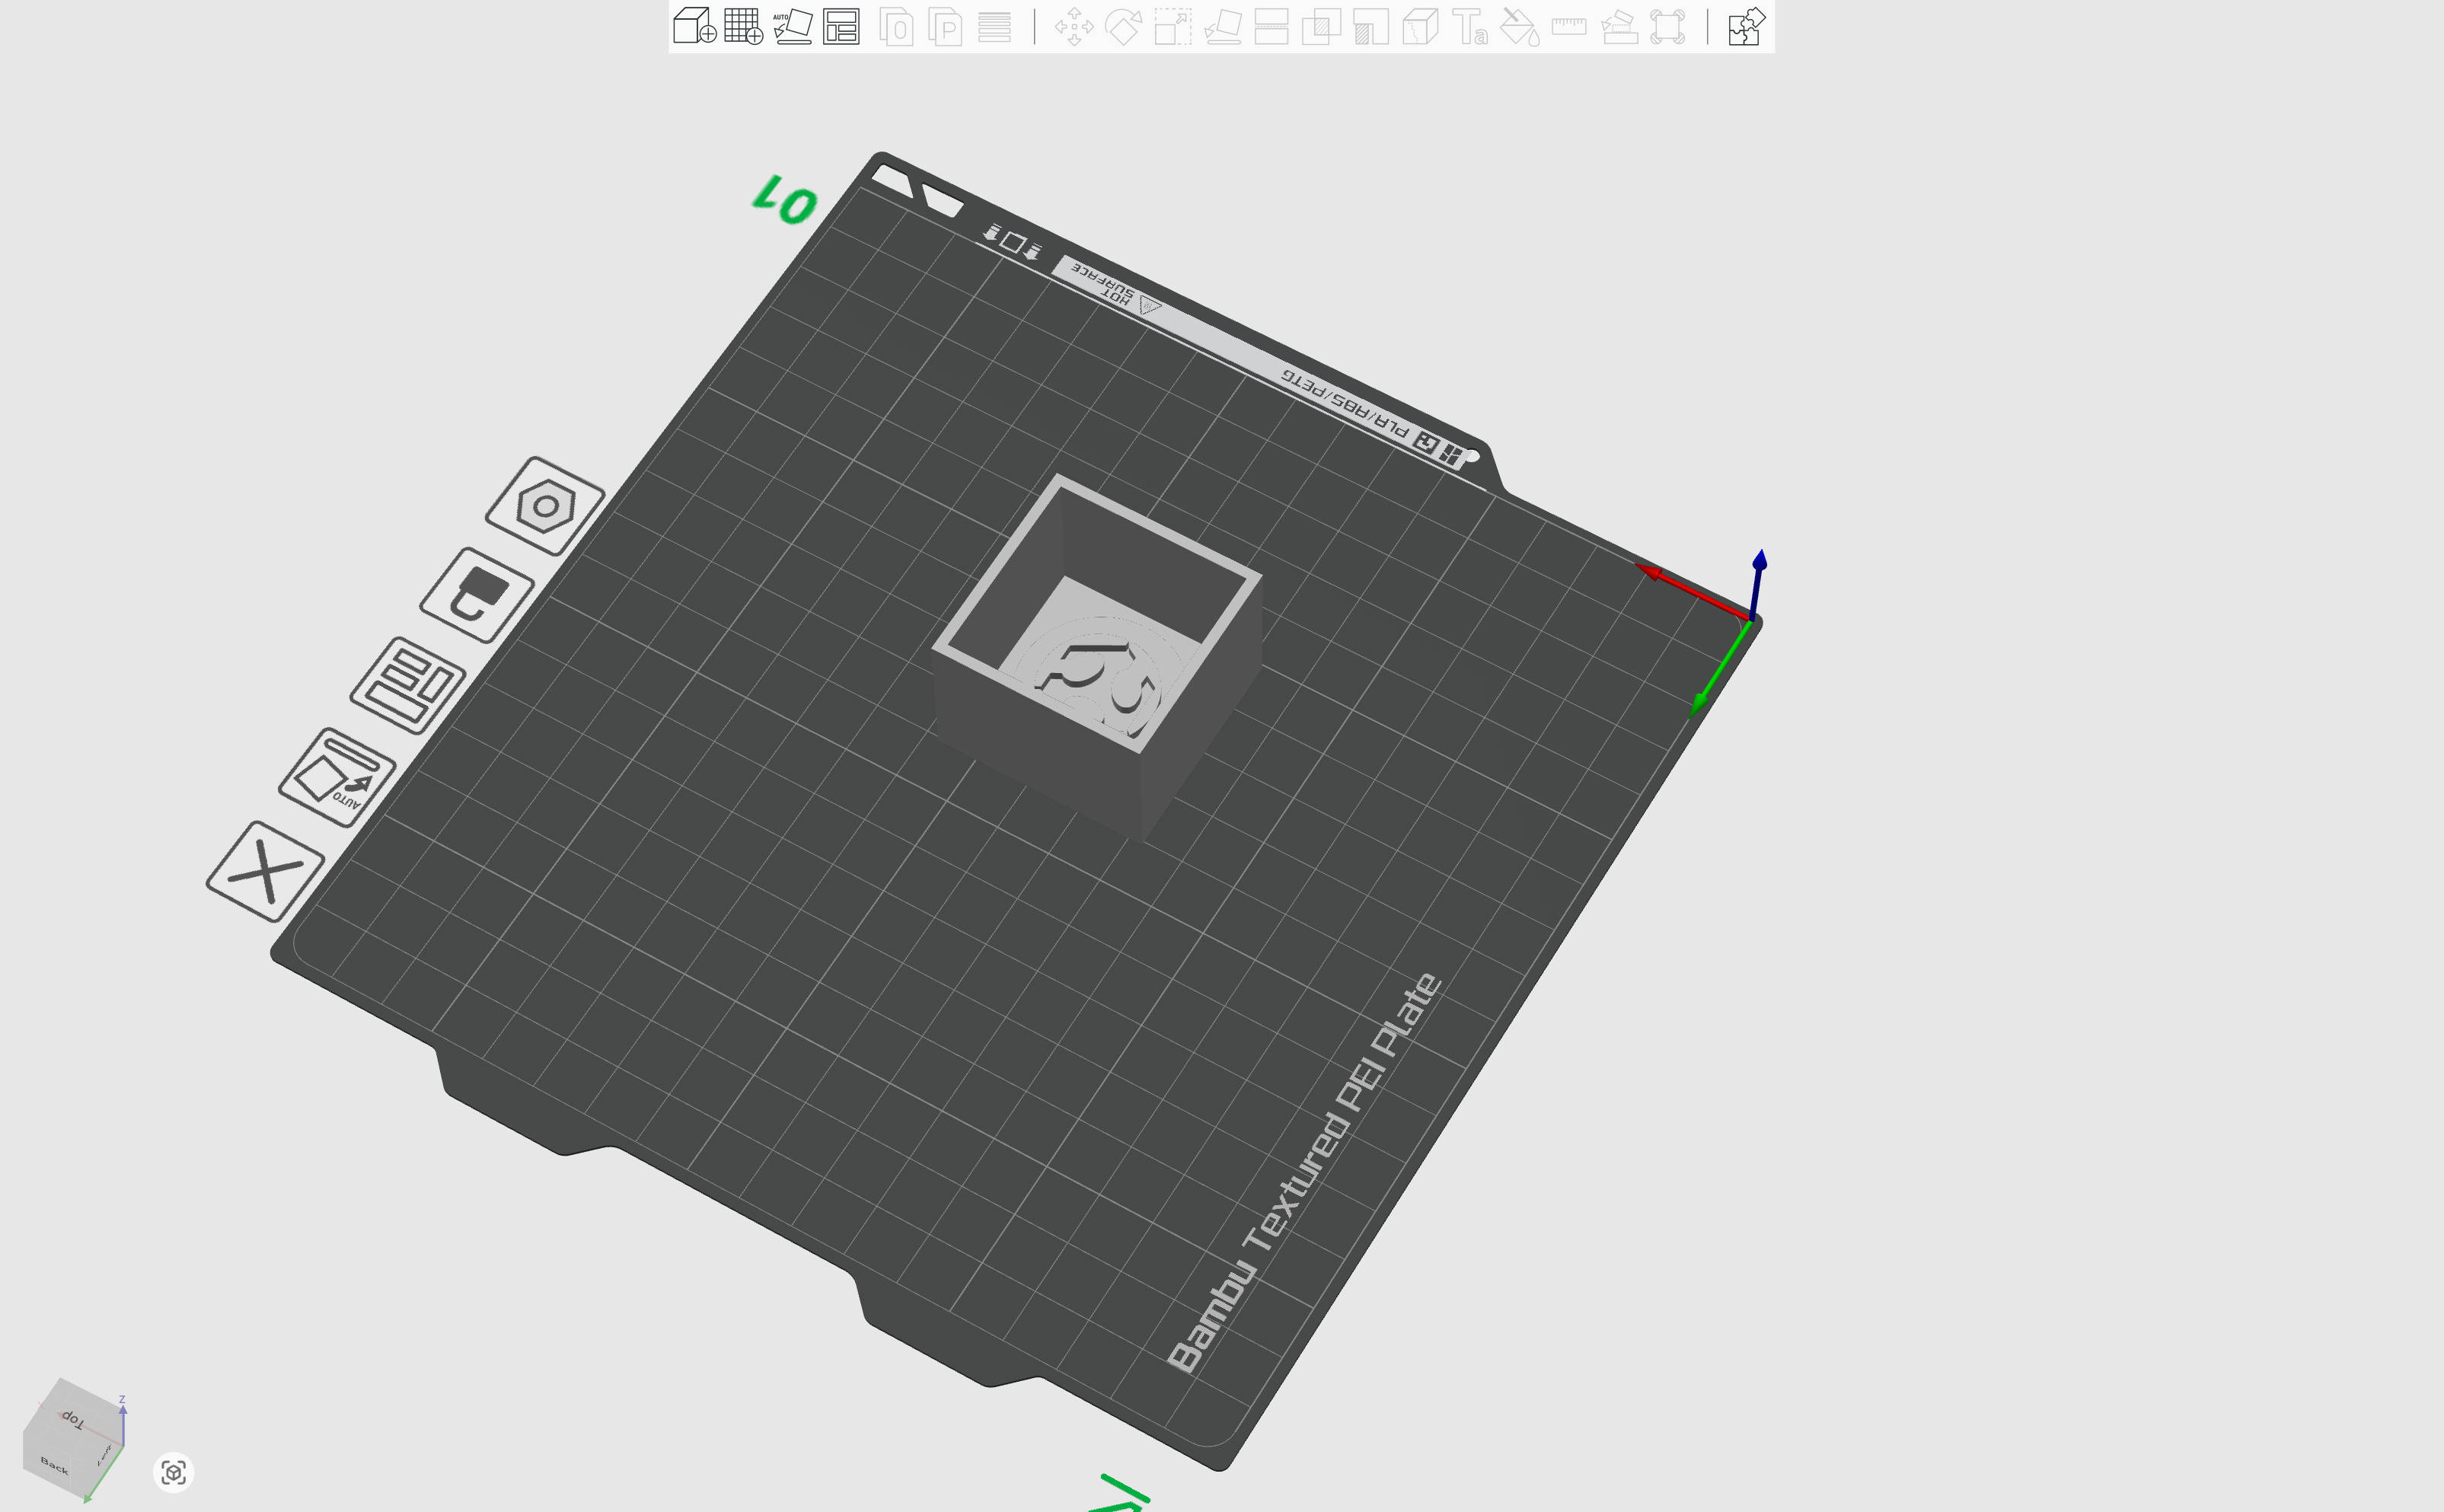
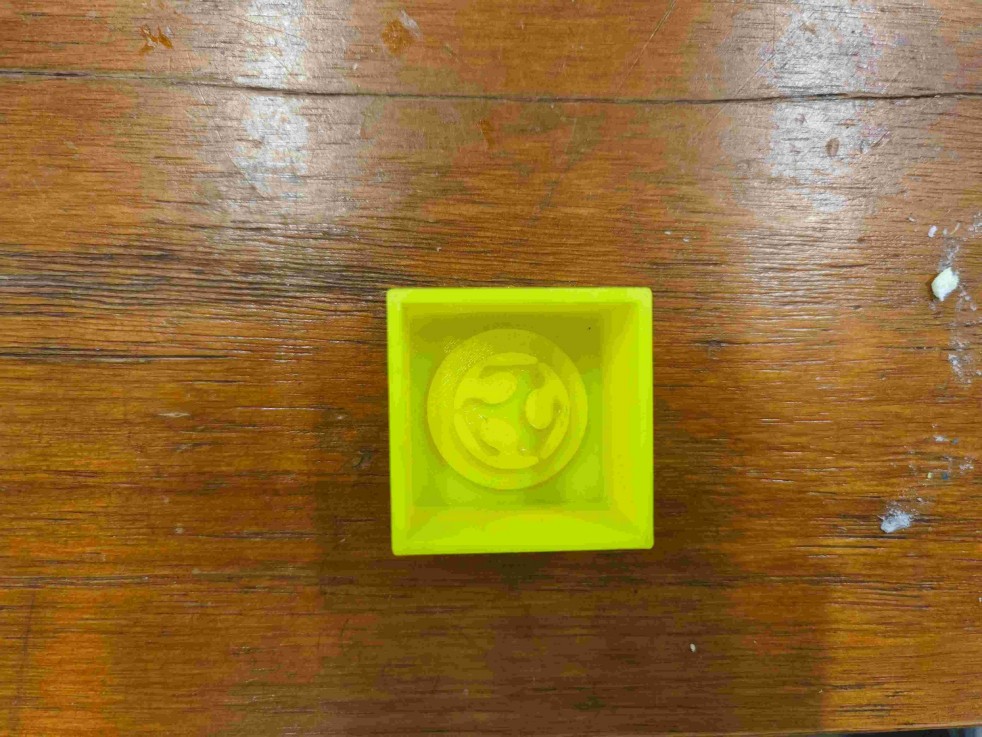
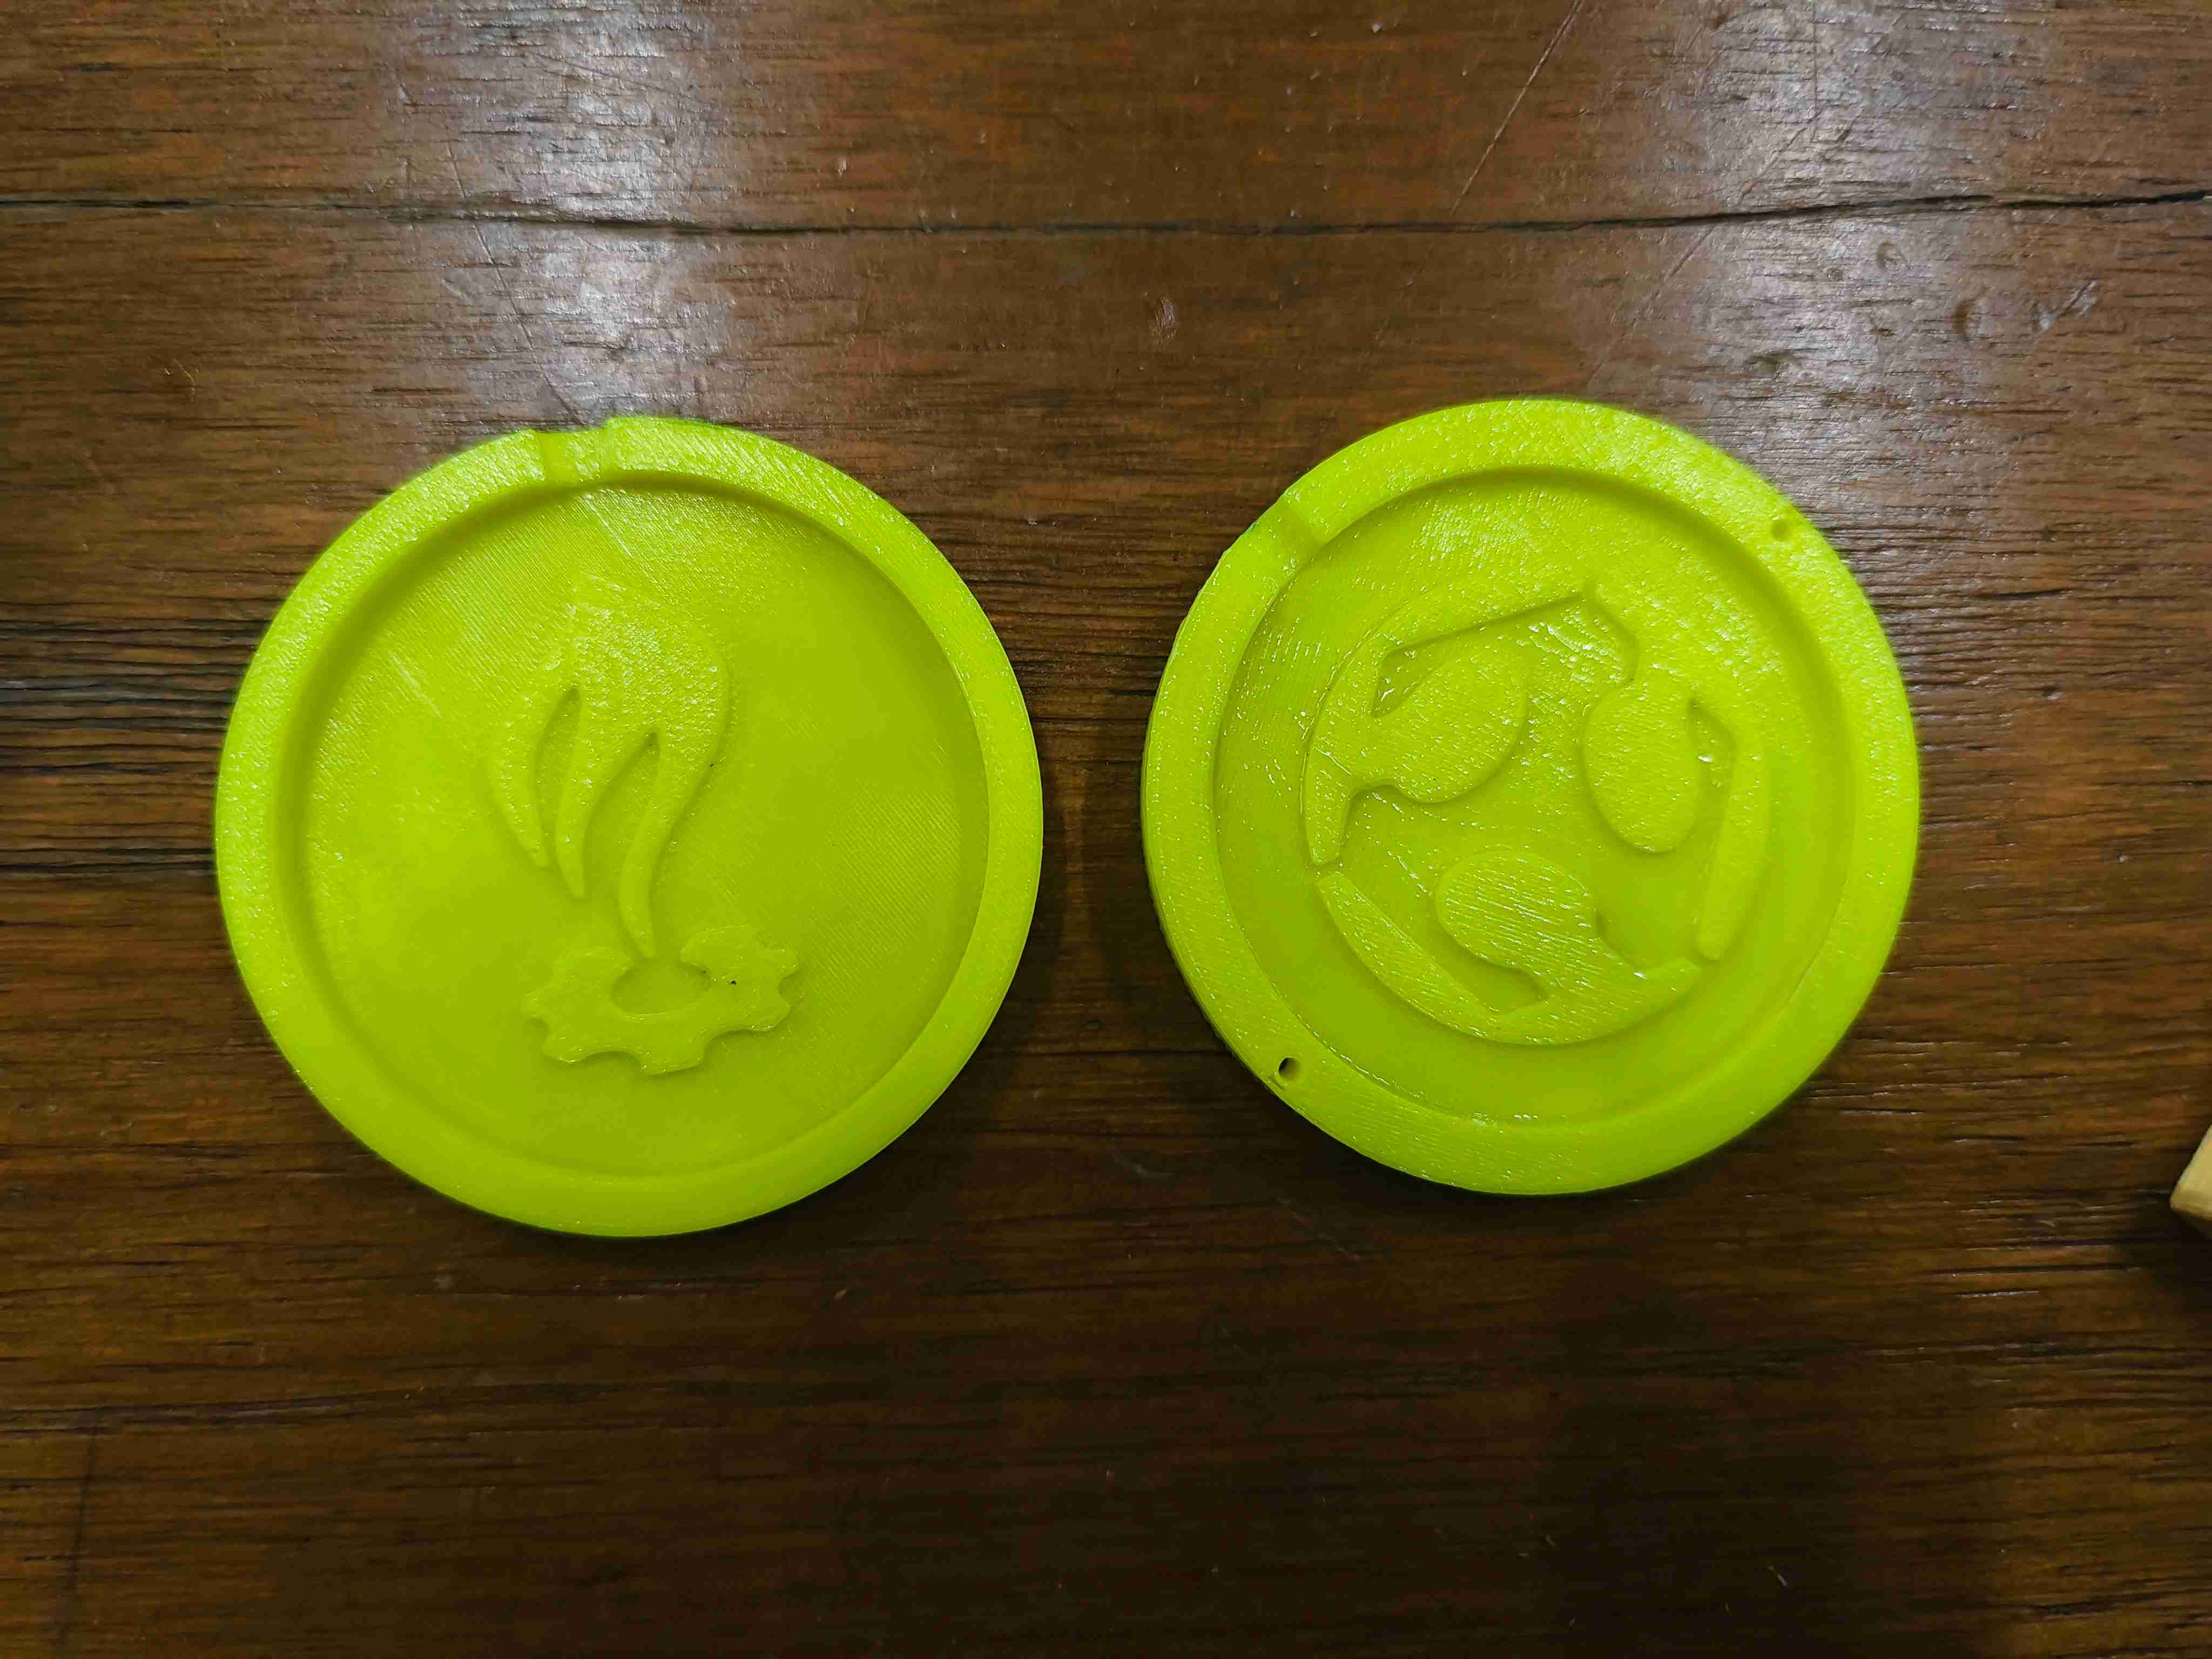
1.3. 3D Printing the Master Model
1.3.1 Printing Parameters
• Printer: Bambu Lab A1 mini
• Layer height: 0.2mm
• Infill density: 100%
• Material: Yellow PLA
1.3.2 Post-processing
The surface was sanded with fine grit sandpaper to eliminate layer lines. Critical details were cleaned with a brush and coated with glossy spray for enhanced finish.
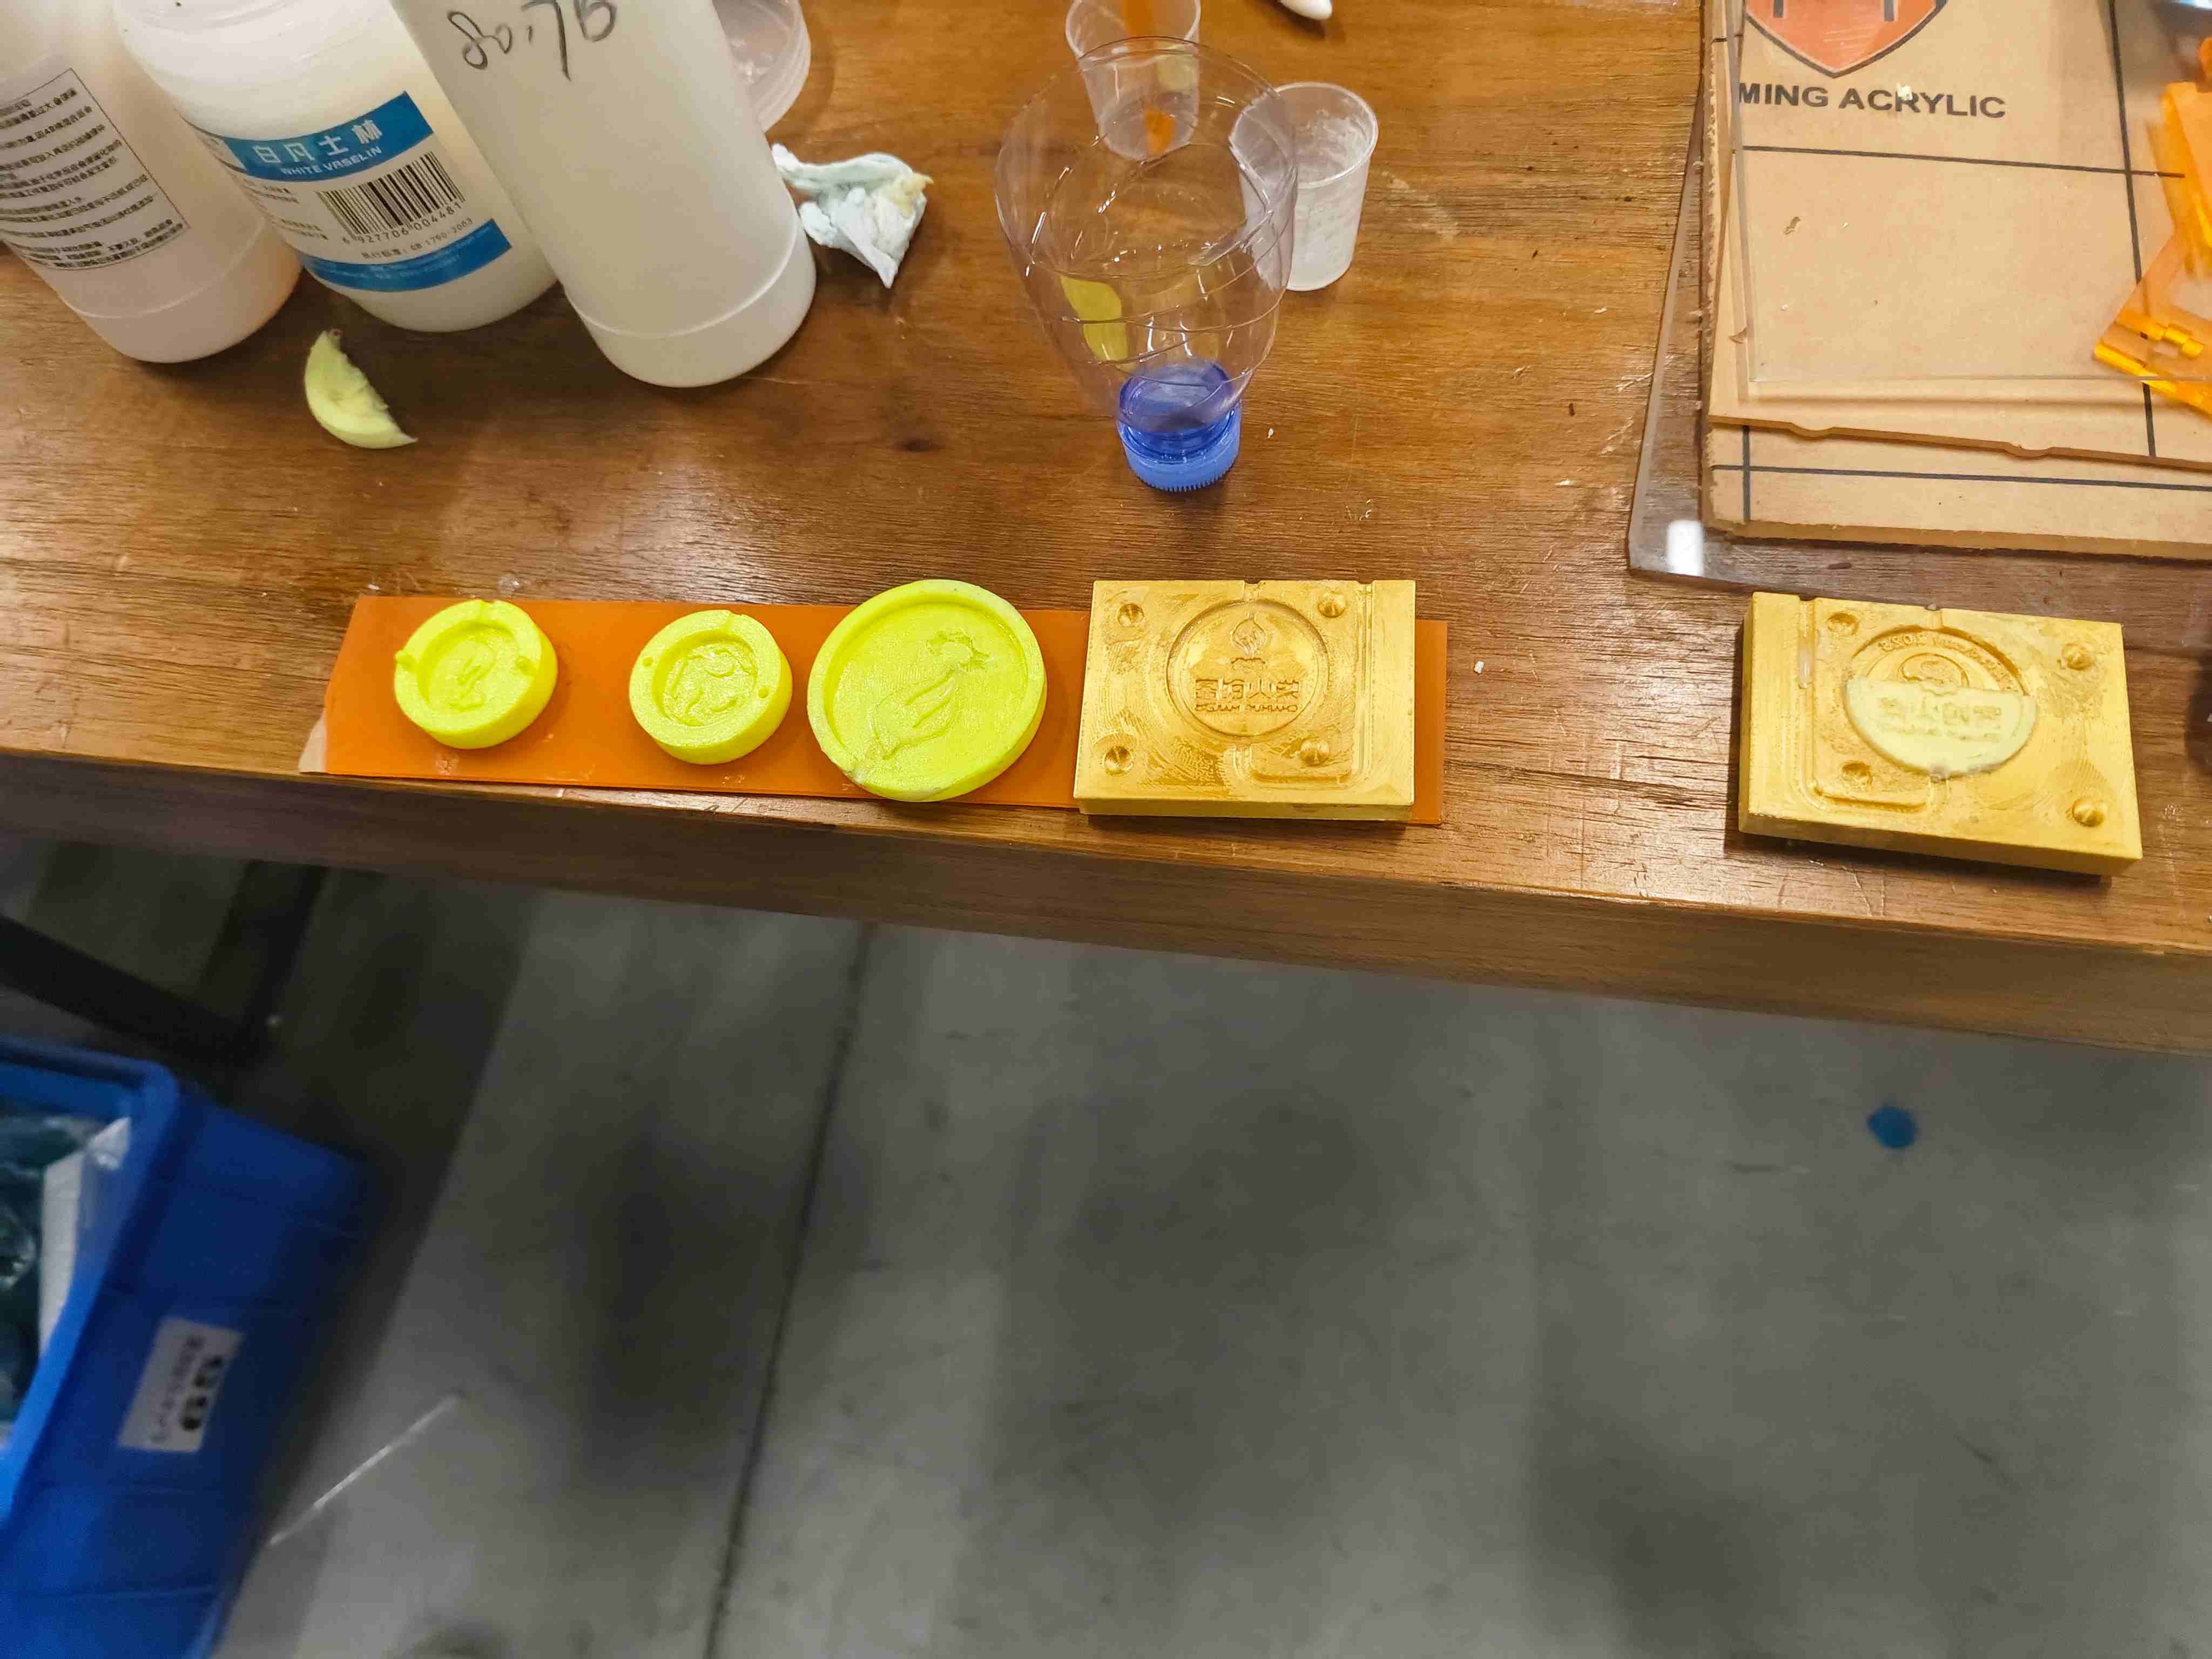
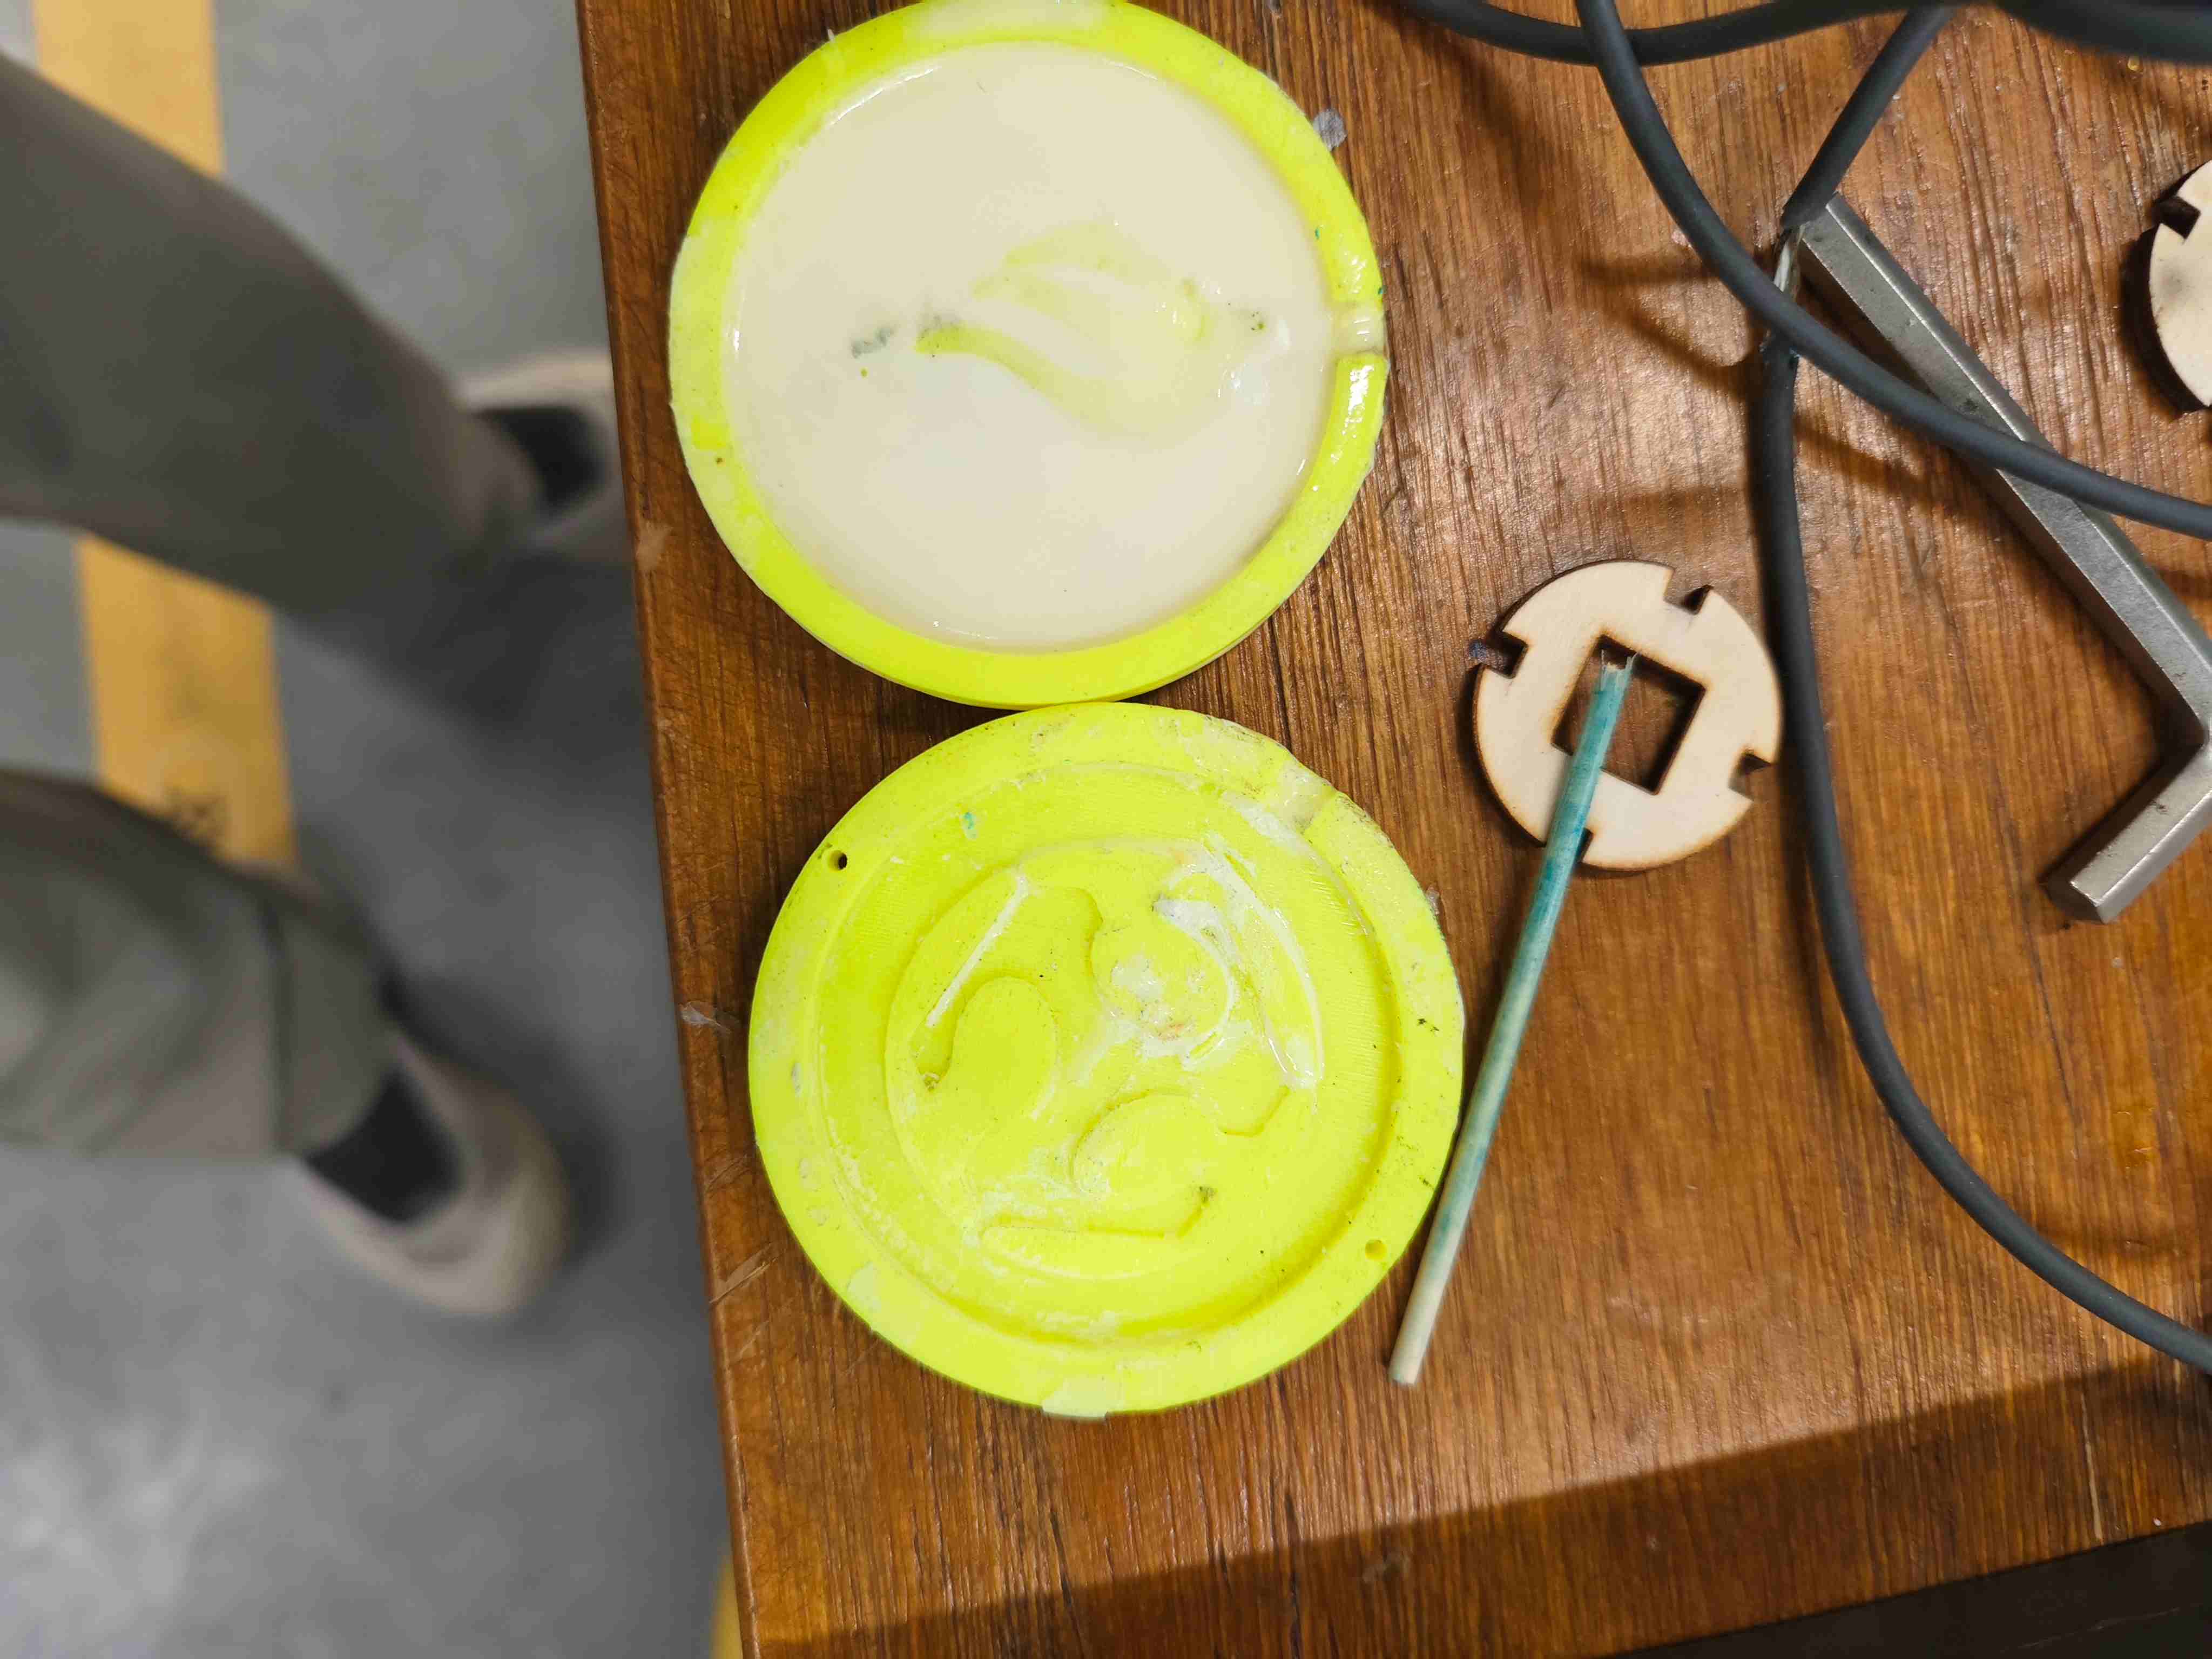
1.4. Silicone Mold Fabrication
1.4.1 Silicone Preparation
RTV-2 silicone (10:1 mixing ratio) was degassed and poured into the containment frame.
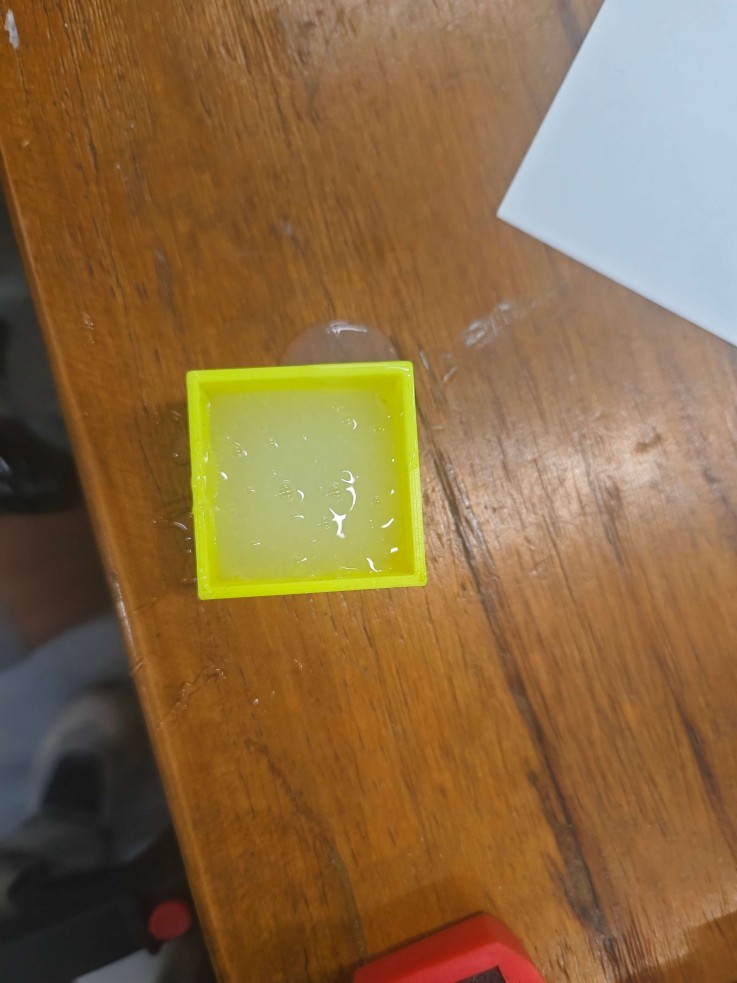
1.4.2 Curing Process
12-hour room temperature curing with vibration isolation.
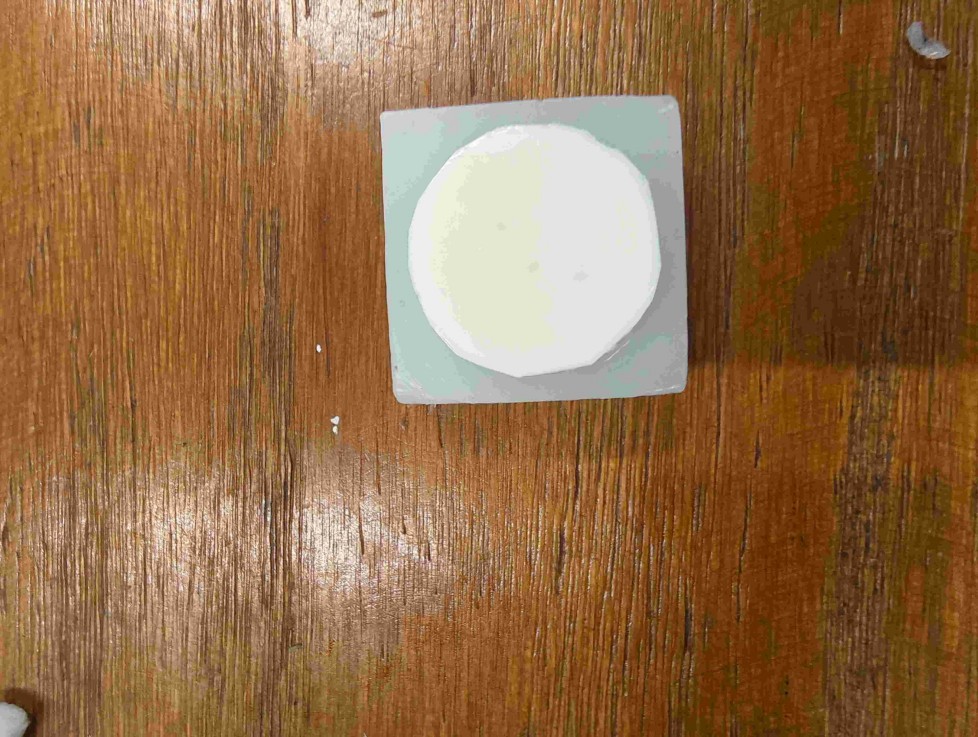
1.4.3 Demolding
The master model was carefully removed after complete curing. The mold showed intact patterns without significant air bubbles.

1.5. Resin Casting (Epoxy)
1.5.1 Material Preparation
Transparent epoxy resin (1:1 volume ratio) was mixed thoroughly for 1 minute.
1.5.2 Mold Filling
The mixture was poured through the sprue using controlled flow.
1.5.3 Curing
24-hour ambient curing on a leveled surface.
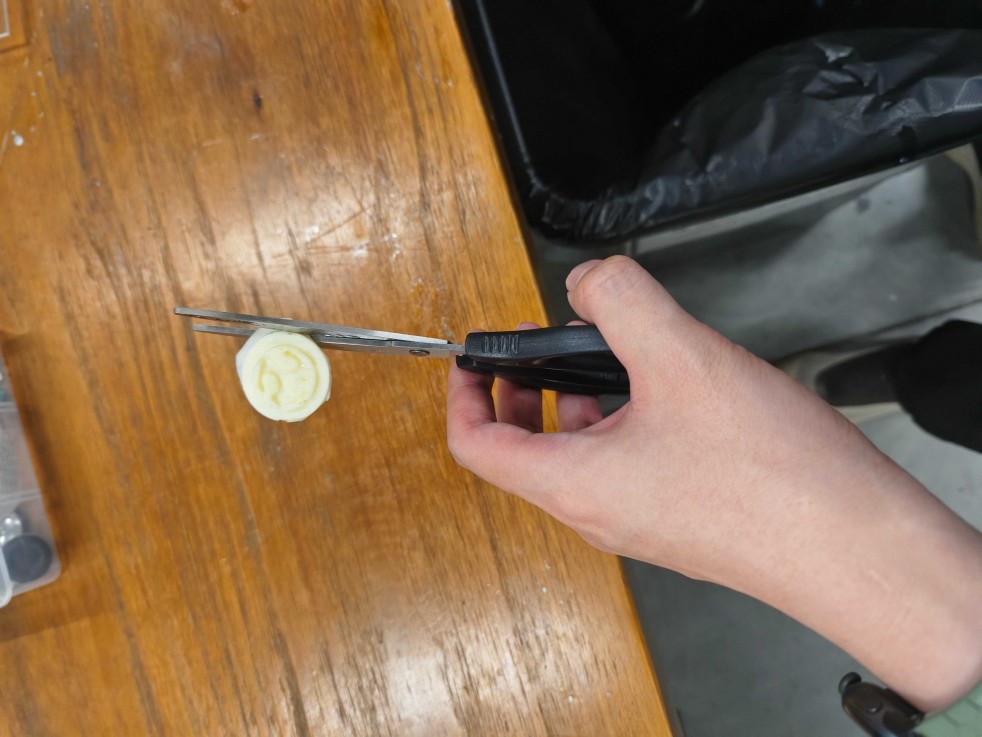
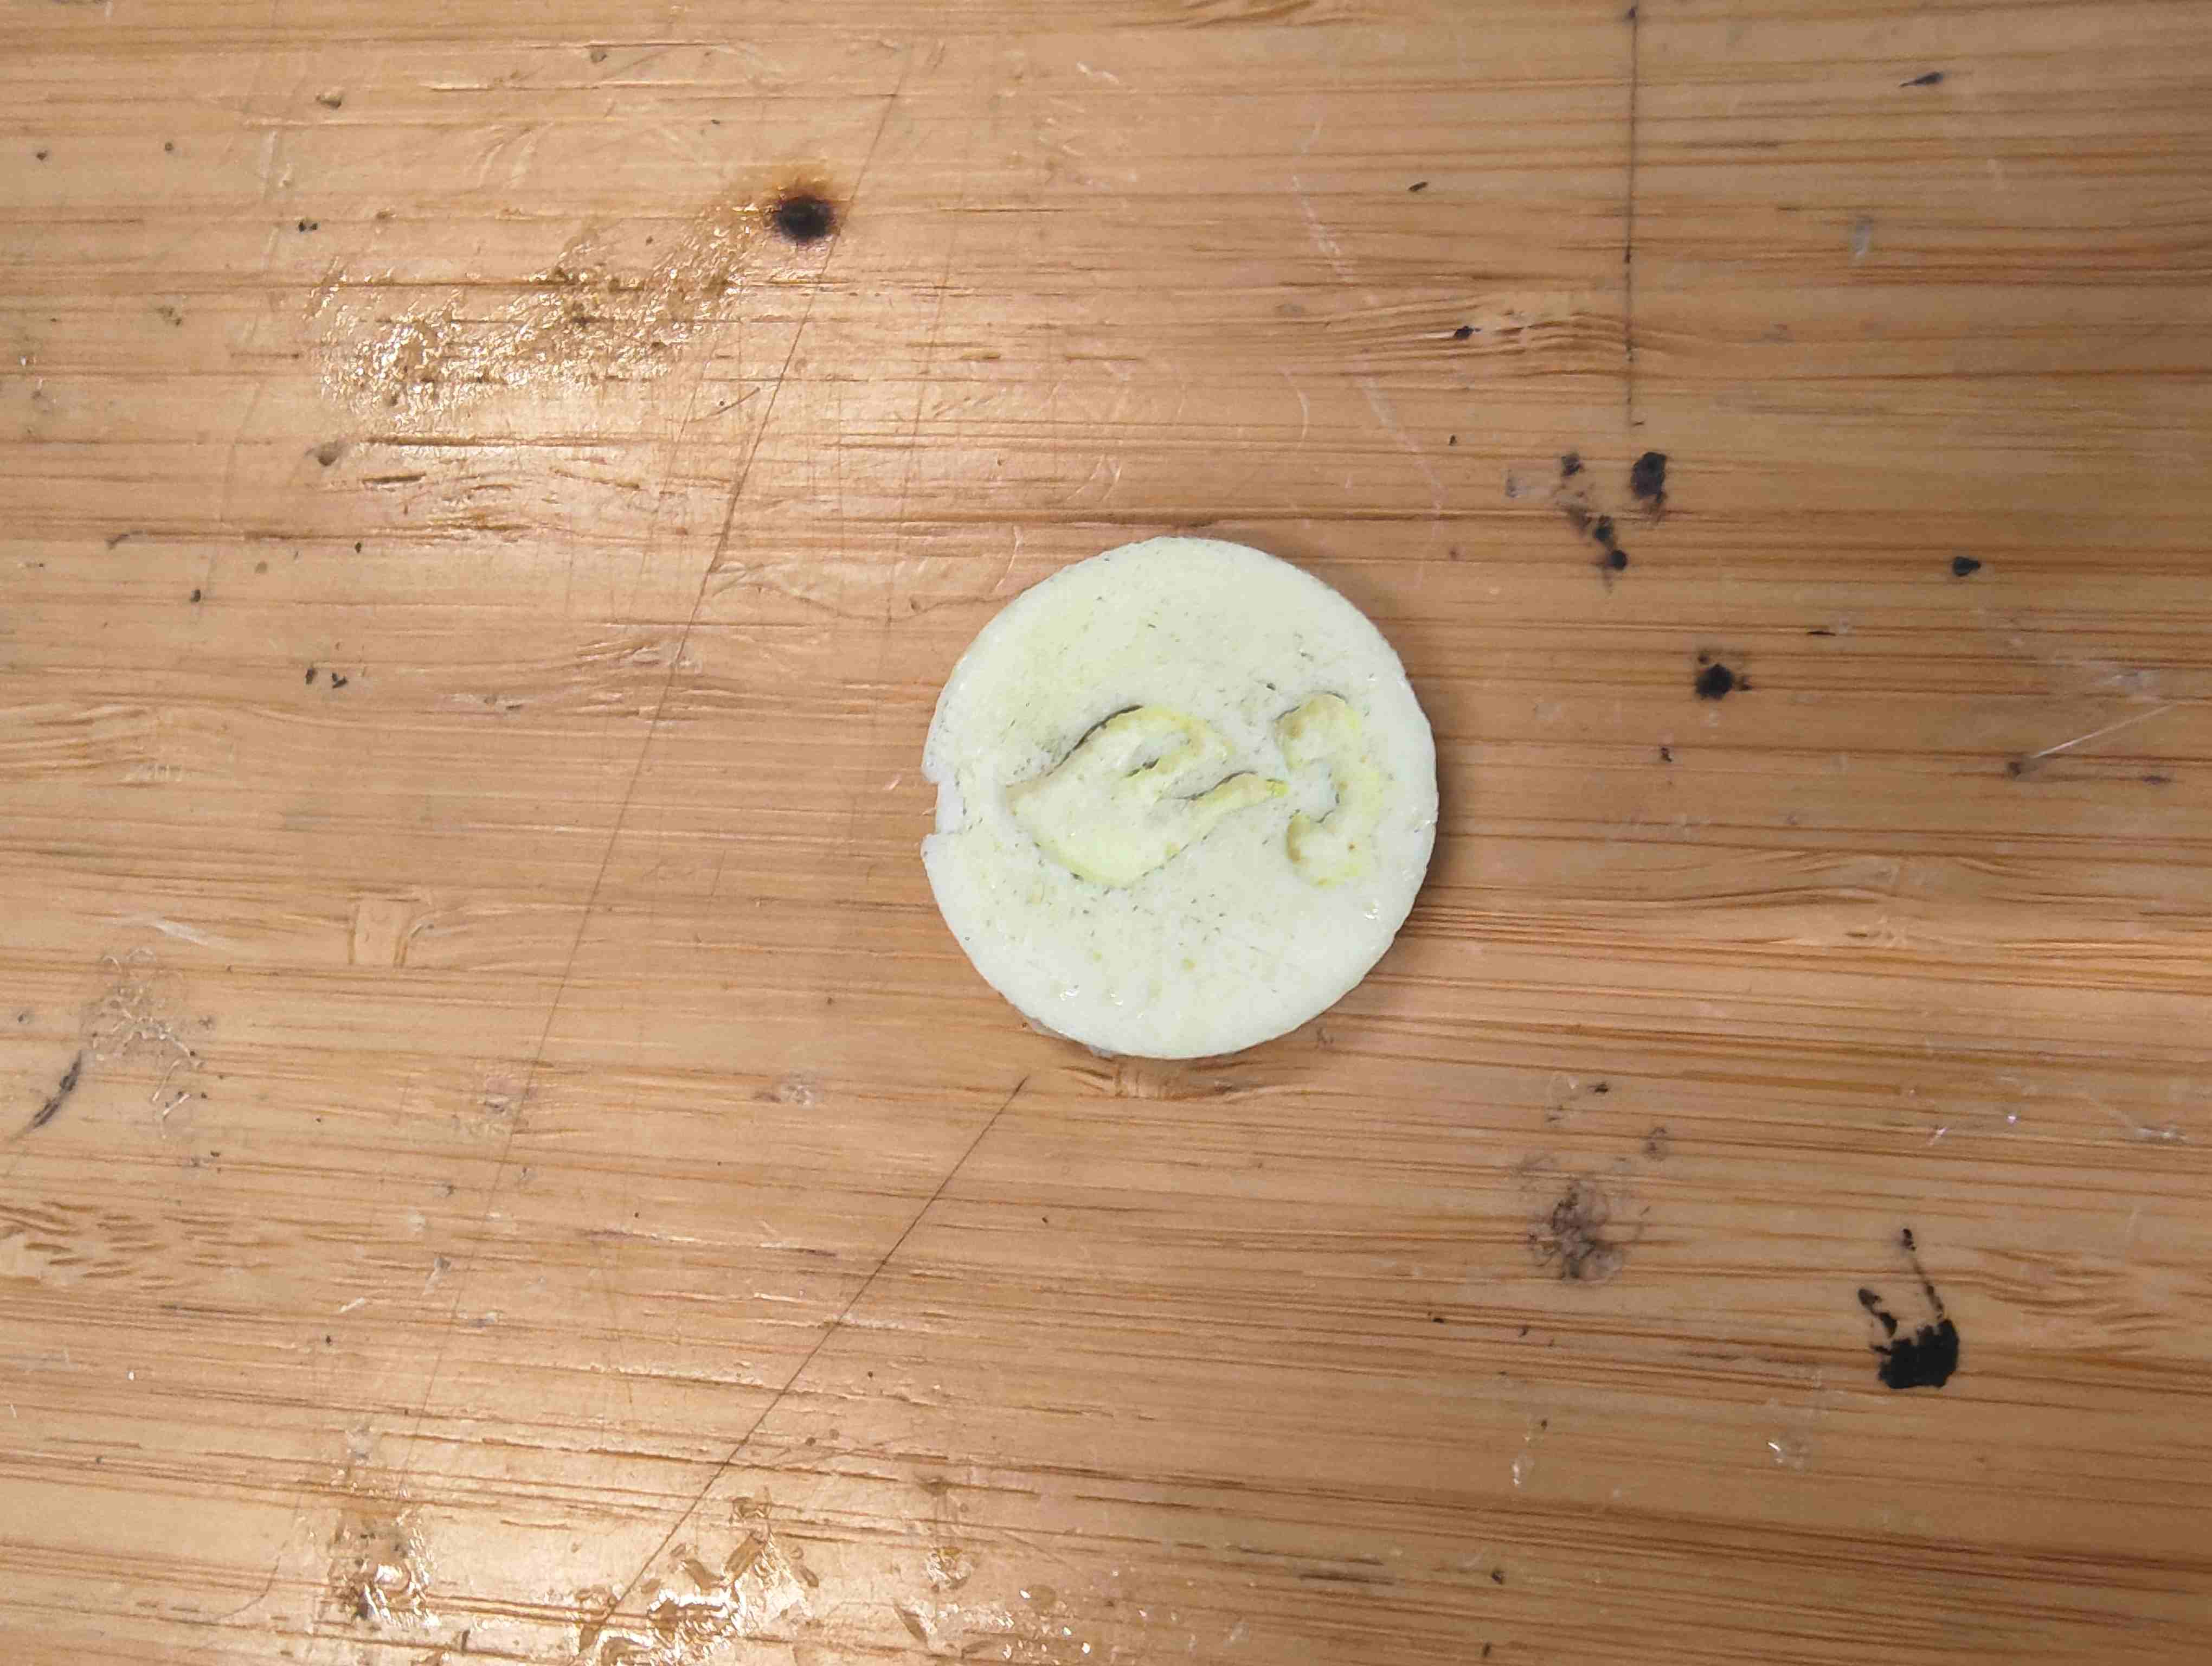
1.5.4 Final Result
The resin coin retained design details though slight surface imperfections from 3D printing remained visible.

6. Tin Alloy Casting
1.6.1 Metal Preparation
Tin was melted in a 100°C water bath with continuous stirring.
1.6.2 Injection Process
Molten tin was injected into the mold using a syringe.
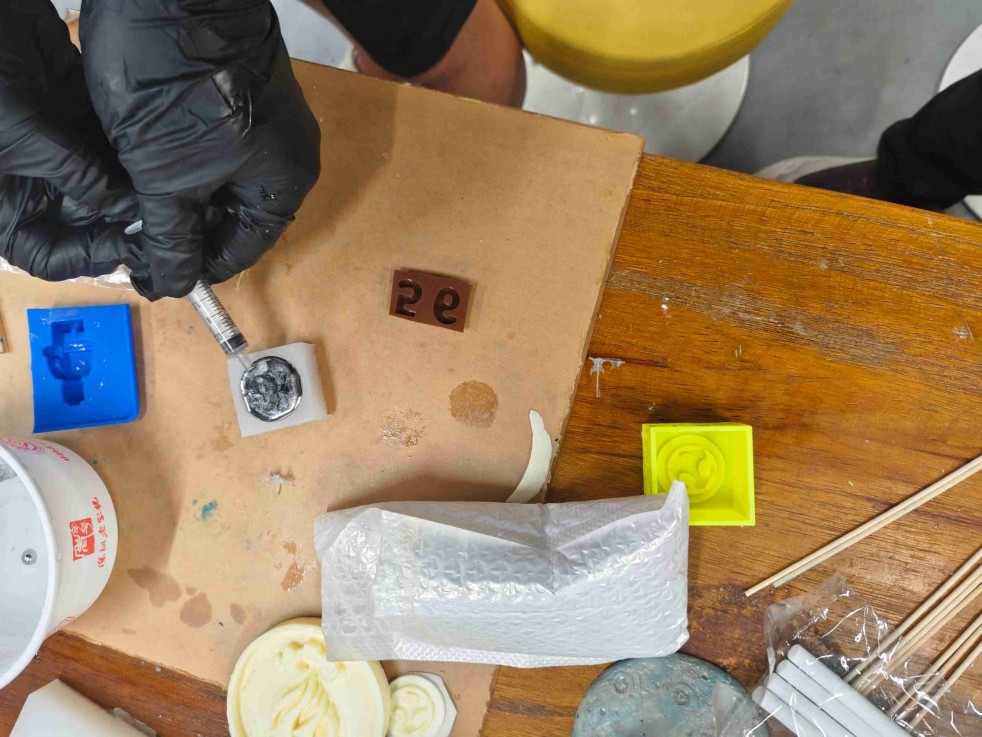
1.6.3 Rapid Cooling
5-minute quenching in cold water ensured complete solidification.
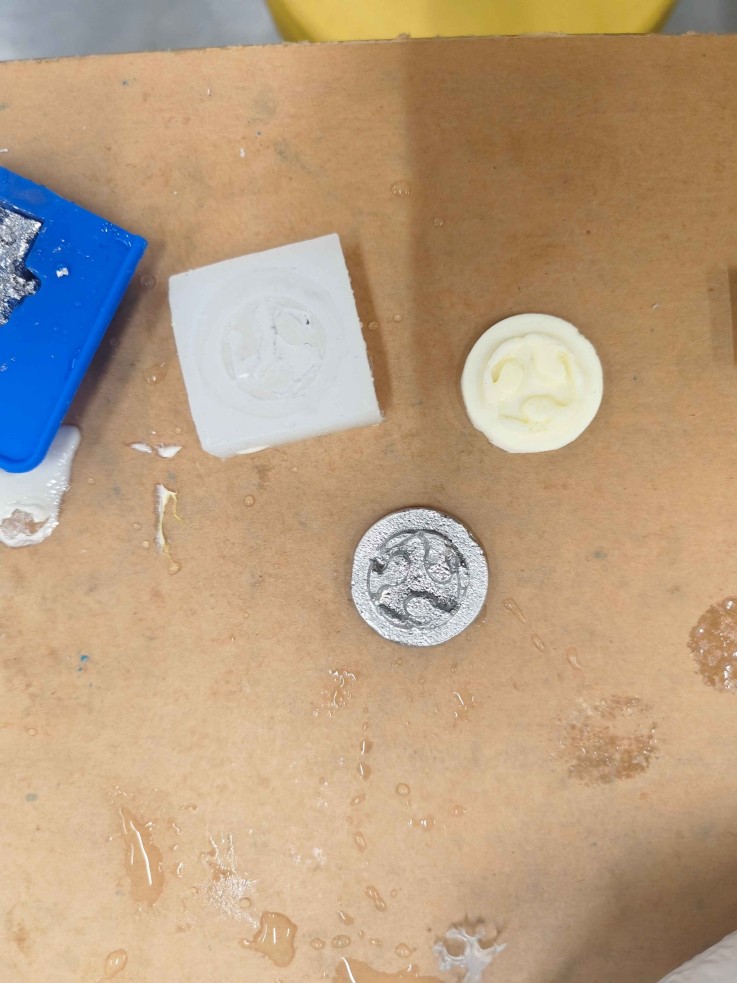
1.6.4 Final Product
The metal casting replicated the design accurately, with surface texture limitations inherited from the 3D printed master.
1.7 Failure Analysis
- Initial Mold Fabrication A mold was created directly using 3D printing technology.
- Application of Release Agent
A standard mold release agent was applied to the 3D-printed mold to facilitate demolding.
- Casting Process
Liquid adhesive was poured into the mold for casting.
- Demolding Failure
After curing, the part could not be successfully demolded.
1.7.1 Root Cause
The primary cause of the failure was insufficient precision in the 3D-printed mold. The surface roughness and minor structural inaccuracies led to strong adhesion between the cast material and the mold, making it impossible to demold the part without damage.
1.7.2 Solution
To address this issue, we introduced an intermediate silicone mold. The updated process includes:
-
Creating a 3D-printed master mold (used only to form the silicone mold).
-
Casting silicone into the 3D-printed master to produce a flexible, high-precision silicone mold.
-
Using the silicone mold for actual adhesive casting.
This solution significantly improved demolding performance due to the flexibility and smooth surface of the silicone mold, reducing adhesion and allowing for easy part removal.
1.7.3 Conclusion
Directly using a 3D-printed mold without post-processing or precision enhancement is not suitable for casting processes that require clean demolding. Future attempts should consider improving mold accuracy through surface finishing or adopting alternative mold-making techniques such as CNC machining or silicone mold replication.