1. 2D Software
There are many 2D design software available, such as:
-
Photoshop:
- Photoshop is a professional image editing software developed by Adobe. It offers a wide range of features for creating, editing, and enhancing digital images.
- It is widely used for tasks such as photo retouching, image composition, graphic design, and web design.
- Photoshop is available for Windows, macOS, and Linux.
-
Inkscape:
- Inkscape is an open-source vector graphics editor that allows users to create and edit 2D graphics using a graphical interface.
- It is designed to be user-friendly and versatile, making it suitable for a wide range of tasks, including logo design, illustration, and web design.
- Inkscape is available for Windows, macOS, and Linux.
-
CorelDRAW:
- CorelDRAW is a professional vector graphics editor developed by Corel Corporation. It offers a range of features for creating and editing 2D graphics.
- It is widely used for tasks such as logo design, illustration, and web design.
- CorelDRAW is available for Windows and macOS.
-
GIMP:
- GIMP (GNU Image Manipulation Program) is a powerful and versatile open-source image editor that provides a range of tools for creating, editing, and exporting 2D images.
- It is widely used for tasks such as photo retouching, image composition, and graphic design.
- GIMP is available for Windows, macOS, and Linux.
After comparing these software, I found that GIMP is the best choice for my project. It is free and open-source, and it is easy to use. It also has a wide range of features, which is important for my project.
Although Photoshop and Inkscape are also good 2D design software, I choose GIMP because it is free and open-source. It is also easy to use and has a wide range of plugins and modules available to extend its capabilities. I am a software engineer, and I was open a lot projects in the past, I love to use open-source software.
1.1 GIMP
GIMP (GNU Image Manipulation Program) is a powerful and versatile open-source image editor that provides a range of tools for creating, editing, and exporting 2D images. It is widely used for tasks such as photo retouching, image composition, and graphic design.
Features of GIMP
- Layer-based editing: Allows for non-destructive editing by working with multiple layers.
- Selection tools: Includes rectangular, elliptical, freehand, and fuzzy selection tools.
- Brush and painting tools: Provides a variety of brushes, gradients, and patterns.
- Transformation tools: Includes scaling, rotation, shearing, and perspective adjustments.
- Filters and effects: Offers a range of artistic and photo-enhancement filters.
- Support for plugins: Allows customization and extension through plugins.
- Wide format support: Compatible with various file formats, including PNG, JPEG, TIFF, and PSD.
Installation
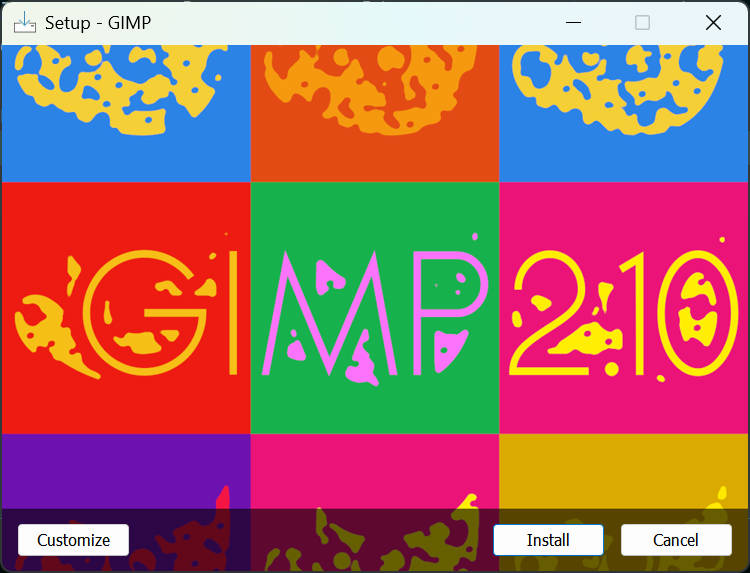
To install GIMP on your computer, follow these steps:
- Download the official GIMP installer from the GIMP website.
- Run the installer and follow the on-screen instructions to complete the installation.
- Open GIMP after installation to verify that it is working properly.
For my case, I have installed GIMP on my Windows computer.
Creating and Editing Images
Once GIMP is installed, you can start creating and editing images. The software uses a layer-based system, which allows you to edit different parts of an image independently.
Creating a New Image
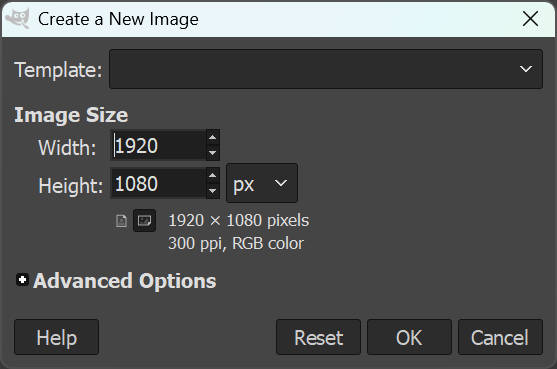
- Open GIMP and select
File -> New. - Choose the desired dimensions and background settings.
- Click "OK" to create a blank canvas.
Using Layers
- Create a new layer:
Ctrl + Shift + N - Duplicate a layer:
Ctrl + Shift + D - Merge layers:
Ctrl + M - Change layer opacity and blending modes using the Layers panel.
Exporting Images
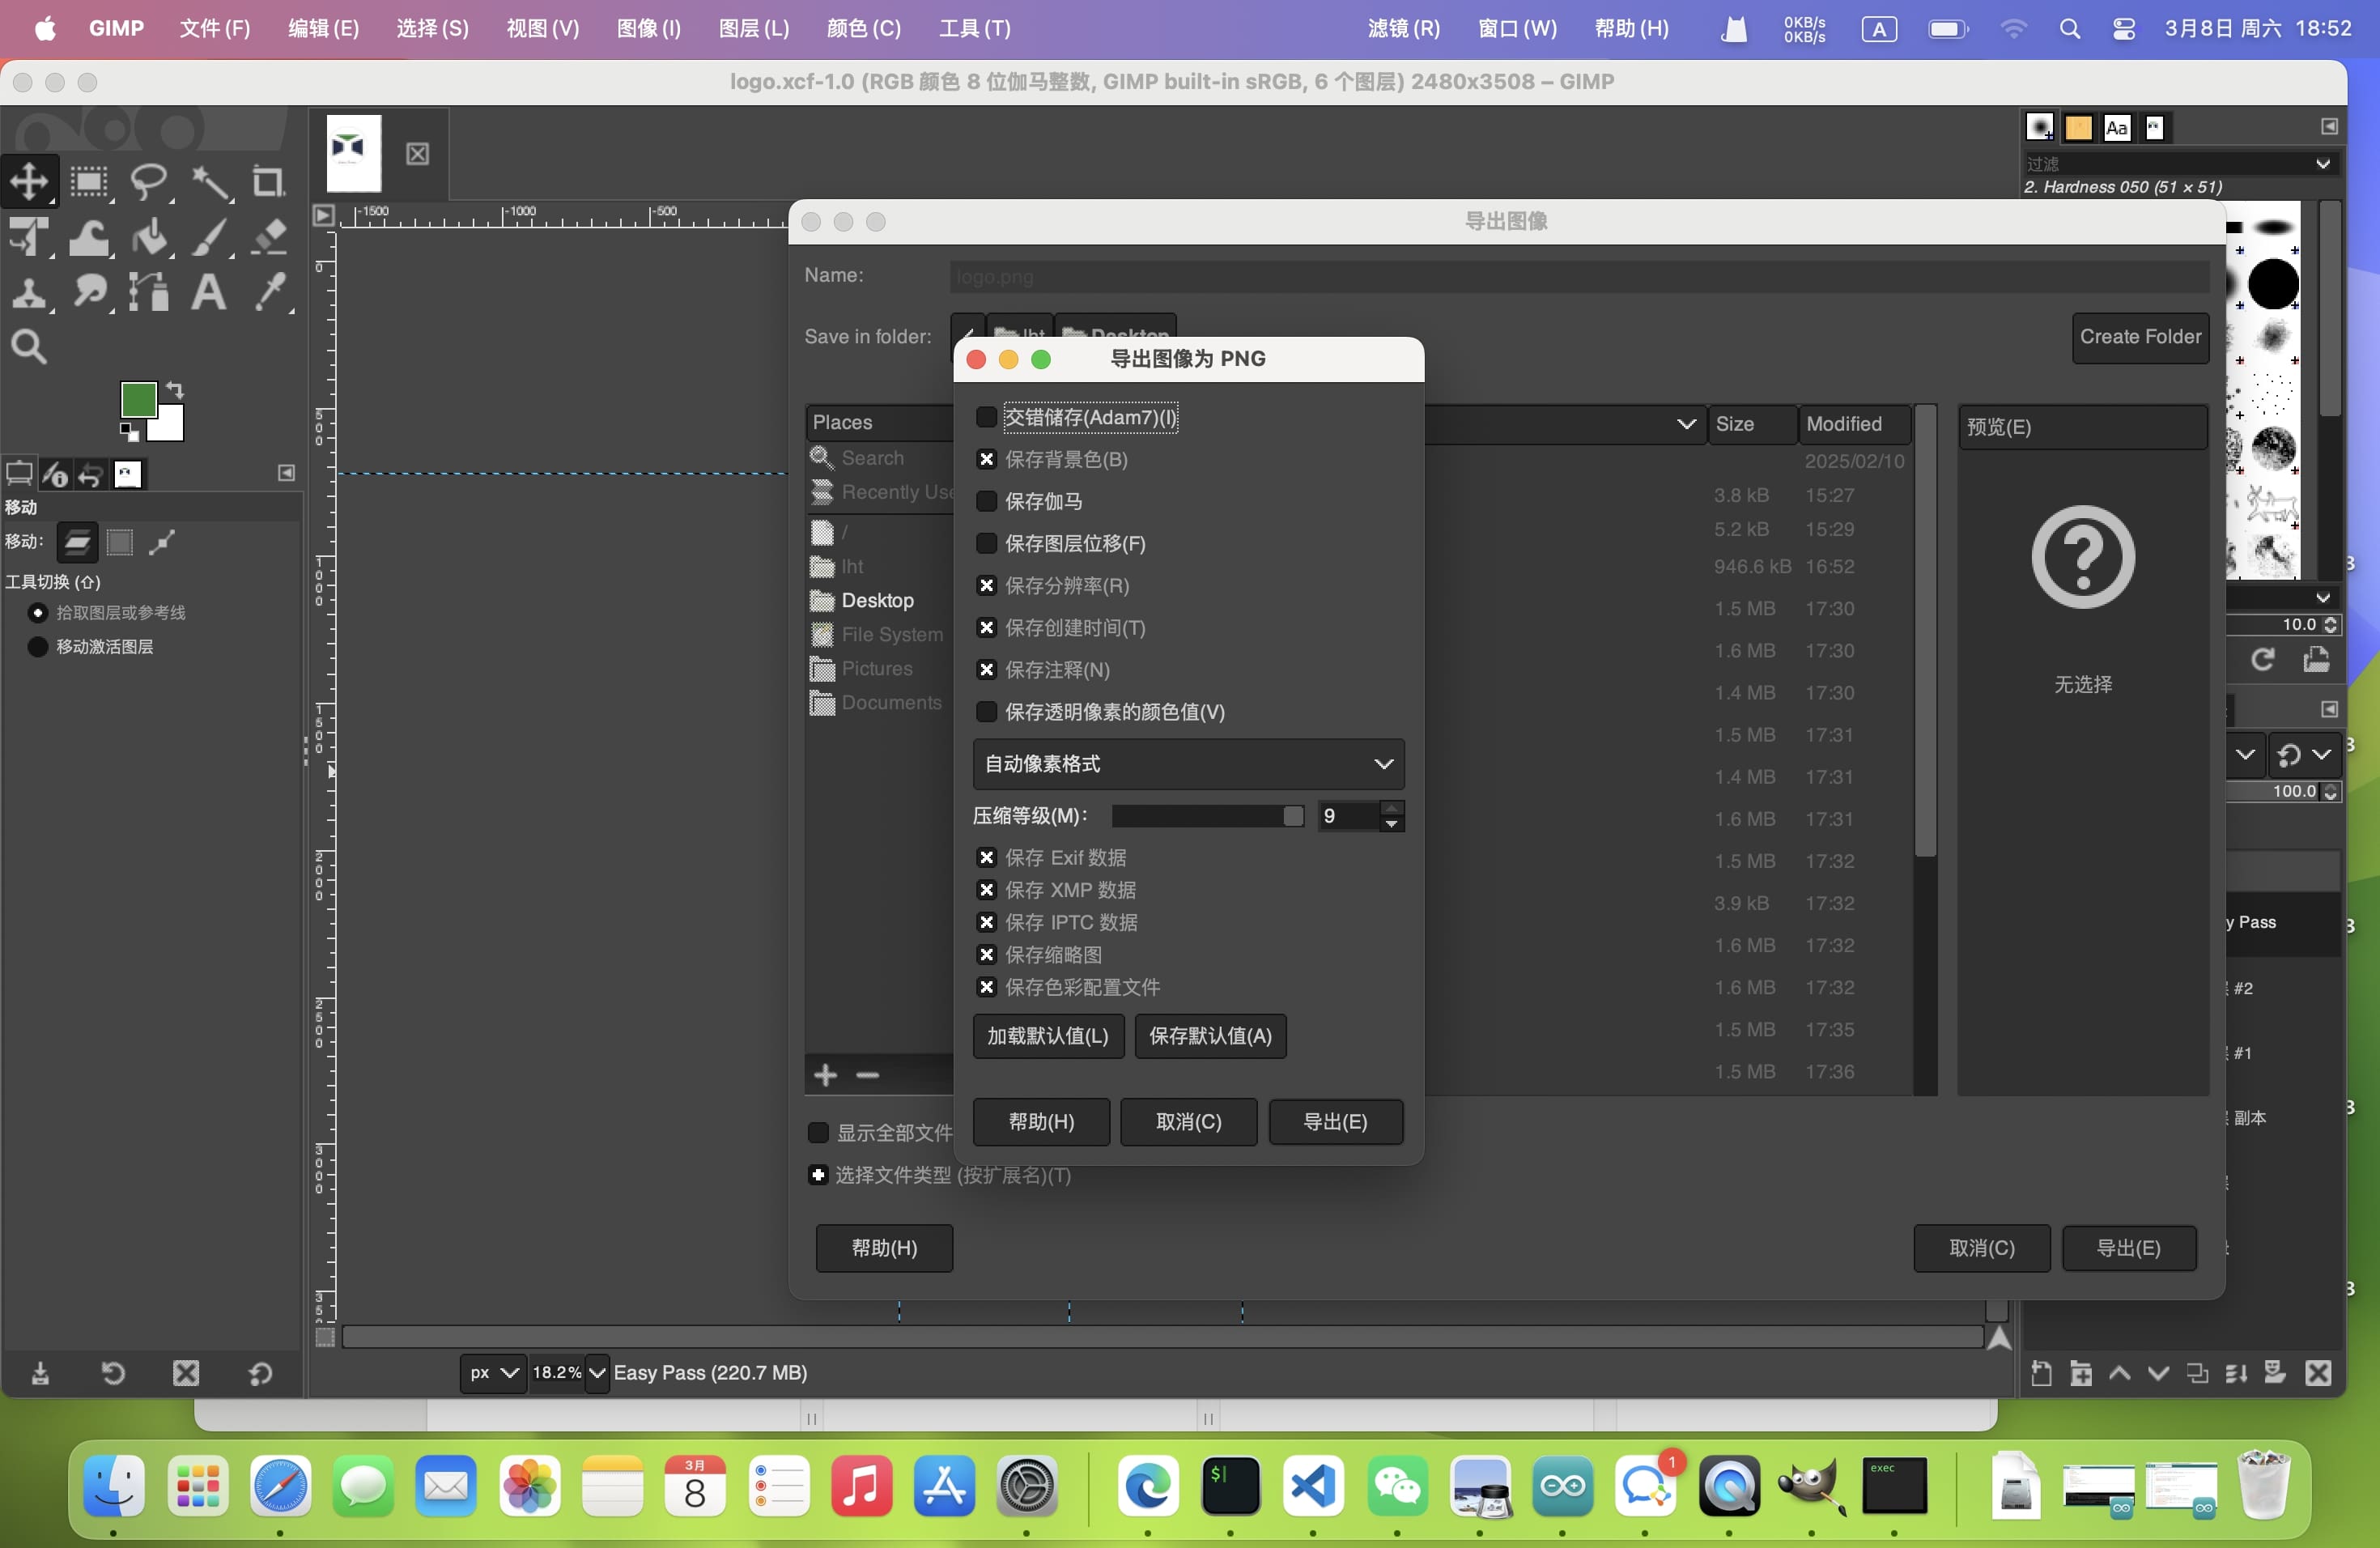
Once you have created and edited an image, you can export it in various file formats.
To export an image:
- Go to
File -> Export As. - Select the desired file format (PNG, JPEG, SVG, etc.).
- Choose the file name and destination folder.
- Click "Export" to save the image.
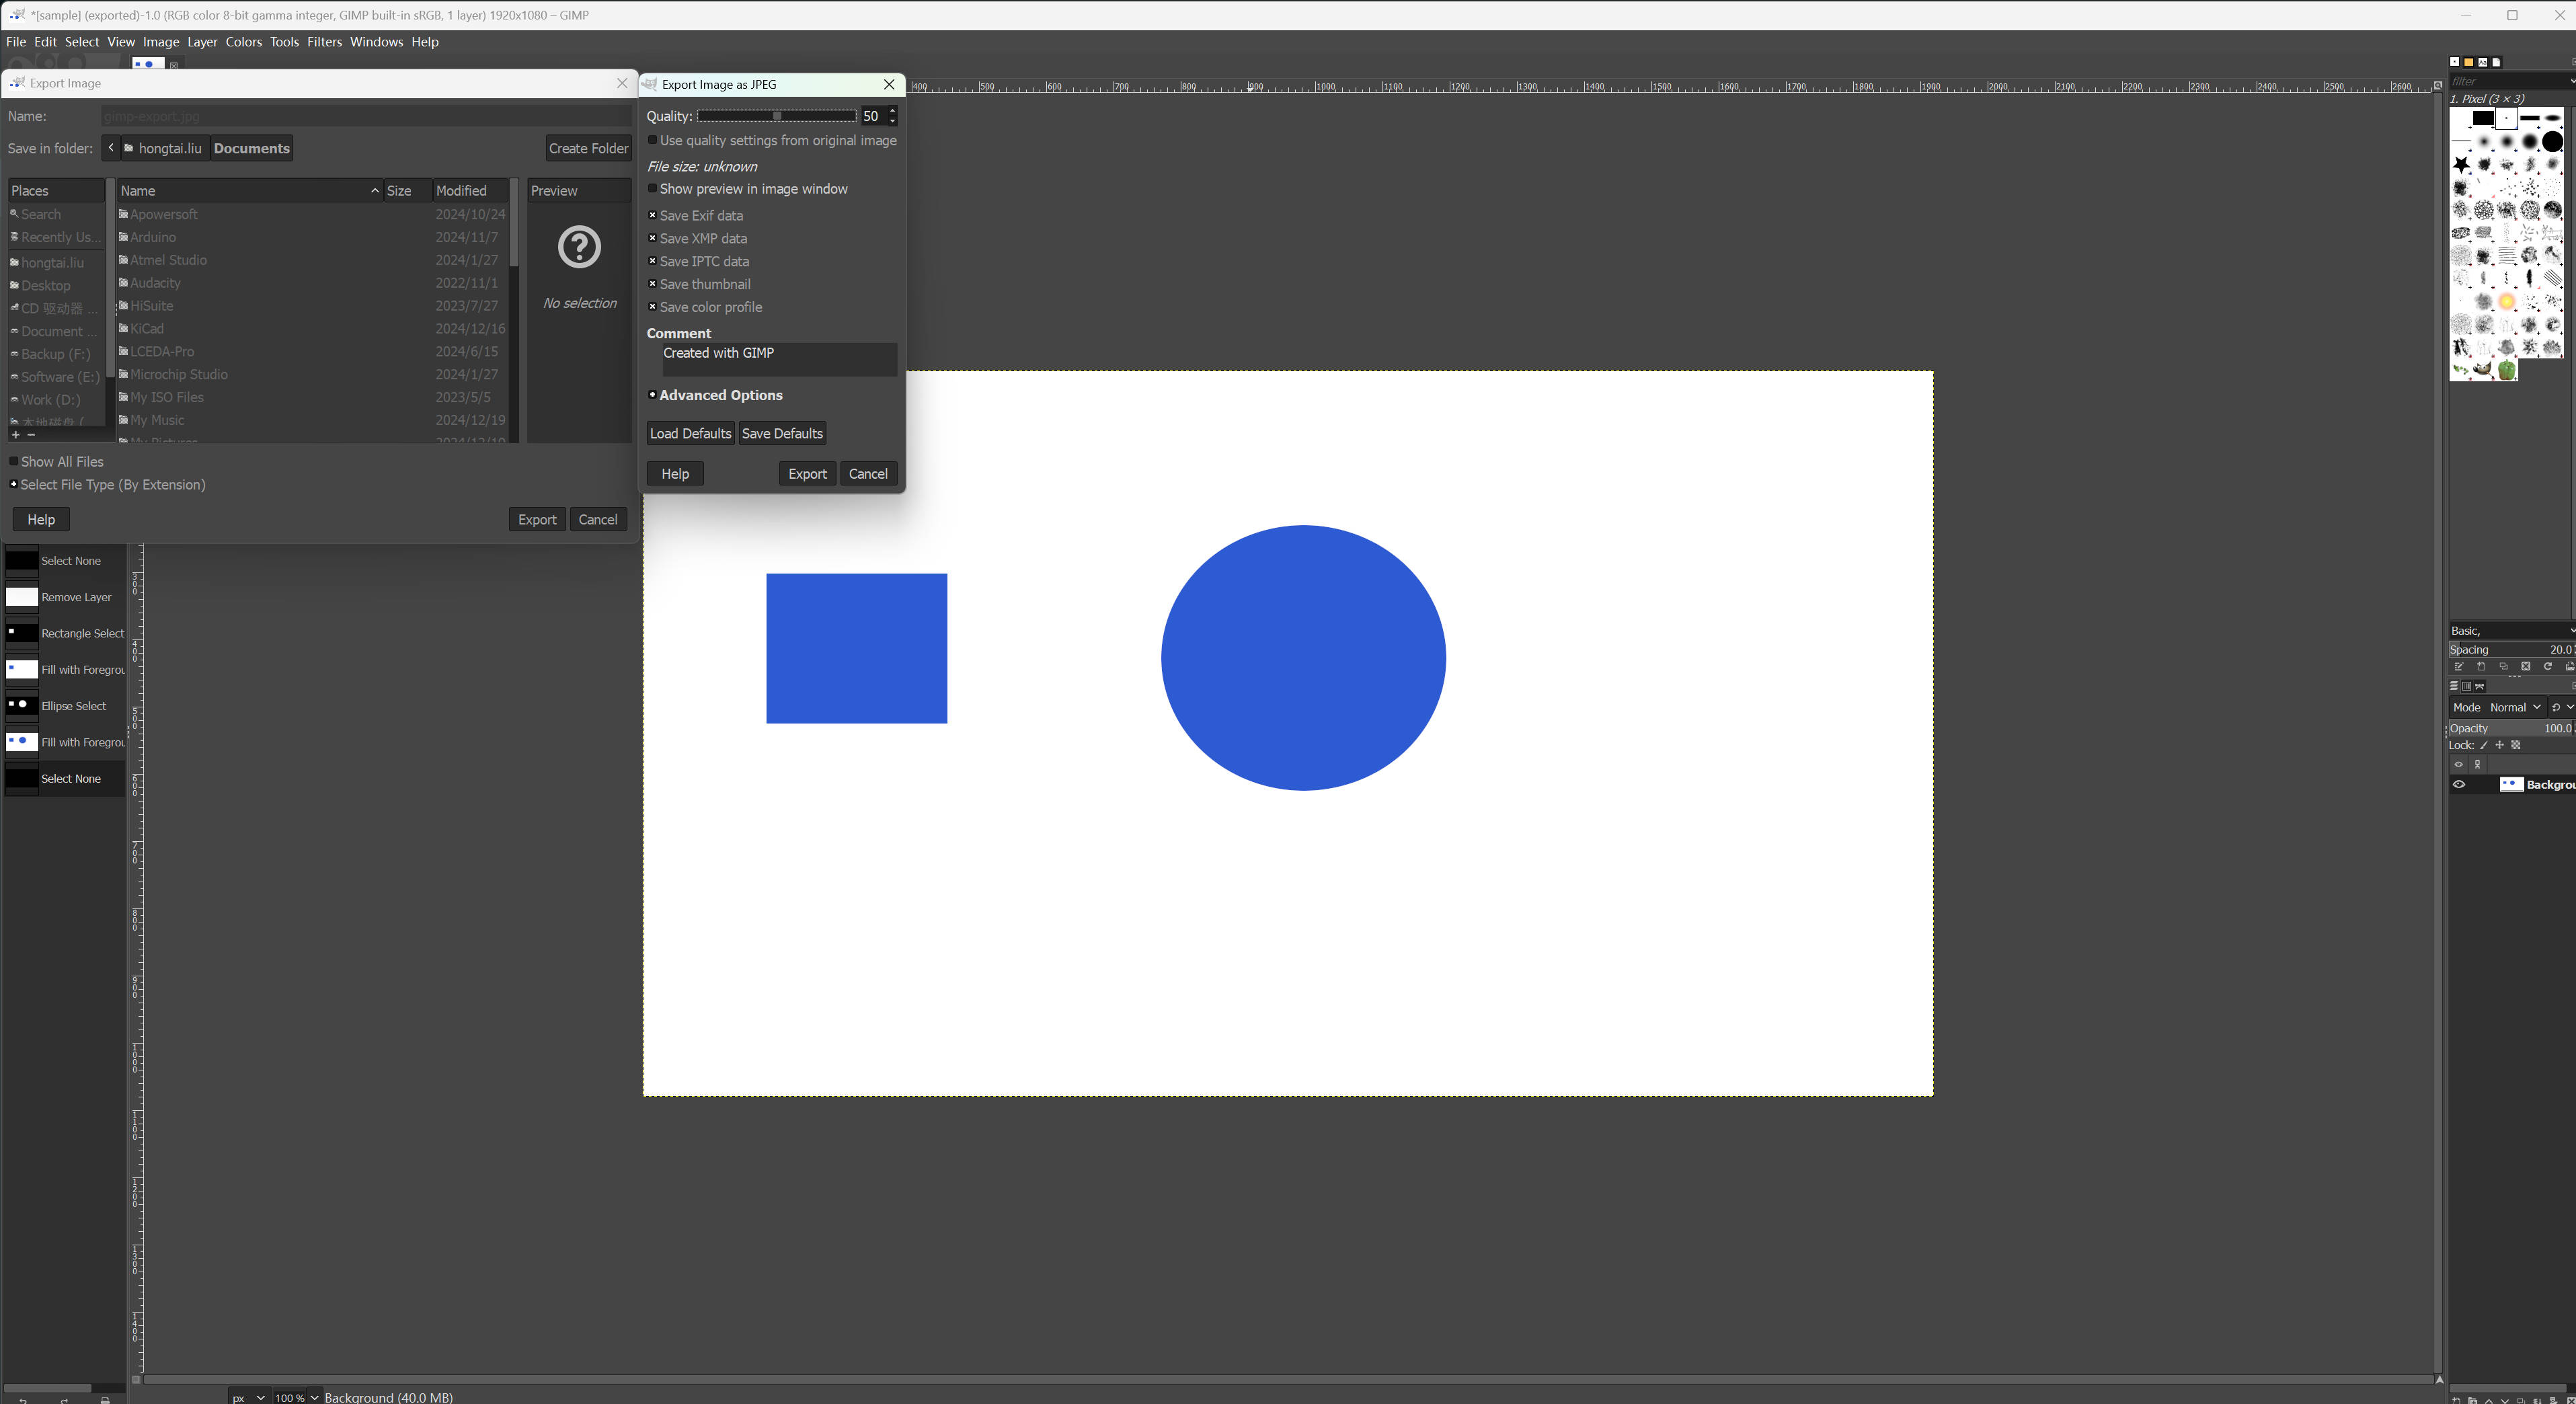
Then, I get a new image like this: 
1.2 Creating a Logo for a Project
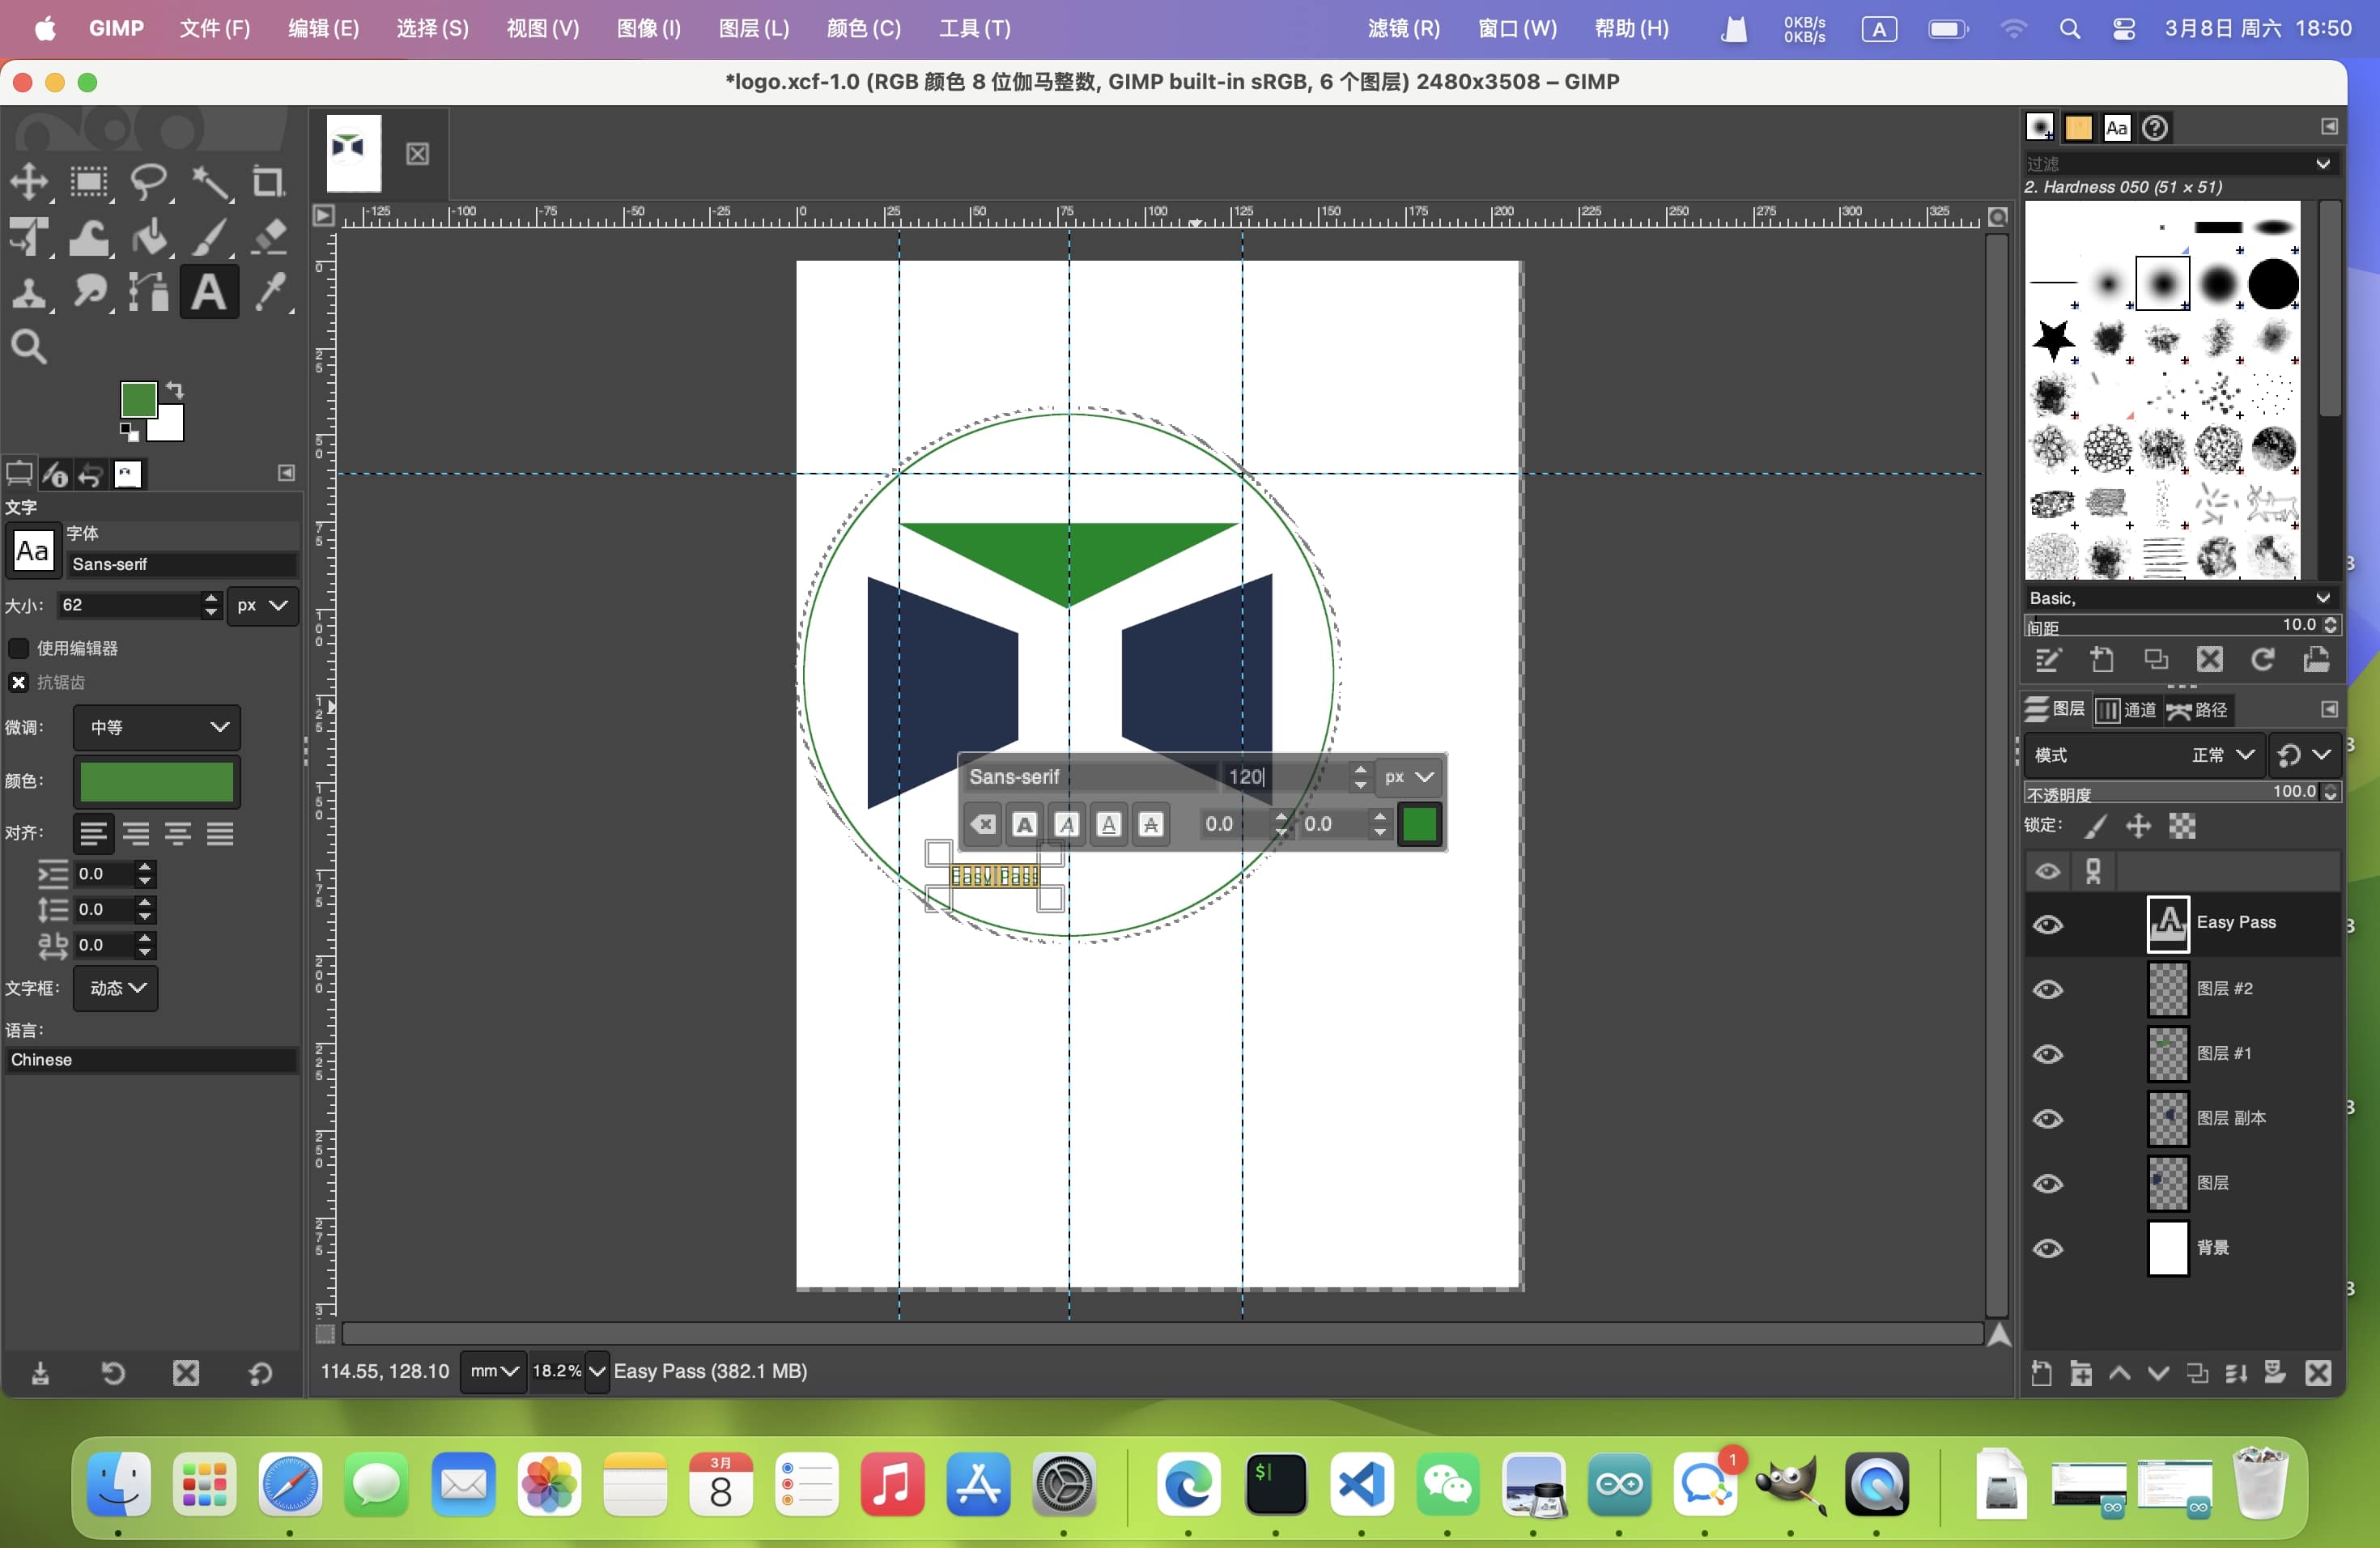
For my project, which is an intelligent access control system called EasyPass, I wanted to design a logo that resembles a door. Below are the steps I followed to create the logo using GIMP.
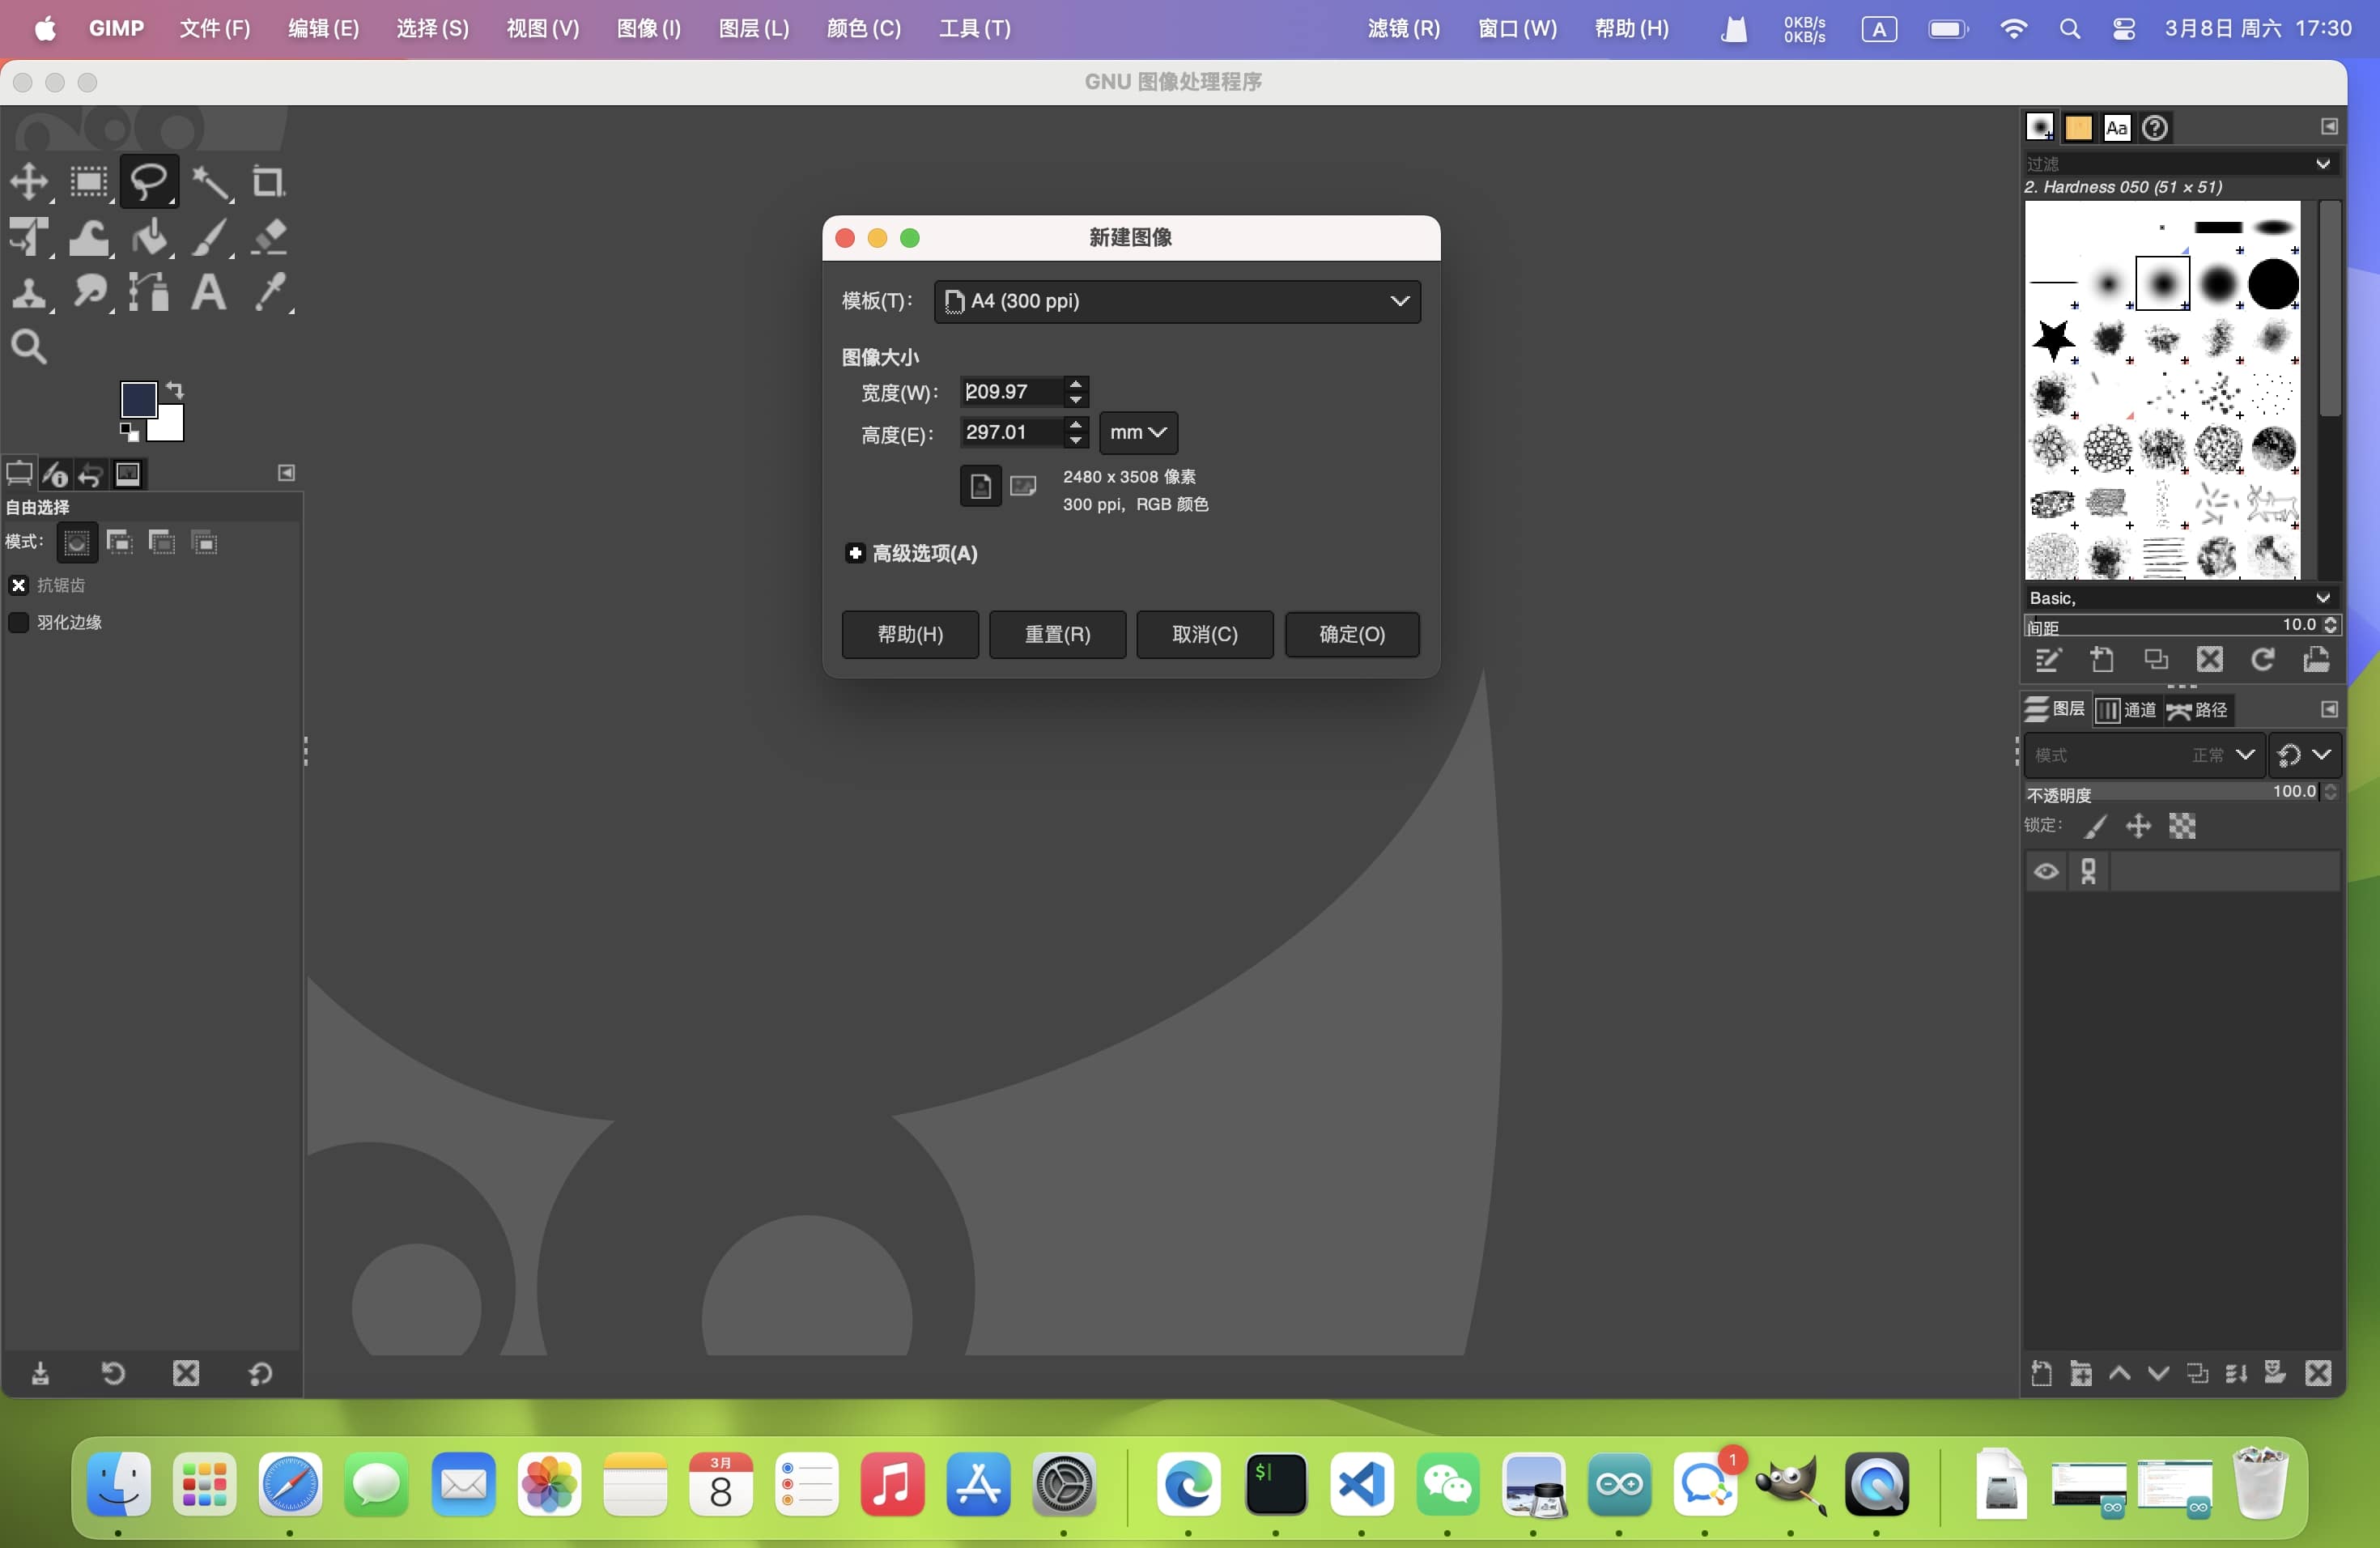
Step 1: Create a New Project
- Open GIMP and create a new canvas with appropriate dimensions.
- Set up a transparent or white background.
Step 2: Create a Layer
- Add a new layer to keep the design separate from the background.
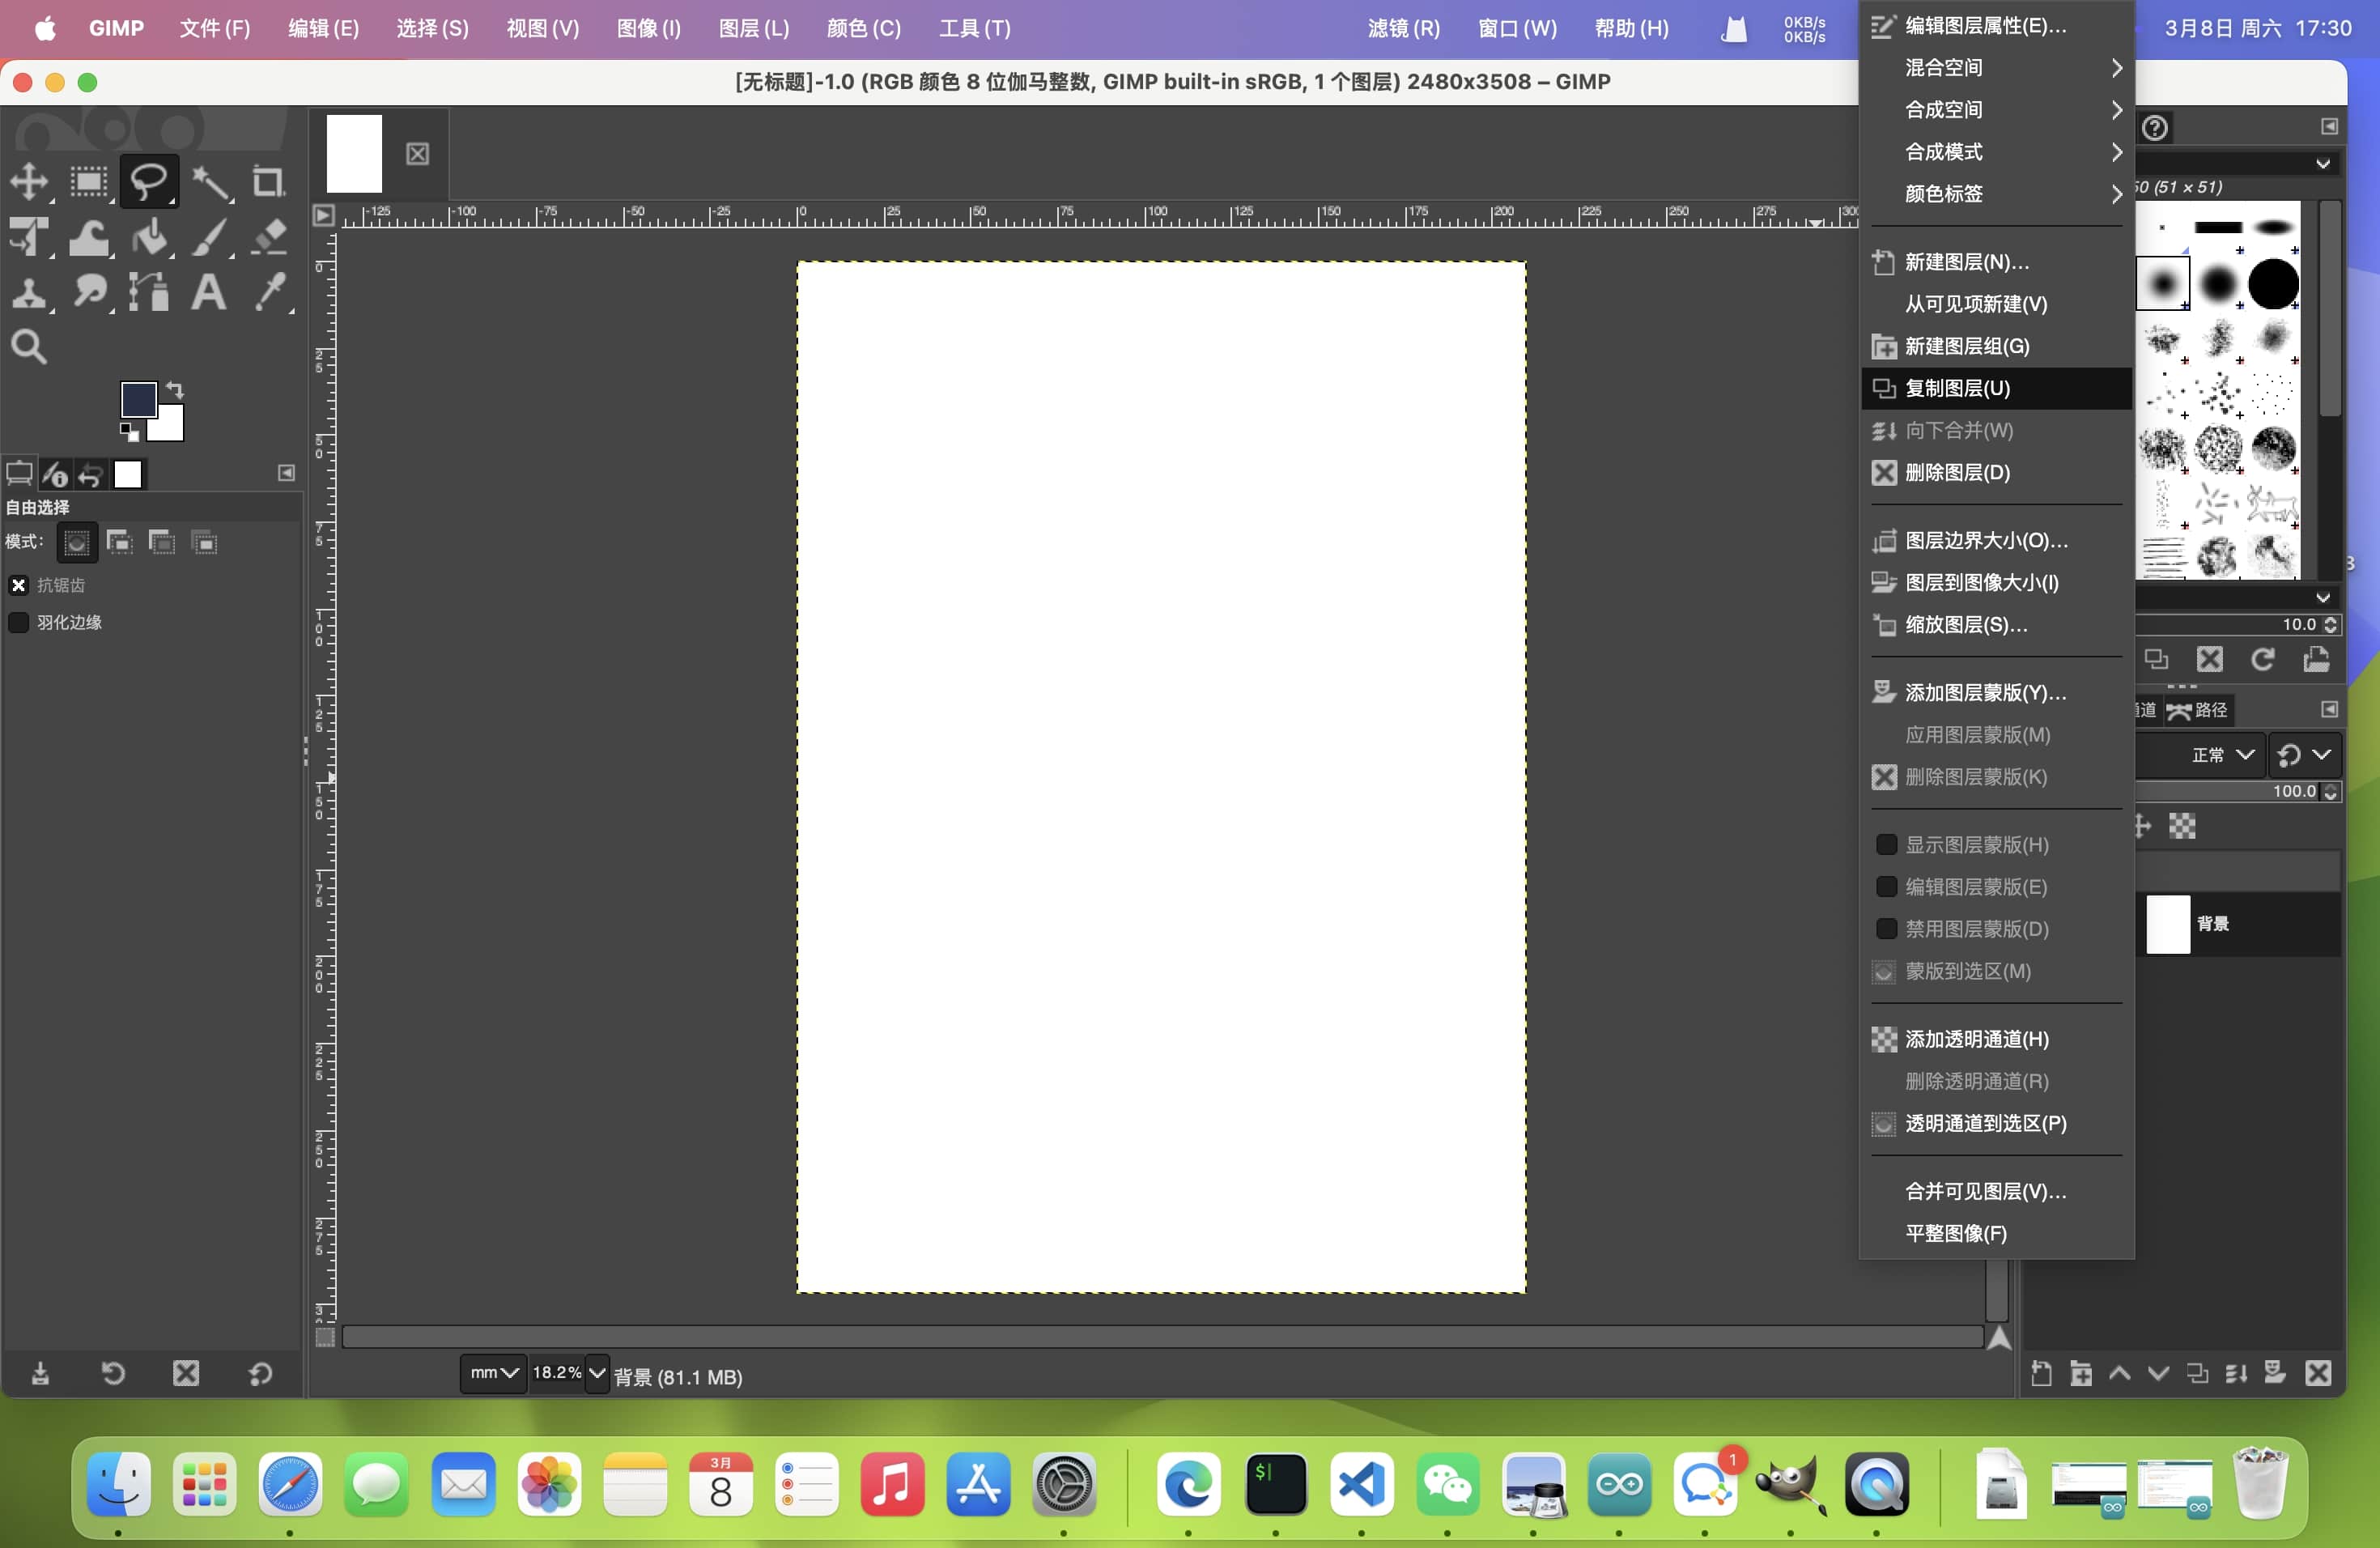
- Set up auxiliary lines for alignment and symmetry.
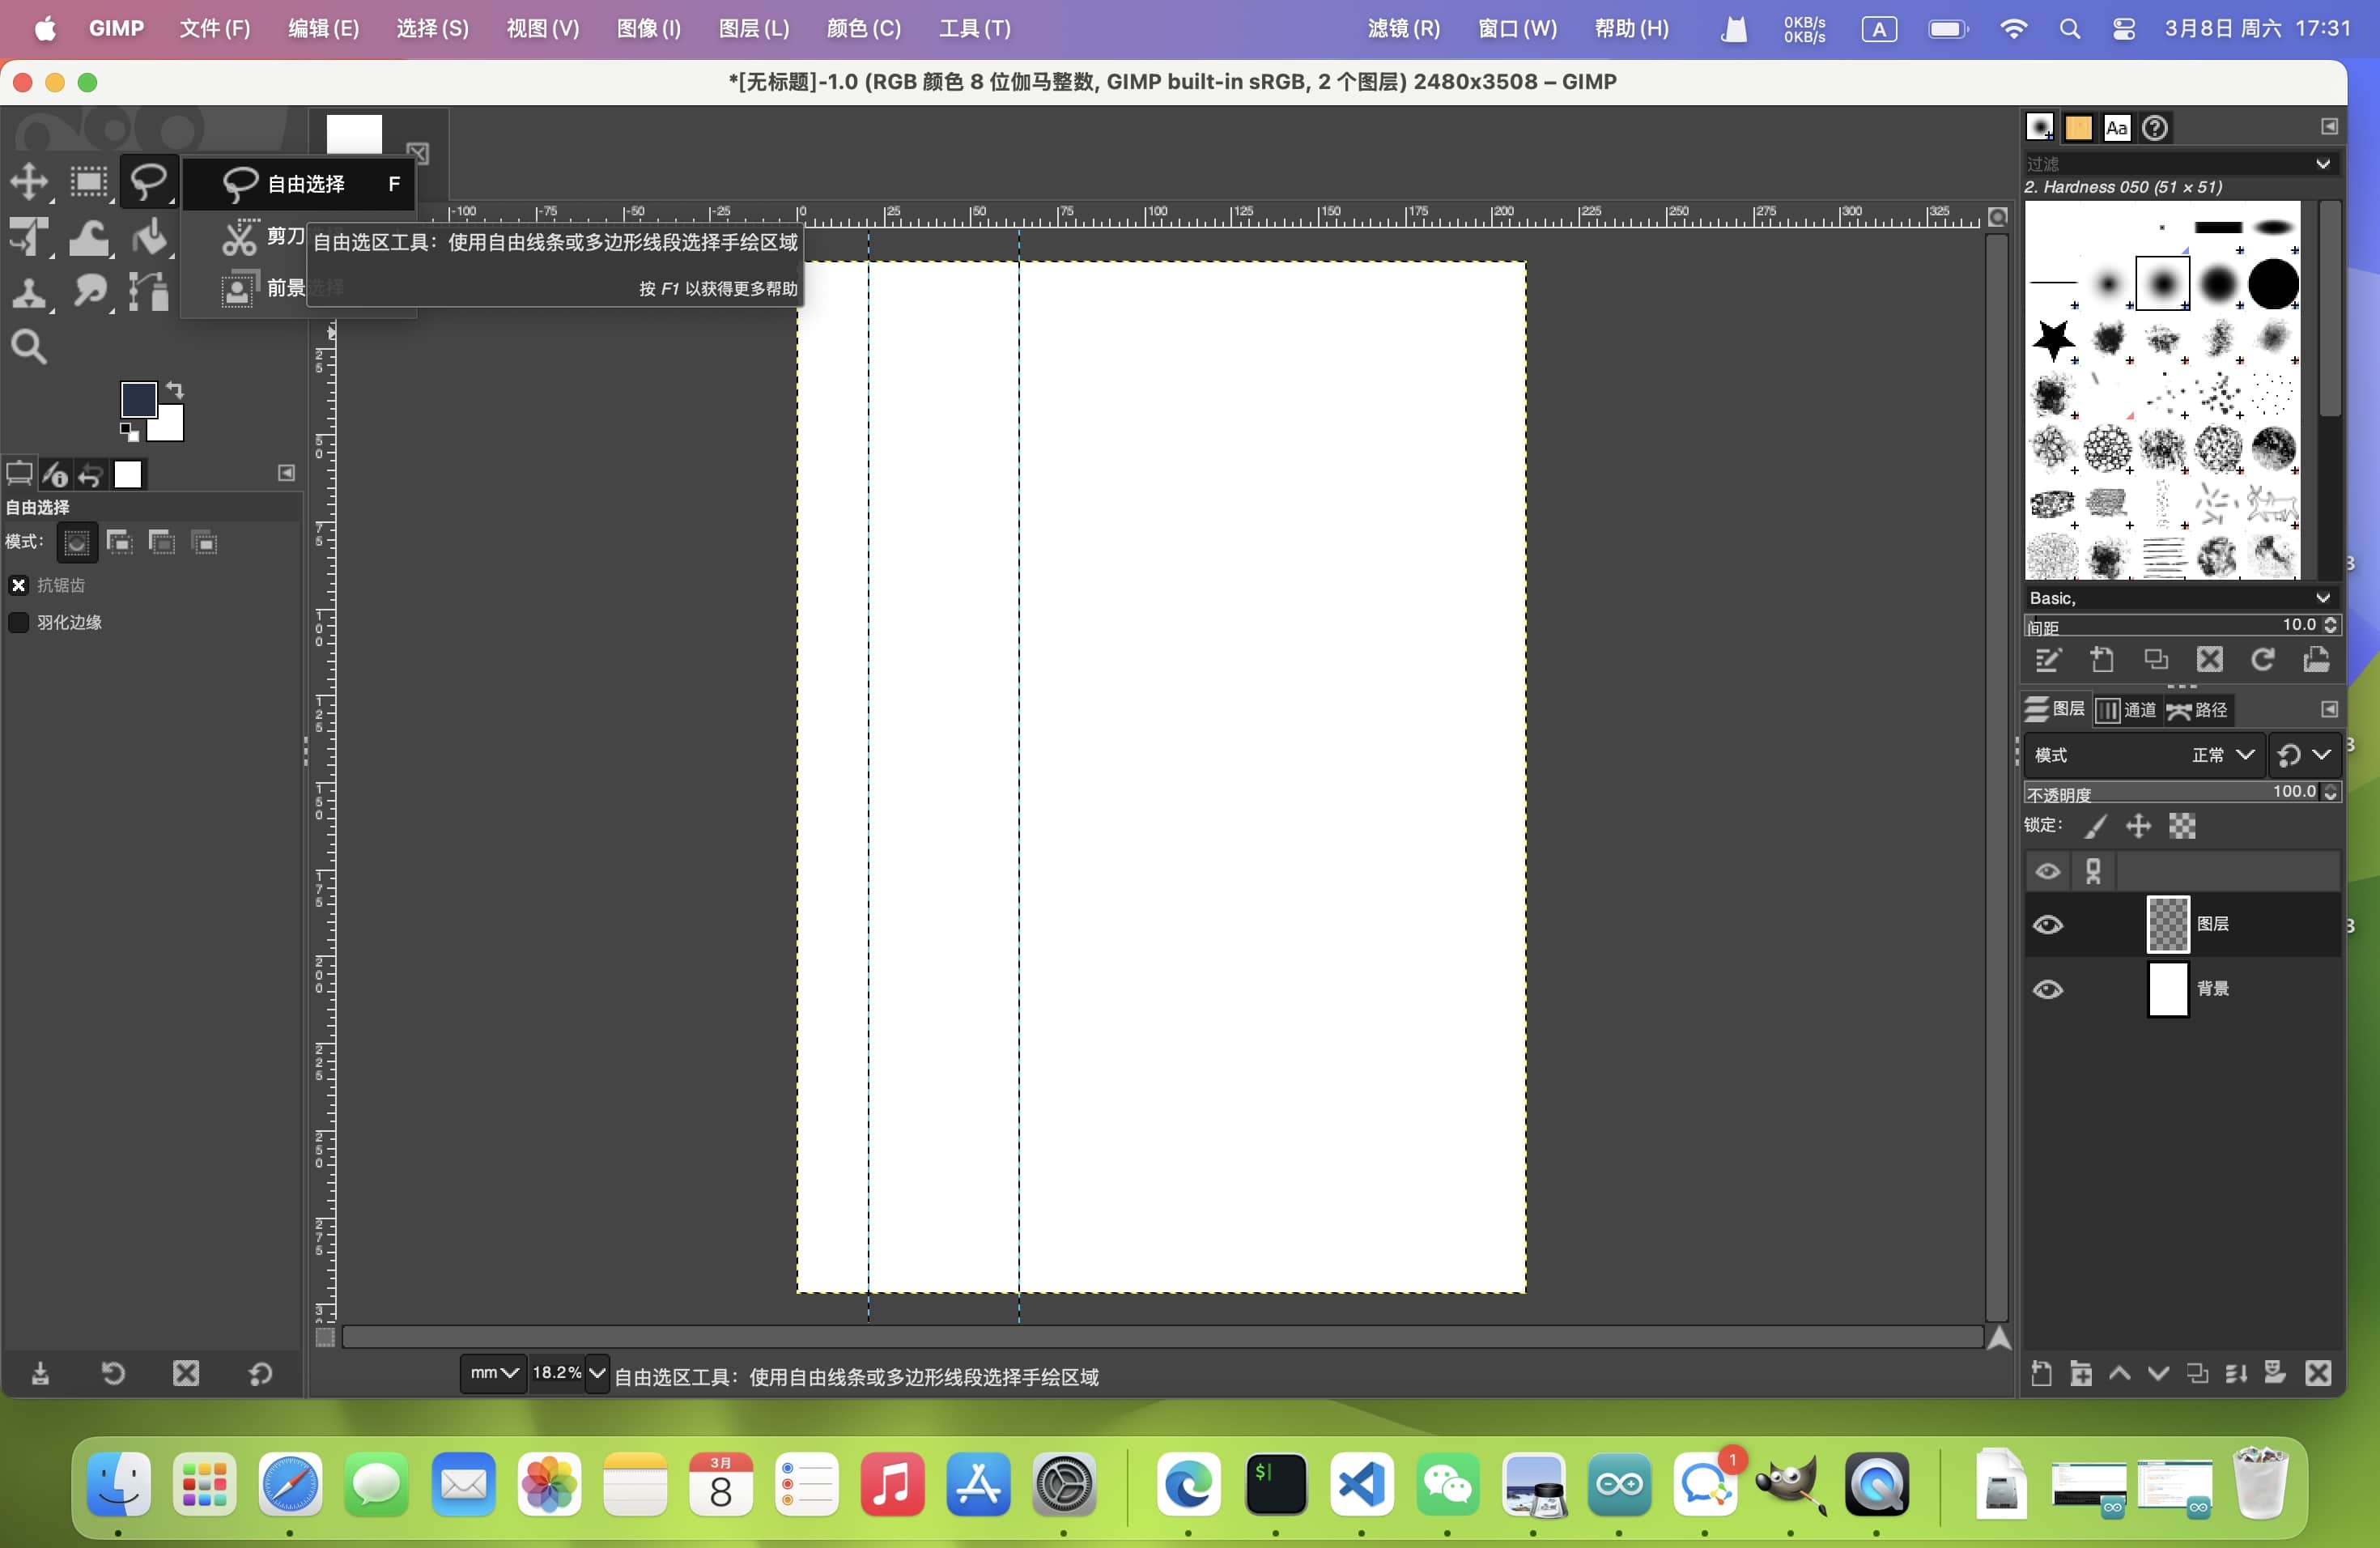
Step 3: Draw a Door
3.1 Draw the Main Door Structure
- Use the rectangle tool to draw the basic door shape.
- Adjust the size and position as needed.
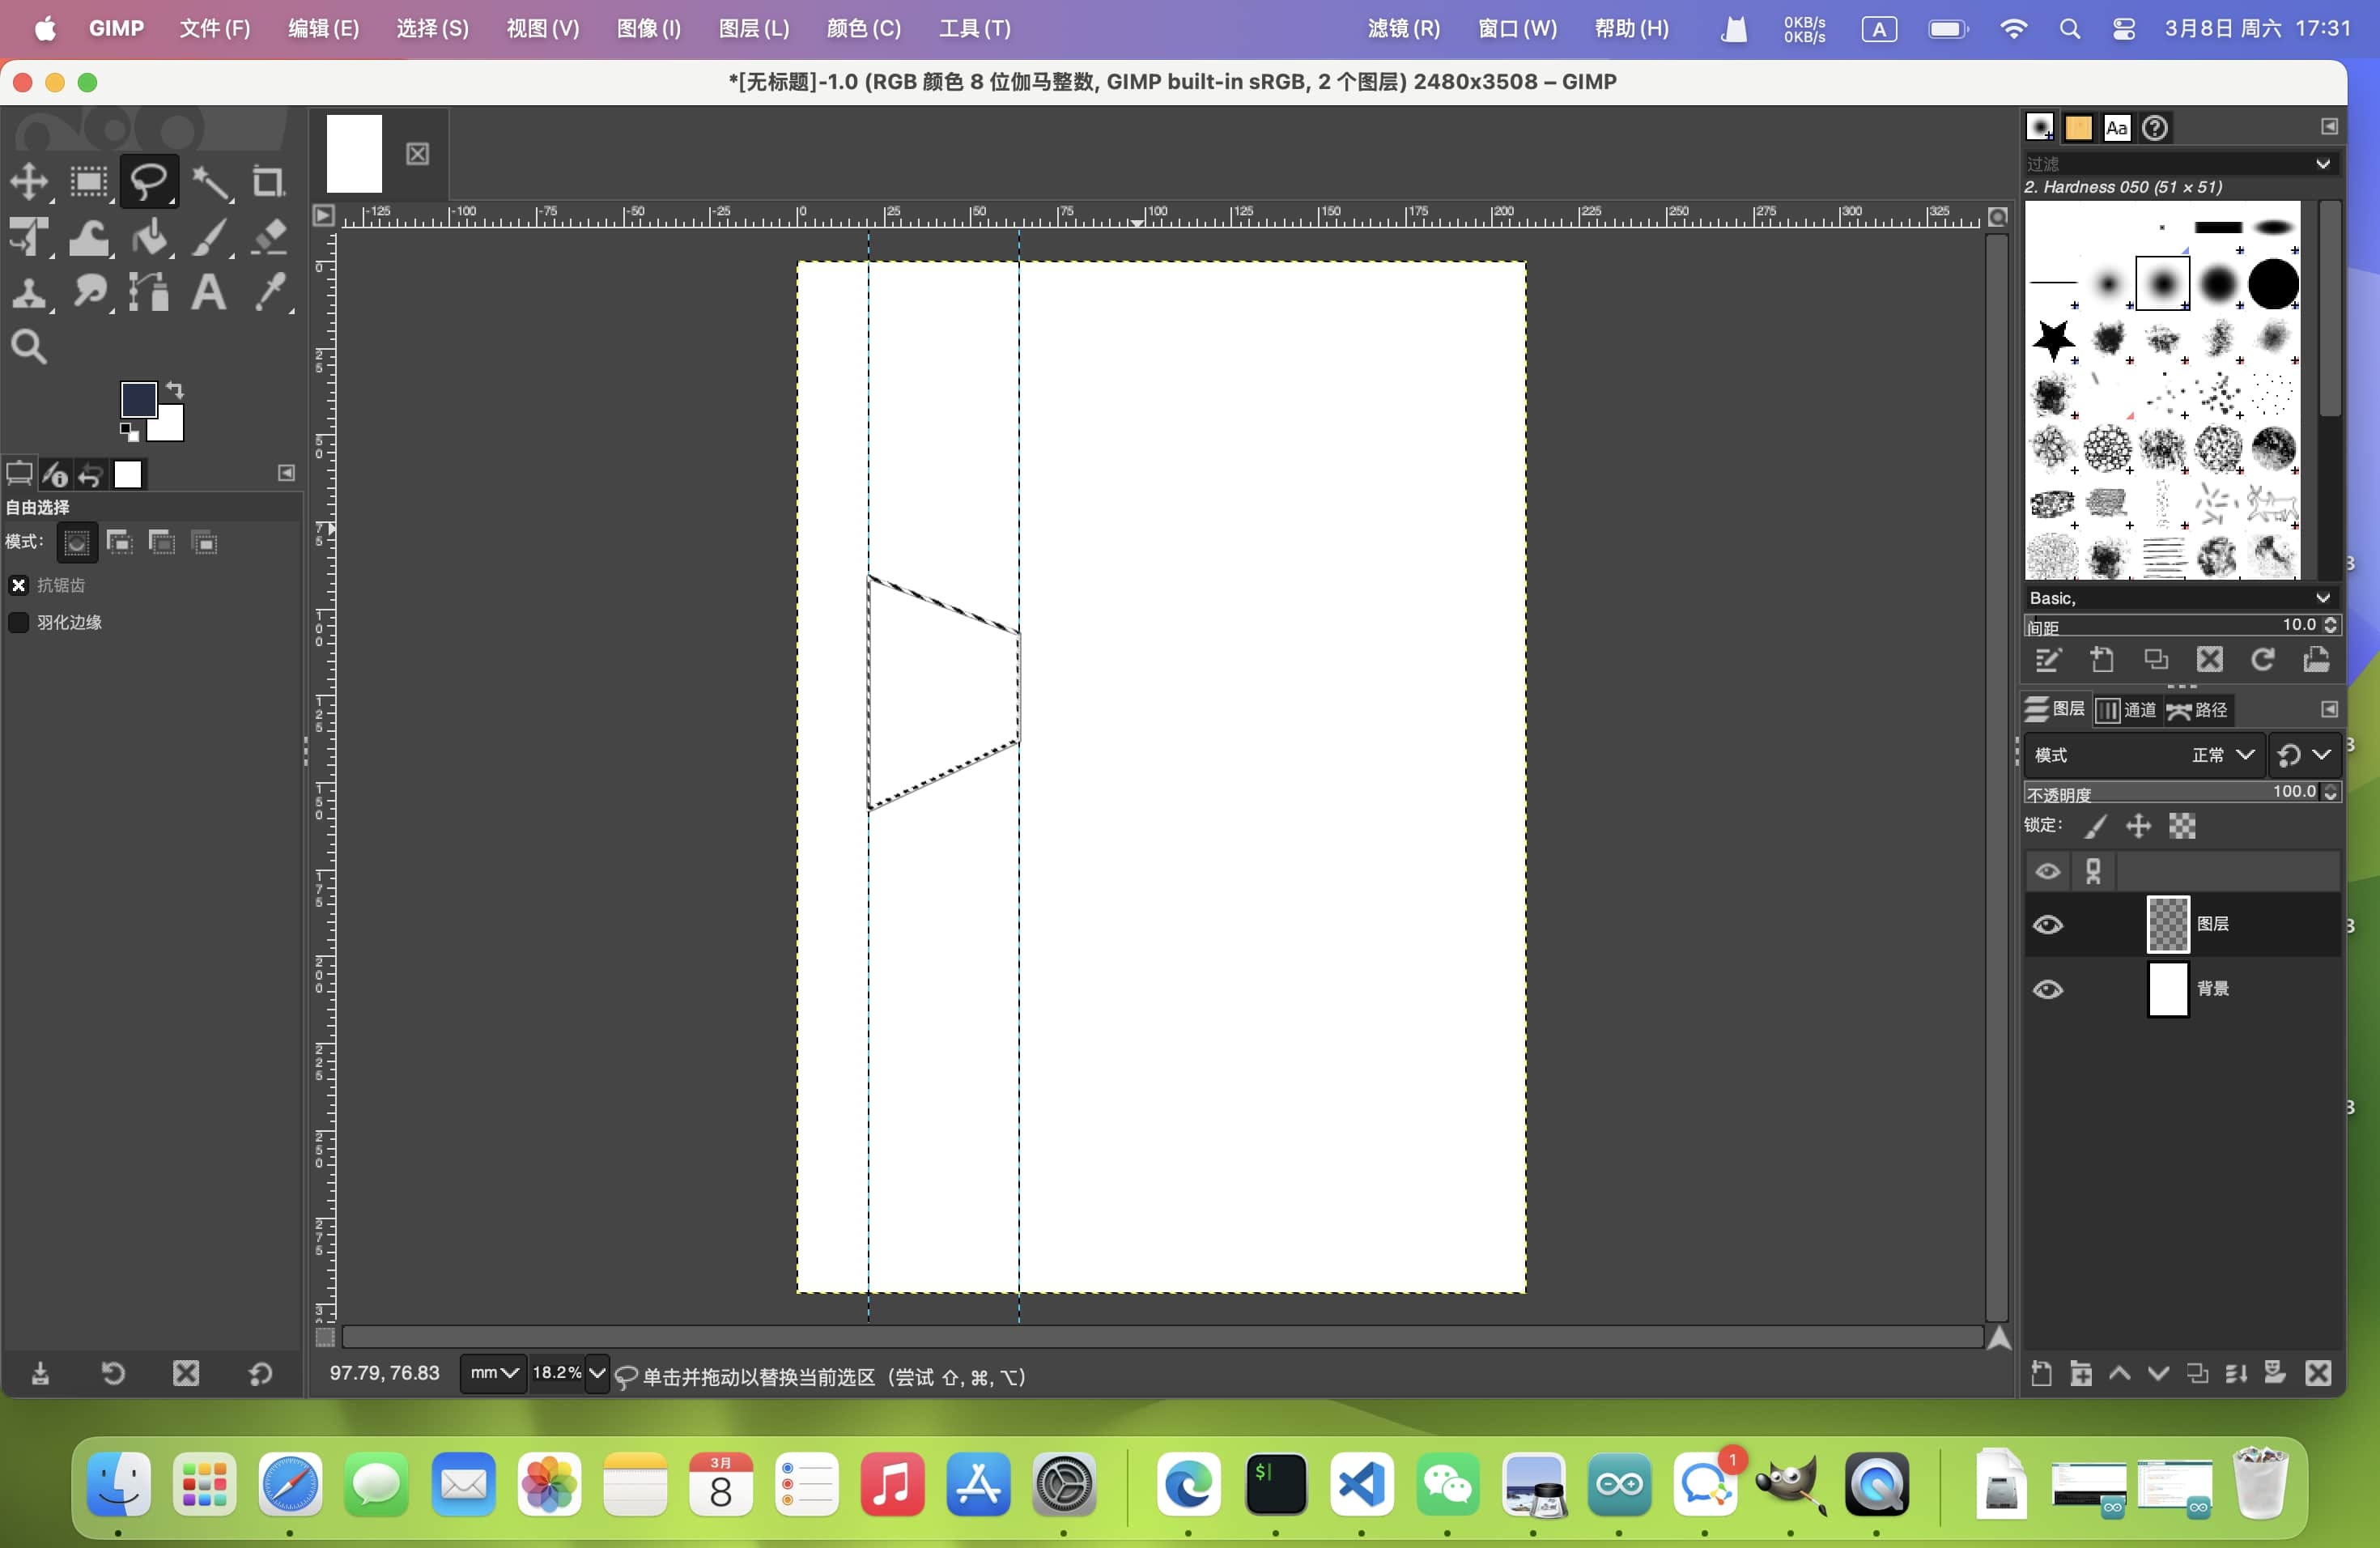
- Fill the rectangle with a solid color to create the door.
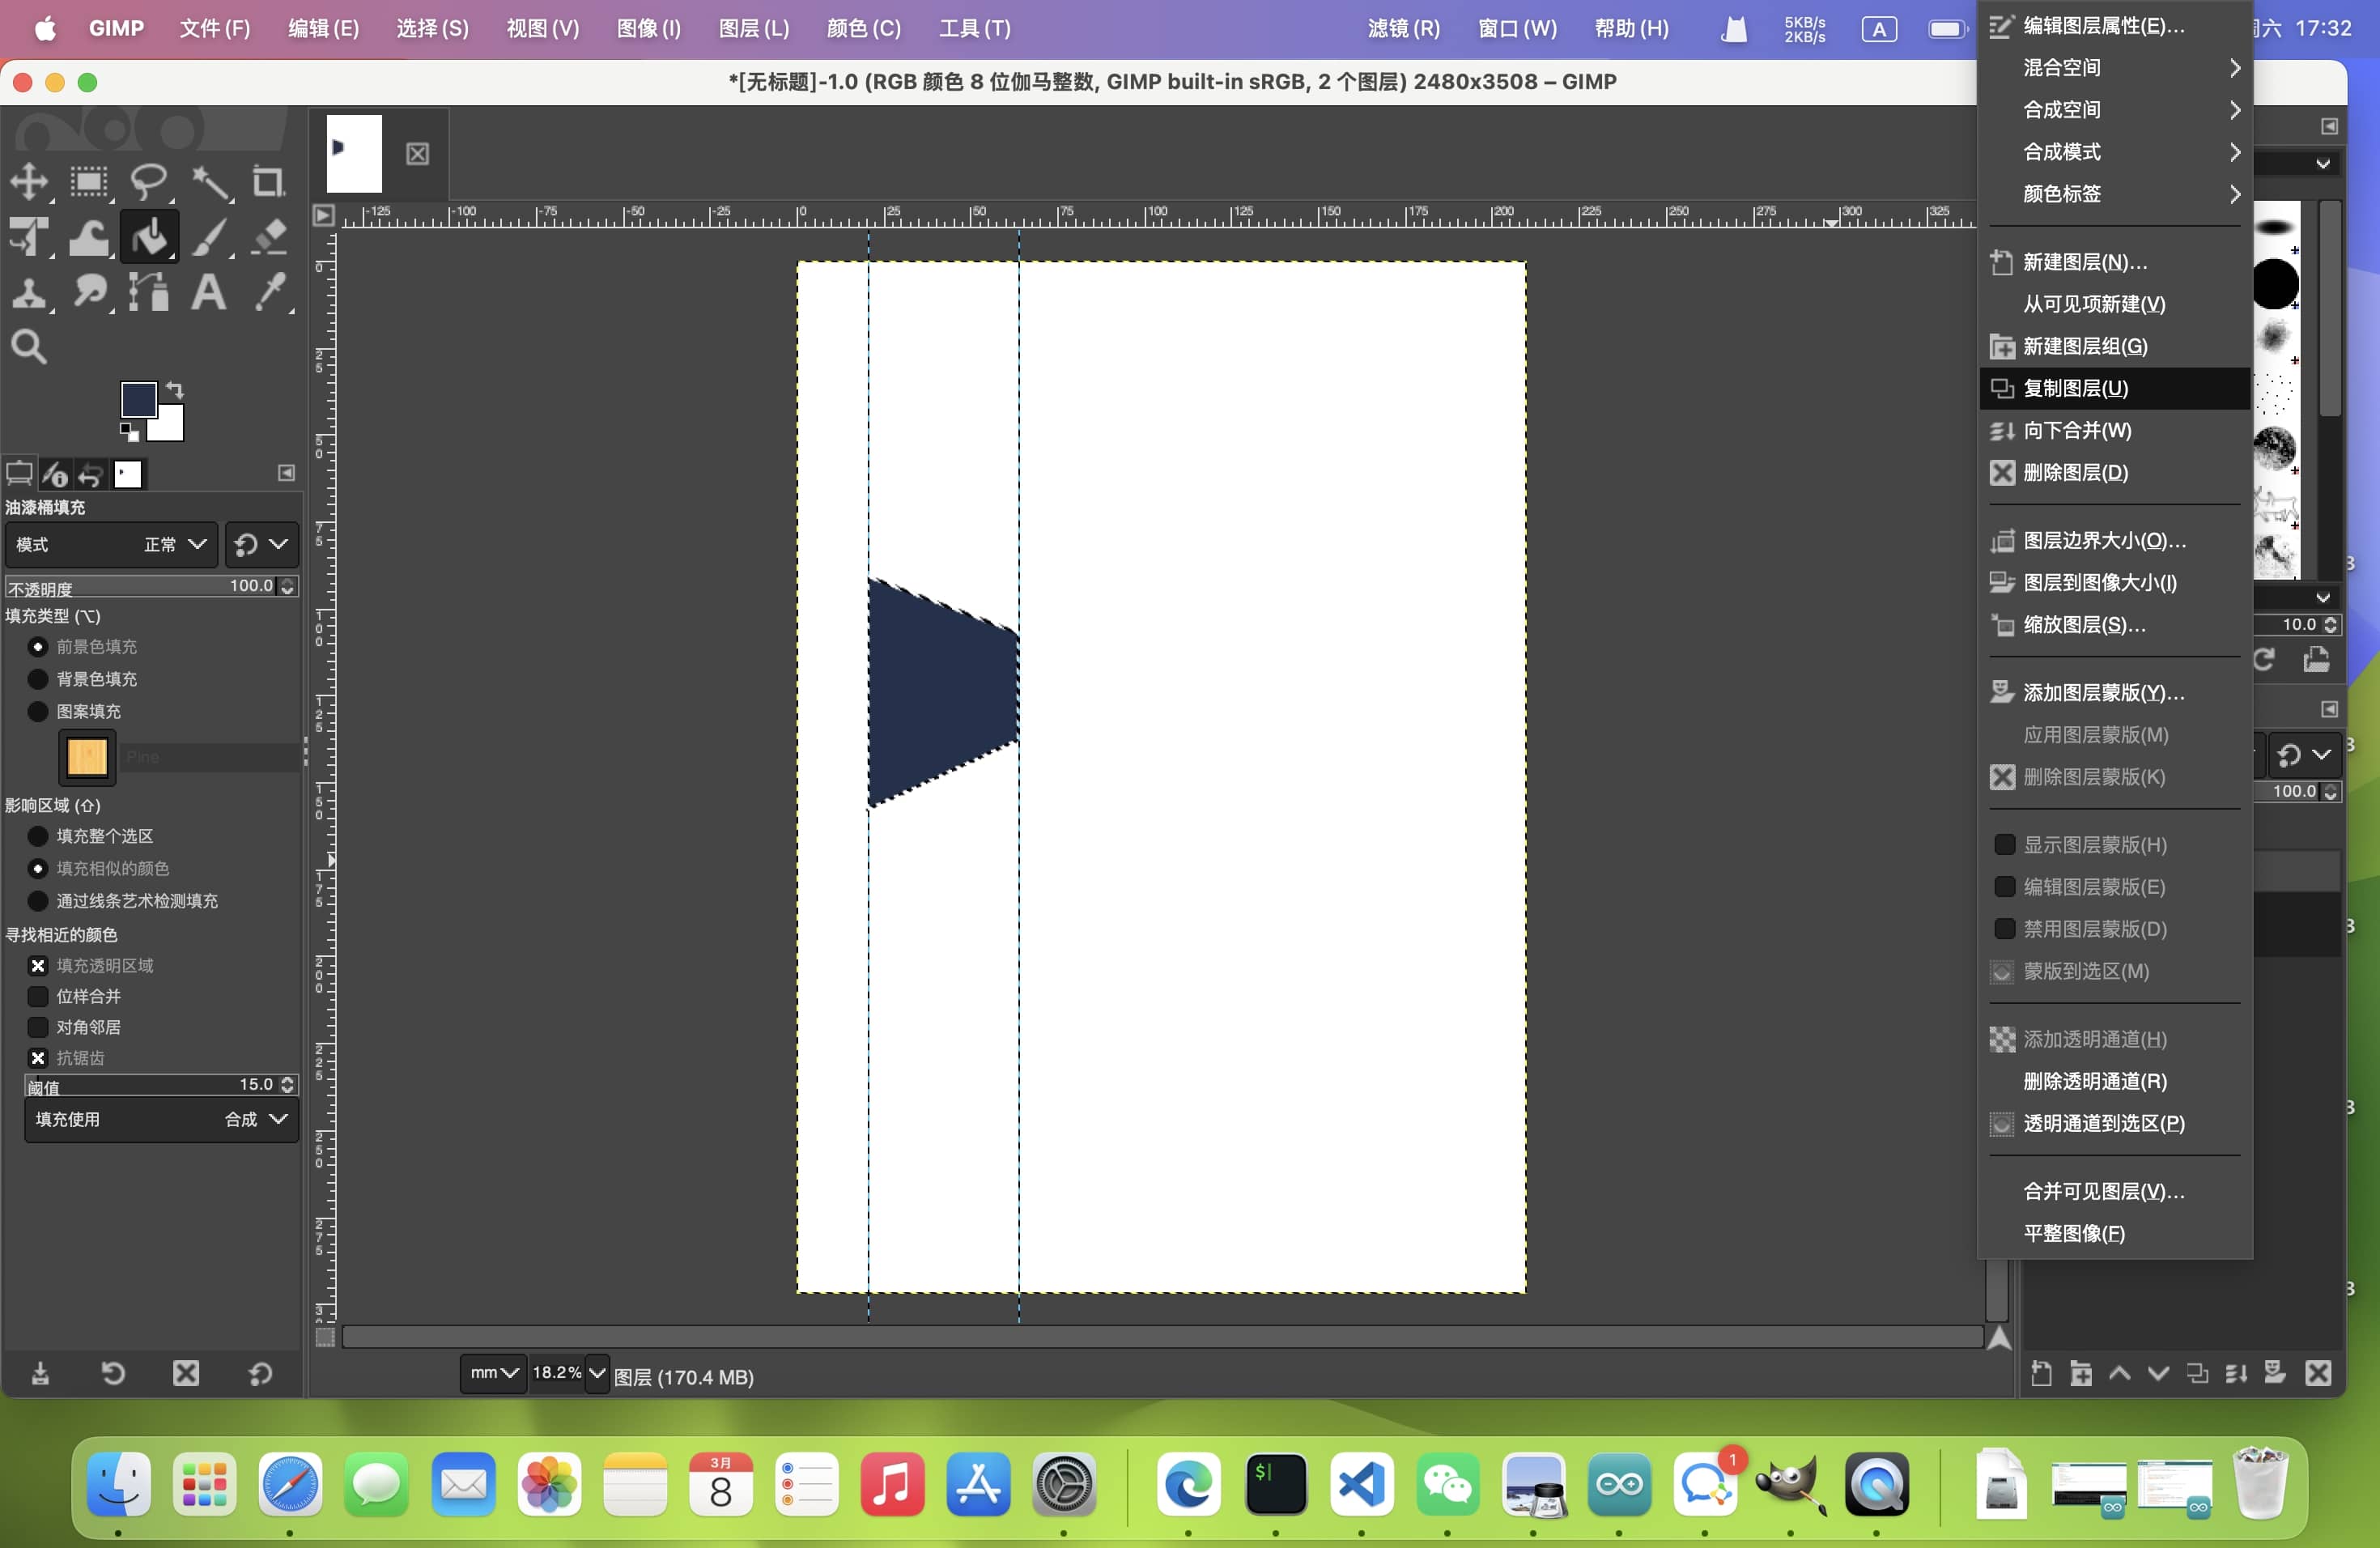
- Mirror the rectangle to create symmetry.
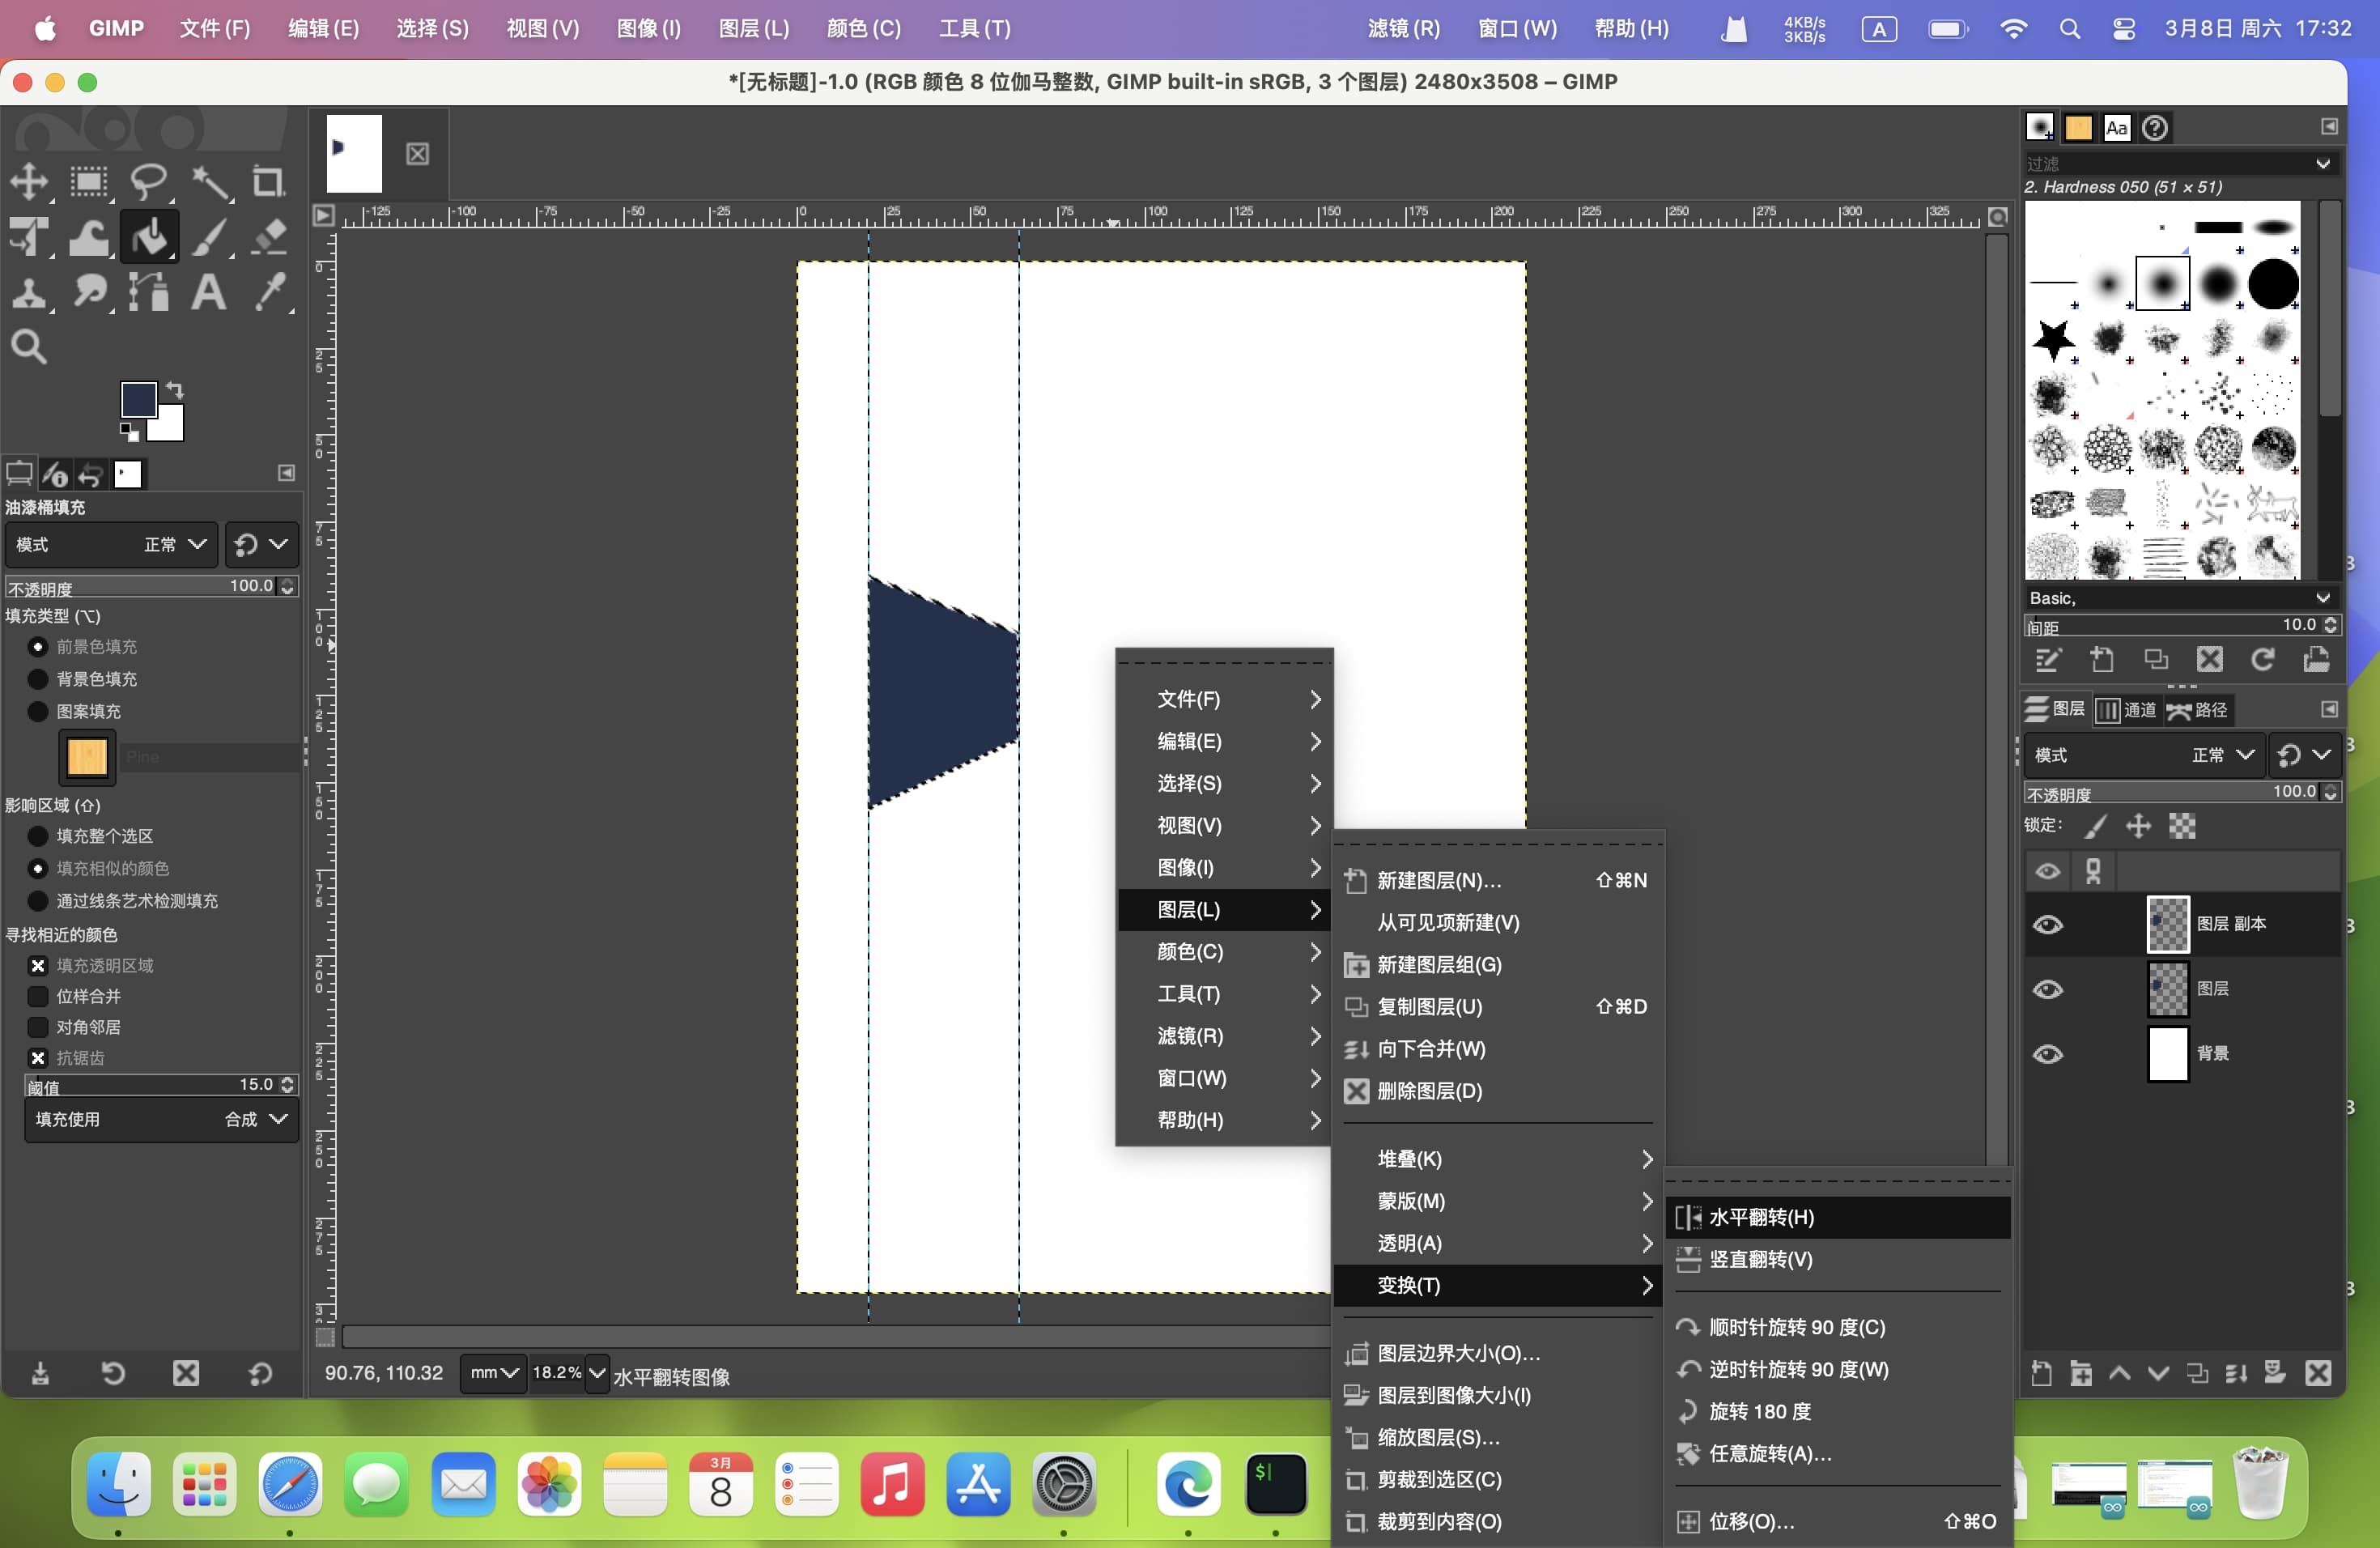
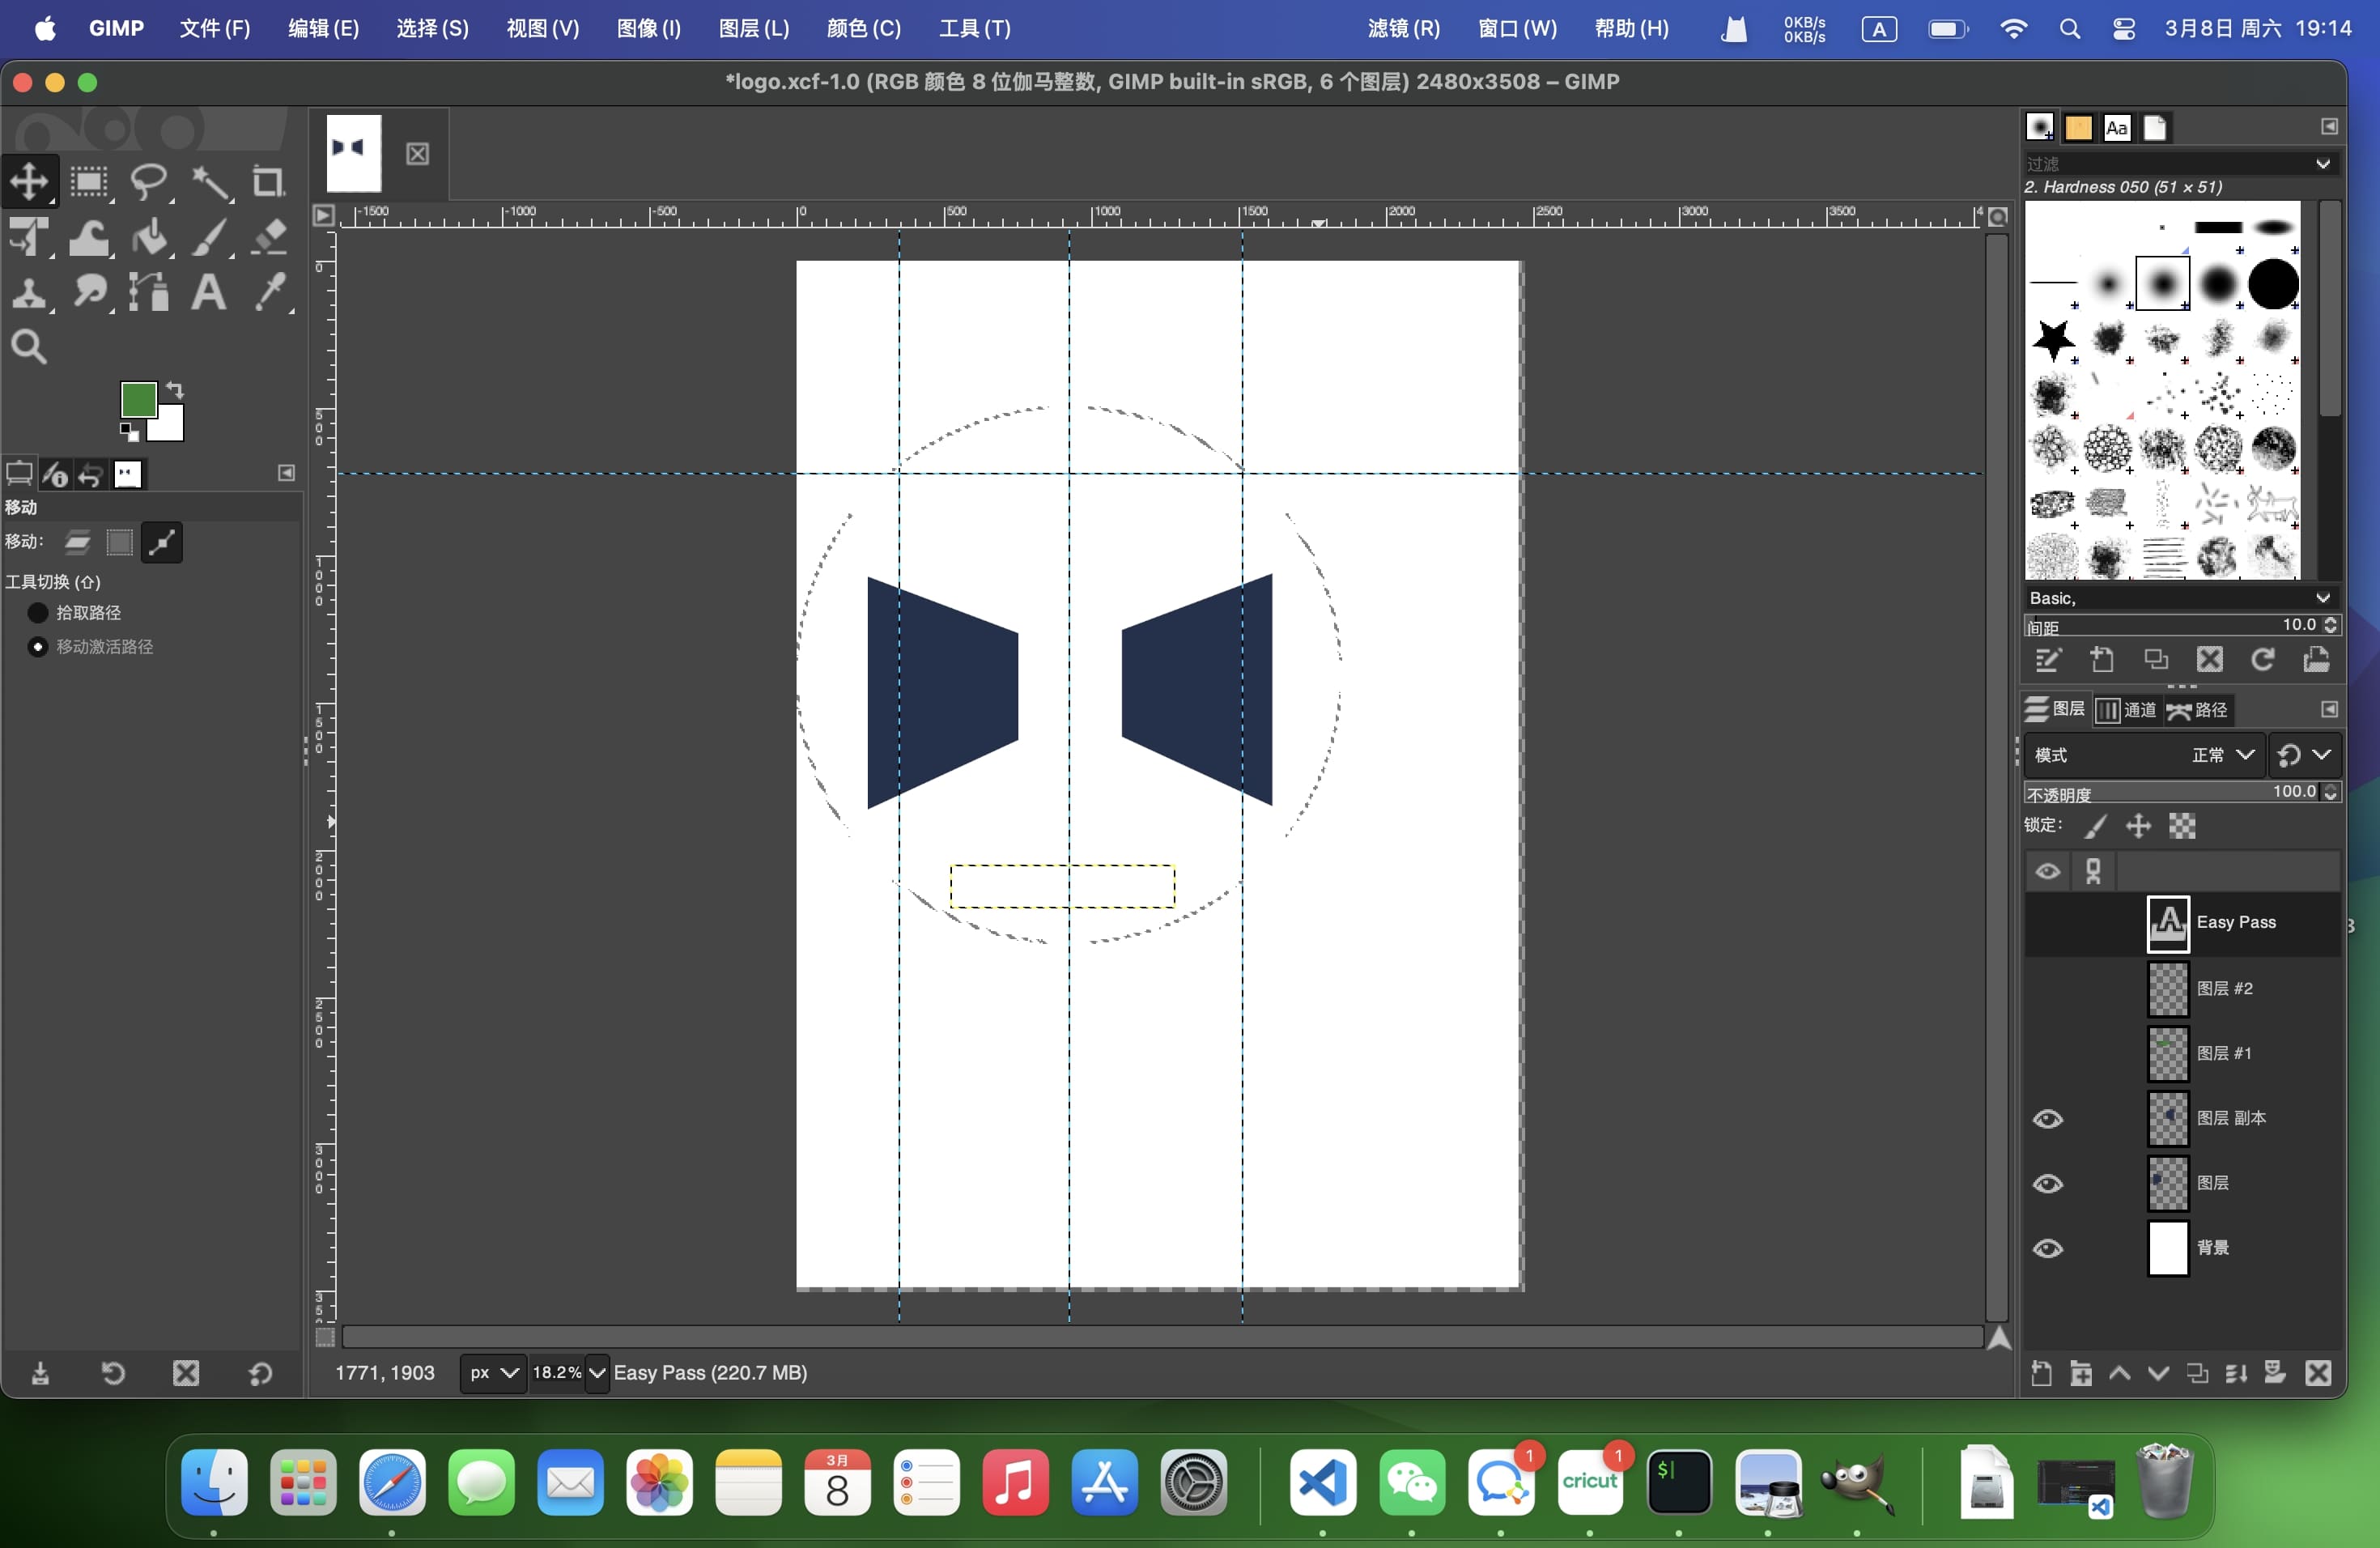
3.2 Add Additional Elements
- Use the polygonal selection tool to create a triangular roof.
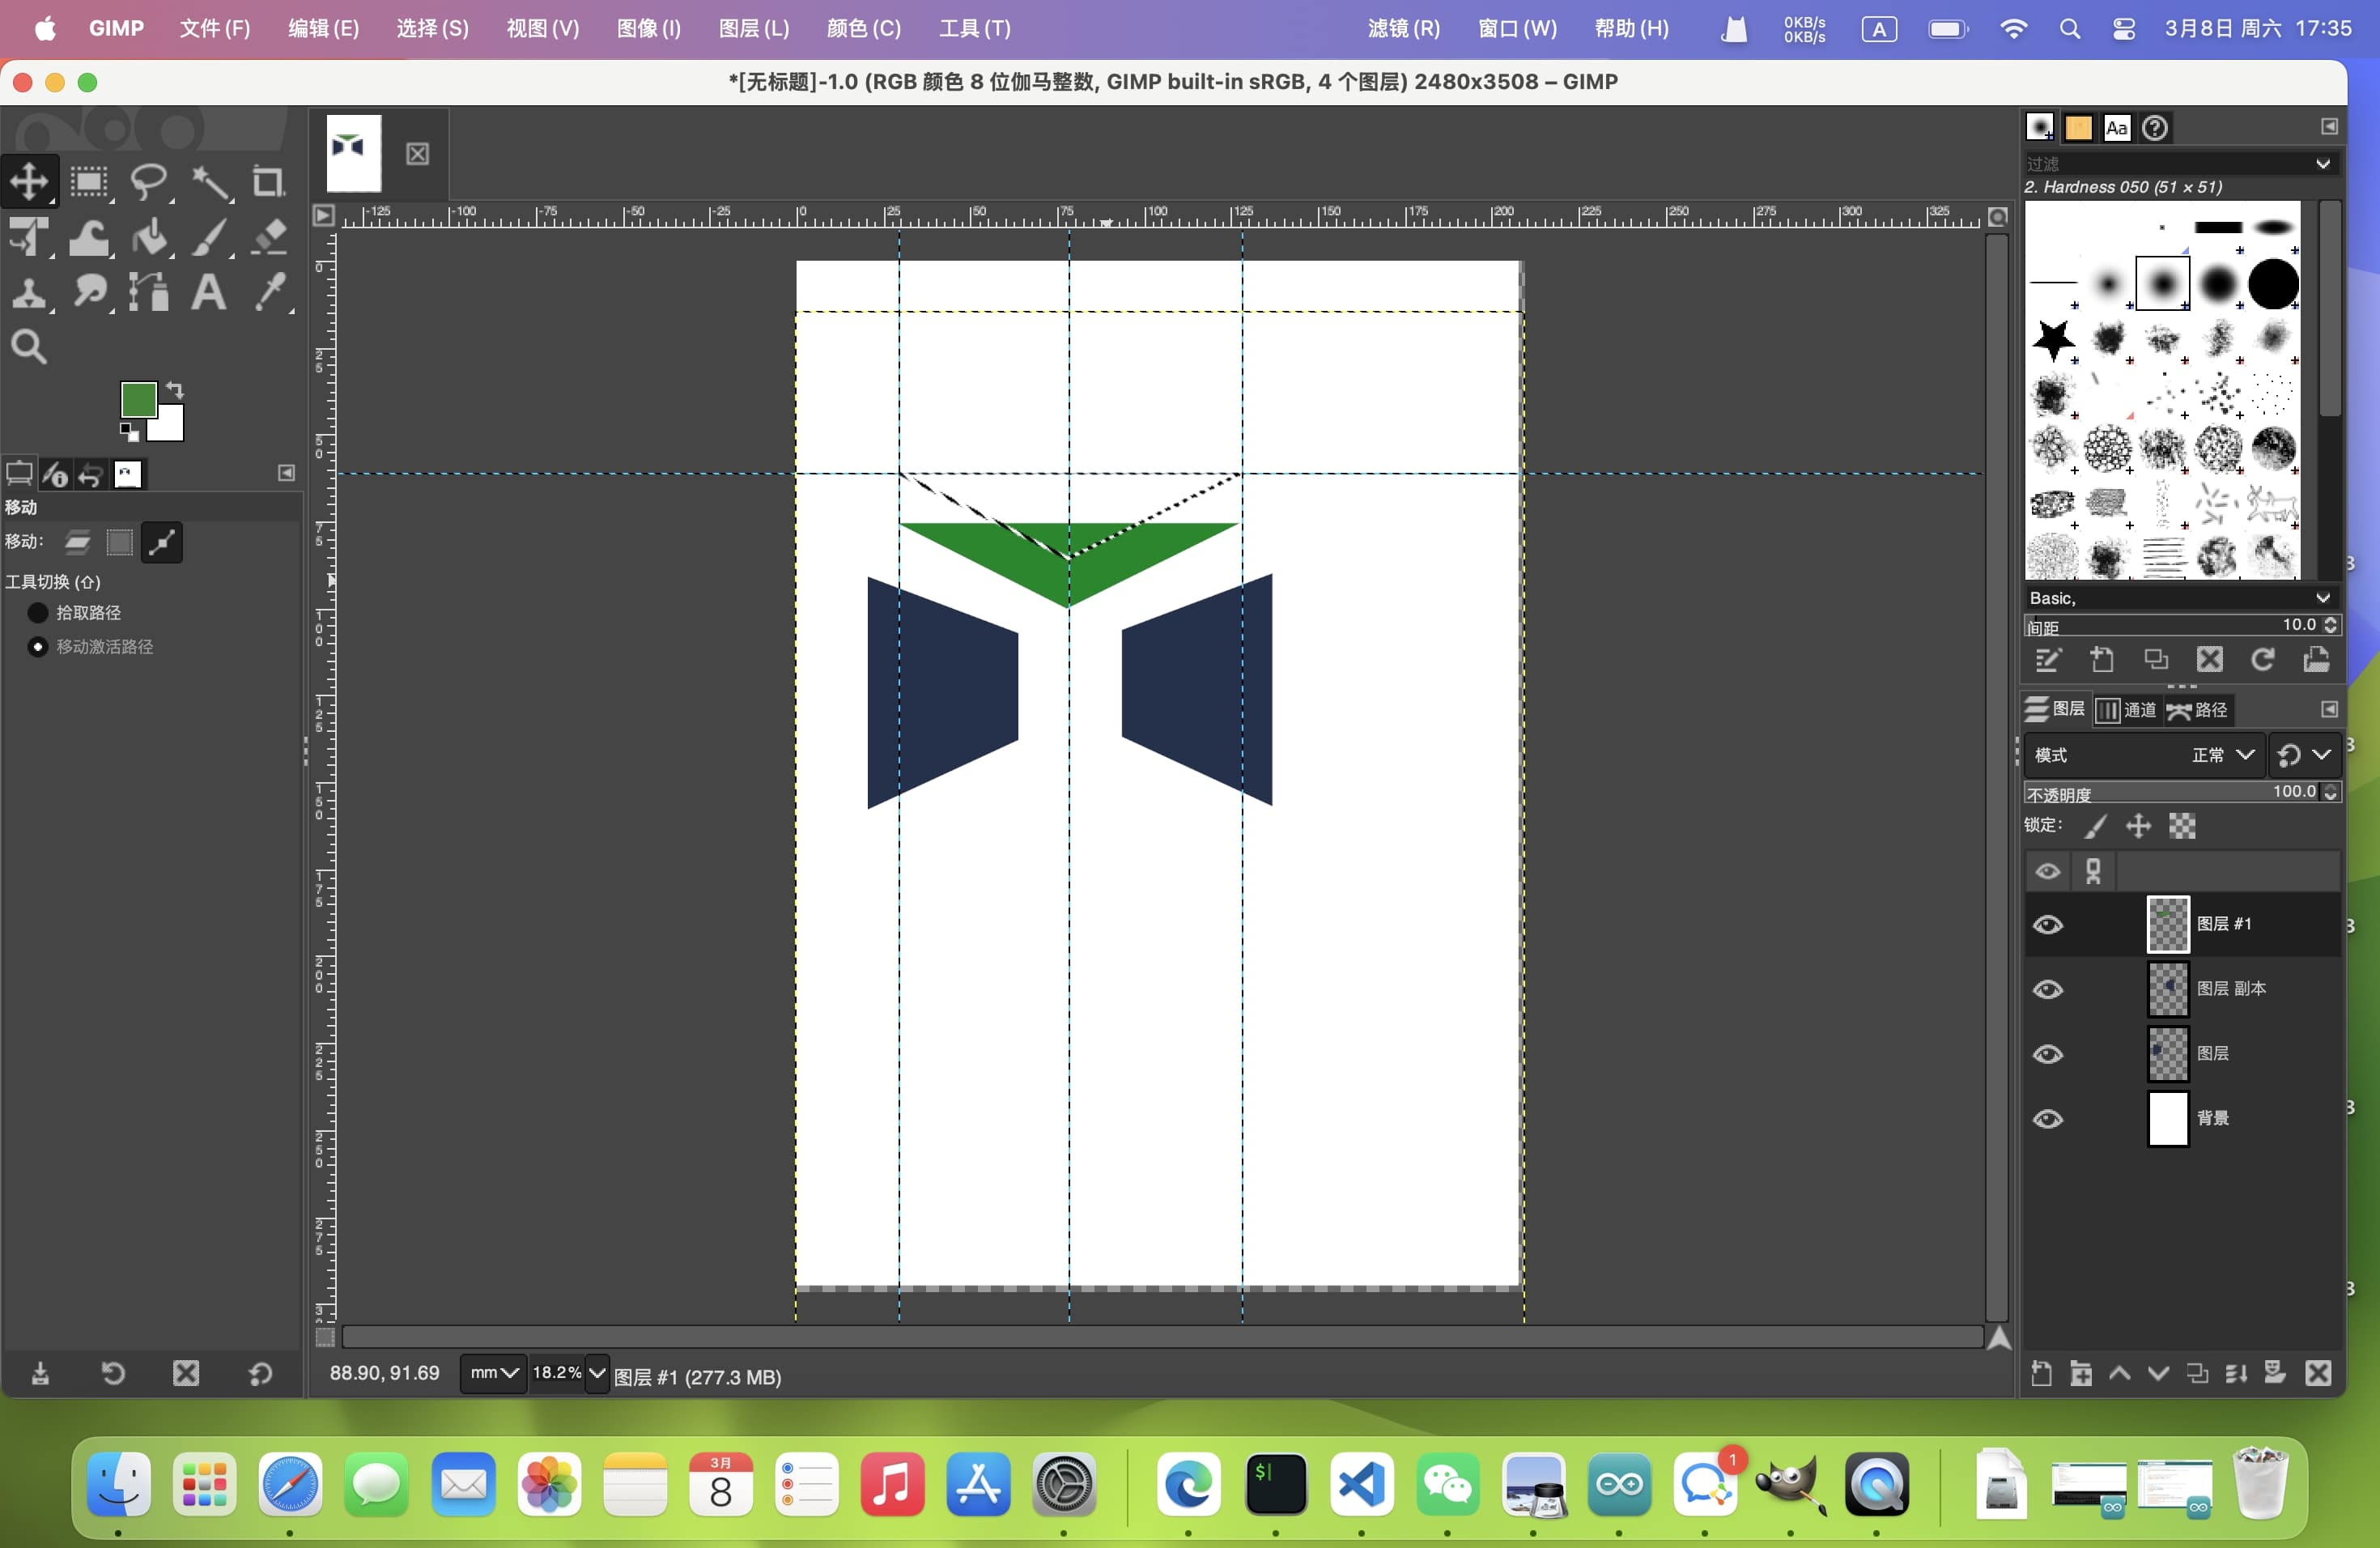
- Use the ellipse tool to draw a circular door handle.
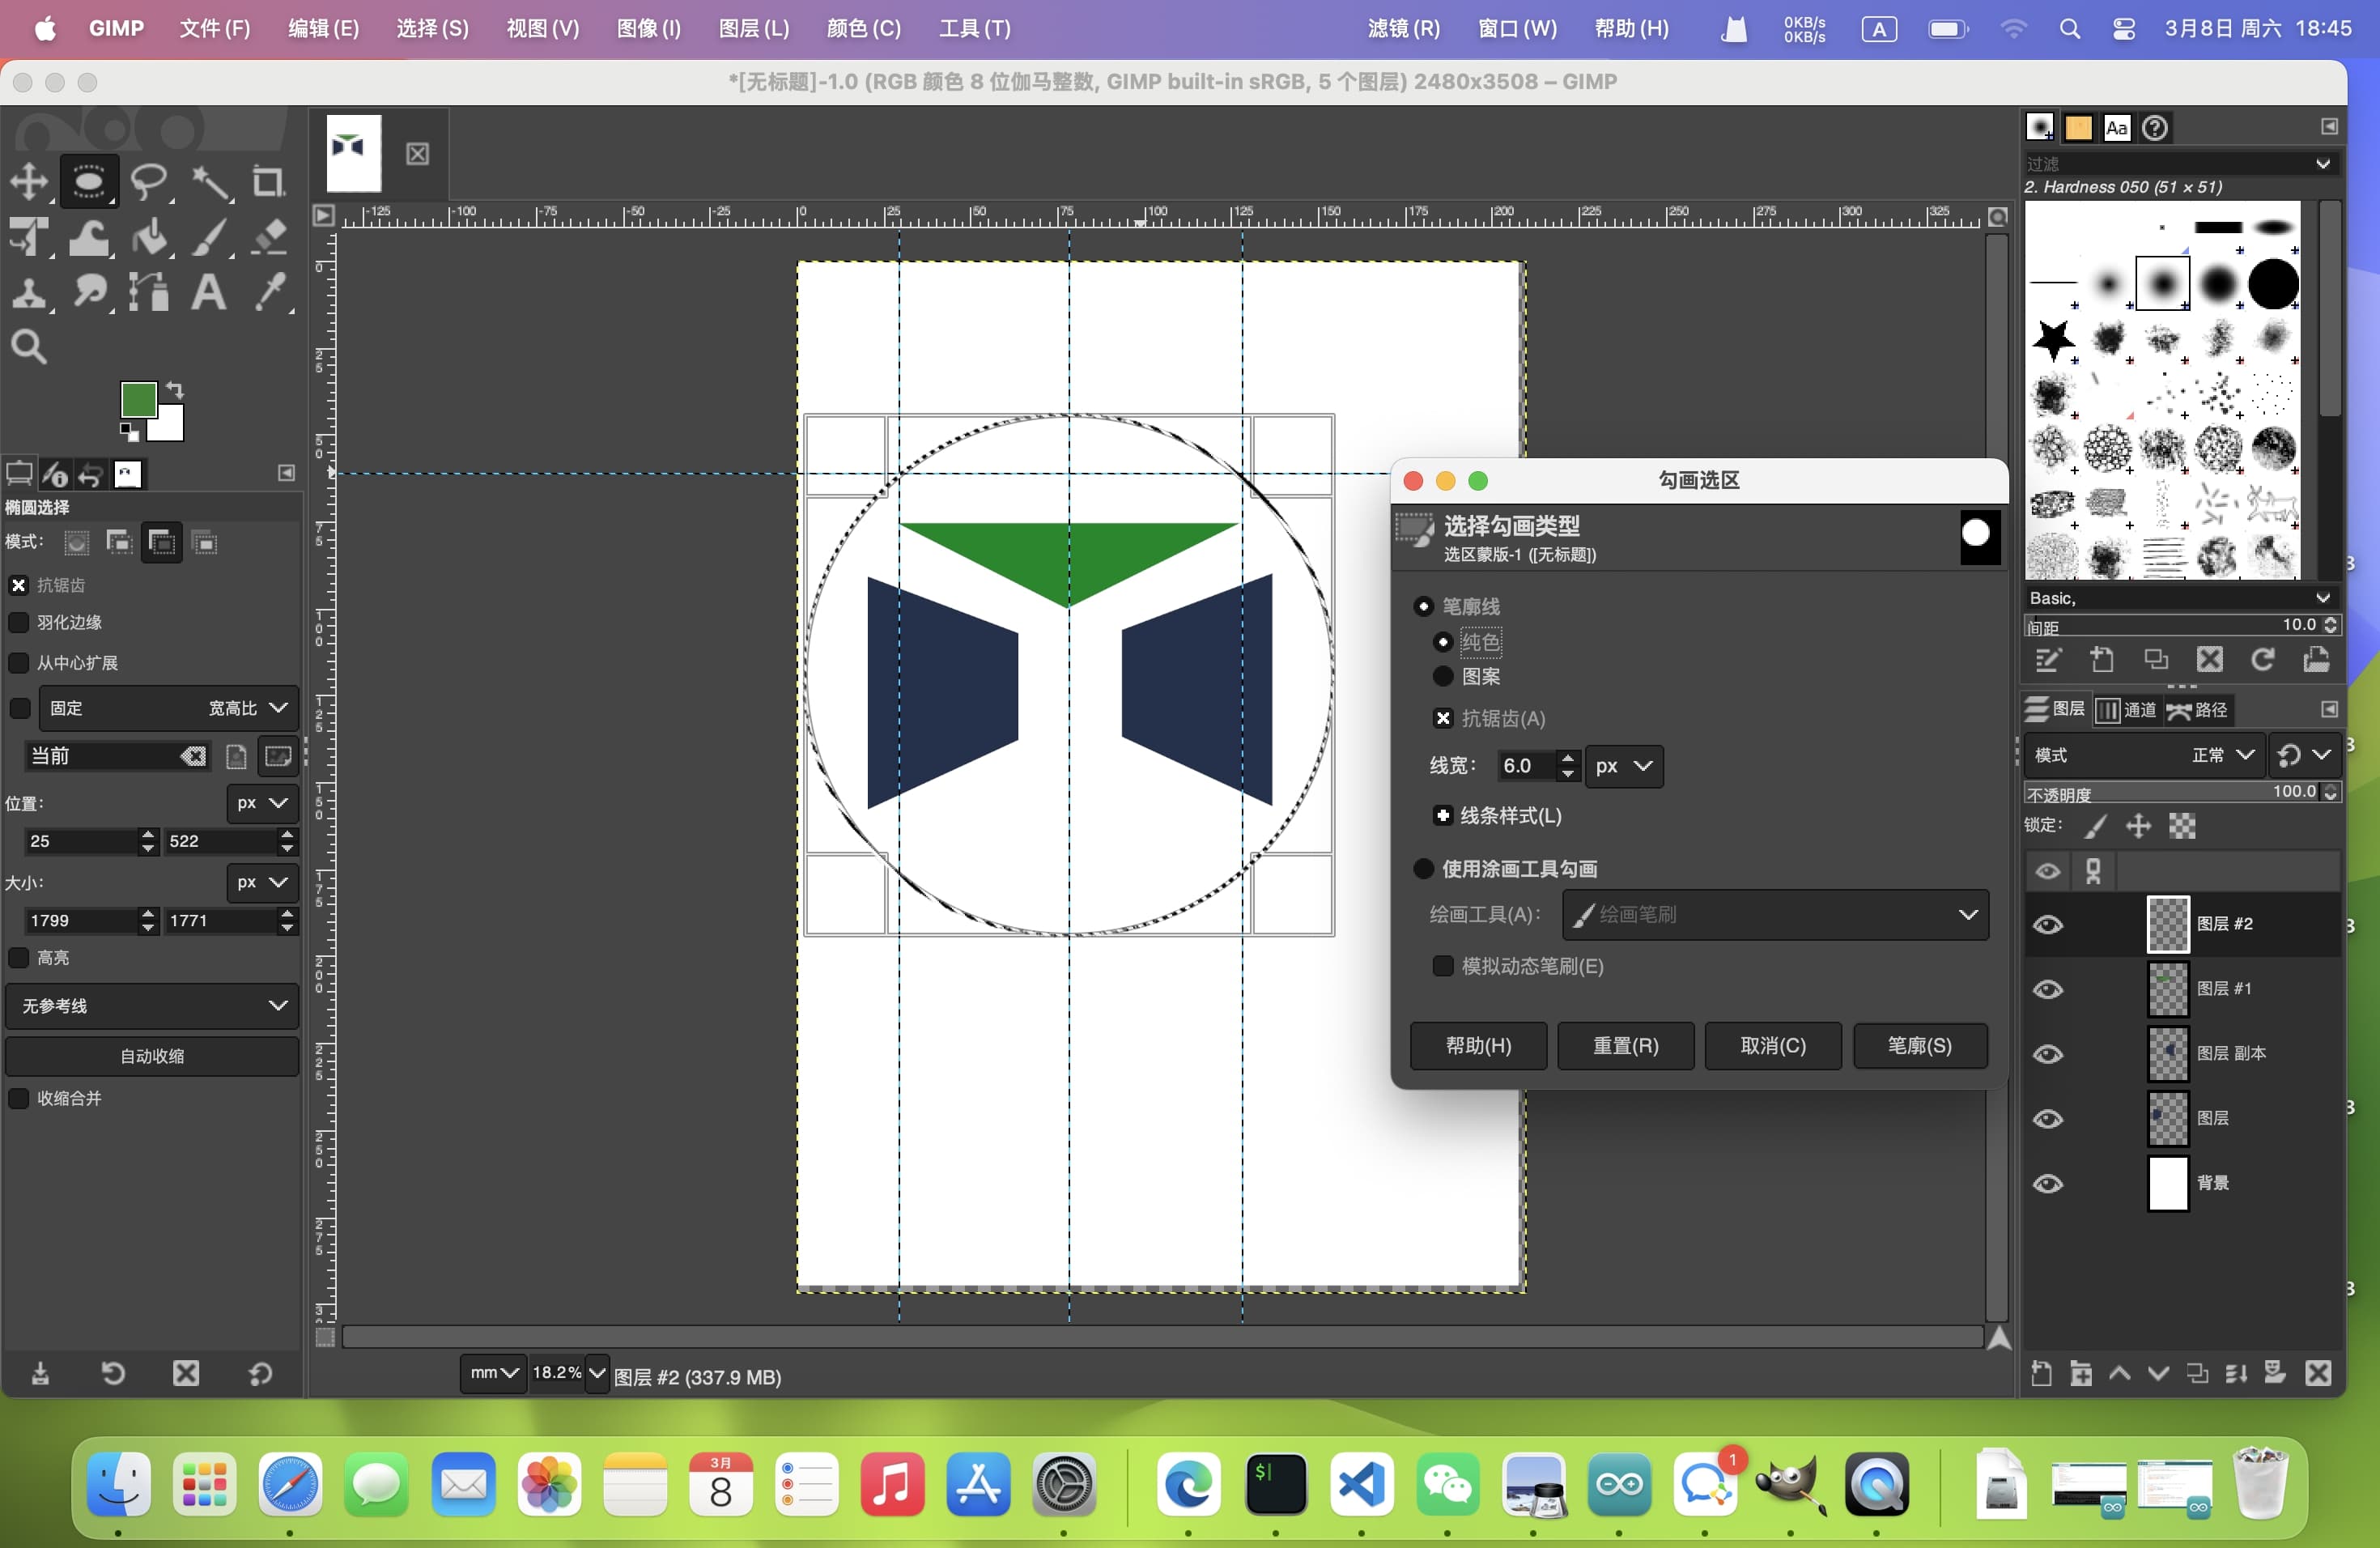
Step 4: Add Text
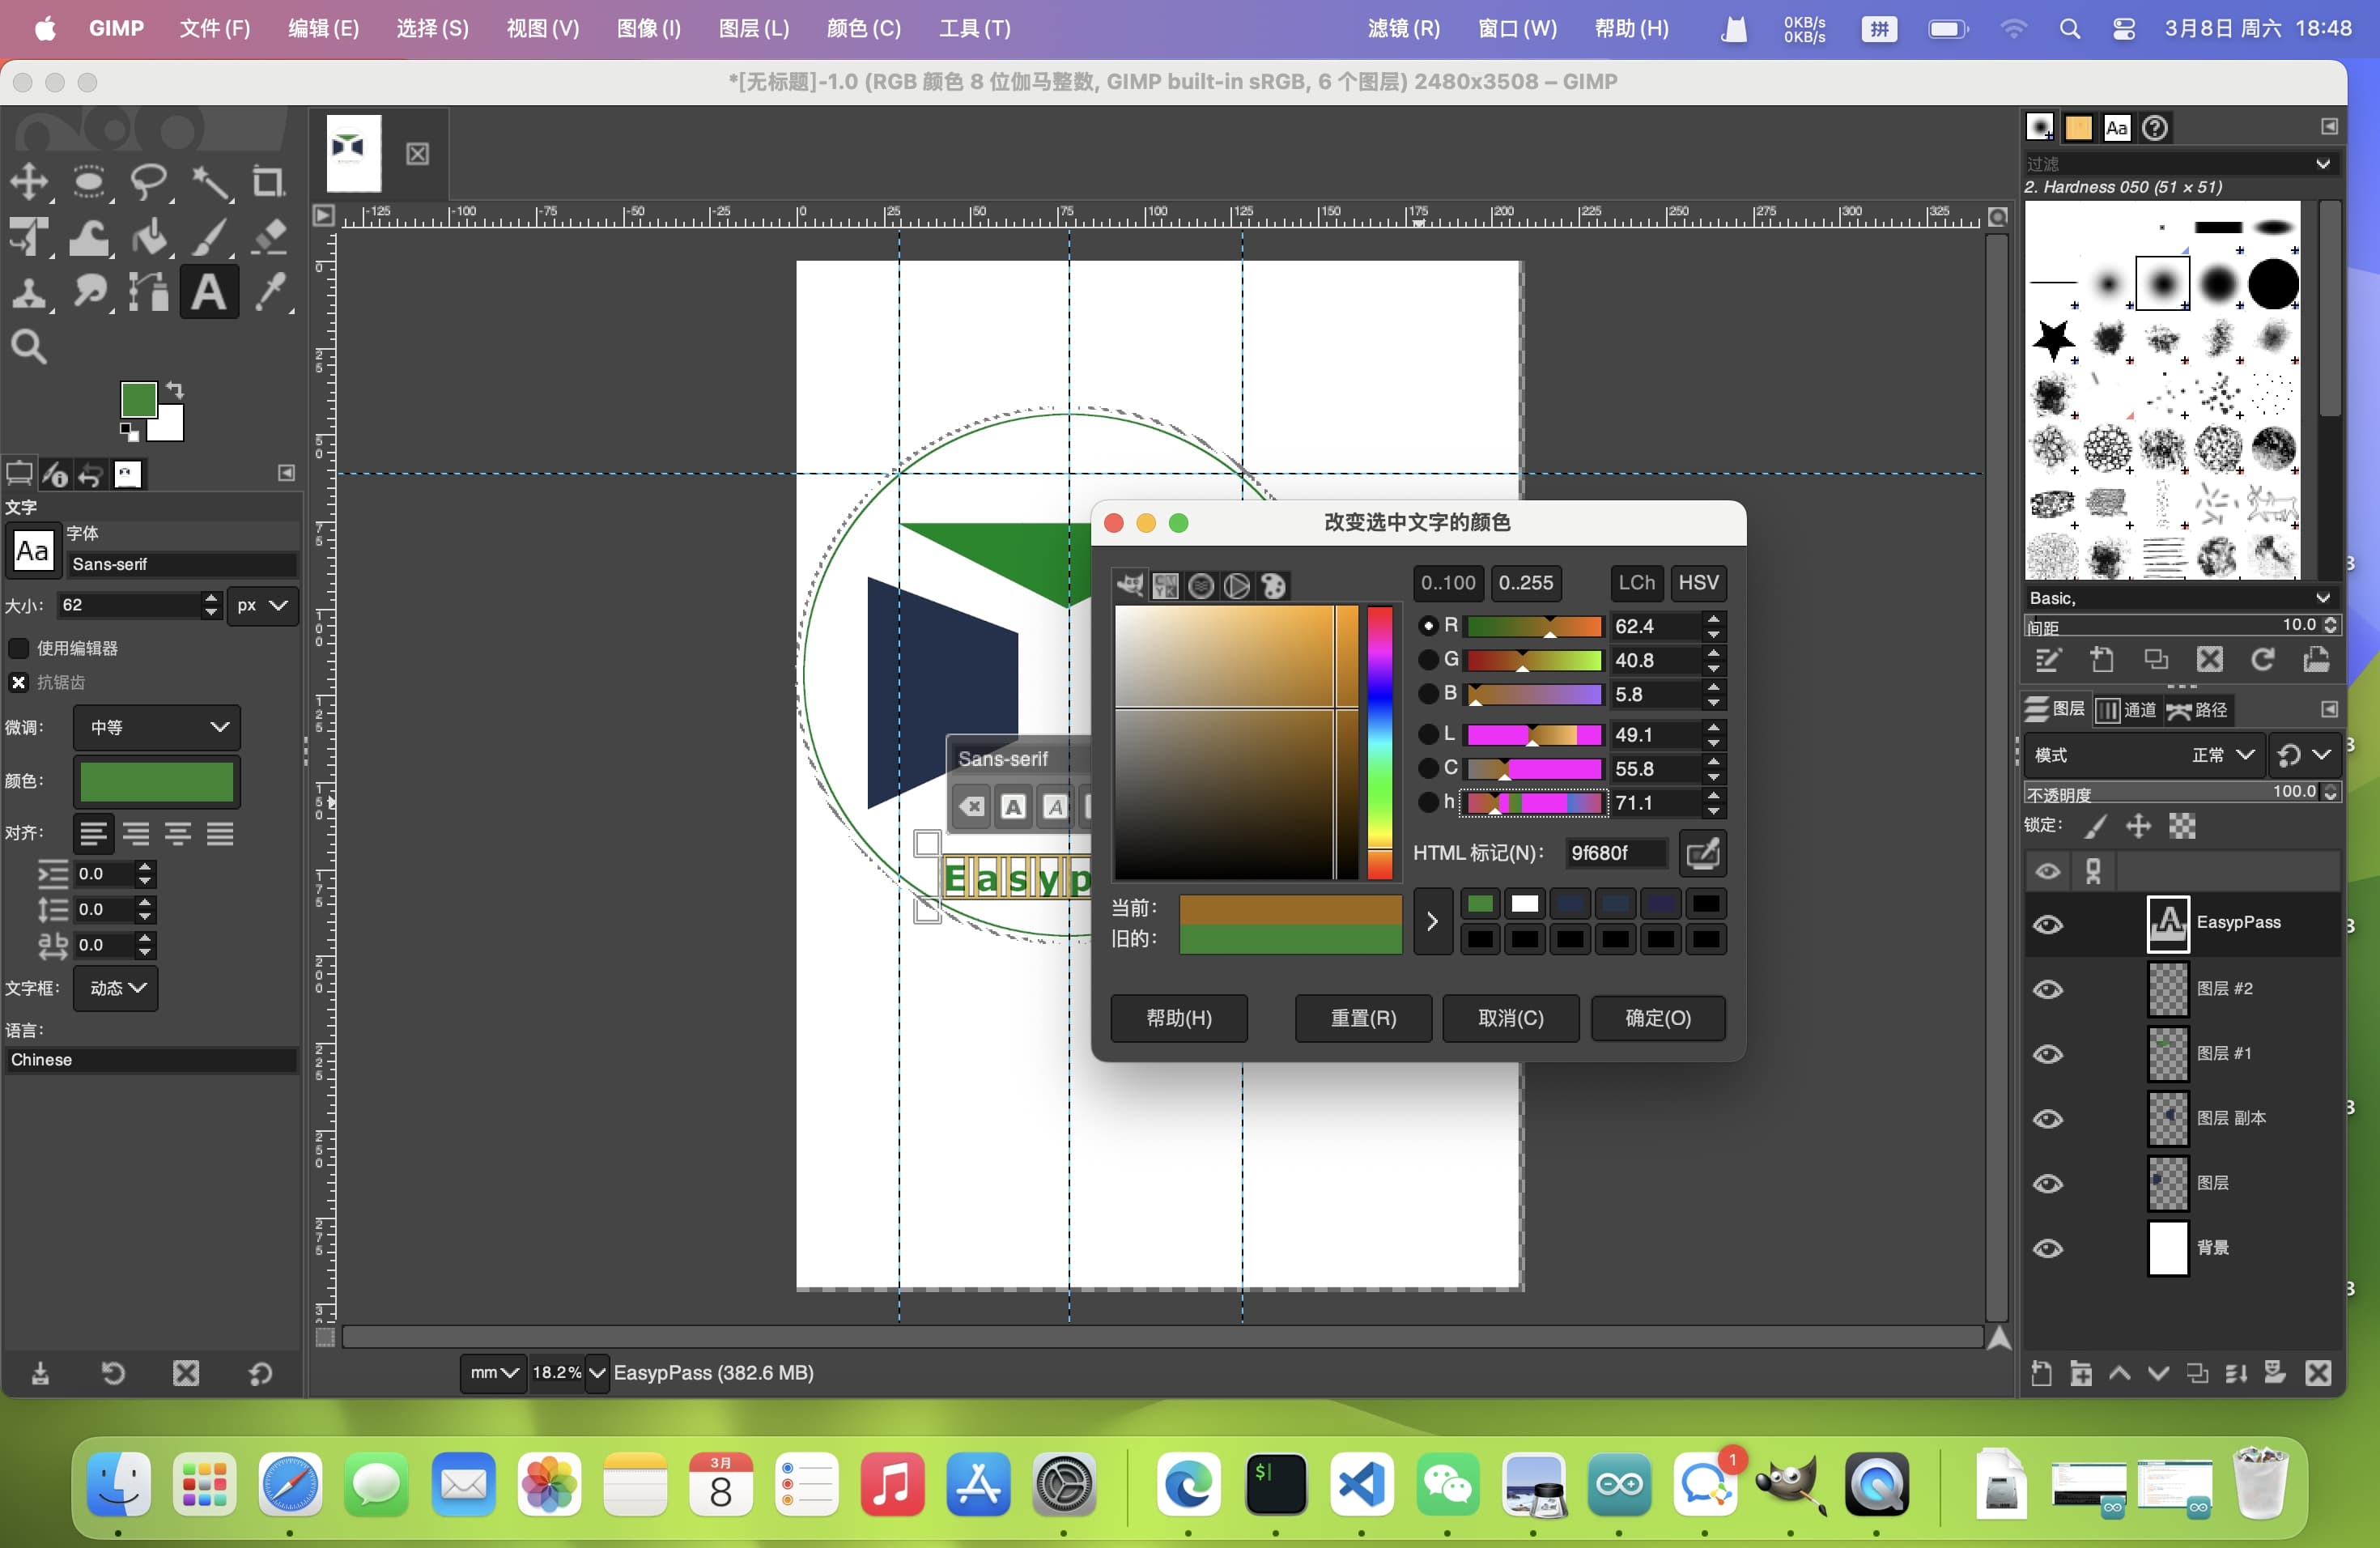
- Select the text tool and type "EasyPass" below the door.
- Choose a font that complements the design.
Step 5: Export the Image
Once the logo design is complete, export it following the steps mentioned earlier.
Step 6: Final Image
Here is the final logo design for the EasyPass system.
