2. Setting Up Documentation
This week I will be setting up the documentation for my fabacademy project. I will be using Docusaurus to create the documentation. Docusaurus is a static site generator that is designed to make it easy to create and maintain documentation. I will be learning how to set up Docusaurus and how to use it to create and maintain my project documentation.
2.1 What is Docusaurus?
Docusaurus is a static site generator that is designed to make it easy to create and maintain documentation. It is built using React and Markdown, which makes it easy to create and maintain documentation without having to write HTML or CSS. Docusaurus also comes with a number of built-in features that make it easy to create and maintain documentation, such as a search bar, table of contents, and syntax highlighting.

2.2 Why use Docusaurus?
My fabacademy local instructor recommended me to use Docusaurus to create and maintain my project documentation. And I had experience with Docusaurus in the past, and I found it to be easy to use and maintain.
2.3 How to set up Docusaurus
To set up Docusaurus, you need to install Node.js and npm on your computer. Once you have installed Node.js and npm, you can use the following command to install Docusaurus:
npx @docusaurus/init@latest init hongtai-liu classic
This command will create a new Docusaurus project in a directory called hongtai-liu. You can then navigate to the hongtai-liu directory and start the Docusaurus development server by running the following command:
cd hongtai-liu
npm start

This will start the Docusaurus development server, and you can view your documentation by navigating to http://localhost:3000 in your web browser.
2.4 Creating and editing documentation
Once you have set up Docusaurus, you can start creating and editing your documentation. Docusaurus uses Markdown to create documentation, which makes it easy to write and maintain documentation without having to write HTML or CSS. You can create new pages by adding Markdown files to the docs directory in your Docusaurus project. You can also customize the appearance of your documentation by editing the docusaurus.config.js file in your Docusaurus project.
2.5 Deploying your documentation
Once you have created and edited your documentation, you can deploy it to a hosting service like GitHub Pages or Netlify. Docusaurus comes with built-in support for deploying your documentation to GitHub Pages, which makes it easy to publish your documentation online. You can deploy your documentation by running the following command in your Docusaurus project:
npm run deploy
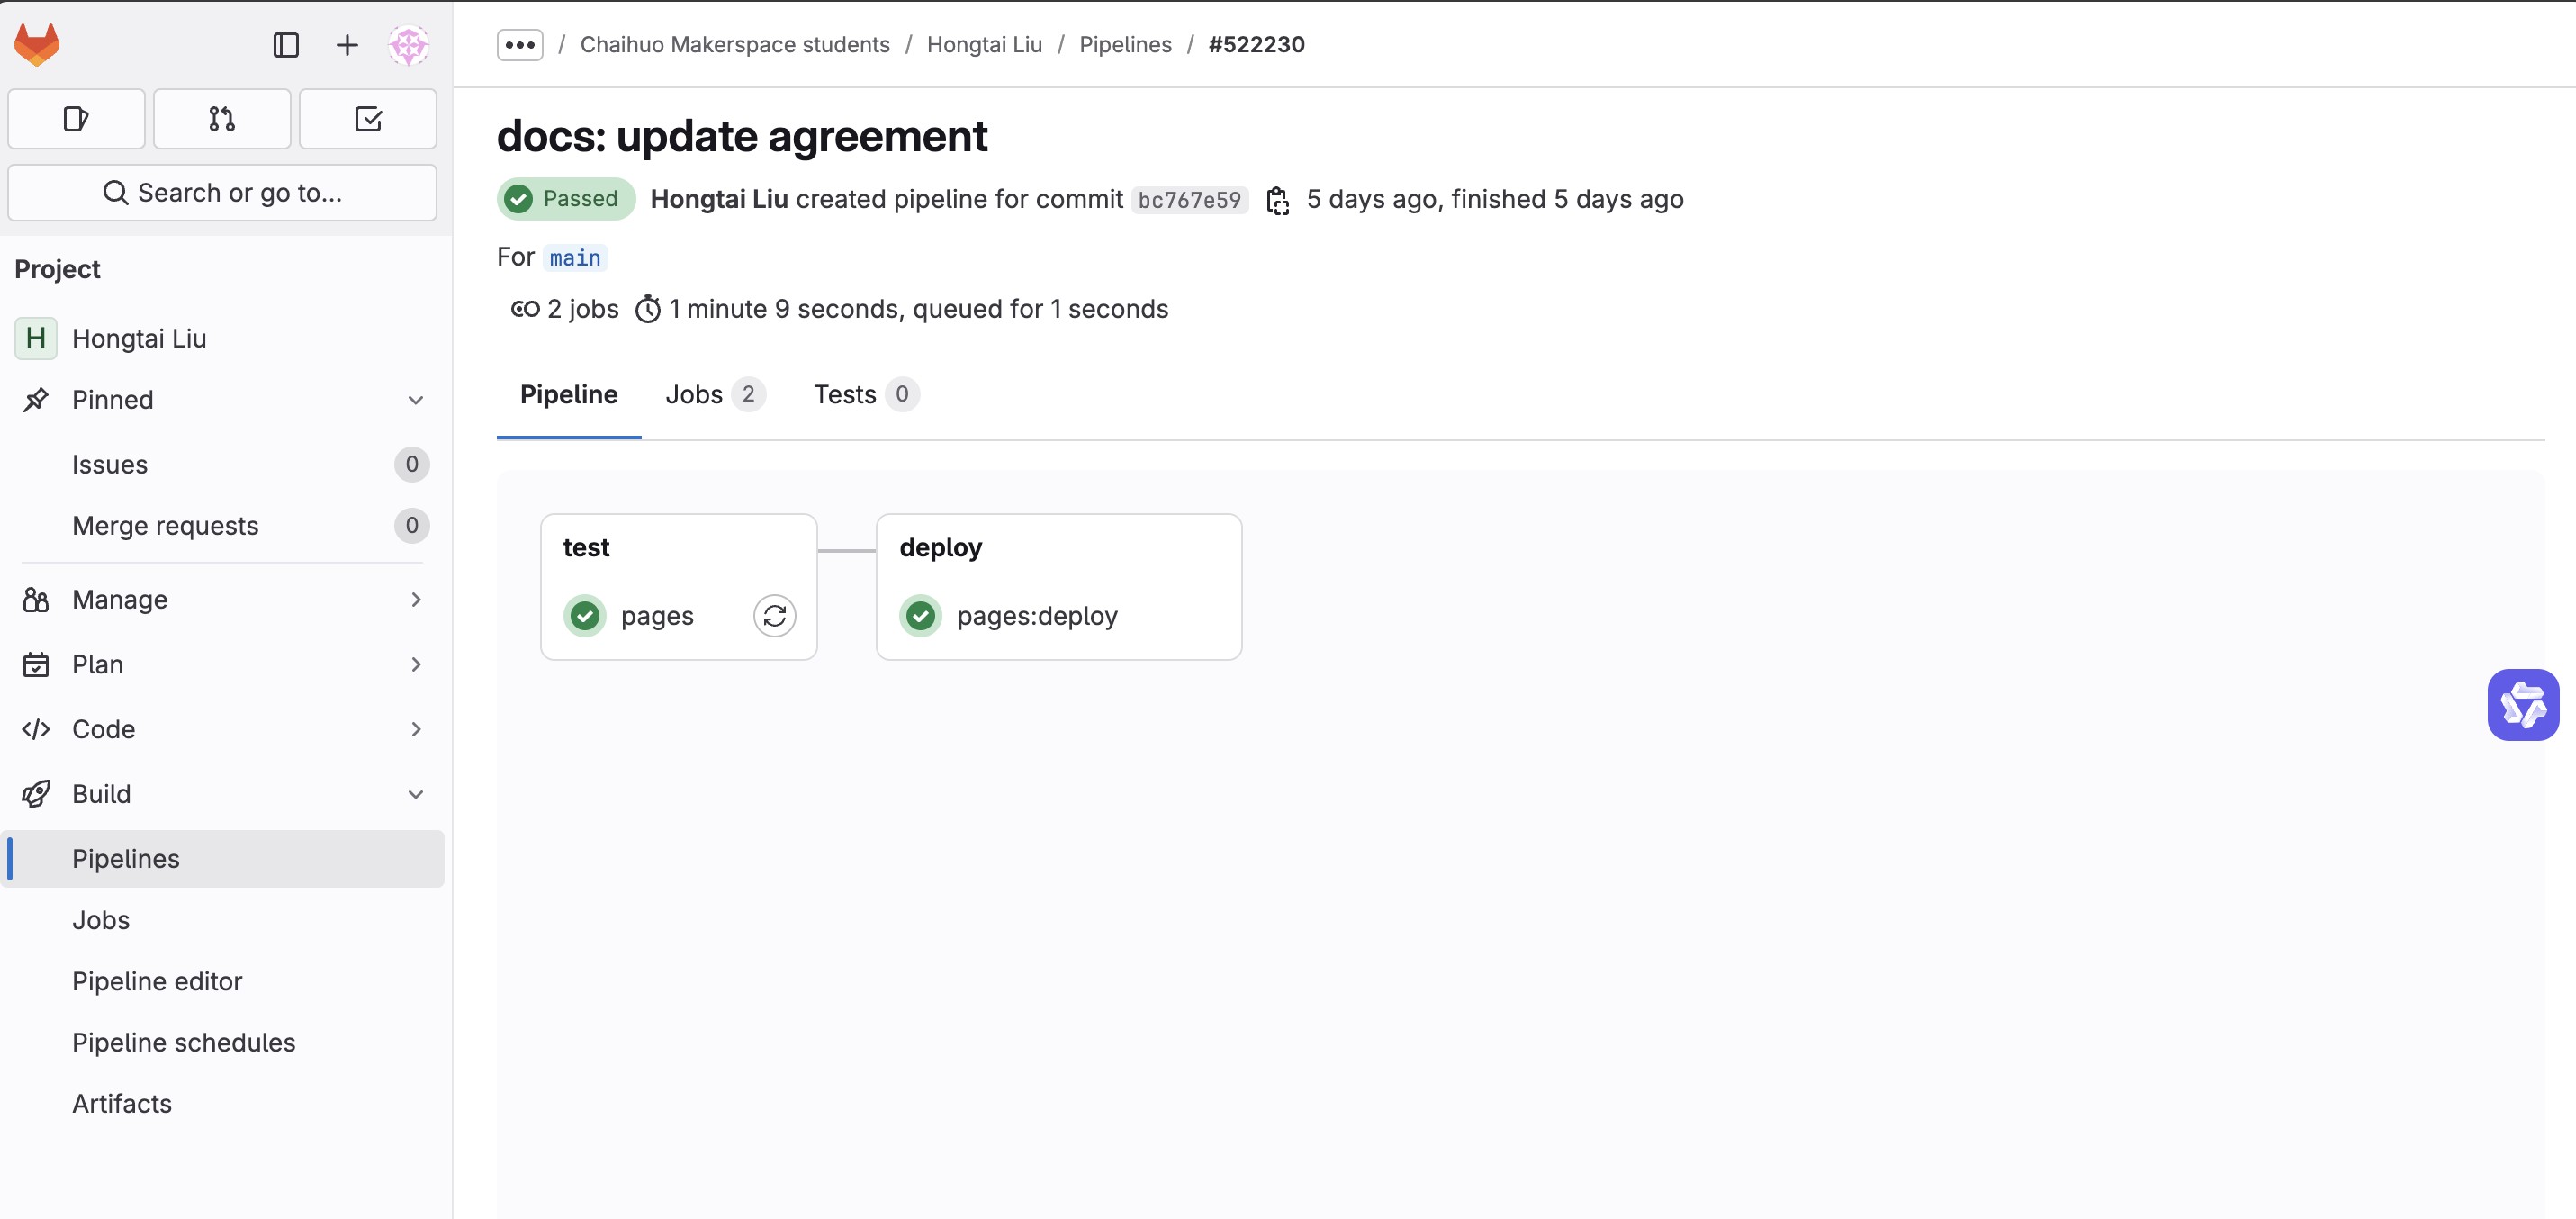
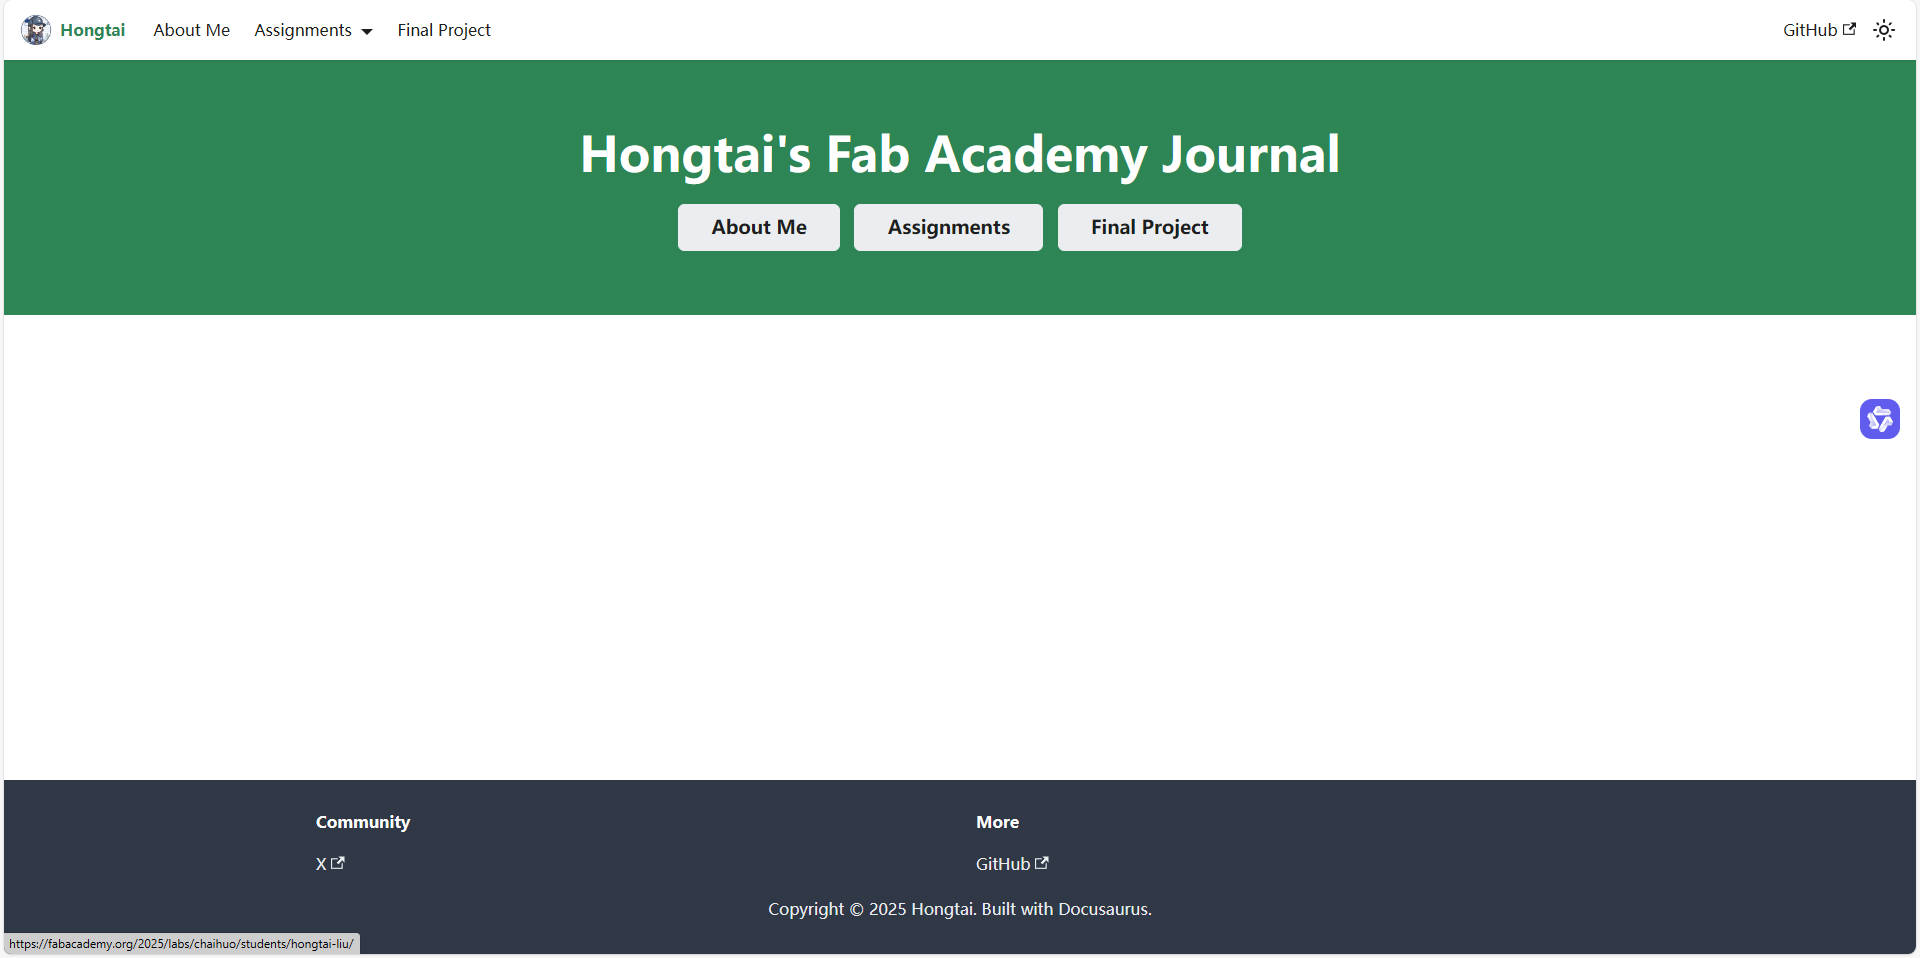
Gitlab CI/CD will automatically deploy the documentation to the gh-pages branch of your repository. You can then view your documentation online by navigating to https://fabacademy.org/2025/labs/<lab>/students/<name> in your web browser.
image: node:latest

cache:
  paths:
    - node_modules/

pages:
  script:
    - npm install
    - npm run build
    - mv build public
  artifacts:
    paths:
      - public
  only:
    - main
This will build your documentation and deploy it to Fabacademy Pages. You can then view your documentation online by navigating to https://fabacademy.org/2025/labs/chaihuo/students/hongtai-liu/ in your web browser.