Week 13 - Molding and Casting
Edited on: April 11, 2026
Custom Vegan Gummy Bear Mold
My goal for the Assignment Molding and Casting is to create a reusable, food-safe silicone mold to make vegan fruit gummy bears. To achieve this, I will design a positive 3D model of the gummy bears, 3D print it, and embed it inside a laser-cut mold box to cast the silicone. The final silicone mold will then be used to cast gummy bears using an agar-agar recipe.
Process Overview
- Designing the Mold Positive (TinkerCAD): The positive shape of the gummy candy is modeled using a CAD tool such as TinkerCAD. This model defines the final geometry of the castable shape.
- 3D Printing the Positive: The CAD model is 3D printed using a suitable material like PETG. Since FDM printing often results in visible layer lines, post-processing such as sanding may be required to achieve a smooth surface finish.
- Creating the Mold Box: A mold enclosure is designed using a parametric box generator and cut from materials such as 3 mm acrylic. The box serves as a container for the silicone and should fit tightly around the printed part.
- Silicone Casting: The printed positive is placed inside the assembled mold box. A food-safe, two-part silicone is then poured around the positive to form the negative mold.
- Demolding: After full curing, the mold box is disassembled and the 3D print is carefully removed. The silicone mold is then cleaned and prepared for casting.
- Casting the Gummies: A vegan gummy mixture—typically made with agar-agar and fruit juice—is poured into the silicone mold to create the final edible pieces.
Design the Mold Positive
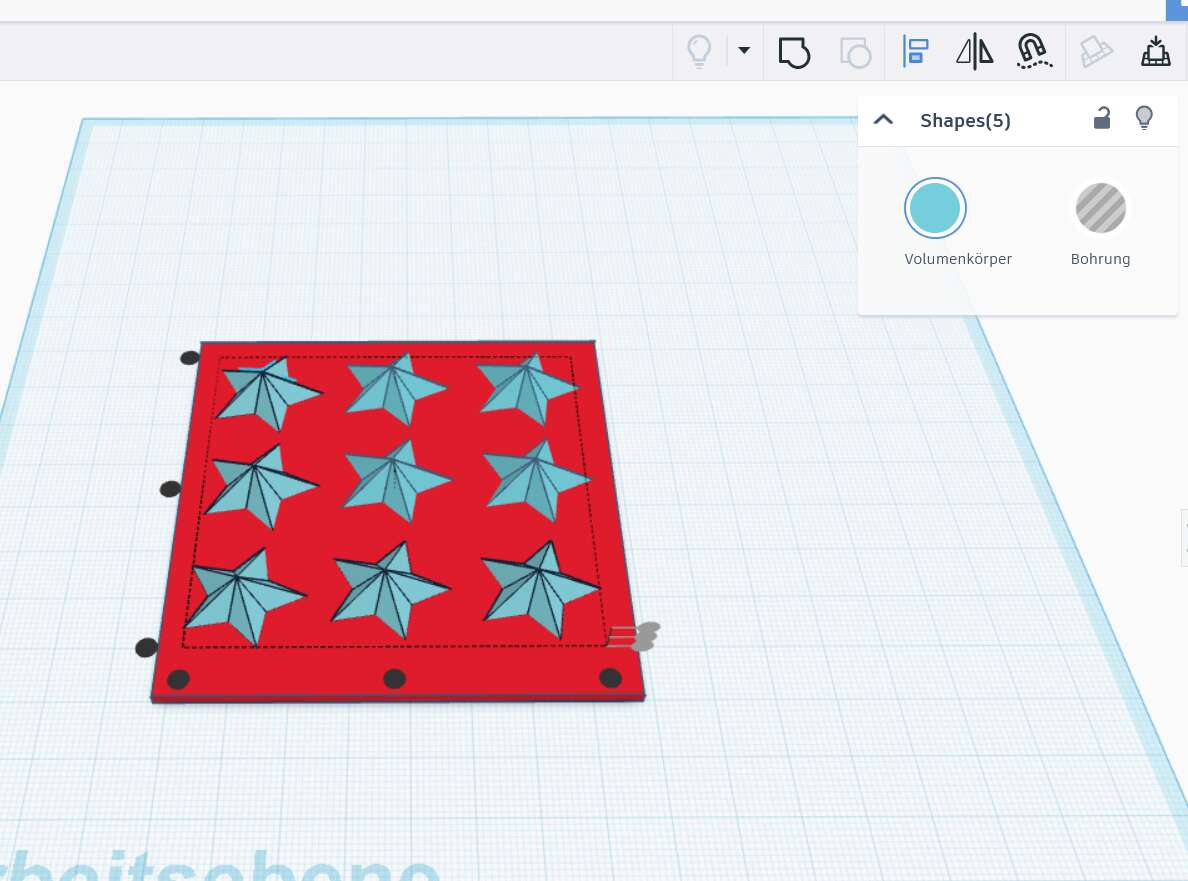
I designed the positive model for my silicone fruit gummy mold using TinkerCAD, an easy-to-use browser-based 3D modeling tool. My goal was to create a simple but fun shape – a star – and replicate it multiple times on a flat base to prepare it for molding.
I started by dragging a flat box shape onto the workplane and resized it to create a baseplate with dimensions around 90 x 90 x 3 mm. This would serve as the foundation for the entire positive mold and ensure that all star shapes sit on the same level.
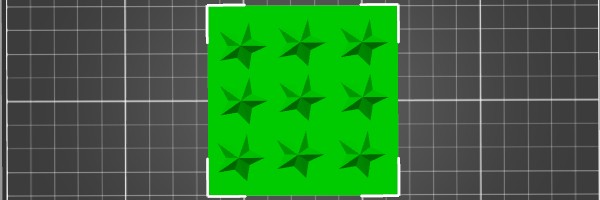
Next, I added a star shape from the basic shape menu, set its dimensions to approximately 18 x 18 x 6 mm, and placed it on the baseplate. I duplicated the star eight times and arranged them in a 3 × 3 grid pattern. To ensure perfect alignment and spacing, I used TinkerCAD's built-in "Align" and "Distribute" tools.
Once the stars were correctly positioned and centered on the baseplate, I selected all objects and used the "Group" function. This merged the stars and the base into a single solid object — making it ready for 3D printing and casting.
As the final step, I exported the grouped design as an .STL file, which I later used for FDM 3D printing. The exported file contains the full positive form that will be used to create the negative cavity in silicone.
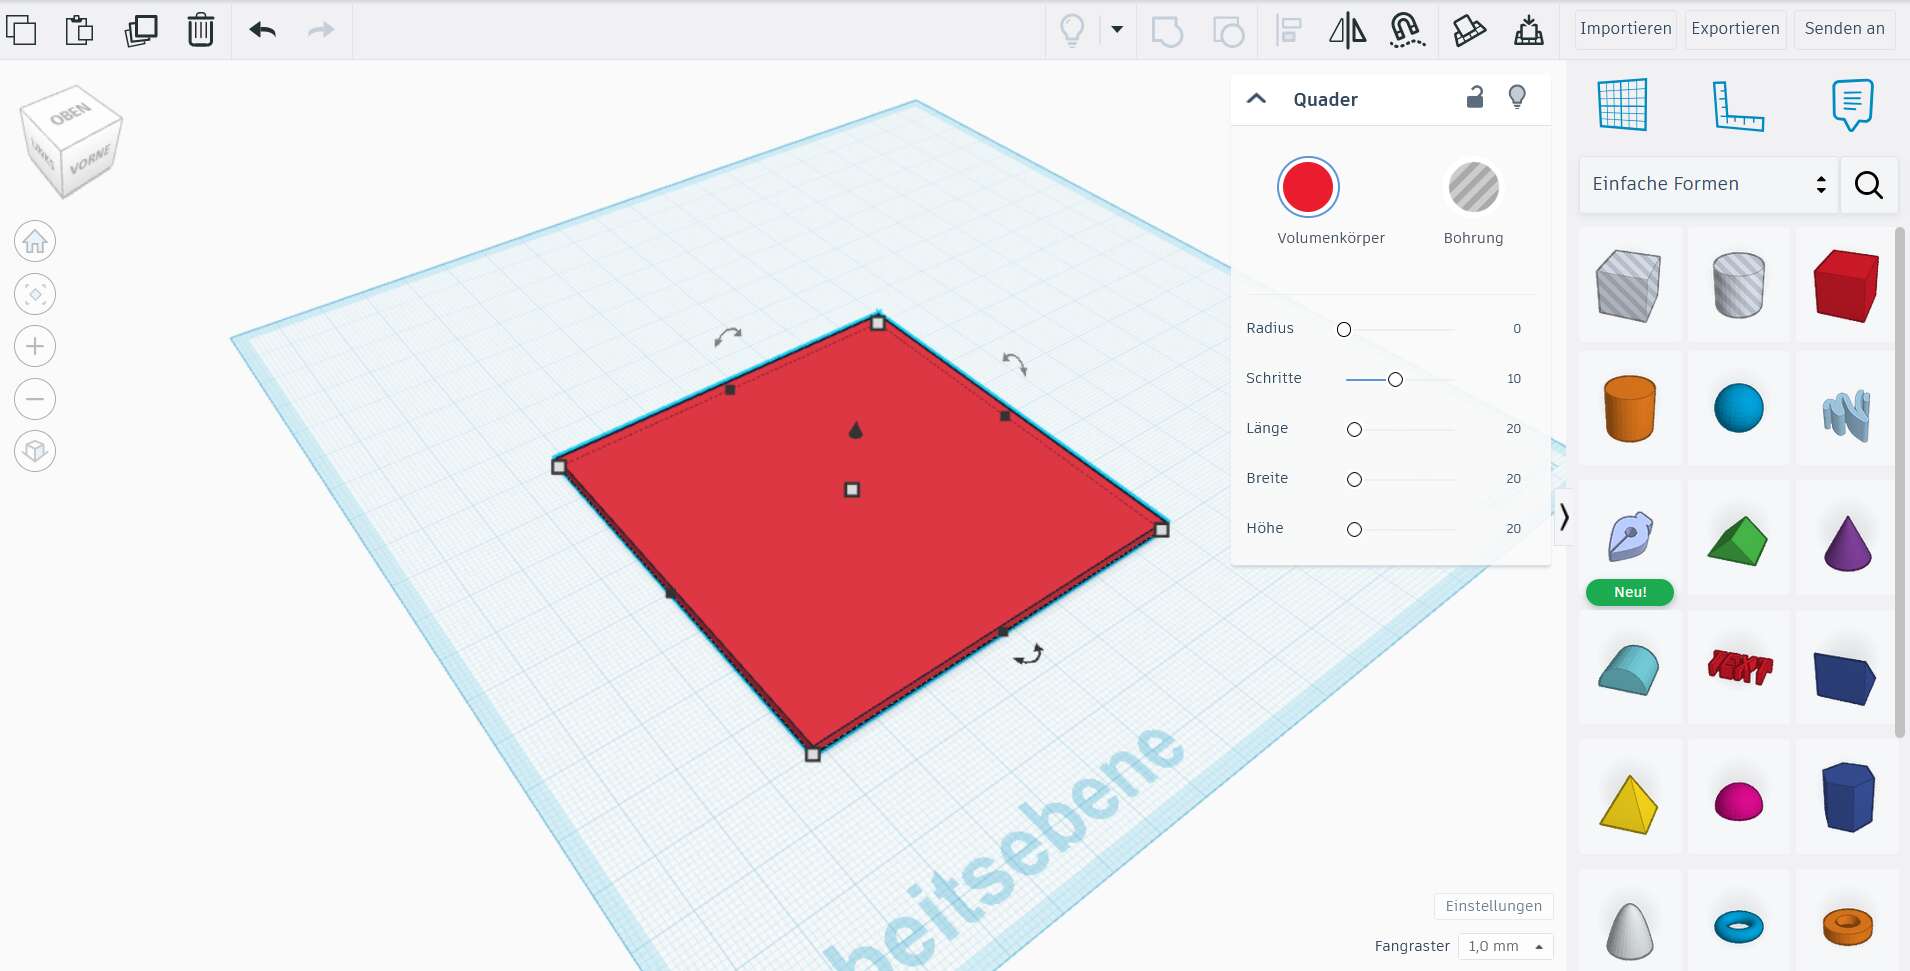
I created an 80×80×2 mm baseplate to serve as the foundation for my mold.
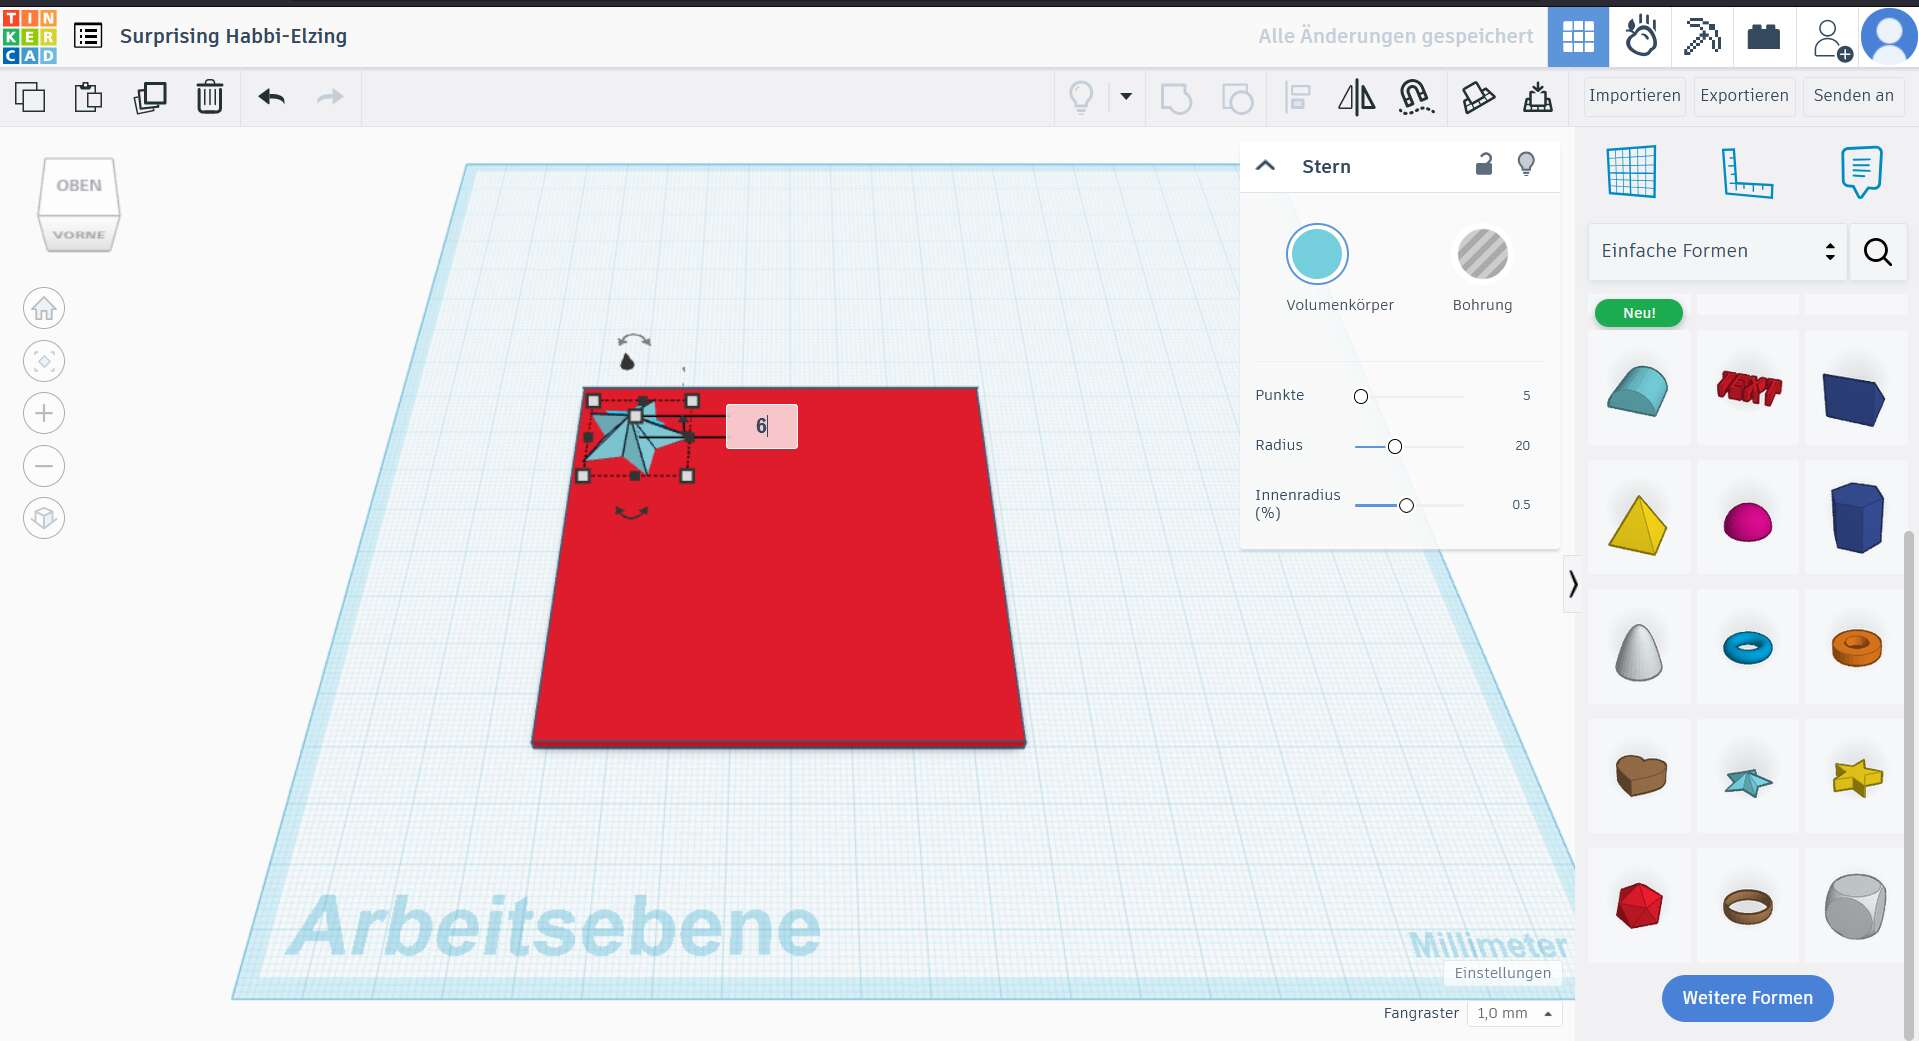
A single star shape was added and scaled to approximately 6 mm height — the planned gummy thickness.
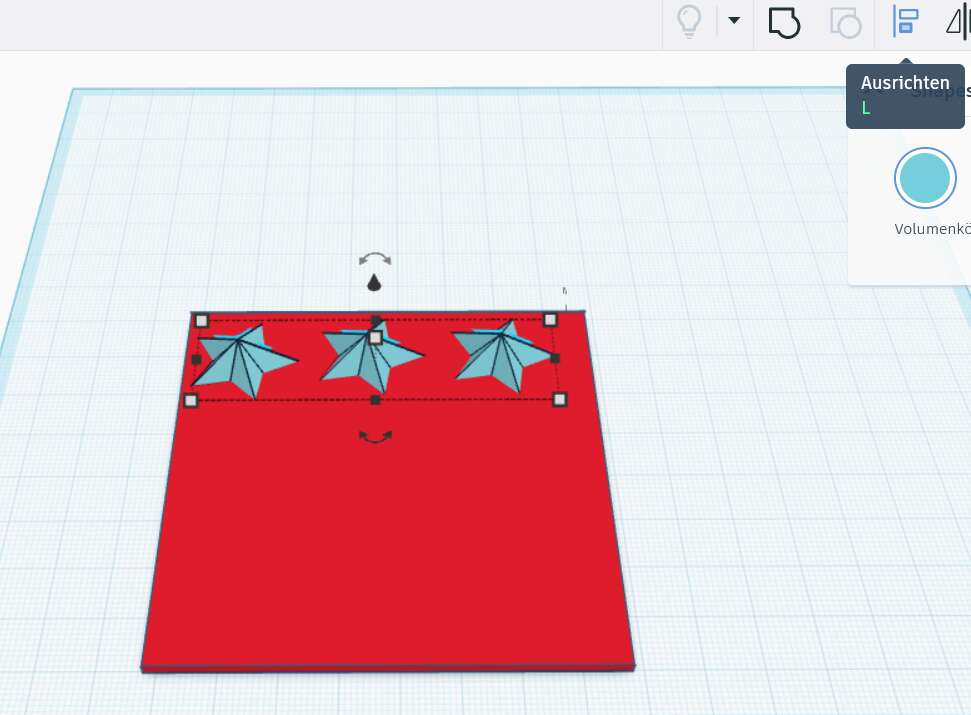
I duplicated the star and placed it across the baseplate to begin forming a grid layout.
TinkerCAD's alignment tool helped evenly distribute and center the stars precisely.
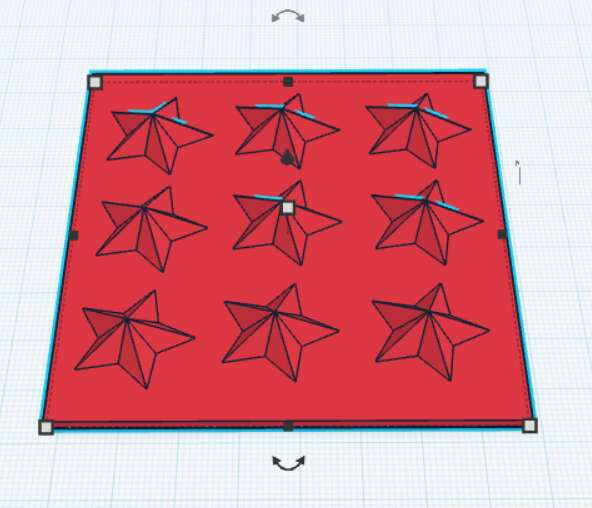
The final layout includes 9 stars, neatly arranged in a 3×3 grid, all grouped with the baseplate.
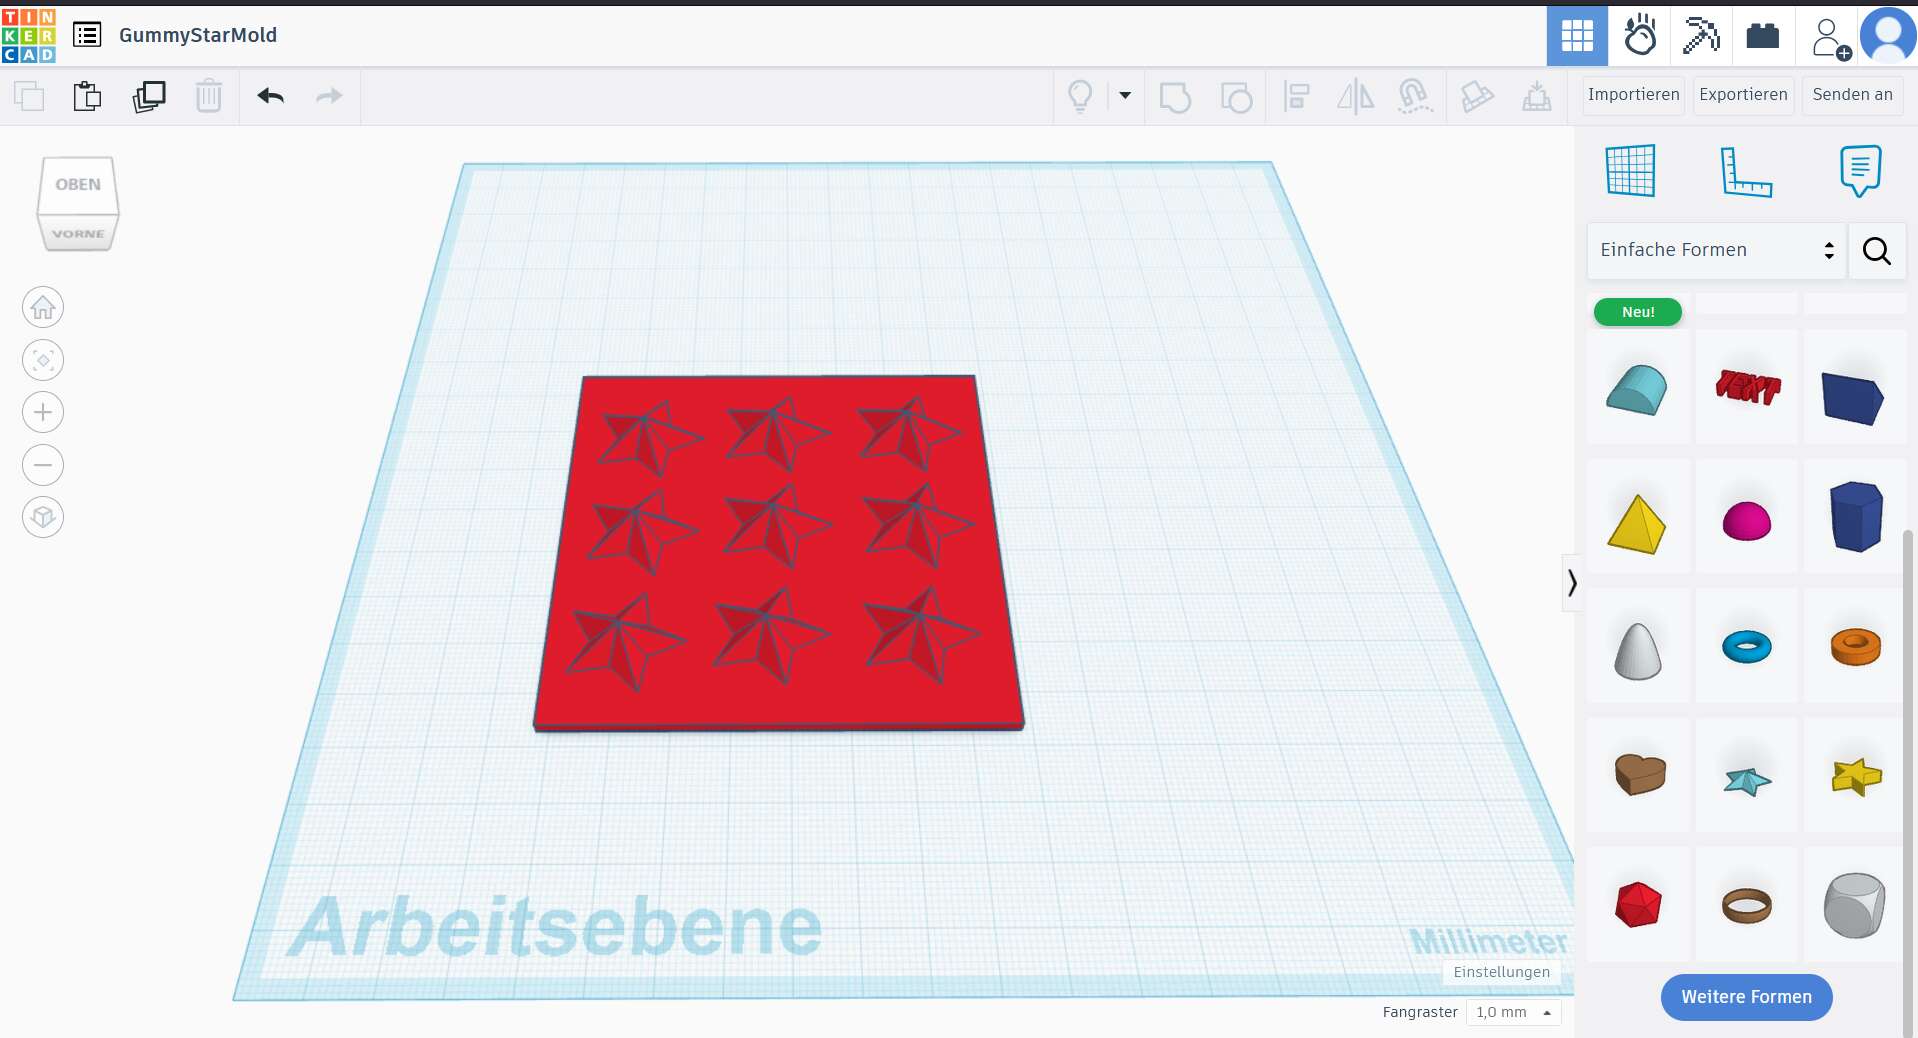
Once finished, I exported the model as an .STL file for 3D printing.
3D Print and Post-Processing
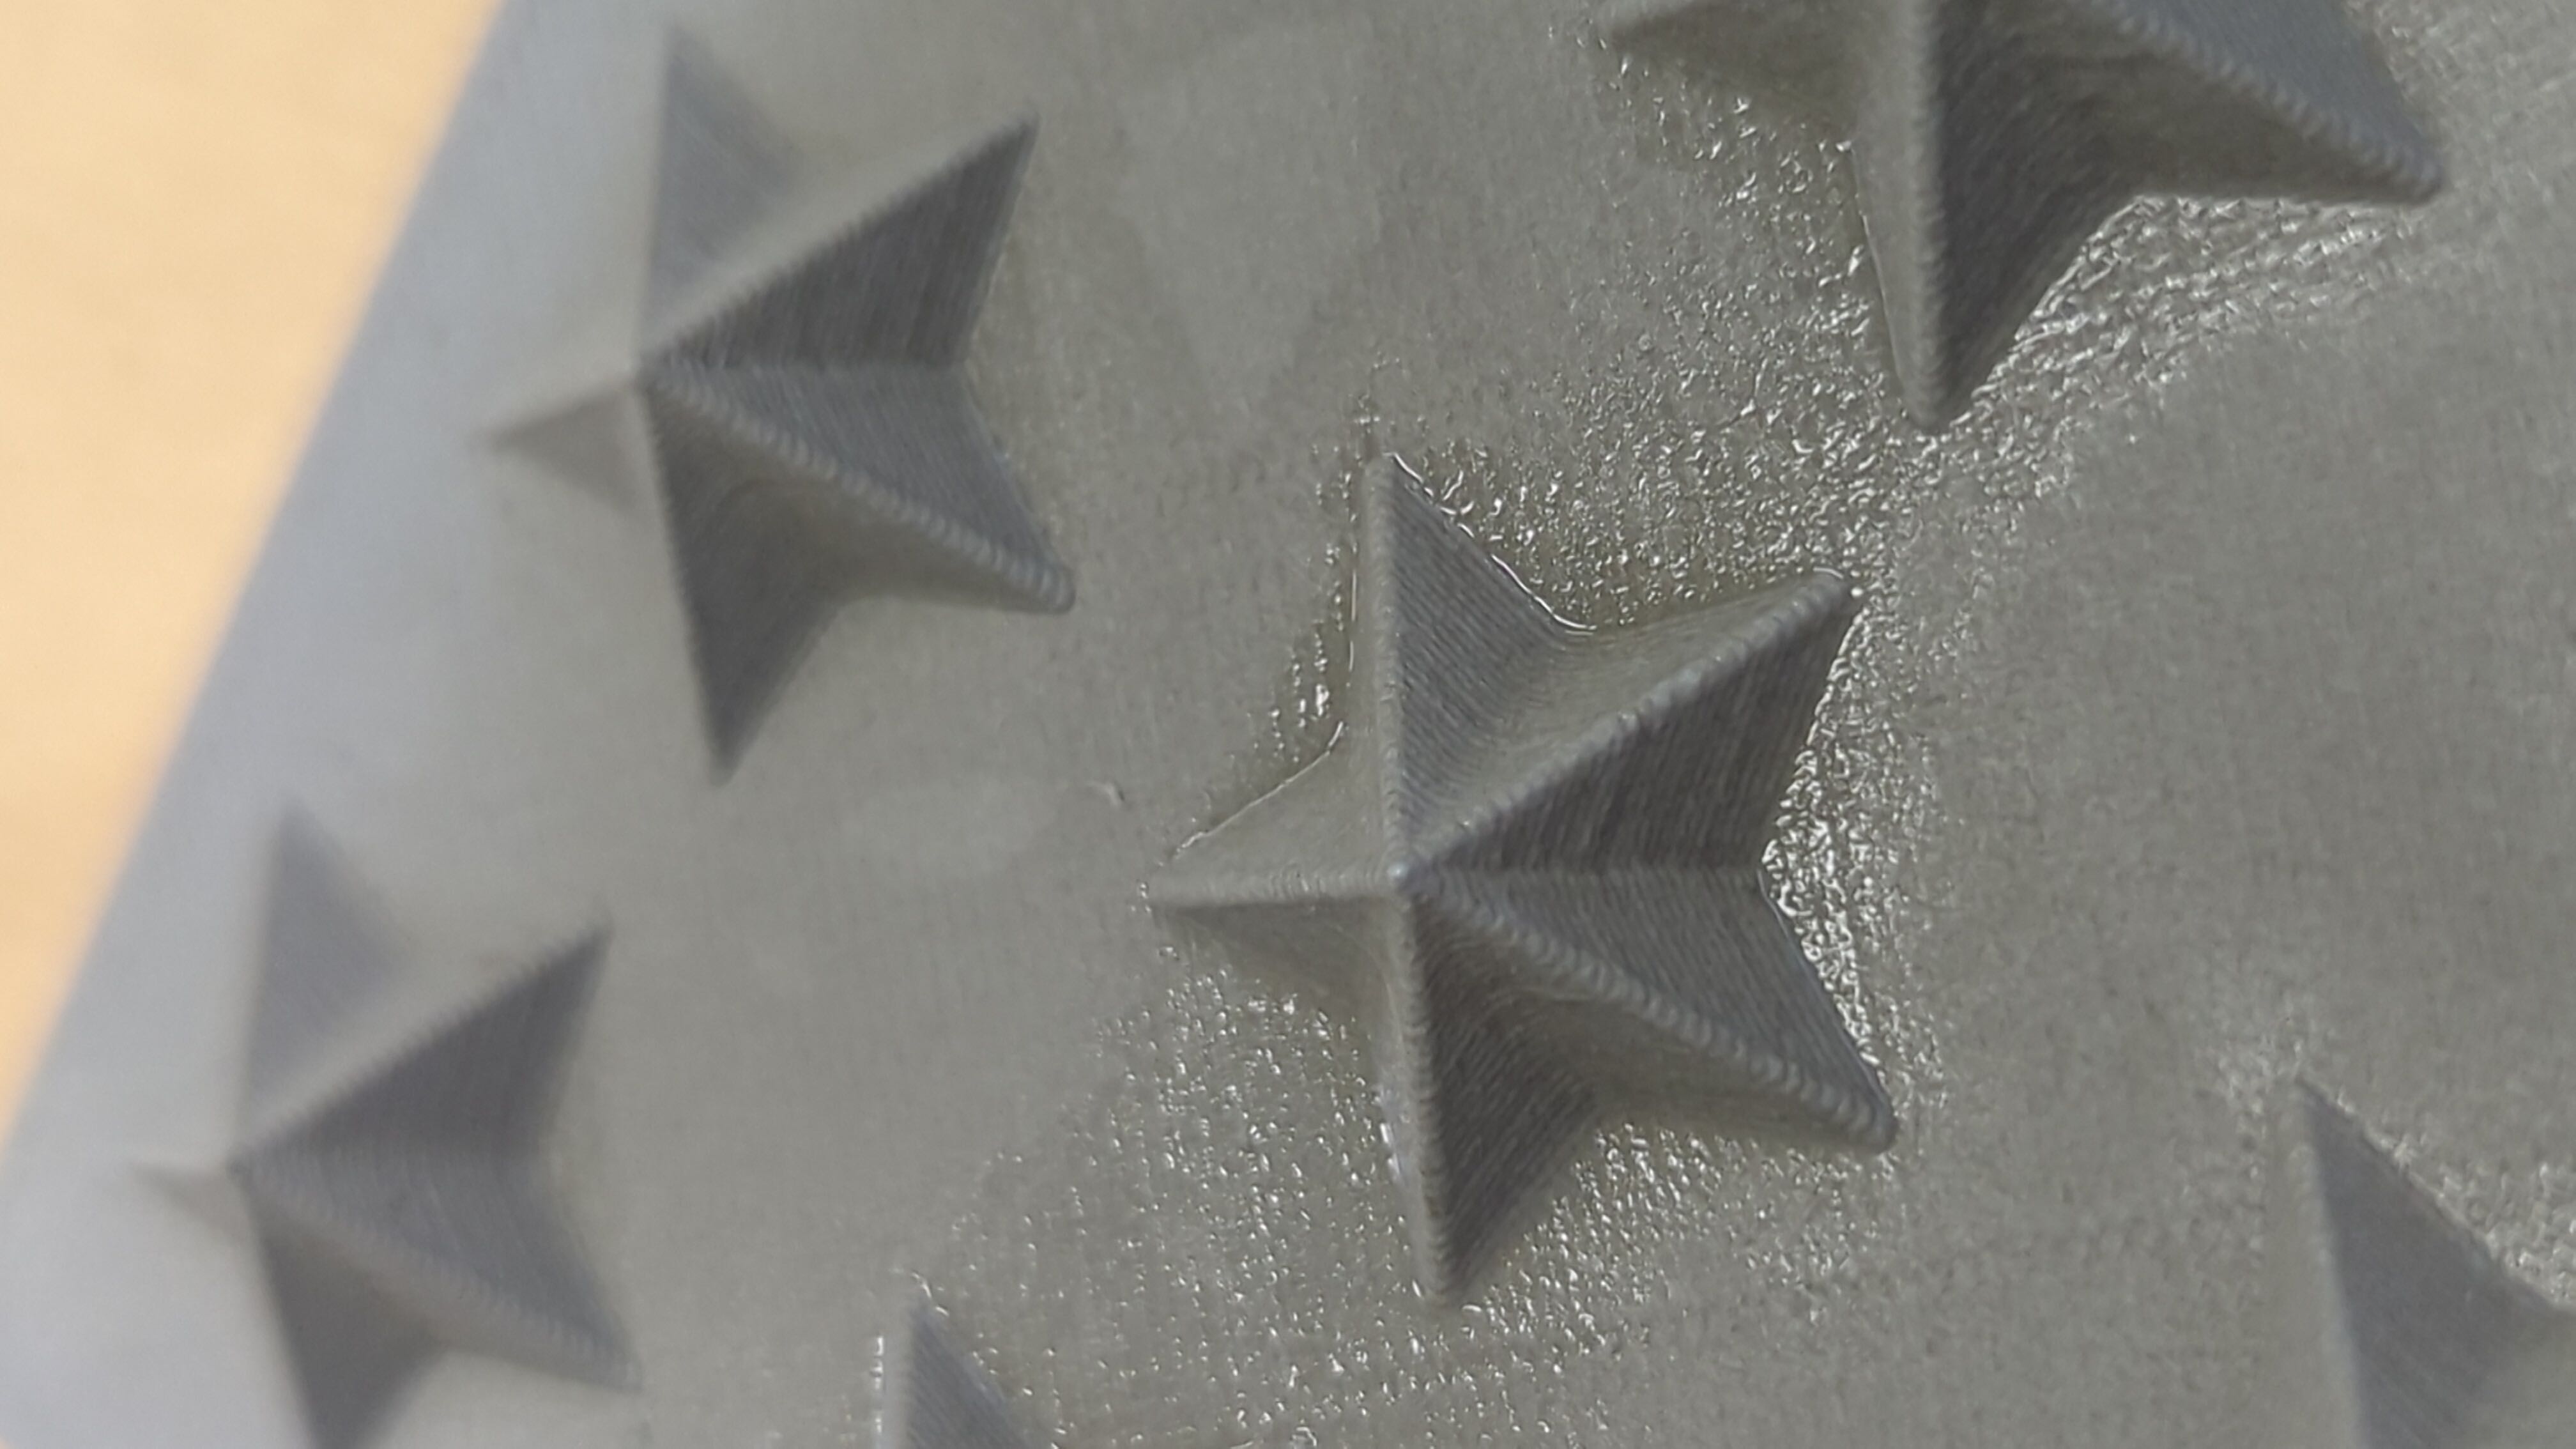
I printed the mold using grey PETG with a BambuLab X1 Carbon. Since the layers of the print were visible I decided to post-process the print with the sanding machine.
Here you can see the layers of the print:
I used the sanding machine of our lab, which basically works with air pressure and sand.
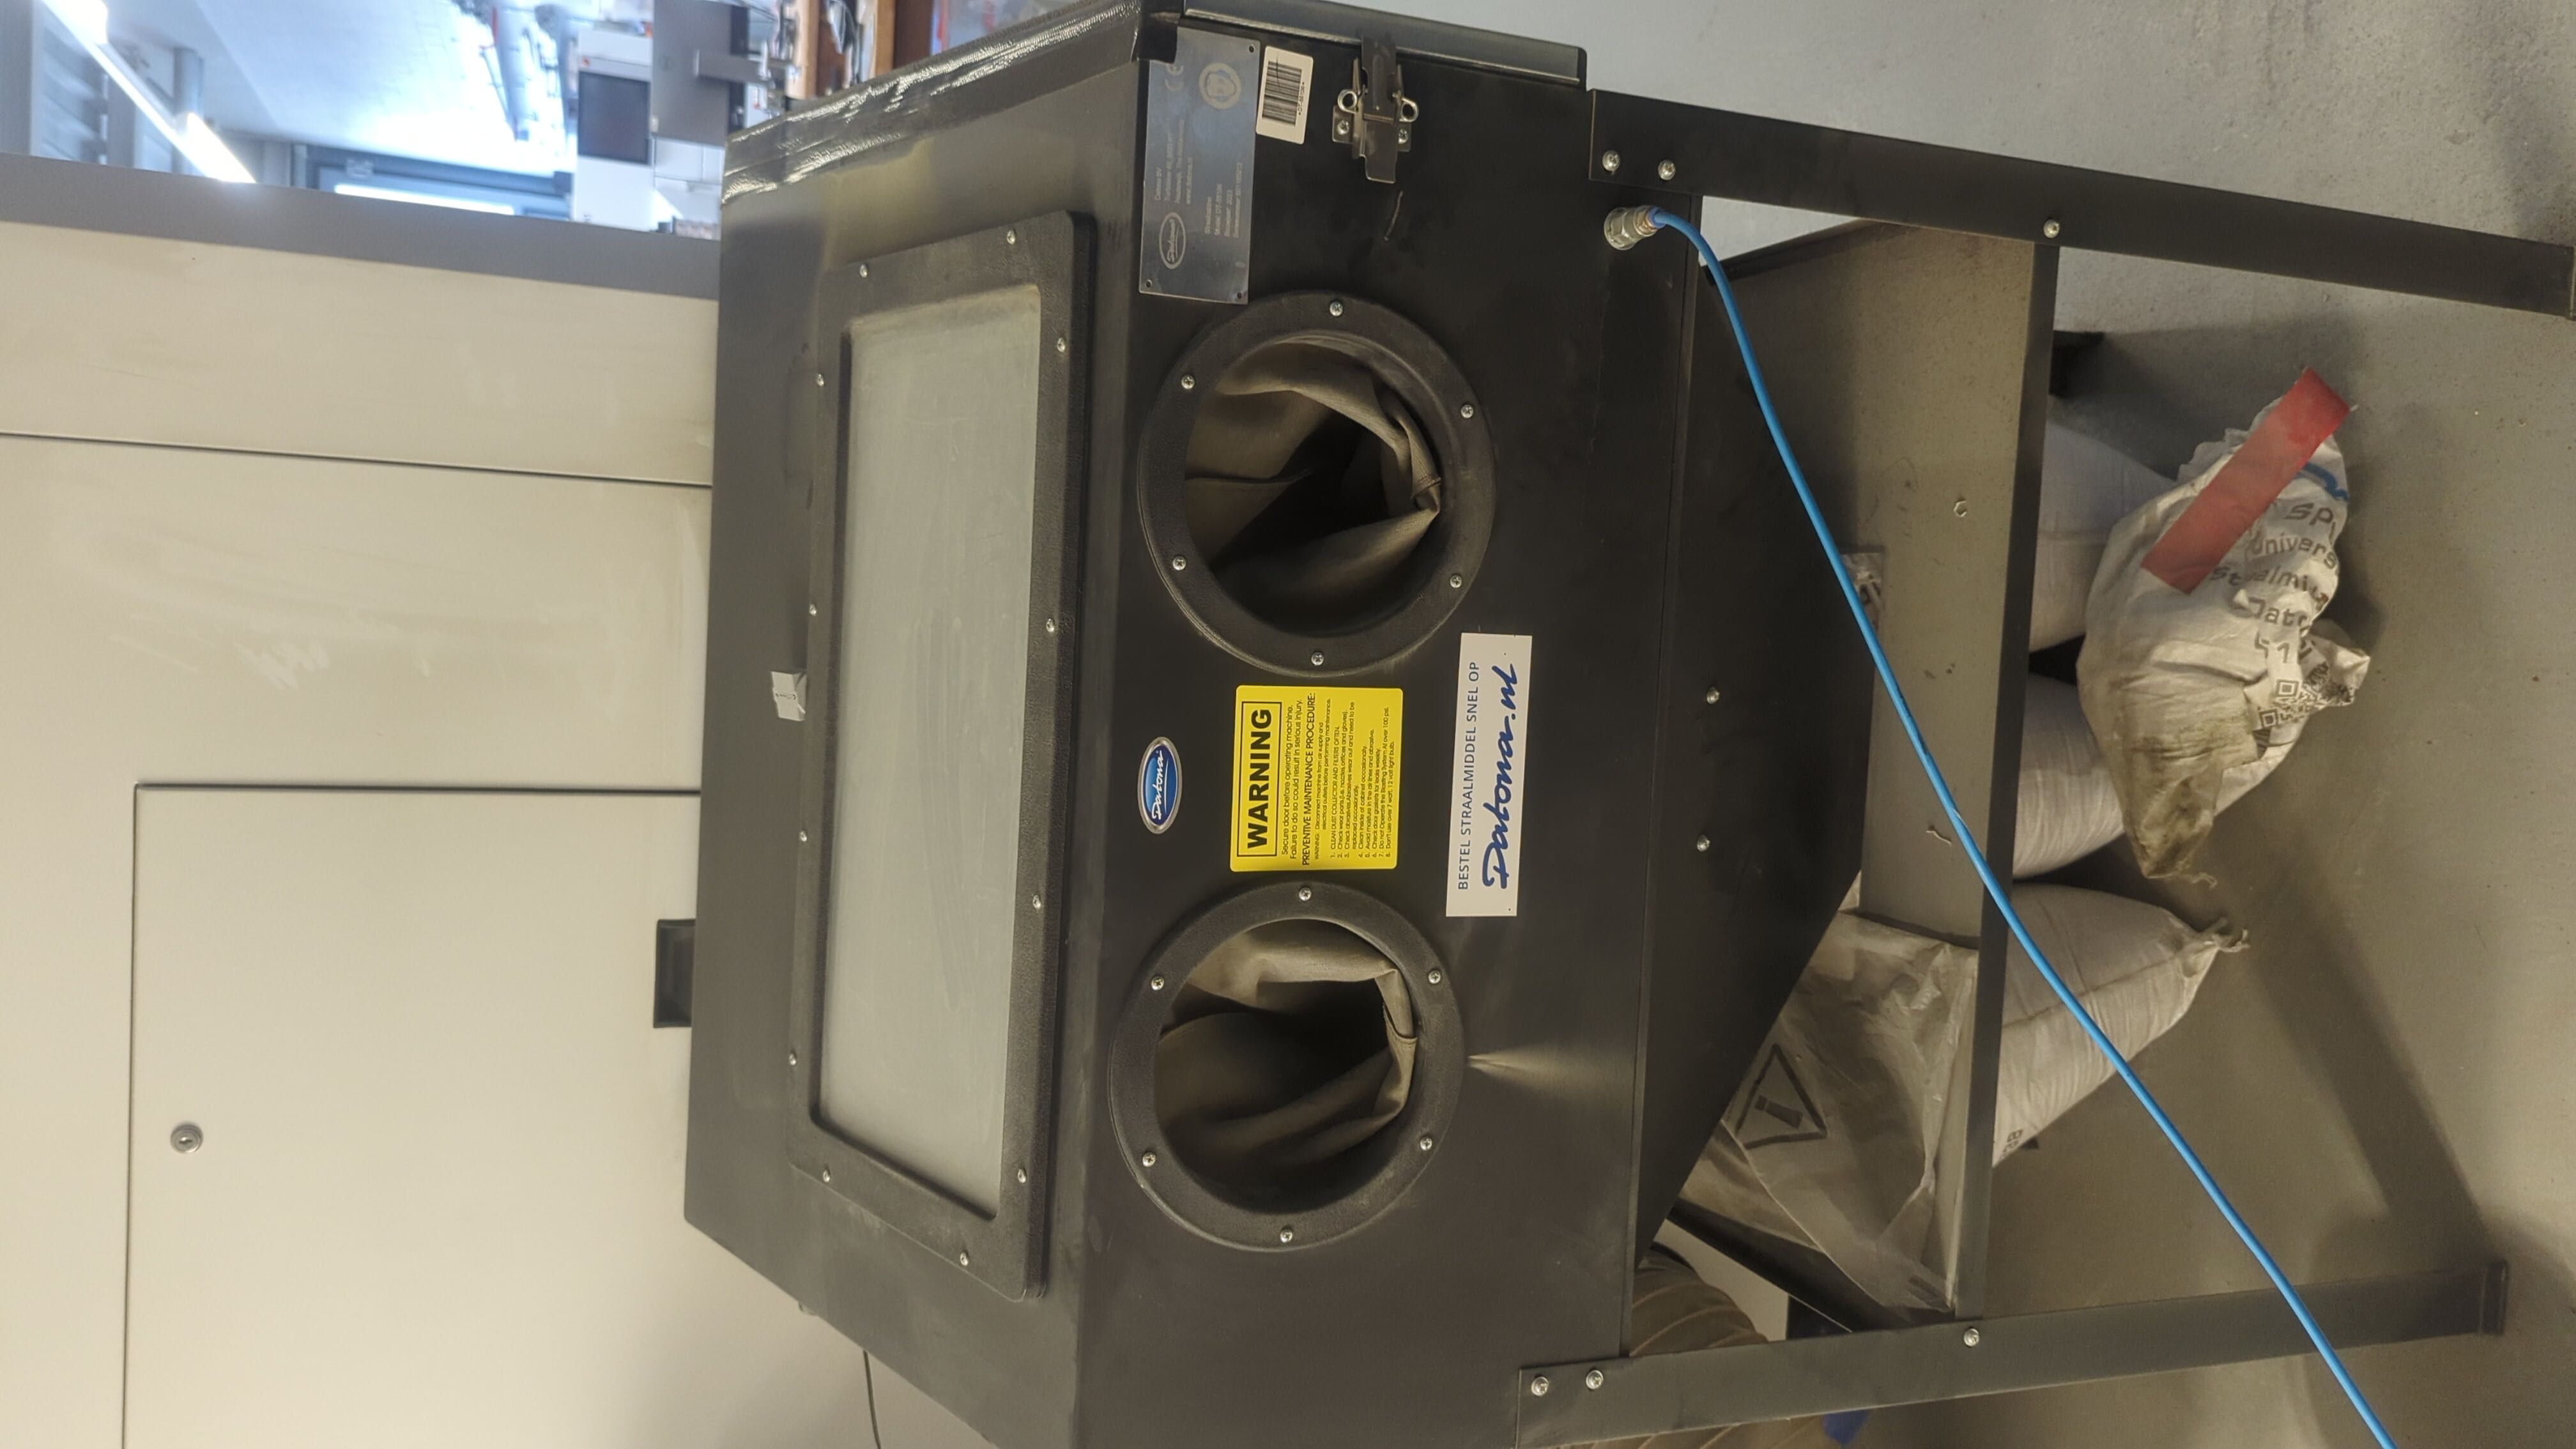
To use it you need to place your object inside the machine, close the door and then you can sand the object.
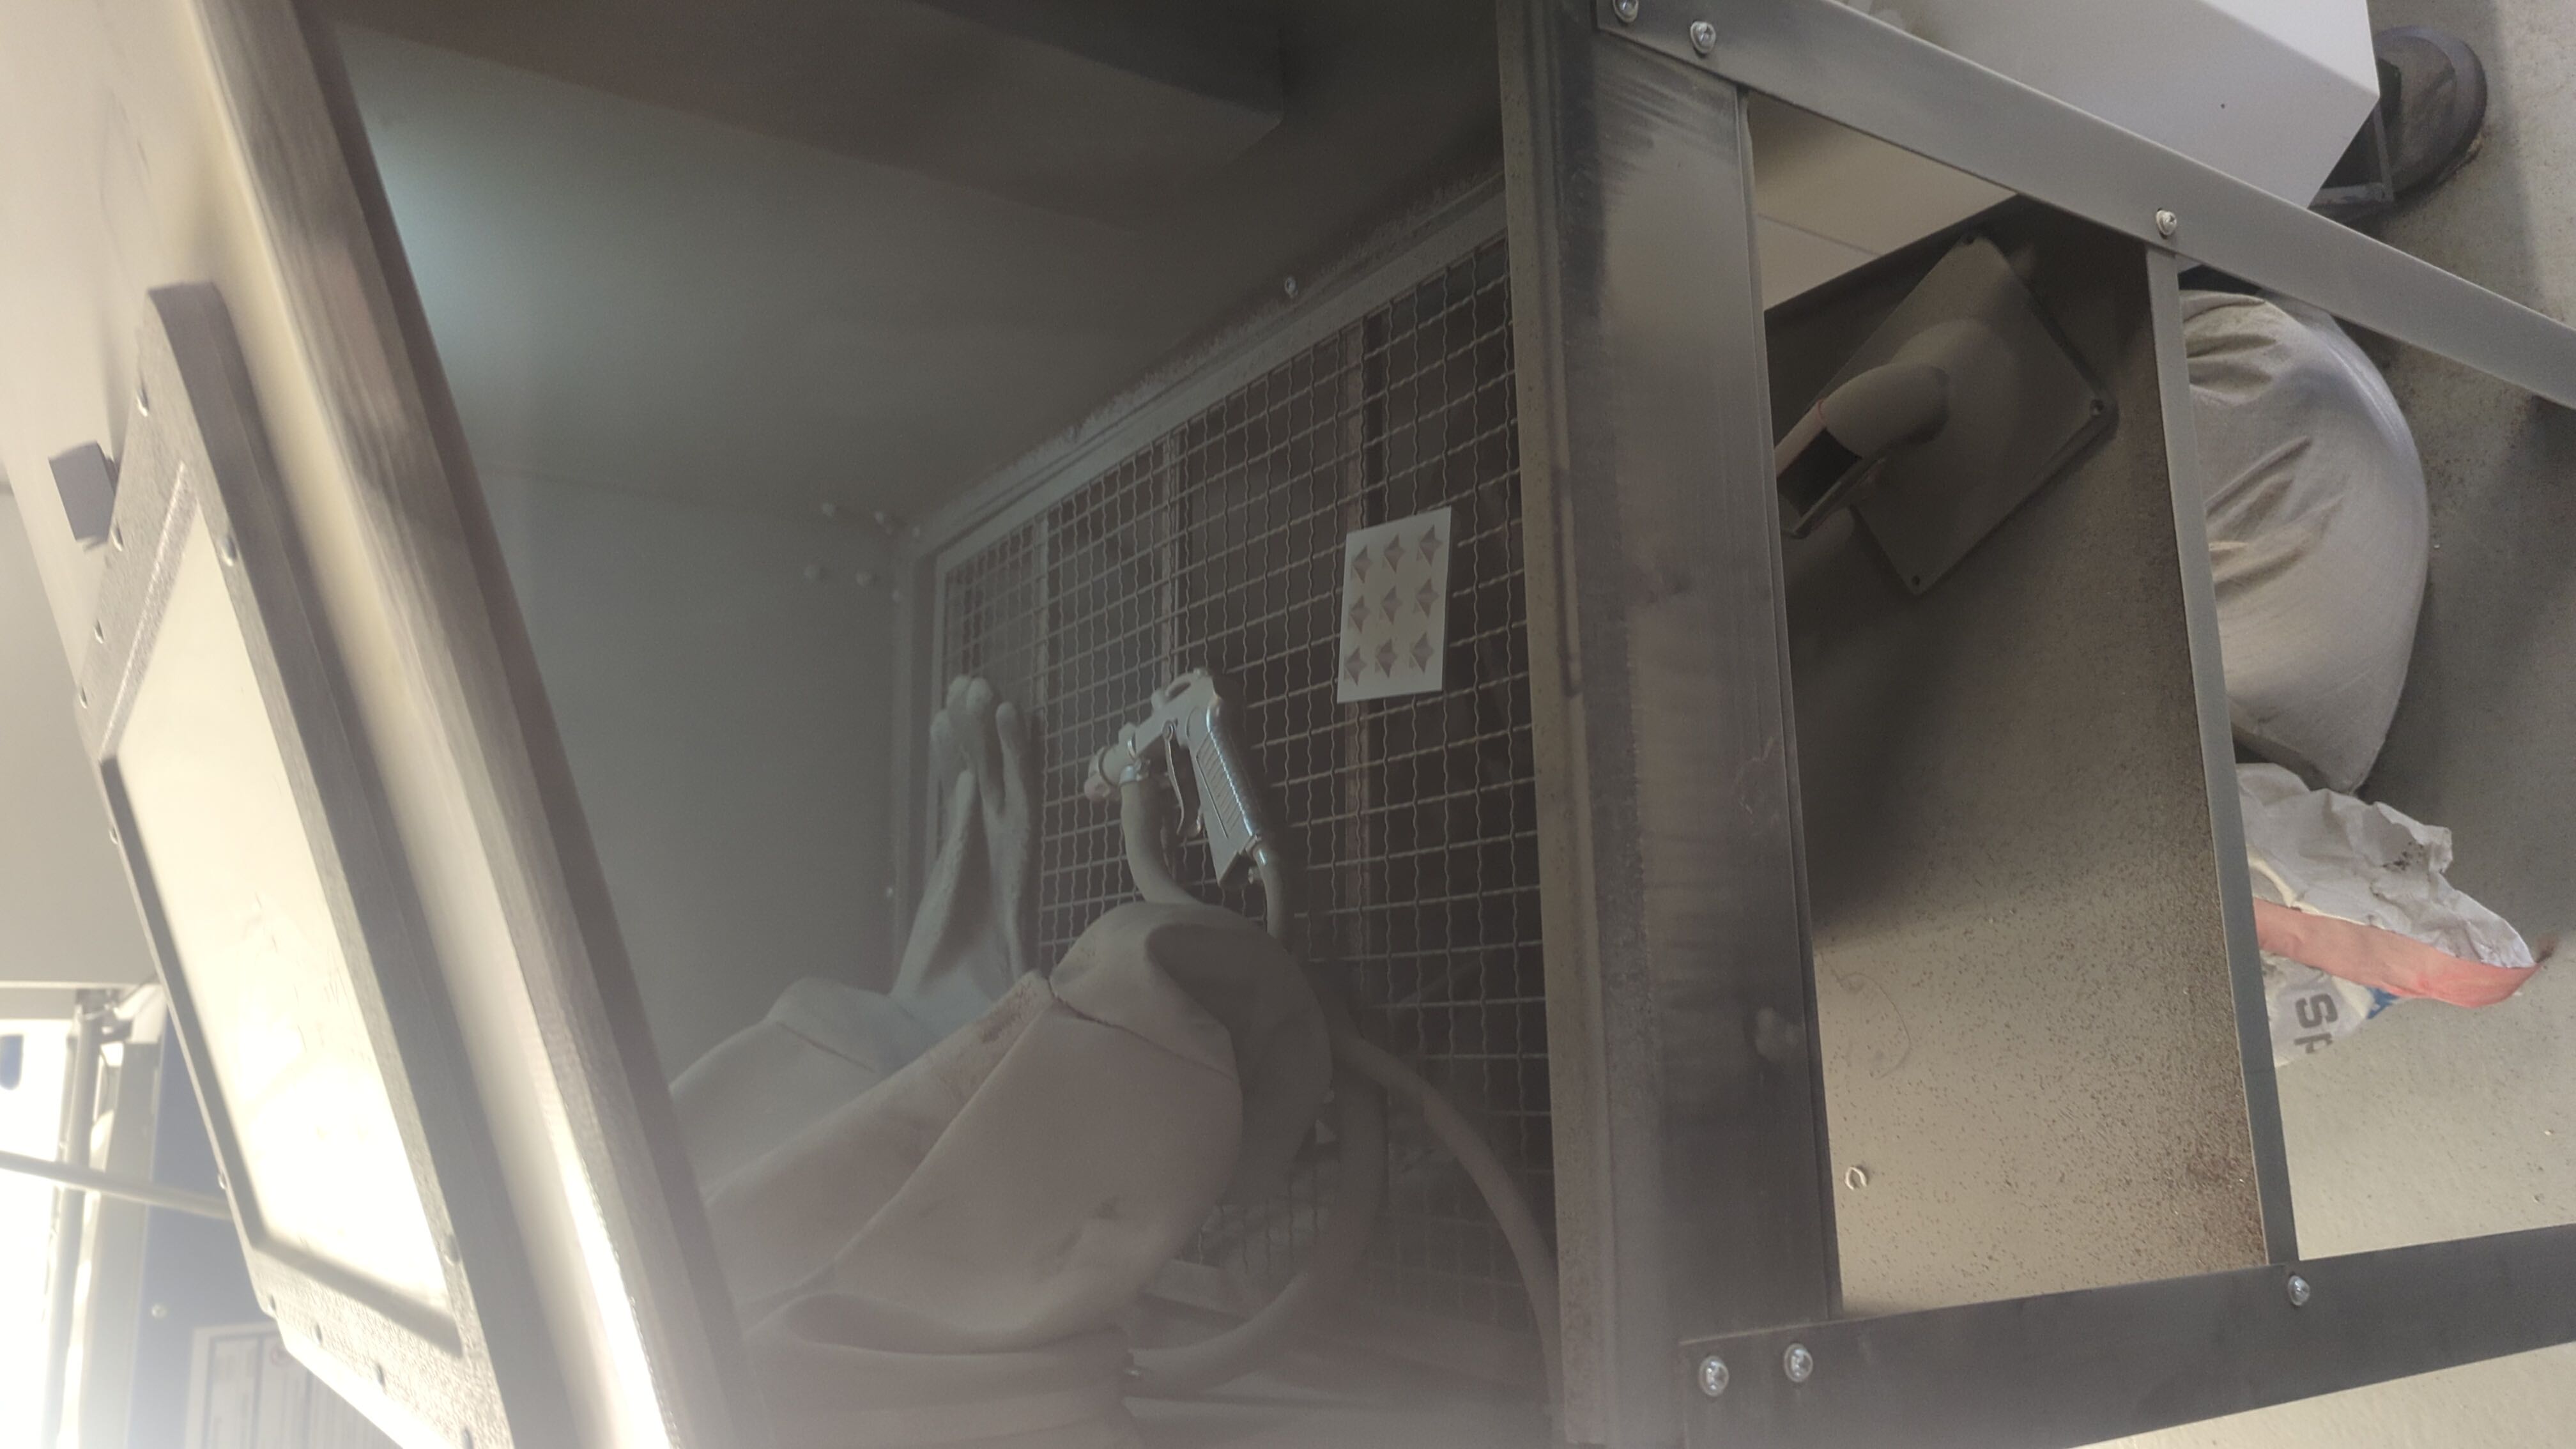
After two or three rounds of sanding I was finally happy with the result as the visible layer lines disappeared.

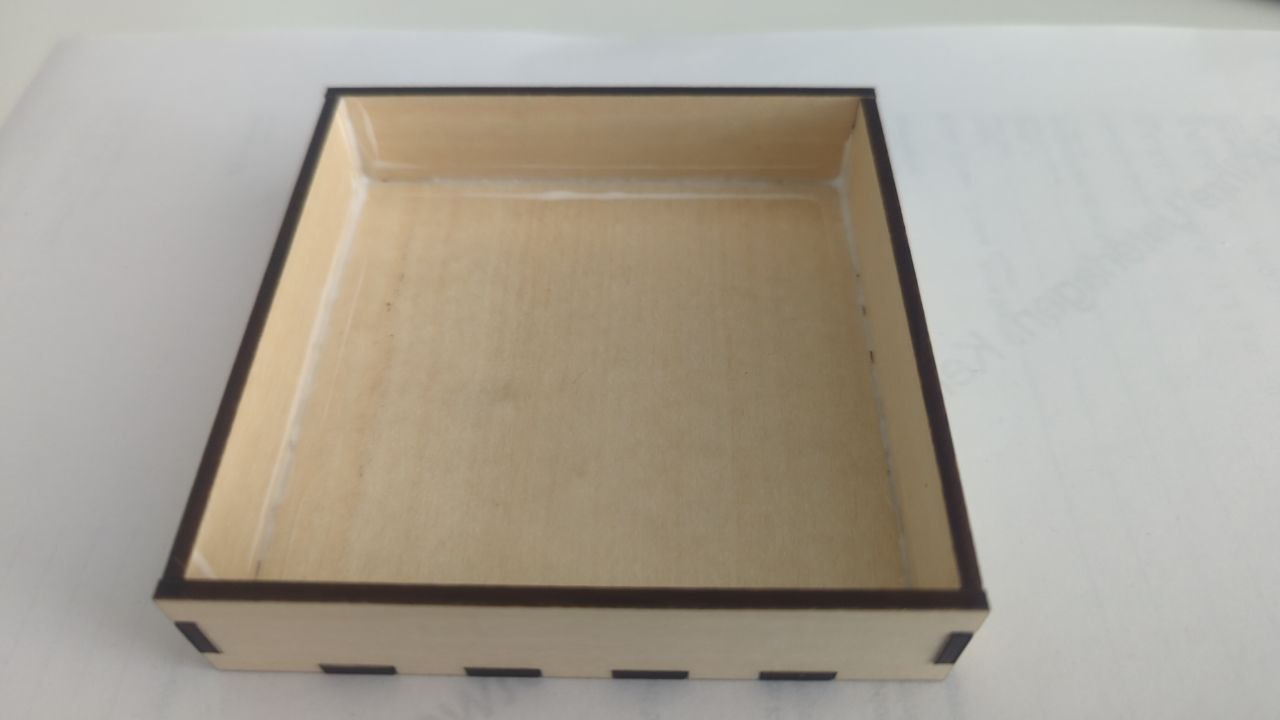
Creating the Laser-Cut Mold Box
To hold the 3D printed star mold in place while pouring silicone, I needed a custom-sized mold box. For this, I used a parametric box generator called MakerCase to quickly generate a laser-cut-ready design.
I measured the dimensions of my printed mold base (approximately 80 × 80 mm) and added a small margin on each side to give the silicone enough wall thickness. I entered the final internal dimensions into the box generator and set the material thickness to 3 mm, since I used standard acryl for laser cutting.
The box generator created a downloadable .SVG file with finger joints that can be assembled easily.
I started with the MakerCase interface and selected a simple open-top box template.
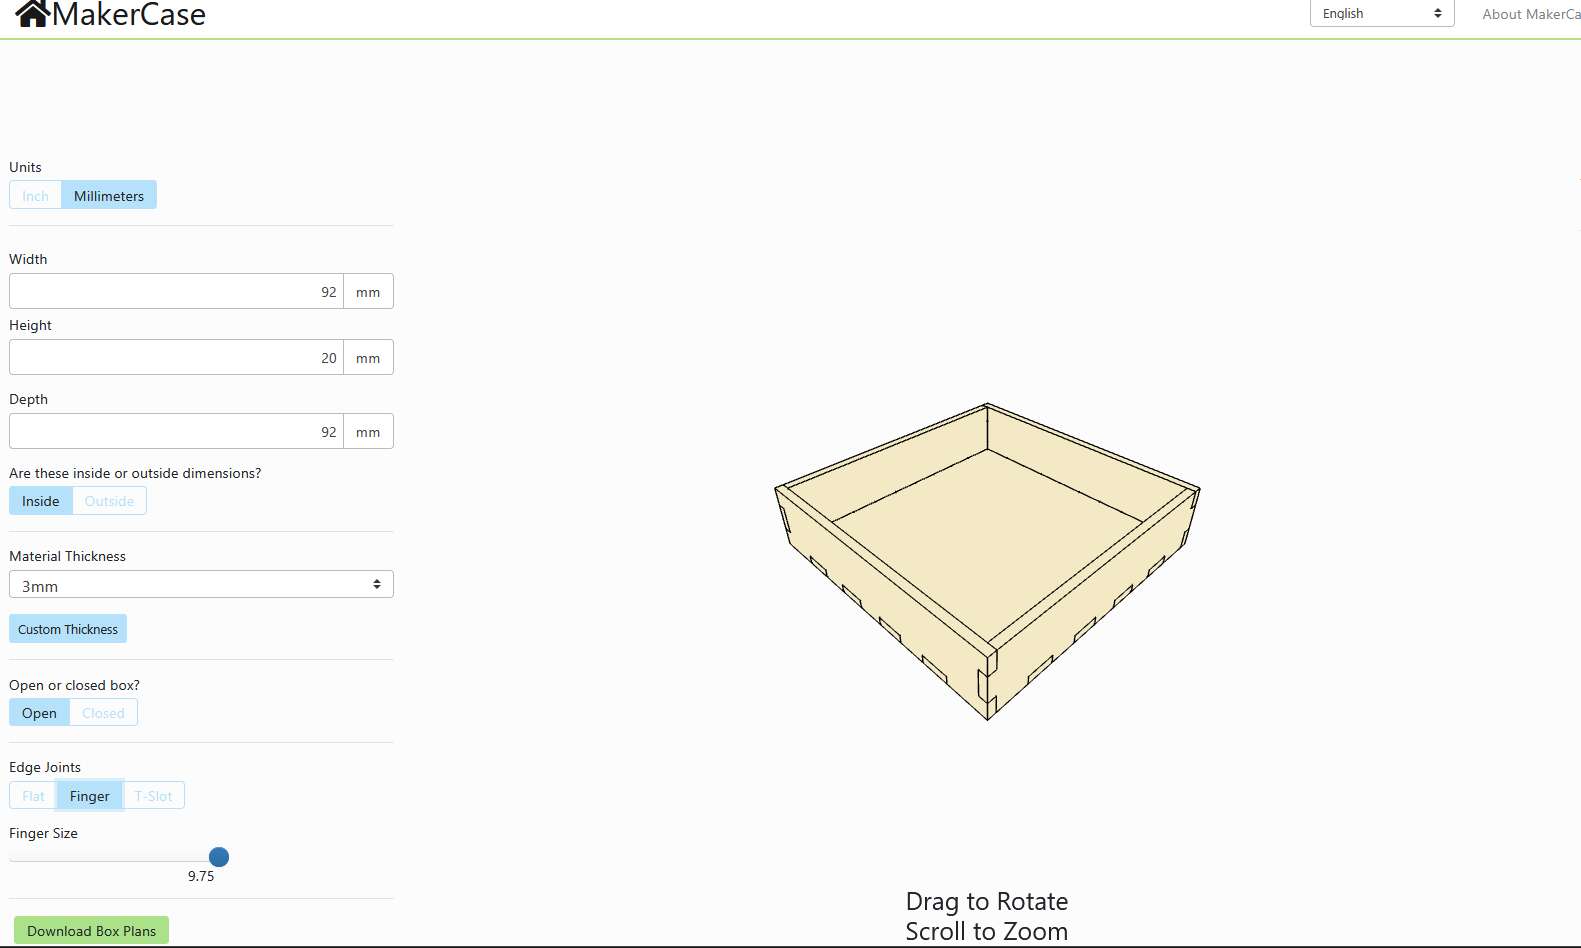
I set internal dimensions to 92×92×20 mm, allowing space for silicone walls and height clearance.
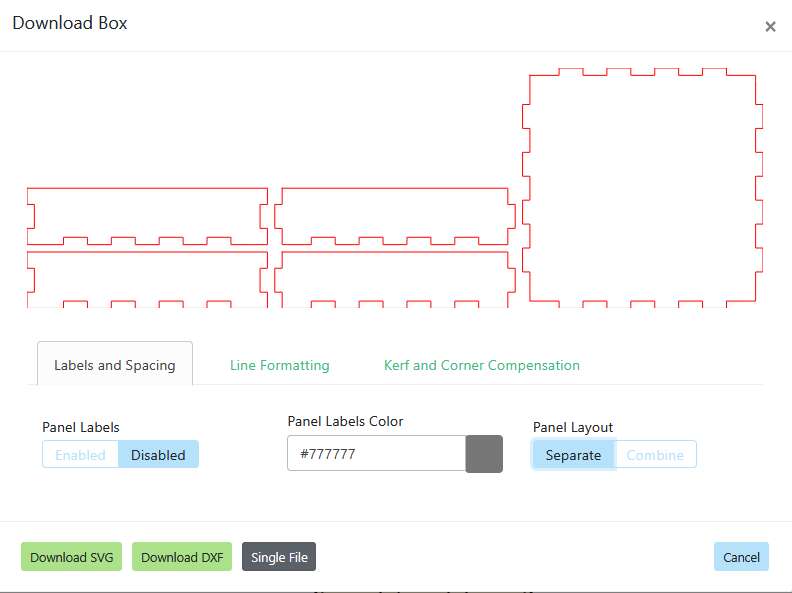
The software generated SVG plans with finger joints, ready to be laser cut from 3 mm acrylic.
Laser Cutting the Box
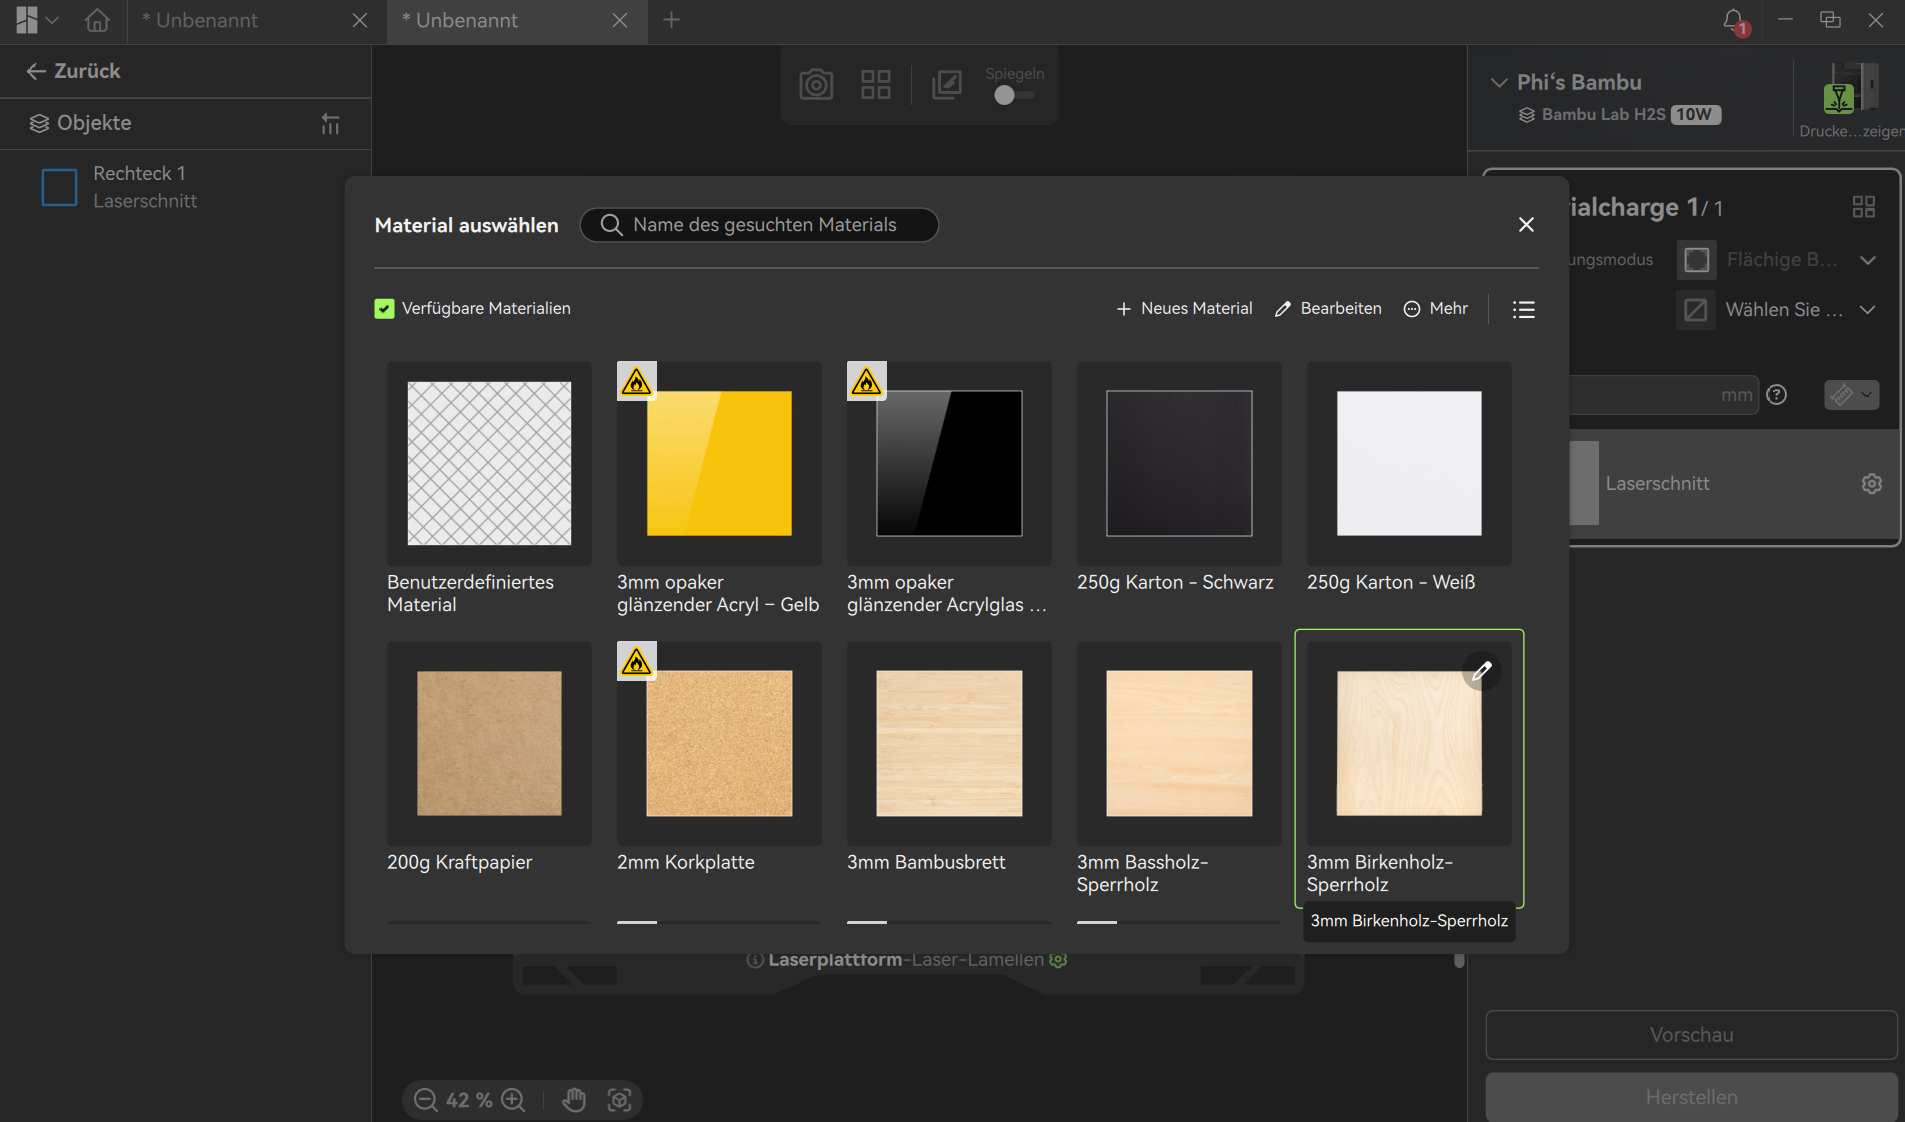
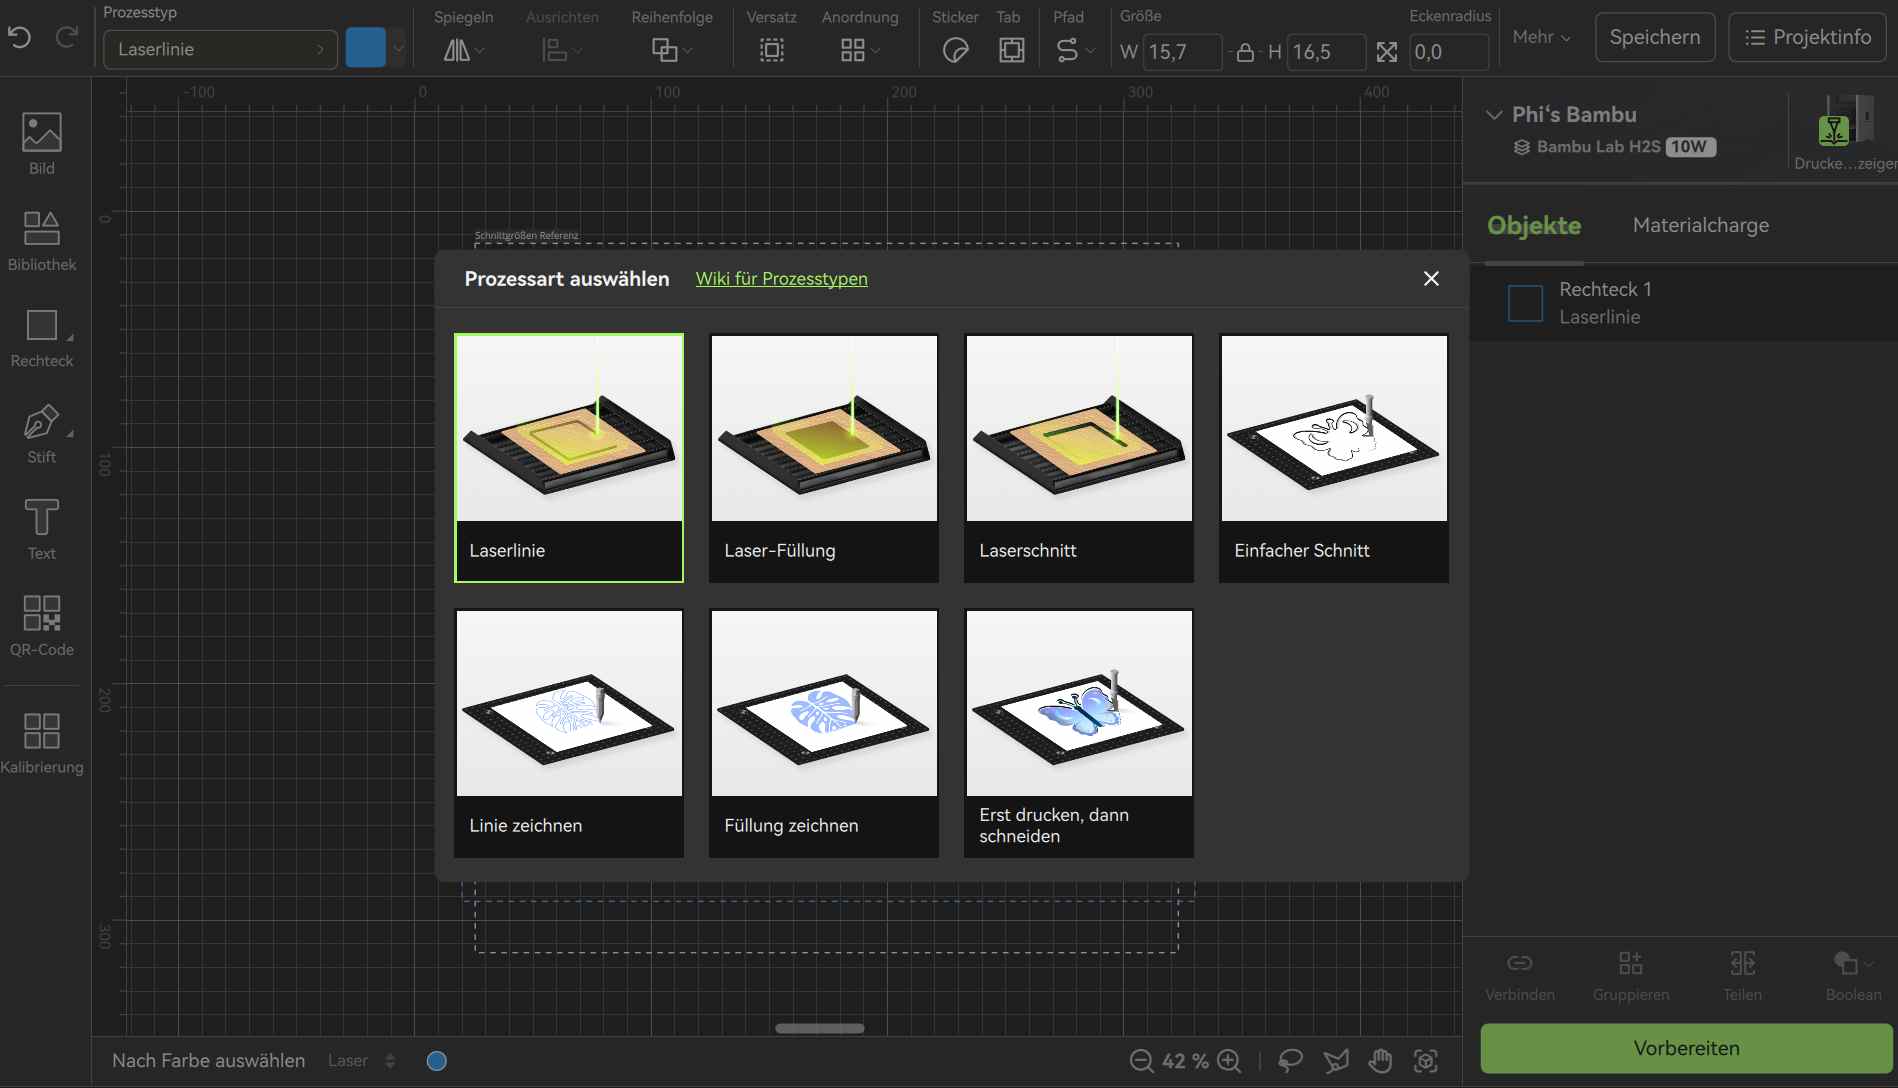
I laser cut the box panels using the 10W Laser Module of my BambuLab H2S from 3 mm plywood. The SVG file generated by MakerCase was imported directly into the BambuLab software (Bambu Suite) and the parts were cut in a single pass.
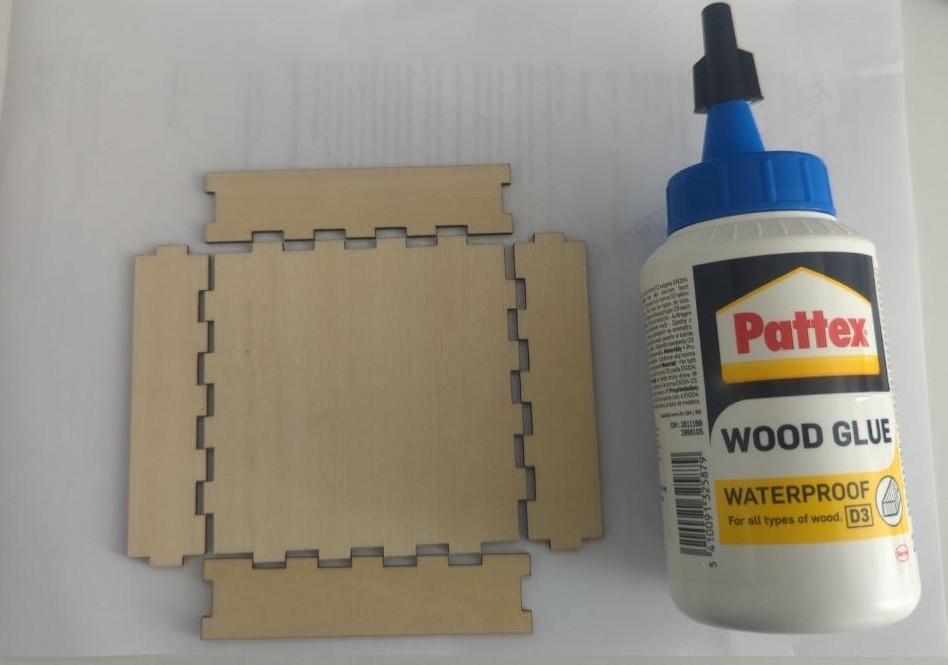
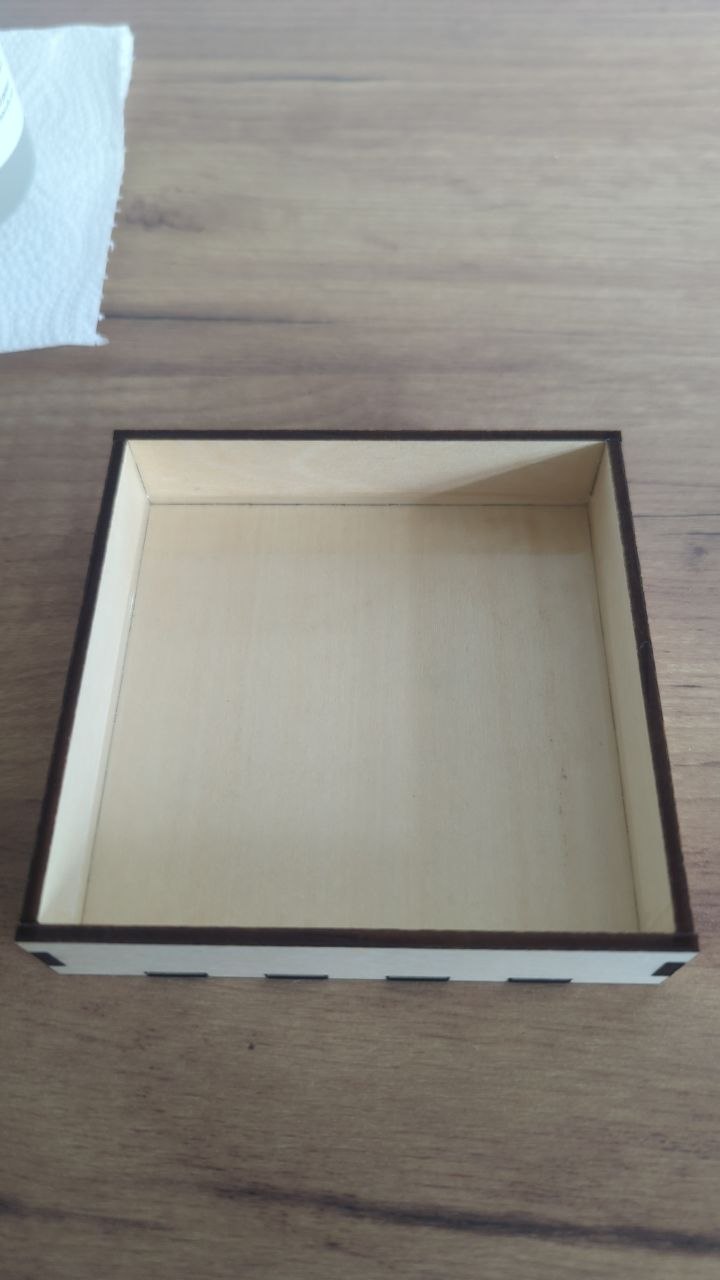
Once all panels were cut, I assembled the box by fitting the finger joints together and fixing them permanently with wood glue. The tight-fitting joints made alignment easy and resulted in a sturdy, leak-proof enclosure — ready to hold the silicone during casting.
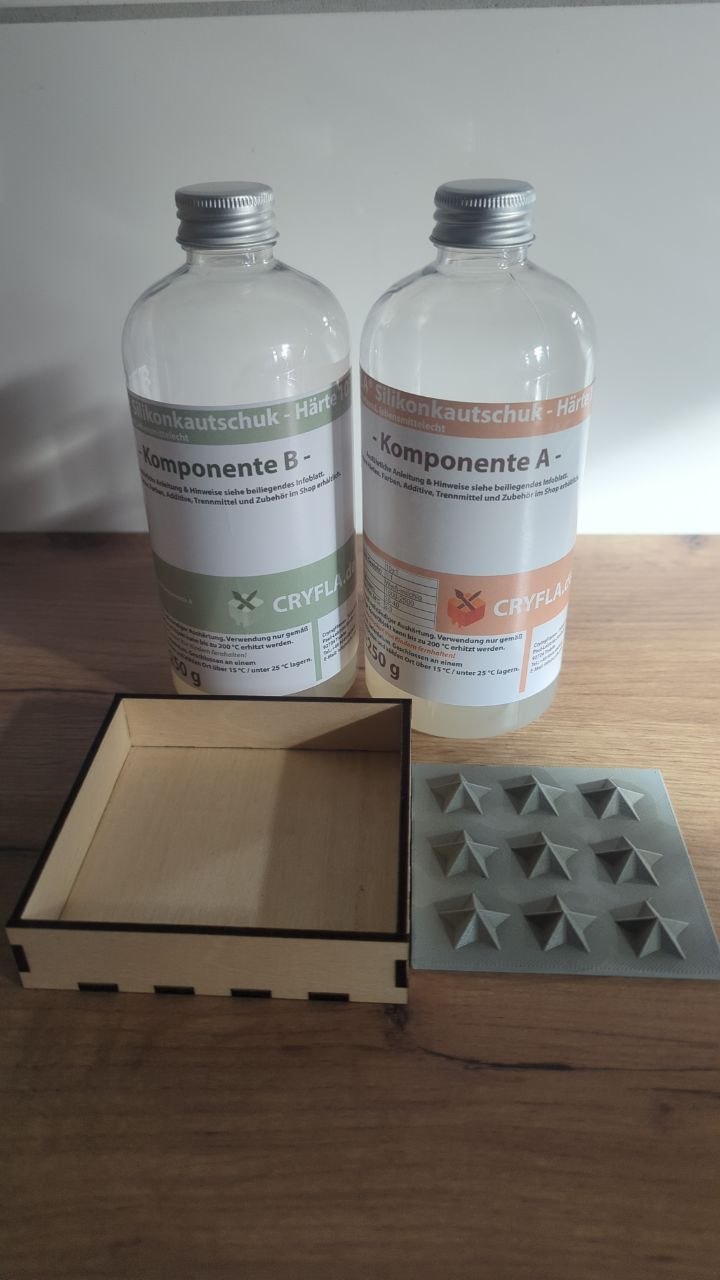
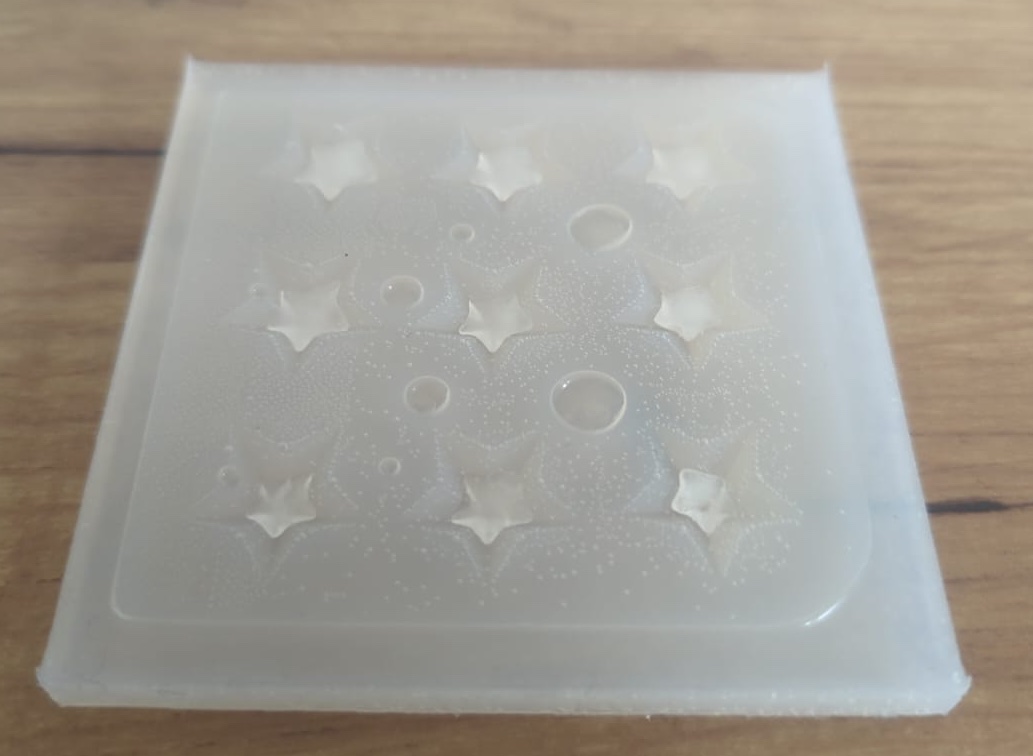
Silicone Casting
I bought a 500 ml bottle of CRYFLA® food-safe two-component silicone on eBay. It cost €15.99 and will last for well more than just this one project.
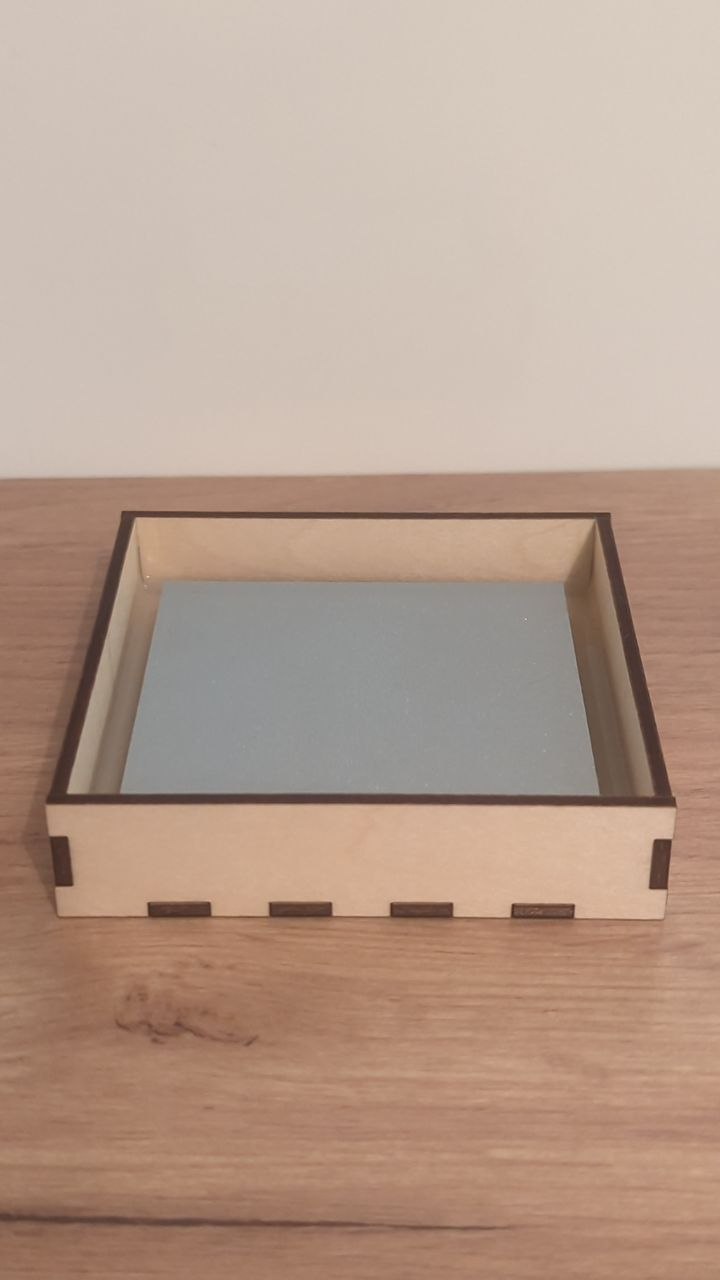
Once the positive mold was 3D printed and the laser-cut mold box was assembled, I mixed the two components of the silicone and poured a 2mm layer silicone (20g) on the ground of the mold. Some hours later I poured 50g of the silicone around the star positive inside the box. The silicone is now curing and I am looking forward to demolding it soon!

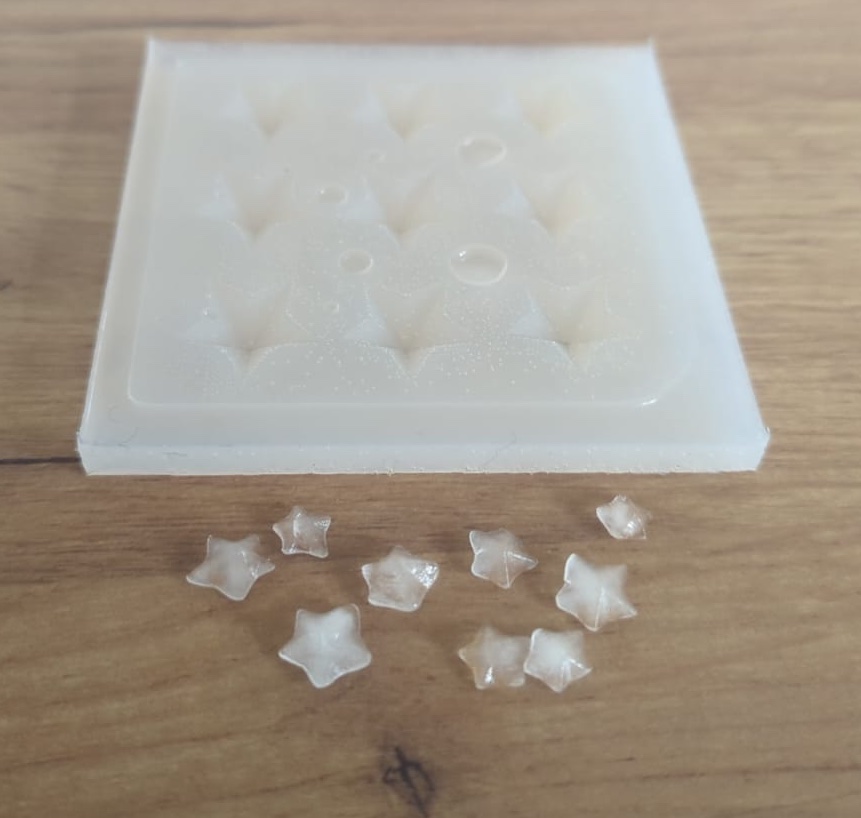
Final Result
I decided to try it with water first, as the mold was designed to small for a practical usage.
Here are the incredibly small ice-cubes!
Downloads
Group Assignment
Review Safety Data Sheets & Compare Casting Materials
For the group assignment, I reviewed the safety data sheets of common casting materials and compared their properties. Since I was working on a food-related project (vegan gummy bears), food safety was my main priority — which already narrowed down the options significantly.
| Material | Food Safe | Flexibility | Detail Resolution | Cure Time | Approx. Cost | Notes | Data Sheet |
|---|---|---|---|---|---|---|---|
| Food-Safe Silicone (e.g. CRYFLA®) | Yes | From 0 (very soft) to 40 (rigid) | High | 12–24 h | ~€15–25 / 500 ml | Ideal for edible castings | Food Safe Silicone Datasheet |
| Standard Room Temperature Vulcanizing Silicone | No | Very flexible, reusable | High | 12–24 h | ~€10–20 / 500 ml | Not food safe | RTV Silicone Datasheet |
| Polyurethane Resin | No | Rigid | Very high | 5–30 min | ~€20–40 / set | Fast cure, but toxic fumes, needs PPE | Polyurethane Resin Datasheet |
| Plaster of Paris | No | Rigid, brittle | Medium | 30–60 min | ~€2–5 / kg | Very cheap but low durability, absorbs moisture | Plaster of Paris Datasheet |
| Epoxy Resin | No | Rigid | High | 24–72 h | ~€15–35 / set | Great surface finish, long cure, strong fumes | Epoxy Resin Datasheet |
Due to budget constraints, I decided to only purchase the food-safe two-component silicone (CRYFLA®, €15.99 for 500 ml) instead of buying multiple materials for comparison. The safety data sheets for all materials listed above are linked below for reference.
Compare Printing vs Milling Molds
For the second part of the group assignment, I compared FDM 3D-printing, SLA 3D-printing and CNC milling as methods for producing mold positives, across several relevant criteria:
| Criterion | FDM 3D Printing | SLA 3D Printing | CNC Milling |
|---|---|---|---|
| Manufacturing Quality | Good, but visible layer lines require post-processing | Excellent, very smooth surface finish, minimal post-processing needed | Excellent surface finish straight off the machine, especially with fine toolpaths |
| Detail Resolution | Medium: limited by nozzle diameter (typically 0.4 mm) and layer height | Very high: layer heights of 0.025–0.05 mm possible | High: depends on end mill size, can achieve very fine details |
| Layer Lines / Artifacts | horizontal layer lines clearly visible on curved surfaces | Barely visible: layers are extremely thin and smooth | No layer lines, but toolpath marks possible on complex geometries |
| Cost | Low: filament ~€10/kg, printer widely available | Medium: resin ~€30–60/l, printer more expensive, consumables add up | Higher: milling bits wear out, machine time is more expensive, costs of materials vary |
| Setup Effort | Low: slice in software, start print, done | Medium: supports needed, resin handling requires PPE, IPA wash + UV cure station | Higher: requires CAM programming, workholding, tool selection |
| Print/Mill Duration | Medium: a small mold positive takes 1–3 h | Medium to slow: fine details take time, post-curing adds extra steps | Fast for simple shapes, slow for detailed 3D geometry |
| Post-Processing | Often needed (sanding, sealing) for smooth silicone release | Minimal sanding: washing and UV curing required | Usually minimal: surfaces are already smooth |
| Material Options | PLA, PETG, ABS, ASA, etc. --> wide range | Various resins (standard, ABS-like, castable, flexible) | Wood, foam, wax, aluminium, acrylic — very versatile |
| Durability of Mold Positive | Good: (PETG/ABS withstand silicone casting well) | Medium: standard resins can be brittle, specialized resins perform better | Excellent: especially when milled from aluminium or hard plastics |
| Food Safety of Positive | Depends on filament (PETG is generally fine) | Uncured resin residue can be problematic, thorough post-cure essential | Depends on material: aluminium or food-safe plastics work well |
| Best For | Organic shapes, rapid prototyping, budget builds | High-detail molds, jewelry, miniatures, smooth organics | High-precision molds, smooth surfaces, production runs |