3. Computer Controlled Cutting
This week, we’re exploring computer-controlled cutting, an essential part of digital fabrication. We’ll explore parametric 3D modeling, laser cutter operation, and vinyl cutting techniques. By engaging with these tools, we aim to create and assess parametric construction kits while mastering the principles of computer-controlled cutting.
Learning Outcomes:
- Demonstrate and describe parametric 2D modeling processes.
- Identify and explain processes involved in using the laser cutter.
- Develop, evaluate, and construct a parametric construction kit.
- Identify and explain processes involved in using the vinyl cutter.
Group Assignment:
In our recent group assignment, we embarked on a comprehensive exploration of our laser cutting machine’s capabilities. We conducted various tests to characterize its focus, power, speed, rate, kerf, joint clearance, and types.
One of the key tests involved creating a 4x4 grid of squares, each outlined with a different color from the Trotec laser’s palette. We meticulously adjusted the power and speed settings for each color, ranging from 100% to 70% power and from 0.1m/s to 0.7m/s speed increments.
Furthermore, we employed a kerf and joint clearance test using MDF material of 3.3mm thickness. By generating comb-like structures with varying slot thicknesses, we determined the optimal fit for our material, which greatly informed our laser cutting processes.
For a detailed account of our experiments and findings, please visit the group assignment page on our website.
Individual Assignment: Parametric Construction Kit Project
Molecular Geometry Kit
Inspiration
My inspiration stemmed from recognizing the challenges students face in visualizing molecular structures in chemistry classes. I wanted to find a way to make learning about molecules more hands-on and engaging. Seeing the need for a practical solution, I was inspired to create a kit that could help students grasp complex concepts more easily.
I found a research paper which recognized the benefits of utilizing a construction kit for molecular chemistry in teaching this concept and helping the students to grasp the idea. Here is the research paper.
The research paper highlighted how understanding molecular geometry is crucial in chemistry, but it can be tricky to visualize. So it was important to bridge the gap between 2D diagrams and 3D structures by creating a tangible kit that students can interact with. This would provide a hands-on experience, aiming to make learning molecular geometry more intuitive and enjoyable.
Who is it for?
The molecular geometry kit is designed for chemistry students at various levels, from high school to university. It’s also useful for educators looking for innovative teaching tools to enhance their lessons. By offering a practical way to explore molecular shapes, the kit aims to support students in mastering key concepts and developing a deeper understanding of chemistry.
Parametric Design Process
For me, parametric design is all about creating a system where various elements of the kit can be adjusted based on specific parameters. It’s like setting rules that guide how the kit comes together.
Parameters and Variables
I delved into identifying the key parameters that define molecular structures, such as bond angles, bond lengths, and atom types. These parameters serve as the building blocks for the design, allowing for flexibility and customization.
Through parametric design, I ensured that the kit could adapt to different molecular geometries commonly encountered in chemistry. By tweaking the parameters, users can explore various configurations and gain a deeper understanding of molecular structures.
Design Steps in Fusion 360
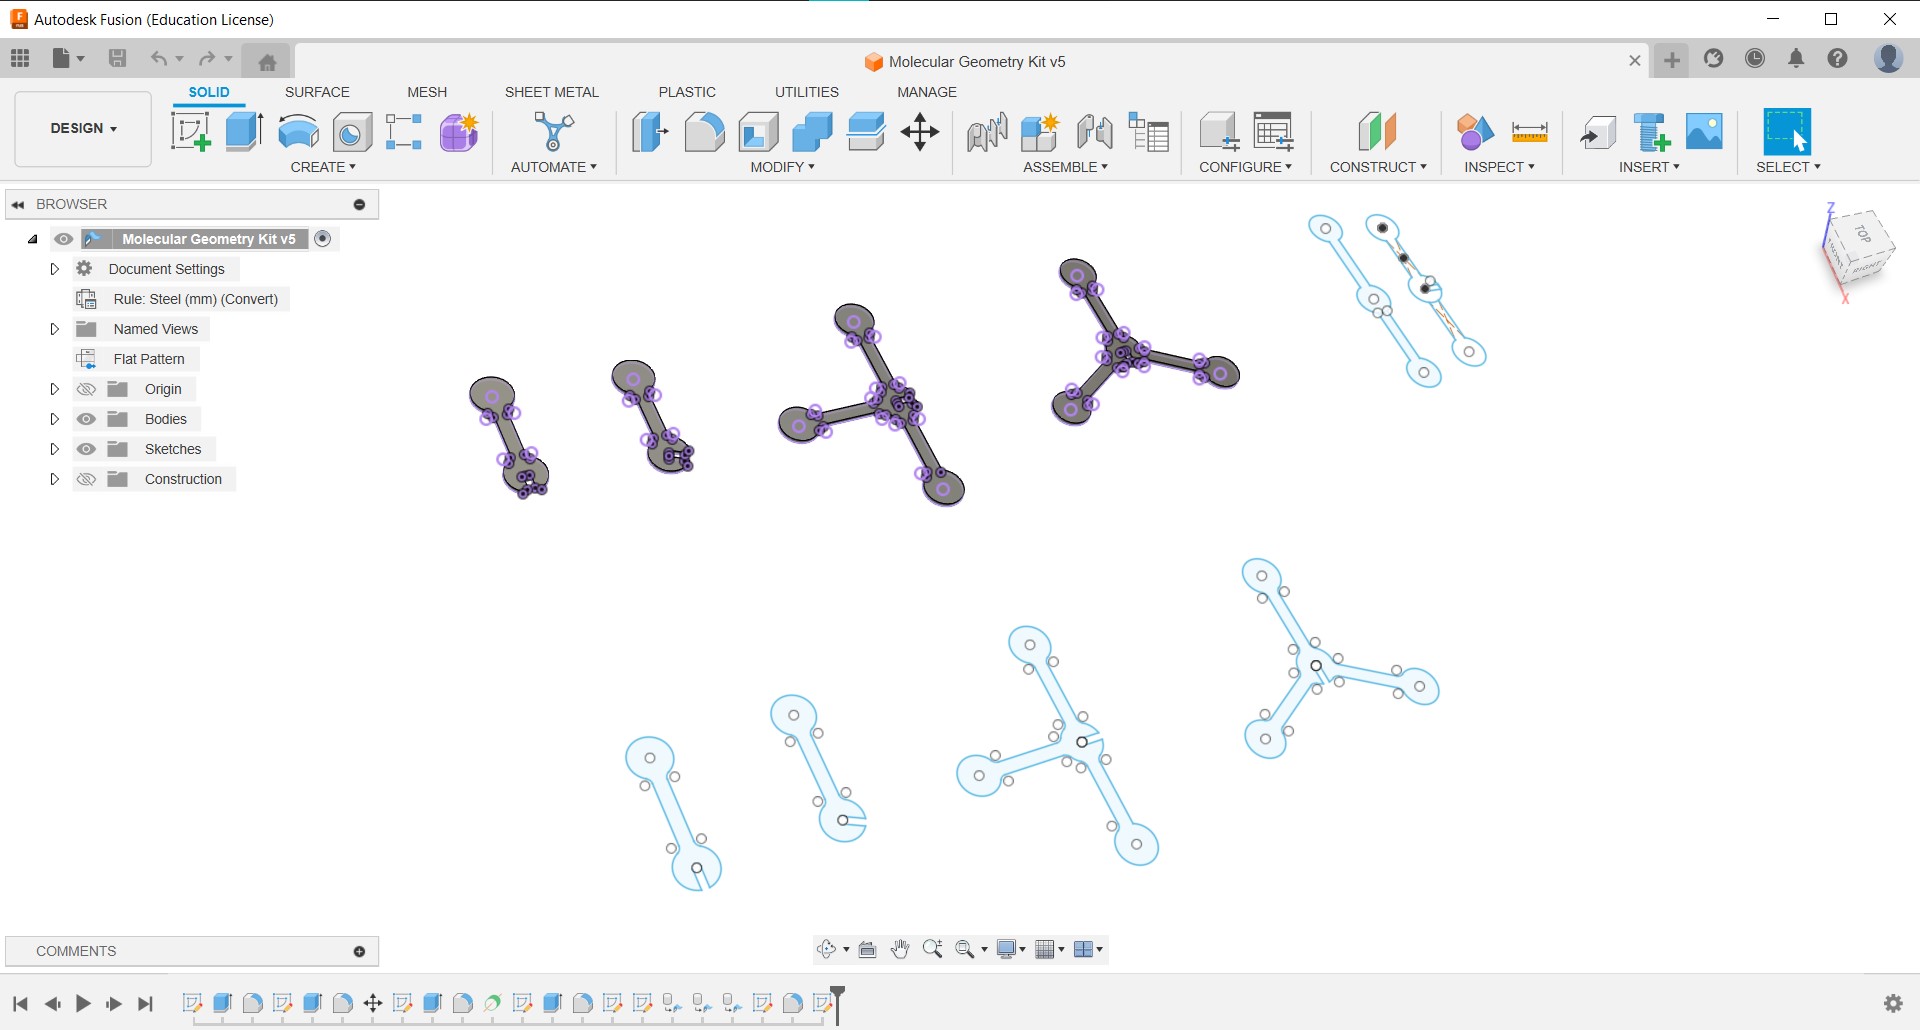
- Sketching Basic Shapes: I started by sketching the basic shapes of the molecular components in Fusion 360. This involved drawing circles for atoms and lines for bonds.
- Defining Parameters: I utilized Fusion 360’s ‘Change Parameters’ feature to define key dimensions like bond angles, bond lengths, and atom sizes. This allows for easy adjustments later.
- Creating 3D Models: Using the extrude tool, I transformed the 2D sketches into 3D models, ensuring all components had the correct thickness and dimensions.
- Assembling the Kit: I used the assembly feature to simulate how the parts would fit together, making sure the connections were accurate and the kit was functional.
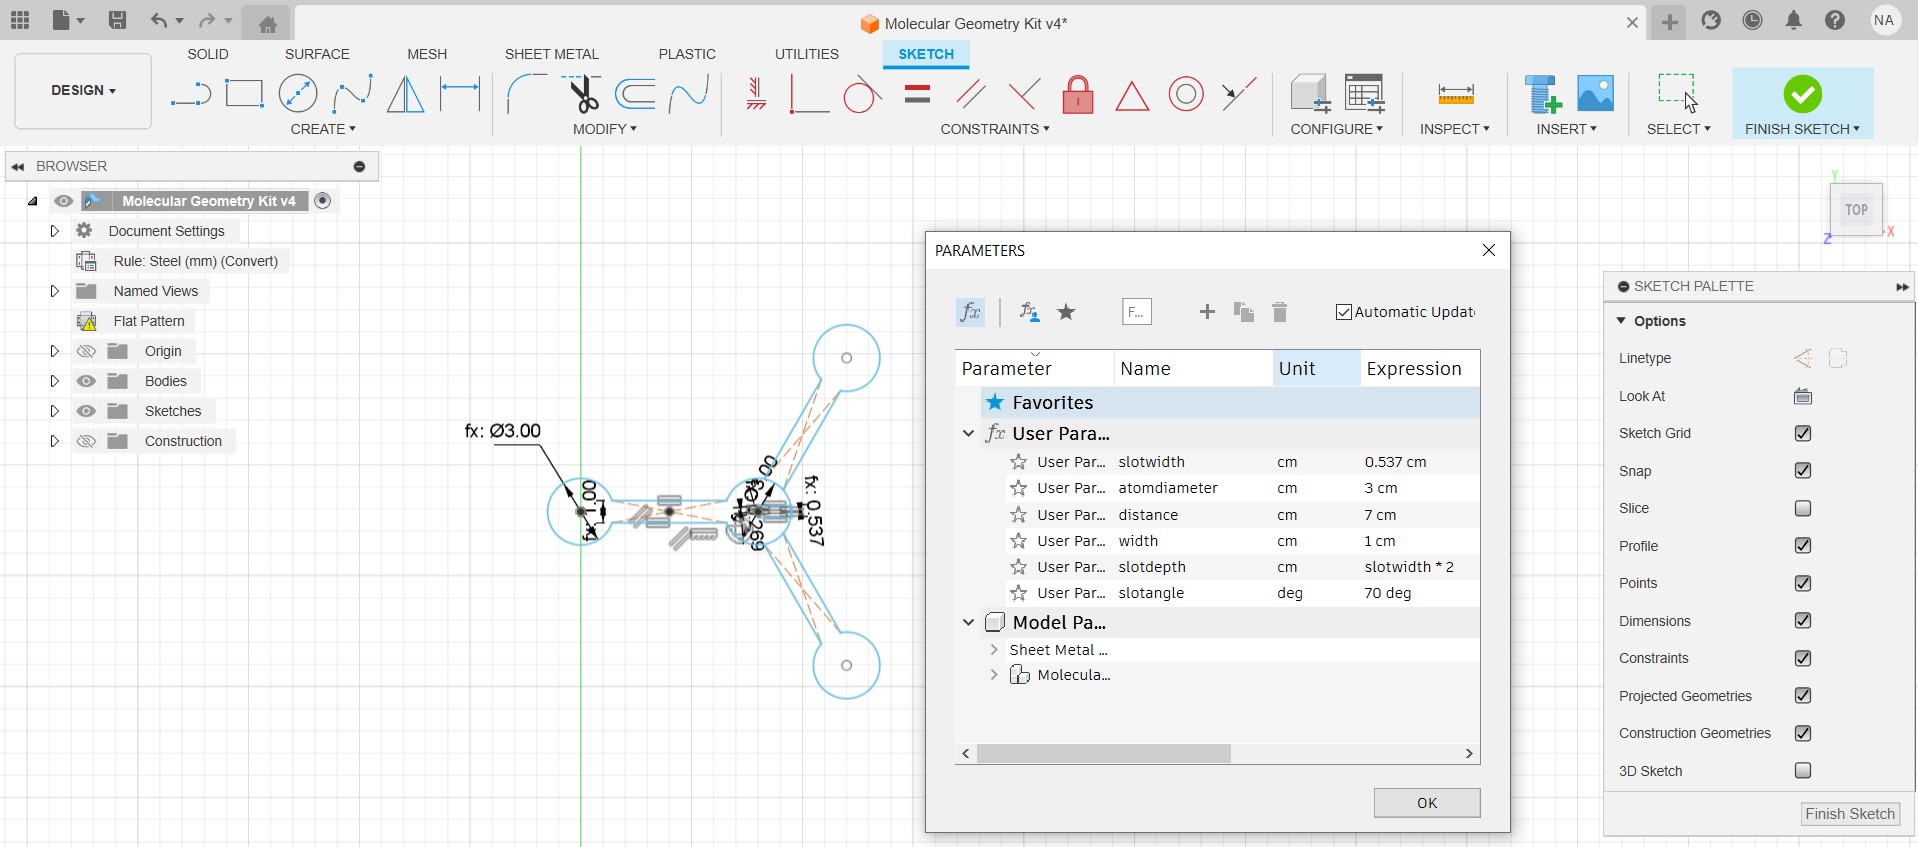
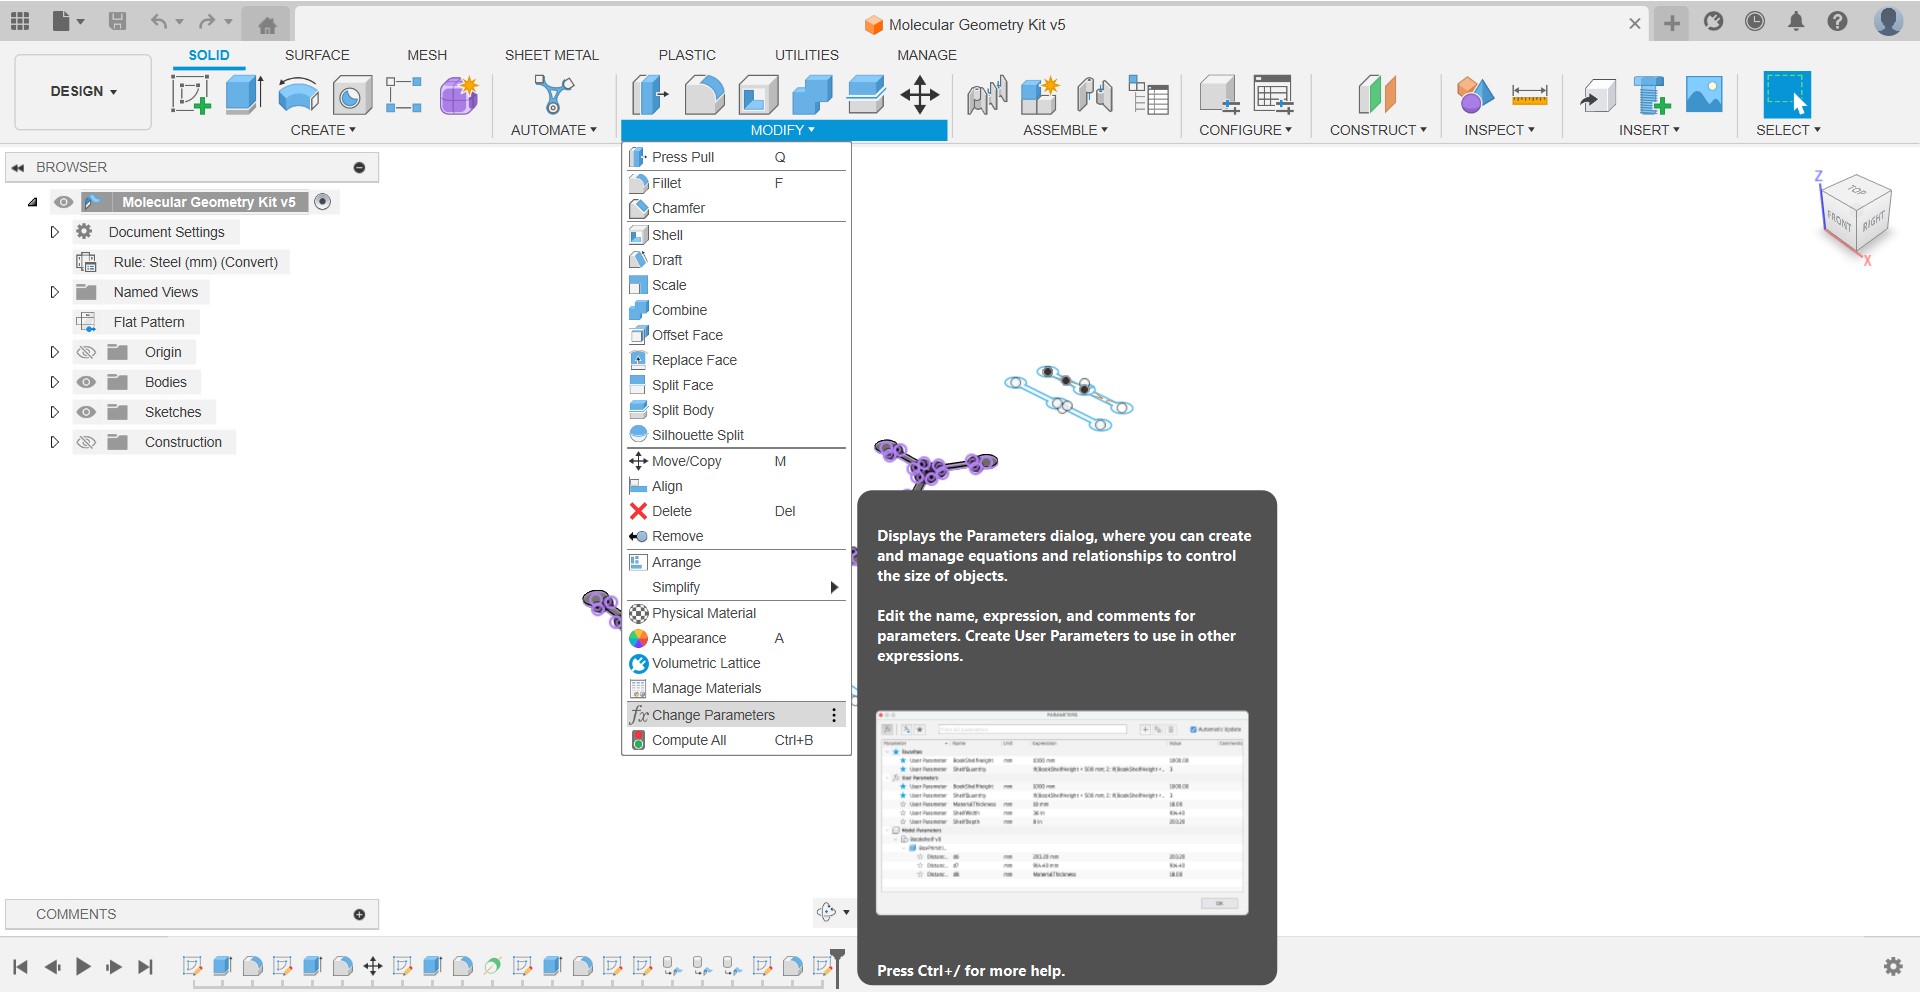
Accessing the Parameters Table in Fusion 360
To access the parameters table in Fusion 360: 1. Open your project in Fusion 360. 2. Navigate to the ‘Modify’ menu on the top toolbar. 3. Select ‘Change Parameters’. This will open a dialog box where you can define and adjust your parameters.
Fusion 360’s parametric capabilities provided a dynamic environment for exploring flexibility and customization. Users can easily adjust parameters and observe real-time changes, facilitating experimentation and learning.
By leveraging Fusion 360’s capabilities, I aimed to empower users to creatively explore molecular geometry concepts. The interactive nature of parametric design fosters a deeper understanding and engagement with chemistry principles.
Material Selection and Thickness
For the molecular geometry kit, I opted for 5.3 mm acrylic sheets in various colors. Acrylic is durable, lightweight, and offers excellent clarity, making it ideal for visualizing molecular structures. The 5.3 mm thickness provides stability and durability to the assembled models.
Preparing the Design in Inkscape for Laser Cutting
After finalizing the design in Fusion 360 and exporting it as a DXF file, I prepared the design for laser cutting using Inkscape:
-
Importing the DXF File:
- Open Inkscape and import the DXF file by selecting
File > Importand choosing the DXF file. - Ensure the design appears correctly and all elements are visible.
- Open Inkscape and import the DXF file by selecting
-
Setting the Stroke Style to Hairline:
- Select all elements of the design.
- Open the
Fill and Strokepanel by selectingObject > Fill and Stroke. - In the
Stroke styletab, set the width to0.01 mmto create a hairline stroke. This ensures the laser cutter interprets the lines as cuts rather than engravings.
-
Setting the Stroke Color to Red:
- In the
Fill and Strokepanel, navigate to theStroke painttab. - Set the stroke color to red (RGB: 255, 0, 0). This color is recognized by the Trotec laser cutter as a cutting path.
- In the

By following these steps, the design is correctly prepared in Inkscape, ensuring precise and clean cuts when processed by the Trotec laser cutter.
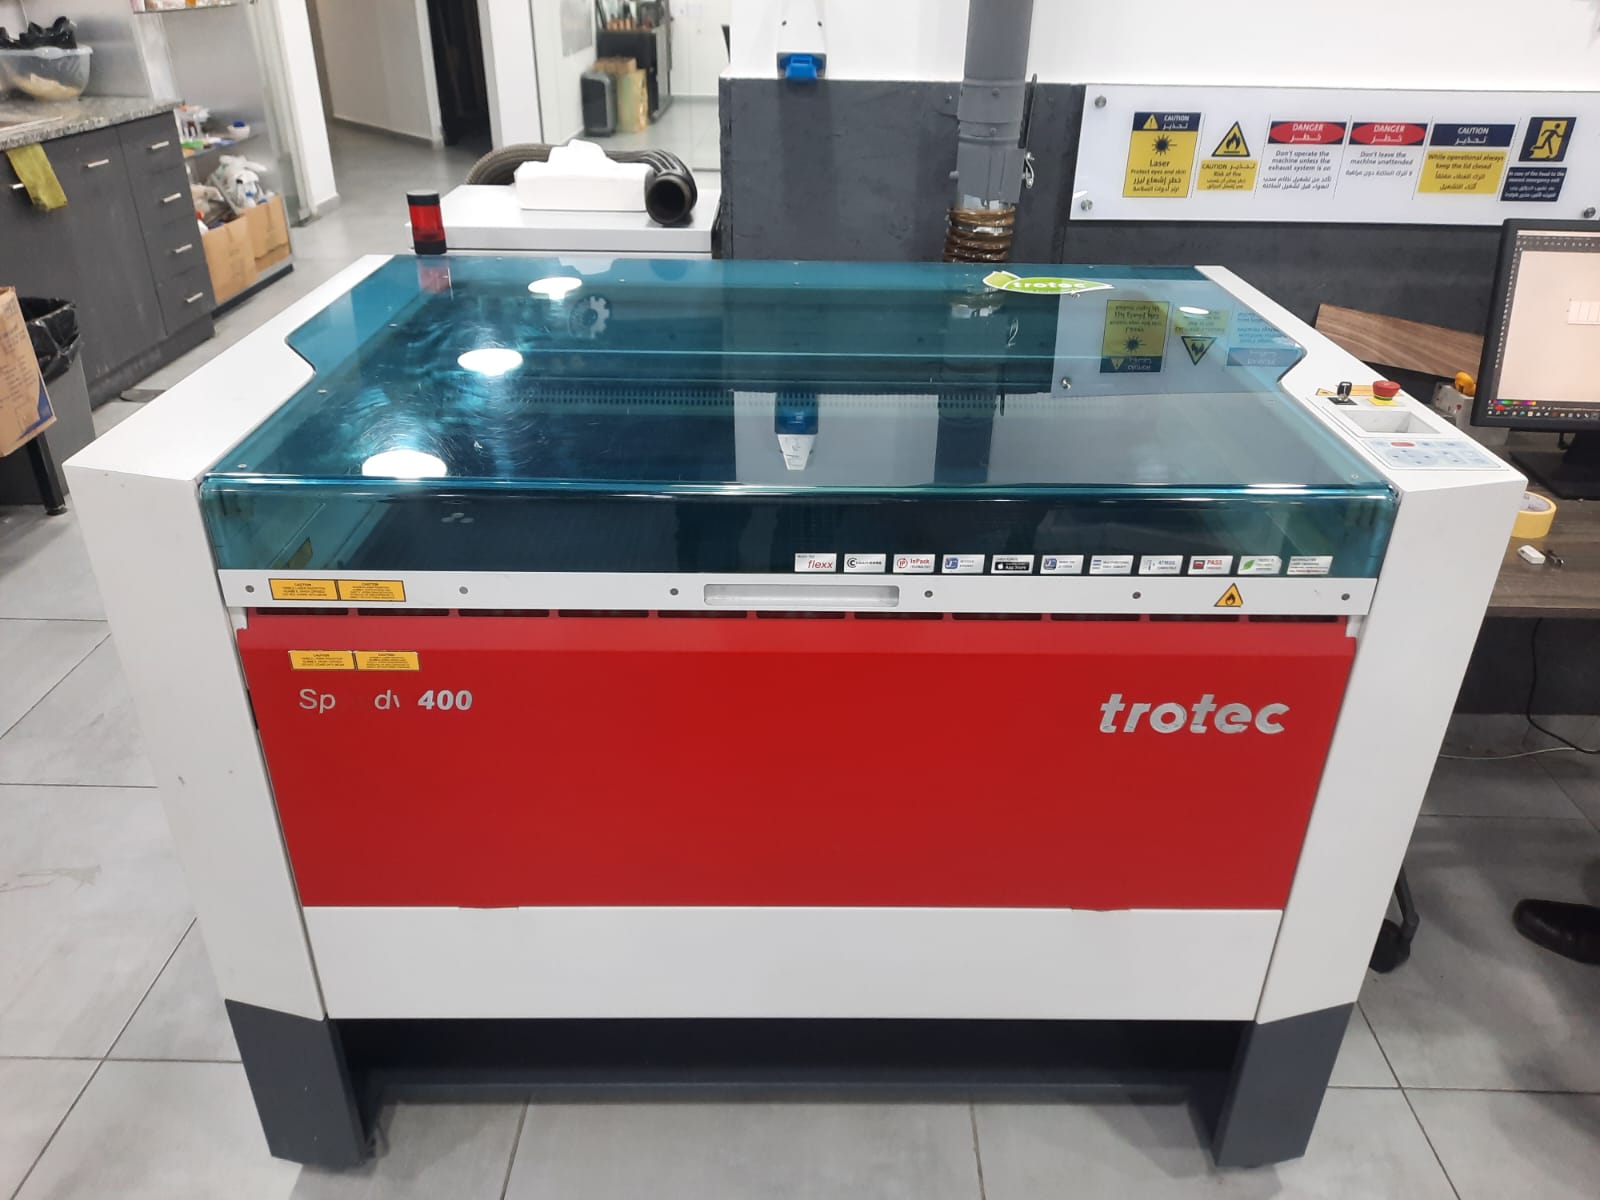
Cutting Process
With the DXF files ready, I prepared the laser cutter by setting up the appropriate parameters for cutting acrylic. This included adjusting the laser power, speed, and focus to ensure clean and precise cuts.
- Cutting Speed: I set the cutting speed to 0.5m/s to balance between cutting efficiency and edge quality.
- Laser Power: The power was set to 80%, providing sufficient energy to cut through the 5.3 mm acrylic without excessive melting.
- Toolpath Generation: Using Inkscape, I generated the toolpaths for the laser cutter. This involved importing the DXF files into Inkscape, setting the stroke to hairline (0.01mm), and then sending the file to the laser.
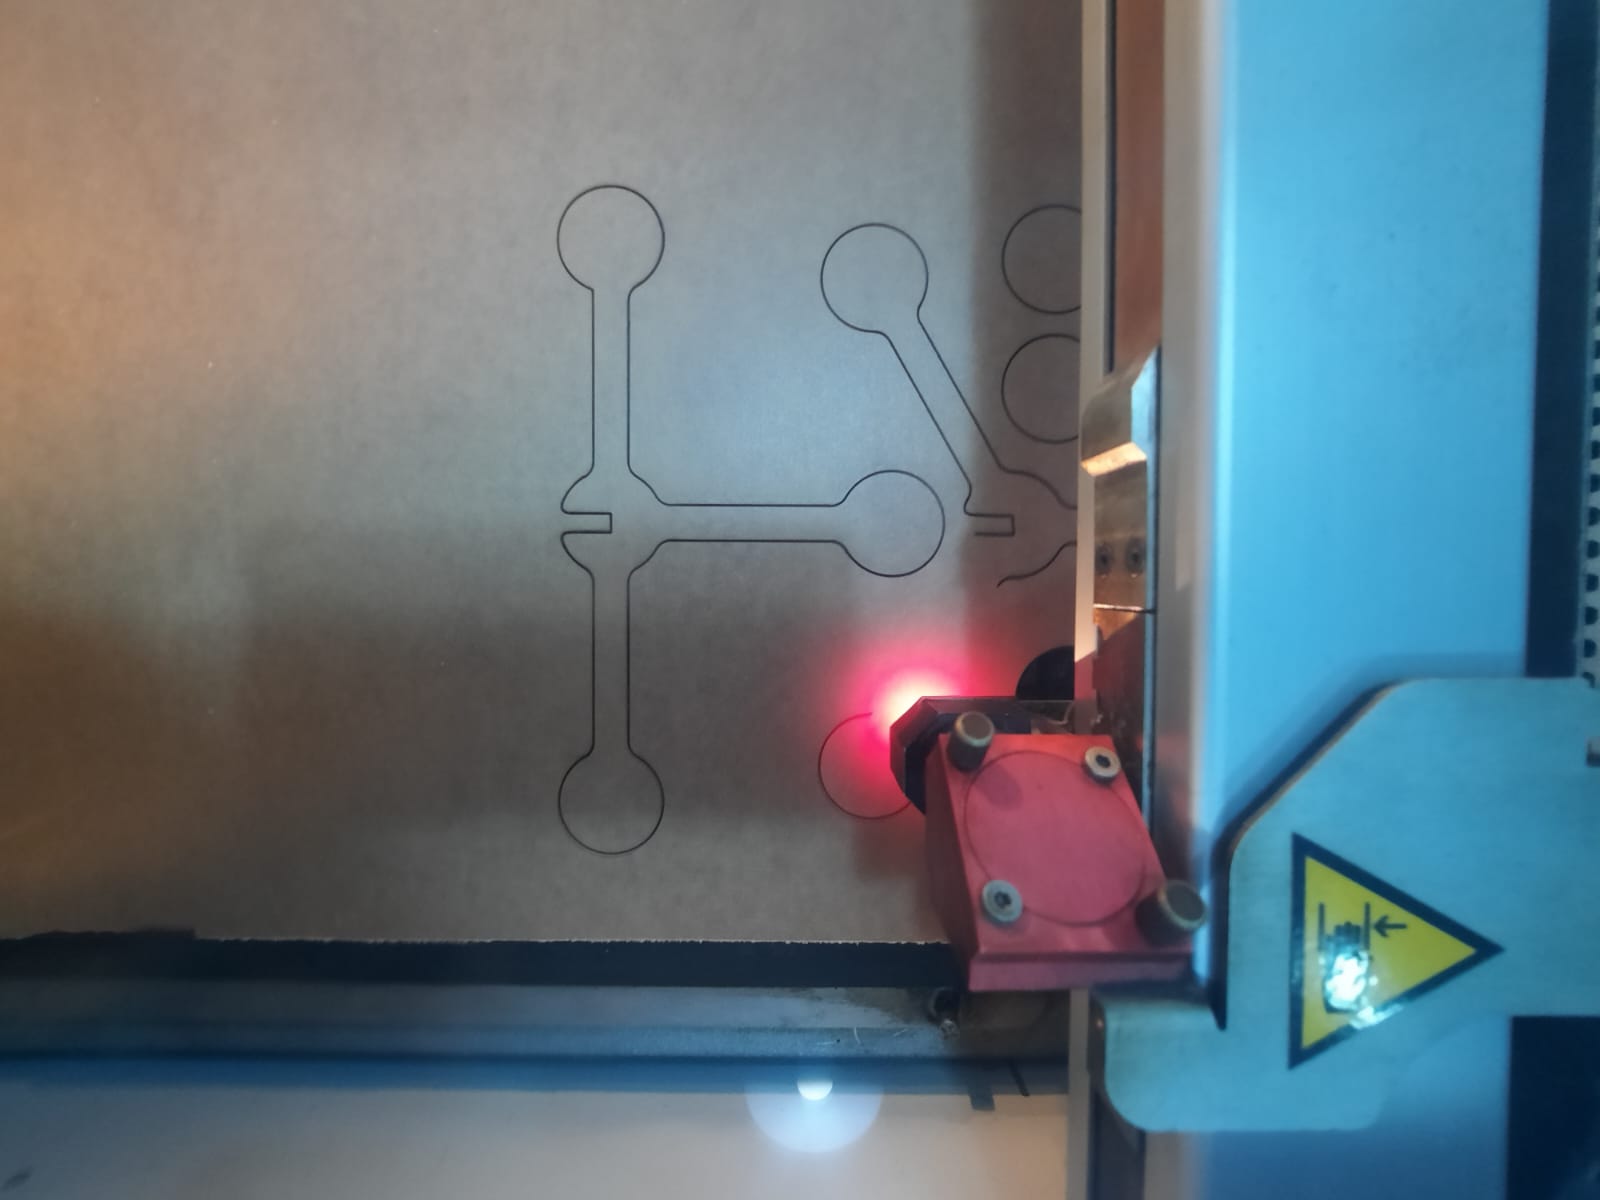
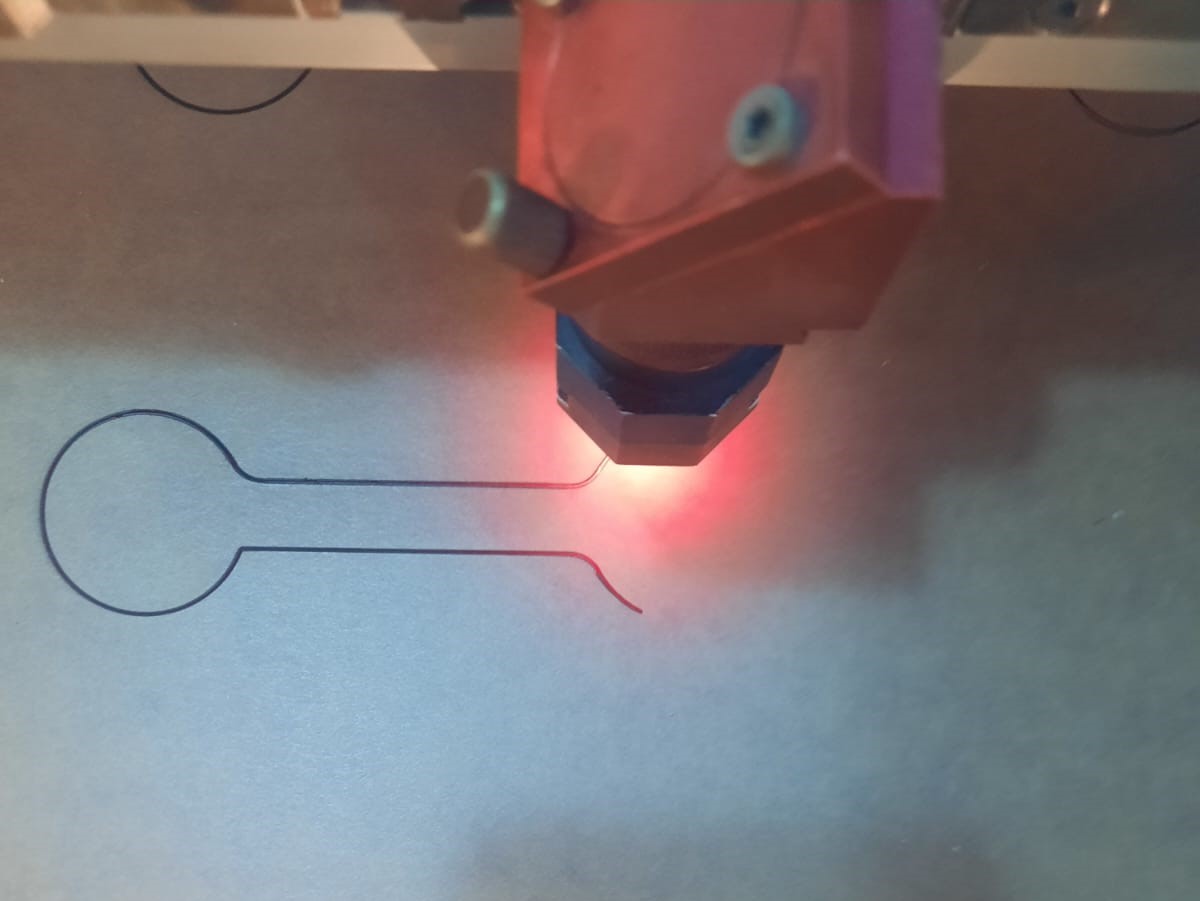
The laser cutter carefully followed the paths defined in the DXF files, effortlessly slicing through the acrylic sheets with precision. However, one challenge I encountered was optimizing cutting speeds and power levels to achieve clean edges without causing excessive melting or charring of the acrylic.
Safety Measures and Precautions
Safety is paramount when operating a laser cutter. I ensured that the cutting area was well-ventilated to disperse any fumes generated during the cutting process. Additionally, I wore appropriate personal protective equipment.
By following these steps and taking necessary precautions, I successfully transformed digital designs into tangible molecular models, ready to enhance the learning experience for students and enthusiasts alike.
Results
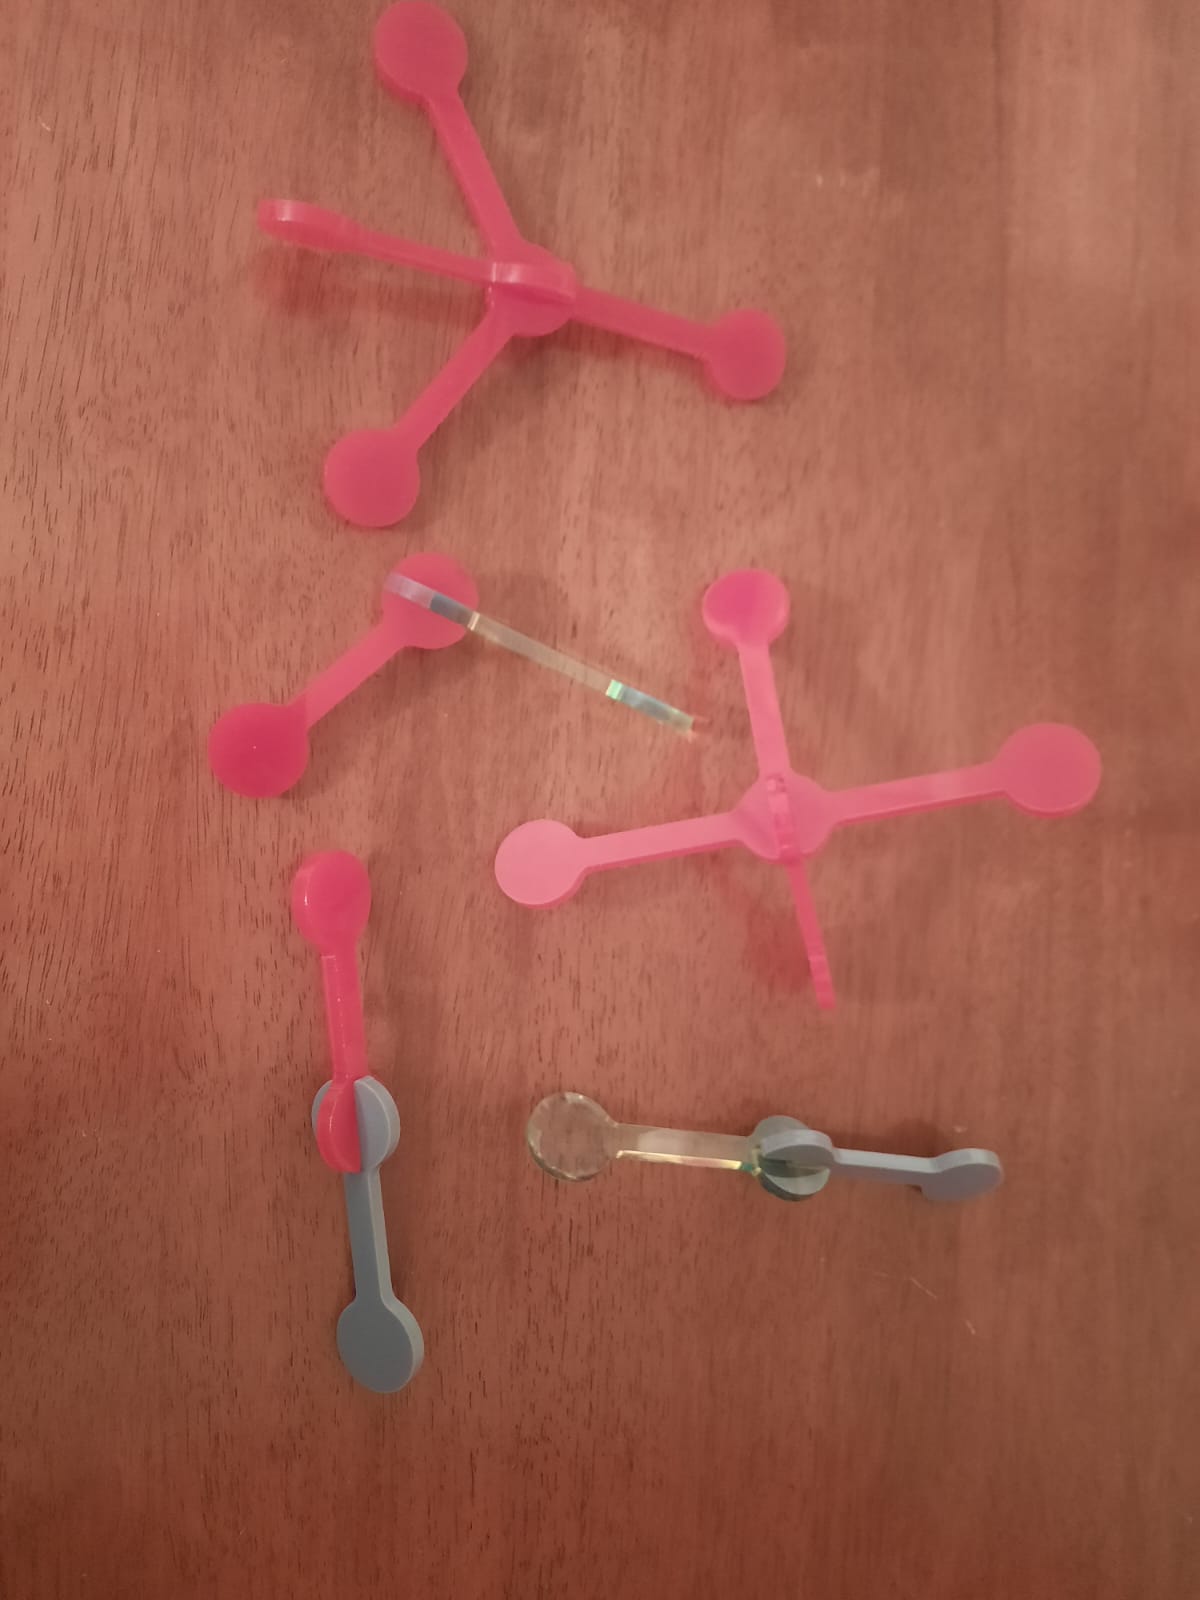
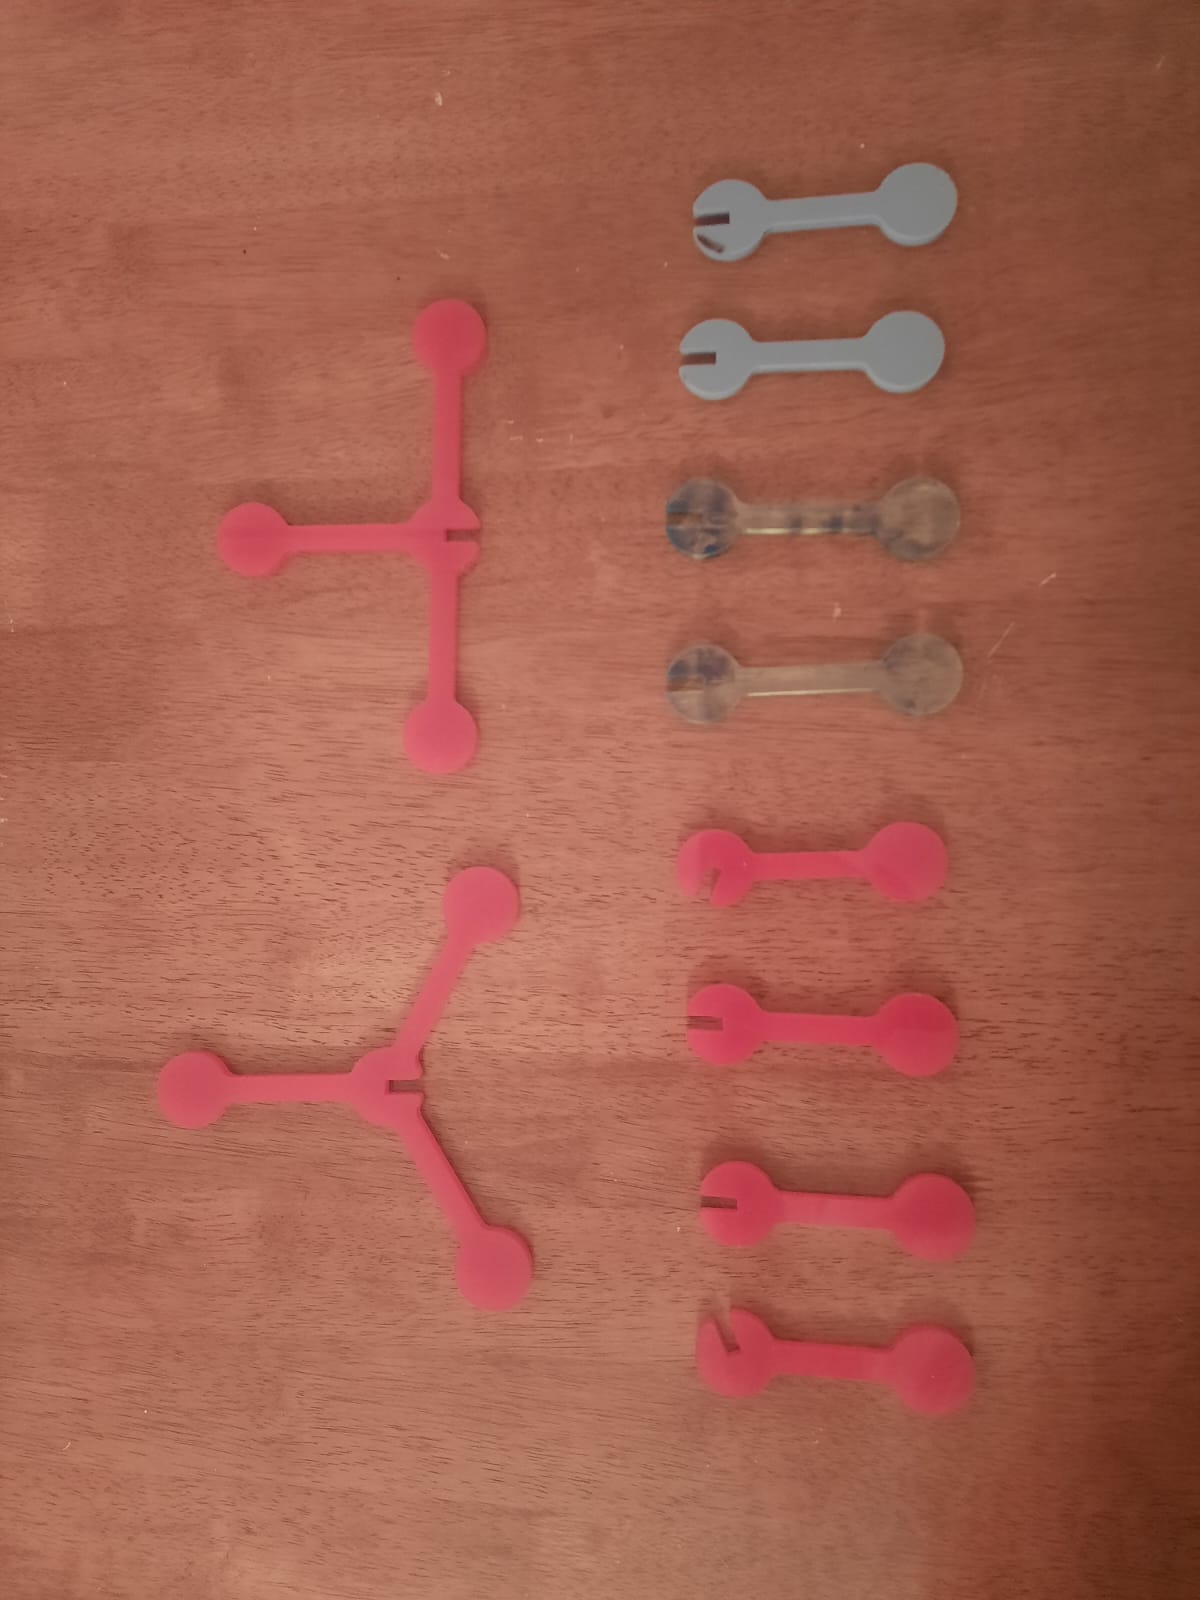
After meticulous design and laser cutting processes, the final parametric construction kit design emerged, ready to enrich the exploration of molecular geometry. The kit comprises diverse molecular structures, each customizable through user-defined parameters.
The parametric construction kit features a range of molecular structures, including linear, trigonal planar, tetrahedral, octahedral, and more. Each component is designed to interlock seamlessly, facilitating versatile assembly and configuration.
Conclusion
In conclusion, the parametric construction kit represents a significant tool used in bridging the gap between theoretical concepts and hands-on learning in molecular geometry. By leveraging parametric design principles and laser cutting technology, I’ve created a dynamic tool for educators, students, and enthusiasts alike.
The project underscores the power of parametric design in fostering creativity, exploration, and comprehension in STEM education. Through Fusion 360’s intuitive interface and robust features, I’ve crafted a versatile kit that encourages interactive learning and experimentation.
Looking ahead, I envision ongoing enhancements and iterations to further enrich the parametric construction kit. Future developments may include expanding the range of molecular structures, integrating interactive digital components, and exploring interdisciplinary applications in chemistry, physics, and beyond.
Utilizing a Roland Vinyl Cutter: Cutting a Custom Logo
I’ll outline my experience using a Roland vinyl cutter to fabricate a custom logo derived from the top view of a nested polyhedron.
Roland Vinyl Cutter
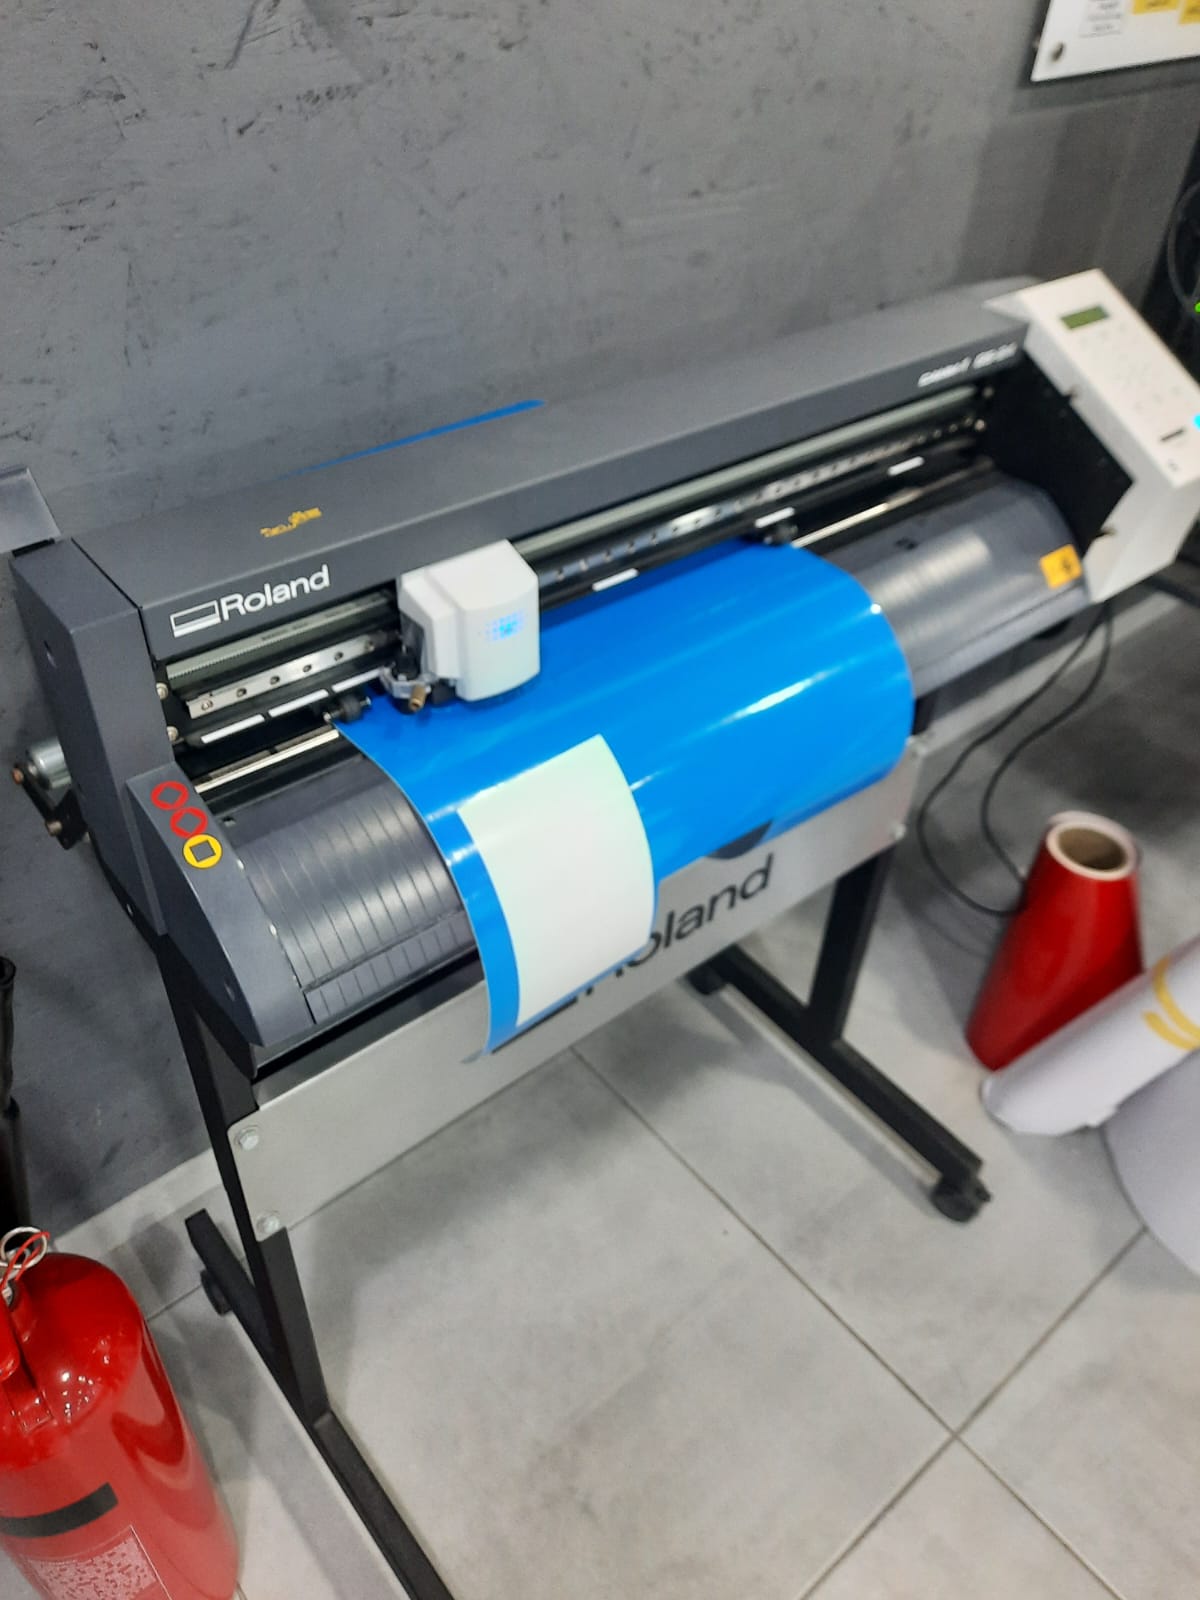
As I started using the Roland vinyl cutter, I was fascinated by its technology and what it could do. I explored how it cuts materials with precision and handles different types of vinyl.
The Roland vinyl cutter is easy to operate, as it is simple. But at the same time, it allows for many different possibilities.
Logo Design
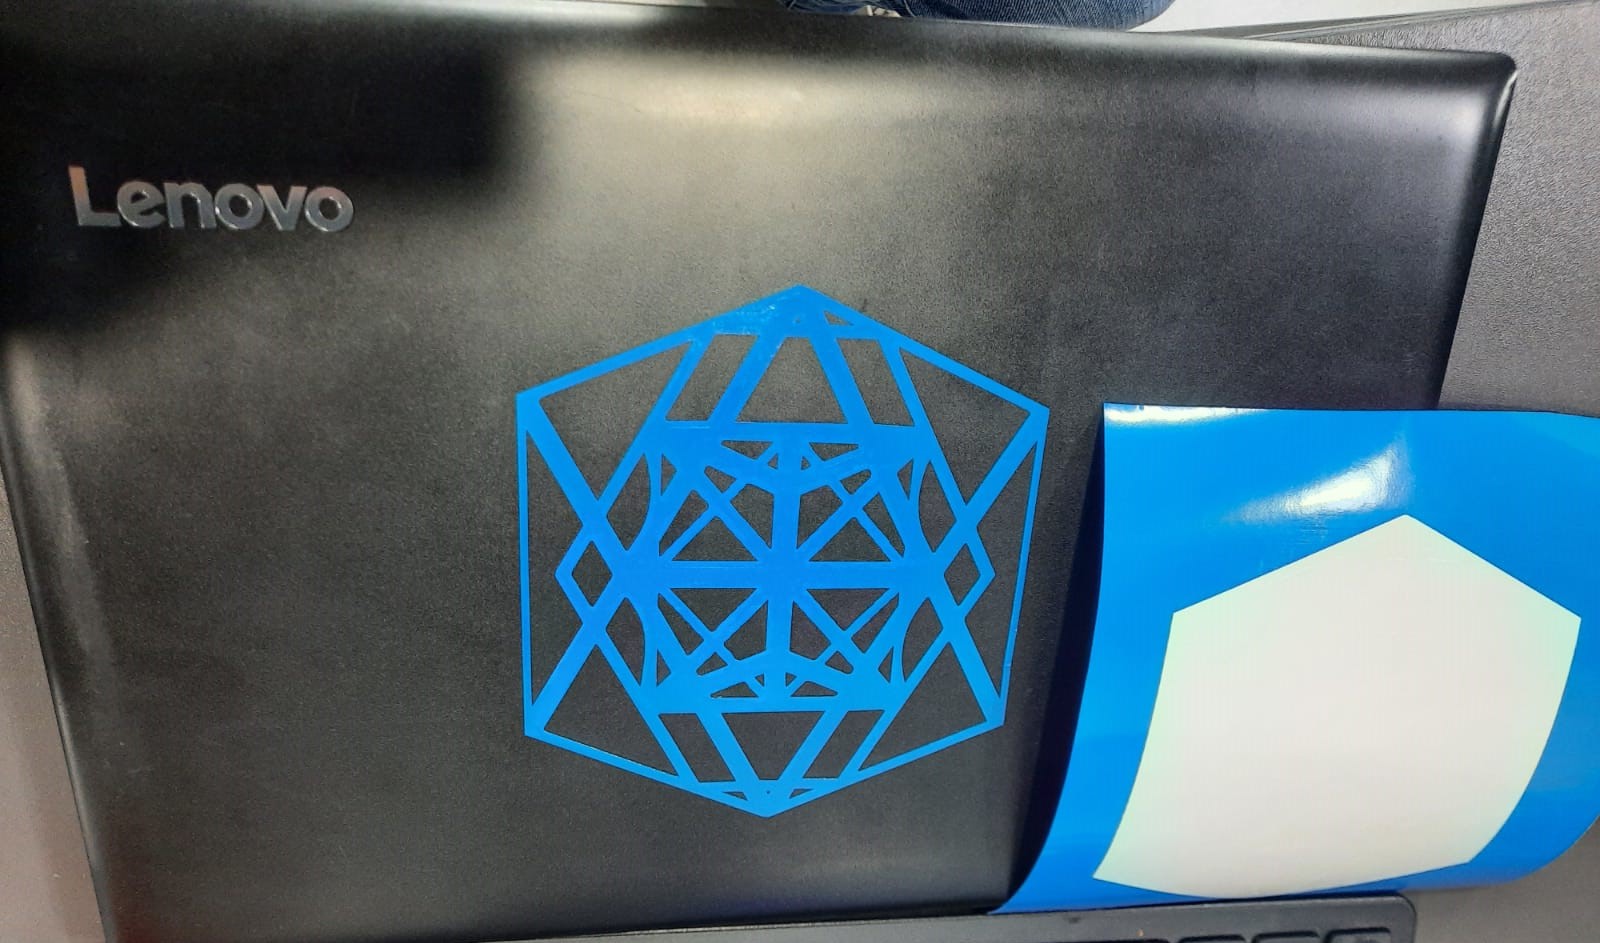
Finding Inspiration in Geometric Shapes The logo’s genesis stemmed from the allure of geometric shapes, particularly the nested polyhedron’s intricate structure. The polyhedron’s symmetry and complexity inspired the logo’s design, aiming to capture both elegance and mathematical precision.
In the quest to materialize the concept, SketchUp served as the platform for crafting the nested polyhedron model, providing a three-dimensional canvas to refine its form. Transitioning to Inkscape, I meticulously extracted the top view of the polyhedron, setting the stage for further digital manipulation.
Setup and Cutting with Cut Studio
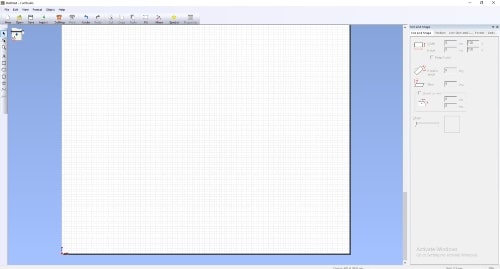
To create the toolpath and set up the Roland vinyl cutter, I used Cut Studio software. Here’s how I did it:
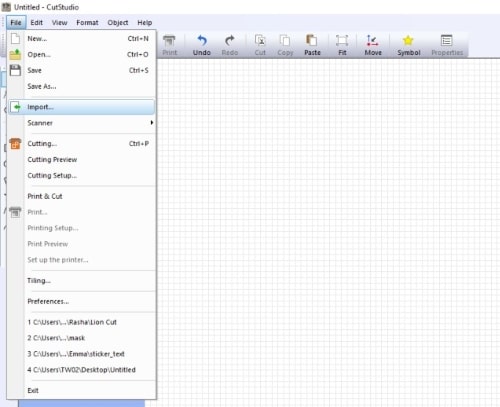
- Importing the Design: I imported the SVG design file into Cut Studio. This software allows for easy manipulation and preparation of the design for cutting.
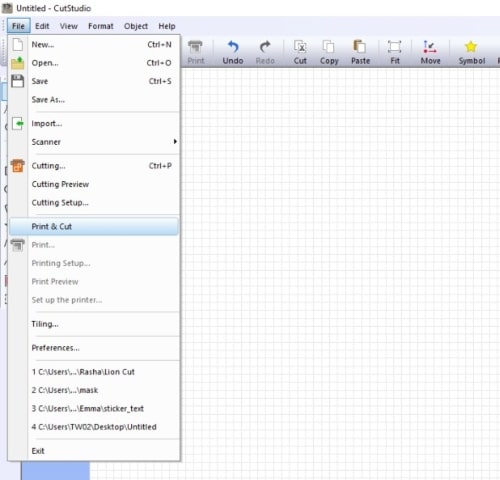
- Creating the Toolpath: In Cut Studio, I selected the design and used the ‘Create Outline’ feature to generate the toolpath. This ensures that the cutter follows the correct paths to produce the desired shape.
- Setting Cutting Parameters: I defined the cutting parameters within Cut Studio, including the speed and force settings appropriate for the type of vinyl being used.
Setting Up the Roland Vinyl Cutter
- Loading the Vinyl: I loaded the vinyl material into the cutter, ensuring it was properly aligned and secured.
- Adjusting Blade Length: It’s crucial to set the correct blade length. For cutting vinyl, I set the blade length to approximately 0.5 mm. This ensures that the blade cuts through the vinyl but not the backing paper.
- Blade Angle: The blade used in the Roland vinyl cutter has a 45-degree angle, which is optimal for cutting intricate designs in vinyl.
By following these steps, I was able to efficiently set up the Roland vinyl cutter and achieve precise cuts for my custom logo.
Result

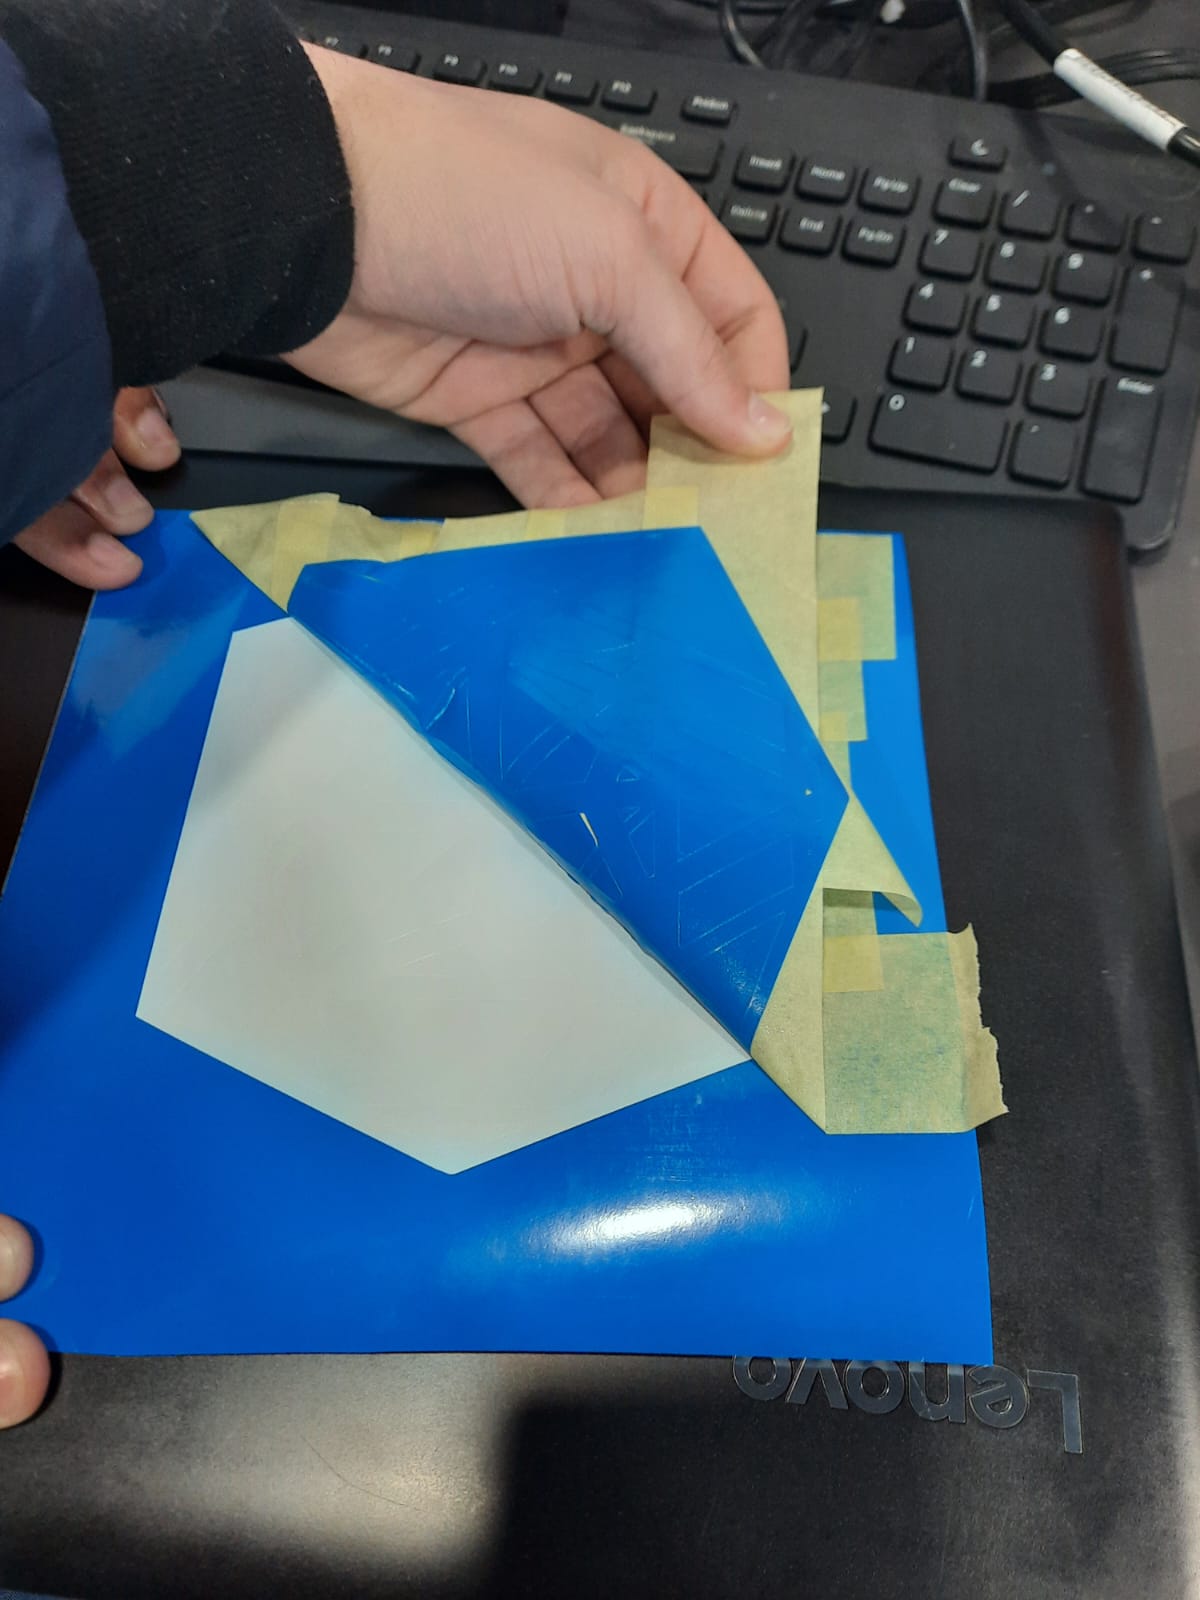
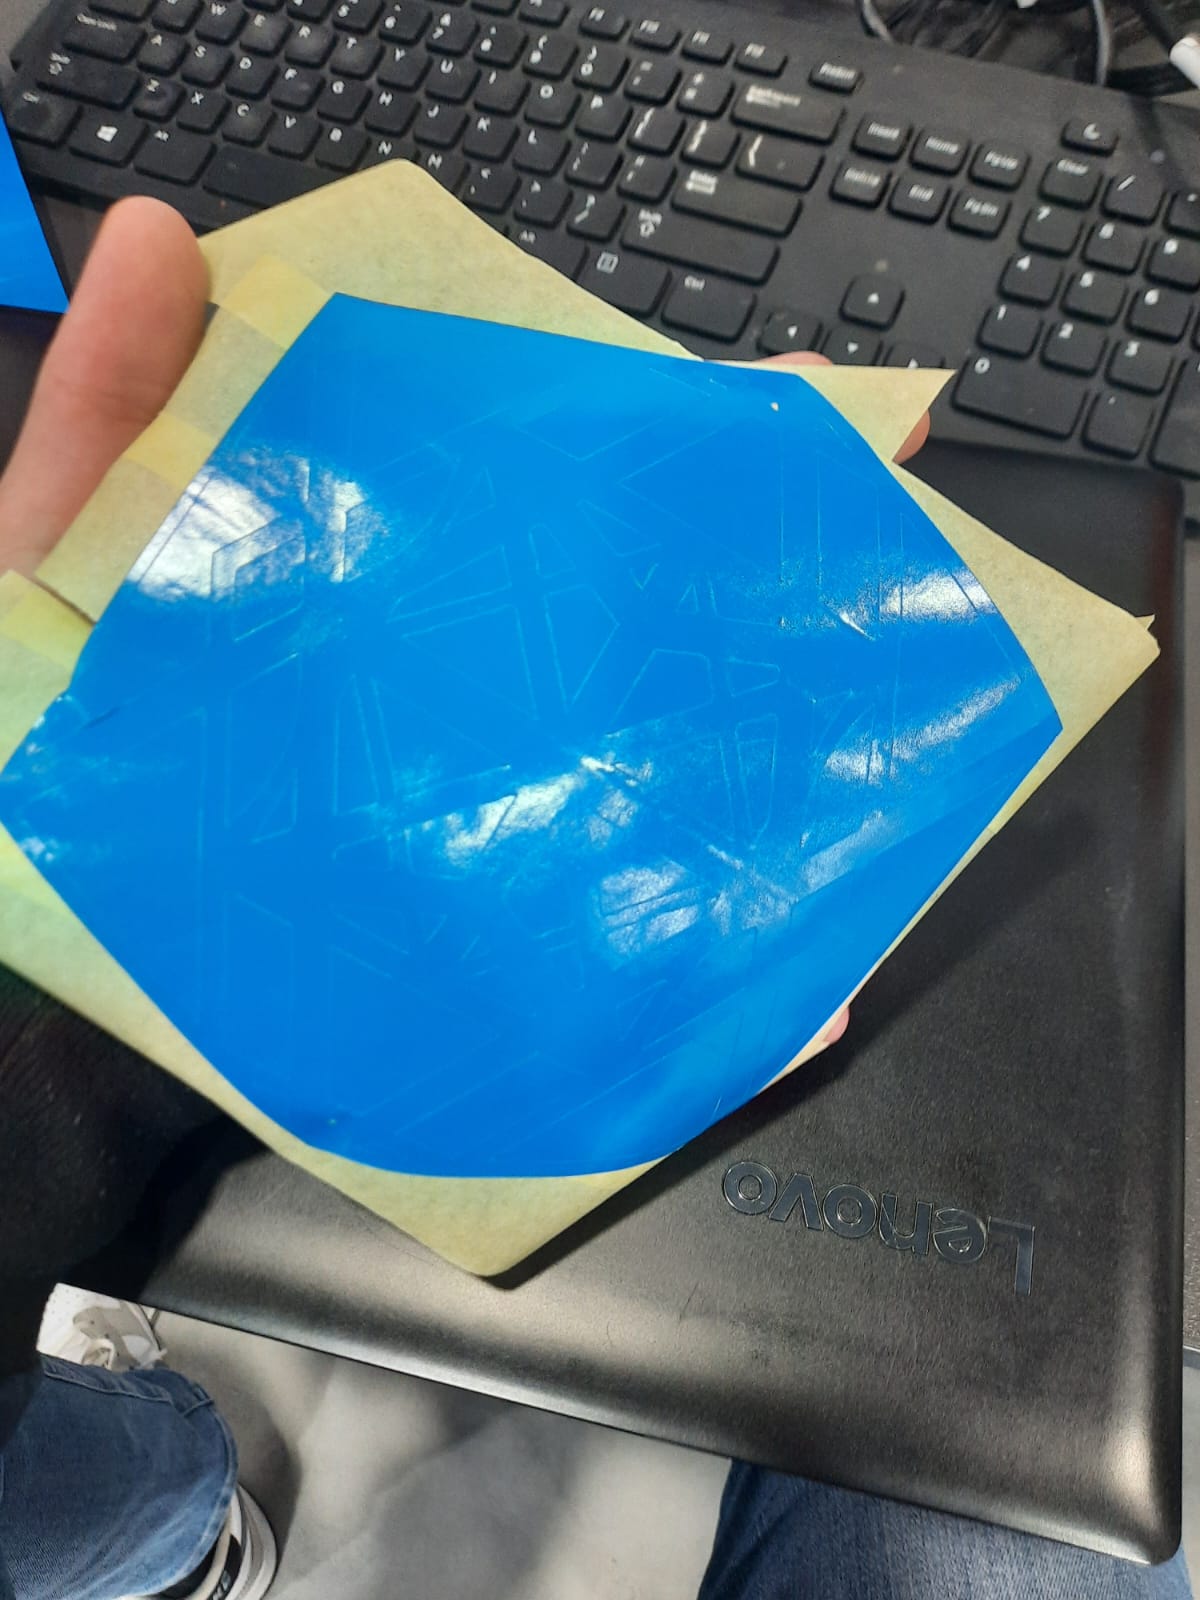
Once the vinyl-cut logo was ready, I eagerly applied it to my laptop, aiming to add a touch of personal flair to my device. Using paper tape, I carefully lifted the design from its backing, ensuring no intricate details were lost in the process.
With the logo now secured on the paper tape, I meticulously positioned it on my laptop, paying close attention to alignment and placement. Employing tweezers, I delicately removed any unwanted pieces, ensuring the logo adhered seamlessly to the laptop’s surface.