Results: Digital Embroidery
Prior to this week, I have had pretty much bad experiences with sewing machines. For some reason, they always turned out to be cumbersome and I never fully understood how they worked. So I have solved my manual sewing needs. So reaching this result was really encouraging and encourages me to continue exploring this digital manufacturing tool.
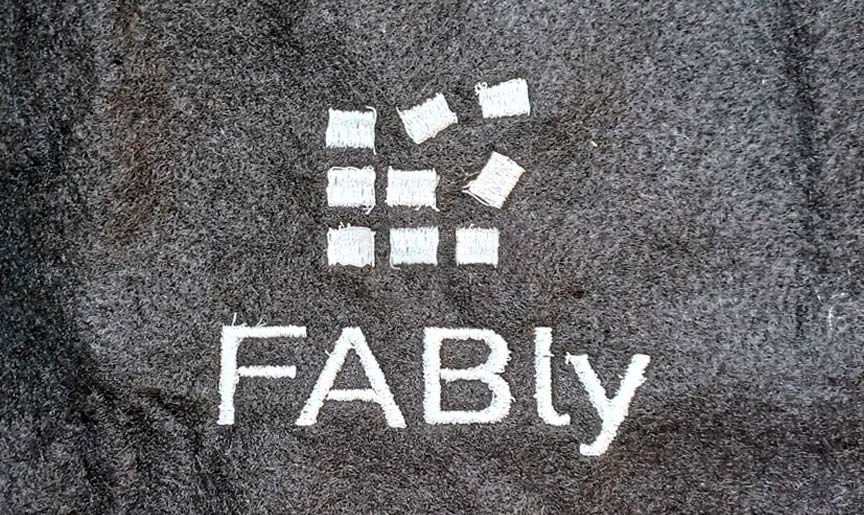
Logo made with embroidery machine

Logo designed in Wilcom software and manufactured in the embroidery machine
I look forward to continuing to explore new designs with this tool.
Design Process
To generate the design and use the embroidery machine, the machine supplier suggested I use the following software due to its versatility and compatibility with the machine. Since I wanted to work on shapes and letters, I used the FABly logo, my business, to explore this new software.
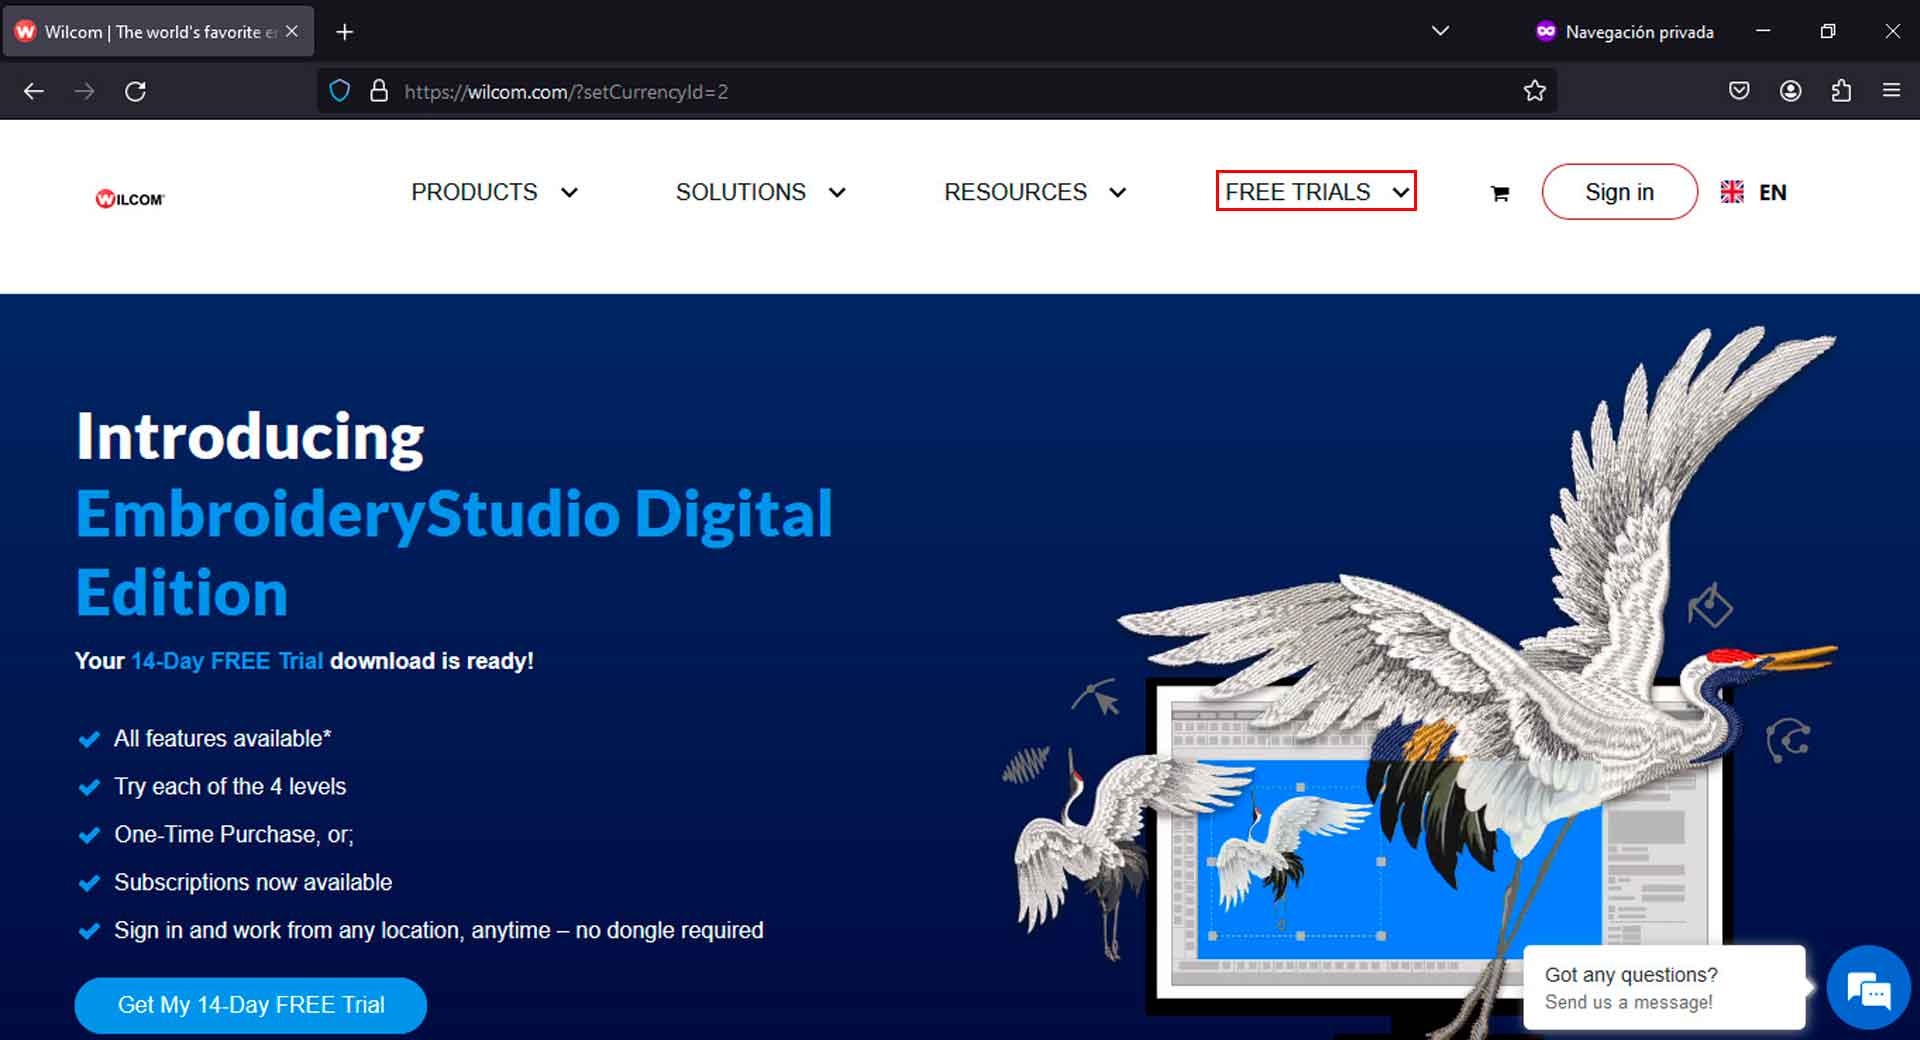
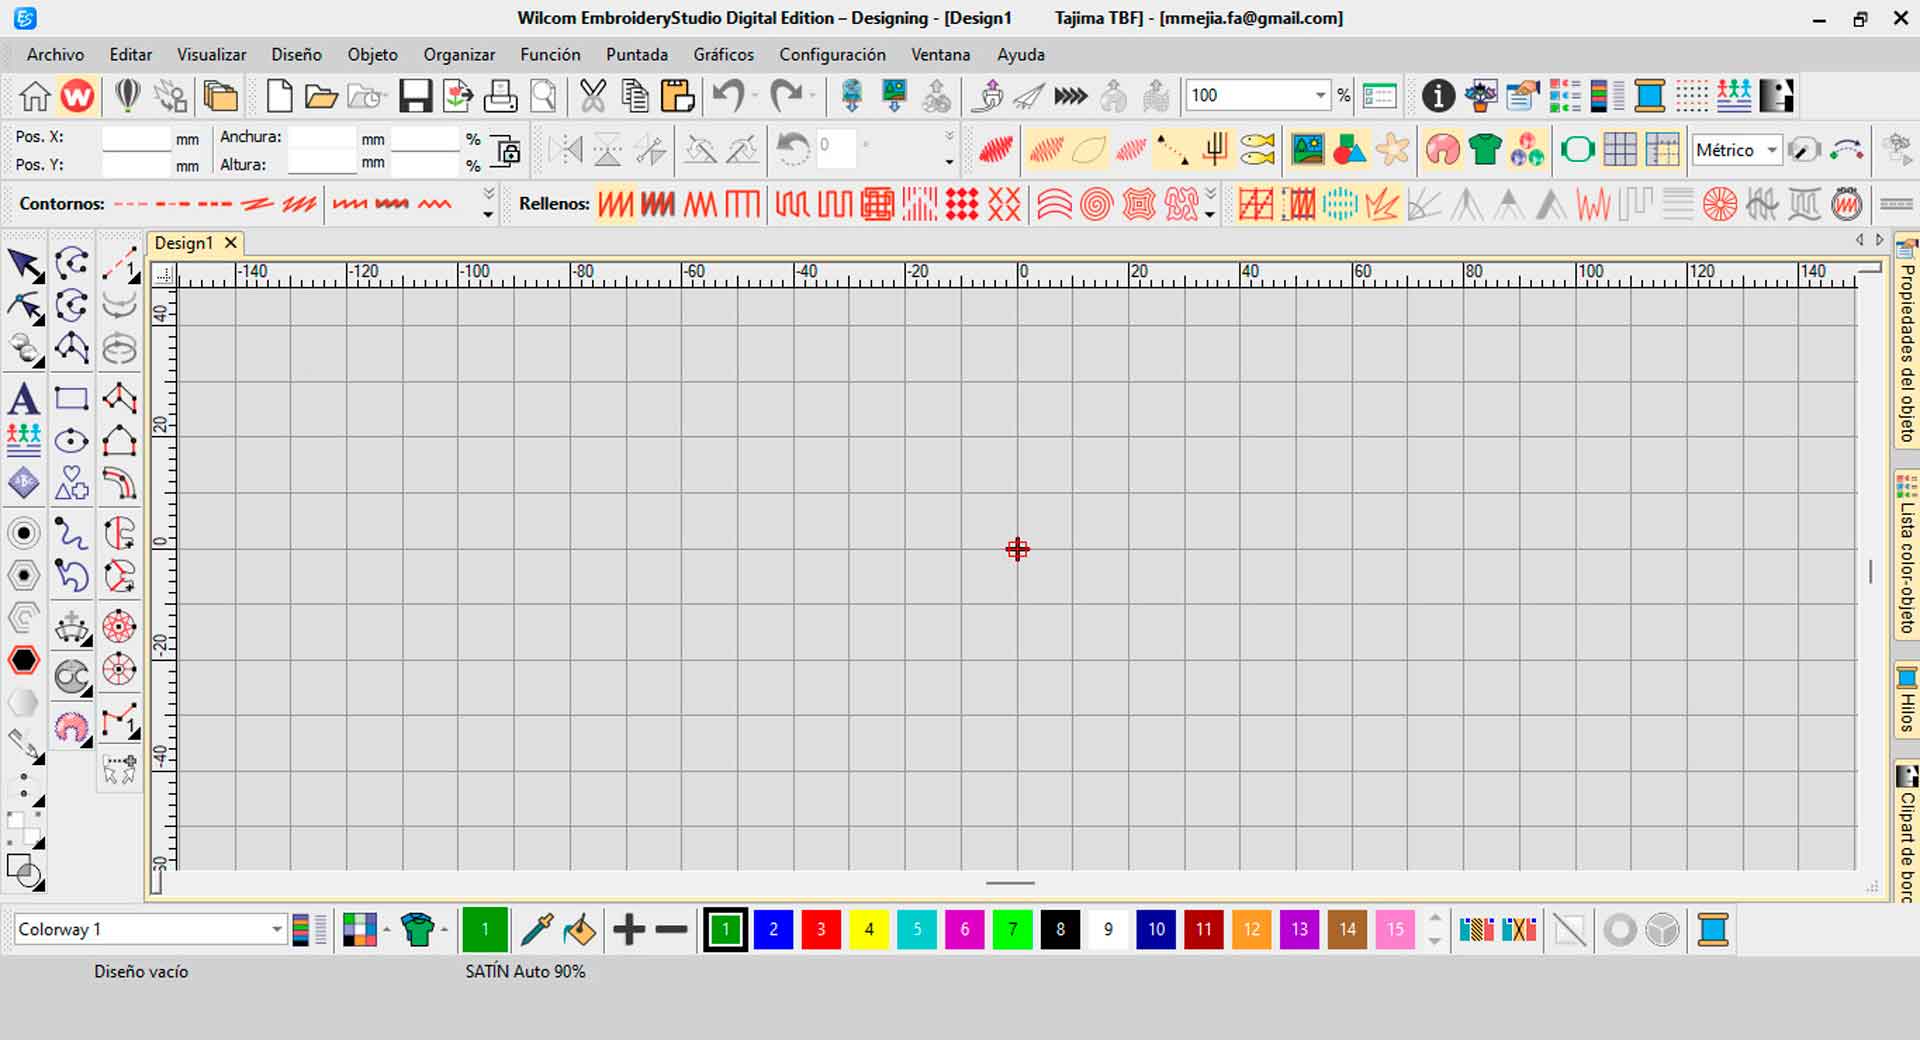
Wilcom Embroidery Studio Digital Edition Software
Wilcom Embroidery Studio Digital Edition is a versatile embroidery design and production tool. It enables users to create, edit, and manage embroidery designs with features like digitizing, editing, design library management, stitching simulation, and exporting. Compatible with various embroidery machines, it is a comprehensive solution for both hobbyists and professionals in the embroidery industry.
First, you need to download and install this software from the official website: https://wilcom.com/.
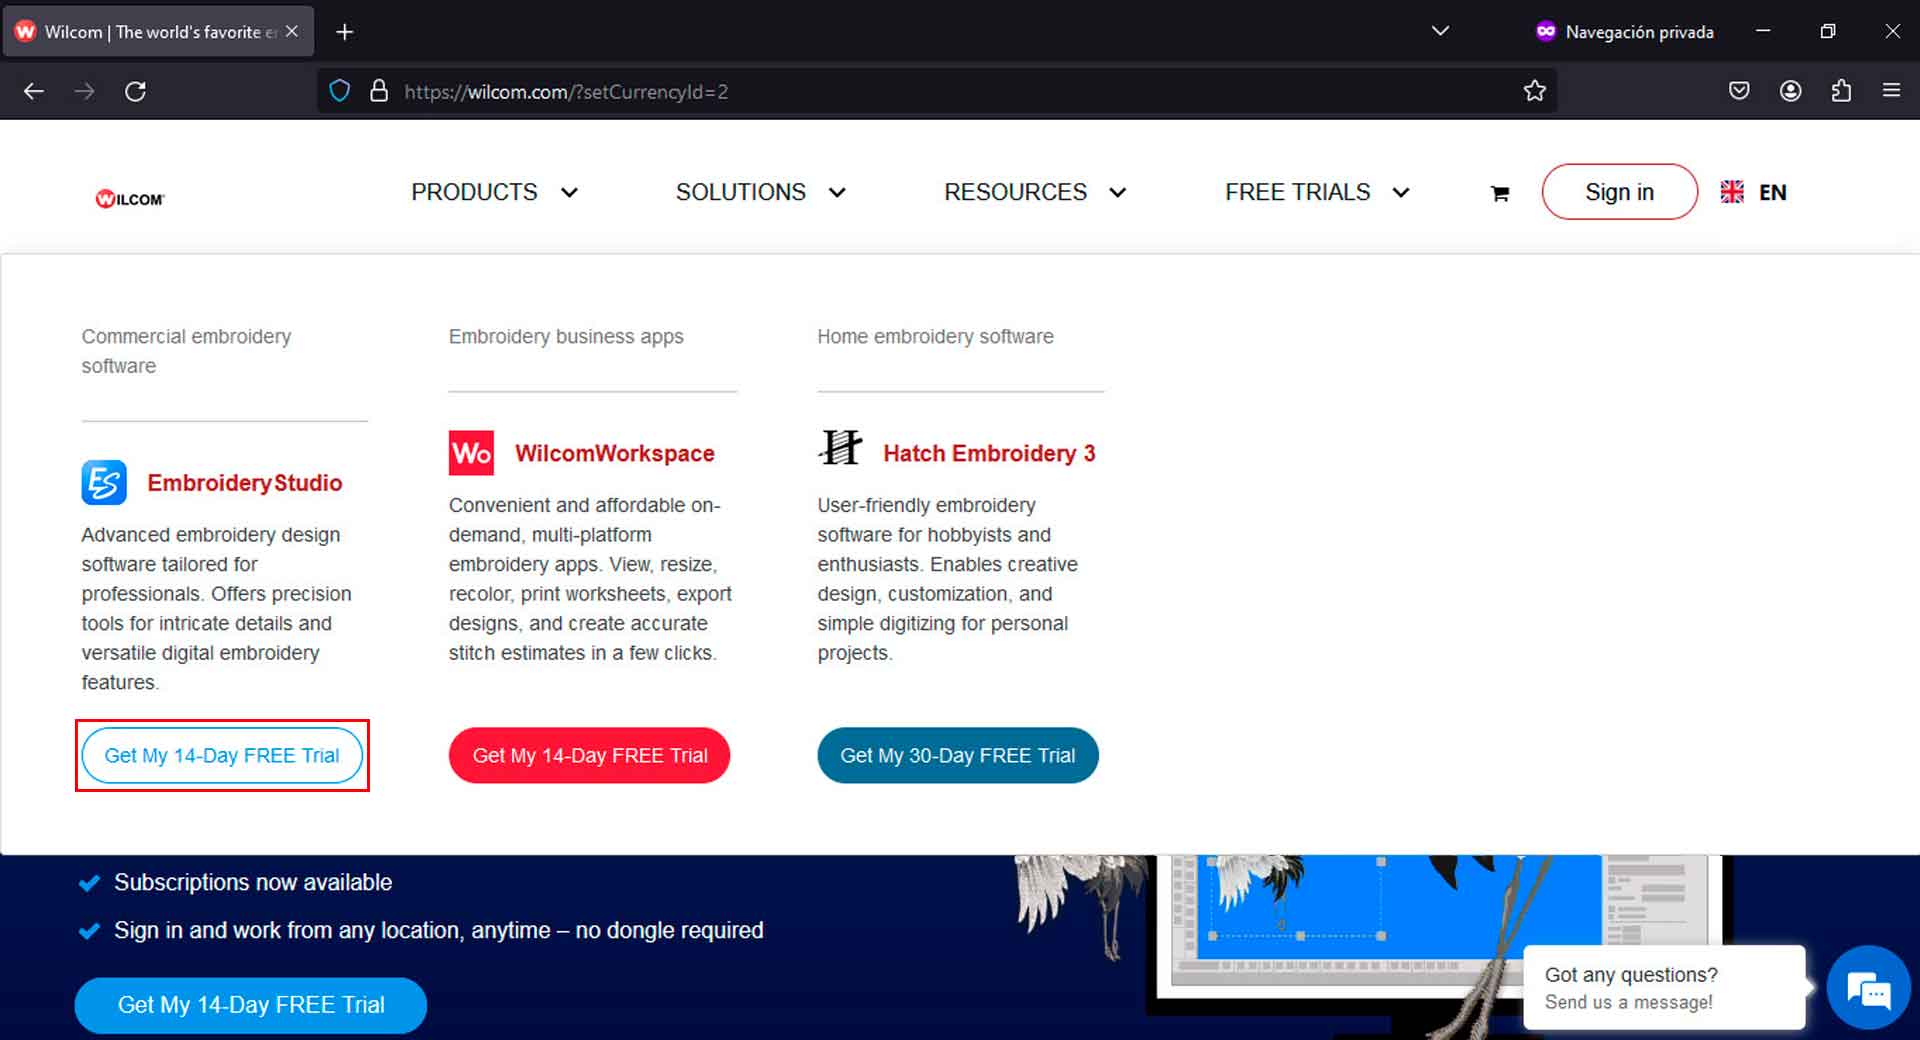
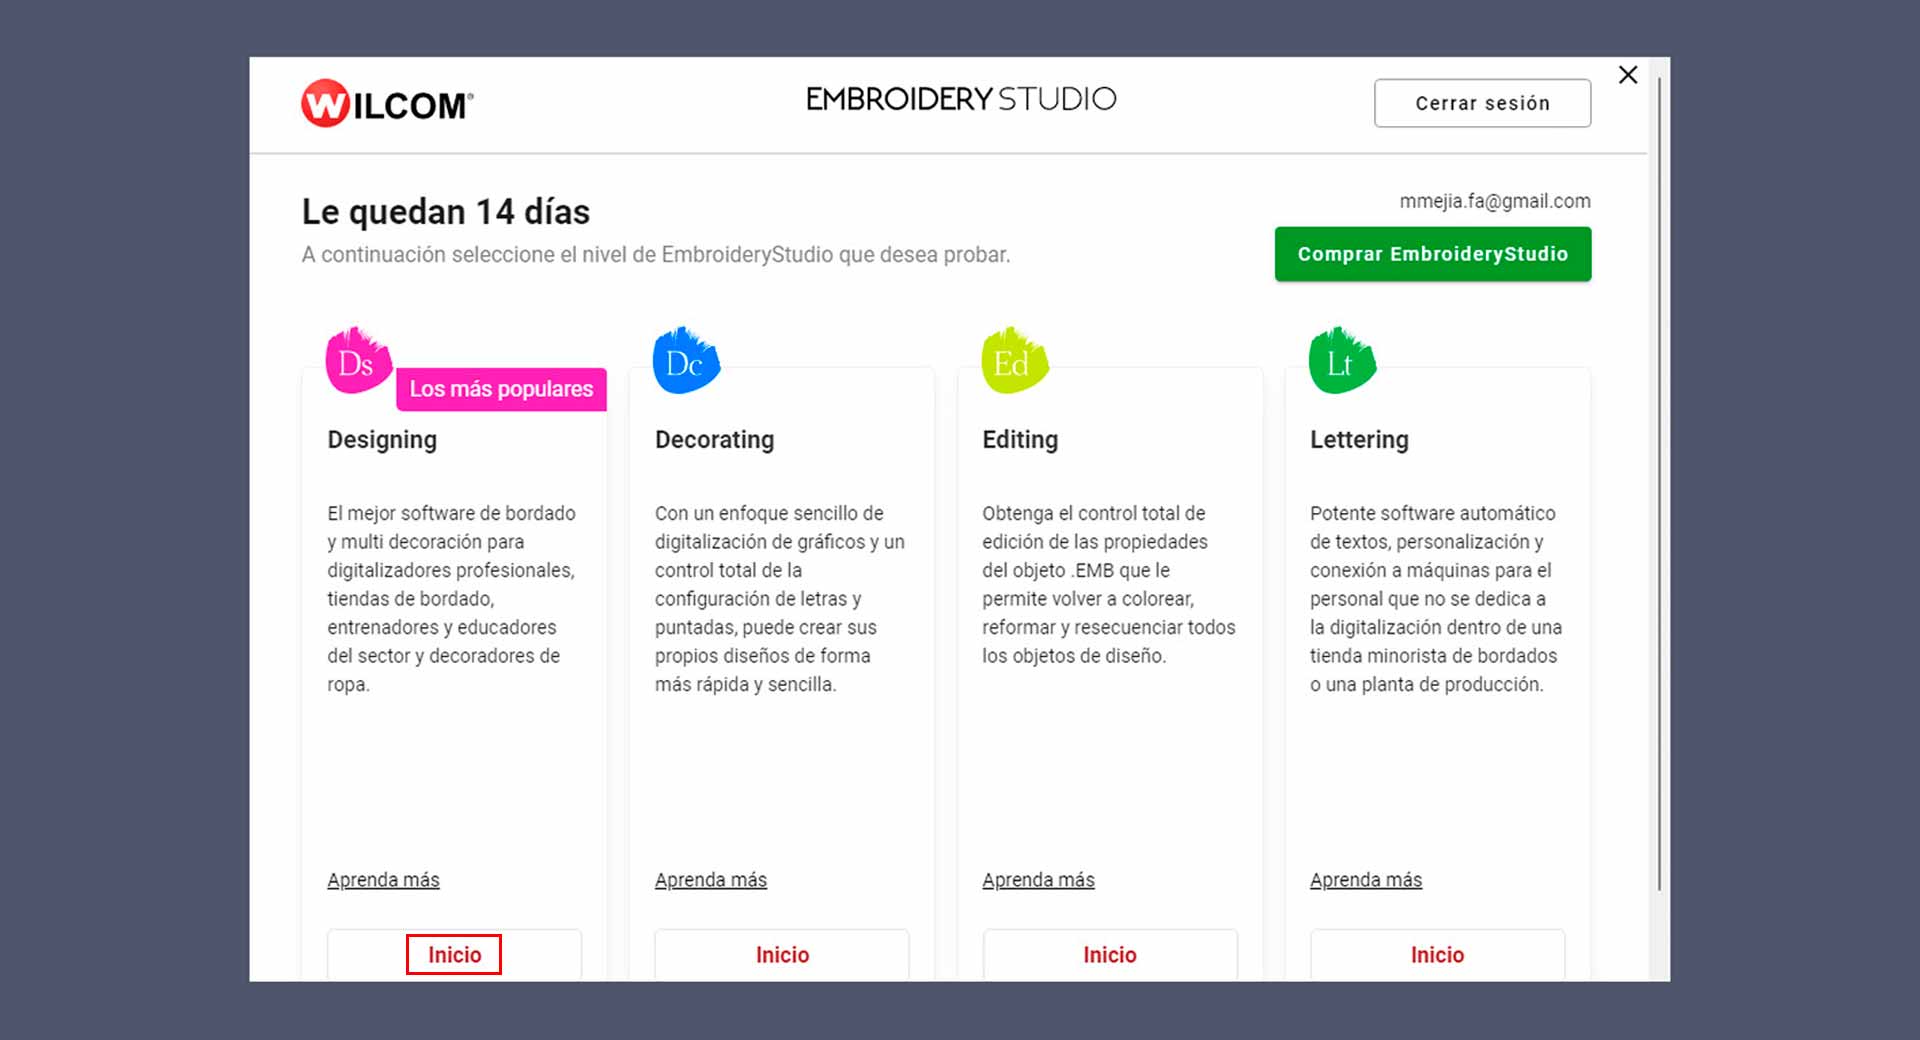
Installing Wilcom Embroidery Studio Digital Edition in Windows
Designing a Logo in the Software
Based on the image of the logo that I want to embroider, I worked the letters and shapes as follows:
I imported an image from the file menu and "Import" option. I chose the image file from my computer and clicked "Open."
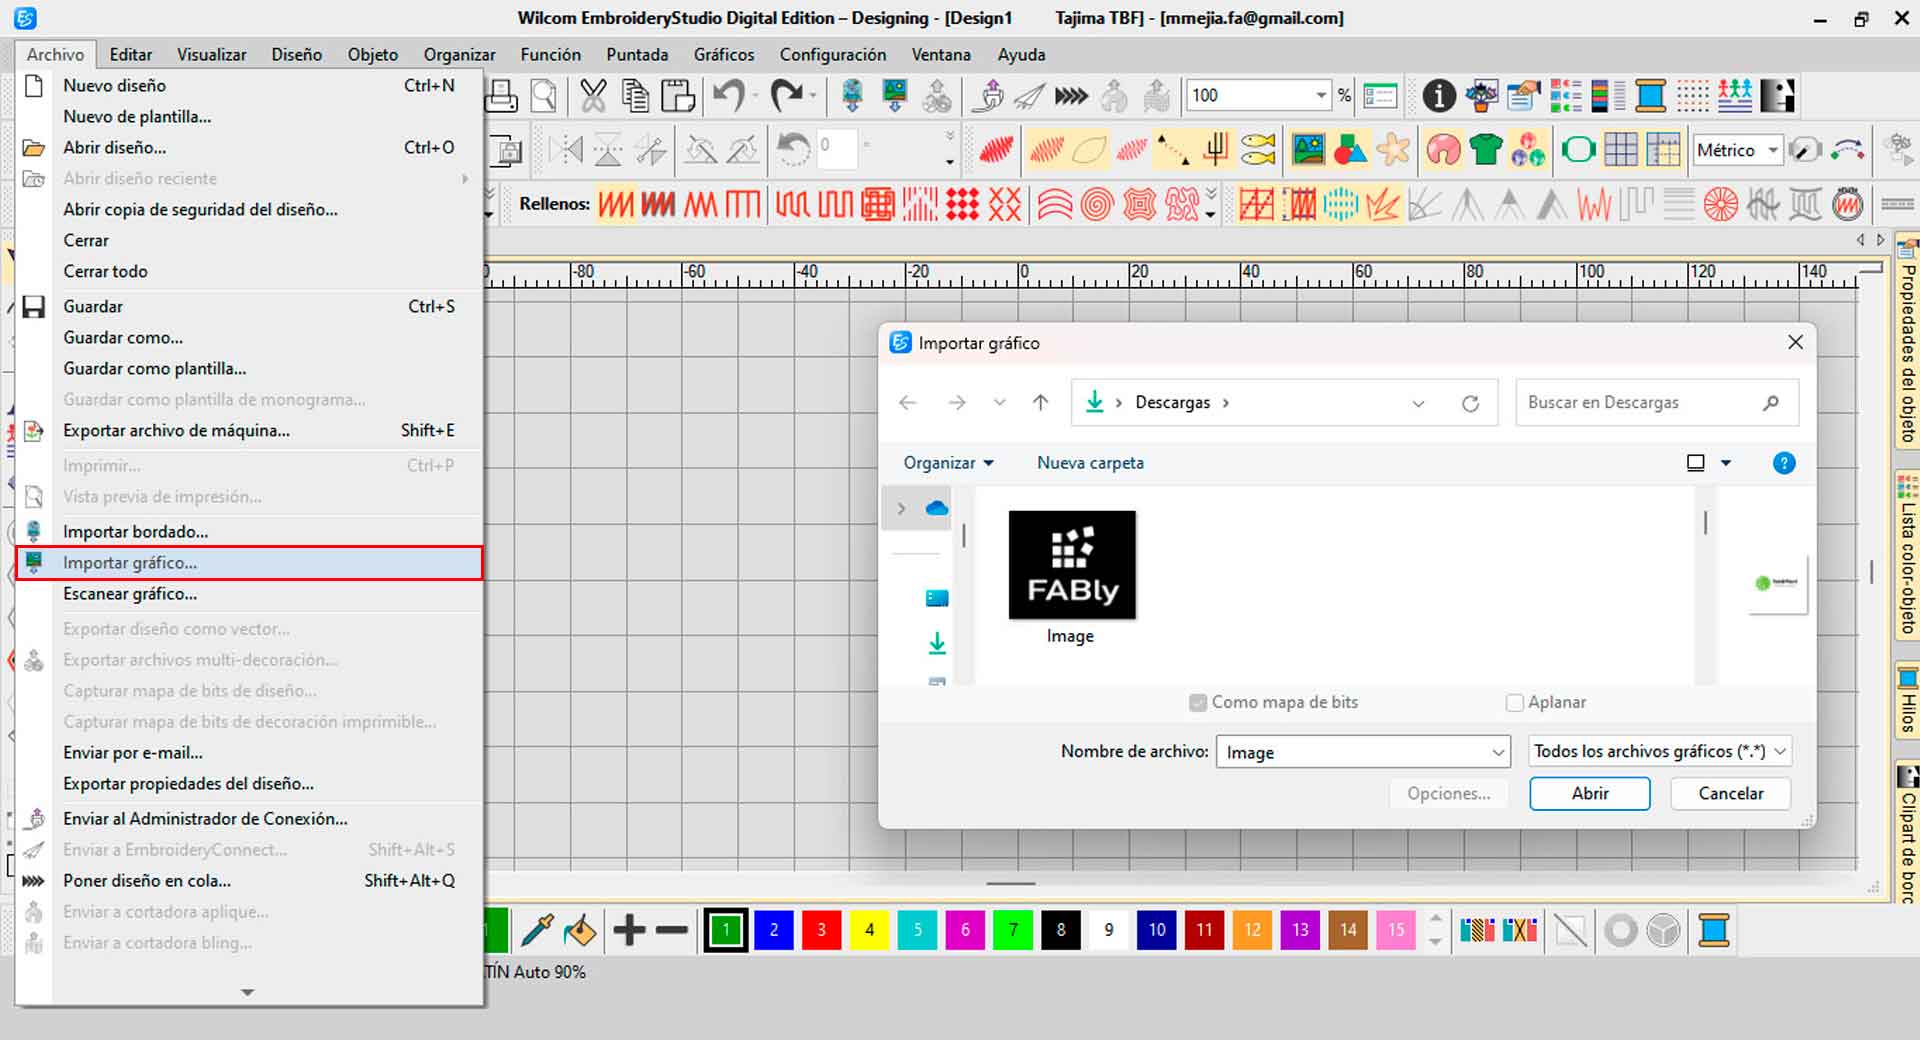
Importing an image into the sofware
Then, use the digitizing tools to trace the letters and shapes on the image.

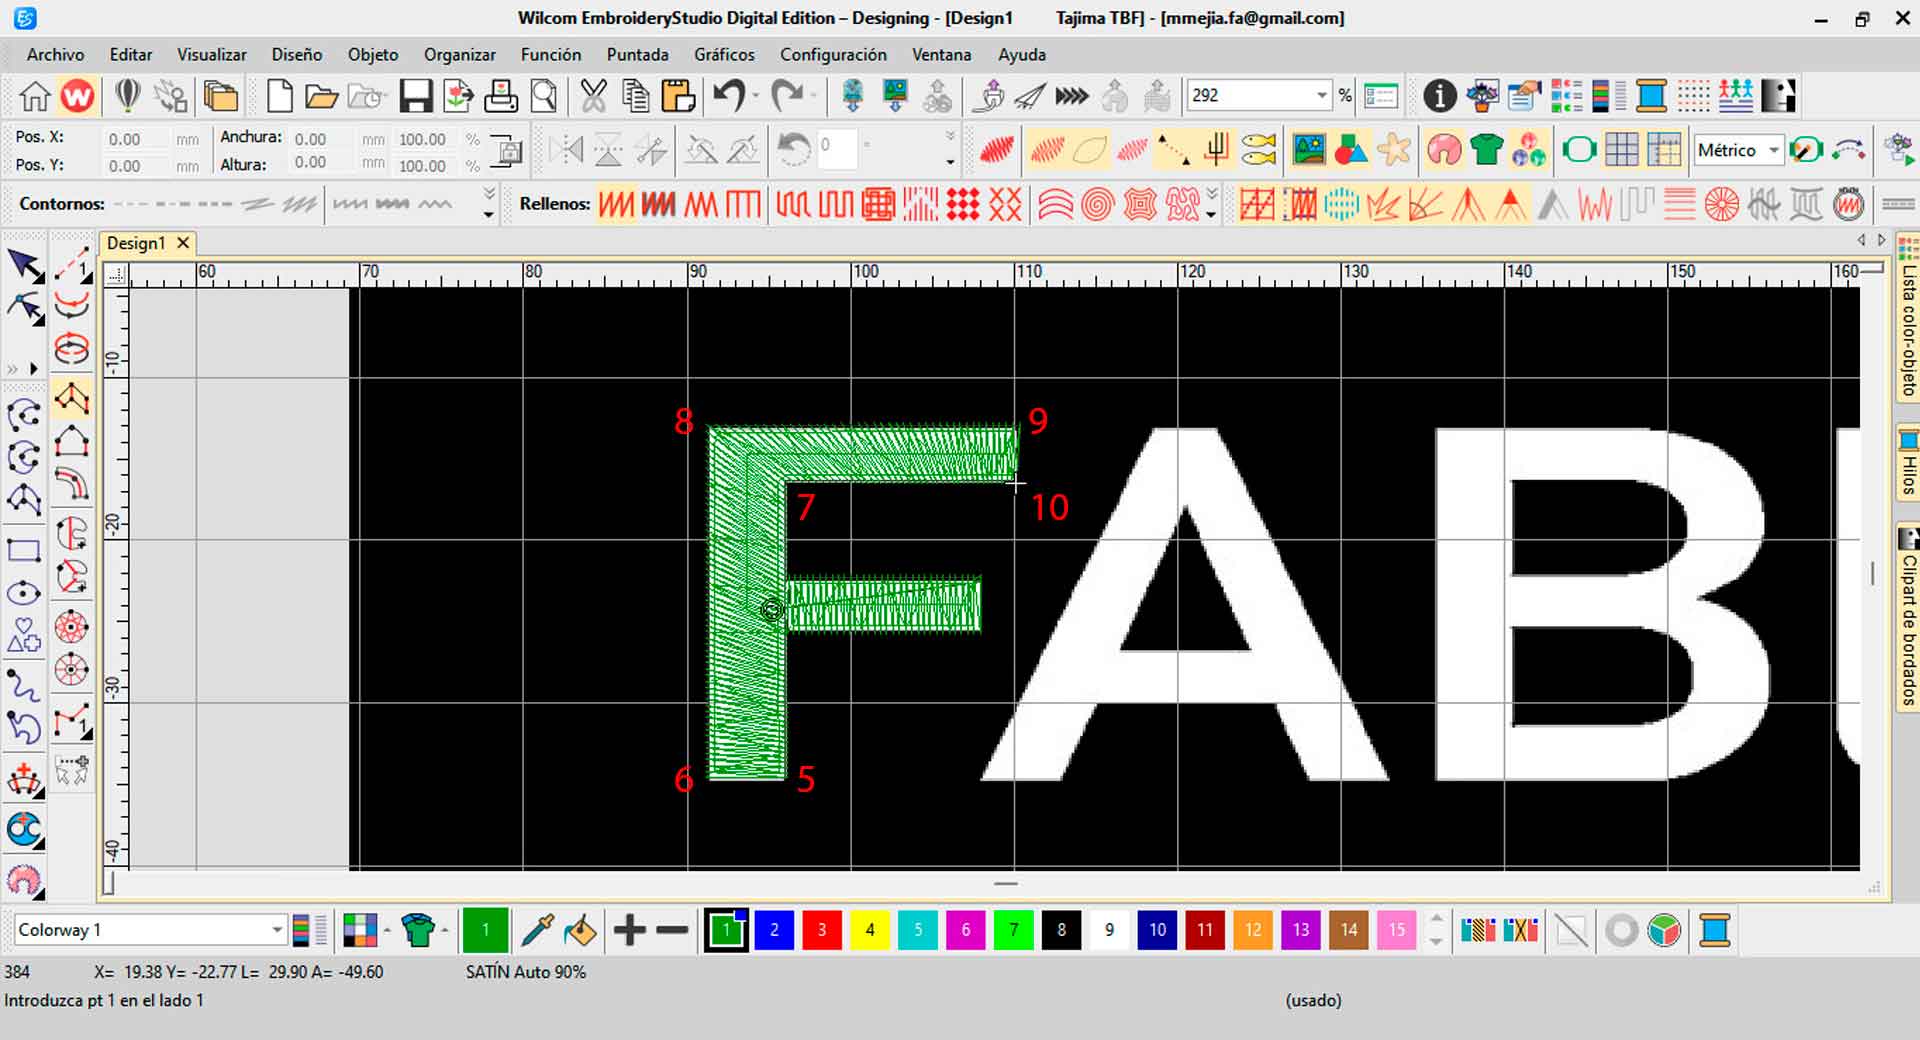
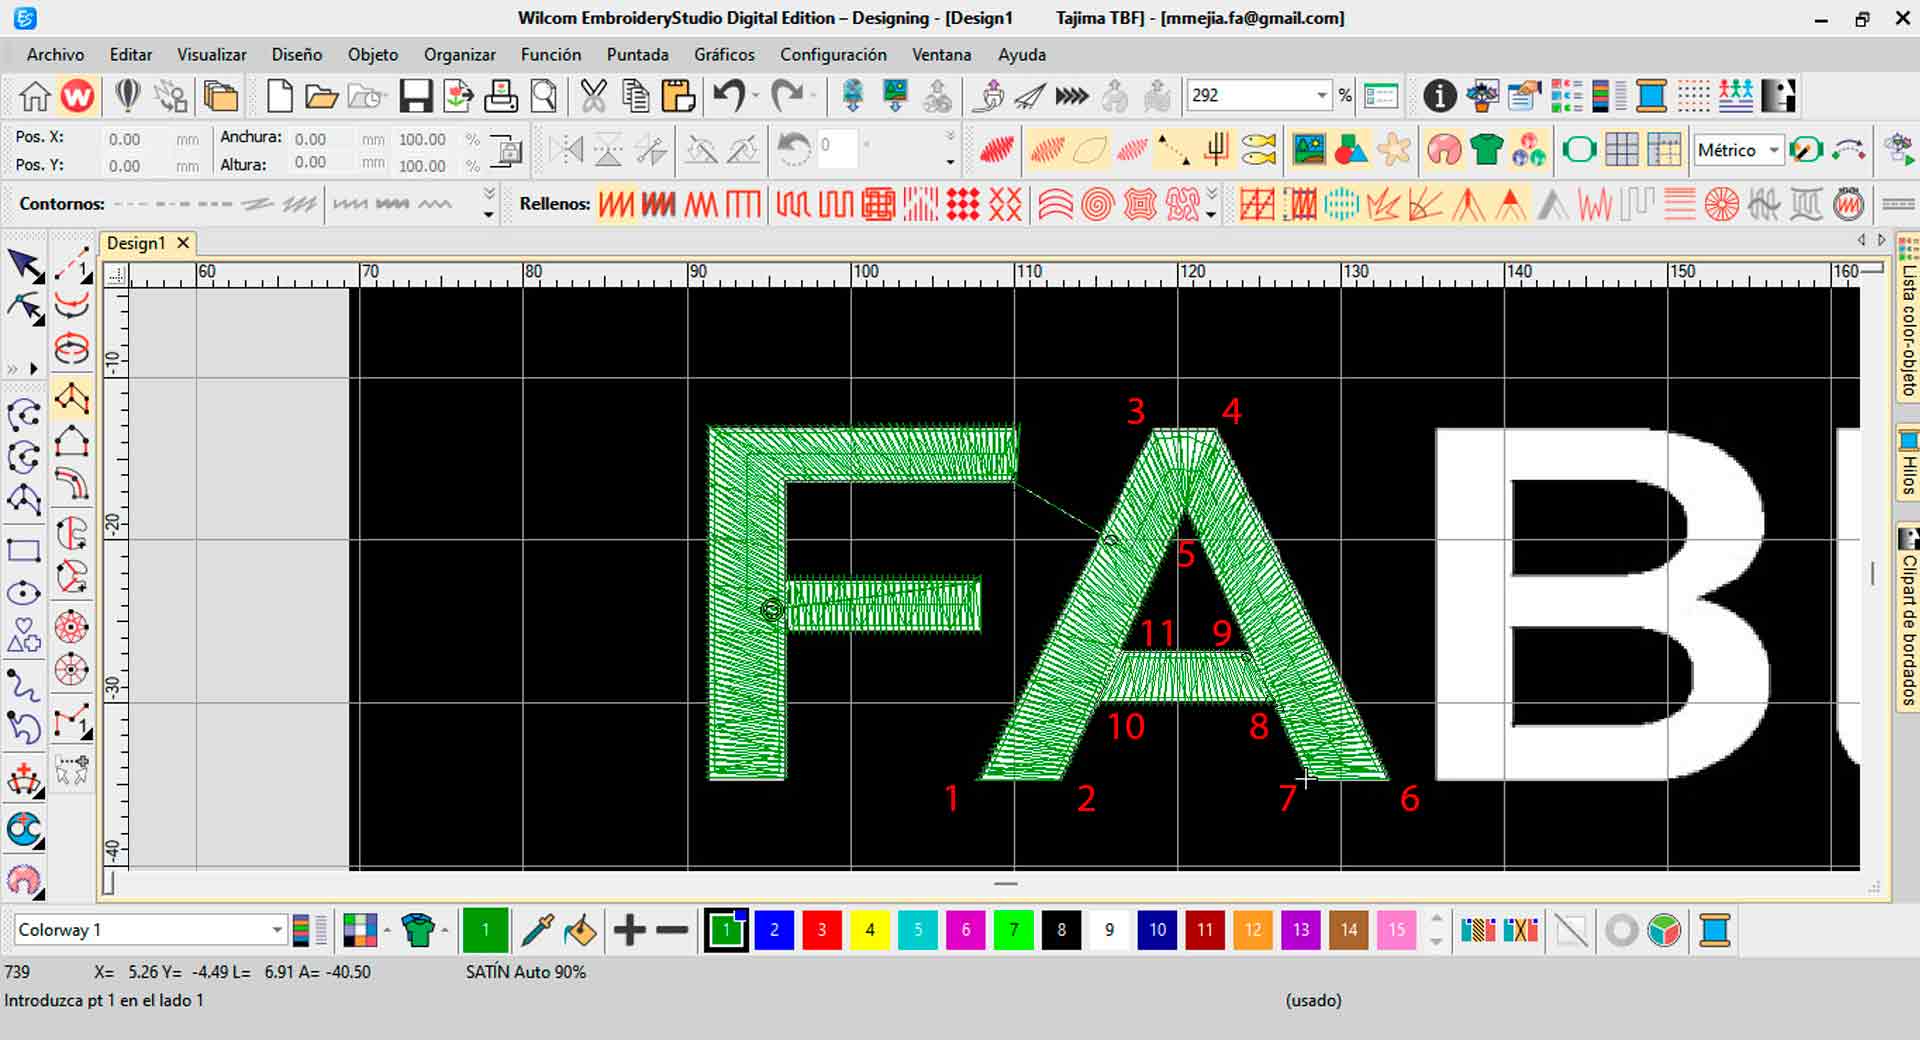
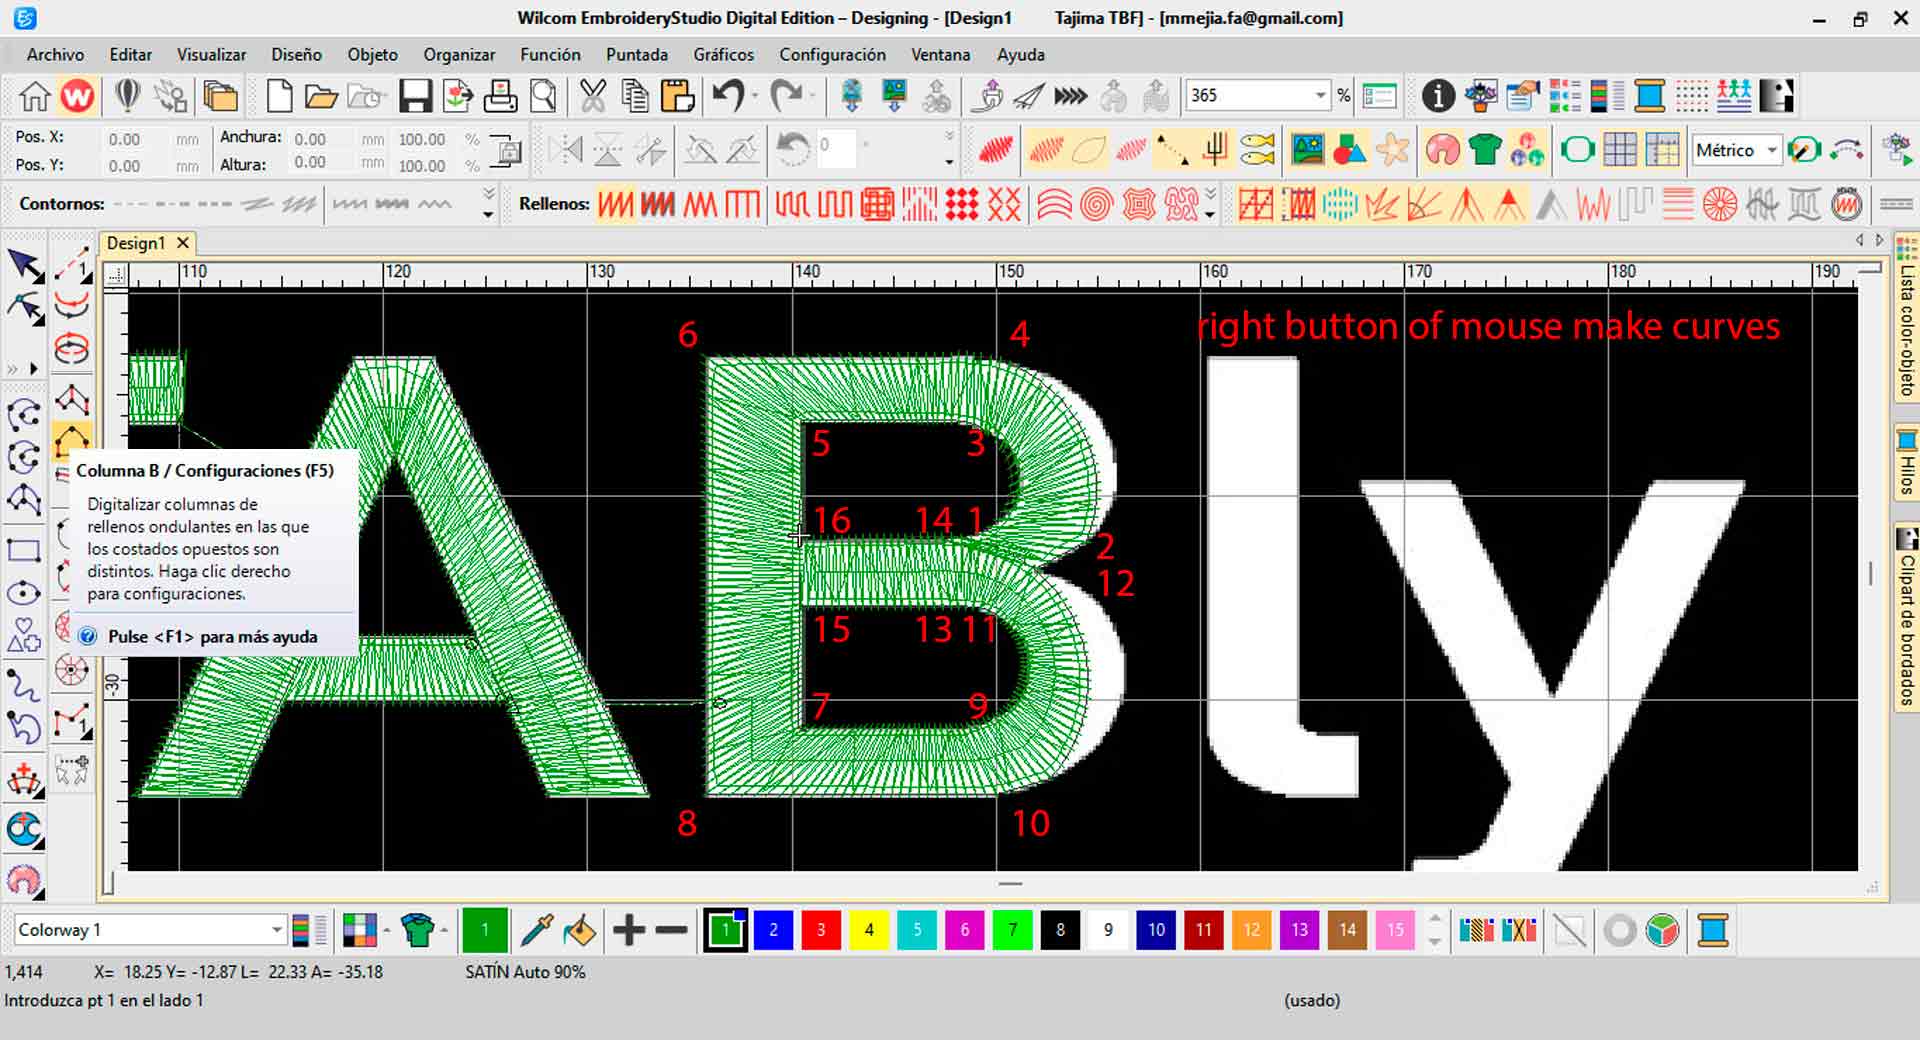
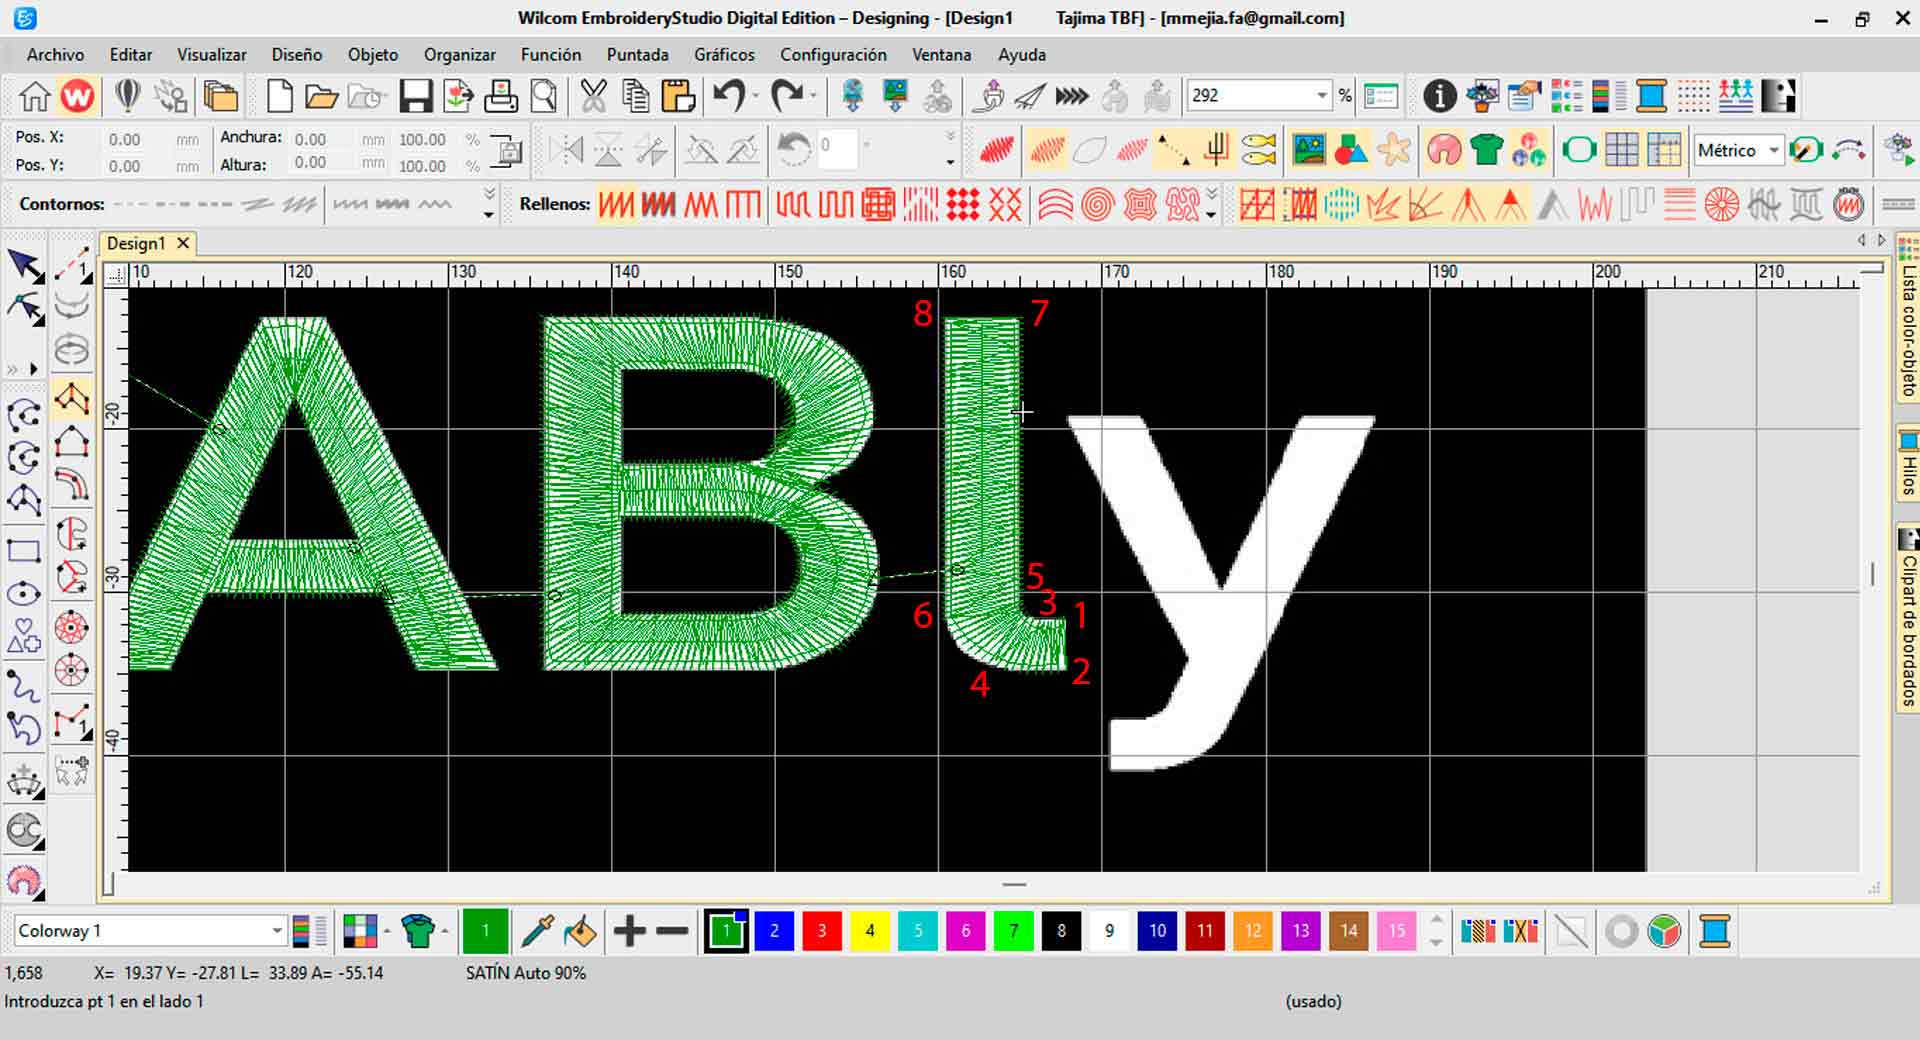
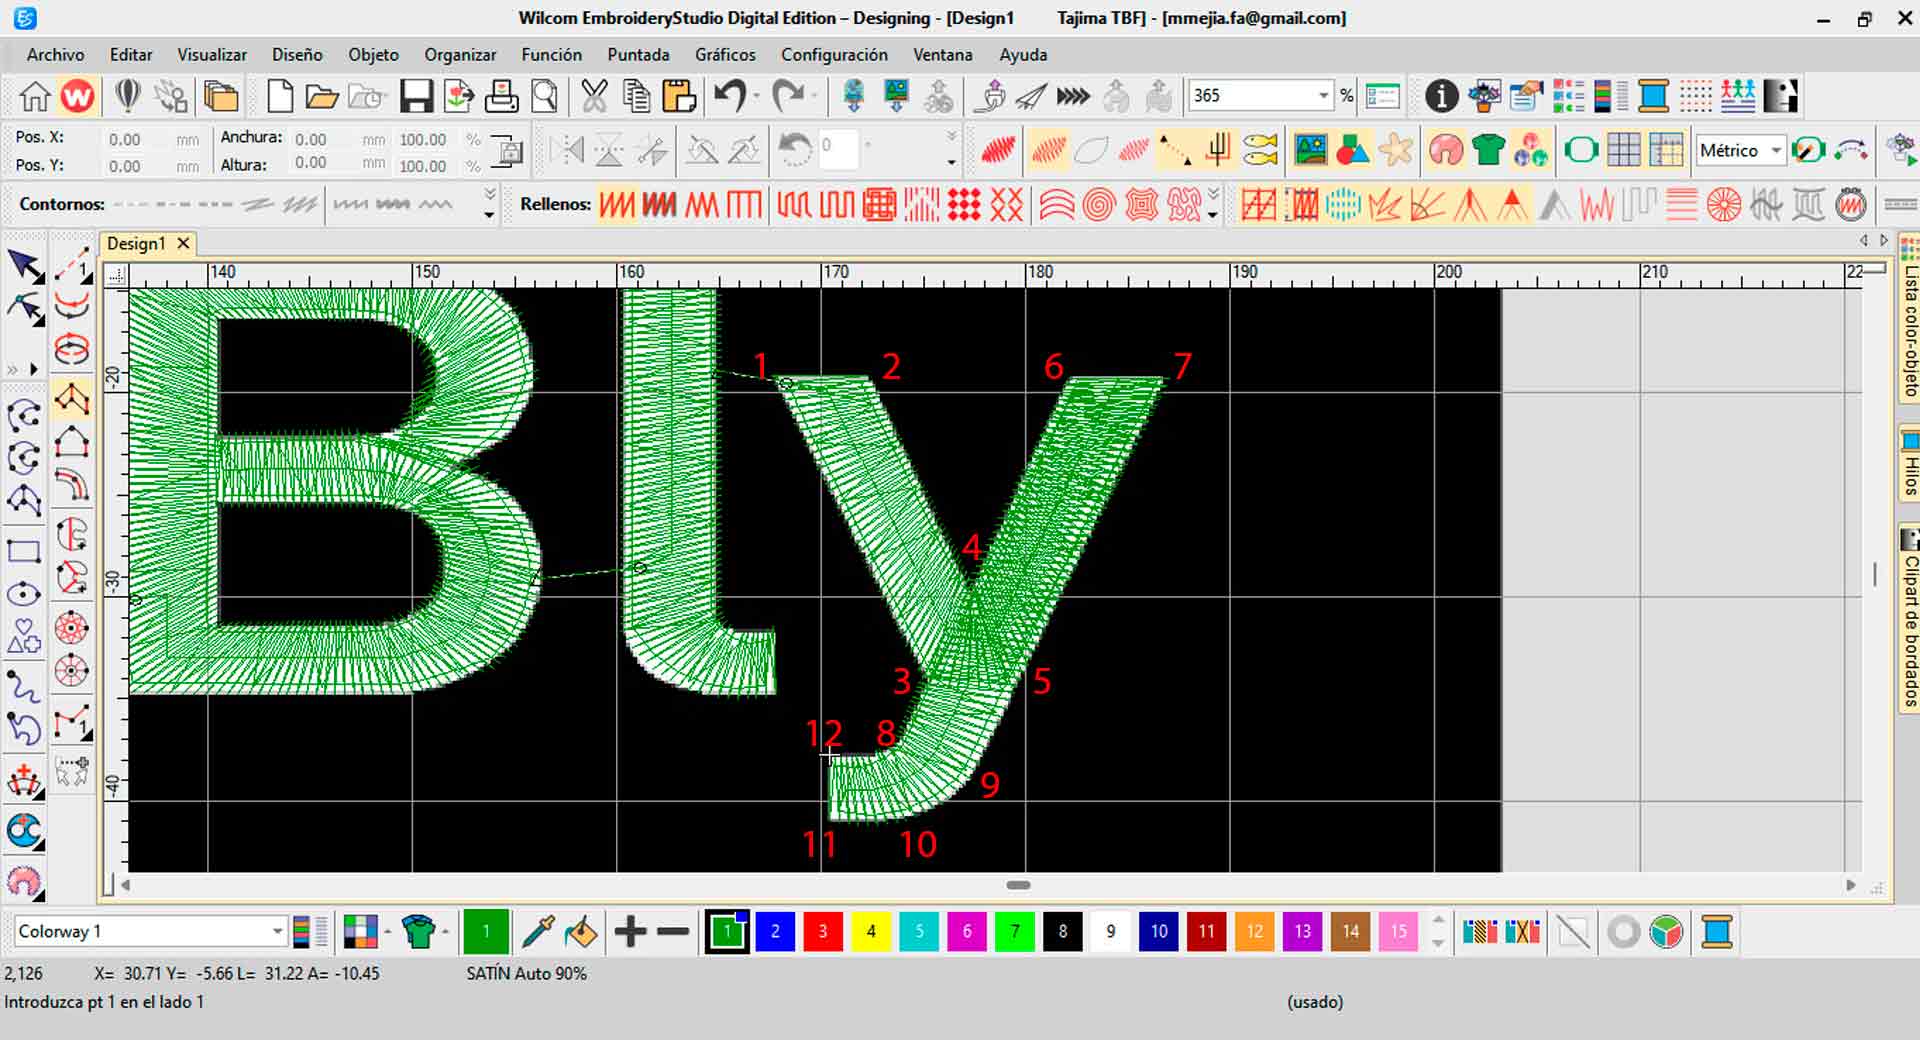

Letters and shapes design process
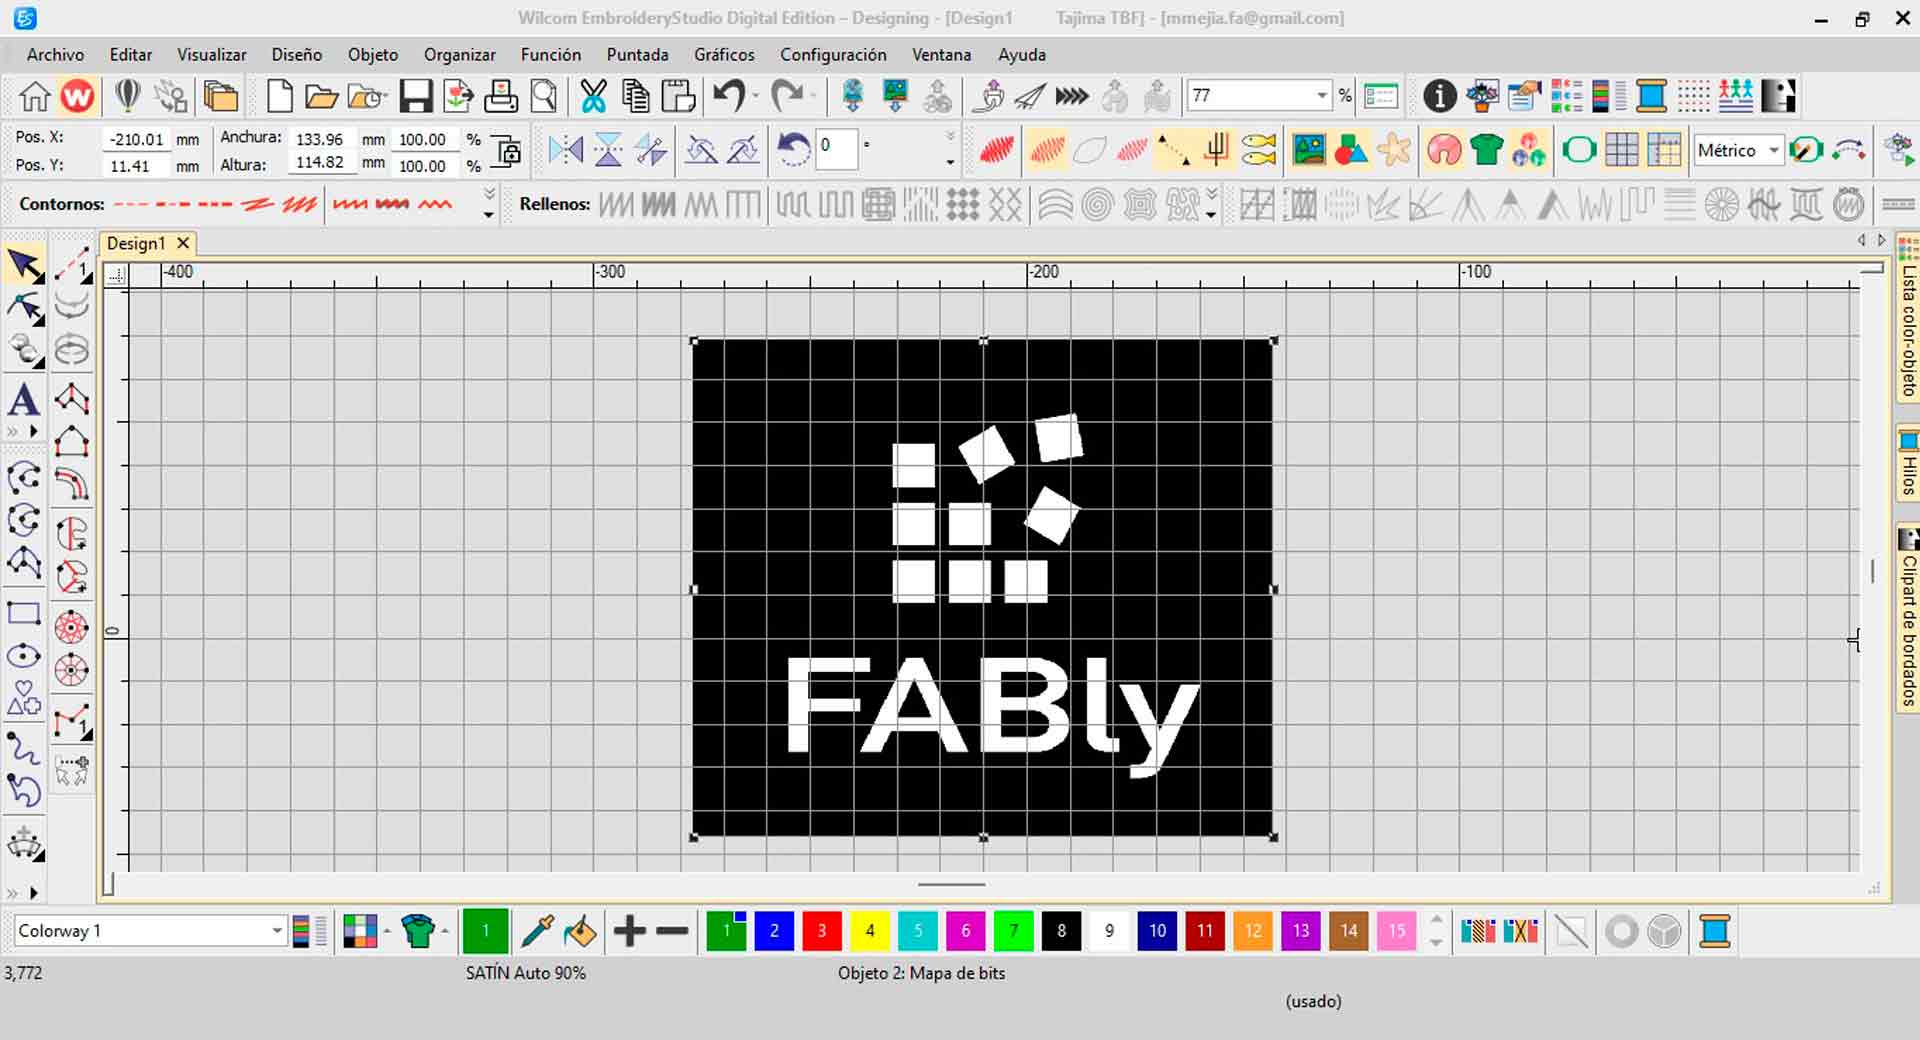
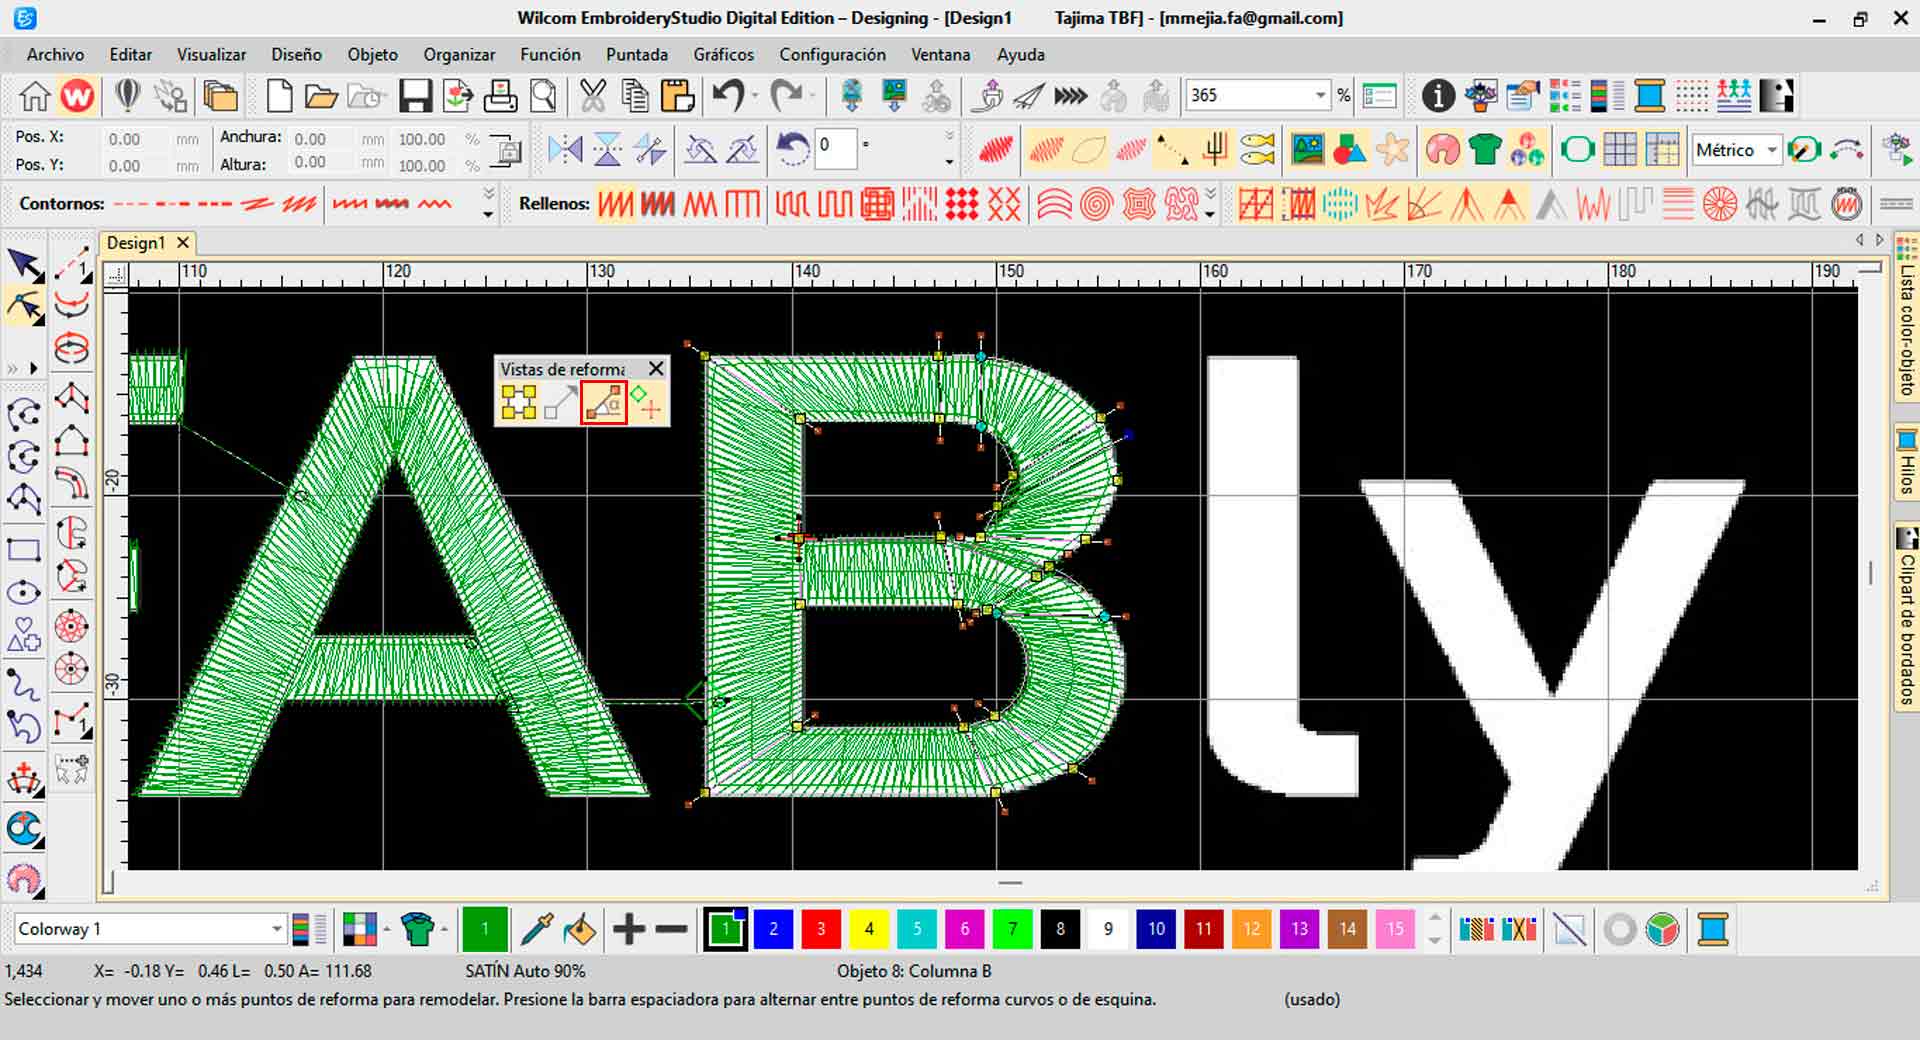
The result was the following:
Logo in Wilcom Embroidery Studio
I used the preview feature to see how the design will appear when I sew it onto fabric. This allows any necessary adjustments to be made before continuing with production. In my case, no corrections were necessary. Finally, I exported the design in PES format (compatible with the embroidery machine).

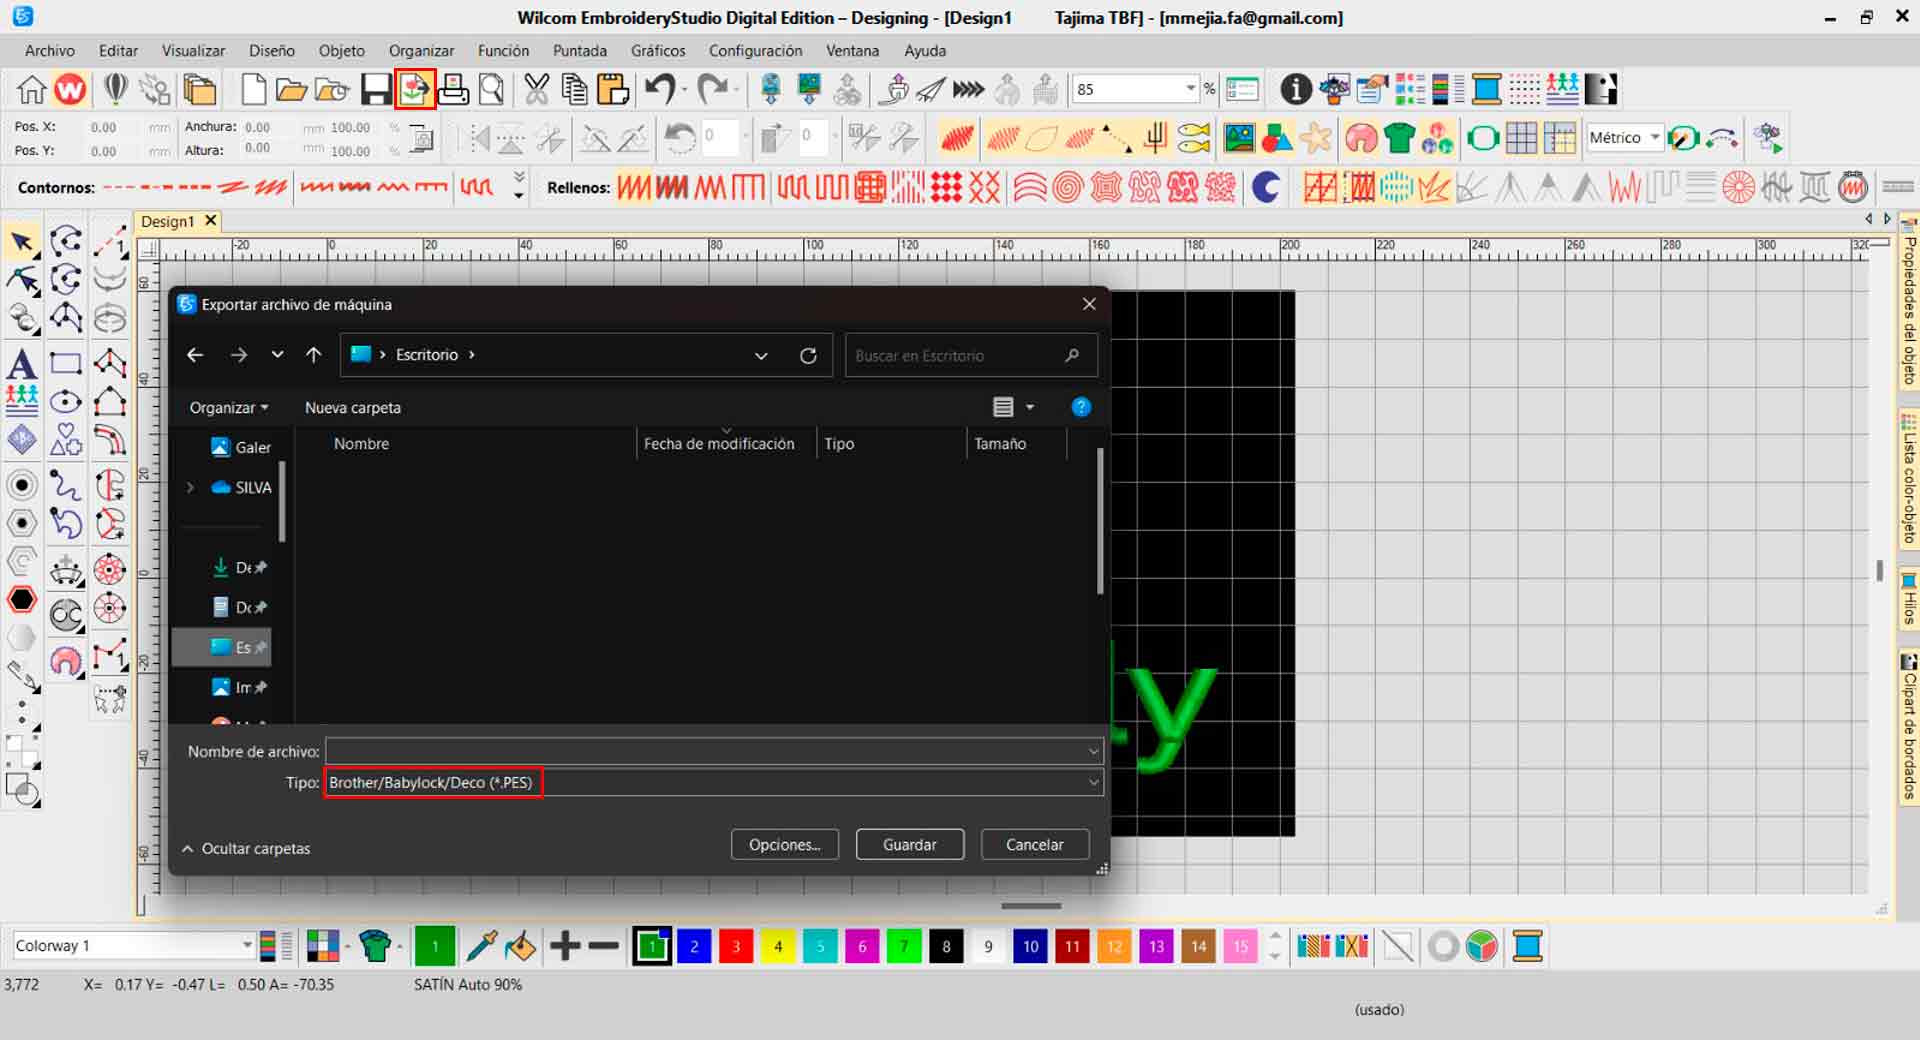
Preview and file export
With the file saved, I was ready to embroider.
Digital Embroidery
To use the embroidery machine, I went to Garage Lab which is located in Ate district in Lima, Peru.
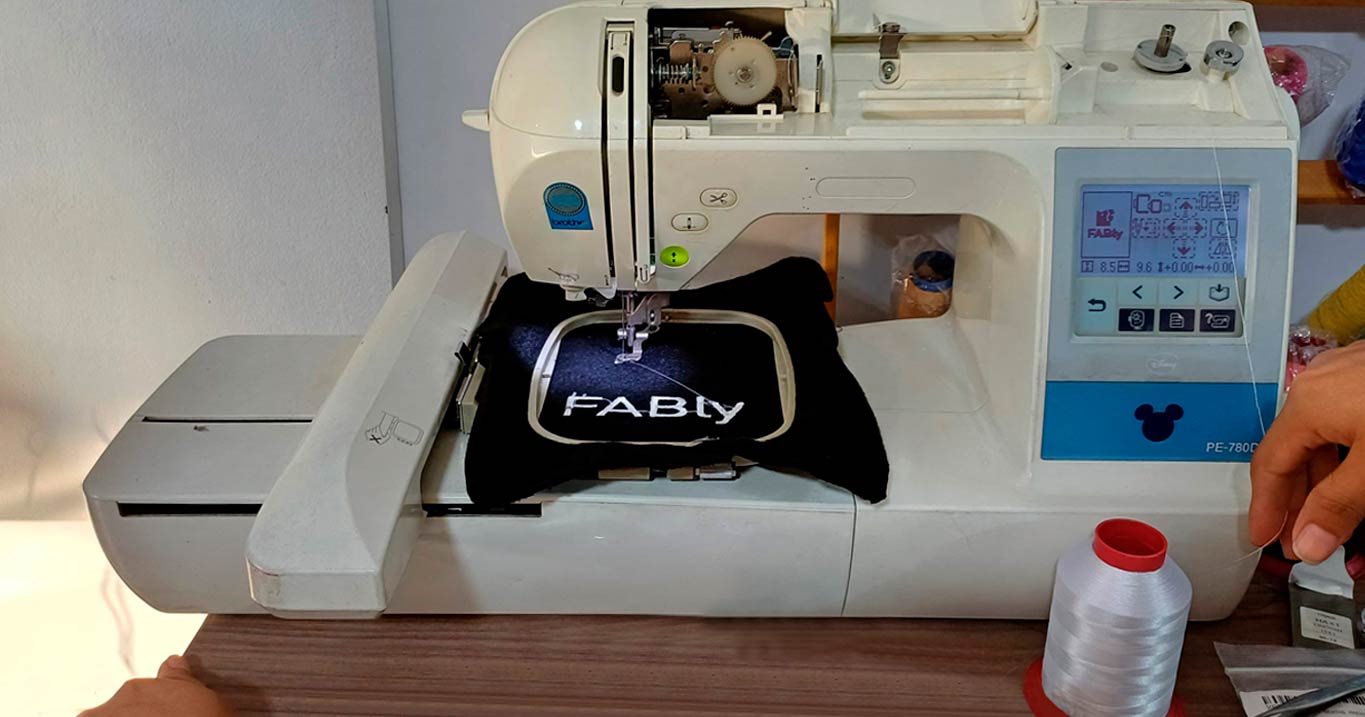
Brother PE-780D
The Brother PE-780D is a user-friendly embroidery machine designed for home and hobbyist use. It features built-in designs, USB connectivity for easy design transfer, a generous embroidery area, LCD display for navigation, basic editing capabilities, and compatibility with various embroidery file formats. It is popular among embroidery enthusiasts for creating custom embroidered projects with ease. Since, it was the first time I used this machine I was guided by the Garage Lab staff and I guided myself with this manual. I also used a white embroidery thread and a 90/14 needle.
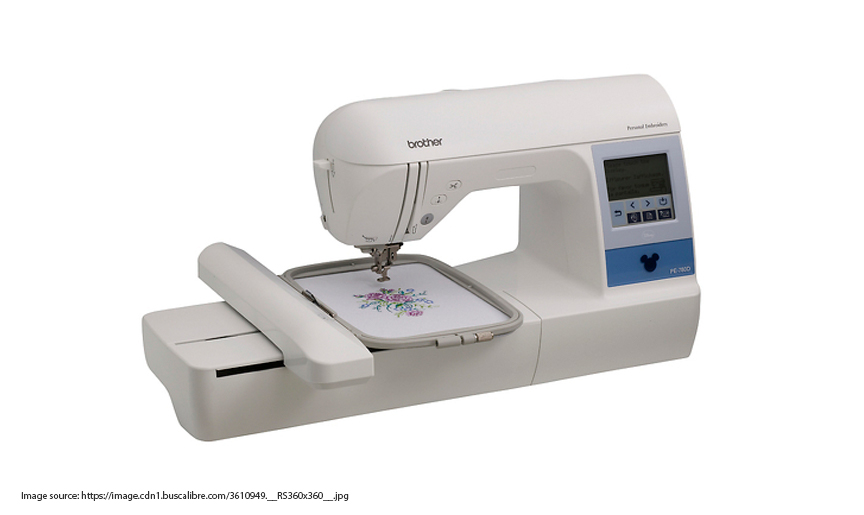
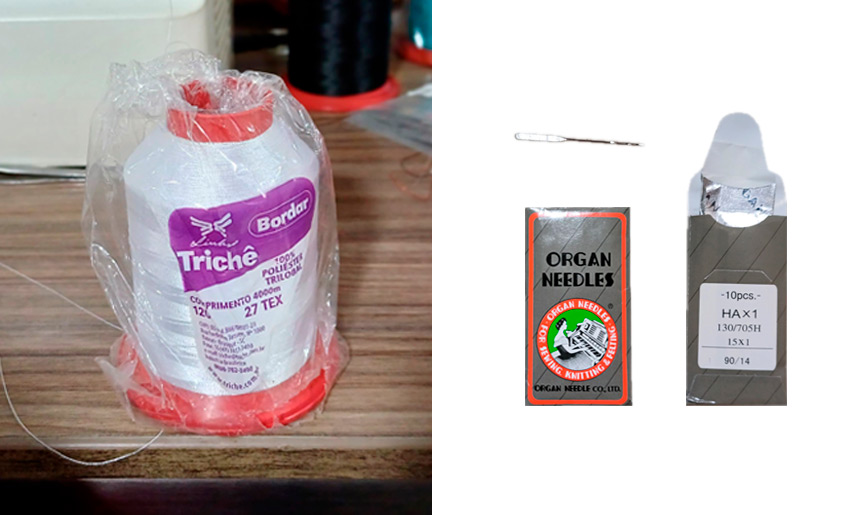
Brother PE-780D embroidery machine, thread and needle used
Manufacturing my Design
I placed the felt securely in the embroidery hoop, ensuring that it was taut and evenly stretched. This provided a stable surface for stitching out my design. Next, I placed the embroidery hoop on the embroidery arm of the embroidery machine, and the white thread.

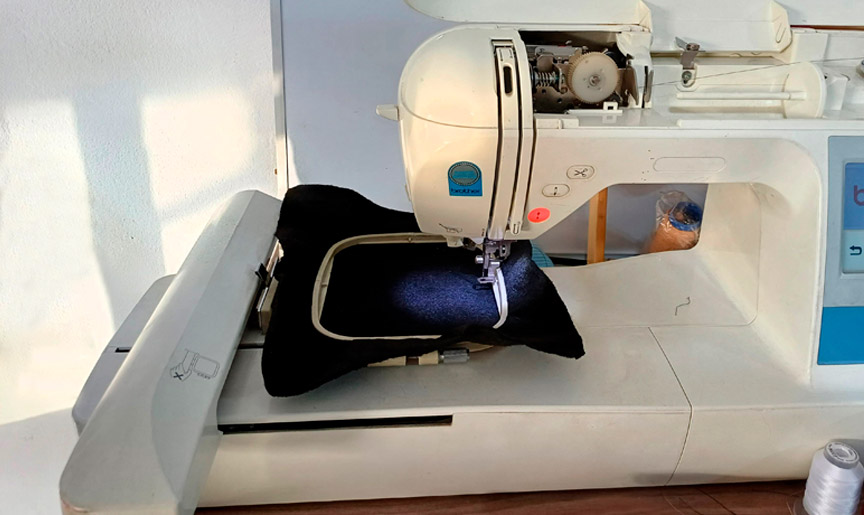
Placing the felt in the embroidery hoop
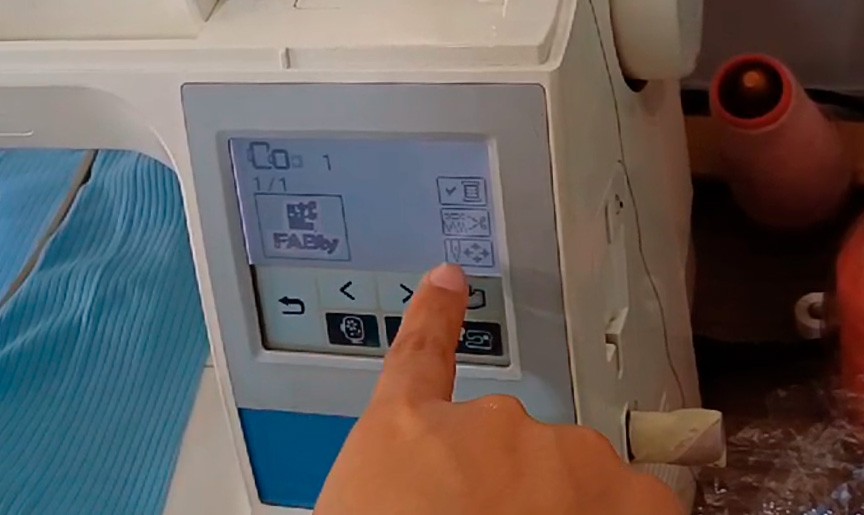
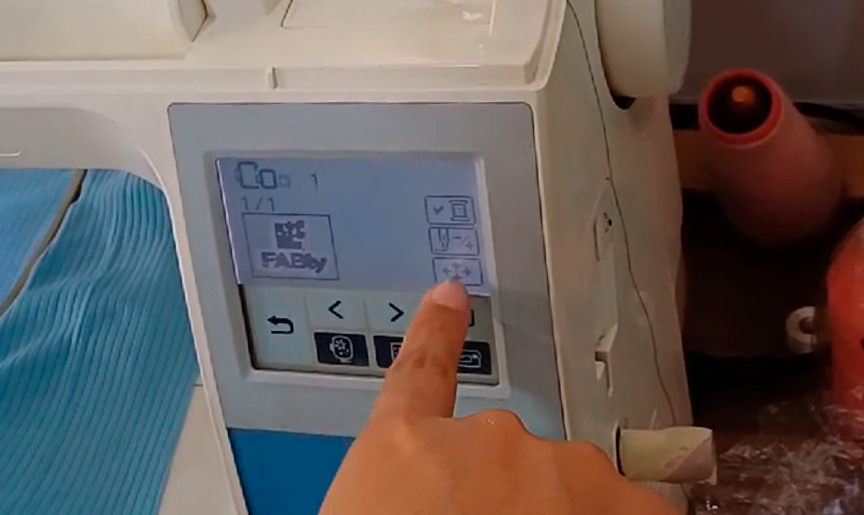
I plugged in the USB and navigated the embroidery machine's LCD screen until I found my file. I selected the desired layout from the menu and loaded it into the machine.
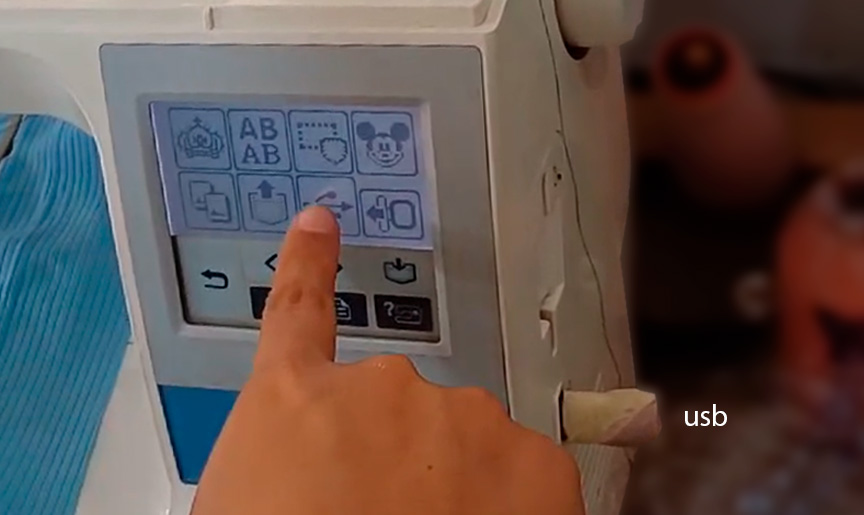
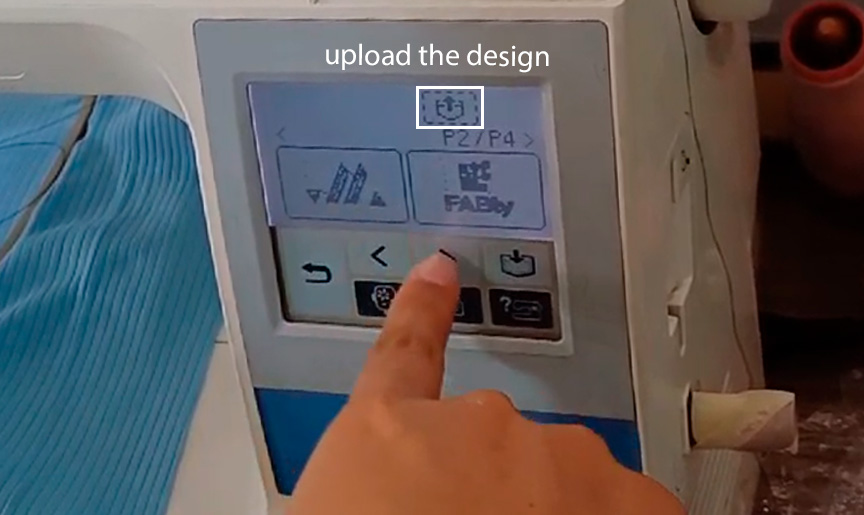
Uploading the design into the machine
I made sure the design was centered and aligned correctly inside the hoop.
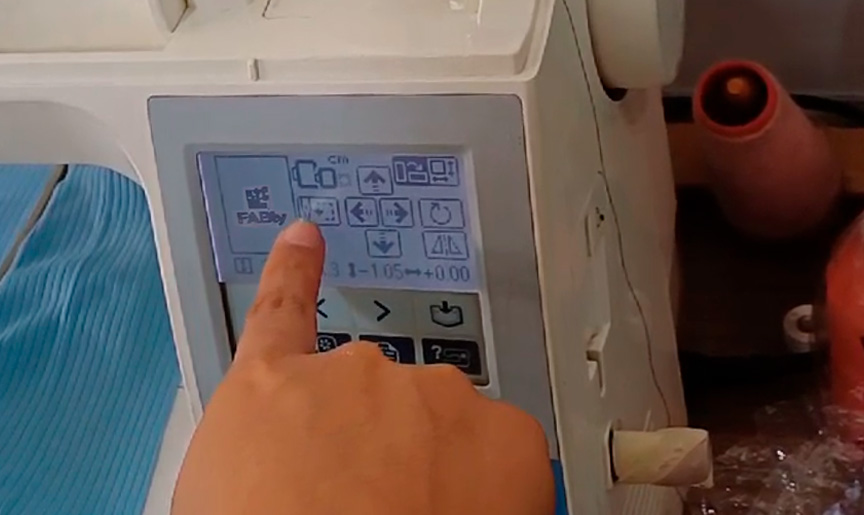
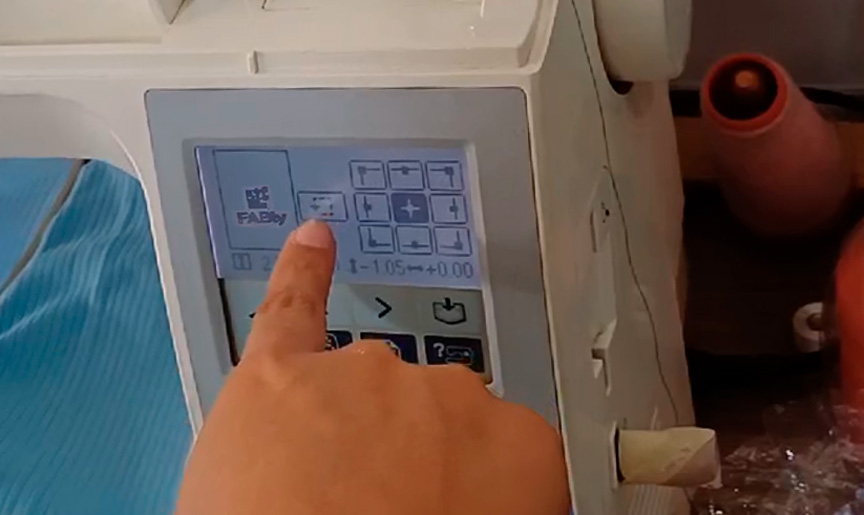
Setting the machine configurations
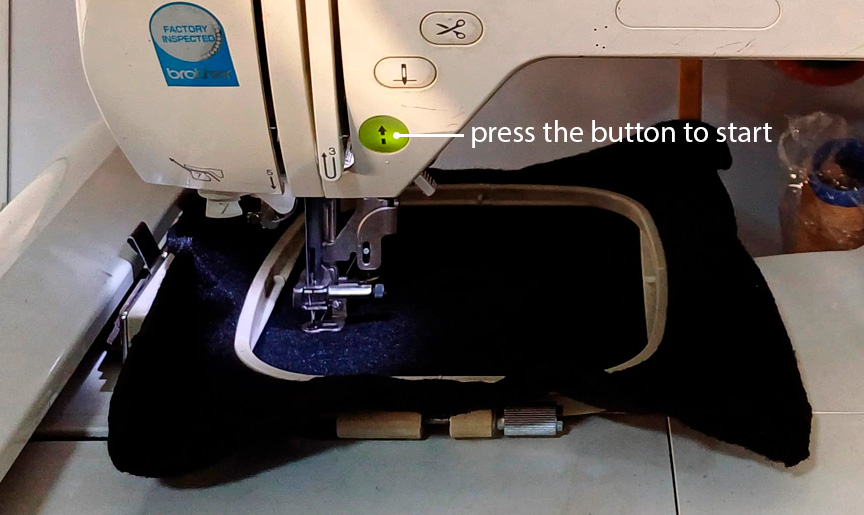
Once everything was set up and ready to go, I pressed the start button on the embroidery machine to begin stitching the design. I kept an eye on the embroidery machine while I stitched the design to make sure everything moved smoothly. If any problems had arisen, such as thread breaks or thread tension problems, you would pause the machine and fix them as necessary.
Logo made with embroidery machine
Once the machine finished sewing the design, I removed the fabric from the hoop and threaded the excess threads. Here the result:
Logo made with embroidery machine
Thanks to this week's homework, I was finally able to get used to sewing machines. I feel that with experimentation and patience, I will be able to make more complex designs with this machine.
Conclusions
- Digital embroidery, facilitated by machines like the Brother PE-780D, offers numerous advantages in terms of precision, customization, efficiency, and scalability.
- Digital embroidery provides a platform for artists and designers to explore new forms of expression and push the boundaries of traditional textile art.
- Digital embroidery can be integrated with other digital fabrication technologies, such as 3D printing and laser cutting -that I did not explored in this week, but it is a pending task for me- to create innovative and multidisciplinary projects.
- The accessibility of digital embroidery machines like the Brother PE-780D make them ideal tools for small-scale production and entrepreneurial ventures.
- To finish this task I thank my fellow students and tutors, especially Roberto Delgado, Silvana Espinoza and Jesus Lucero for the access to Garage Lab and the embroidery machine.