Computer-Aided Design
In week 2, the challenge was to modelling in 2D and 3D softwares. So, I explored Gimp, Inkscape, Blender and Onshape.
Assignments
The task for this week consisted of:
- Model (raster, vector, 2D, 3D, render, animate, simulate, …) a possible final project, compress your images and videos, and post it on your class page
Learning Outcomes
- Evaluate and select 2D and 3D software
- Demonstrate and describe processes used in modelling with 2D and 3D software
Results: Modelling my Final Project
To work on the task of this week, I used drawings and designs of my final project as a practical case, in addition to following some tutorials to achieve different geometries.

Pot pivoting in its axis
As part of digitally modeling my final project, I worked on the movement of a pot in Onshape.
2D Modelling
A raster-based program allows you to model in 2D by defining the color and transparency of each pixel in a rectangular field. I have previously worked on 2D models of this type with Adobe Photoshop. For this task, I did some exploration with Gimp which is similar to Adobe Photoshop.
On the other hand, images can be made using vector-based programs as well. Each shape is defined using mathematical formulas. Vectors can be scaled without losing sharpness, making them ideal for laser cutting and as file formats. I am familiar with Adobe Illustrator and have used it for similar design projects. For this assignment, I did some Inkscape explorations.
Gimp
GIMP (GNU Image Manipulation Program) is a free digital image editing program in bitmap form. It is part of the GNU project and is available under the GNU General Public License and GNU Lesser General Public License. The Gimp extension is .xcf and it exports files in .png, .jpg, .psd, among others formats.
I followed this video tutorial for making this image. I used the selection, fill and gradient tools. For accomplish it, I followed this steps:
- I began by selecting the free select tool from the toolbox. It allowed me to draw freehand forms and shapes with flexibility. With Ctrl key I got orthogonal lines.
- After sketching the outlines, I switched to the fill tool from right clic and edit. This tool enabled me to fill the drawn forms with colors easily.
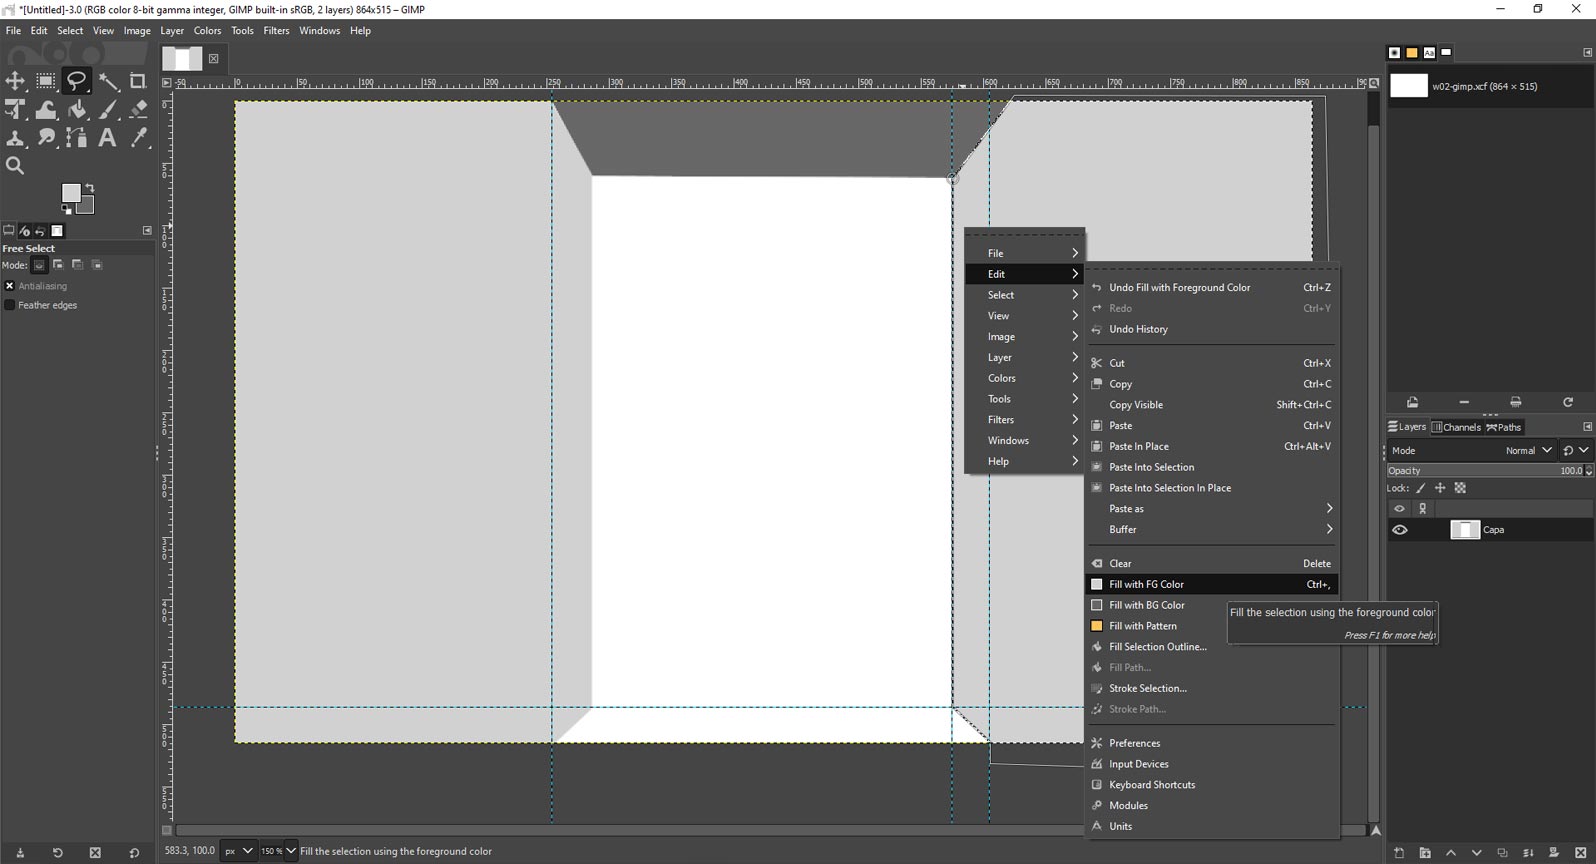
- After filling the forms, I made any necessary adjustments to ensure smoothness and consistency in the colors. This included refining edges, correcting any overflow, and ensuring seamless transitions between different colored areas.
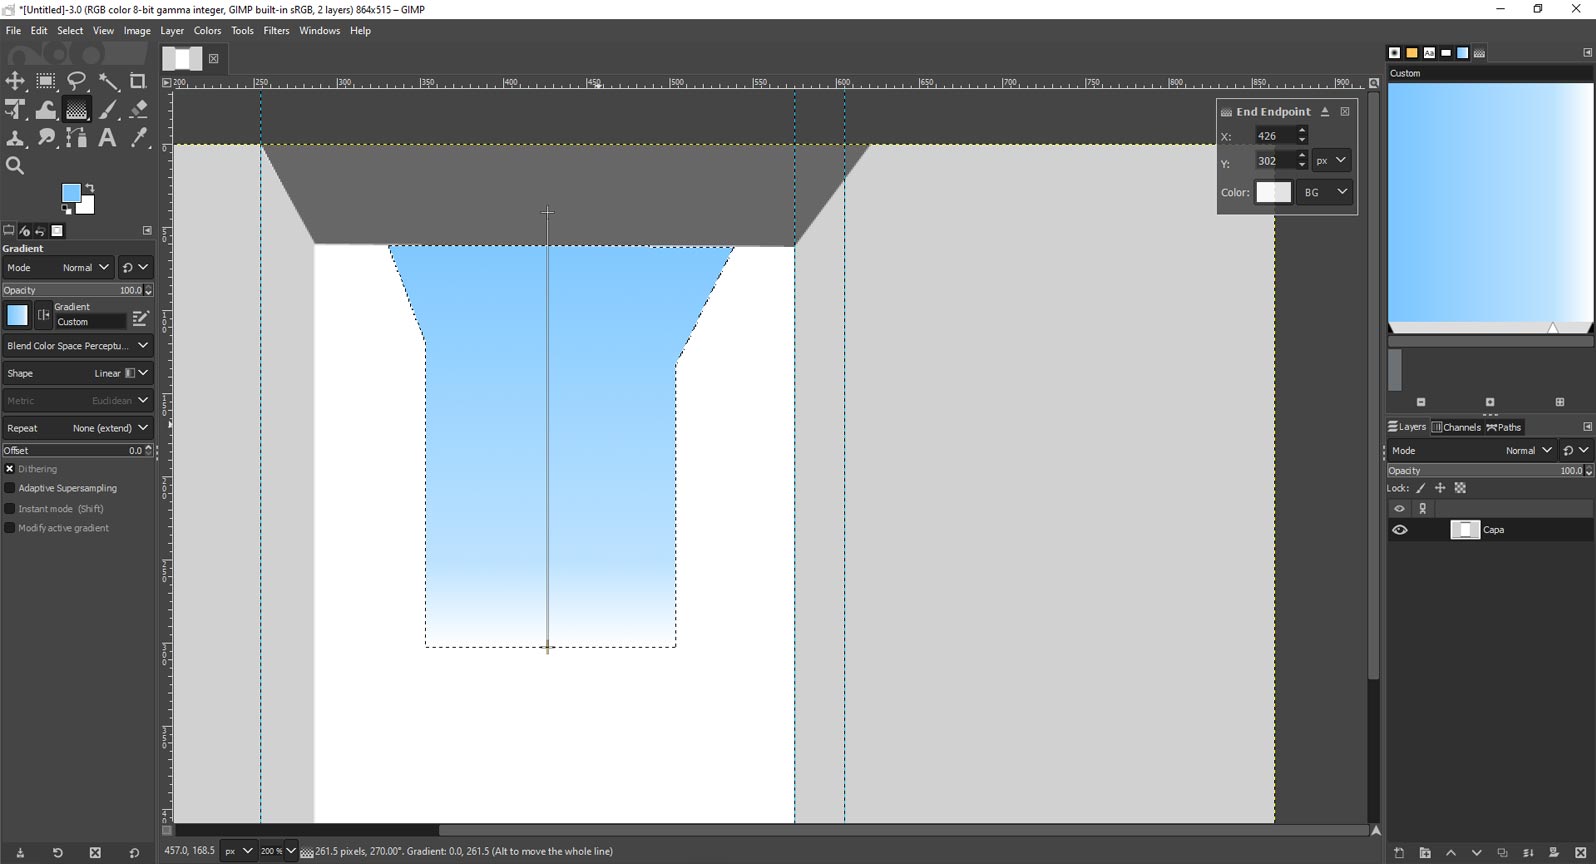
- For making the sky area, I used the gradient tool in the toolbox. Before applying the gradient, I chose the type of gradient I wanted to use (linear). Additionally, I selected the colors for the gradient from the color palette.
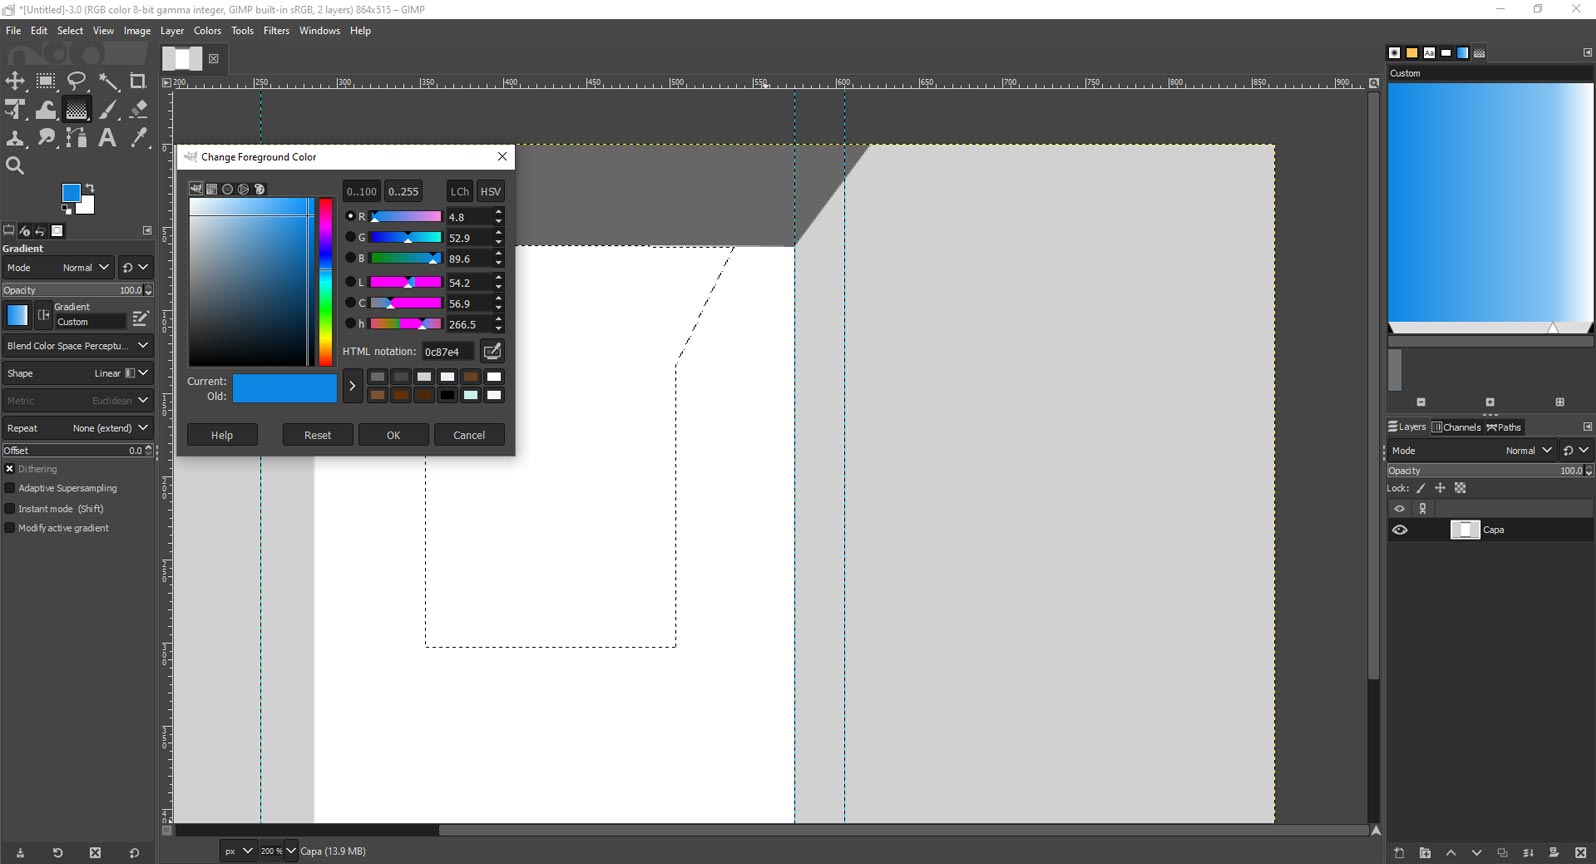
- With the gradient tool settings adjusted, I clicked and dragged within the selected area to apply the gradient. The tool automatically filled the selected regions with a smooth transition between the chosen colors, creating a visually appealing effect.
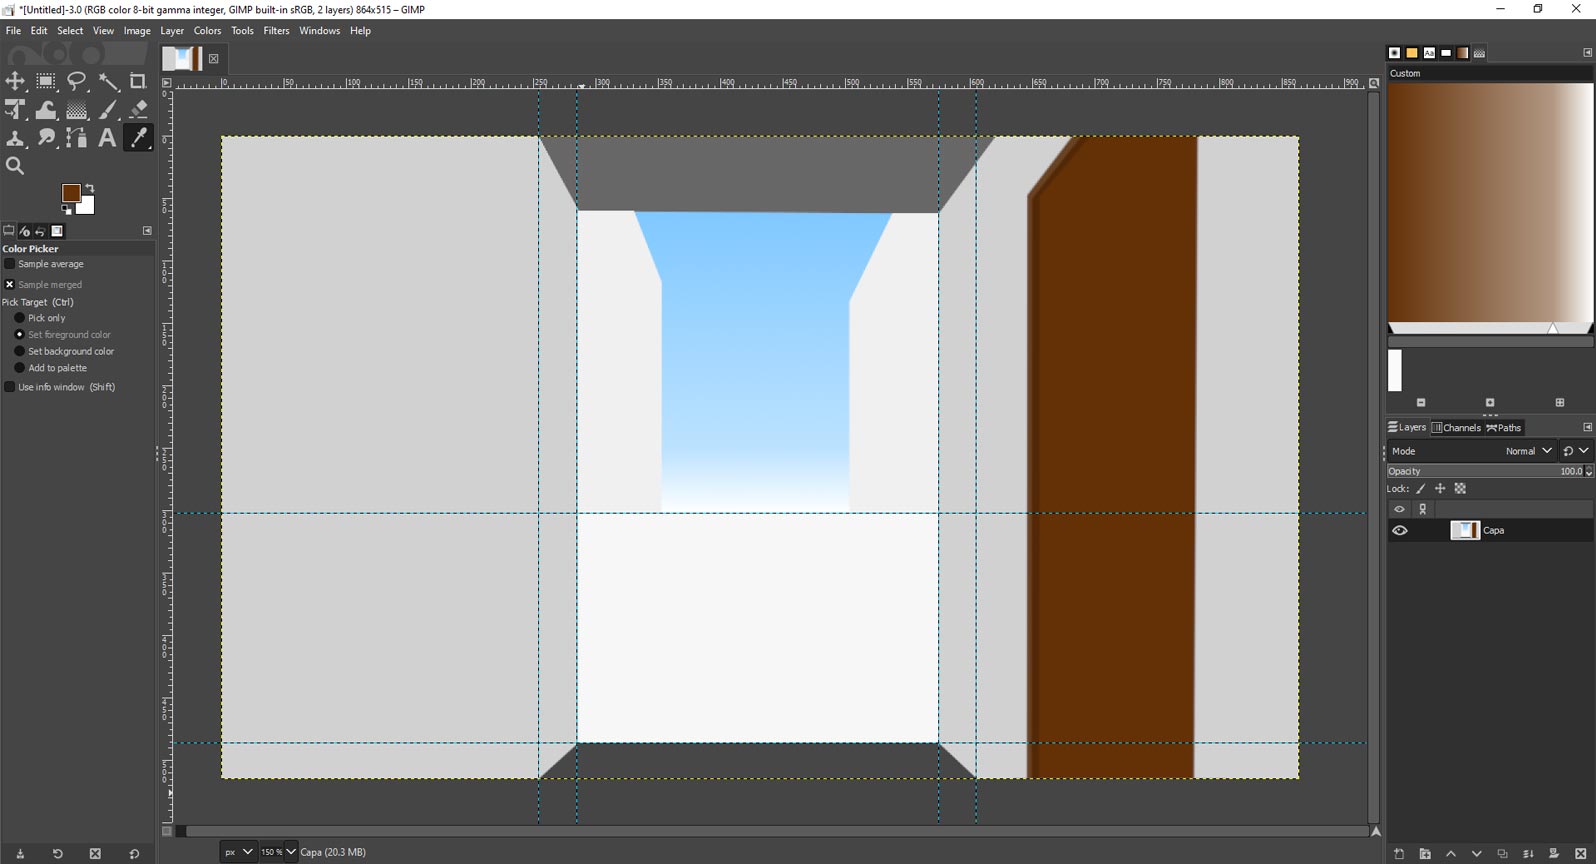
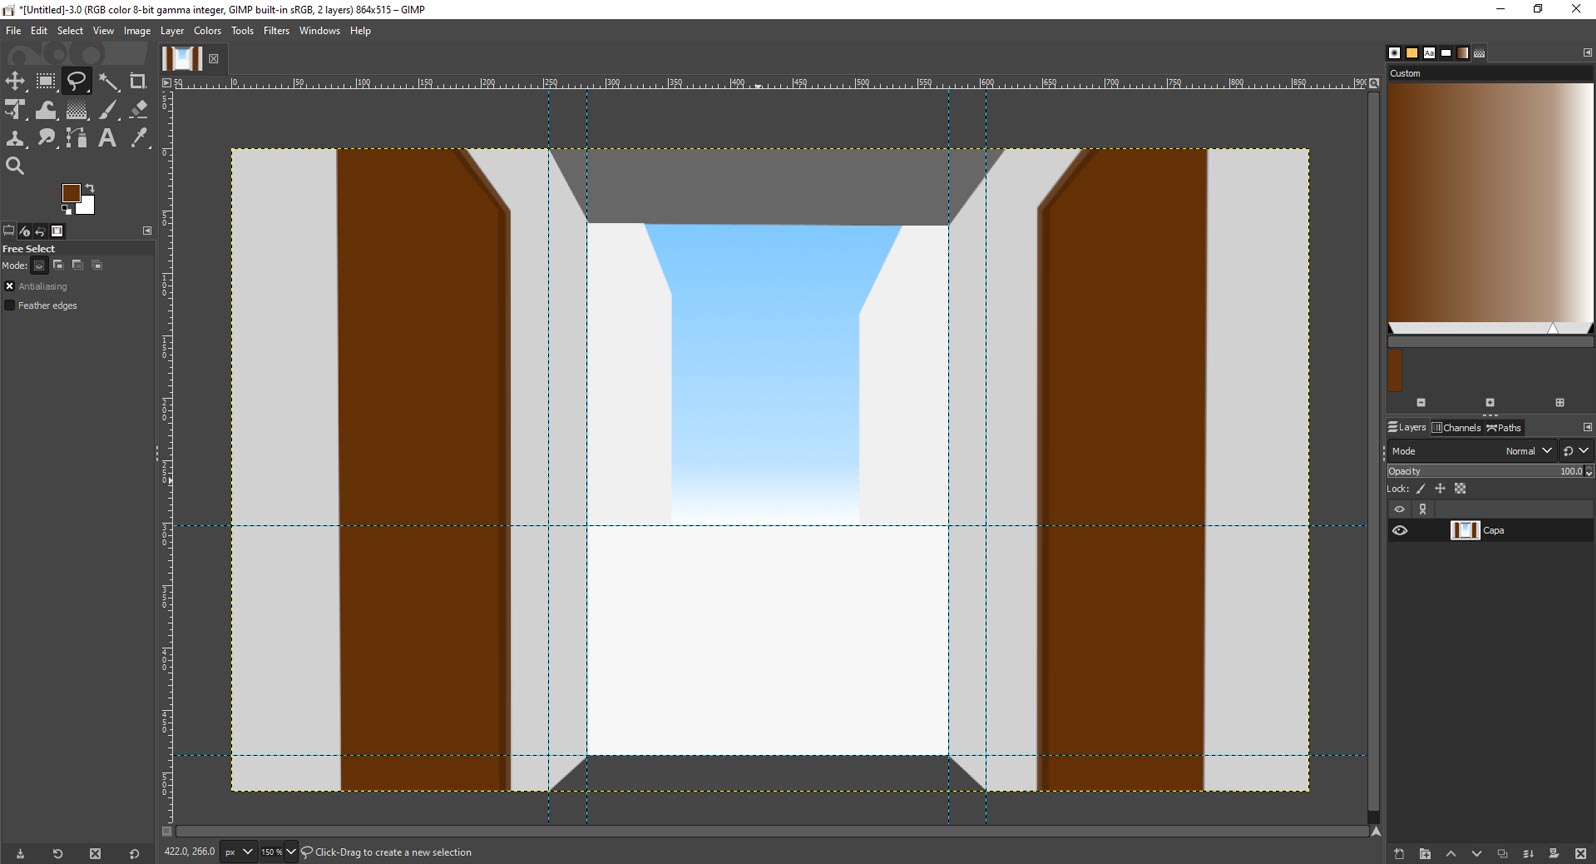
- I continued drawign the other areas of the hall entrance such as the doors and windows using the free select tool and fill tool.
- Finally, I pasted the drawing of my final project I made in week 01.
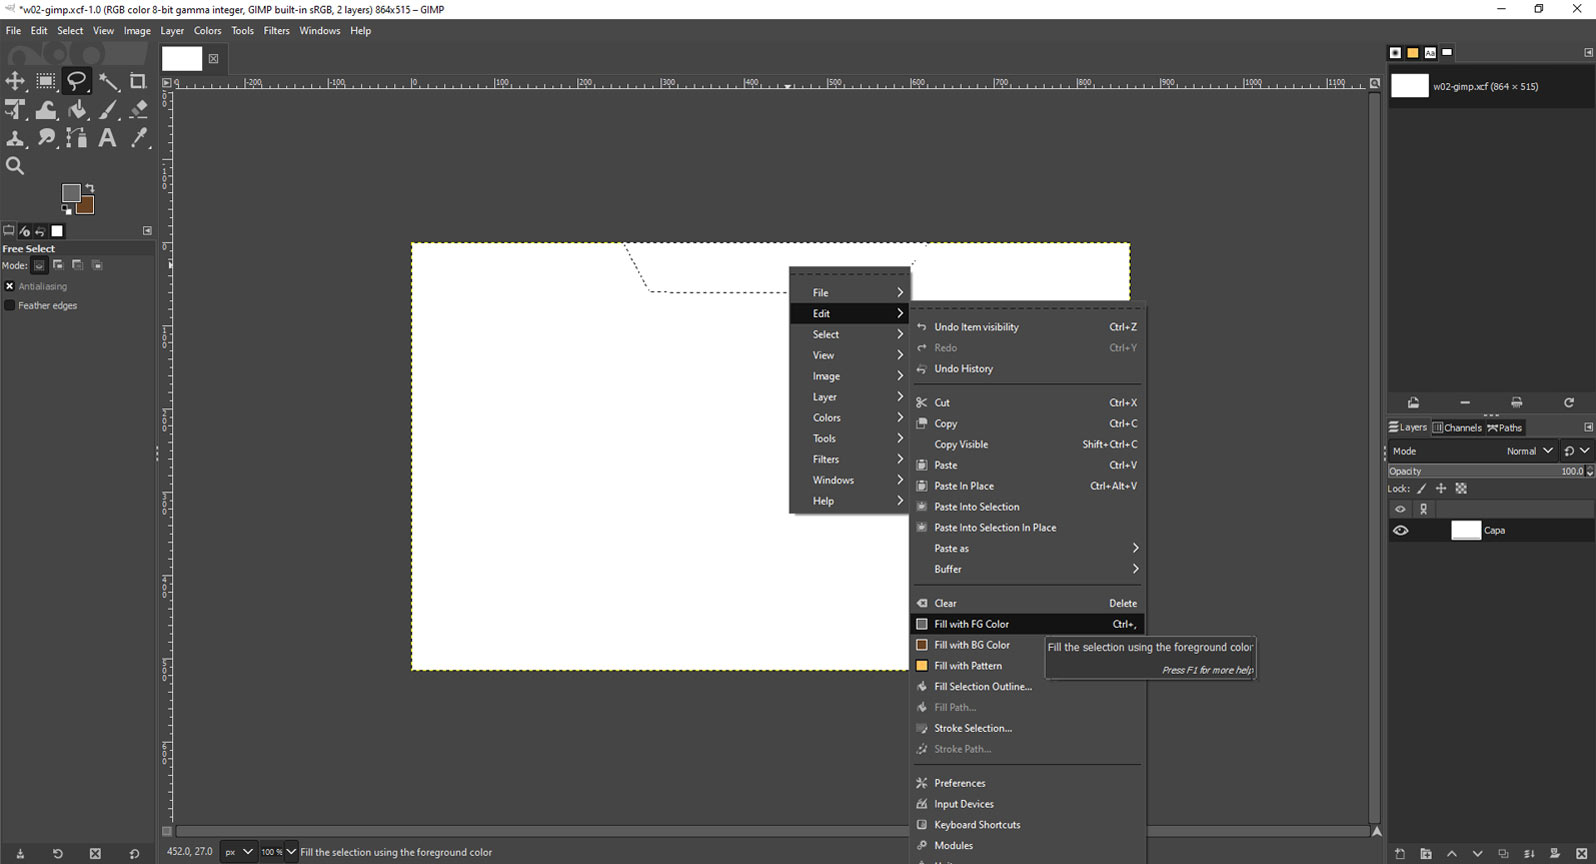
Free select and fill tools
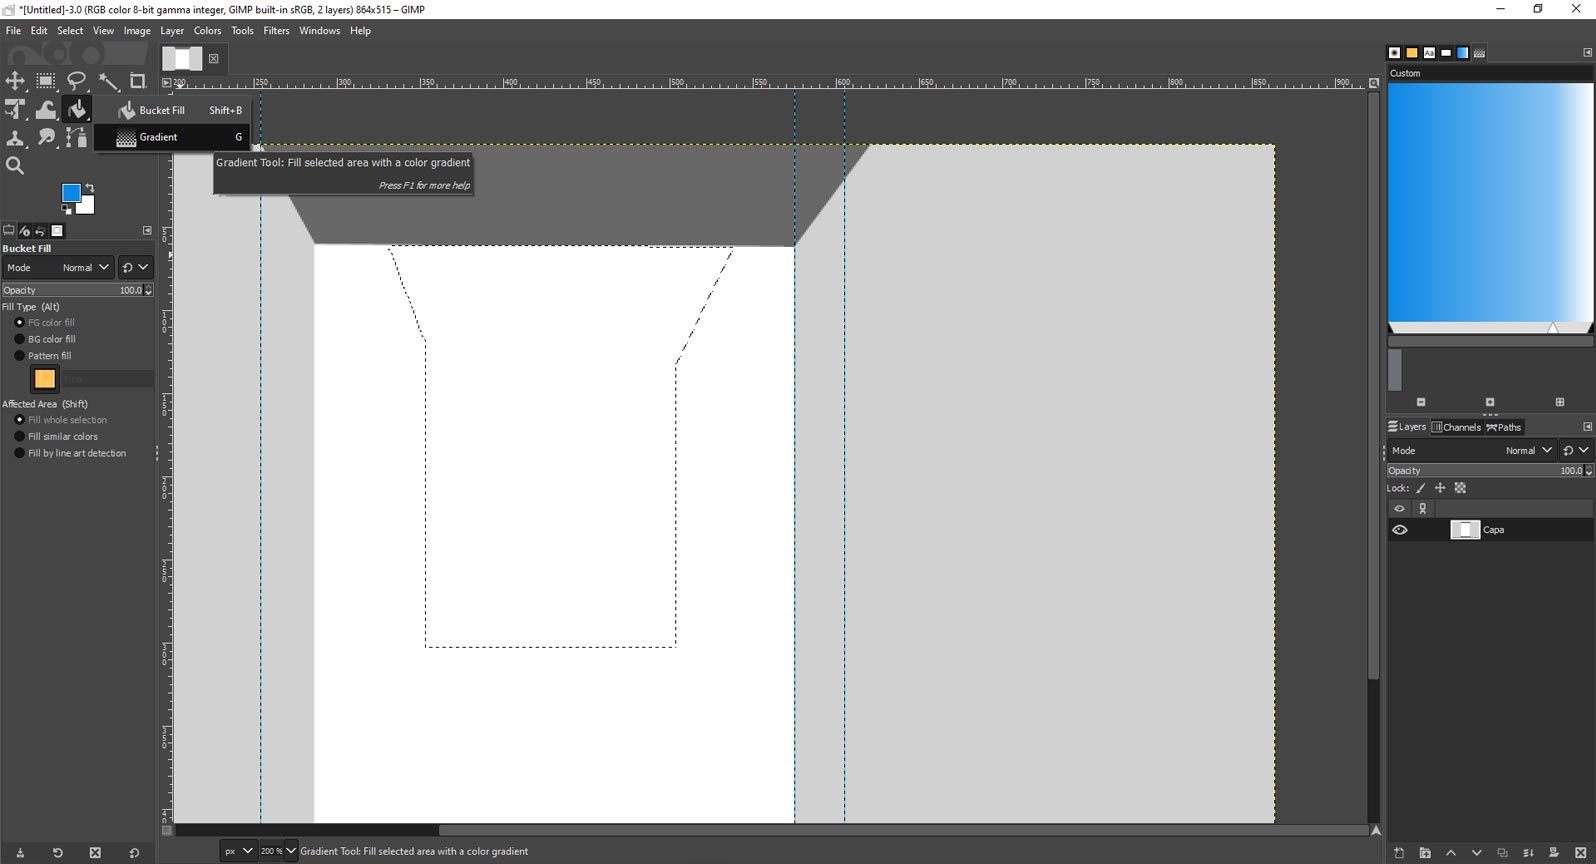
Gradient tool
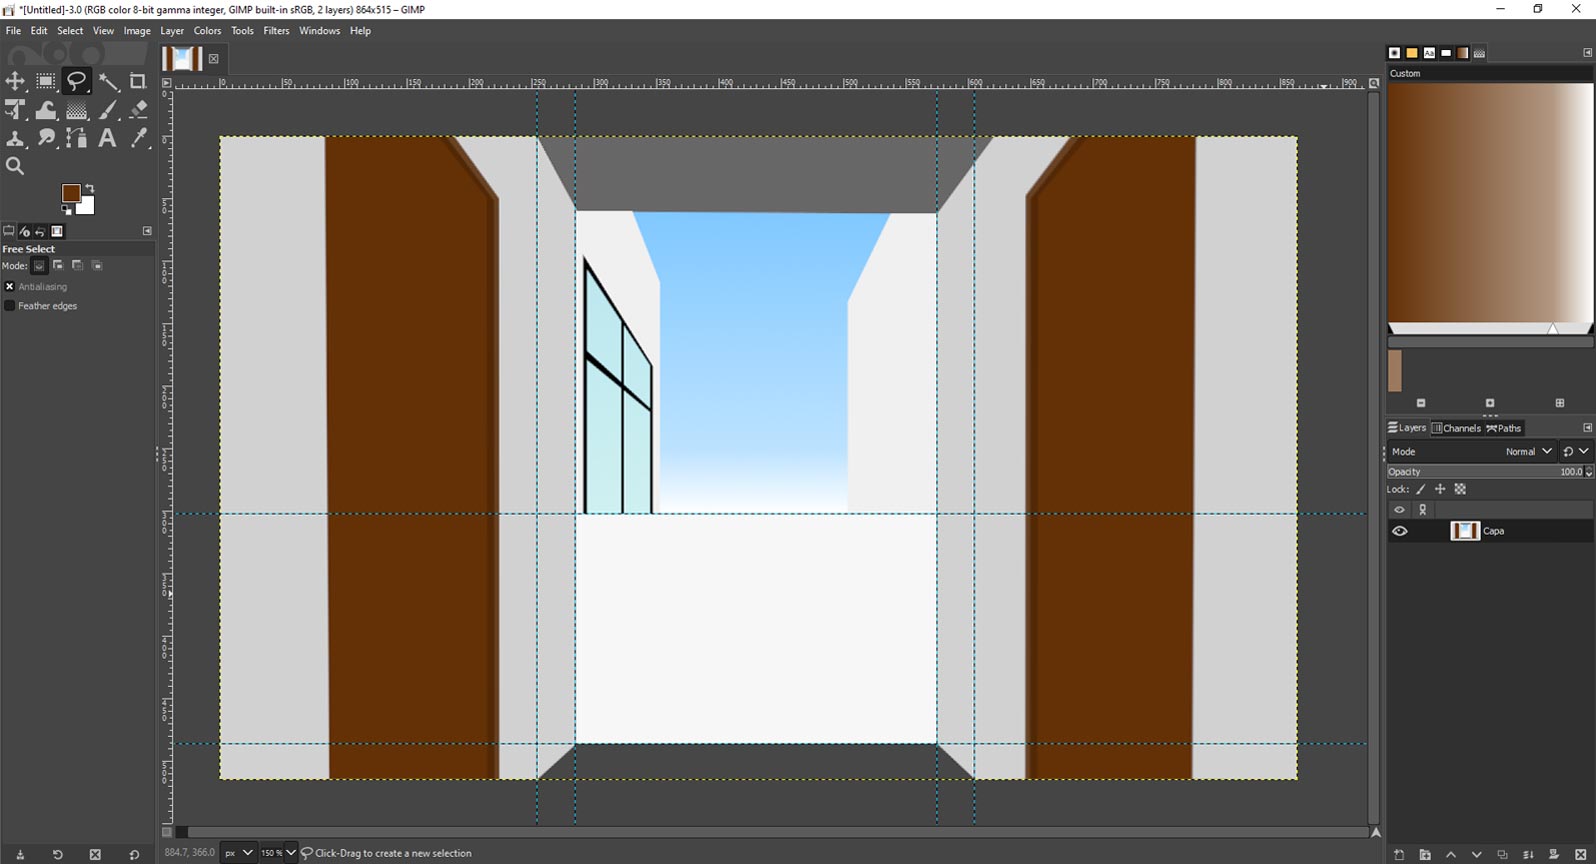


Drawing process done in Gimp representing a possible final project location
Inkscape
Inkscape is a free open source vector graphics editor. It can create and edit diagrams, lines, graphs, logos, and complex illustrations. The main format used by the program is Scalable Vector Graphics (SVG). I am an Inkscape user, although I currently do not use it very often. For this task, I challenged myself to remember the program commands and try using Python code to generate shapes. At first I had some problems with it, because the information I found in this website generated errors in my system.
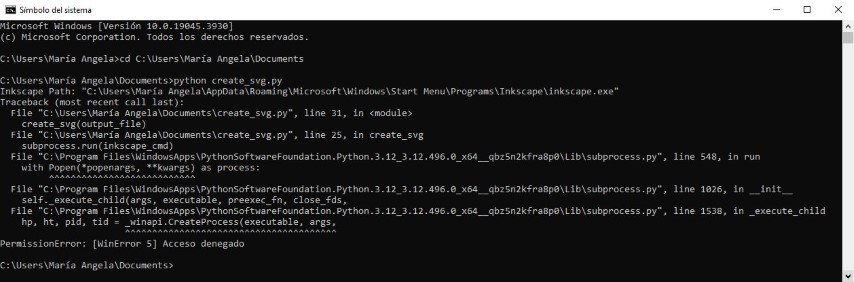
Error message while trying to use Python script in my PC
After searching for more information, I found this website that simplified the code and it worked for me. To generate shapes using this method, the following steps must be followed:
- Install the Simple Inkscape Scripting extension from Manage Extensions option.
- For opening the Simple Inkscape Scripting window go to Extensions, then Render.
- In the Python code zone, type the code, then the Apply button for generating the shape. In the following lines, I explain how to create lines, polylines and circles with that code:
- Command "line" ((Xfirst anchor,Yfirst anchor),(Xsecond anchor,Ysecond anchor)) Example: line((60,75),(120,25))
- Command "polyline" ([(Xfirst anchor,Yfirst anchor),(Xsecond anchor,Ysecond anchor), ... (Xlast anchor,Ylast anchor)]) Example: polyline([(60,100),(65,120),(85,100)])
- Command "circle" ([Xcenterlocation,Ycenterlocation],radius) Example: circle([120,25],3)
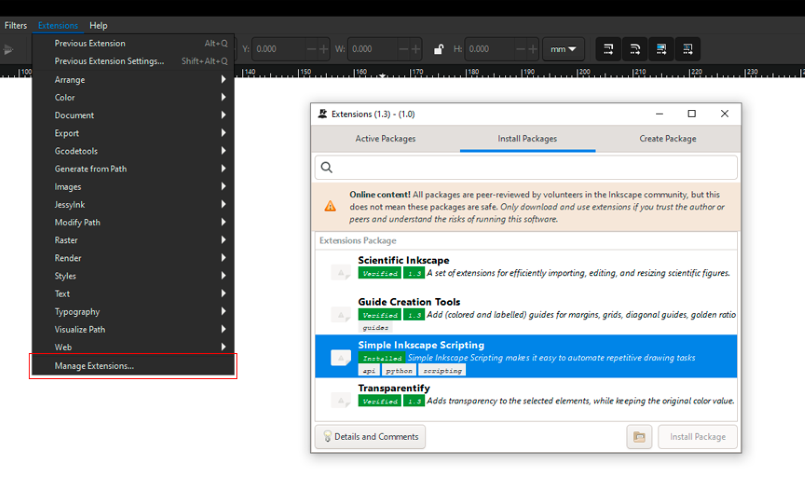
Enabling Simple Inkscape Scripting extension
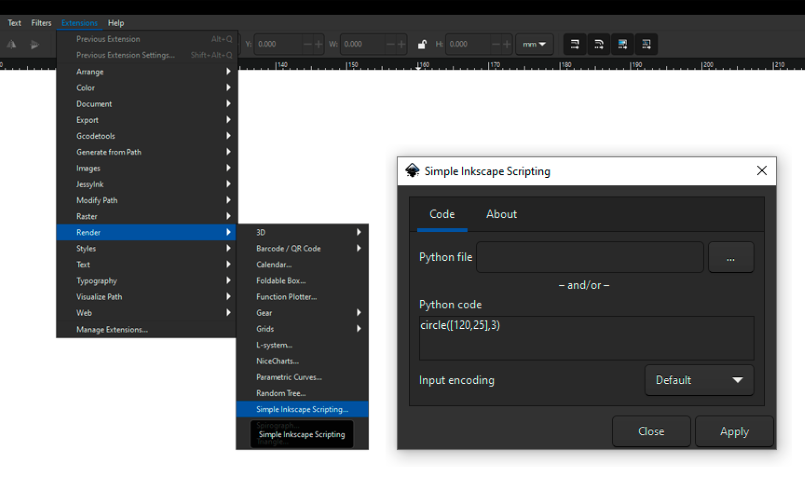
How to use Simple Inkscape Scripting extension
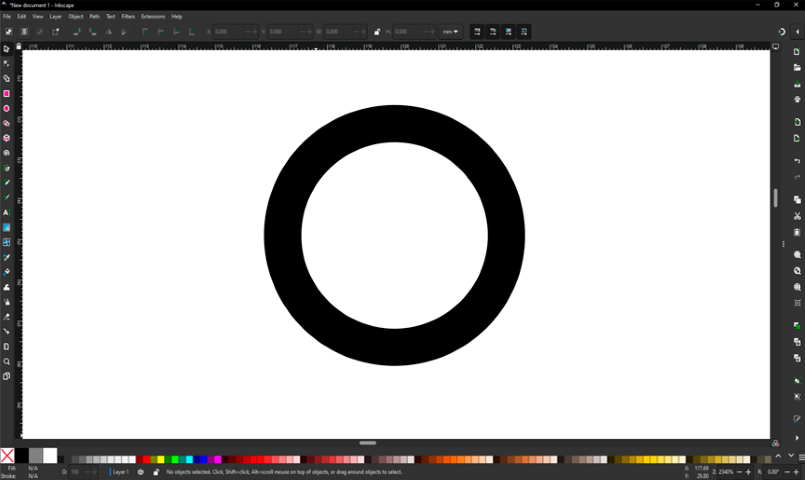
Circle generated with Simple Inkscape Scripting extension

Another aspect I explored in Inkscape was working with models with the clone tool to give them parametric design capabilities. I followed this video initially to create a parametric file in Inkscape, and then proceeded with the subsequent video tutorial. Both videos were made by Beno Juarez.
2D parametric exploration is an area that can definitely be used to work later with machines such as laser cutters. Therefore, I will continue exploring this aspect.
3D Modelling
3D modeling is the process of using CAD (Computer-Aided Design) software to create a three-dimensional digital image of an object. The algorithms of a software enable the creation of a three-dimensional mathematical representation from vertices, or points with an element's spatial coordinates, connected by edges—straight or curved—that form the surfaces of polygons or faces. The collection of polygons creates a 3D object mesh, which enables us to view the model. With this method, you can accurately draw any shape, from basic lines to intricate figures. For this task, I did some exploration with Blender and Onshape.
Blender
Blender is a cross-platform computer application that is mostly used for three-dimensional visual creation, modeling, lighting, rendering, and animation. Additionally, there is digital painting, video editing, sculpting, and digital composition employing the procedural technique of nodes. This is practically my first time using Blender. I have tried in the past to make some models of my own, without much interesting result because I am not familiar with the program. During the Fab Academy, I have set out to learn and become a Blender user. So, I started following this video tutorial and this website.
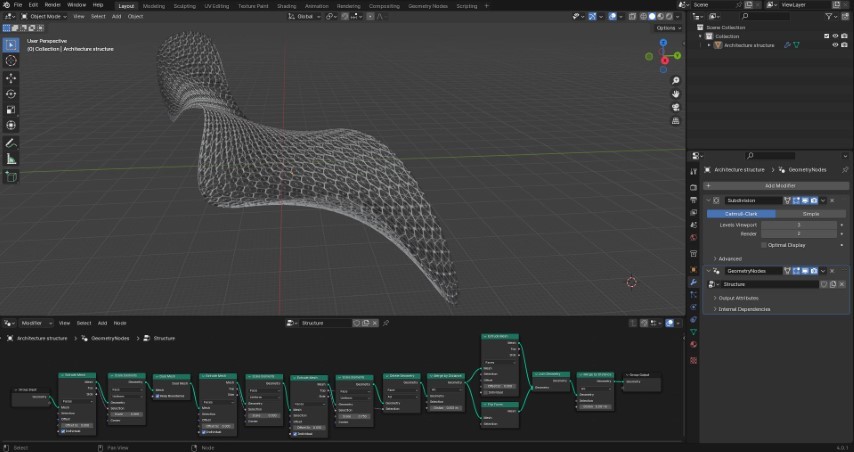
Form made using Blender Geometry Nodes
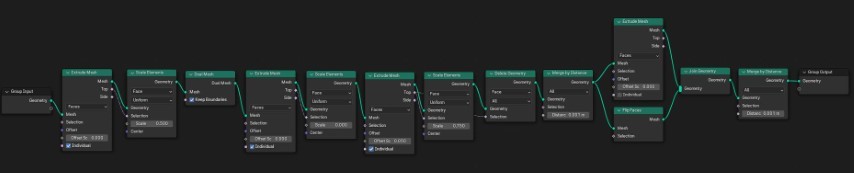
Geometry Nodes window of this project
After doing that, I try to model the pot of my final project. I did not get it.
Blender is a very powerful software. The Fab Academy is going to help me explore it. Since I still feel quite limited with this program, I will work on it in parallel with other programs that I am already more familiar with.
Onshape
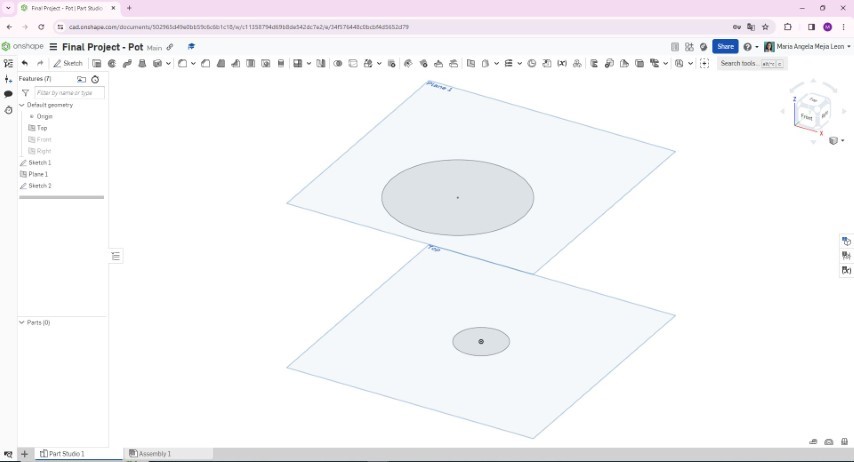
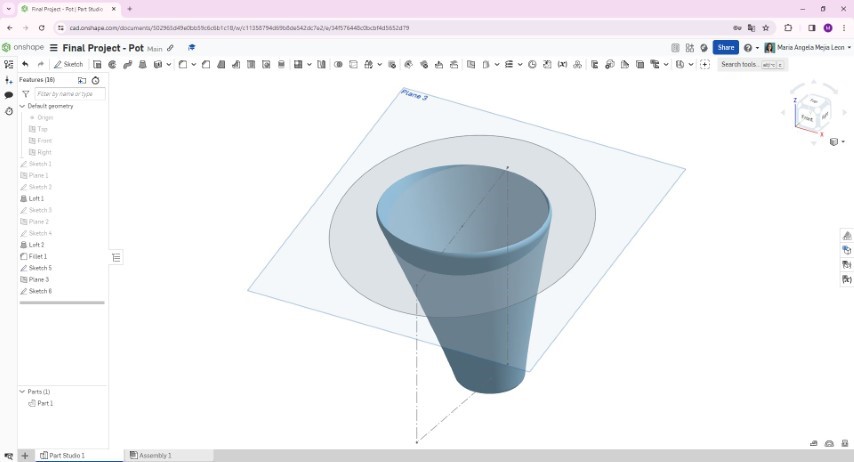
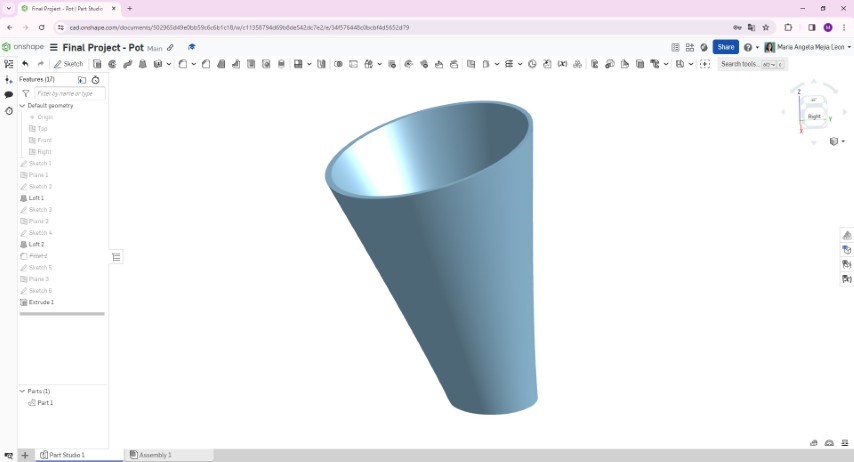
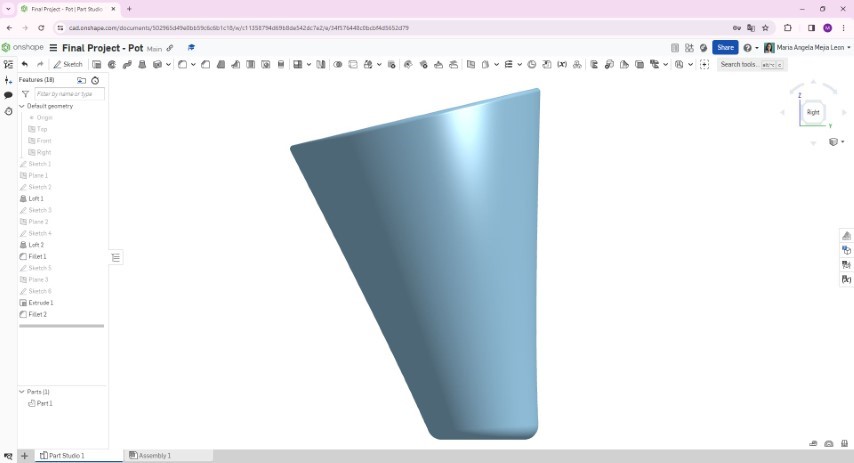
Onshape is a software system for computer-aided design that is provided via the Internet using a software as a service (SAAS) approach. The system utilizes cloud computing extensively, executing compute-intensive tasks on servers based on the Internet. Users can engage with the system using web browsers or apps for iOS and Android. I have been an Onshape user for a few months now. I liked it from the beginning. I am still exploring the tools so for this task I worked on the pot module for my final project with movement, which is an aspect that I had not tried in this program until now.
I used the sketch, plane, loft, fillet, and extrude tools in the part studio window, and revolute tool in the assembly window. For accomplish it, I followed this steps:
- I started by creating a new project in Onshape. In the Part Studio window, I selected the sketch tool and chose the top plane to draw a circle.
- I added an additional reference plane with the plane tool. I selected the top plane as a reference plane and specified the distance and direction to create a new plane. In it, I sketch another circle.
- I selected the loft tool then chose the circles. Onshape automatically generated a smooth surface connecting the selected sketches.
- I added additional reference planes with the plane tool. Then, I selected the extrude tool with the cut option instead of adding volume, specified the the top of the pot and entered the desired void extrusion distance.
- I selected the fillet tool then chose the edges of the top and base of the pot and specified the desired fillet radius. Onshape then added the fillets to those edges, giving my design a smoother appearance.
- With right clic and select the export option, I got the STL file.
- In Assembly window, I selected the revolute tool then chose the pot and the axis. Finally, I picked the animate option for making the pot to pivot in its axis.

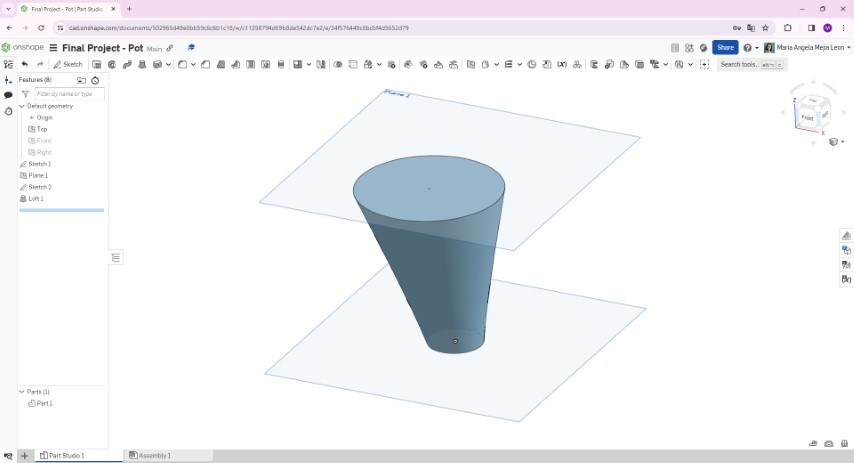

Sketch, plane and loft tools


Free select and fill tools


Free select and fill tools
The result of this exploration was a first 3D sketch model with motion of my final project pot:
Since I still consider myself a new user to Onshape and I am getting along well with the program, I feel that with the Fab Academy I can improve my skills and the models I create. In that sense, this will be the main program that I will use and, in parallel, I will explore other programs like Blender to complete the tasks.
Conclusions
- Exploring new things means leaving your comfort zone. Exploring also means finding new options in the program that you already thought you knew. In my case, I discovered the possibility of creating shapes with the Python code for Inkscape and generating movement in Onshape.
- Some programs, like Blender in my case, require focus and constant practice to understand them. Do not give up if at first the models don't turn out the way you wanted.
- The cloning capability in Inkscape is very interesting for testing parametric design.
- The animation capability in Onshape can help simulate real-life actions on the models that are being built.
- You are not alone. You have a support network with the other students in your node and your tutors. To finish this task I thank my fellow students and tutors, especially Henry Sanchez, Roberto Delgado, Vaneza Caycho and Silvana Espinoza.
Links
- Fab Academy week 02 class
- GIMP
- Blender
- Inkscape
- Onshape
- Gimp tutorial
- Inkscape clone tutorial 1
- Inkscape clone tutorial 2
- Inkscape script 1
- Inkscape script 2
- Inkscape parametric design tutorial 1
- Inkscape parametric design tutorial 2
- Inkscape parametric design tutorial 3
- Inkscape tutorial 1
- Inkscape tutorial 2
- Blender tutorial 1
- Blender tutorial 2
- Onshape motion tutorial 1
- Onshape motion tutorial 2
- Online Gif maker