10. Molding and casting
This week I learned how mold and cast. I had to use the CNC machine t mill a shape that I designed into a block of wax. Then use a casting kit to create a mold then pored melted chocolate into the mold.
Group Assignment
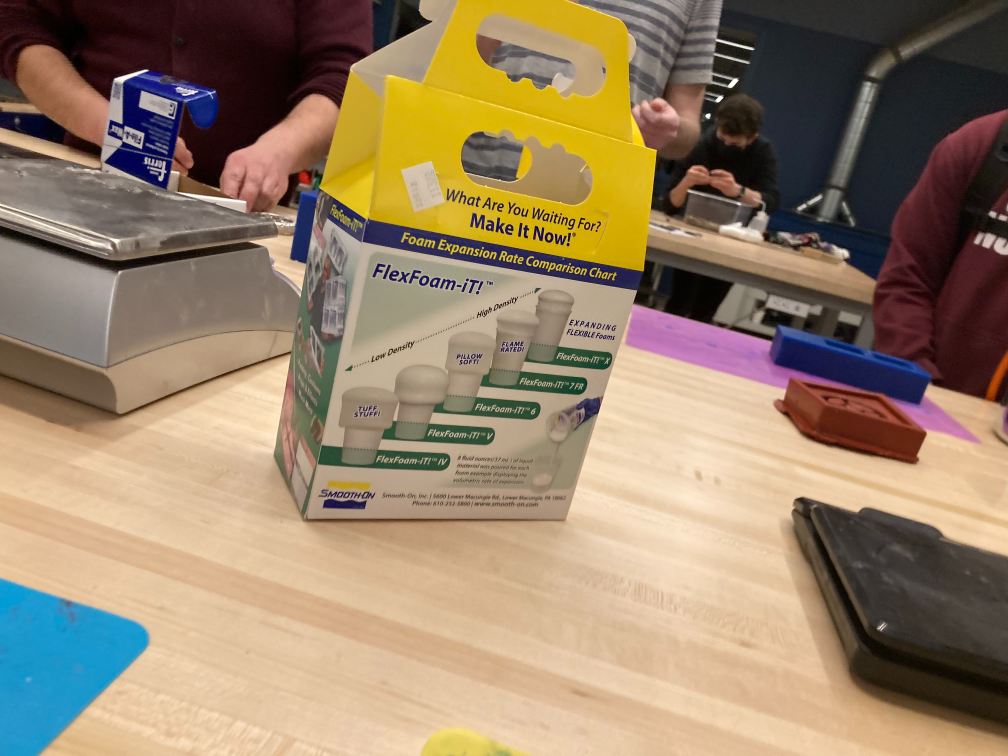
For the group assignment we looked at the data sheets of different types of molding materials. Then we looked at examples of molds and made a couple casting examples using different materials

Design
I was originally going to do a cat, but quickly figured out it was too hard to design on fusion. So I changed my design to a honeycomb. To make the design I put four polygons together in a specific way then used the circle pattern tool to create the design. I then had to resize it so it fit in the 3in by 3in box that would fit into the 3.5 by 7in rectangle. I then extruded it to get a feel for what the completed design will look like and to send to Vcarve.] Fusion File
Cutting,Molding, Casting
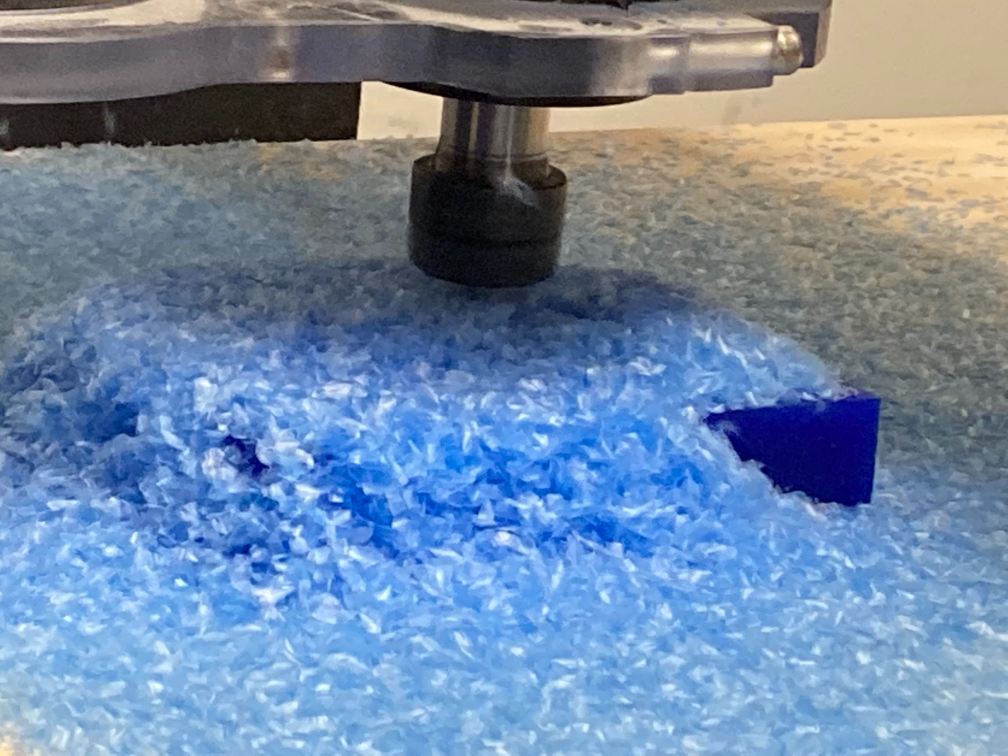
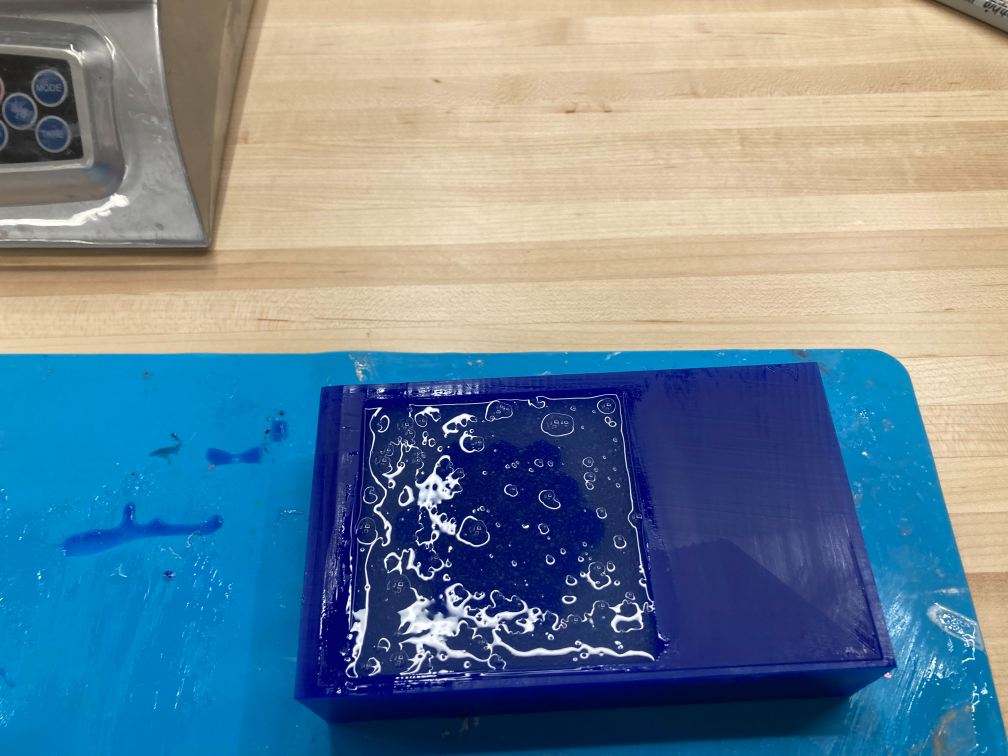
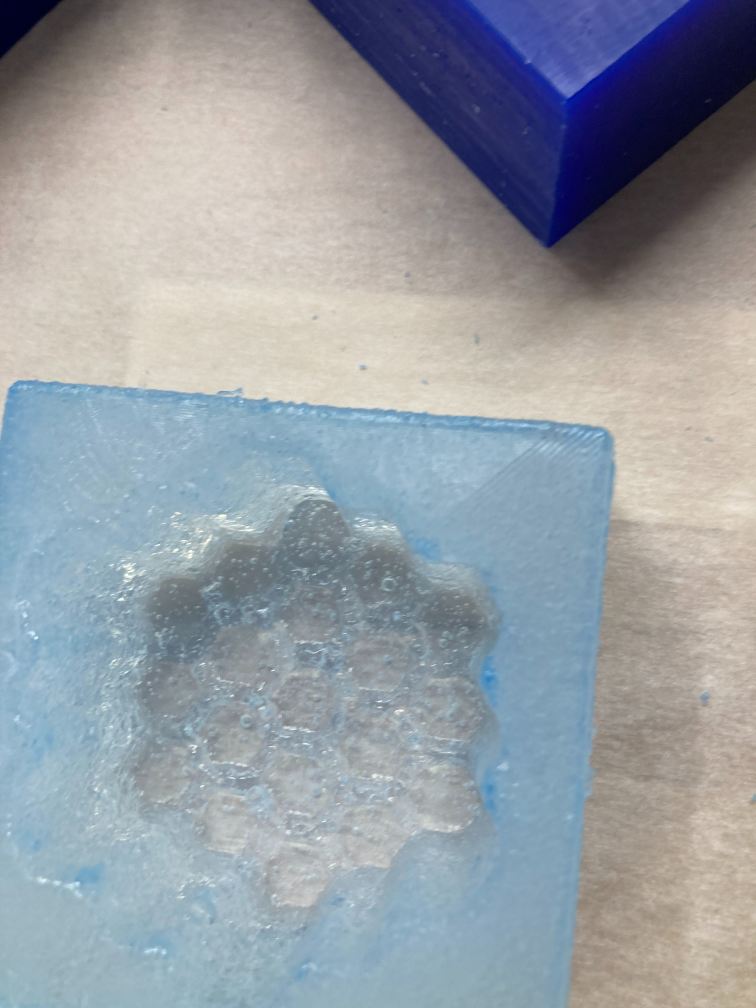
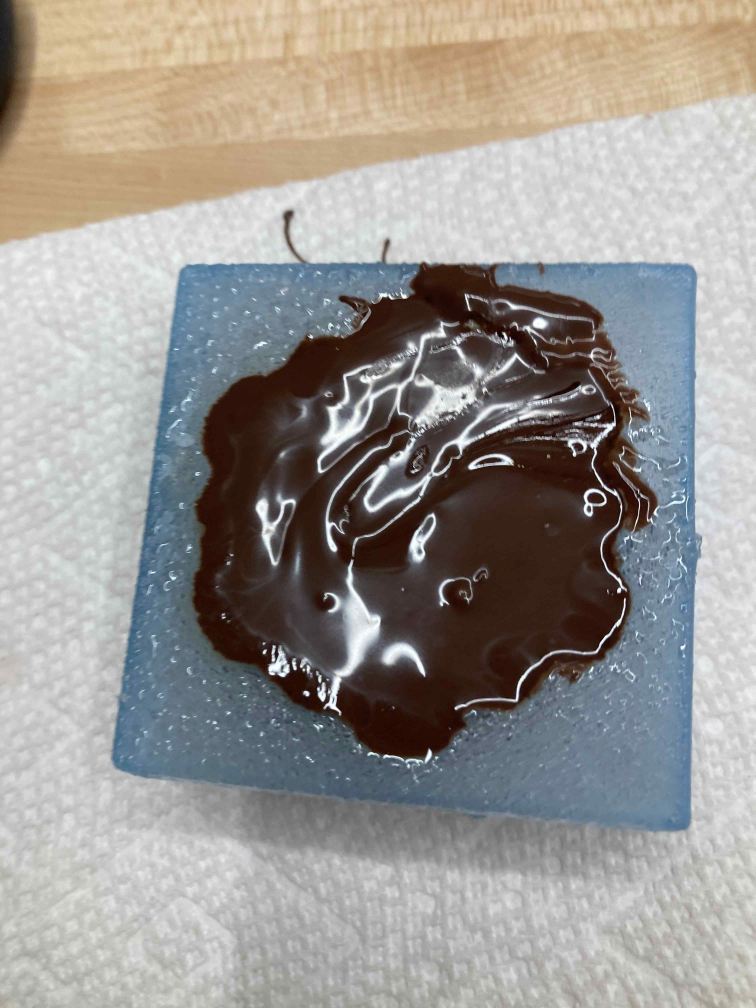
The cutting process was pretty simple I used the 1/4 bit to do the first pass then a second pass with a 1/8 bit for detail. After cutting me and another student worked to make the food save molding material it was 10:1 of A:B. We used about 150 grams of the mixed molding material. It took about 2 days to fully cure I then cleaned took it out of the wax and washed the mold with soap and water. Then poured melted chocolate into the mold.