10. Molding and Casting
Before starting the work I had the following doubt or question:
What is the difference between molding and casting?
Molding or Moldmaking is the act of creating the cavity / form that carries a negative or reverse impression of an original model. Molds can be made of a rigid material, such as plaster or plastic resin or more commonly, a flexible material such as rubber. The material to use should be chosen considering the material of the model, the material to be used to make castings, and whether there are any undercuts.
Casting is the act of pouring liquid material into the cavity of a mold. After a period of time, this liquid will cure via chemical reaction or cooling. The solidified part is also known as a casting, which is ejected or broken out of the mold to complete the process. Casting materials are usually metals or various cold setting materials that cure after mixing two or more components together; Examples are epoxy, concrete, plaster and clay.
In this Assignment we will use the following materials and we will know each of them:
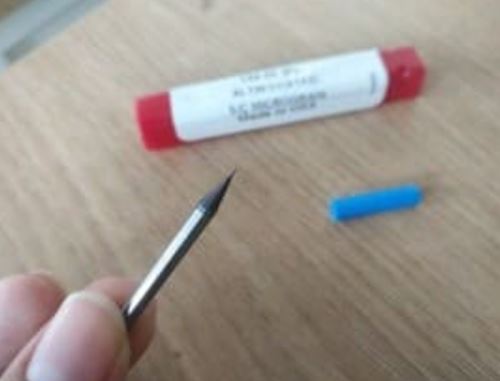
- Burs 1 /32 SE 2FL:It is used for general purpose milling in the metal industry. It offers precision machining using quality tool material and tight tolerances. Designed for: grooving, production milling, drawing, sinking, and finishing applications on cast iron, non-ferrous metals, plastics, and abrasive materials.
- Green Ferris File-A-Wax Carving Wax.
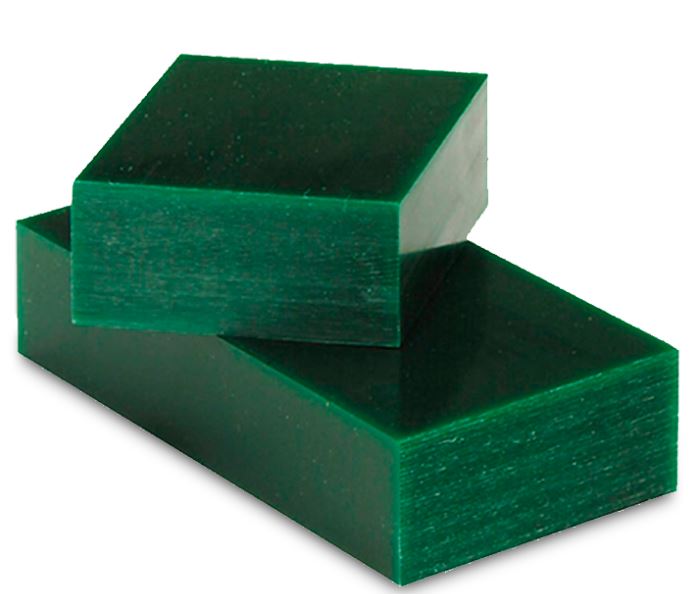
Ferris File-A-Wax Green is a softer design wax for prototypes in the jewelry and dental industry. This green colored wax resists bending and is perfect for your most detailed carvings and delicate engravings. The Green Wax is one of the most viscous in File-A-Wax for easy burnout. Due to the low ash content, this product is ideal for investment. casting process
Physical
- Color
- Melting point
- (Prop)
- Specific Gravity
- Ash Content
- Flash point
- Measures
- Weight
- Green
- 228ºF
- 0.003%
- 585º
- 147x93x36mm
- 1 pound
- silikast epoxy resin
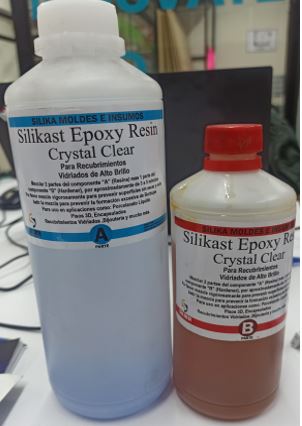
- Handling time: Minutes, Curing time: Hours even days (demolding time may be shorter). Cost: Medium-high. The more transparent its finish, the more expensive it will be. Security: Secure. It is necessary to use gloves and favor the ventilation of the space.
- Advantages: The most versatile resin, this versatility has made it gain ground in the market, where there is a high competitiveness of products.
- Catalyst: One of the key and essential elements for working with resin is, without a doubt, the resin hardener.
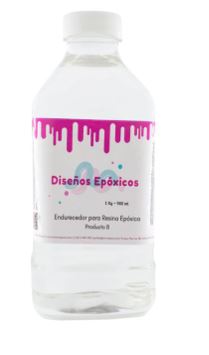
Epoxy resin and catalyst are two inseparable terms; Therefore, write down these final tips that you should know about component B:
- The proportions of A+B are exact; adding more catalyst will not make your design dry faster; but, on the contrary, it impairs the curing process, and your creation may end up with sticky parts.
- We do not recommend mixing hardeners (glass with ultra, for example), as adverse results may be obtained, such as uncured jobs.
- Always buy the epoxy resin with its hardener, so that you are sure of the proportions to use in the mixture; buying both components separately, and even from different suppliers, is very risky.
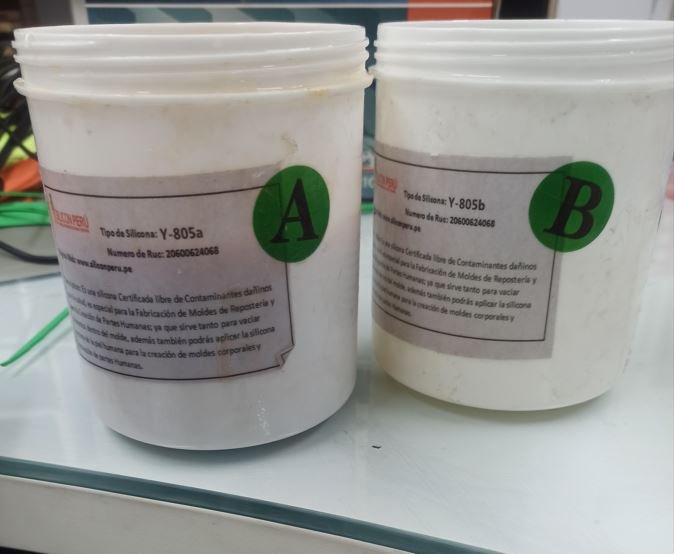
- Silicone for moulds: it is a two-component material that, mixed in its proper proportion, produces an elastic, self-release rubber that allows you to copy and reproduce your model in multiple materials, such as plaster, artificial stone, resins, pastes, soap, wax, metals.
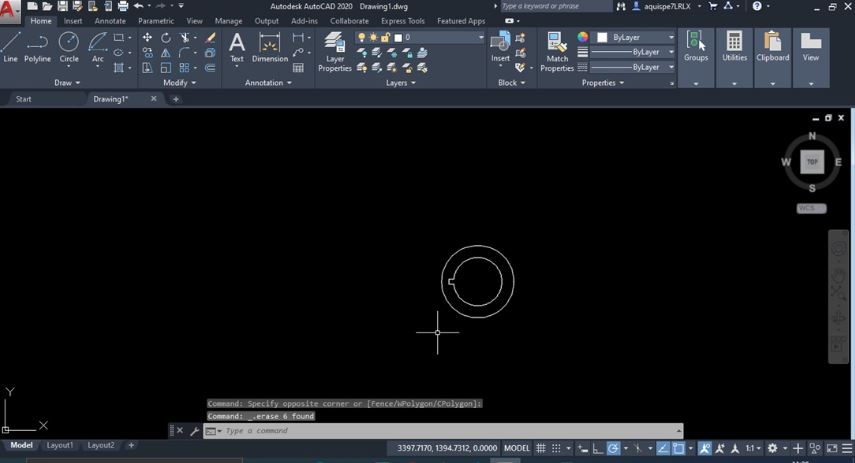
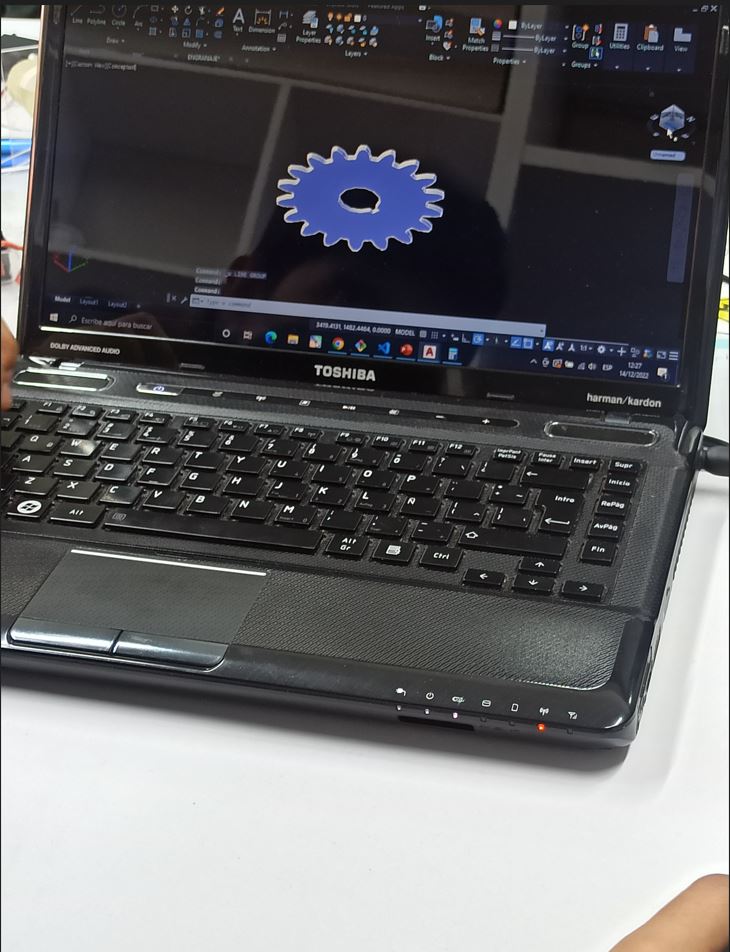
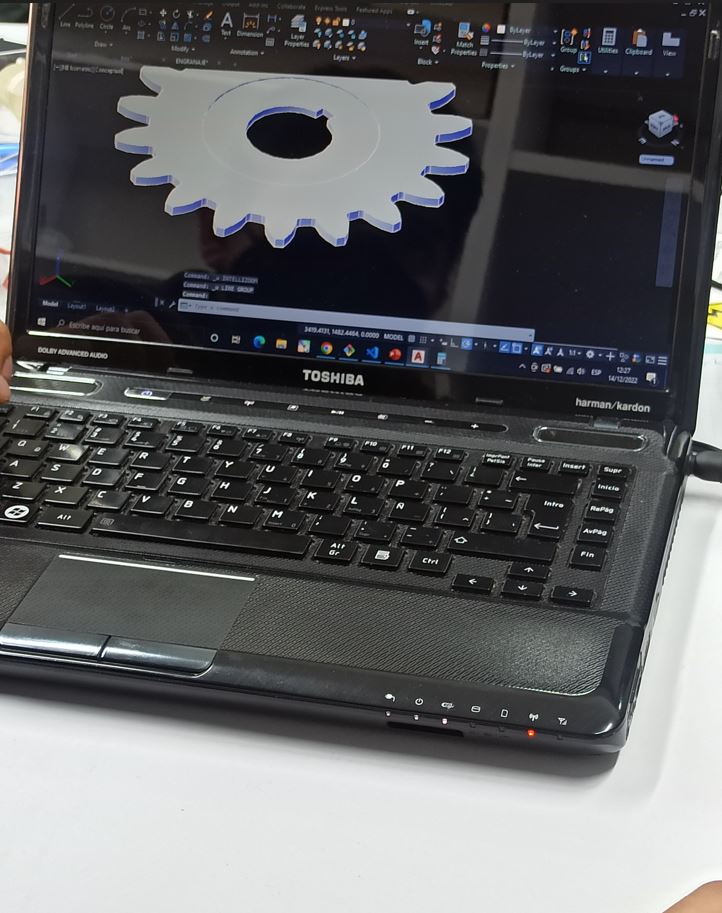
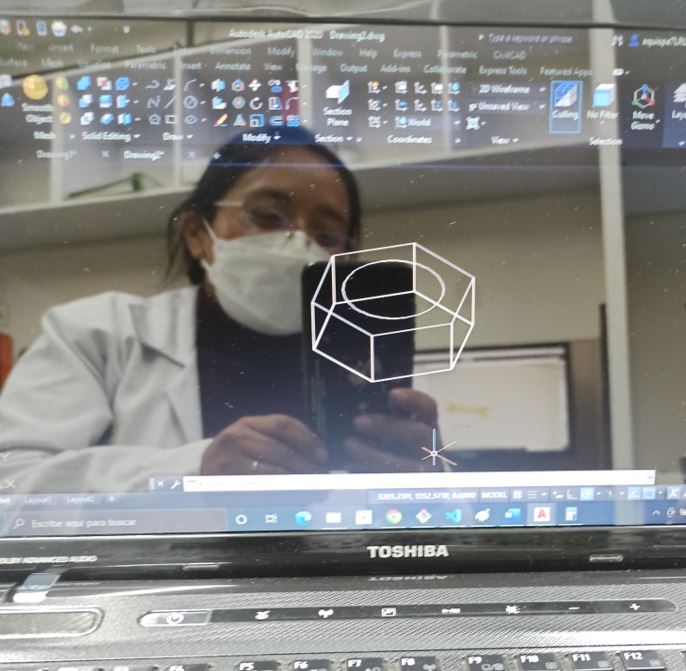
LET’S START WITH THE DESIGN IN AUTOCAD
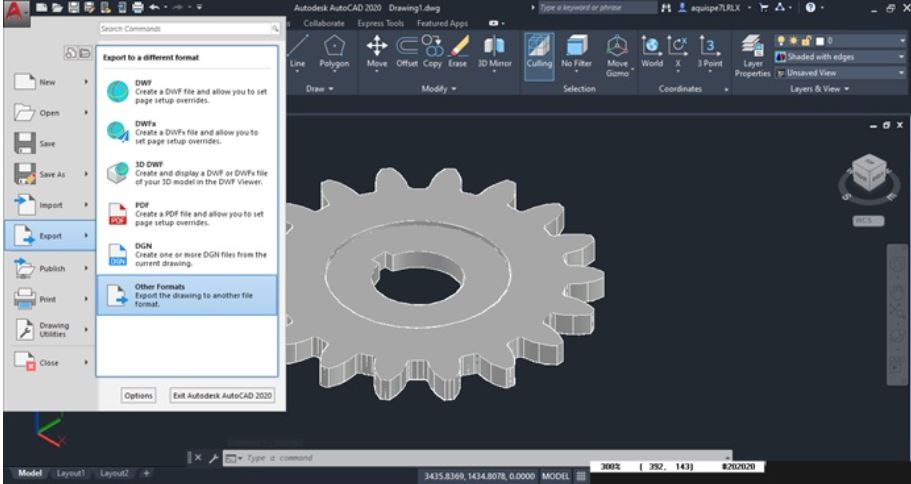
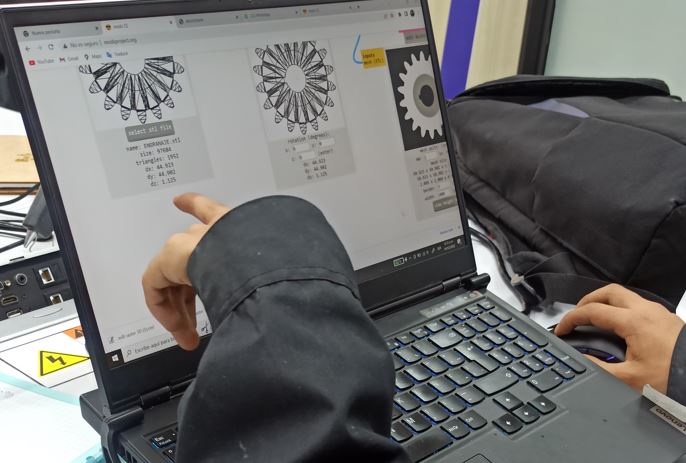
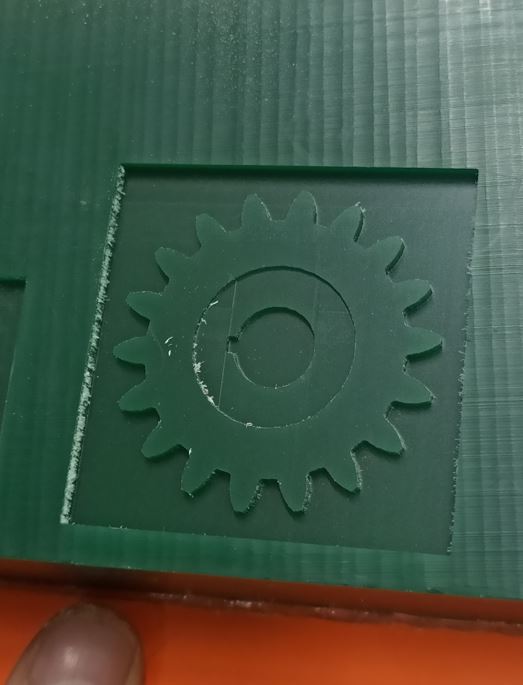
AutoCAD program , designing a gear with a diameter of 50 mm, with a thickness of 20 mm and with 18 teeth, after designing in XY coordinates, it is changed to a 3D template where the extrusion of the object is carried out. immediately sent in DXF format.

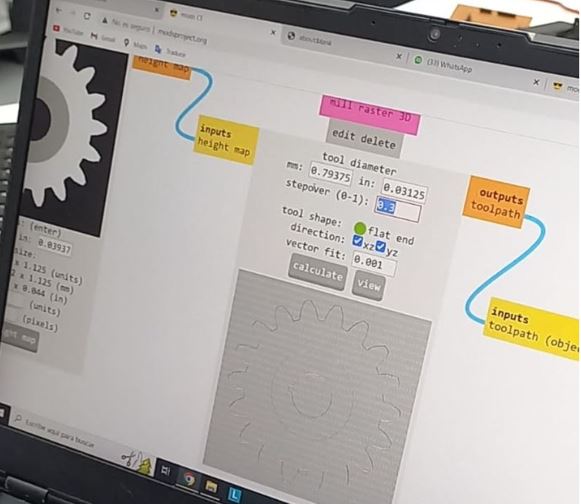
We then use modsproject.org to generate the milling files, here we need to keep a few details in mind.
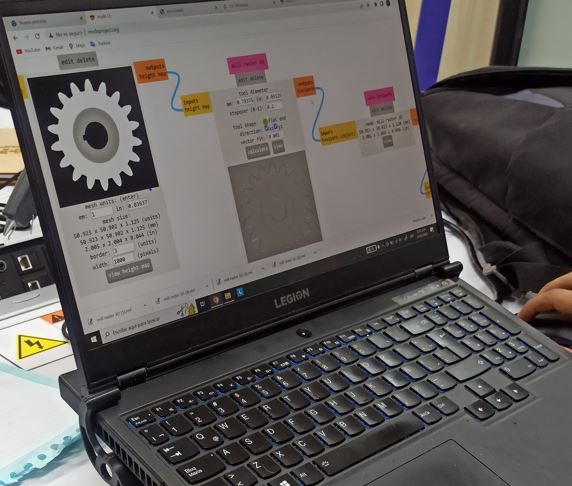
Remember the first thing is to enter the diameter of the cutter to use. I use s 1/32 SE 2FL. Note that you can decrease the stepover to refine the details of our design.

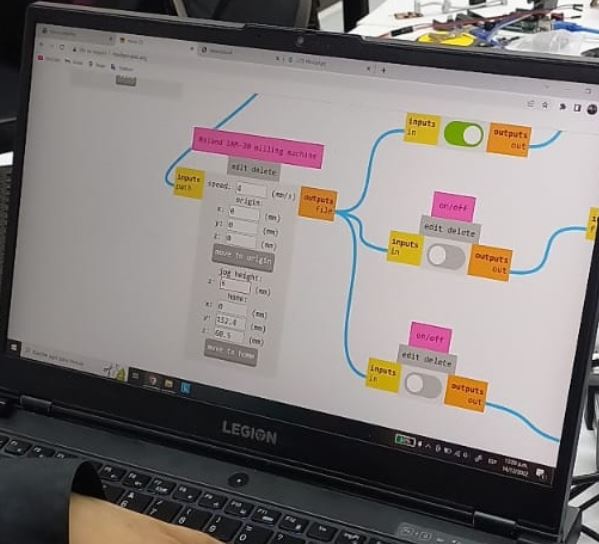
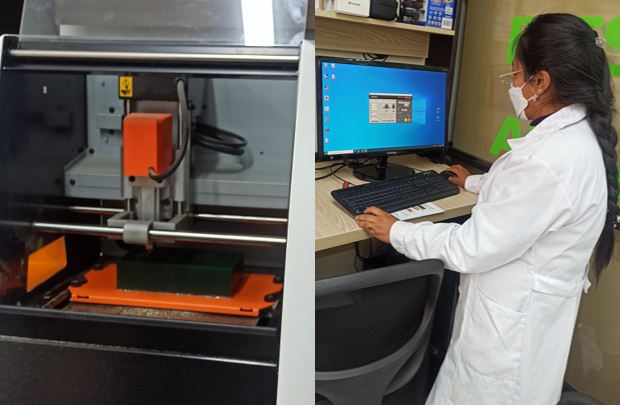
NOW WE WILL WORK WITH THE ROLAND SRM-20
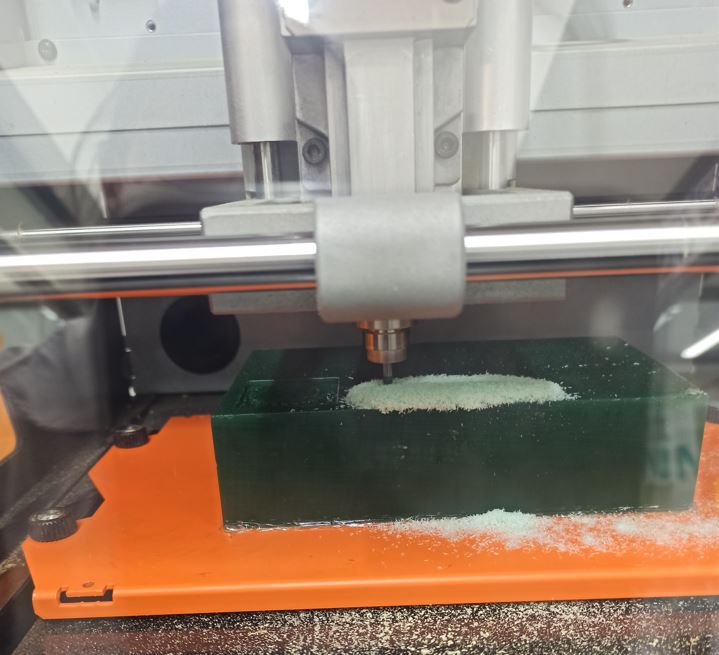
then it is sent to the modeling software VPanel for Roland SRM-20, the work table of the milling machine is placed on it, the edges are fixed with silicone so that the material does not move, then the parameters are calibrated to perform the molding of the object designed, the duration of the molding is approximately 7 hours.
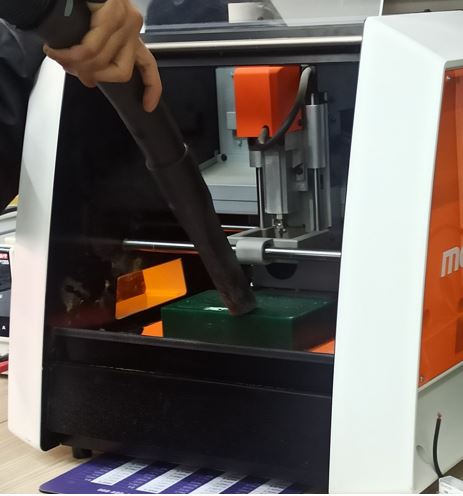
As we progress we are cleaning the residues to be able to observe how the design is turning out
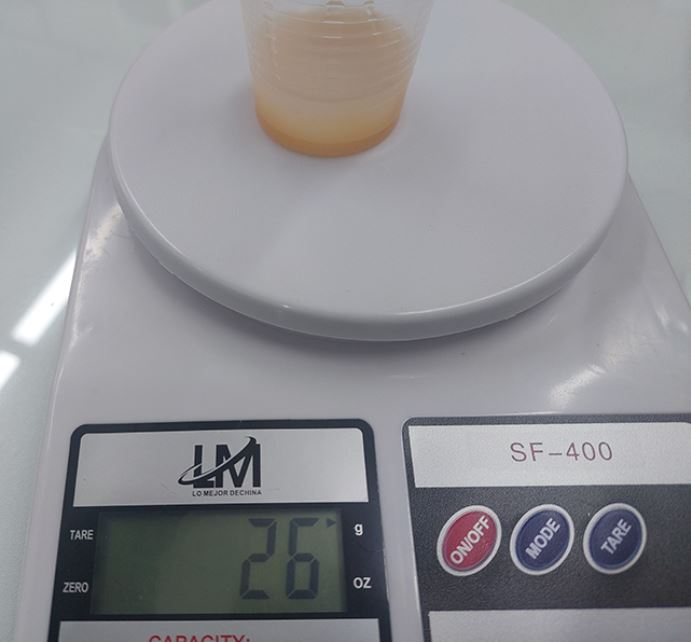
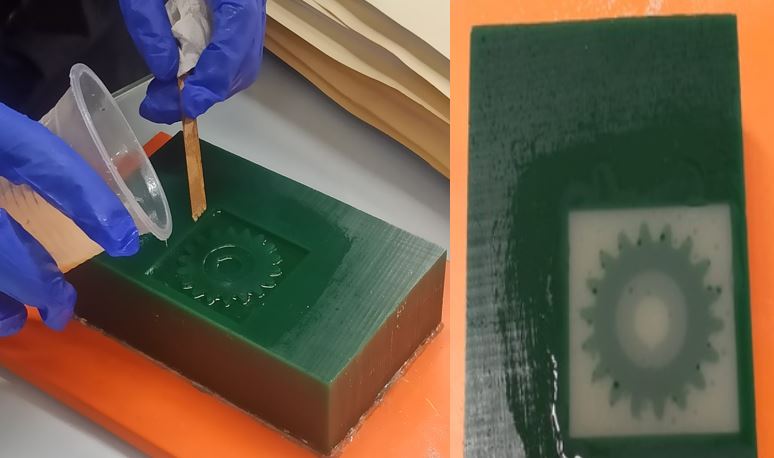
After the molding is finished, proceed to prepare the supplies, the resin and the catalyst in exact measurements, yes, they are two components A and B, and they must be mixed in equal parts, remember to mix well
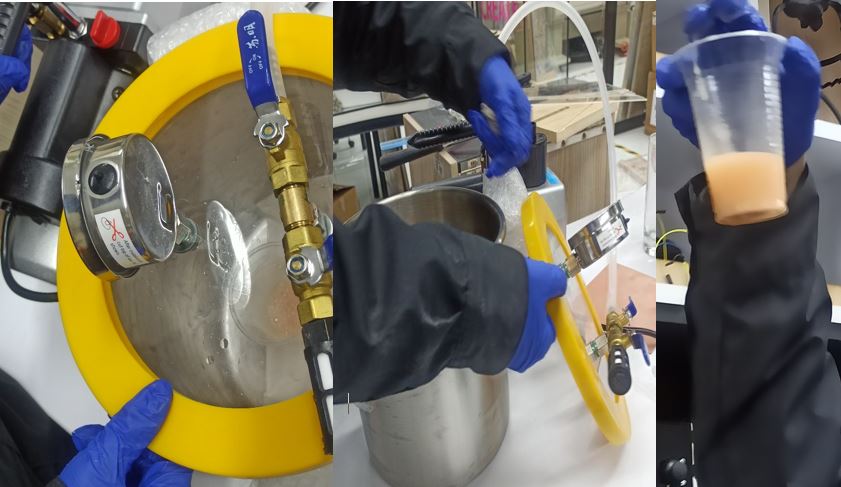
Using a vacuum chamber
A vacuum chamber is a rigid-walled container from which air and other gases are extracted using a vacuum pump . Our instructor suggested us to use it to remove the bubbles, that will make the mold without any defect. When no more bubbles are visible in the silicone, it is removed from the vacuum chamber and poured over the wax.
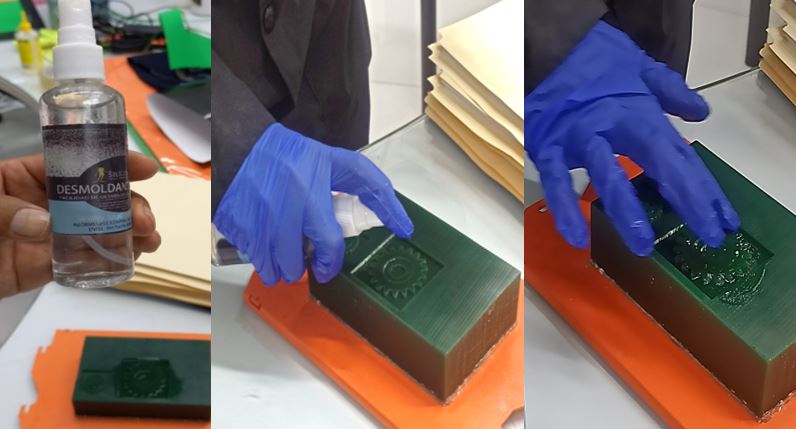
The next step was to apply liquid desoldering to the wax to be able to remove the silicone more easily.
Keep in mind that when you see that you can no longer see bubbles in the silicone, it has just been poured over the wax and we have to wait approximately 1 day.
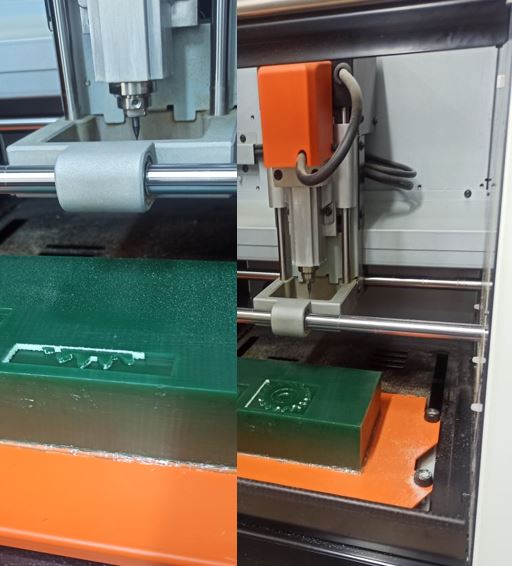
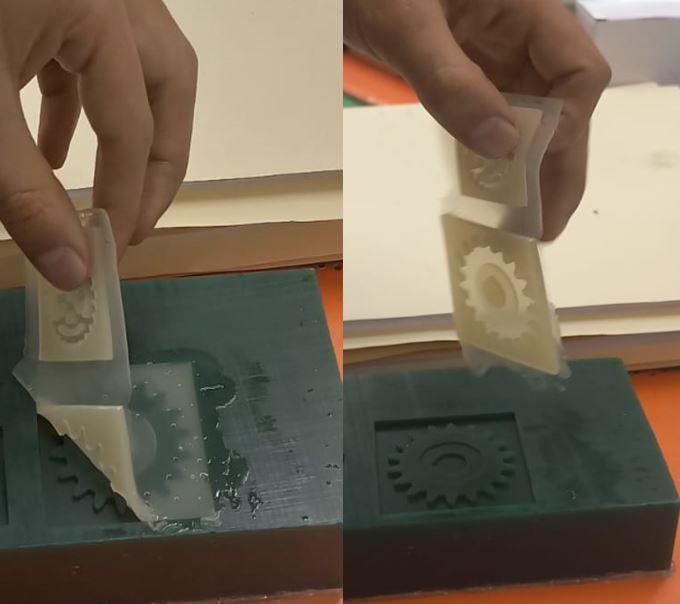
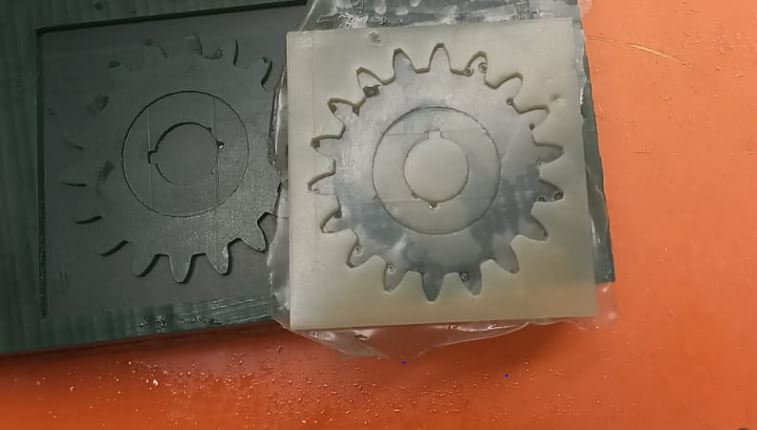
Final result of our model
24 hours have passed now we have to take it out and see how our mold turned out
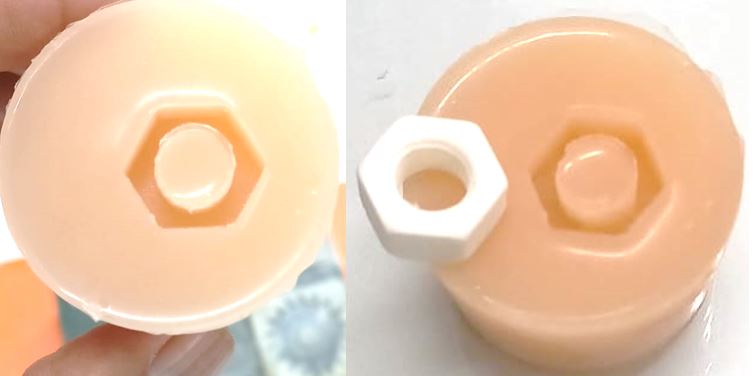
Parallel to this entire process, our instructor suggested that we take advantage of the remainder with the manufacture of a nut, which is a mechanical part with a central hole, which has a thread, which is used to attach to a screw, in a fixed or sliding manner . So we designed a thread made of PLA and in order not to waste the resin or the excess silicone, having a replica of this thread. The result was the following.
Useful links
Last update:
June 4, 2023