8. Computer Controlled Machining
Group Assignment
Do your lab’s safety training
Test runout, alignment, speeds, feeds, and toolpaths for your machine
Assignment
Make (design+mill+assemble) something big (~meter-scale)
extra credit: don’t use fasteners or glue
extra credit: include curved surfaces
V-carve vs Fusion CAM
For 2d milling for me (that drawing in rhinoceros) it’s more simple to work with VCarve: it’s faster and intuitive. Fusion cam is much more performing: the types of processing are many and very different. There is a bit of attention to be done during the import and export phases but it is certainly a free and very complete software that is absolutely worth using for 3D machining (see molding and casting week). But in this moment I’m having big issues working with Fusion360 (I don’t know, maybe my laptop is’nt enough powerful…) so I prefer to work with more stable programs.
V-Carve_update
I am sorry to admit it but the trial version of VCarve is a disappointment After setting all the parameters to perform the work on the wooden panels, when saving the Gcode to use with the Shopbot … I discover that it is not possible to do it! Not only that … it is not even possible to save a Vcarve project and then switch to the commercial version, edit it and export the Gcode. Unfortunately I had to redo all the work on the OpenDot computer where the Pro version of VCarve is installed
Make something big
I spent a lot of time deciding what to make my object for this exercise. Too much time. But having already used the CNC in my life to complete some easy project for my daily work


I searched inspiration for something very particular. Furthermore I’m moving from my actual apartment to a new one where I’ll have a room that will be used as studio…so I need to furnish it! So many ideas, so few time! Luckily my work commitments came to my aid … between meetings, travels and projects to be completed I had to resize my expectations and limit myself to carrying out the assignment in the most comprehensive way possible. In the end I decided to realize a simple standing desk tu use at work while I’m in the classroom with the student (‘cause it’s quite impossible to stay sit at the desk to work with laptop and, at the same time, help students). Here some exemples:


Model studio
I decided to laser cut the first model on a multi-layer 3mm thick basswood. I design it in Autocad, than exported it in Rhino to realize a fast 3D model to check angles and ergonomics.
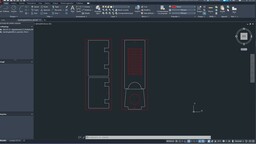
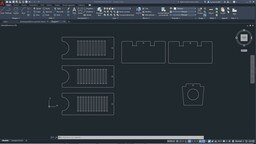
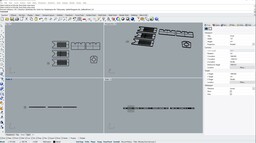
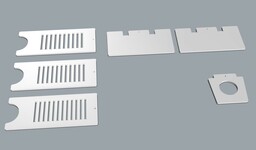
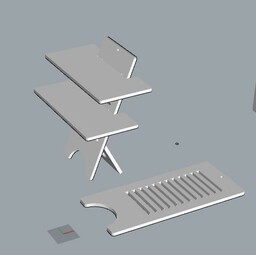
I’d like to use Fusion360 but I’m having a lot of issues (the program it’s very slow and sometimes crashes unexpectedly). I’m a little bit frustrated by this situation ‘cause I find it a good program to use it for its peculiar functions (parametric drawing, impleentation with CAD/CAM,…). I will use an 18mm. thick plywood so the plans were done considering that thickness. The studio model was scaled according the difference between 18mm. plywood and 3mm. basswood.
Considering that wood is not a “linear” material, it has its own defects and can change after have been cut, I did the pockets a little wider than those used (offset the CAD file) to obtain a little tolerance and facilitate assembly.
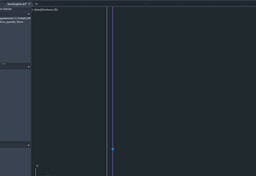
For the same reason, and also to make room to obtain something more easy to mount, I did dogbones inside the pockets.
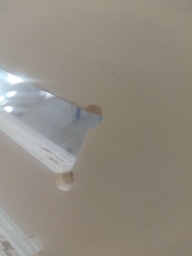
I divided levels by color before exporting to dxf, it’s much easier to select v-carve processing.
Import in v-carve, select parts for same processing.
I divided the paths in 3 different kinds: outline, pockets and engraving. The first two were made using a 6mm bit, instead the engraving was done using a 2.5mm bit.
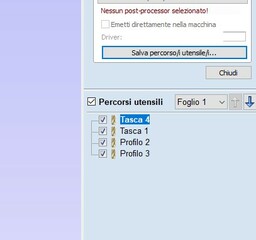
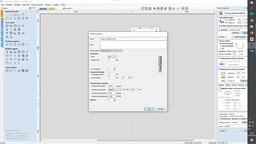
The sequence was the following: first engraving the written part, then cutting the pockets (in my case what I call “pockets” are just some simple holes) and finally cut the outline of the standing desk.

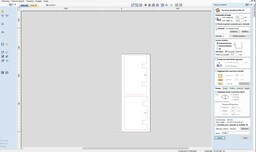

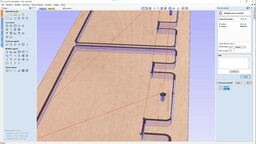
Don’t forget to add the tab to your toolpath!

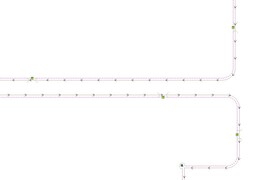
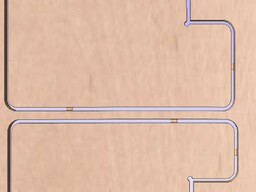
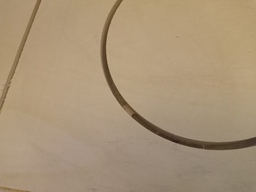
Last but not least…make a simulation to “see” if everything is correct and to know how much time you’ll need to complete the work.
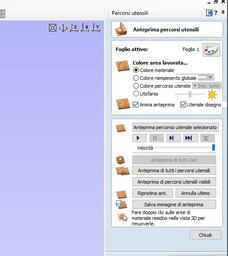

Once all the toolpaths have been done, they can be exported individually or together. For safety I export them individually, so that the machine can be stopped between one and the other for any maintenance operations, tip changes, resetting, but also because if you had to break the tip on a long process it is more difficult to recover work compared to a short process.
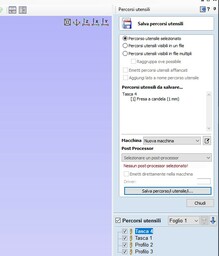
And then, finally, we can start! Engine the CNC, set the wood, upload the files, find the 0 for the axis, initiate the cut…and forget to start the spindle! Result: I broke the bit.
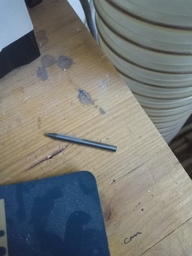
Change the bit. Repeat the sequence. START THE SPINDLE. And make the CNC do the job.
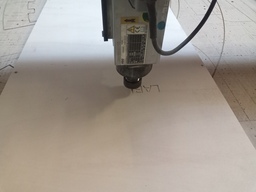
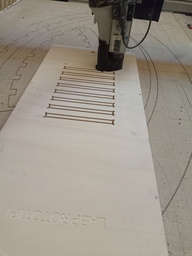
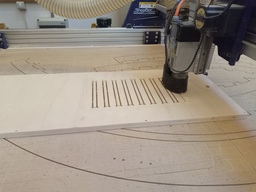
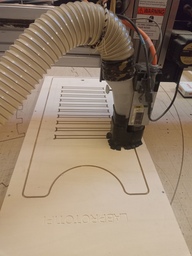

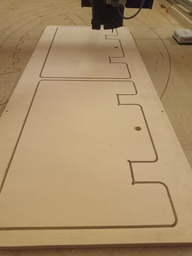
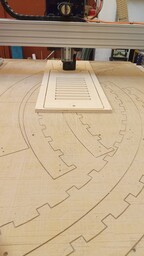
At the end of the work, the standing desk was almost finished but needed some retouching on the edges and inside the pockets before being able to use it. I did it using saw, sandpaper and various manual tools from the Fablab carpentry
And here is the final result.


As you can see I did an error (more than one…) The backside is too short. Always remember the old rule (that I forgot to follow):
“Measure twice, cut once”