6. 3D Scanning and Printing
Group Assignment
Test the design rules for your 3D printer(s)
Assignment
Design and 3D print an object (small, few cm3, limited by printer time) that could not be made subtractively 3D scan an object (and optionally print it)
Prior knowledge
3D printing and 3D scanning. On the one hand my “daily” work, on the other … something I’ve never used in my life! And here the problems begin because, feeling quite confident on the first topic, I decided to focus on the second and then find myself in the last 2 days modeling and printing nonsense things when I could have started designing and making the pieces of my final project. Well but not great! Anyway … having a large number of printers available in the laboratory where I work I felt free not to go to Opendot (second mistake, arrogance and no comparison with other people.And the winner for the best ideas is…)
Sometimes you win. Sometimes you learn
Below you can read what I learned this week…
3D Printing
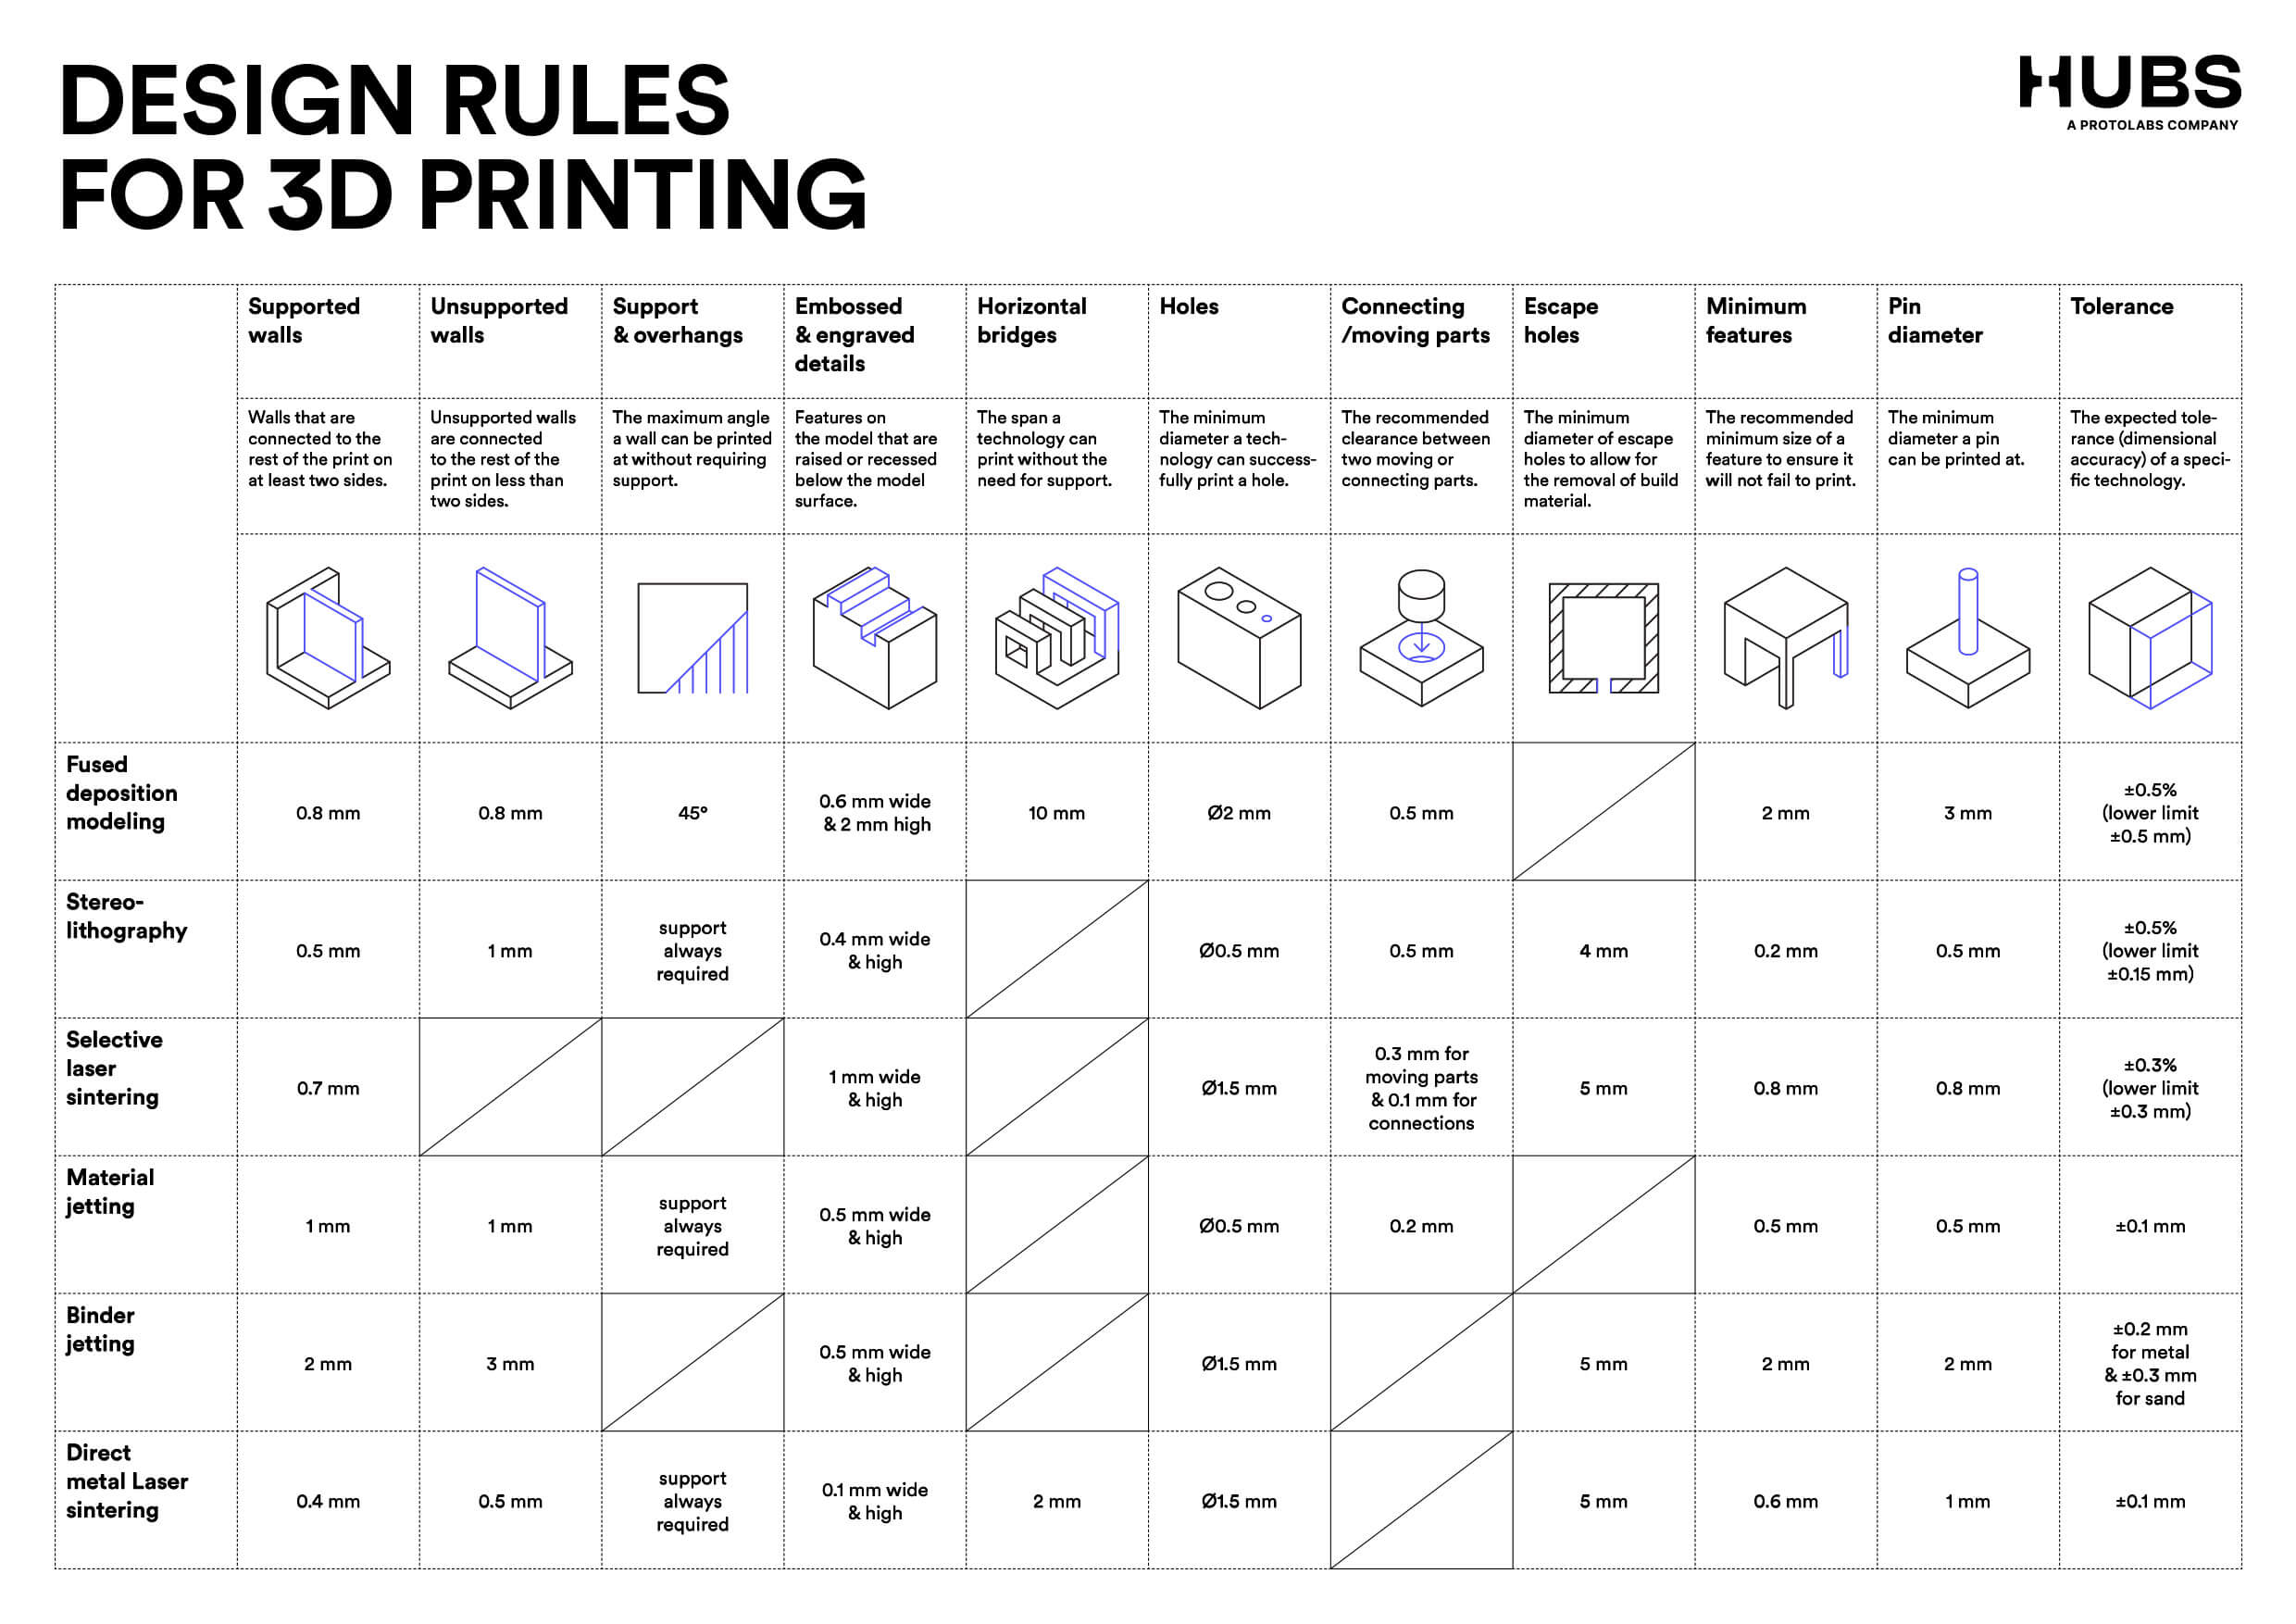
For the group assignment I and my fellow Andrea have split the tests as we both work in two laboratories that deal with 3D printing ( Polytechnic of Milan Prototype Laboratory and Superforma), so we have similar skills. We also work on two types of machines that are very different in terms of concept (Ultimaker and Wasp Delta) so we were able to cover a wider spectrum of tests. But first…what are the design rules for 3d printing?
Test Your 3D Printer
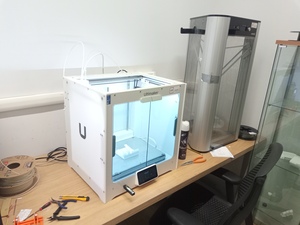
We have downloaded from Thingverse a series of tests to print for characterize the printer, an: Ultimaker3/Ultimaker3Extended/UltimakerS5.


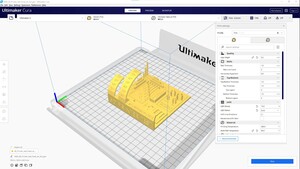
I opened all the tests in Cura 4.12.1 for Windows by Ultimaker, to create the g-code to give to printer. “Layer Height” was setted to 0.2mm, that is enaugh to have a good quality without spend too much time.
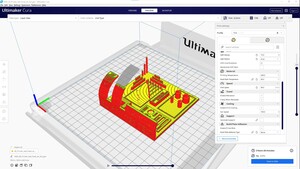
The G-code exported from the slicer was sent to the machine (USB key) and printed.
I didn’t take measure of the different part but I know that the printers are quite precise. However there are some precautions that can be adopted to improve the accuracy of the machine (or just check the online community for Ultimaker, full of advices and tips).
3D printing an object
So many tools and…you can’t handle them!” I started thinking what to print with one machine…than with another…than with a particular filament…and another one…that I finished to not produce the right documentation. By the end of the week I did a simple sphericon starting from an octagon shape that can give you 3 differents variation when revolved.
And printed it (the 3 version) with different size, colors materials, etc.
![]()
![]()
![]()
![]()
![]()
![]()
![]()
![]()
![]()
![]()
![]()
Then I decided to draw a simple one with 3 sides but doing it like a shell and extruding (trimming? engraving?) a Voronoi pattern on the object obtained using a plug-in for Fusion360 called Voronoi Sketch Generator and print one of each one with PVA supports (solvable in water)
![]()
![]()
![]()
![]()
![]()
![]()
In the meanwhile I did some experiments with different objects trying to experiment different “solution”:
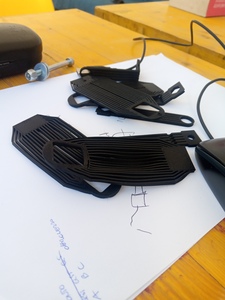
- Compliant mechanism printed with TPU (models downloaded from Thingiverse)
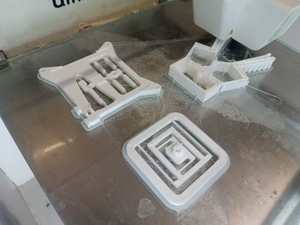
- Electronic schematic printed with Proto Pasta filament (epic fail…and no photo for now…)
3D Scanning
And then come on, the photogrammetry programs on the mobile?! We try to be professional, we are not kids all day attached to the phone screen! I know that in the laboratory there is something that can be useful to me and can allow me to make a great impression. In fact, there it is, the “mammozzone”, more commonly known as the Roland Picza LPX-600
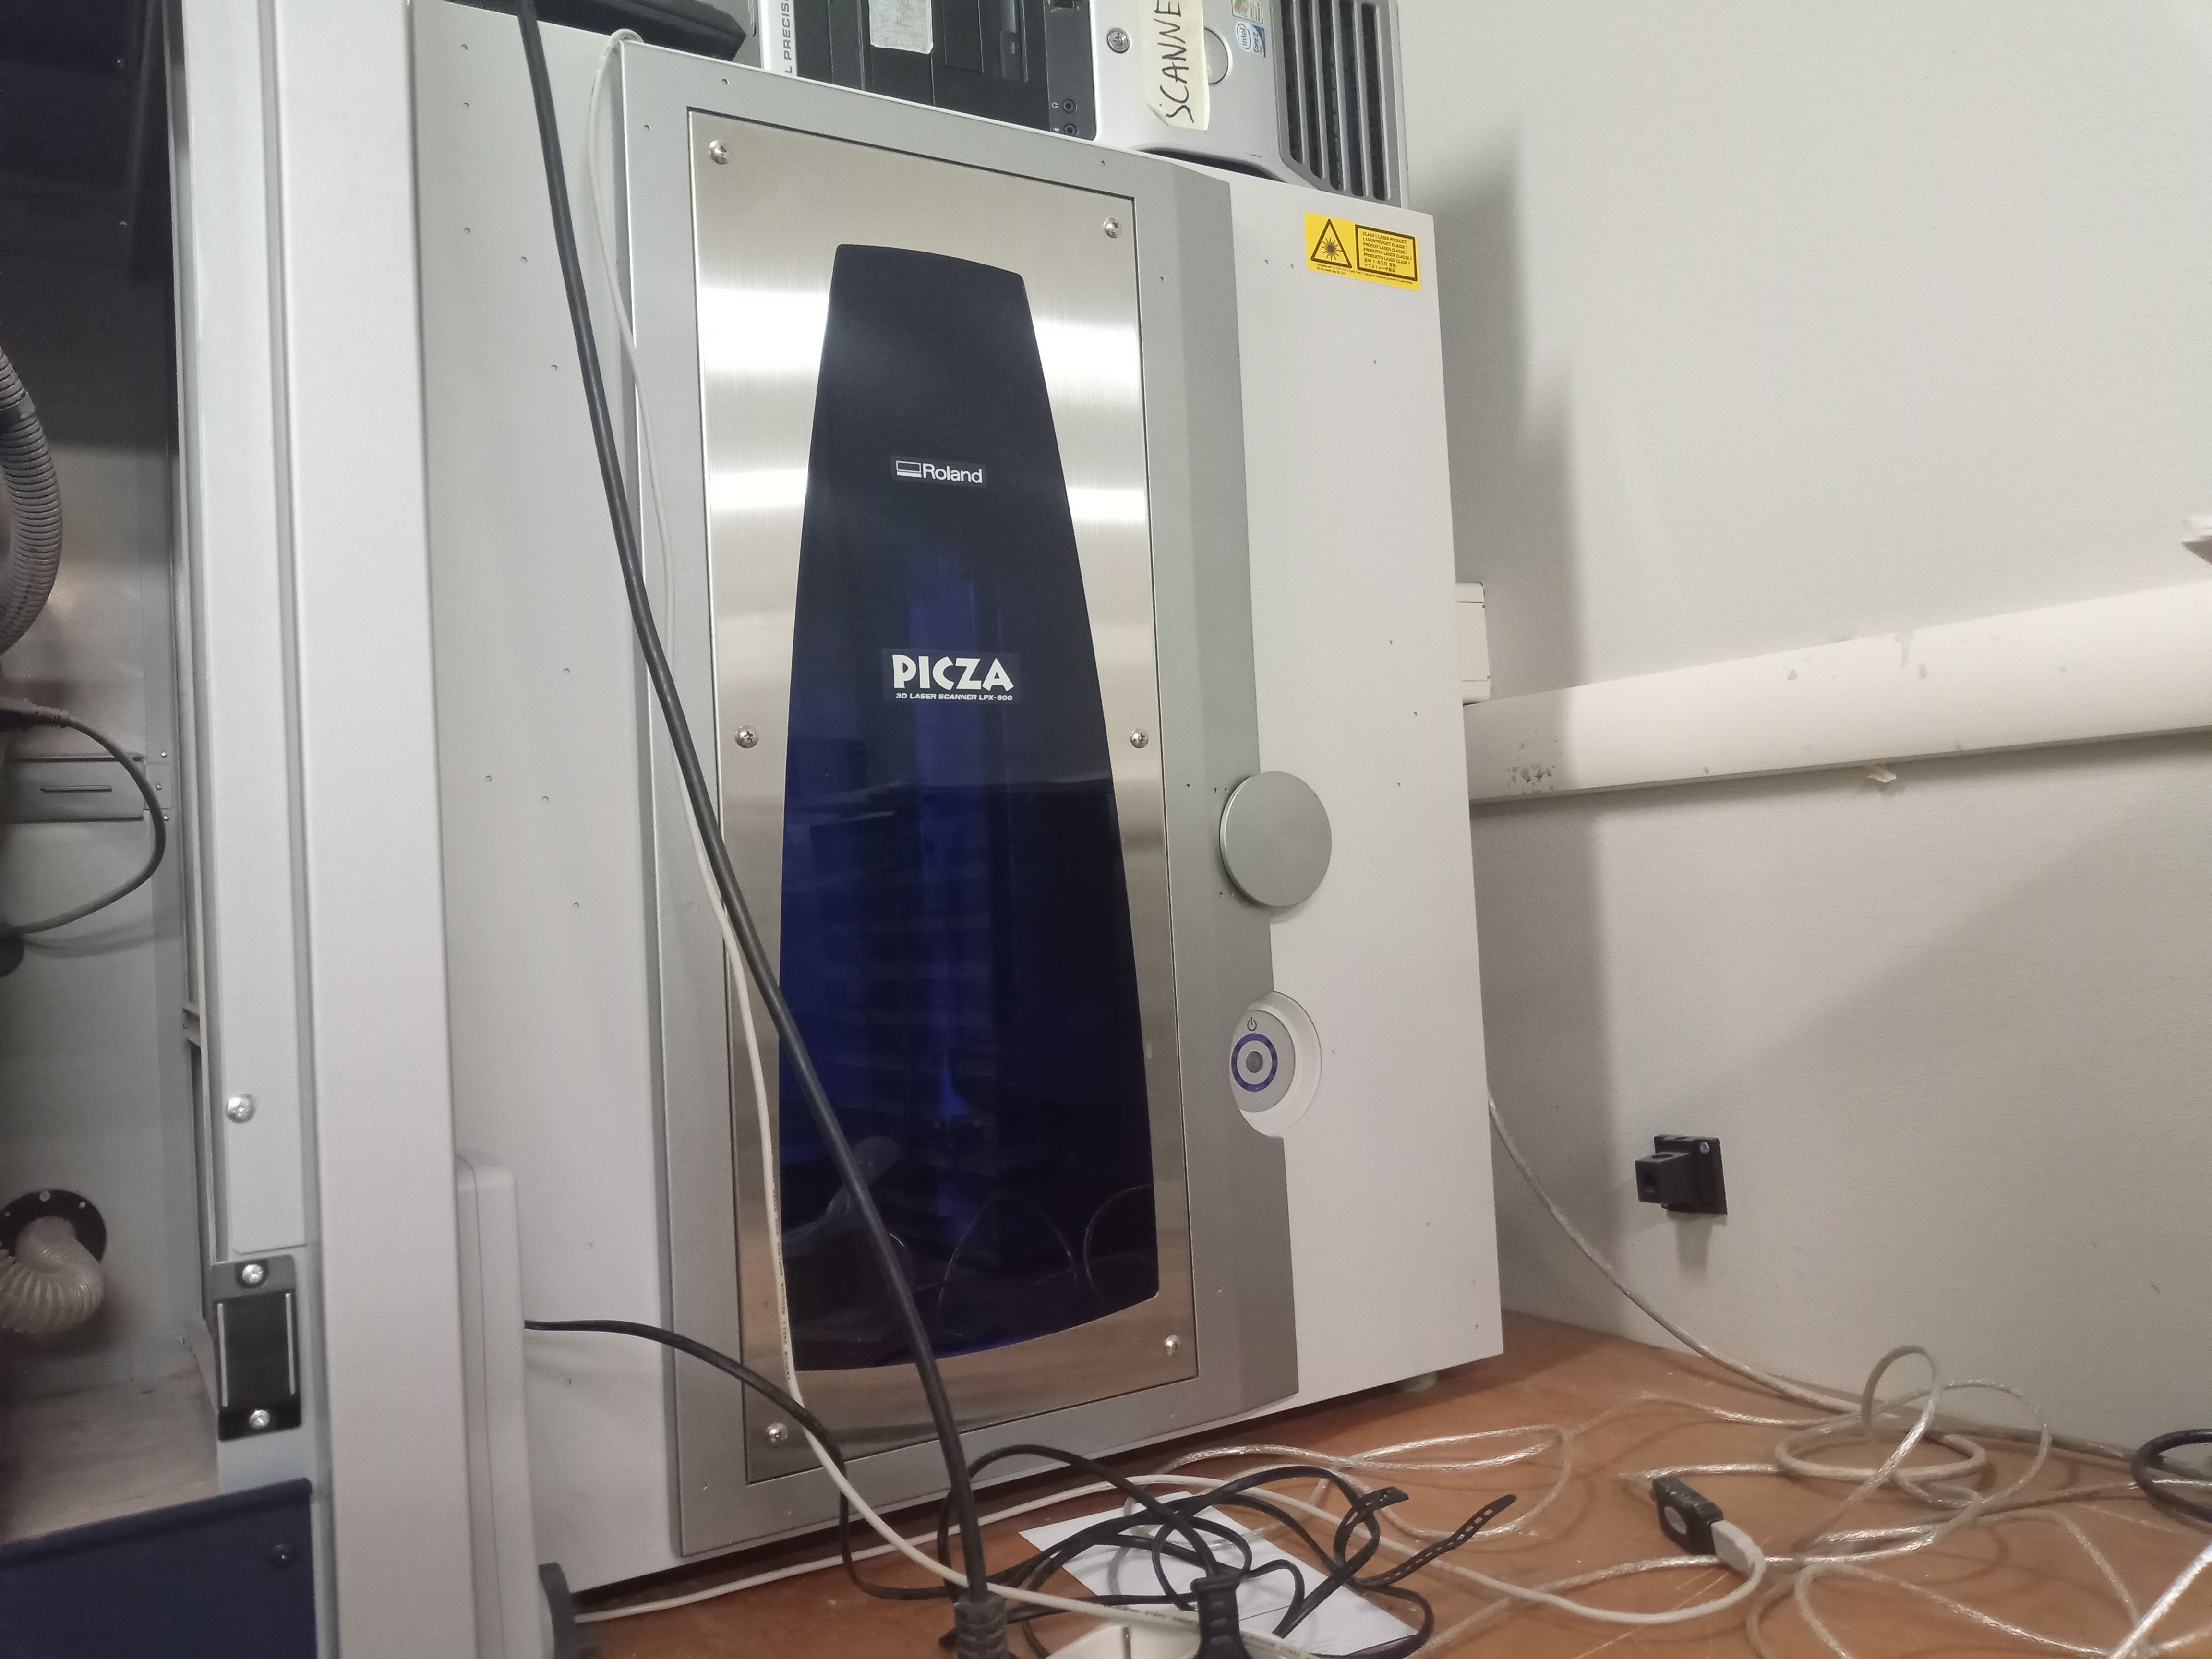
Old, dirty and dusty but solid as rock (and just as immovable). I just have to start it…I just have to find the drivers to install on Windows 10… Several hours, and phone calls, later I found that Roland has stopped supporting it, the drivers don’t exist anymore and that great laser scanner right now has the same utility as an oversized paperweight. But in the warehouse I have a computer from 7-8 years ago _ evil laugh _)
Okay, let’s not give up … if I remember correctly in a drawer there is this old Kinect, residue of a work on Leonardo da Vinci performed a few years ago (and I’ve found also the drivers!)
So…Microsofft Kinect for Windows and Skanect (free version)
And…Dottie the Dog!
(maybe it’s not the best subject for 3D scanning…but I love it!)
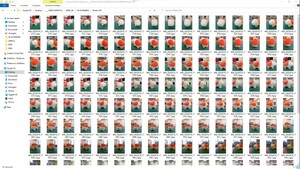
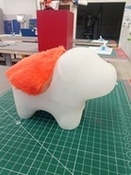
The software is very simple but has very limited functions. Plus, I think that the Microsoft Kinect (1st version) it’s not very performing for this kind of work. I’ve seen to use it with Processing library for real-time animation but neve for photogrammetry. In the end I wasn’t very satisfied…capturing the images moving around the object or rotating the model itself…keeping always the same distance…and the result was very below my expectations!

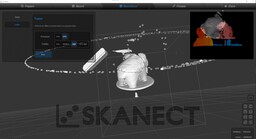
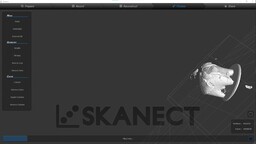
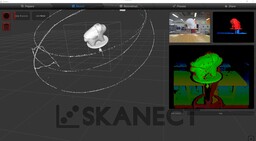
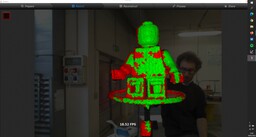
I was quite disheartened by the result so I decided to hear from my friend and colleague Laura who recommended a couple of photogrammetry programs she had used in the past:
MESHROOM
Everyone says it’s an interesting and easy to use program … “4 or 5 clicks and the .OBJ/.STL is ready”. I cannot confirm or deny as I have not gone beyond this error screen.
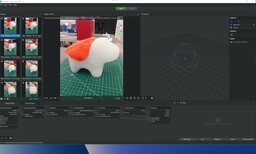
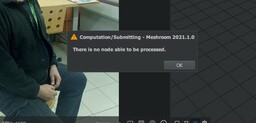
Maybe someday I’ll understand.
ZEPHYR 3DF FREE
The free version of software has a limit to 50 photos in upload, that are enaugh to scan simple objects. I opened Zephyr, and clicked on “Workflow” and then on “New project”. After clicked “Next”, the software require to upload the photos. I choose standard presets as recommended by some tutorials. I’ve clicked on “Run” to start the orientation of photos and the first reconstruction of our 3D model.
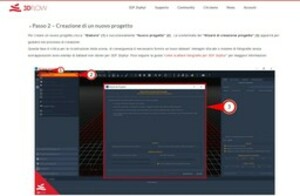
The first 3d Model mesh was reconstructed, but I wanted to increase the quality so in “Workflow”, I selected “Dense point cloud generation”. This command create a mesh of object with more interpolated points, improving the quality of mesh.
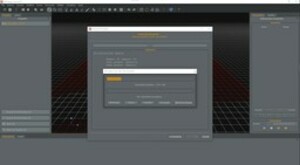
I selected “Mesh extraction” and the software re-calculated the polygons again to interpolate better and close some hole and crack in the surface of object.
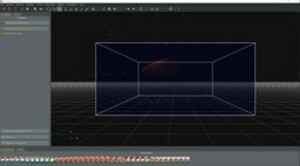
At this moment i had a mesh I could export in varius format file, for instance .stl, .obj, .ply etc.
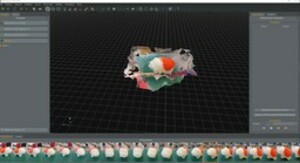
I have described the process, how it should be done (from tutorial) but the result leaves enough to be desired. So I decided to start over with other subjects and another software.
AGRISOFT METASHAPE STANDARD
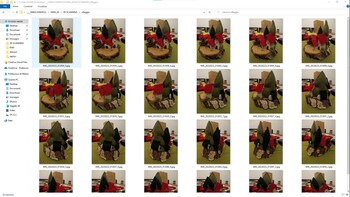
Finally I decided to use this program. It’sn free (dammit!) but I can use it freely for the next 30 days. It’s very easy to use, just few clicks and you will obtain your 3d model. 1_you add the photos of your object (i switched to a small Christmas village made by hand with felt and wood) selecting “ADD PHOTOS” from the Workflow menu
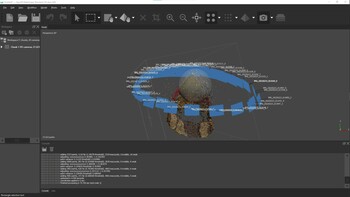
2_Then you “Align” them, you produce the cloud points and the meshes, always from the workflow menu.
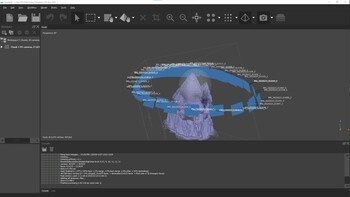
3_Now you can export the .stl model in your preferred program to edit it
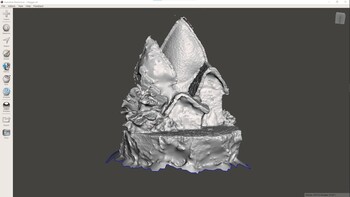
MESHMIXER My mesh is not printable yet, because these programs are unable to close it . I imported the stl file of my scan in Meshmixer and under “Edit” menu, I selected Plane Cut with Remeshed fill to cut part of object at the base with irregular geometry and create a flat base that make possible print the object (I could also use the way to make it “Solid”). Then I re-exported in .stl format.
Bonus of the week
The assignment of the week gave me the opportunity to carry out a job that I had in mind for a while but which, due to laziness and little experience, I had never carried out: scanning my colleague Giorgio, who will retire in August, and make a low-poly model to print in order to make copies in resin or other less expensive materials (in any case with silicone mold) and distribute some around (Giorgio is a historical figure of the Faculty of Design, known to practically everyone).
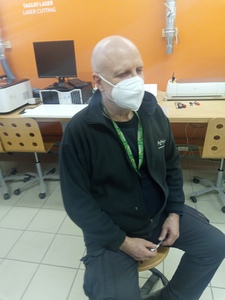
I used Agrisoft ‘cause it was the best among the program experienced (at least for the next 30 days. sic.)
Then I exported the .STL model in Meshmixer and modified it to make it better (closing some holes, smoothing the surface,…).
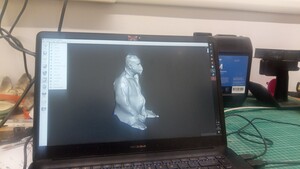
I tried to change the number of mesh to obtain a low poly model but however, changing the parameters I could not get the desired effect so, in the end, I decided to export the modified .STL file in Rhino6 and to use the mesh Menu to reduce the number of mesh.
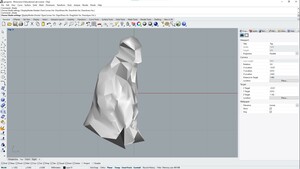
The result was satisfying…now I’m ready to print but this will be done in the next day. Stay tuned for more Happy Days!
