11. Machine Week
Group Project: Wheel O Bits
Group Members: Avery H Barbara M Charlie H Nidhie D Scott M
At the beginning of Fab Academy, within the adult group, many ideas for a group machine project were tossed around. Some of those ideas: a Drink Mixer, a Campus Food Delivery System, an Electric Carpet Team Building Sensor System was in the mix for discussion. However, all members agreed that we would like to create something to give back to the Charlotte Latin Fab Lab and Tom D. Originally, it may have been Barbara, Nidhie and Charlie out of some frustration during electronic PCB milling week, thought a “Milling Bit Dispenser” system would be of value. Something that would require anyone needing a milling bit either for PCB use, dog tag making, molding and casting or even the CNC machines to electronically check out a particular milling bit out as if it was a library book. And of course, the system would require that individual to check it back in. The reason of this, too many bits were not being put back into their proper location in the Lab when done using. As a result, many bits were being lost, broken or time was being wasted searching for the deisred milling bit.
From group brainstorm sessions and random hallway discussions, about a “Ferris Wheel” like system, being a very much a visual type of person, and exploring on Thingiverse and other Maker websites found some nifty things using the keyword “Ferris Wheel.” Actually lots of neat-o ideas!! A take away was some ideas that would allow for a milling bit individual storage box to be placed on a tray and that tray that would revolve between two wheels always staying upright.
Here is one such idea: - Ferris Wheel Idea from Thingiverse
Using Fusion 360 designed a couple of different ideas.

At the next adult group brain session, the 3D print created did not match with what others had in mind for a couple of reasons. No biggie and made sense. Group felt that there were too many moving parts and all knows the more moving parts equal the greater possibility of something breaking. Second reason, having two wheels to be spun, even if connected tandemly could take a toll on the motor that would spin the wheels. Time to slim down.
As a group one night, took an empty Filament Wheel and sawed it in half to give us something to have on hand to discuss.
Insert picture here of sawed off filament wheel.
It was considered that this would be our actual wheel and we all liked the idea of recycling however the wheel was just a bit too small to put a good number of milling bits onto this machine.
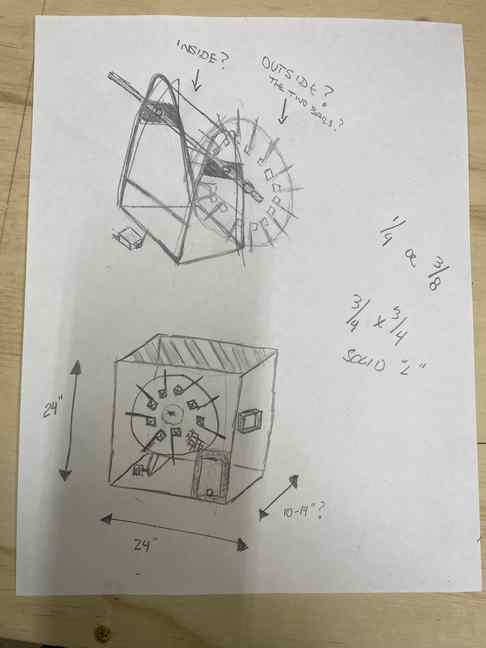
Ended up going into the garage to create a DRAFT of a design for the wheel and “A” frame to rotate on. Just random parts from the garage and a poor design it was. Again, it gave us as a group something tangible to explore being hands on with.
Again, using Fusion 360 a new design for a Bit Tray. A couple of designs.
Insert Picture
The bit tray on the right was an idea that would allow one bit box to be inserted.
The bit tray on the left was a follow up idea that would allow two- or three-bit boxes of the same bit size to be on the tray at the same time. The thought process was that a student would have the Ferris Wheel rotate to a small door. That door would open and they would take one of three boxes off the tray and scan what they took.
Ha. This idea did not win approval within the group as it would mean another step to someone checking out the bit that they would likely skip the scanning process.
New design, slimming down the trays to one wheel and allow only one bit box on a tray a new design was created. Again, the thought process was as the wheel rotated, a mini door open that it would be easier to snatch the bit box from the tray if the tray was horizonal wheel.
Insert picture of different model bit trays here.
See the design that was fixated to one wheel. This disadvantage was the tray would actually be going upside down so magnets would need to come in play on the tray AND within the bit box. And given the design attachment on the wheel didn’t allow much room to have a bar code on the tray that a scanner could easily read.
It was suggested that the tray be attached to the wheel long way or in line with the wheel. Not sure how to refer to it.
Insert picture of different tray here.
This was where a design was created with the size of the bit on the tray however this idea didn’t fly as it would require that, that actual bit size be inserted for the tray and it would be easier to have flexibility to allow the Fab Lab teachers to insert the size and quantity of sizes they wanted on the wheel vs. having to change trays to match the size they wanted on the wheel.
A secondary reason for no milling bit size on the bit tray was the idea of using that space for a bar code and scanner system to check out those bits. Needed space of a surface area of what is to be the front face of the wheel. Thankfully Charlie came over to the house to collaborate on some ideas that he, Nidhie and Barbara had discussed for ideas.
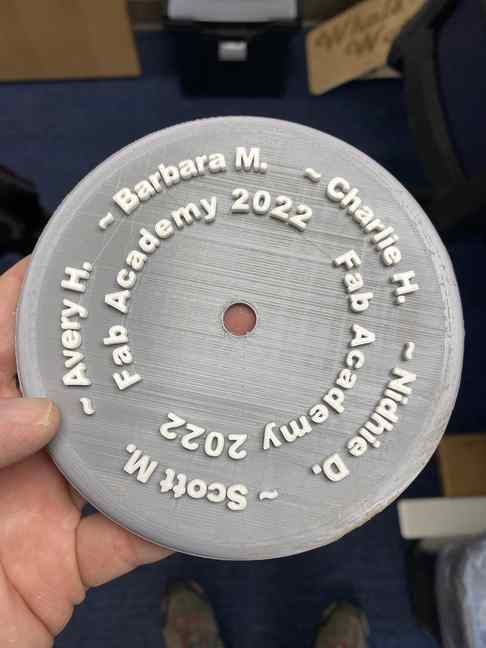
Also created a separate attachment that would have our group names on it that would at some point get fixated to the final wheel design. First design was all one color. Tried it again with the intent of using dual filament colors. Ran into trouble. Switching out the magnetic printing plate for a glass plate on the Ender Pro was an ideal choice however same time a poor choice. Sometimes stick with what is working and make changes later HOWEVER evidence showed the items coming off a glass printing plate looked and felt so much better. Anyway, with new glass plate had to make some calibration to the machine and had trouble leveling the bed so had some warpage occur on the print. Frustrating.

Spoke with Charlie about it and learned that sometimes applying hair spray and the printing glass surface to increase the tackiness, increasing the heat of the bed temp and stopping the cooling fans until a later height makes a difference. See the results. Group happy.
Results of printed name plate.
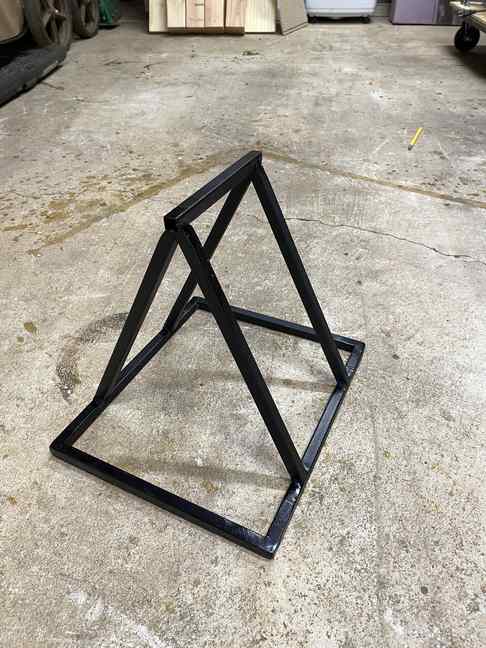
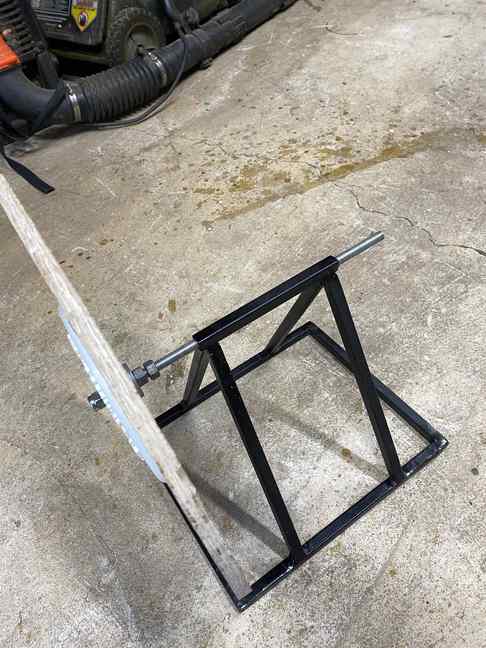
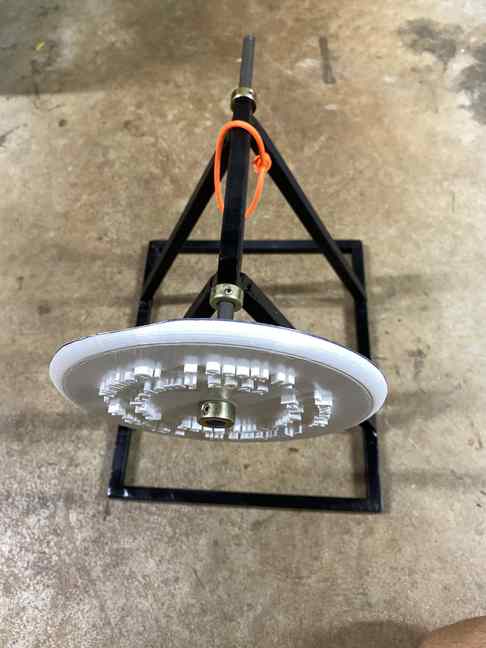
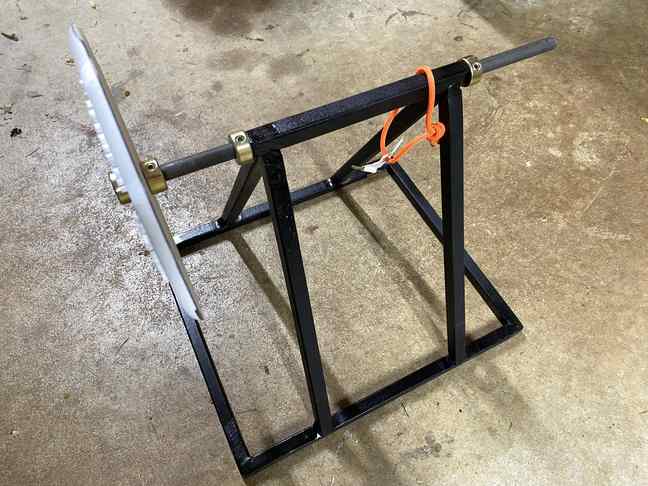
Thinking head to the Wild Card week and knowing we were going to need some sort of design that would hold up the wheel better than the wooden draft crappy version I created I plotted some ideas. My original intention was to get some metal rods about 3/8” thick or rebar, bend either of them over into a “A” shape. From there I would weld a flat plate going across and eventually drill a hole into the face plates for the rod attached to the wheel to insert into. My neighbor who has the welding equipment and has offered to teach me the ways of a welder suggested some other ideas. He had some old square bars that would allow the solid metal bar to go into and that we would create an A frame using that. In hindsight, I wish I had used metal ball bearings and welded those into the “A” frame however I didn’t realize metal ball bearings could be had so easily from local hardware stores. Instead, the rod is going through a hollow square space that creates some wiggle that hopefully will not hinder the motor and gears in from spinning correctly. A future design correction. This design allows for Charlie and Avery to explore having the gears on one side of the A frame or the other depending on further group designs.
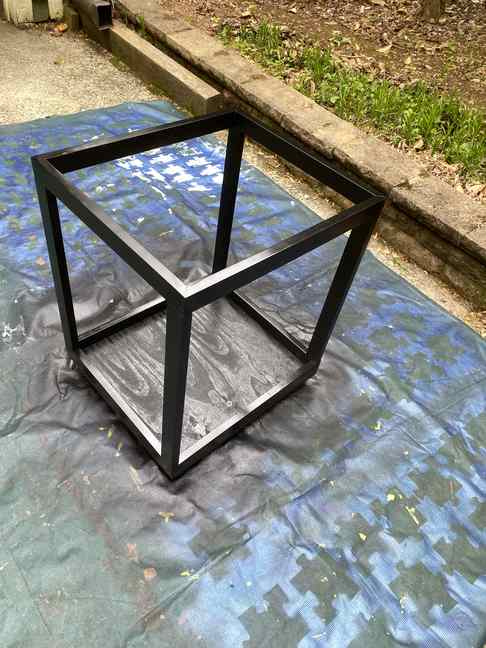
Also needed to be created was the frame work for the box. Originally my intention was to build and weld a metal box frame however my neighbor who has the welding equipment is out of town for an undetermined amount of time so I didn’t feel like I could risk the chances of waiting. Made a sample one out of wood using pre-prime coated wood 1”x2” thick pieces based on what I imagined would be the necessary size. Put it together in the Fab Lab using blue painters tape to temporarily hold it together. At first it was deemed that some of the parts needed to be cut down in size to make a smaller box until Nidhie and Charlie simply rotated the box to a different end and everything was going to be the right size. Took it home that night to glue, nail and paint it.
 .
. 
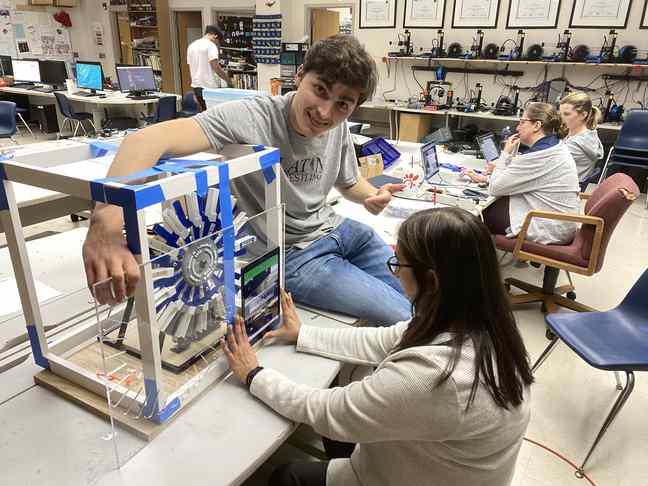
Charlie has created the top, left and back sides to be cut using laser cutter and acrylic. Precise measurement was needed as the box was not perfect by any means. He was wise enough to insert screw holes as something I learned was, cannot use a drill to drill holes as it acrylic will either fracture or shatter. He and Avery Nidhie and Barbara have created the clear front door which is such a great design.