5. 3D Scanning and printing
During this week, I worked on designing and 3D printing a small object that could not be made subtractively and figured out how to 3D scan an object. I refined my 3D printing and design skills. In addition, we wre tasked with testing the design rules for our 3D printers. We each had access to 3 different 3d printers, so we had to test the rules for all of them.
3d Printing
Additive vs. Subtractive
Before the start of fab academy, I had some experience working with 3d printing, so this week wasn’t too bad. I started by researching the difference between Subtractive and Additive Manufacturing and defining the two using this site. The results can be found in the table below
| Term | Definition |
|---|---|
| Additive Manufacturing | the process that creates an object by adding multiple layers on top of each other |
| Subtractive Manufacturing | the removal of material to create parts through cutting, drilling, milling or grinding |
Both processes have their pros and cons and are used for a variety of functions, but a lot of the time they work very well hand-in-hand.
Design Idea
Since I had to design and print something that could not me made subtractvly, I decided I would print something enclosed within a structure since that would be impossible to make additively. I thought I could make a pendent for my mom since her birthday was coming up, so I designed that.
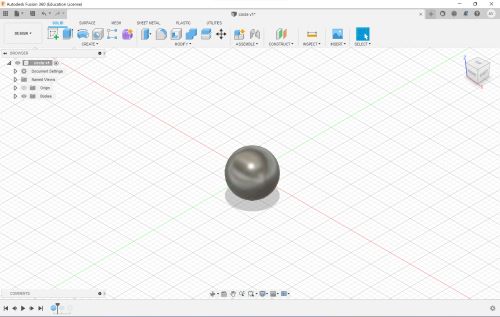
I started by going on Fusion 360 and creating a simple sphere
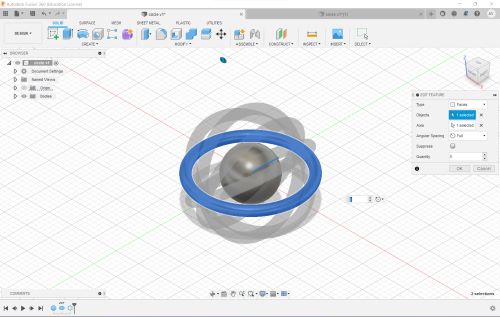
I then created a torus band around the sphere and revolved it 5 times around the sphere
Here is my final design

Slicing to G-Code
After I finished my design, I needed to slice my code in order to make it into G code so the 3d printer could read it and cut my design. Typically I used the Prusa-Slicer software at school, but since I had an Ender printer at home, I thought I would try using the Creality slicer. Here is what my design looked like on the Creality Slicer Software
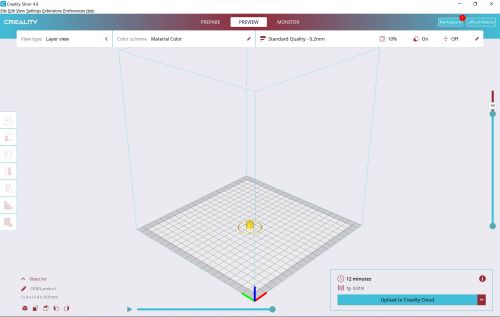
However, I did not like the user interface and thought it was a bit limiting. I could not zoom in on my design propery and I could only change a limited amount of options. Instead of continuing with this, I decided to download PrusaSlicer which I thought gave me more liberty to work on my design with, plus I had more experience with that slicer.
On PruseSlicer, I imported my design and immediately found it to be more user friendly as I could scroll around and view my design however i wanted. Here is what it looks like
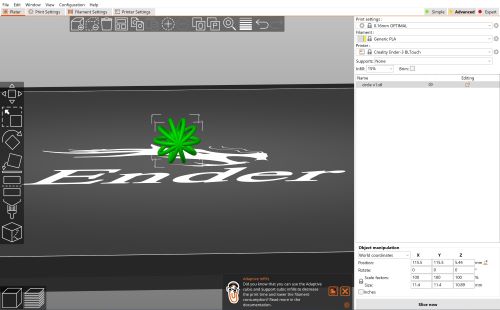
I let the slicer auto-add supports since my print was going to be very small.
After I checked over my design and the slice, and made sure everything is correct, I exported it to G-code and printed it on my Ender 3 Pro Printer at home.
Complication
As soon as I thought I was all good to go, I made a mistake. While loading in the filament to start printing, I snapped the plastic filament extruder on the printer.
This is what it looked like originally
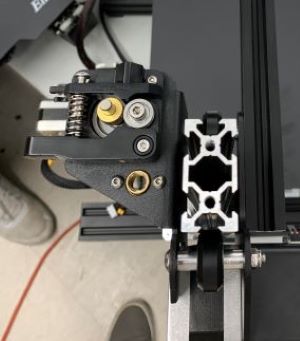
And this is what I did to it
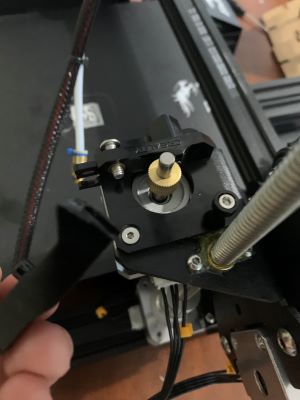
Without the clip, the filament was not being properly fed into the printer, therefore teh prints were not oming out properly. I could not print.
After doing some research, I realized thsi was a very simple fix. All I had to do was order a replacemtn and install that in the place fo the broken piece. I ordered this metal Ender 3 Extruder as a replacemnt in hopes that this one will be stronger than the plastic ones.
After that part came in, I installed it
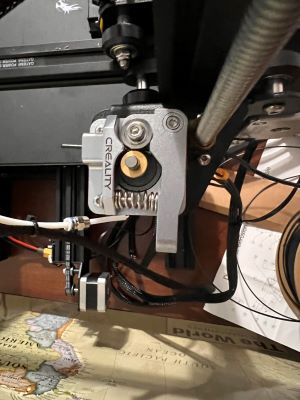
Finally, I was ready to print. Here is a video of the print starting
Since my print was fairly small, I did not have many support structures.
This is what my print looked like.
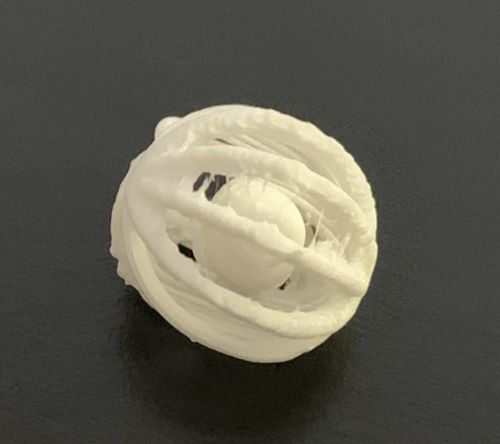
I cleaned up the excess filament and supports and my print was finished.
3d Scanning / Modeling
Qlone
This week we were also tasked with 3d scanning an object.
I used the Qlone app on my phone to scan my ATtiny 412 board. For the app, it is nessecary to print out a grid to place your object on and scan on.
The scanning was an easy but tedious process becasue of the angles and distance the camera has to stay be from the object.
This is how the scan turned out
Polycam
In addition to Qlone, I used the Polycam app on my phone. This took much less time, although it seemed like this app was meant to scan objects on a much larger scale. This is how the Polycam scan turned out.
Group Work
In addition to our individual work, we were tasked with a group assignment to was to characterize all our 3D printers we had access to. For this project, my classmate Andrew Jiang worked together to characterize infill on different cuts. You can see our work here. Andrew and I found that infil plays an important role in a prints strength, structure, and weight, so it is important to keep in mind while printing.
You can find my files for this week here