3. Computer Controlled Cutting
During this week, I worked on cutting a sticker on the vinylcutters and designing and lasercutting a parametric construction kit. In addtion, we were given our first group assignment, so I worked not only on getting that assignment done, but on the documentation process for group work.
Cutting a Vinyl Sticker
The first thing I worked on this week was creating a multicolored vinyl sticker to cut on the vinyl cutter.
Our lab uses
I have had experience working with the vinyl cutter, but only ever with 1 color. I had never cut a multicolored sticker before, so it was a challenge to figure out how to cut it. I immediatly realized I had to make more than 1 cut and layer them on top of each other, but I was stumped as to how to layer them perfectly in order to make it look good. My classmate Aaron Logan showed us an idea that he though would work. He suggested making a shape for a reference point and use that to layer each color.
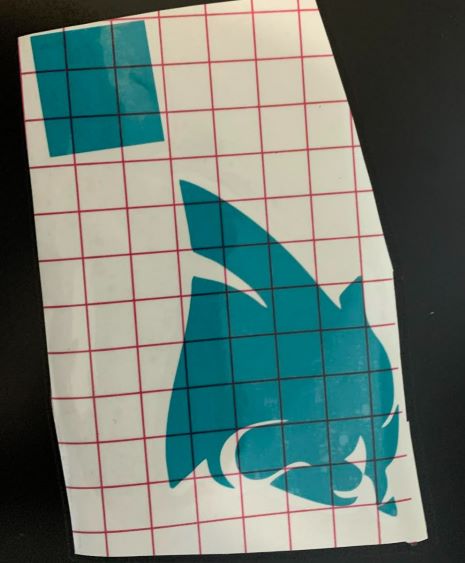
I decided to make a panthers sticker as I am a huge fan of the Carolina Panthers.
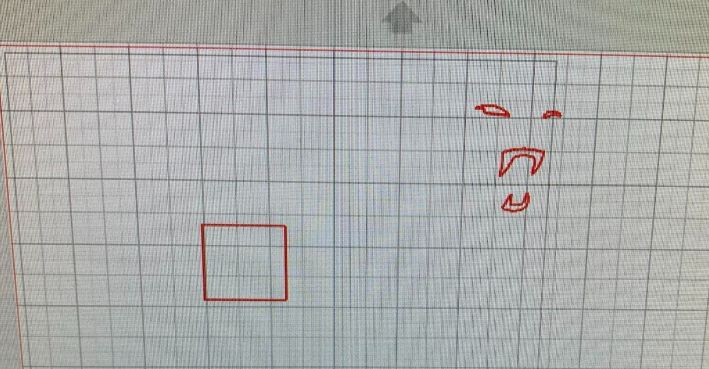
This first thing I did was find the image I wanted to use. I then traced the bitmap of the image and seperated the objects by color


I made each color a seperate design file and cut each layer seperatly on different sheets of vinyl.


Then I printed.
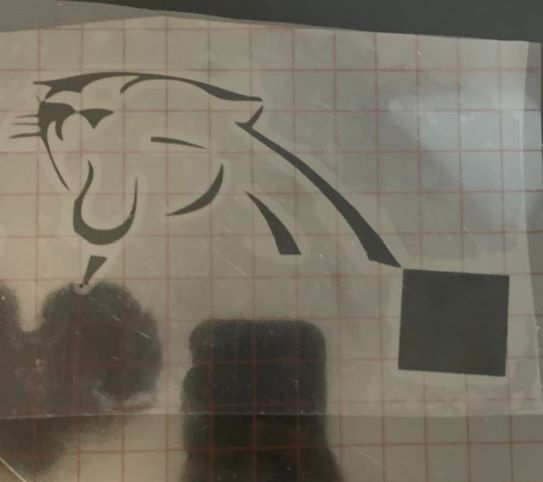
After the machine cut the outlines of the stickers into the paper, I got carefully got rid of the excess vinyl and was left with the three layers and the reference point. The peeling away of the excess vinyl took me a while since it was so small and had so many details.

Here came the tricky part. After I stuck my first layer on the window, I had to carefully align the second layer on top of it by matching the placement of the reference square. I did that to my thrid layer as well.
Here is what the final sticker looks like
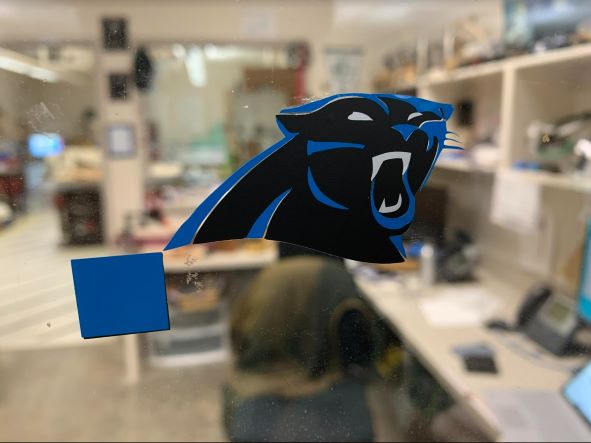
Evidently, I misalligned one of the layers, and the whole sticker looks a bit off. If I were to do this again, I would be more accurate in my allignment of reference points. This assignment helped me redefine my skills with the vinyl cutter and desining files to make stickers.
Parametric construction kit
The second part of our individual assignment was making a parametric construction kit. I had never worked with parameters on CAD software before, so this was a first for me. I read this article to get the basic understandings of what parameters are.
After reading through that and watching the videos on the site, I began desining my construction kit files.
I started by assigning the parameters I knew I would be using, such as tab length, tab width, and cardboard thickness:
 To assign parameters on Fusion 360, go to the “Modify” tab and scroll down to “Change Parameters” and enter the parameters you are going to use.
I used tab length, tab width, and cardboard thickness as my parameters because I was going to be keeping them constant if I changed the dimensions of my pieces.
To assign parameters on Fusion 360, go to the “Modify” tab and scroll down to “Change Parameters” and enter the parameters you are going to use.
I used tab length, tab width, and cardboard thickness as my parameters because I was going to be keeping them constant if I changed the dimensions of my pieces.
Next, I began a sketch for making my shaped that I would include in my construction kit.
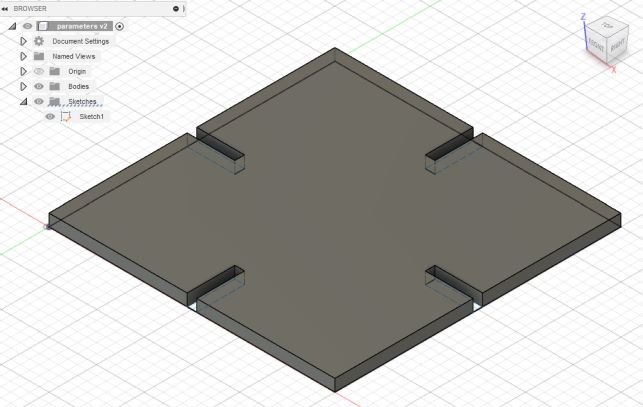
I started with desigining a 3x3 inch square. I added tabs at the midpoints of each side with to act as slots to insert the other pieces into:
 This is going to be the square in the construction set.
I extruded the square to the depth of the cardboard in order to make a 3D model.
This is going to be the square in the construction set.
I extruded the square to the depth of the cardboard in order to make a 3D model.
After I designed the square, I decided I wanted to make a triangle next.
I used the same parameters for the tab length and width of the triangle, and added the slits at the bottom ends of the base.
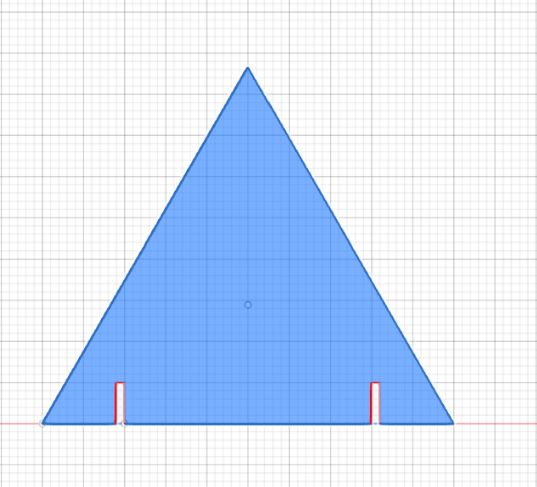 Again, I extruded it to make it a 3d model
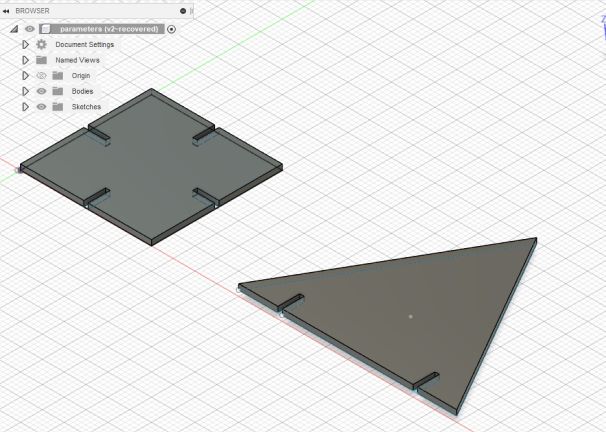
The last shape I designed was a circle. I followed the same steps as those for the shapes above and made slits in each of the four sides.
Here are all the shapes I created.

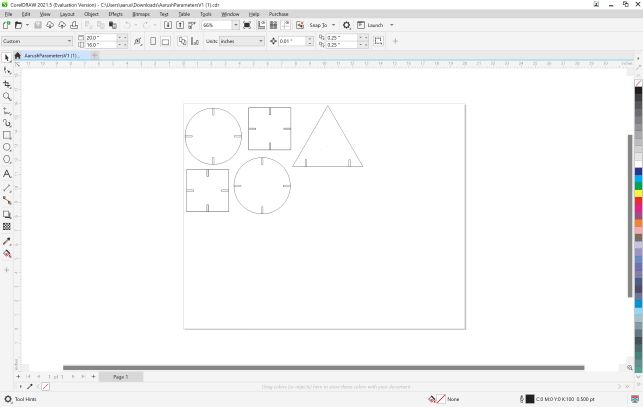
After I had my shapes designed, I exported the file as a .dxf and uploaded it into CorelDRAW to print it.
This is the printed and assembled construction kits


Summary
Through my work this week, I refined my skills with both the vinyl printer and the laser cutter. I also started working with Parameters on designs. Parameters are useful when designing if you know you are going to be changing the dimensions of your work.
Group Work
In addition to our individual assignments, we were tasked with a group assignment. We were instructed to characterize our lasercutter’s focus, power, speed, rate, kerf, joint clearance and types. Our lab has multiple laser cutters, we we wre split into smaller groups, each assigned a different aspect. I was grouped with my classmates Jack, Jada, and Pari. We worked on the medium epilougue M2 laser cutter. You can see our work on our group website.
You can find my files for this week here