Embedded Programming
-
compare the performance and development workflows for other architectures
Arduino with C+ vs Raspberry Pico with Python
Katie and I decided to compare 2 microprocessors, with each using a different programming language and environment.
Board 1 - Arduino Nano with ATMega328 chip
Programming language - C+
Programming environment - Arduino IDE
Here is the workflow we use to program a Nano with the blink sketch:
- Download and open the Arduino IDE
- Open the blink example sketch
- Connect your Arduino Nano to your computer with usb cable
- Upload the sketch
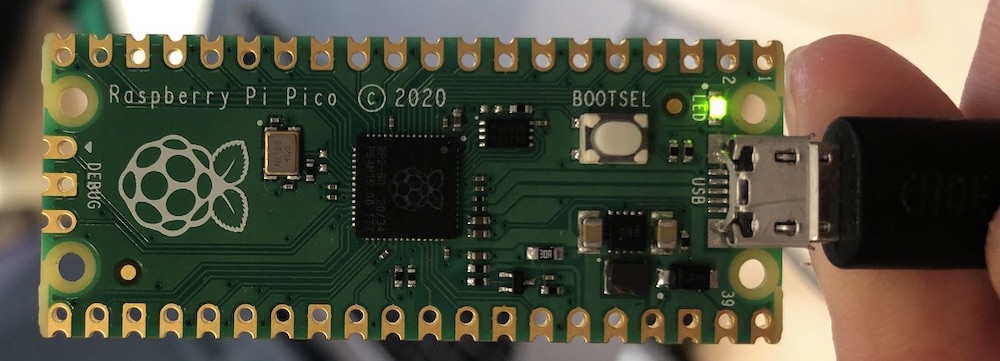
Board 2 - Raspberry Pico with 2040 chip
Programming language - Micro Python
Programming environment - Thonny
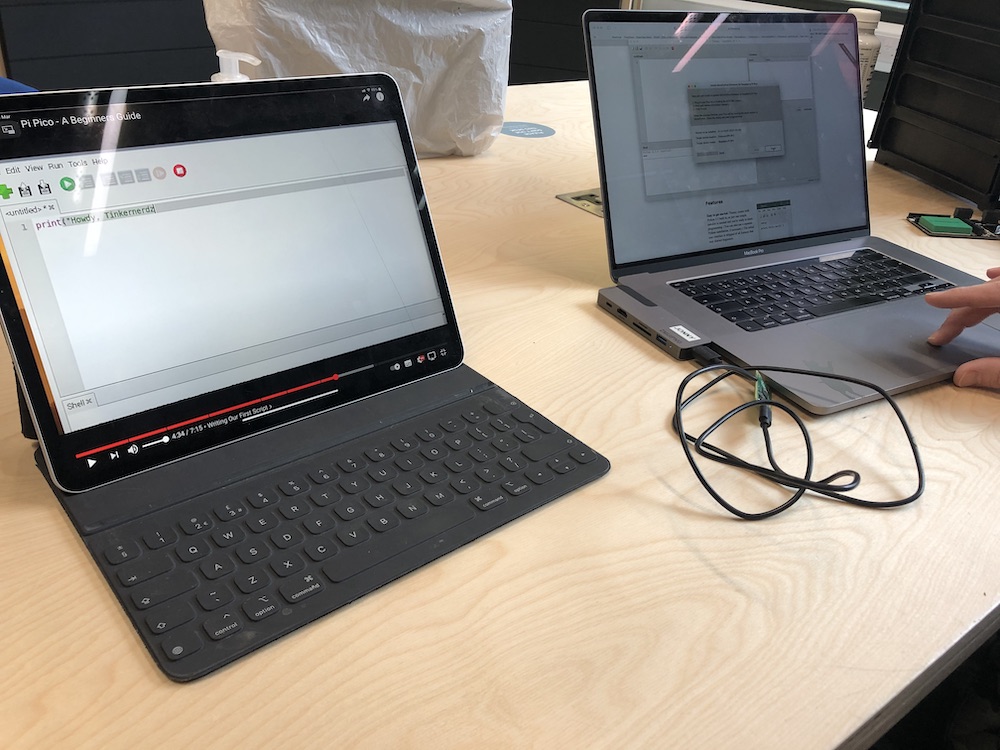
Here is the workflow we used to program the Pico board:
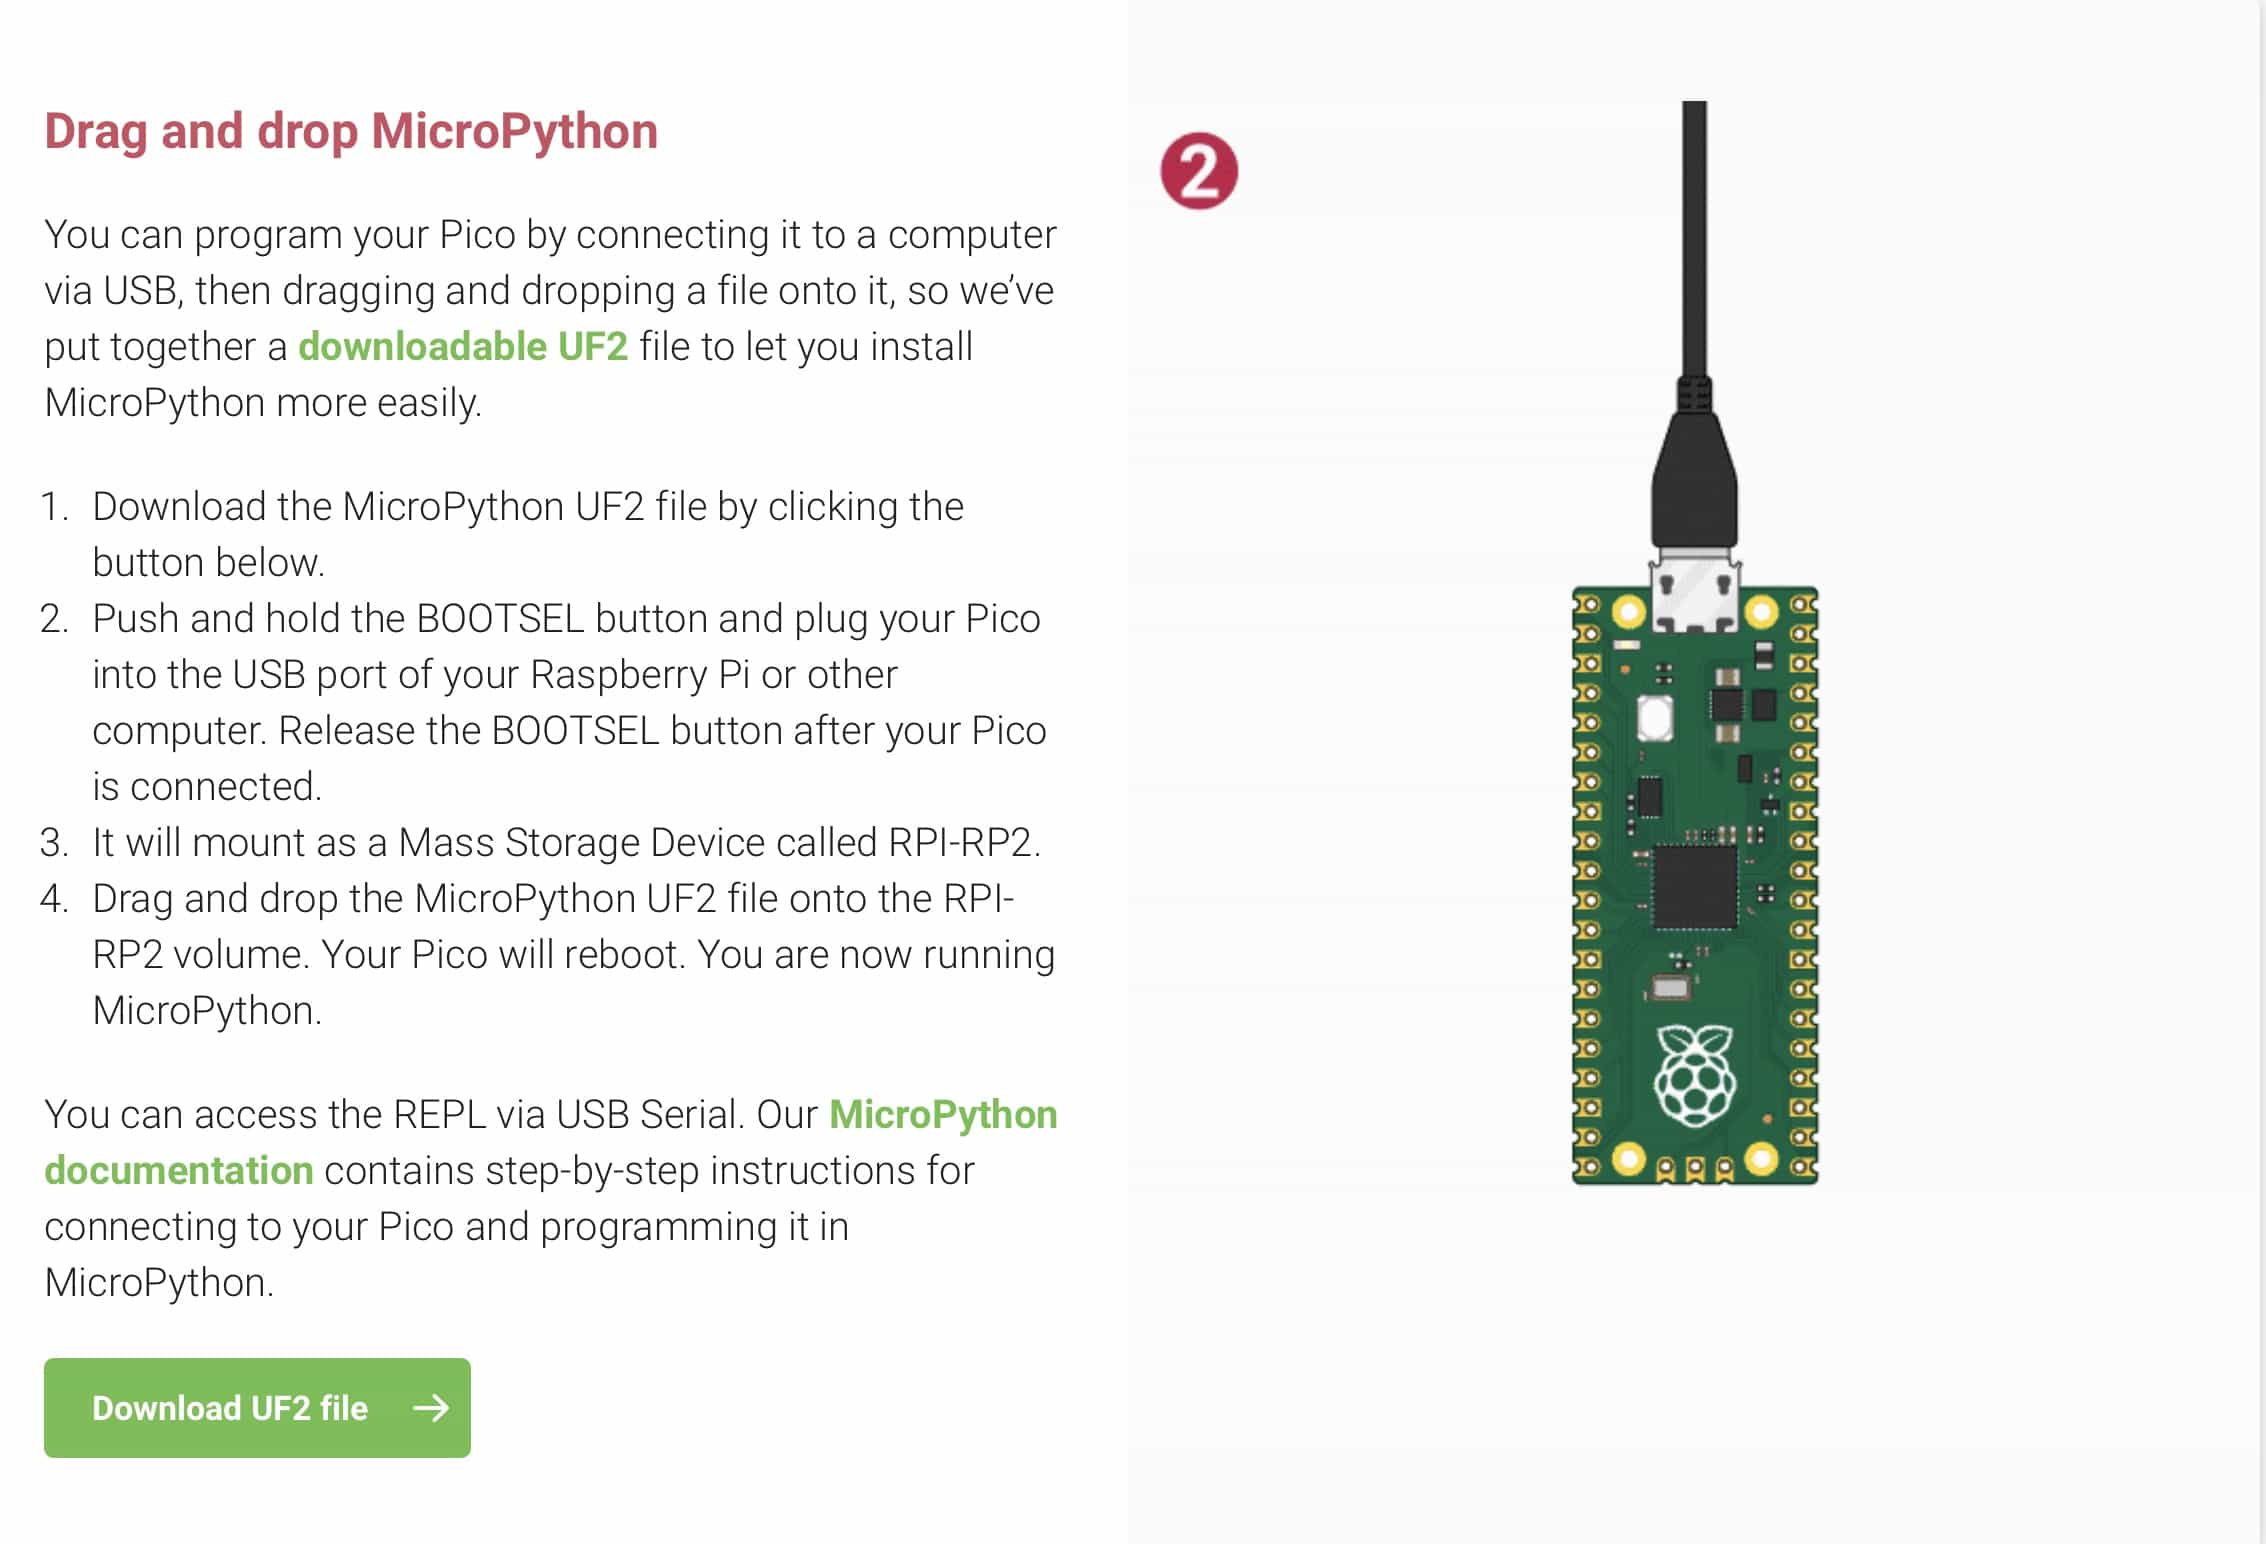
- Hold down the 'bootsel' button, connect to your computer, release the 'bootsel' button
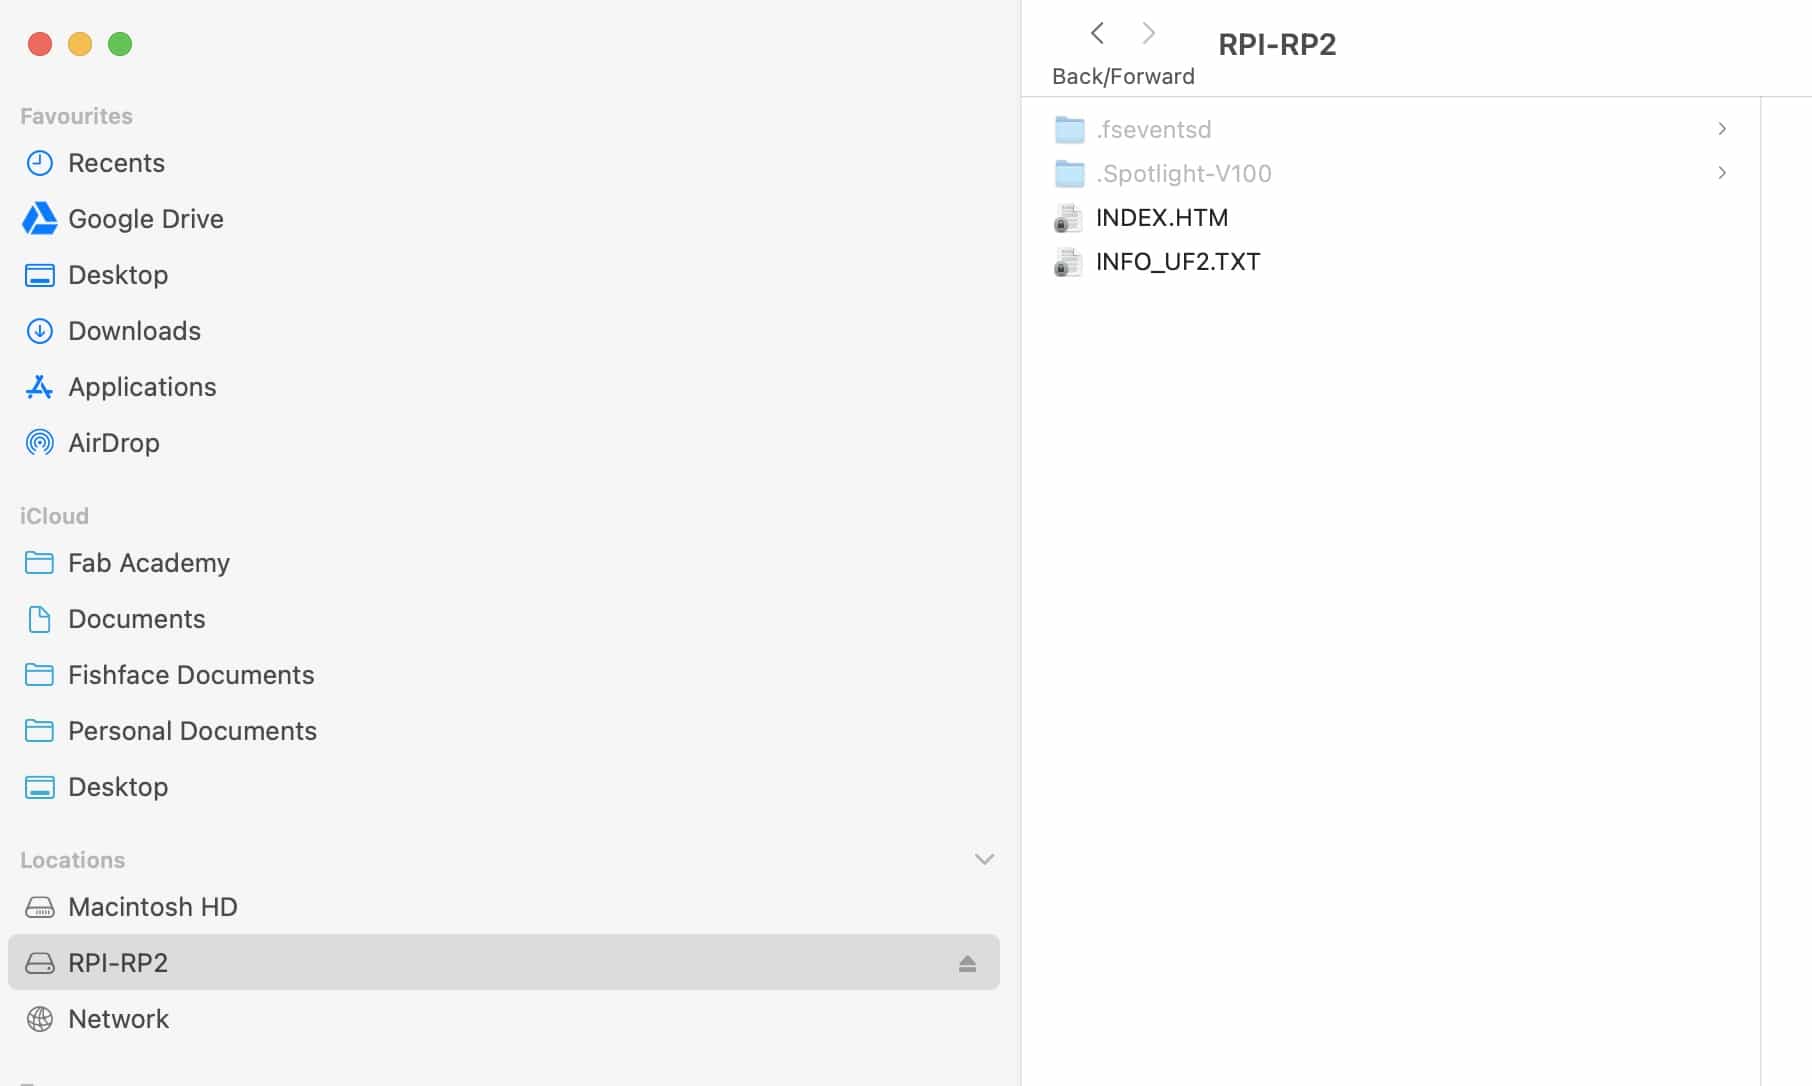
- The Pico appears as a new drive on your computer. Use Finder to check that it is detected correctly
- Download the UF2 file and drop it onto the Pico
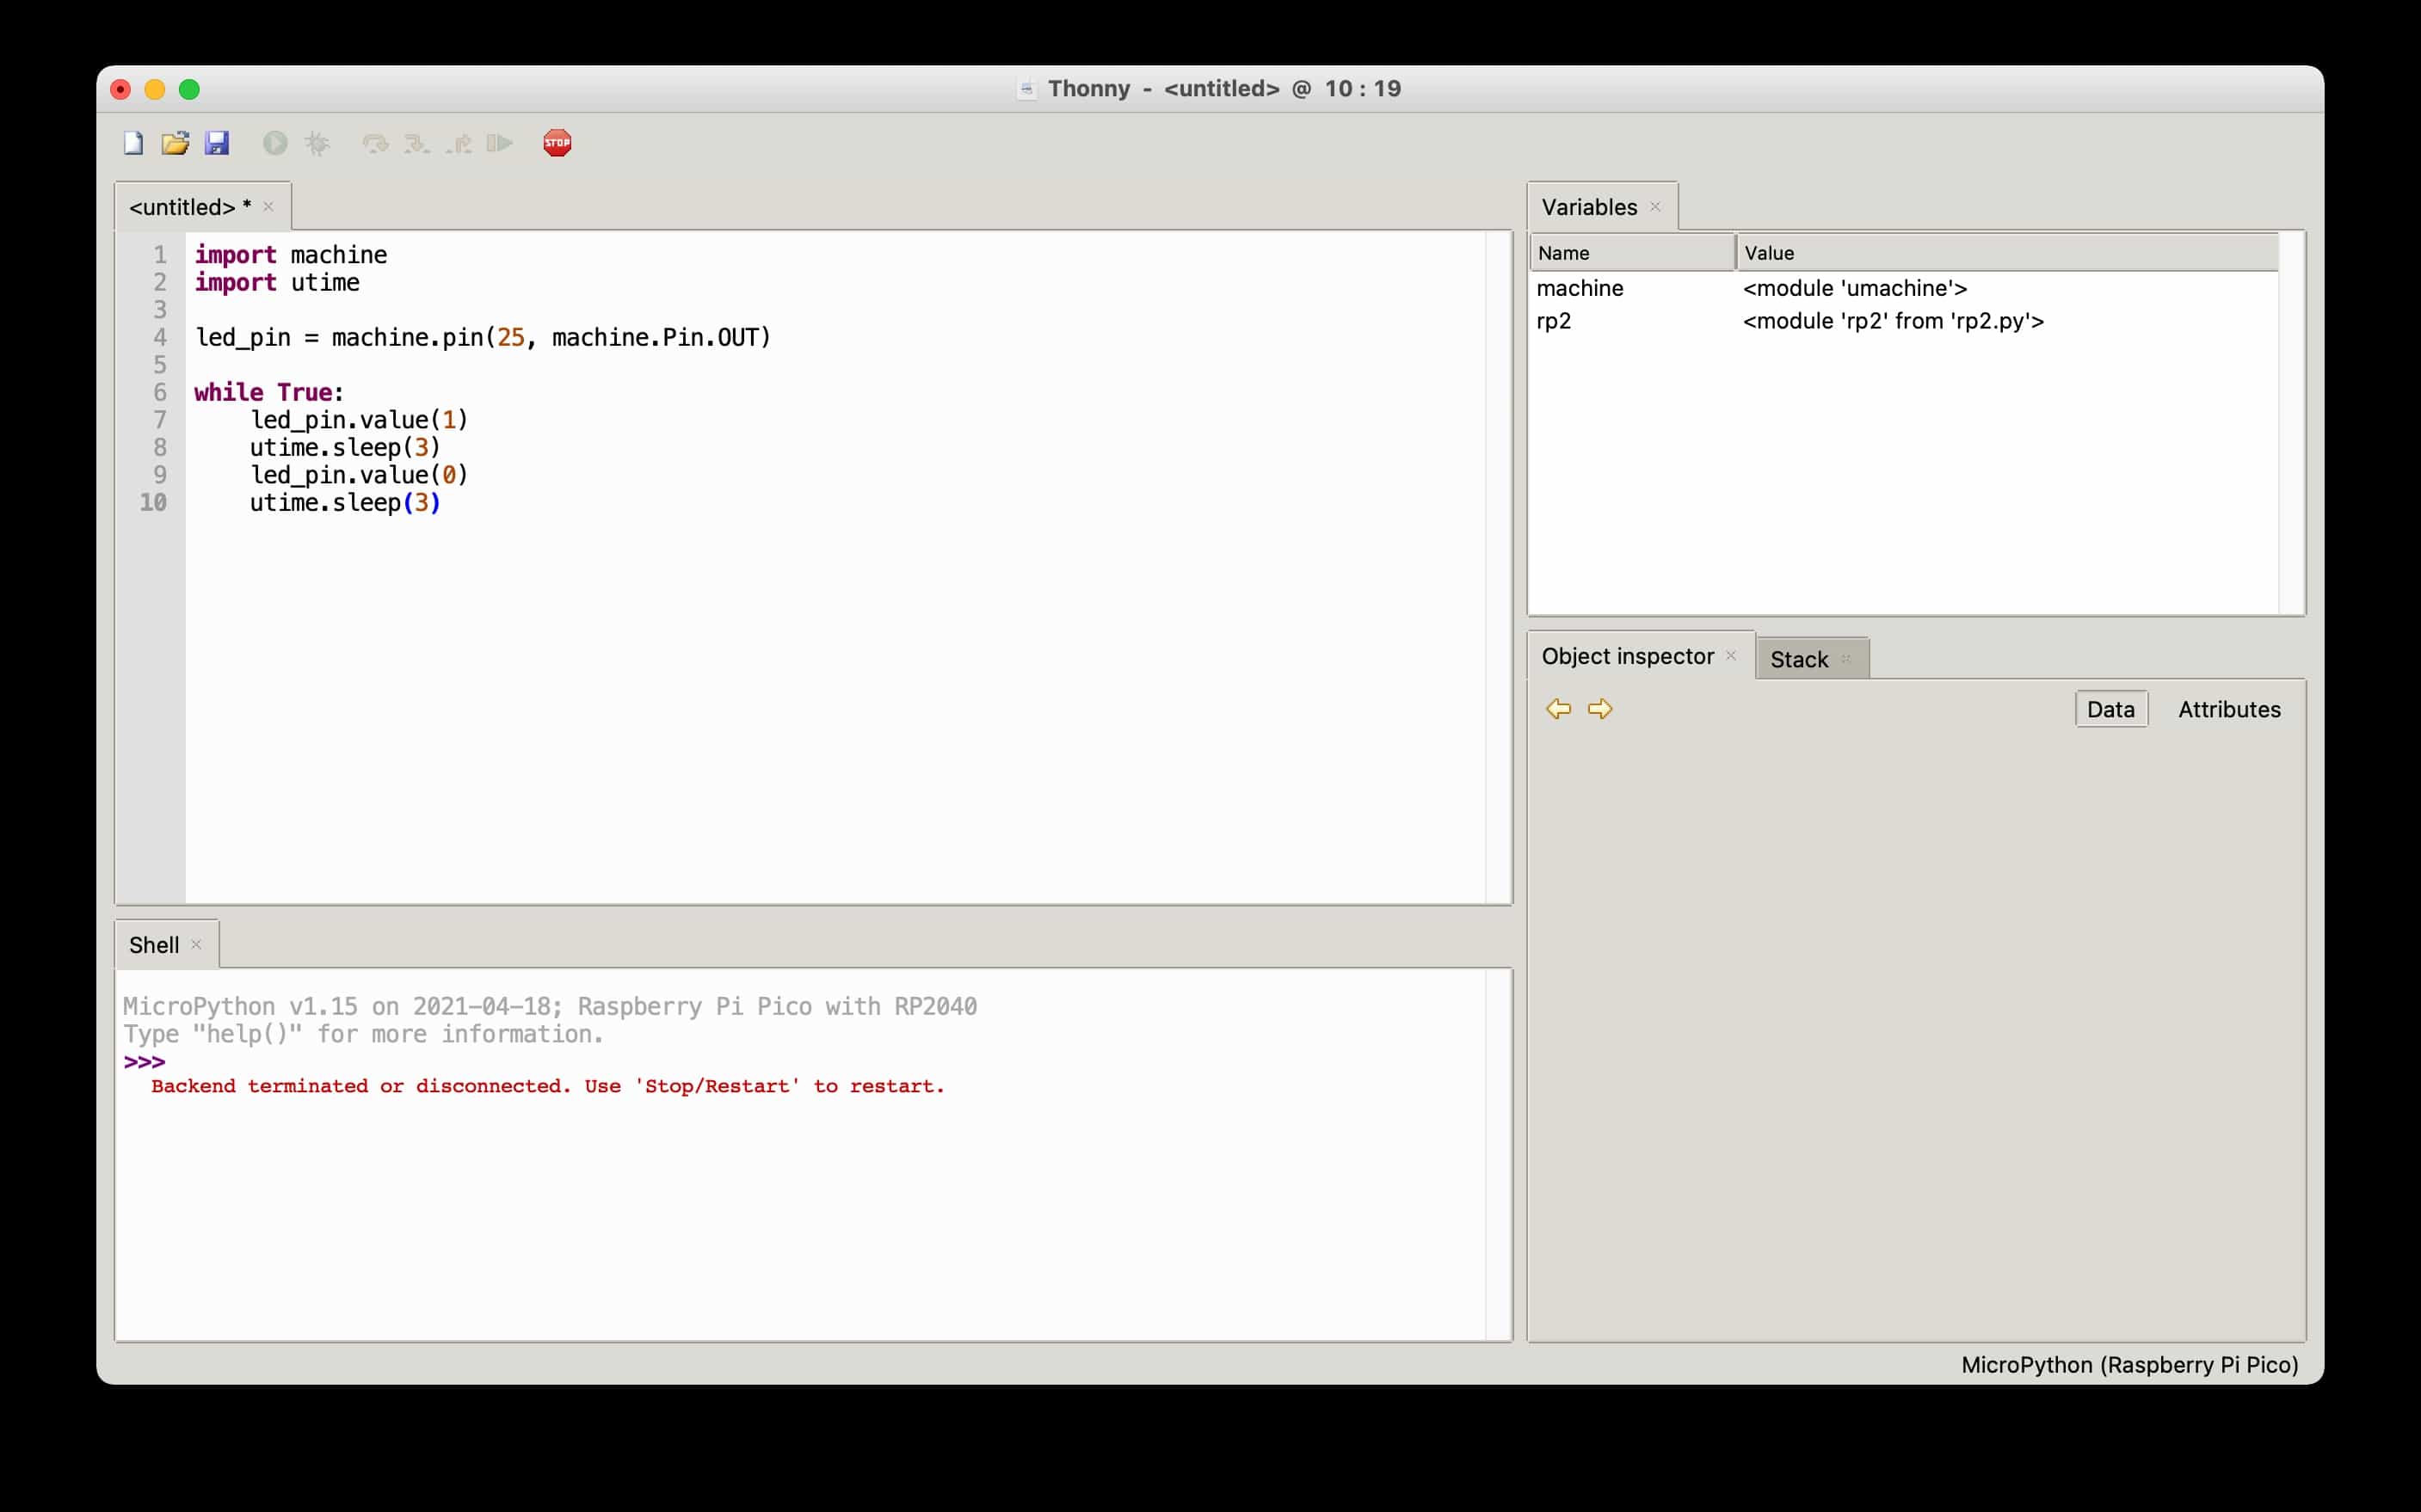
- Write your code in the Thonny editor. We shall blink the built-in LED on pin 25:
- Save your file. Make sure to use .py as the file format and make sure to select your pico as the location for the save.
Comparison
- Both boards are quick and easy, but the Pico is the slightly more simple of the two.
- C+ is the more familiar programming language to us, but Python is easier to learn for newcomers.
- Both platforms are well supported but there appear to be a greater number of libraries for Arduino
- Arduino has a greater number of tutorials and documentation readily available.
- Pico has the advantage of appearing as a drive on your computer. It would allow you to access the files on the Pico from a different computer.
- Arduino Nano is £14. Arduino Nano clone is £4. Pico is £3.
Arduino IDE vs PlatformIO
Katie and I decided to test an alternative to the Arduino IDE. Platform IO is a plug-in that can be used within most code editors. My current editor of choice is Visual Studio Code, which is open-source and owned by Microsoft(weird combo, but there we go!) I've worked through the following tutorial:
 https://www.youtube.com/watch?v=JmvMvIphMnY
Why use PlatformIO?
There are more features available on PlatformIO, compared to the Arduino IDE. This table below shows what is included in each option:
Features
| FEATURE | ARDUINO IDE | PLATFORM IO |
|---|---|---|
| Board manager | Yes | Yes |
| Code editor | Yes | Yes |
| Syntax highlighter | Yes | Yes |
| Compiler | Yes | Yes |
| Uploader | Yes | Yes |
| Library manager | Yes | Yes |
| Serial monitor | Yes | Yes |
| Version control | No | Yes |
| Auto complete | No | Yes |
| Debugger | No | Yes |
It looks like a no-brainer to us. Version control through Git and a useful debugger is more than enough reason to use this new platform.
We followed the youtube tutorial above to do a simple blink sketch on an Arduino Nano. Everything was very straightforward and worked great.
Programming working
We used a blink sketch that was on python so get our rasberry pi to blink the led on and off.
Here is an image of the code we used and the resberry pi lighting up with the code that is on the screen.
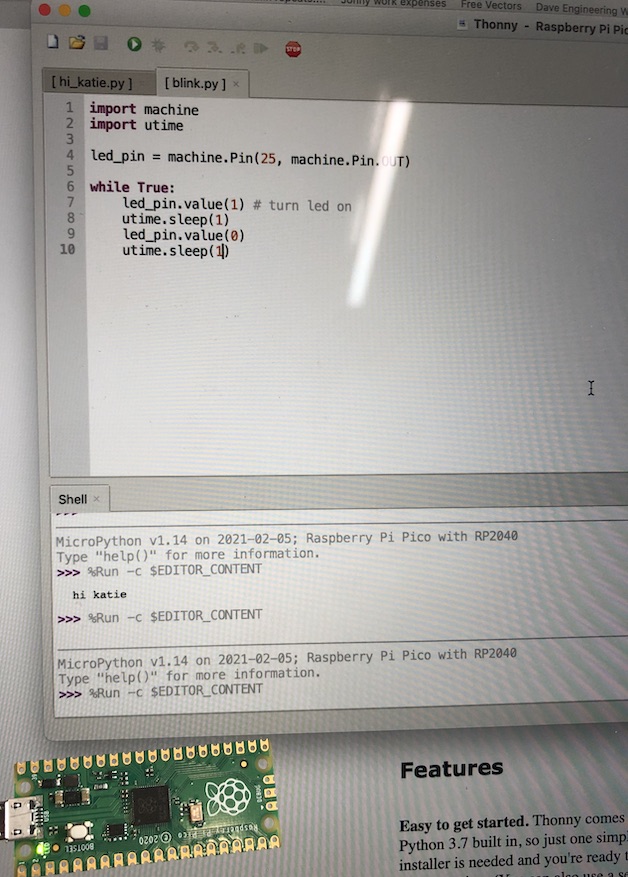
Code for the programming
    import machine
    import utime

    led_pin = machine.Pin (25, machine.Pin.OUT)

    while True:
        led_pin.value(1) # turn led on
        utime.sleep(1)
        led_pin.value(0) # turn led off
        utime.sleep(1)


      Last update: June 12, 2021