Composites
This week I was developing part of my final project which is monowheel mount for sensor. Looking into the shape of the wheel you’d notice that it’s shape is not really welcomes any attachment, so after a while I decided to use some strong double adhesive tape for sticking a mount onto glossy monowheel’s surface.
Design
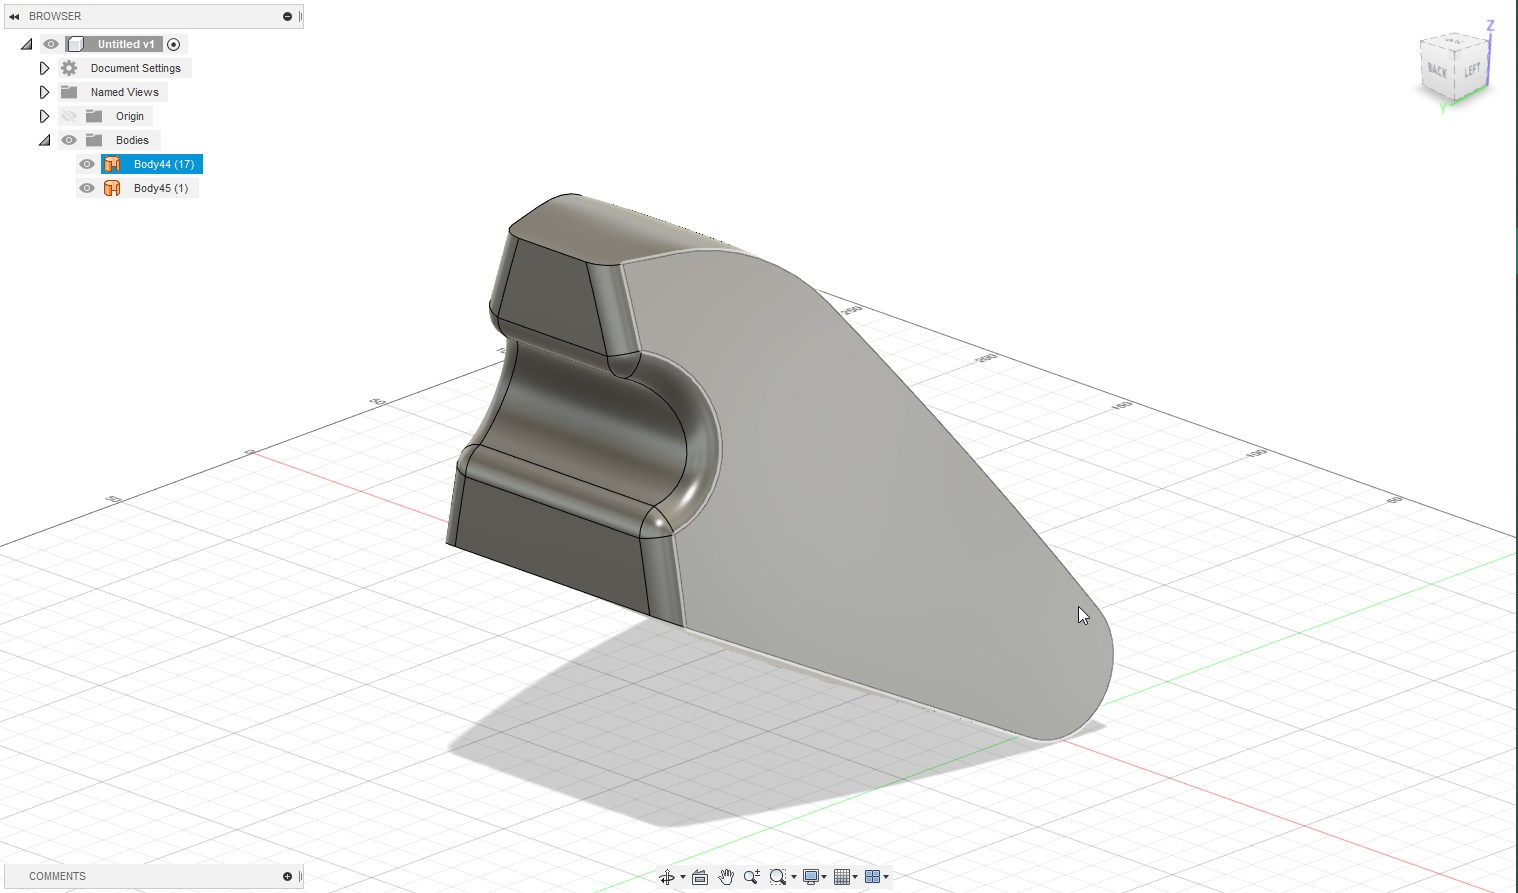
Sufficient surface area for adhesion was the starting point of the design. The monowheel is perfectly symmetric in two planes and consists from two spherical surfaces kinda intersecting, so the mount is continuing the surface topology into it’s legs. The contact surface with the sensor is flat plane with straight cylindrical rib to improve the mount’s sturdiness.
The mould itself is closed inner surface of the mount. In Fusion I’ve used unstitch tool in the surface tab then deleting all unwanted surfaces to stitch back to solid body and get the mould piece.
▼ The mould
Printing the mould I was using rough settings and then just healed all the spots with the heating fan.
▣ Files
▼ Mould STL
Manufacturing
Printing the mould
▼ mould-print
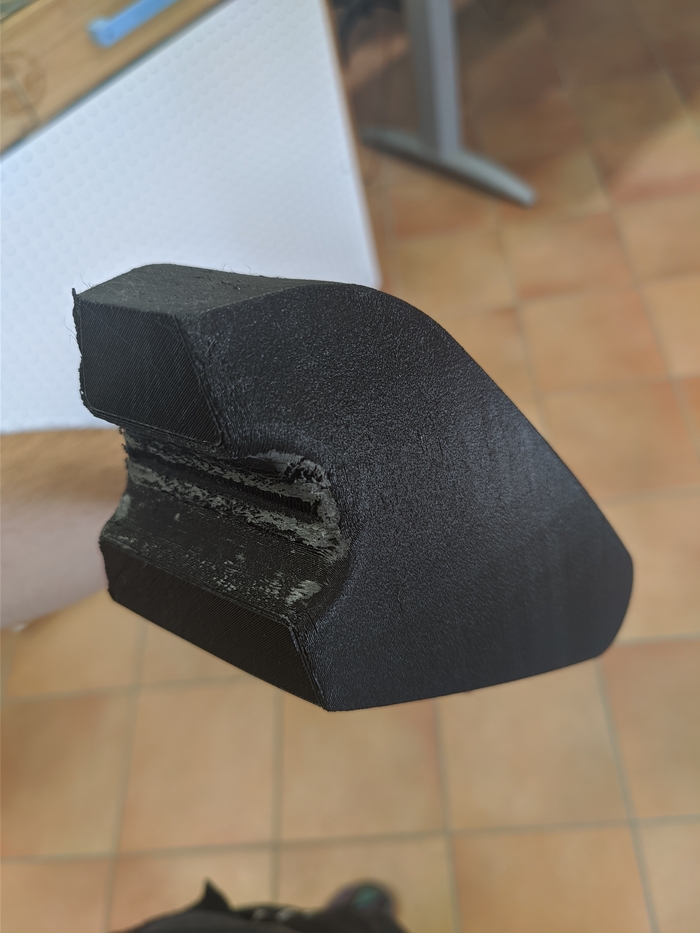
You can see that some supports are still left inside the rib, to remove them I’ve used cutters and on the next shot you can see that supports are removed.
▼ mount-healing
Casting the fiberglass
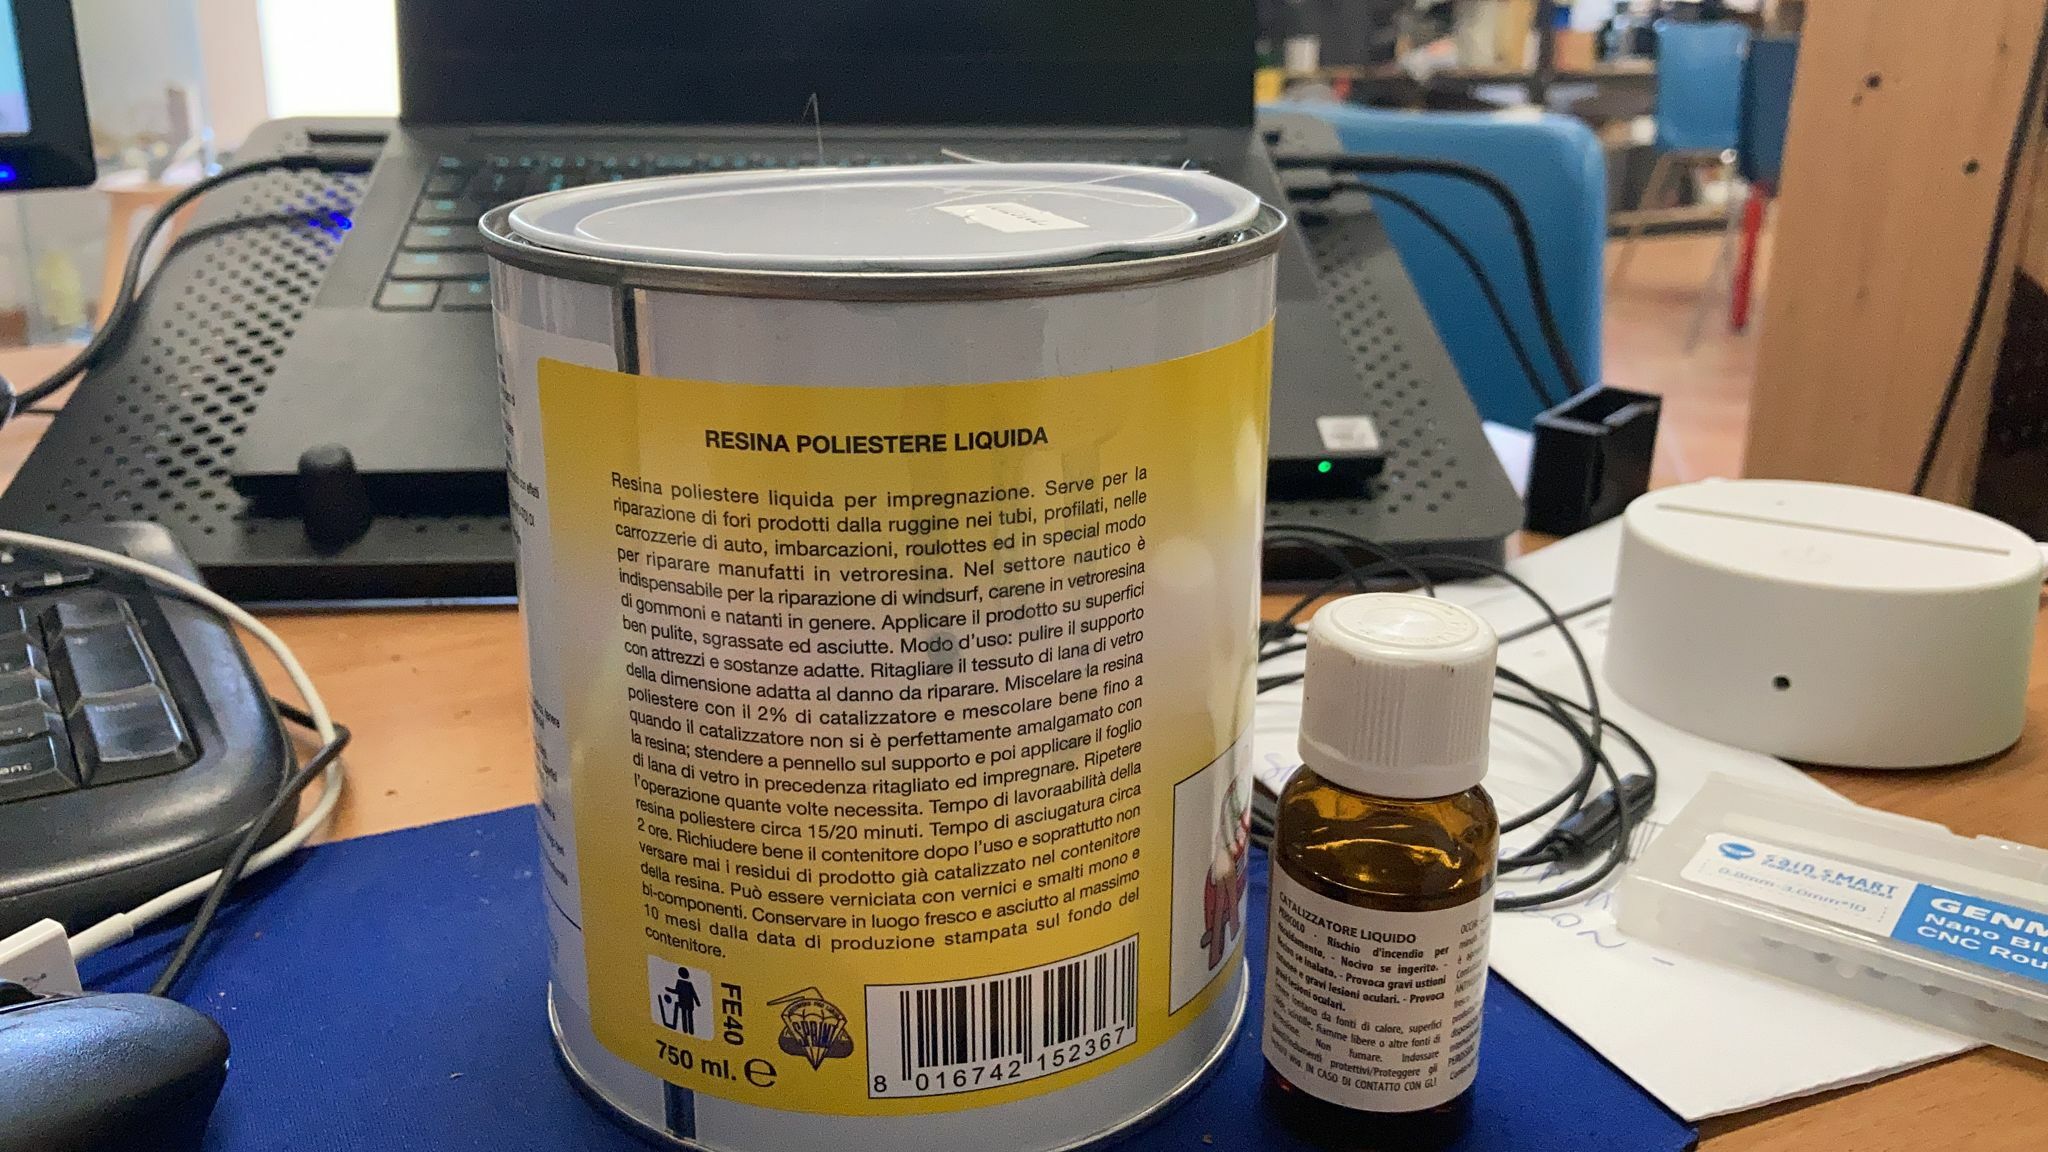
For casting I have used:
POLYESTER RESIN

2% MEKP LIQUID HARDENER

FIBERGLASS 450GR/M2 MATS
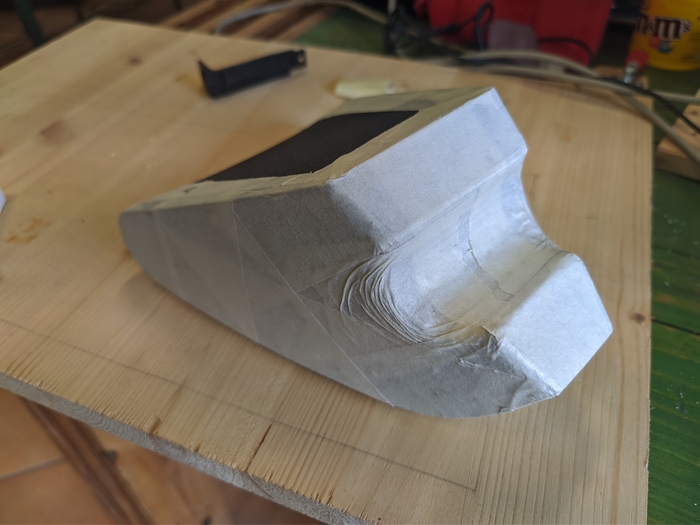
To protect the mould I’ve used regular masking tape applied in 2 layers. That was sufficient enough to protect the plastic from sticking to resin.
▼ mould-protection
The fibers are not totally sticking together so that allows to shape fiberglass sheet around the surface curvature and then sticking it with resin and fixing the fibers in relative positions. After applying several layers stiffen resin bounds the fibers into one continuous piece.
▼ applying the fiberglass
Working with resin should be fast, wetting the fiberglass sheets to band around the shape. While doing this I was constantly fitting the mats to keep the mats tight with surface.
▼ mount-cut
Here cutting the redundant edges is done when the resin is stiffen enough not to stick, but still a bit soft to cut it well.
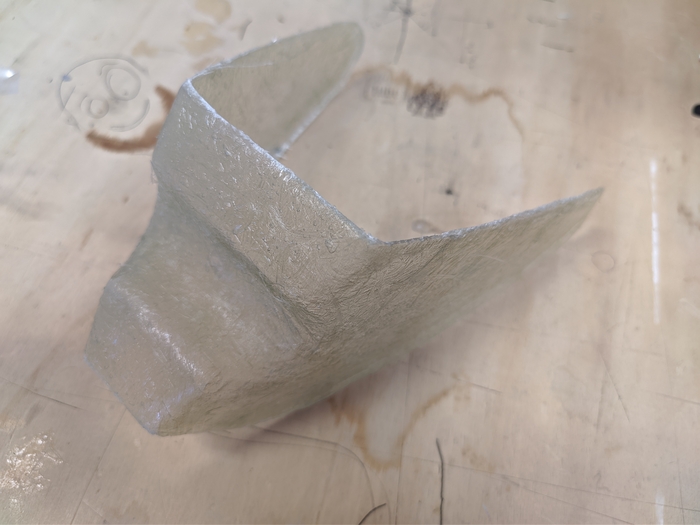
▼ mount-done
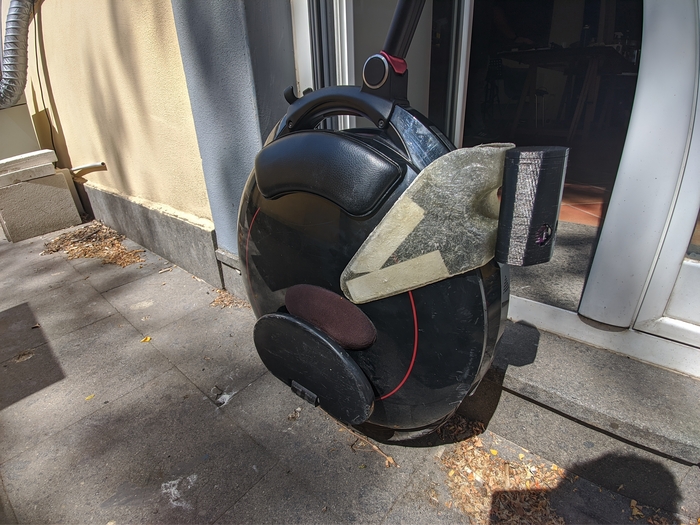
The resulting piece is sturdy and hard so the proportions was not missed and there are enough fiberglass layers. Getting tight on time I’ve left it as it is but it definitely requires some finishing.
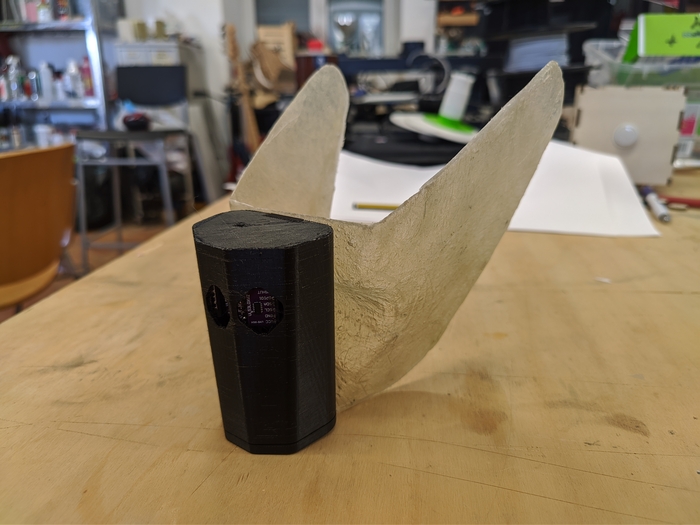
▼ mount-and-sense
▼ mount-bolt
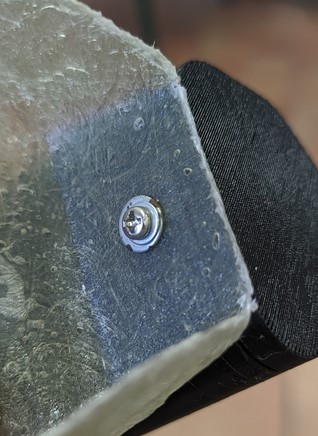
Te bolt supplied with the two disks to increase contact area and reduce fiberglass cracking.
▼ slide-fit
▼ slide-fitting
▼ mount
▼ rear-view
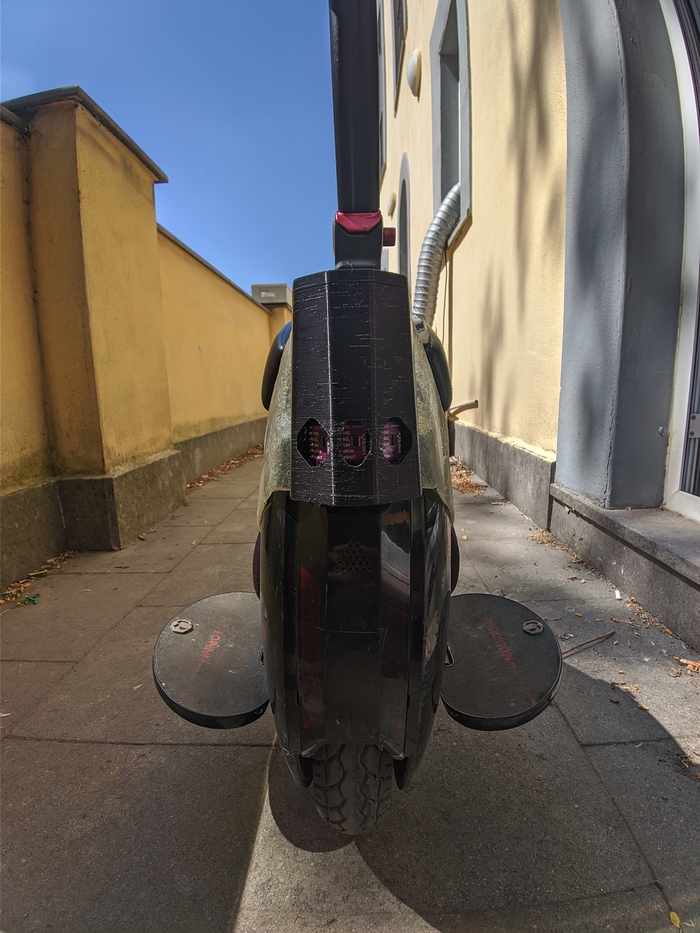
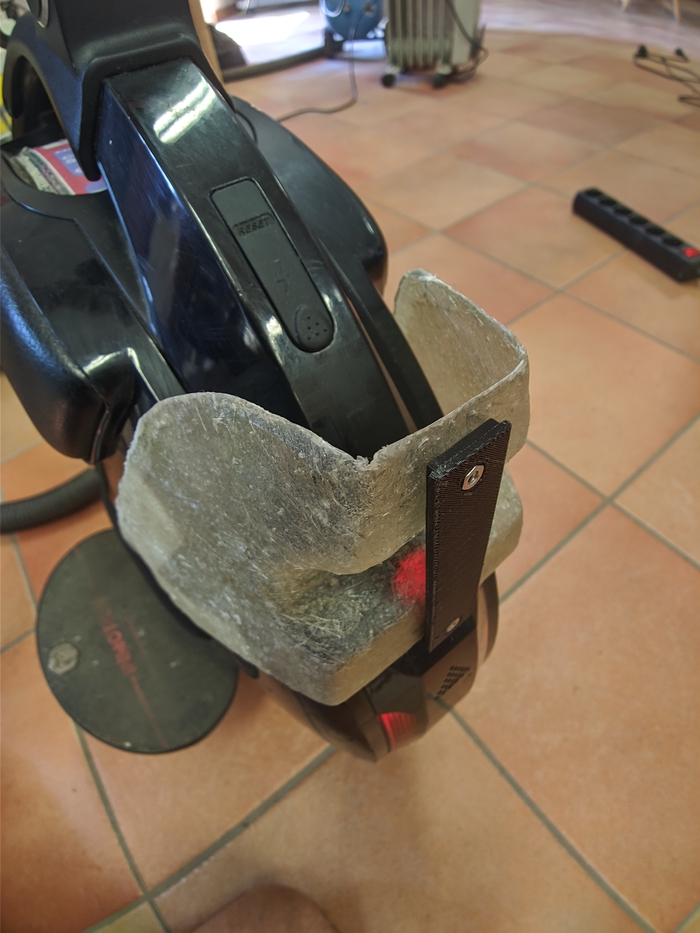
Notice that mount is following curvature and that probably wouldn’t be possible without 3D scan that allowed to design from mesh reference.