4. Electronics production
Individual assignment of this week is to make an in-circuit programmer by milling and stuffing the PCB, test it, then optionally try other PCB processes.
Link of Group assignment for this week
Tools used in the process
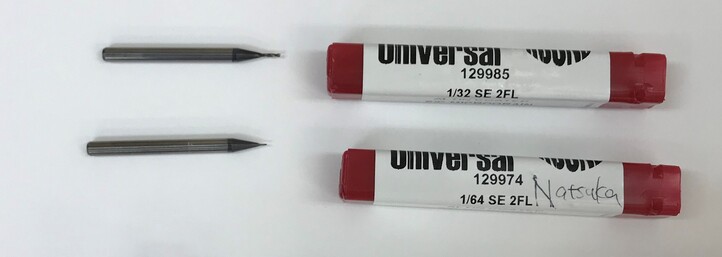
Endmills <- tested in Group assignment For trace : 1/64” <- Standard endmill for trace For interior : 1/32”
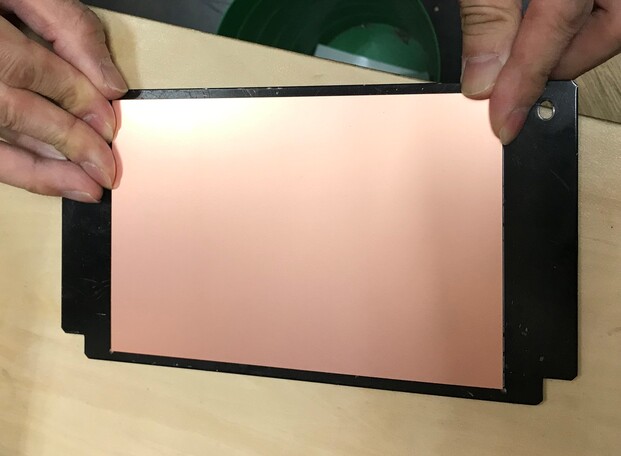
PCB material - “FR-1” phenolic paper. Do not use FR-4 because it’s epoxy glass and may break bit
-
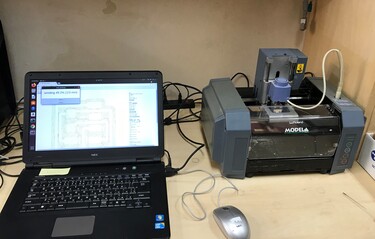
CAM: Fabmodule (OS: Linux ) in Fablab Kannai was copied from MIT’s website and install to local server with some technical adjustments.
-
CNC milling machine : Roland MODELA MDX-15
As an another option, there is Mods, which requires technical skills more than Fabmodule.
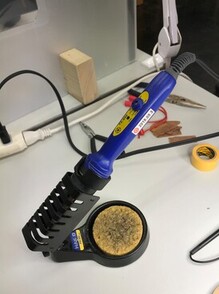
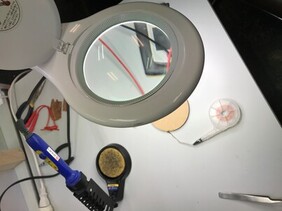
SOLDERING TOOLs - soldering Iron / wetting / fine solder / braid / wood mat / tweezer / flux / flux cleaner / tape for fixing PCB on the wood mat during soldering / magnifying glass if available
Multimeter - to check transmission once stuffing completed
PARTS -
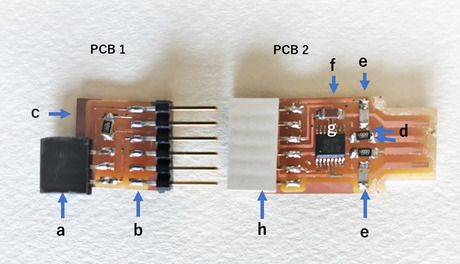
PCB 1
a. 1 x J2 3 pins UPDI(AVR 1 series)
b. 1 x J1 Serial 6 pin header
c. Resistor 4.99k ohm
PCB 2
d. 2 x Resistor 49k ohm
e. 2 x 10pF capacitor
f. 1 x 1uF capacitor
g. 1 x FT230XS
h. 1 x 6 pin connector
Assembly
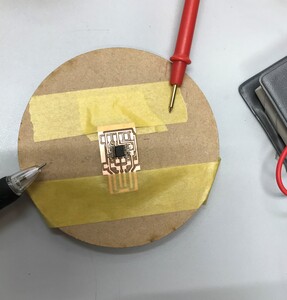
In terms of cutting of PCBs, please refer to Group Assignment. For Individual assignment, milled 2 types of PCB.
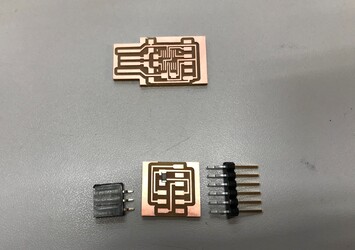
Assembly steps -
1.Wash surface of PCB with detergent
2.Picking up necessary parts from small drawer chest in Fablab Kannai where various parts stored
3.Put flux on surface of PCB
4.Confirm orientation of parts
5.Tack down one end of each part and then solder to fix
6.Solder parts, inside to outside, bottom to top
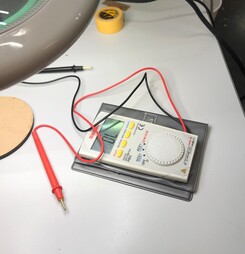
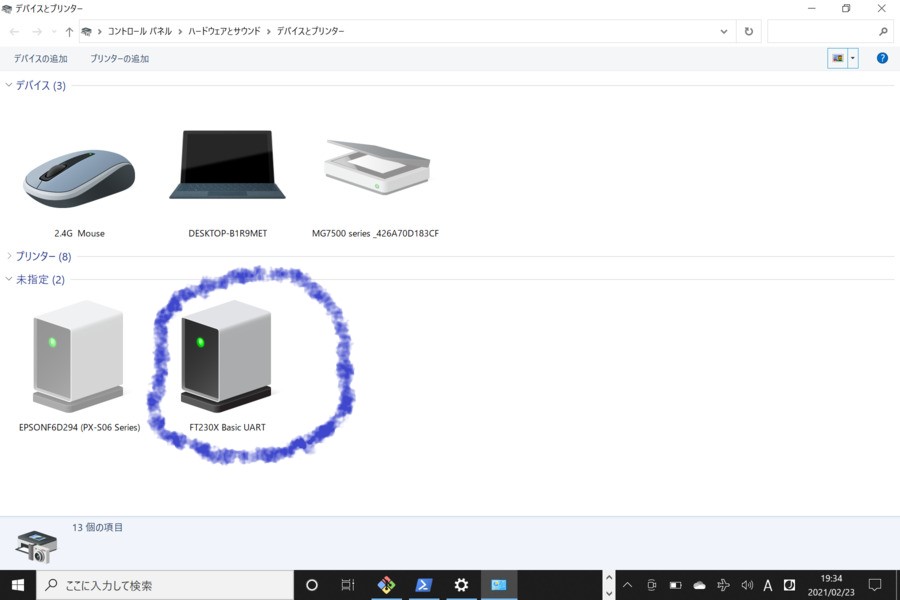
After all part placed on PCBs, check transmission by using multimeter to see if each path works well. Once the checking has completed, let’s try to plug the PCB2 in USB socket. If PC recognized that, the mission of this assignment successfully completed !!!!
Result
Successfully completed the assignment!!
The two PCBs are well working together for loading programs & communicating in serial monitor to other PCBs later date.
What I learned about soldering this week
This is the first time for me to do soldering. So the process was not going straight forward.
I learned below this week.
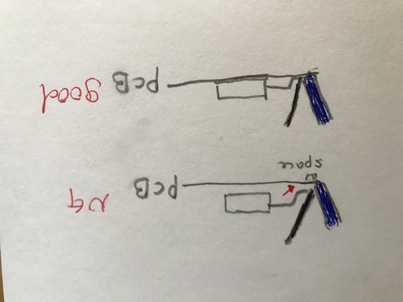
Need to solder each pin. Otherwise path cannot properly work. Braid helps to remove excess lead.
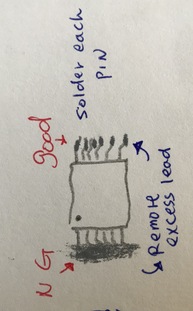
The tip of soldering iron needs to touch pin. If there is some space between the tip and the pin, the pin may not touch the PCB. Then no transmission established. So make sure to press pins with the tip of iron when soldering it.