2. Computer Aided design
This week’s individual assignment is to model (raster, vector, 2D, 3D, render, animate, simulate, …) a possible final project, compress your images and videos, and post it on my class page. I
No group assignment this week.
2D raster
“Raster images are ideal for photo editing and creating digital paintings in programs such as Photoshop and GIMP , and they can be compressed for storage and web optimized images.”
“How you can use a given raster image depends on its size and quality. Quality is often dictated by how many pixels are contained in an inch, expressed as pixels-per-inch or ppi; as well as the overall dimensions of the image, also expressed as pixels “
I used Photoshop and created a slide for introducing myself.
Open Photoshop
I have purchased a license of Adobe creative cloud and installed in my PC.
By clicking Ps icon on my desktop, I can start working on Photoshop.
Setting an art board(Document)
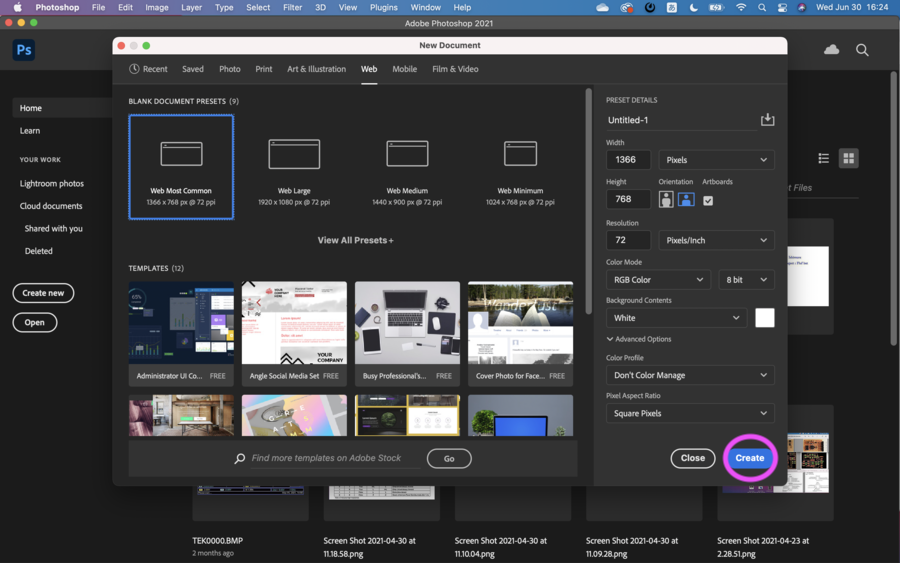
When I create a new document, I select or set an art board size and its orientation.
Import images
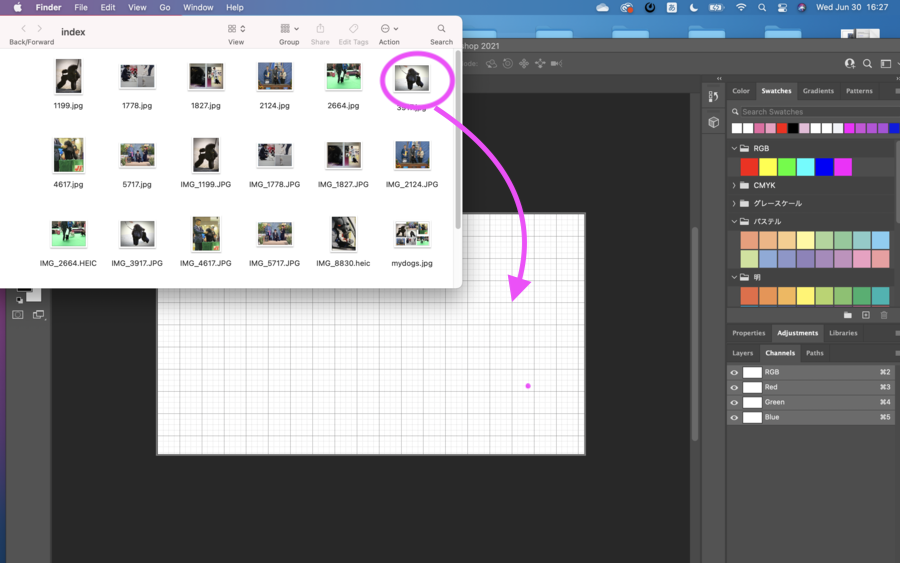
I can import images from Import menu under File. Or just drop images to the art board. I drag & sdropped images I want to use in there. Photoshop automatically rasterize the images.
Add texts
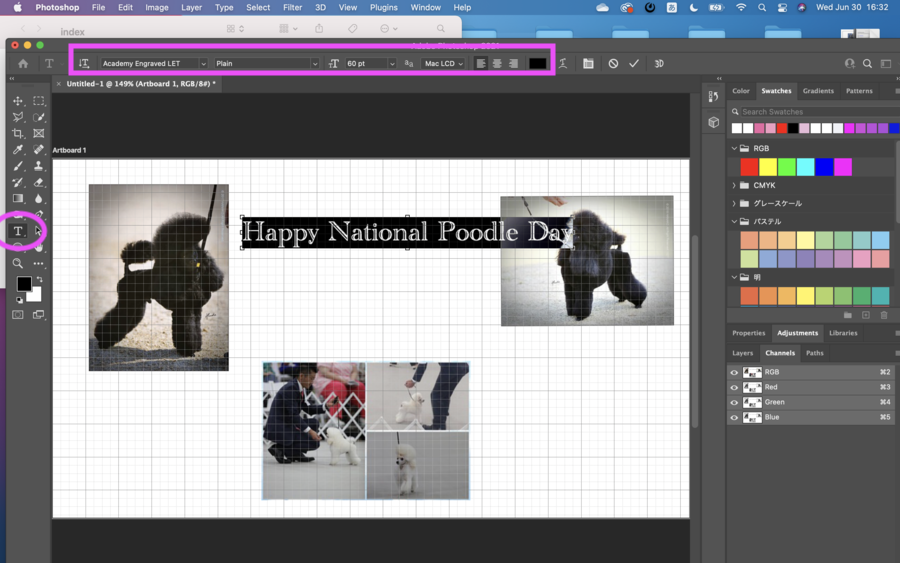
If I want to add texts, select “T” icon left side menu and write down texts. Font and font size can be changed at upper side menu.
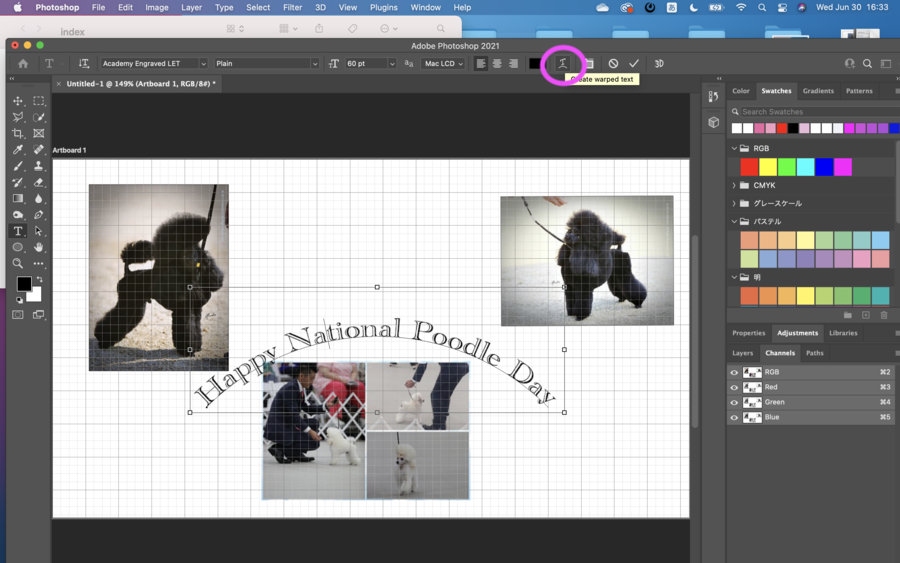
Text Art
I can use Warp Text if I want to add art features to my text.
Add drawings
If I want to add some drawings, I have some options, such as Pen tool, Brush tool and others at left side bar. I tried Pen tool. By clicking right side of mouse, I can see options about Pen tool.
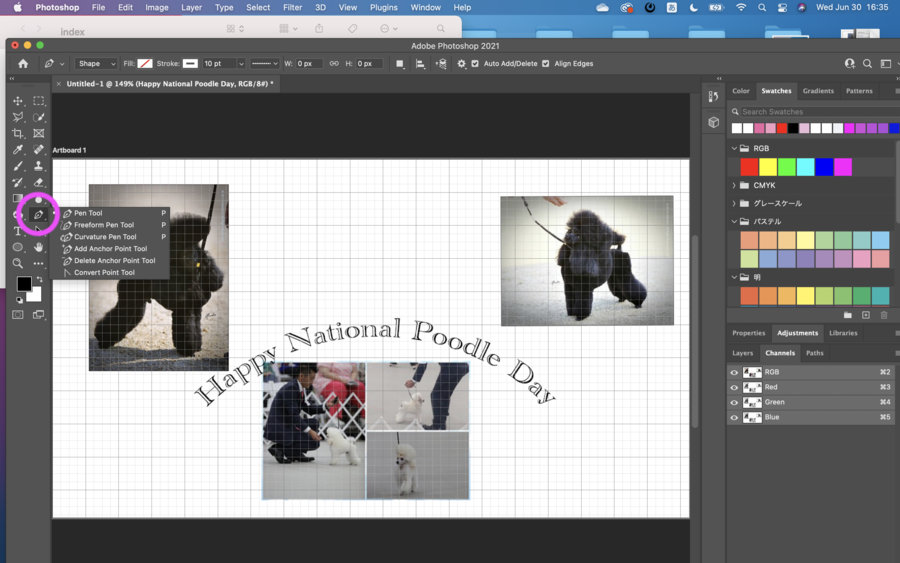
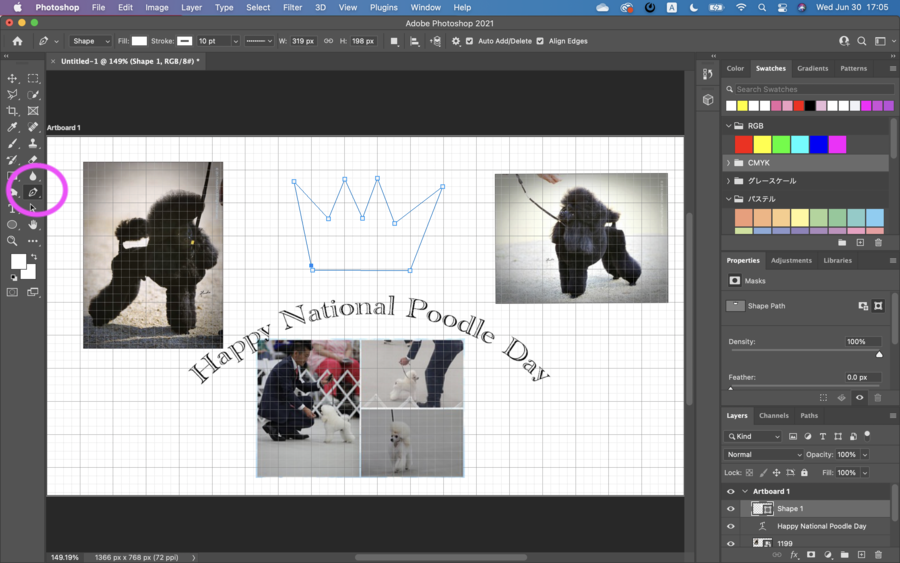
Using Pen tool, I drawn a crown.
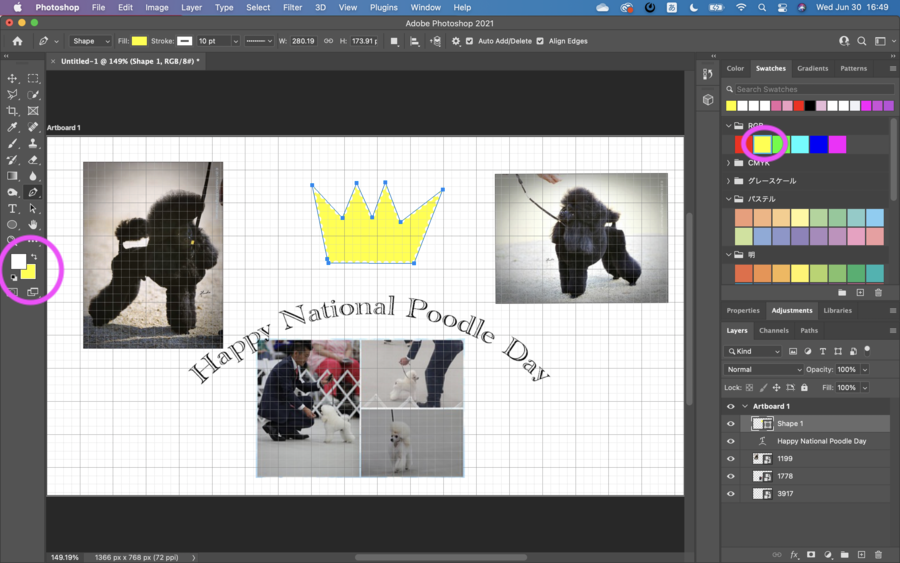
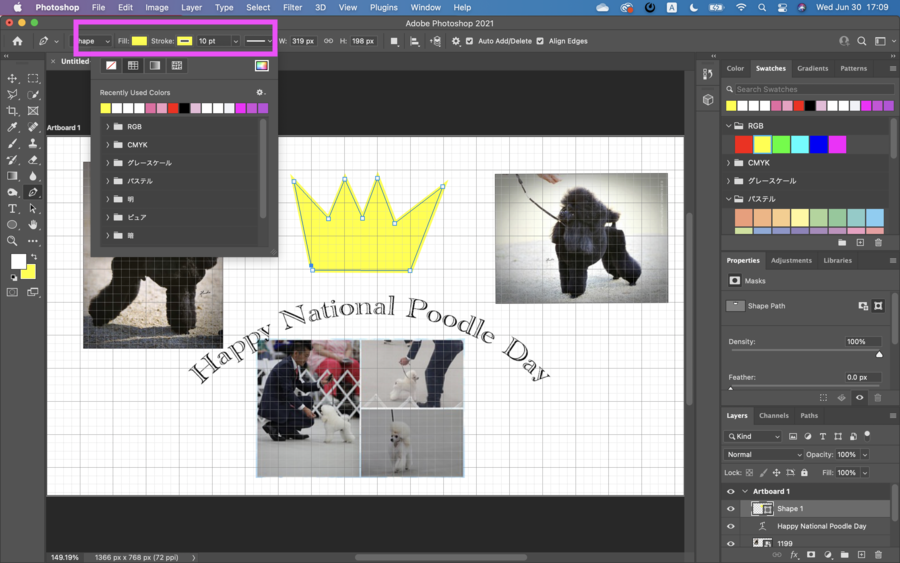
Add colors
I can put colors to my drawing by clicking color picker and select colors from color palettes. I chose Yellow in Swatches.
Add style to outlines
If I want to give styles to the outline of my drawing, I can do it by selecting ones in Fill, Stroke and Stroke options(Line styles).
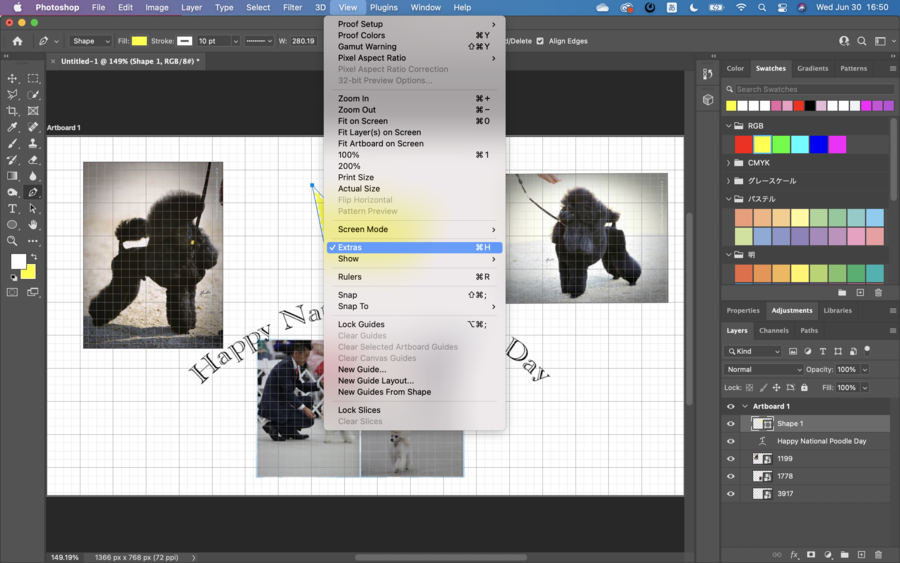
Remove ruler lines
Go to View in Photoshop menu, remove tick from Extra.
Finished
If I want to save it, Control + S in Key board. Or go to File to save. I can save it in other format by using Export, such as PNG, JPG, GIF and PDF.
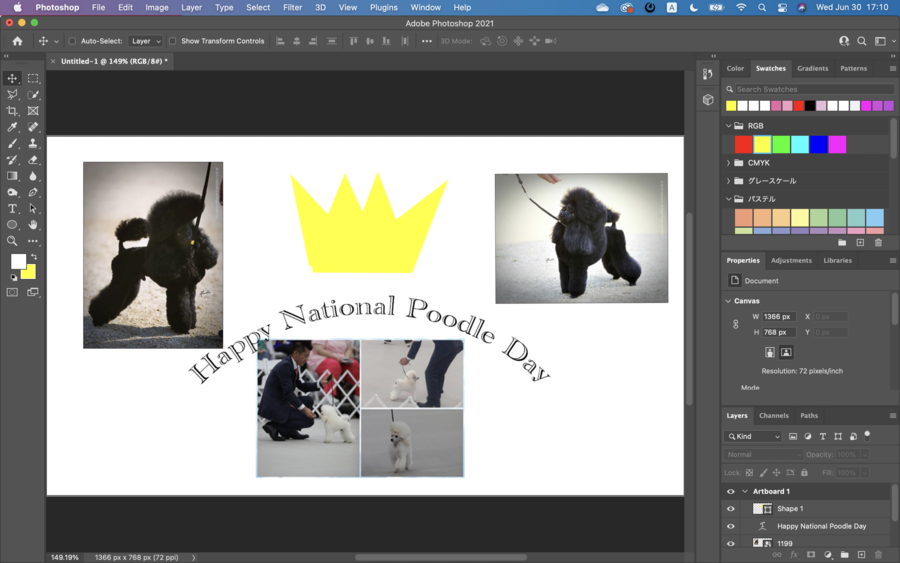
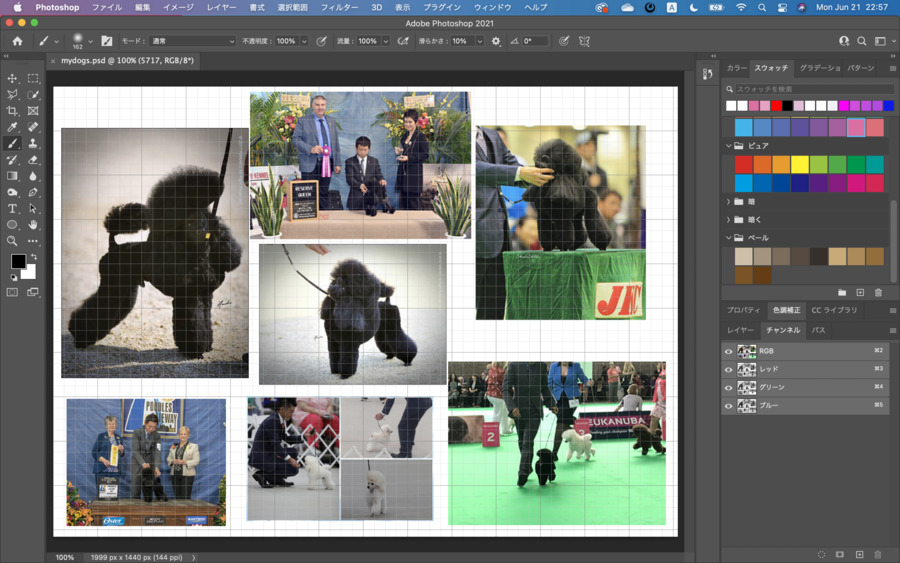
My Work
Since I’d like to show how much I am enthusiastic in Dog shows. So I decided to include my dogs’ hero shot as much as possible. I thought that the pictures tell without texts.

2D vector
“Since mathematical formulas dictate how the image is rendered, vector images retain their appearance regardless of size. They can be scaled infinitely. Vector images can be created and edited in programs such as Illustrator, CorelDraw, and InkScape Inkscape how to draw this character(add screenshots and words)”
I tried use InkScape.
Install InkScape
This is my first time to use InkScape. So I needed the install. Here is download site.
Open InkScape
Once the installation completed, I found below icon on my desktop. By doble-clicking the icon, I started using InkScape.
![]()
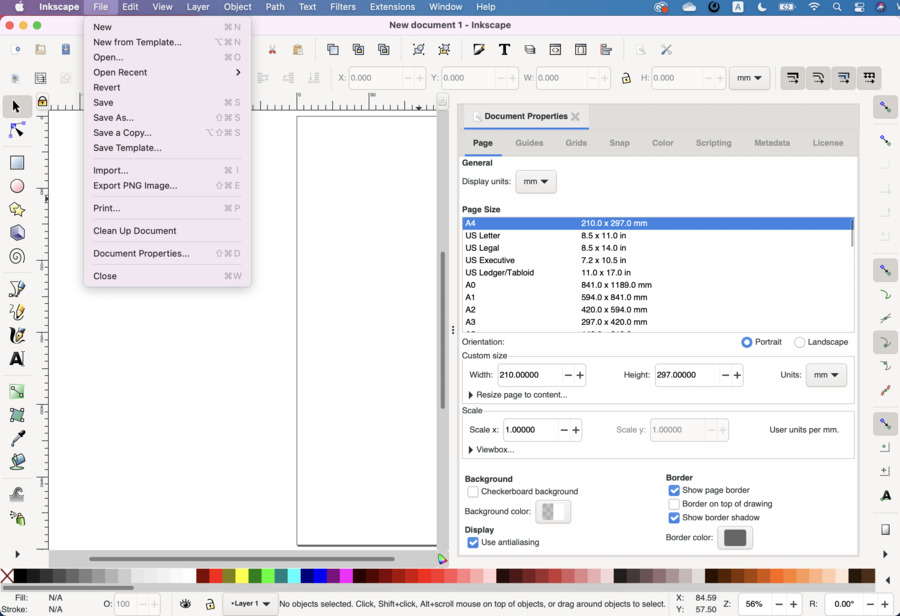
If I want, I can change the size of drawing area by Document Properties.
Drawing
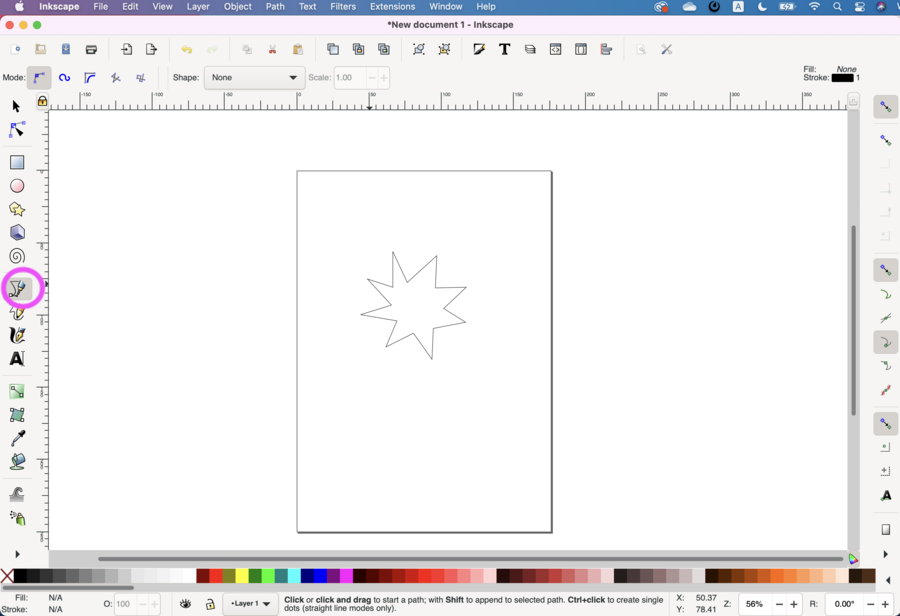
This is the screen image of InkScape.
- Upper menu is related to files and layers.
- Left side menu shows drawing tools
- Right side menu show toggle options
I used Bezier lines to draw by selecting pencil icon left side circled in pink. Other way to draw, I can use freehand or brush by selecting icons below the pencil icon. I can use square, round icons to draw rectangles or round shapes.
Assign colors
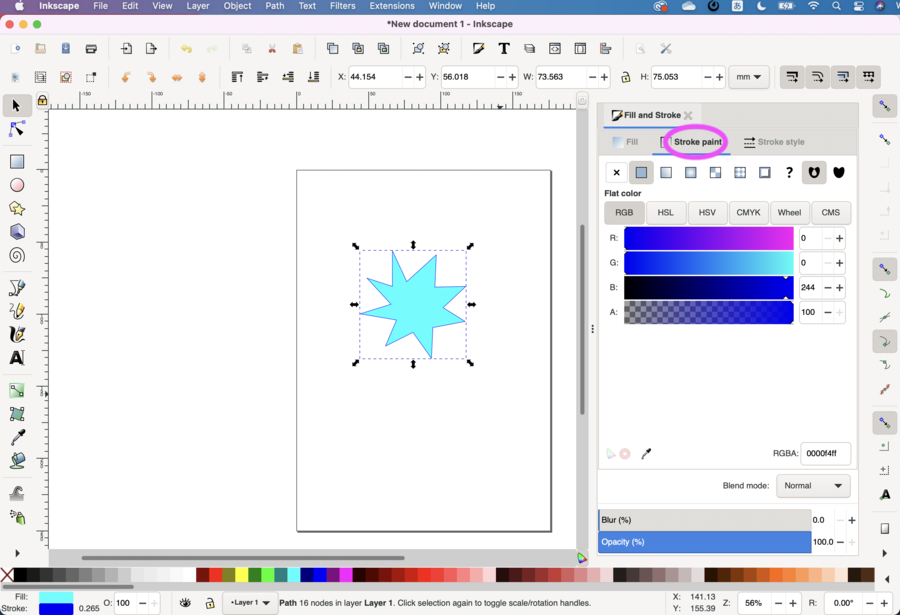
I can put colors to my drawing. Clicking “Fill” “Stroke” at right side bottom, I can open color “Fill and Stroke” panel. By using Arrow icon(“Select & Transform object”), select the drawing item. In the panel, Fill is filling color to the object. I used flat color. As other options, I can use various gradients by selecting icons next to the flat color.

Outline colors
If I want to change colors of outlines, I can select Stroke Paint tab next to Fill tab. Then choose colors.
Width of outlines
If I want to change width of outlines, I can select Stroke Type tab next to Stroke Color tab. Then change width by changing numbers.

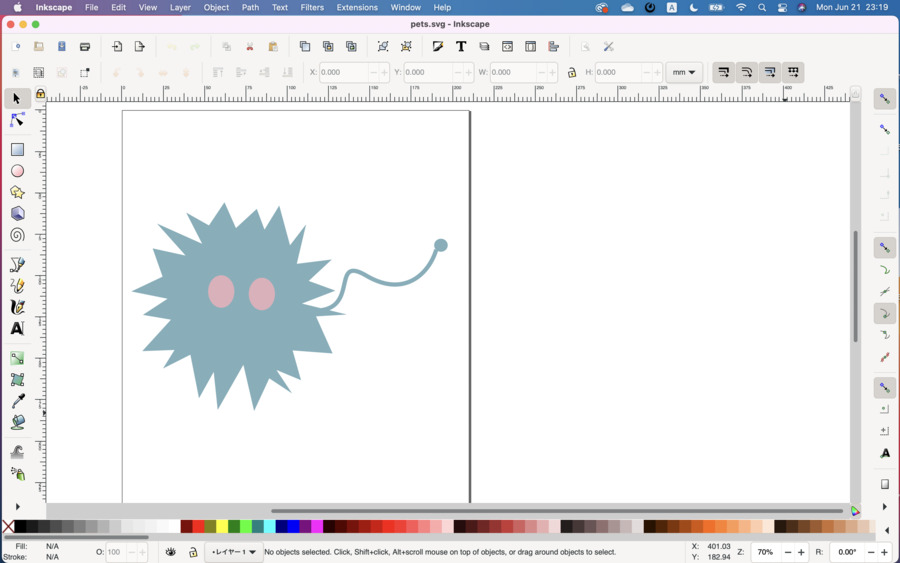
Final Project Character
I used Bezier curve lines for drawing body of the character and used freehand to draw the tail. I drawn eyes by using pink round icon. I assigned the same color to Fill and Stroke and gave pink color to the eyes.

3D
I designed a future my final project item by using Fusion 360. I wanted it to have furry appearance but unfortunately Fusion 360 has such a material option. So a bit different from my image in my mind.
in Fusion 360, below steps followed.
Open Design
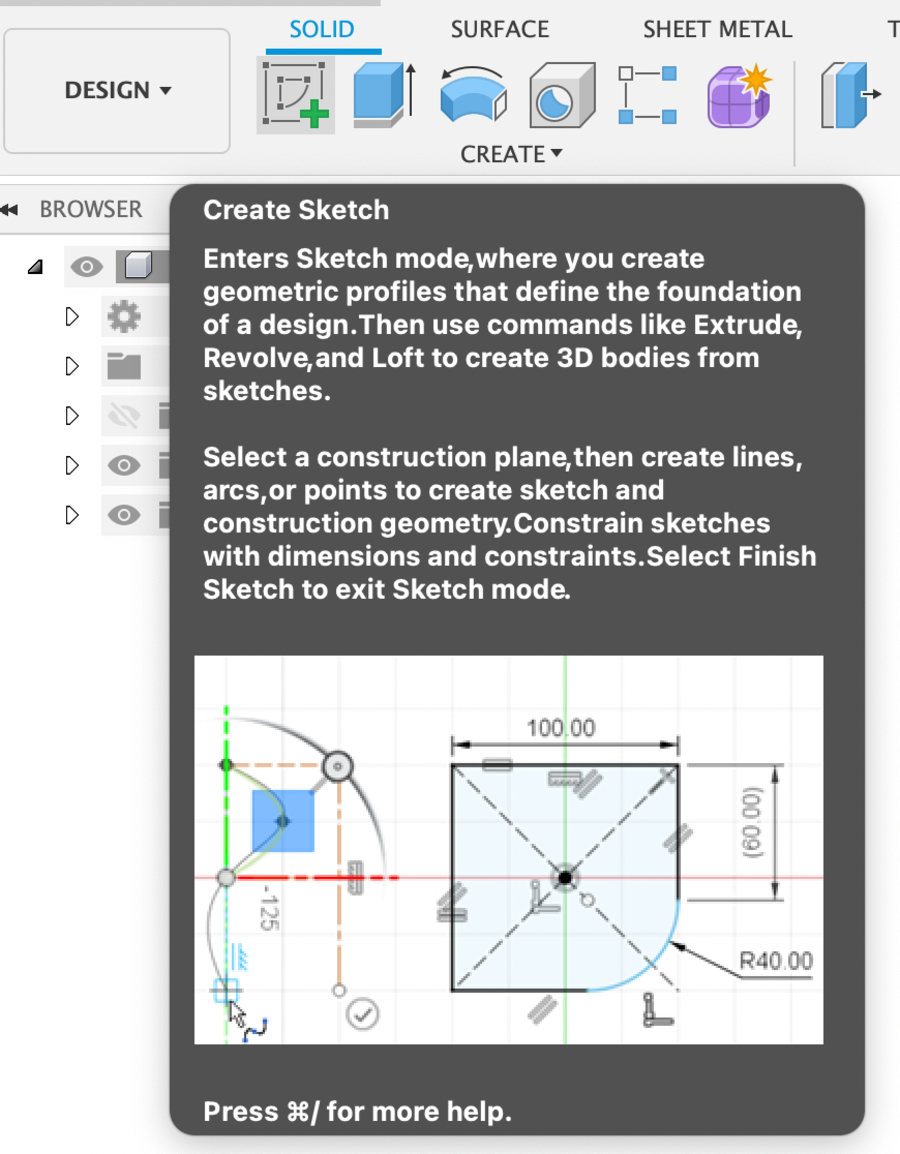
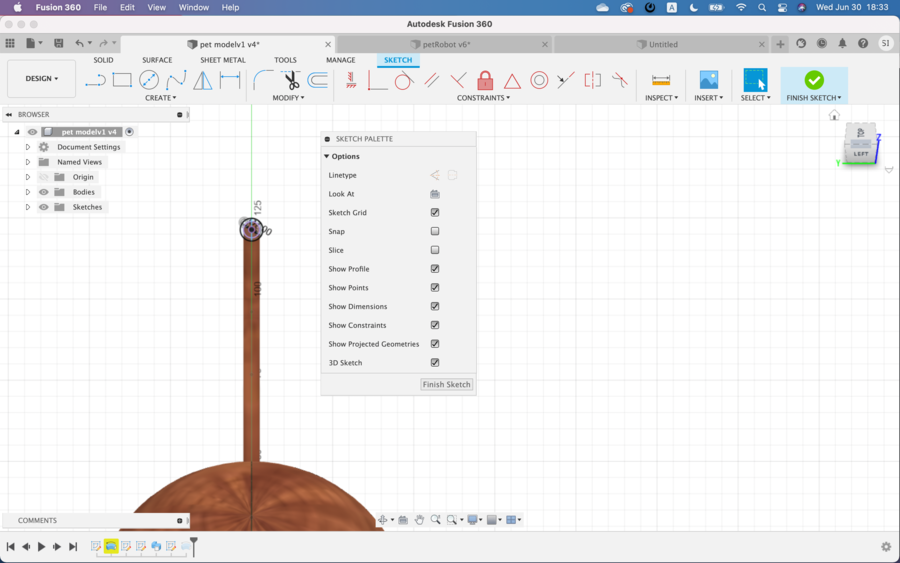
First thing to do is to create Sketch.
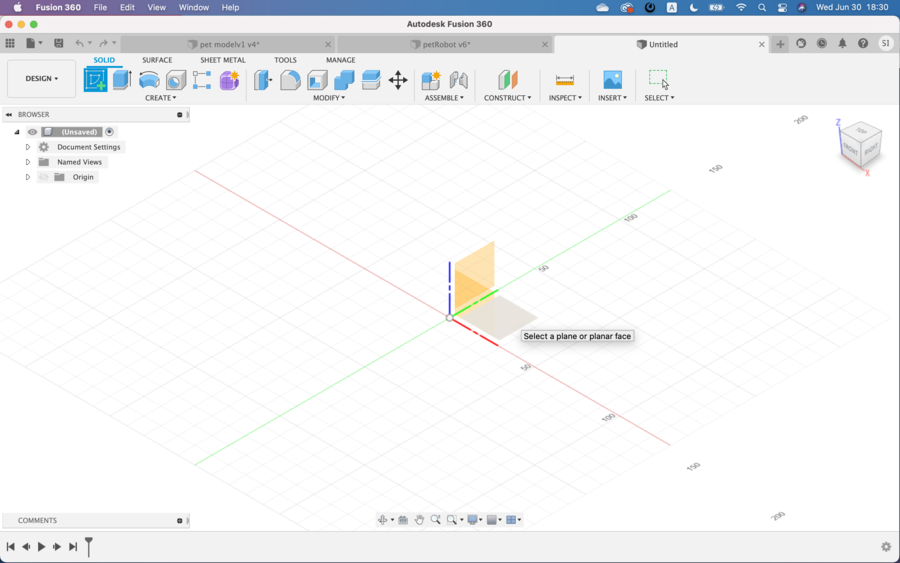
Then select a plane. I selected Y-Z face.
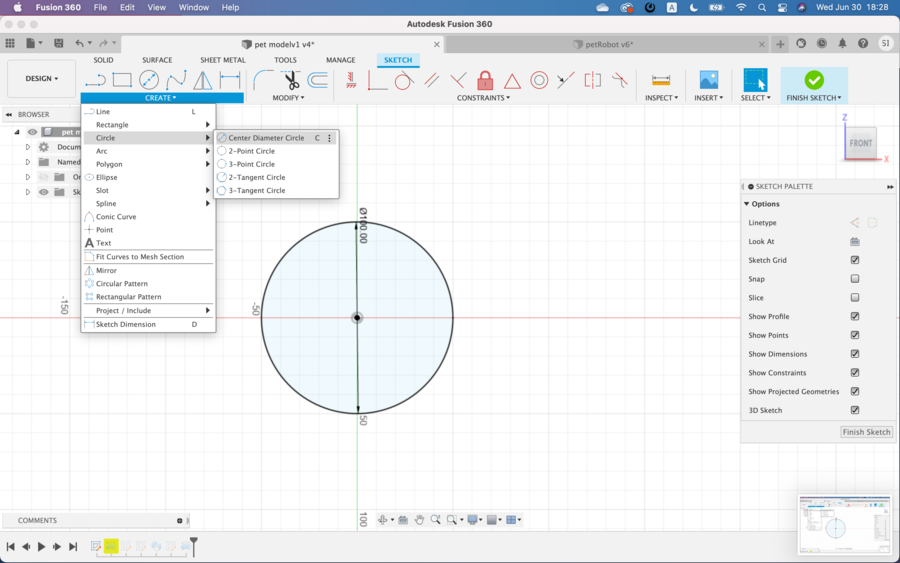
Write a round by Center Diameter of Create Menu.
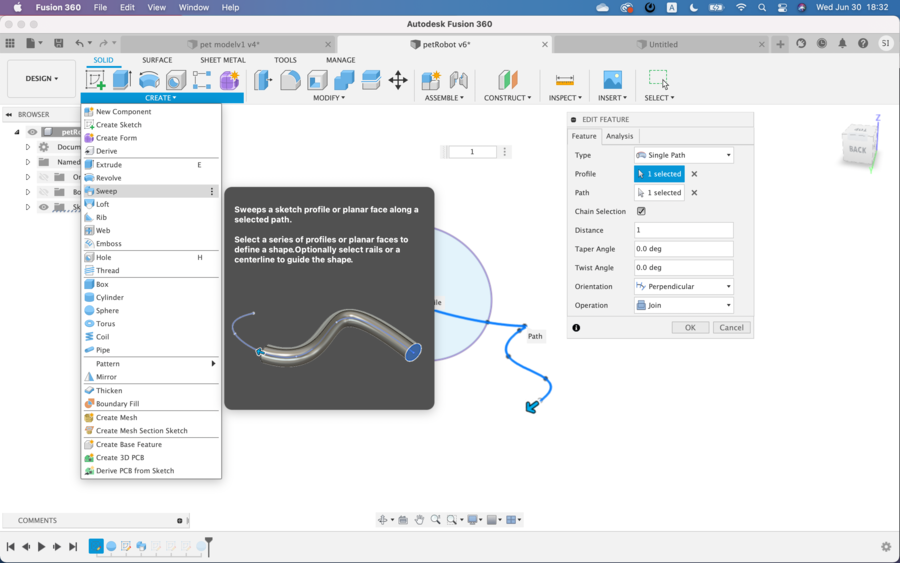
Next select Sphere from create menu. Now I had a Body. Then draw a tail.

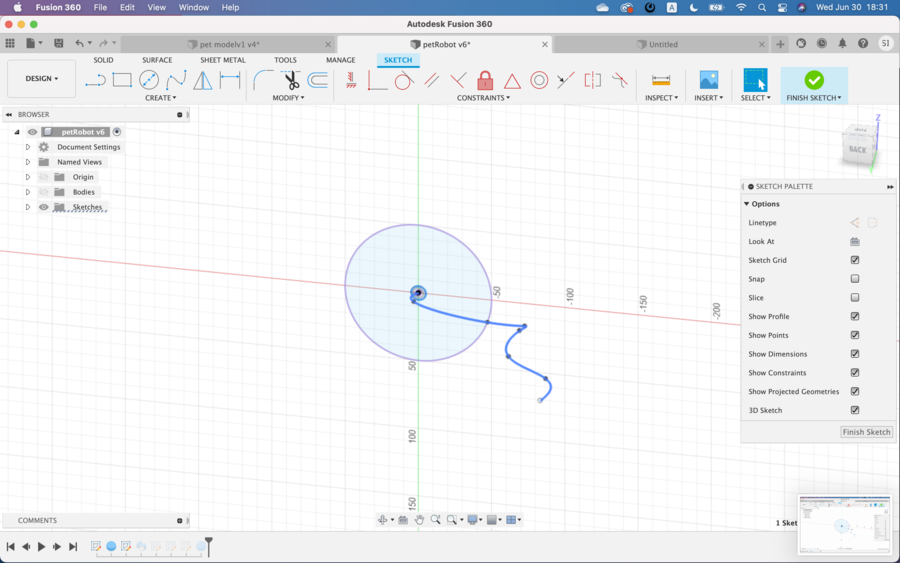
Hide body in browsers. Draw a tail by using Fit point spline from the Center, whose icon locates next to circle icon in upper menu. Draw small center diameter circle.
From create menu, choose Sweep. In Edit feature panel, choose Single Path, select small circle as a profile, tail line as a path and Join as an operation.
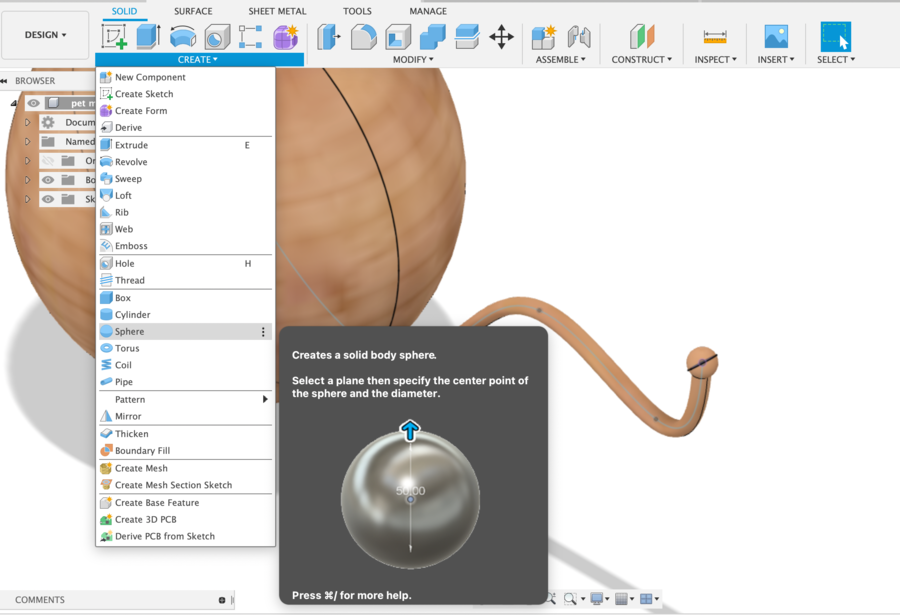
Open new sketch at the end of the tail. Draw a small circle in the plain.
Select Sphere from Create menu.
Assign materials - Go to modify and select Phsical Materials. Choose favorite material and drag and drop it to the objects. No furry material is available. Then I chose Cherry wood..
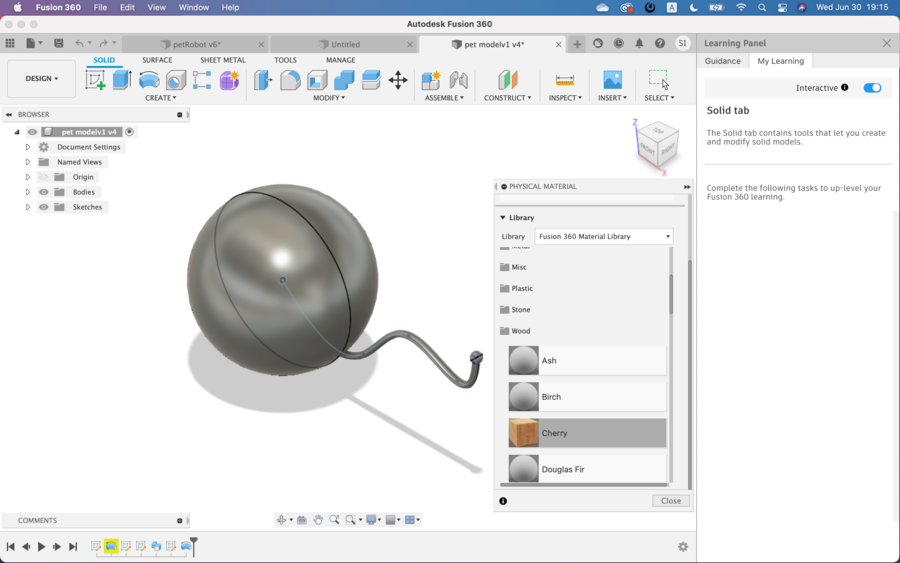
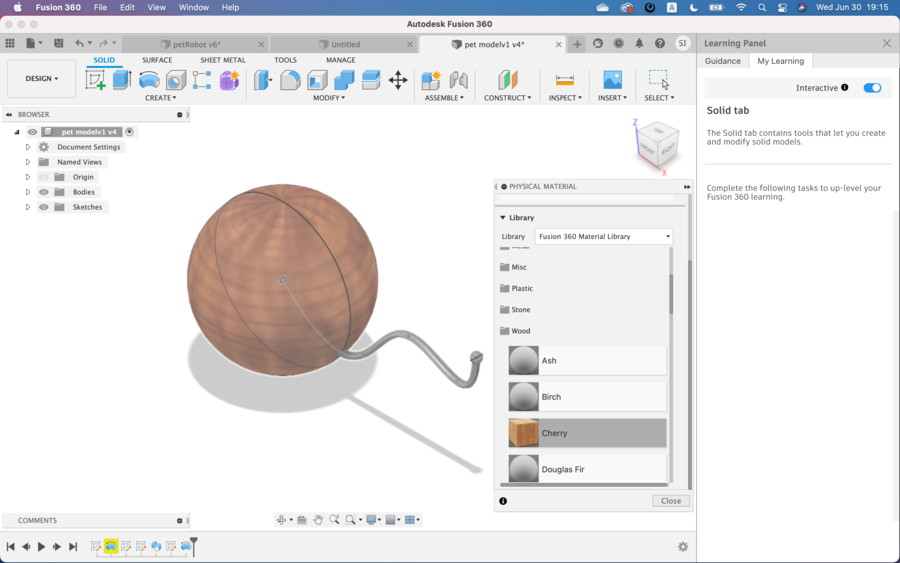
Now I had an image of my Final Project item in Fusion360.
Animation
I run an animation of the image of my final project item above created in Fusion 360. Sine I am not familiarized with this software, the movement is not far from what I imagined. Maybe I would be able to be an expert of this before my graduation of Fab Academy 2021.
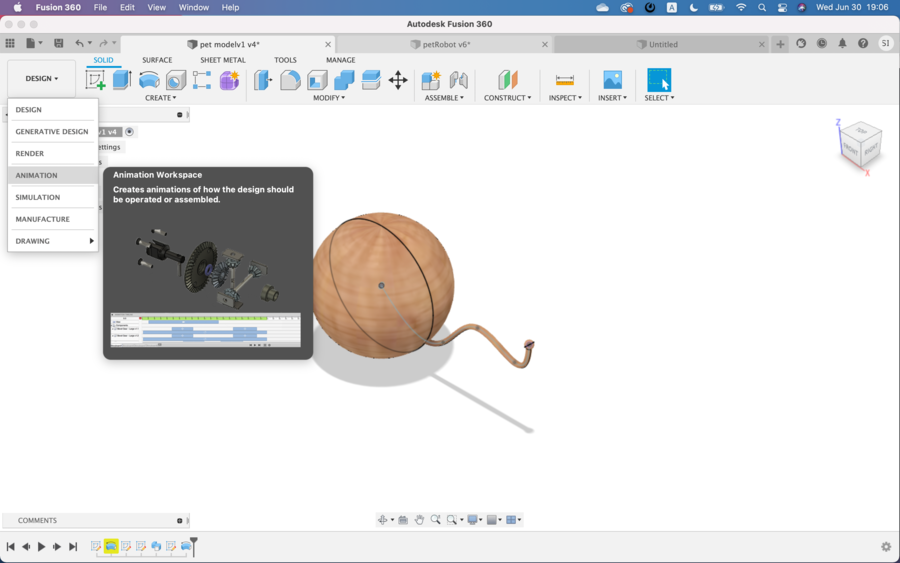
Here are Steps to create an Animation.
Choose Animation.
Choose Move(cross icon in Transformation menu) and by using arrows make the object moves. Fusion 360 records the moves.
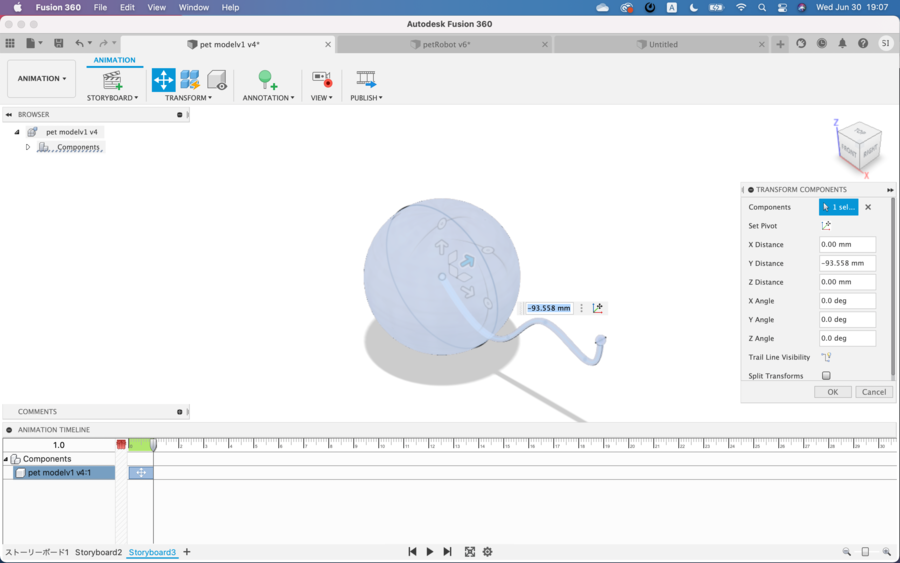
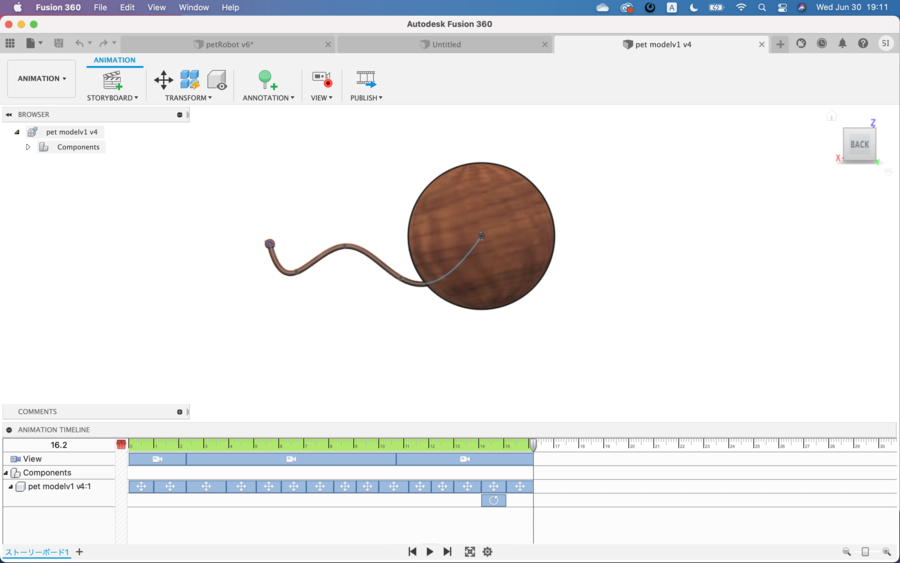
The moves can be exported as avi or mp4 as I like. I have exported it as mp4 as an original movie file.
The original animation file was compressed by ffmpeg.
On terminal, I used this line of words. This is super. I can change file size to change 1000k(level of quality) and/or 1080(size of pixel).
ffmpeg -i xxxx.mp4 -vcodec libx264 -b:v 1000k -vf scale=-2:1080 -acodec aac -b:a 256k -ar 48000 -ac 2 xxxxx.mp4
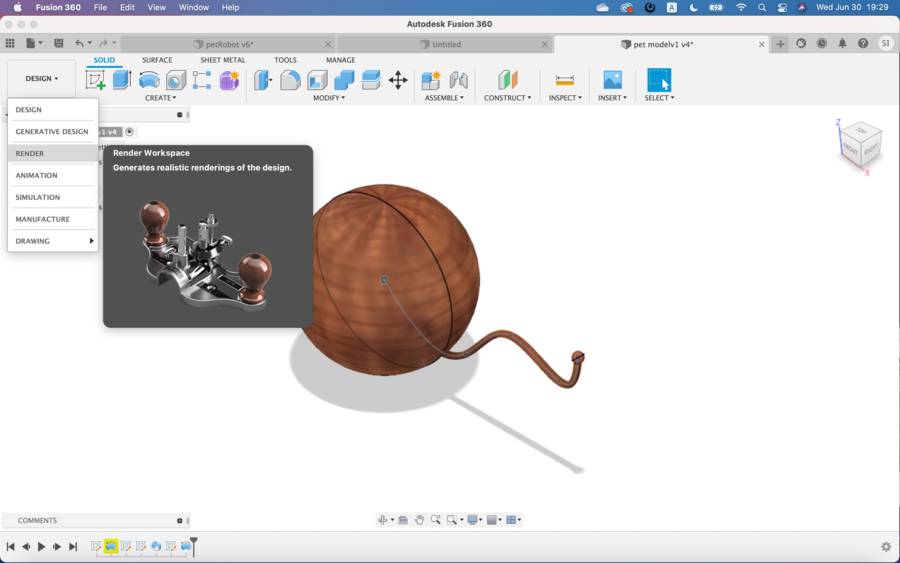
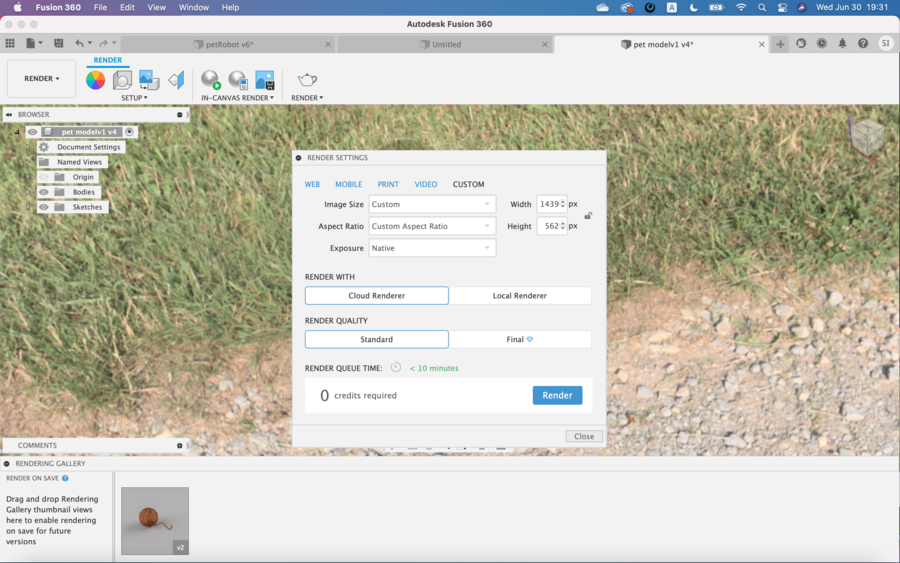
Rendering
Using Fusion360, I tried Rendering.
Choose Render
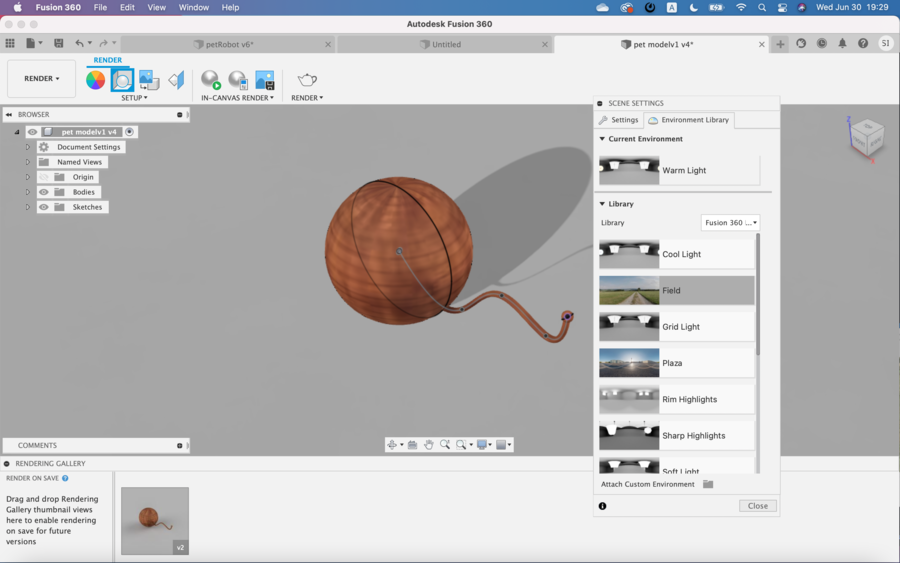
Select Scene Setting
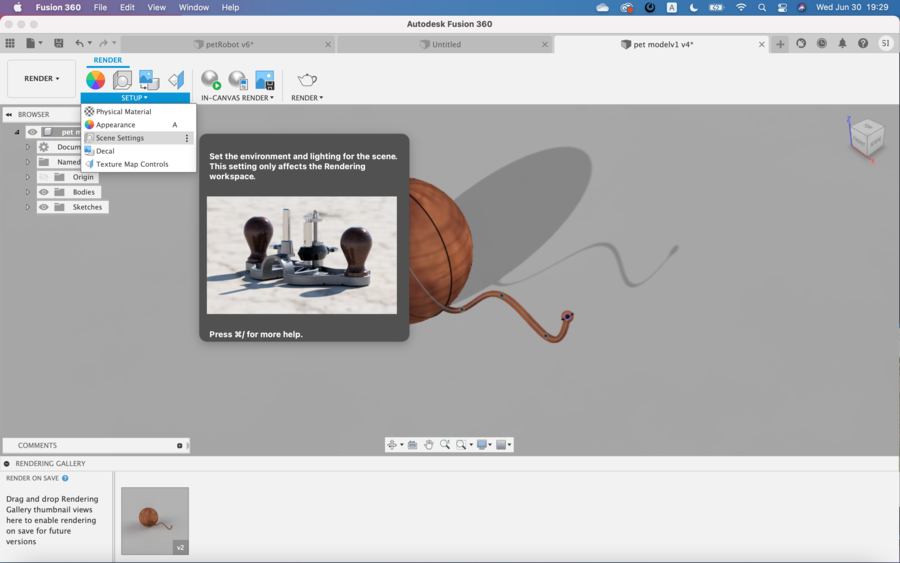
I chose Field and drag and dropped it.

Select Pot icon (Render). I chose Render quality as standard. Then press Render to start rendering.
Rendering finished.
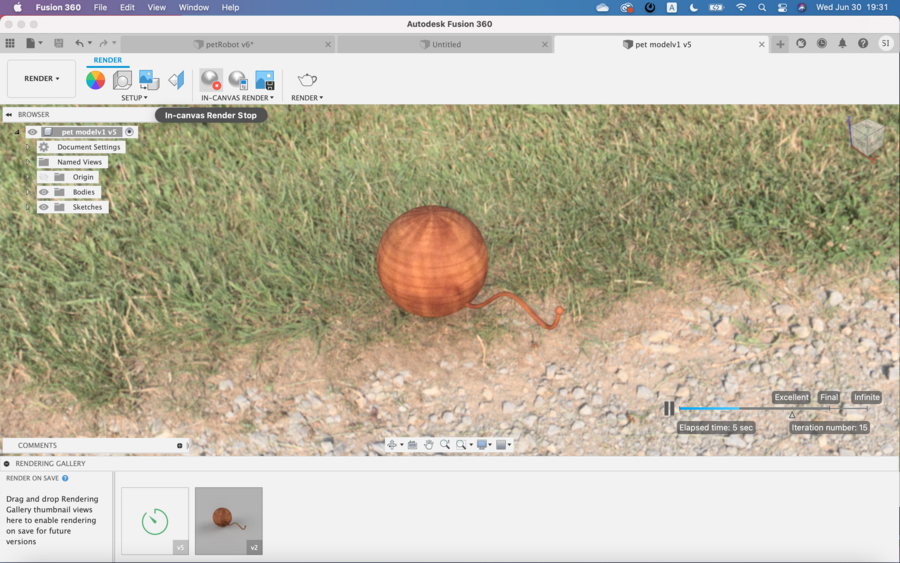
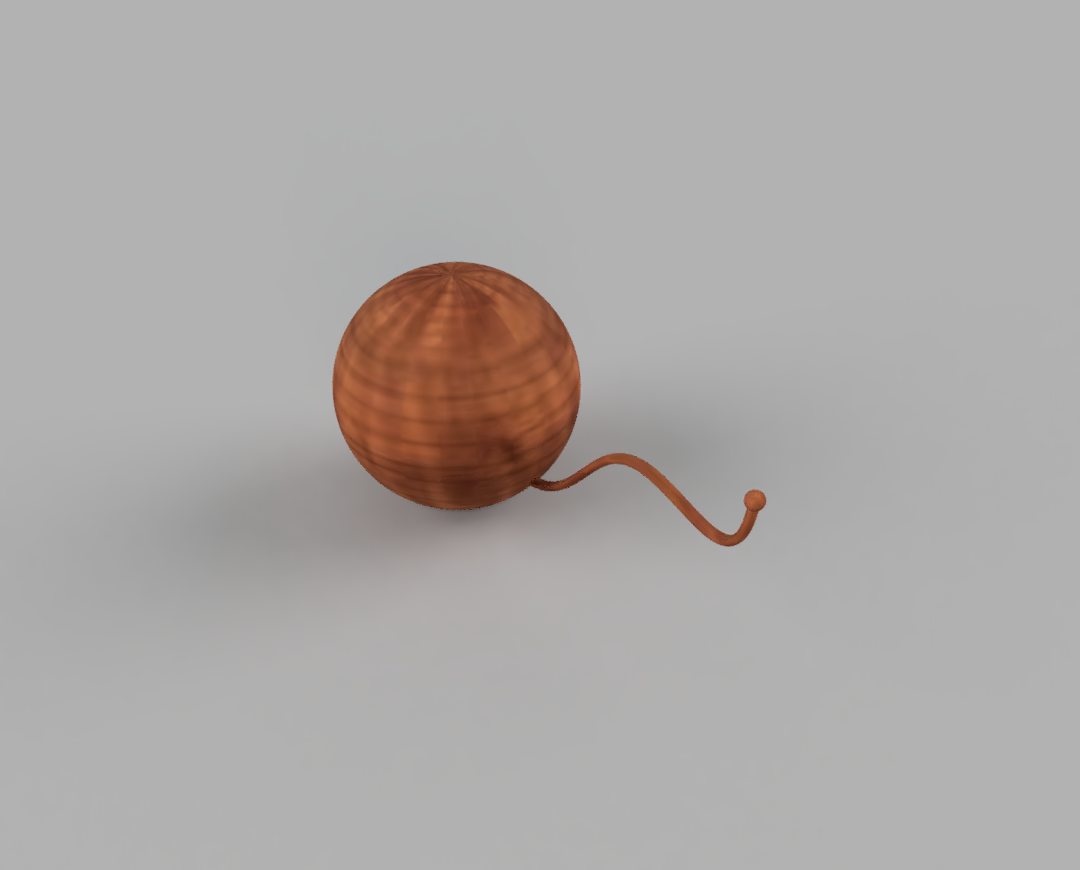
Rendering is very fun and stirring my imagination. If I could have given furry outlook to the object, it would be like much more an animal like, I believe.