15. Networking and Communications
Assignment
- individual assignment:
- design, build, and connect wired or wireless node(s) with network or bus addresses
- group assignment:
- send a message between two projects
Group assignment
This week we tried sending messages between two projects using I2C protocol. I2C (Inter Integrated Circuits) is a serial communication protocol that allows two or more boards to share information through a common clock signal. It has only two wires to share information: Serial Clock (SCL) and Serial Data (SDA).

We followed a simple chat program for Arduino tutorial and tried to chat in Serial monitor with SoftwartSerial library.
“The SoftwartSerial library has been developed to allow serial communication on other digital pins of the Arduino, using software to replicate the functionality. It is possible to have multiple software serial ports with speeds up to 115200 bps. A parameter enables inverted signaling for devices which require that protocol.”

Tips
It is very important to connect two devices’ GND together, otherwise it might bring in garbled even signal has been transmitted.
Here is the code:
/*
  Simple Chat Program

 Receives from the hardware serial,
 sends to hardware & software serial.
 Receives from software serial,
 sends to hardware serial.

 The circuit:
 * RX is A4 (connect to TX of other device)
 * TX is A5 (connect to RX of other device)

 created 16 August 2014
 modified 25 April 2019
 by Flavie Liu
 based on SoftwareSerial example
 */
#include <SoftwareSerial.h>

SoftwareSerial chat(A4, A5); // RX, TX

int text;

void setup()
{
  // open hardware serial, TX = 1, RX = 0
  Serial.begin(9600);
  Serial.println("Starting Chat Program...");
  // set the data rate for the SoftwareSerial port
  chat.begin(9600);
  delay(1000); // delay 1s to stabilize serial ports
  chat.println("Hello World");
}

void loop()
{
  if (chat.available())
    Serial.write(chat.read());

  if (Serial.available())
  {
    Serial.print("Me:\t");
    while (Serial.available())
    {
      text = Serial.read();
      chat.write(text);
      Serial.write(text);
    }
    chat.println();
    Serial.println();
  }

}
Individual assignment
I was trying to make a test for a I2C communication with more than one slave. Each slave would send its adress to the master one by one like report number. Then the master will print them through serial monitor:
Here is the code for master:
#include <Wire.h>

void setup() {
  Wire.begin();        // join i2c bus (address optional for master)
  Serial.begin(9600);  // start serial for output
}

void loop() {
  for(int i=0; i<=3; i++){
  Wire.requestFrom(i, 13);    // request 13 bytes from slave device #i

  while (Wire.available()) { // slave may send less than requested
    char c = Wire.read(); // receive a byte as character
    Serial.print(c);         // print the character
  }
  delay(1000);
 }
  Serial.print("OK, let's do it again\n");
  delay(1000);
}
Here is the code for slaves:
#include <Wire.h>

void setup() {
  Wire.begin(1);                // join i2c bus with address #1
  Wire.onRequest(requestEvent); // register event
}

void loop() {
  delay(100);
}

// function that executes whenever data is requested by master
// this function is registered as an event, see setup()
void requestEvent() {
  Wire.write("hello I'm S1\n"); // respond with message of 12 bytes
  // as expected by master
}
Change the slave adress from 1 to 3 – upload to corresponding board – then connect all the VCC and GND – See from the master serial monitor
Some useful command for I2C protocol:
Wire.begin() & Wire.begin(address)
Initialize the wire library and add it to the I2C network.
Wire.requestFrom(addtess,quantity)
The master device requests a byte from the slave device. This byte can be accepted by the master device using read() or available().
Wire.beginTransmission(address)
Start a data transfer and send an I2C start character.
Wire.endTransmission()
End a slave transmission started by beginTransmission() and arranged by write().
Wire.write()
Send data to slave.
Wire.read()
Wire.requestFrom() request slave data, you can use read to receive.
Wire.available()
Wire.requestFrom() request slave data, you can use available to receive.
My final project plan about communications


At first I intend to directly connect every input and output device to the main controller’s pin header. But I realized that if my table use a lot of modules to connect, the pin header won’t be enough.

Here is the connection way:

So I decided to use I2C protocol to connect every table module and make an independent MCU for each.

Here is the connection way:

Now I can add unlimited number of table module I want. And futher more, I would like to use magnet to make the joint instead of cables to make the table can separtate and combine more easily.
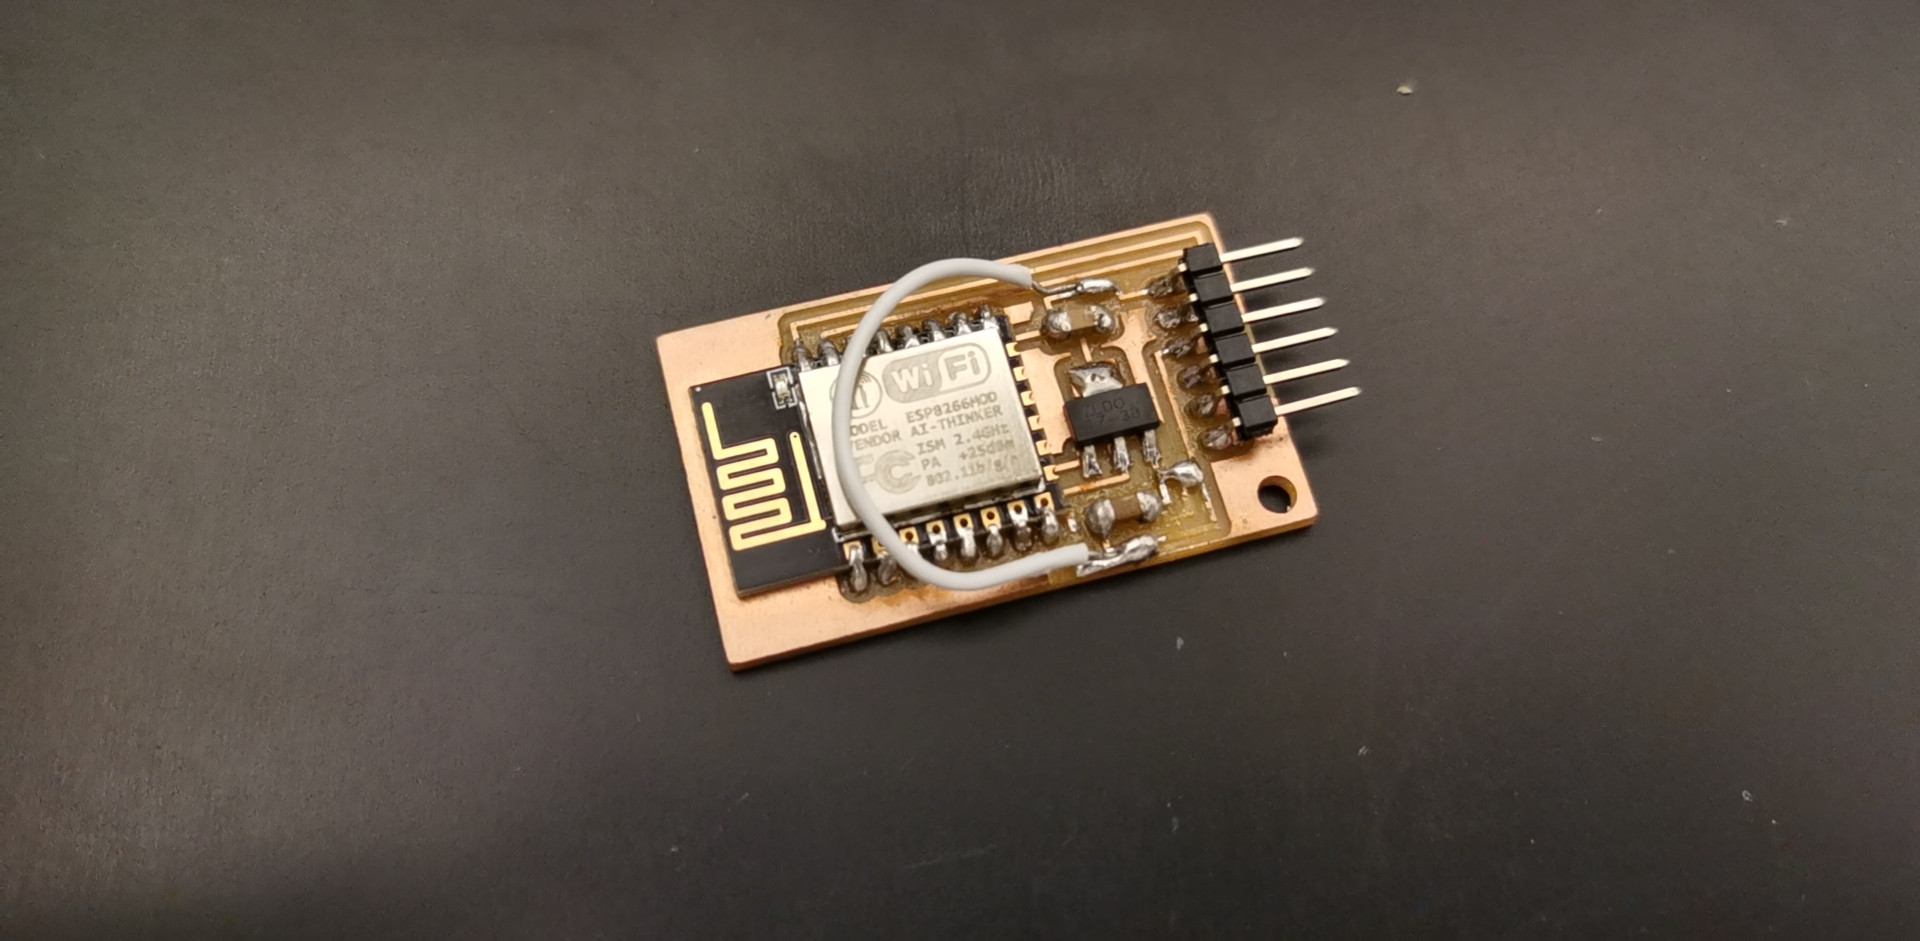
Designing indepentant control module and WIFI module
I decide to use RC circuit as the input device part:

To make this function works, I need a MCU for each of it, so I choose the simple chip: ATtiny44.
(I’m still working on designing it)
Some useful refference:

“ESP8266 is a wifi SOC (system on a chip) produced by Espressif Systems. It is an highly integrated chip designed to provide full internet connectivity in a small package. ESP8266 can be used as an external Wifi module, using the standard AT Command set Firmware by connecting it to any microcontroller using the serial UART, or directly serve as a Wifi-enabled micro controller, by programming a new firmware using the provided SDK.”