6. 3D Scanning and printing
Group assignment
We have done two diffrent tests in each 3D printers that we have in our lab “Prusa MK2” and “MakerBot”. we found out that the PETG filament is the best when using “pursa” printer. You can see all the details here
Designing 3D object
Since I have already designed a 3-D objects in the previous couple of weeks and explaind how I did it here.
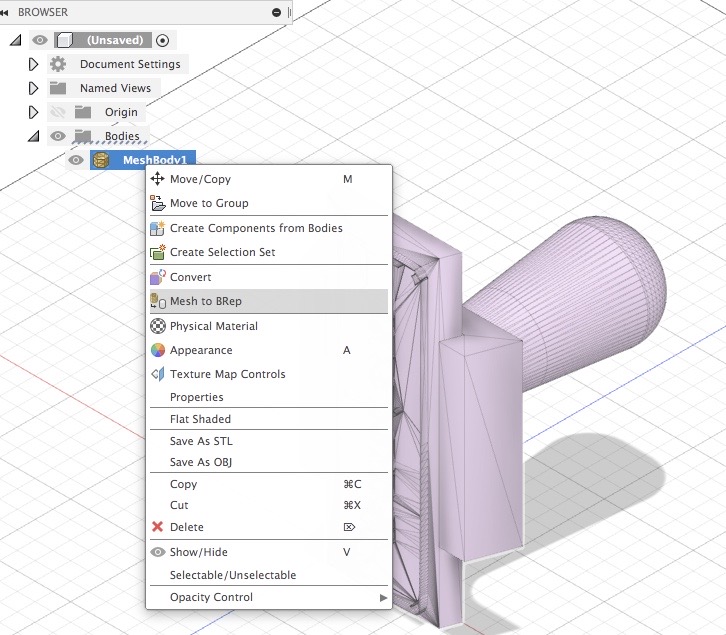
Therefore, I took it and did some changes to fit that requirements of this week. I opend the STL file in fusion 360 and it turns that it is a mesh body and i can not edit it, so to do that I figure out that when you right click on the body there is a choice called mesh to BRep.
 I decided to do some dots on the handle of the stamp. To do that, go to create>hole. Then, to make it pattren, Click on rectangular pattern select the shape of the hole that you create, and then drag it in the direction that you want.

And here is the final look of the object in the program as you can see it in all directions;
## Slicing and Printing
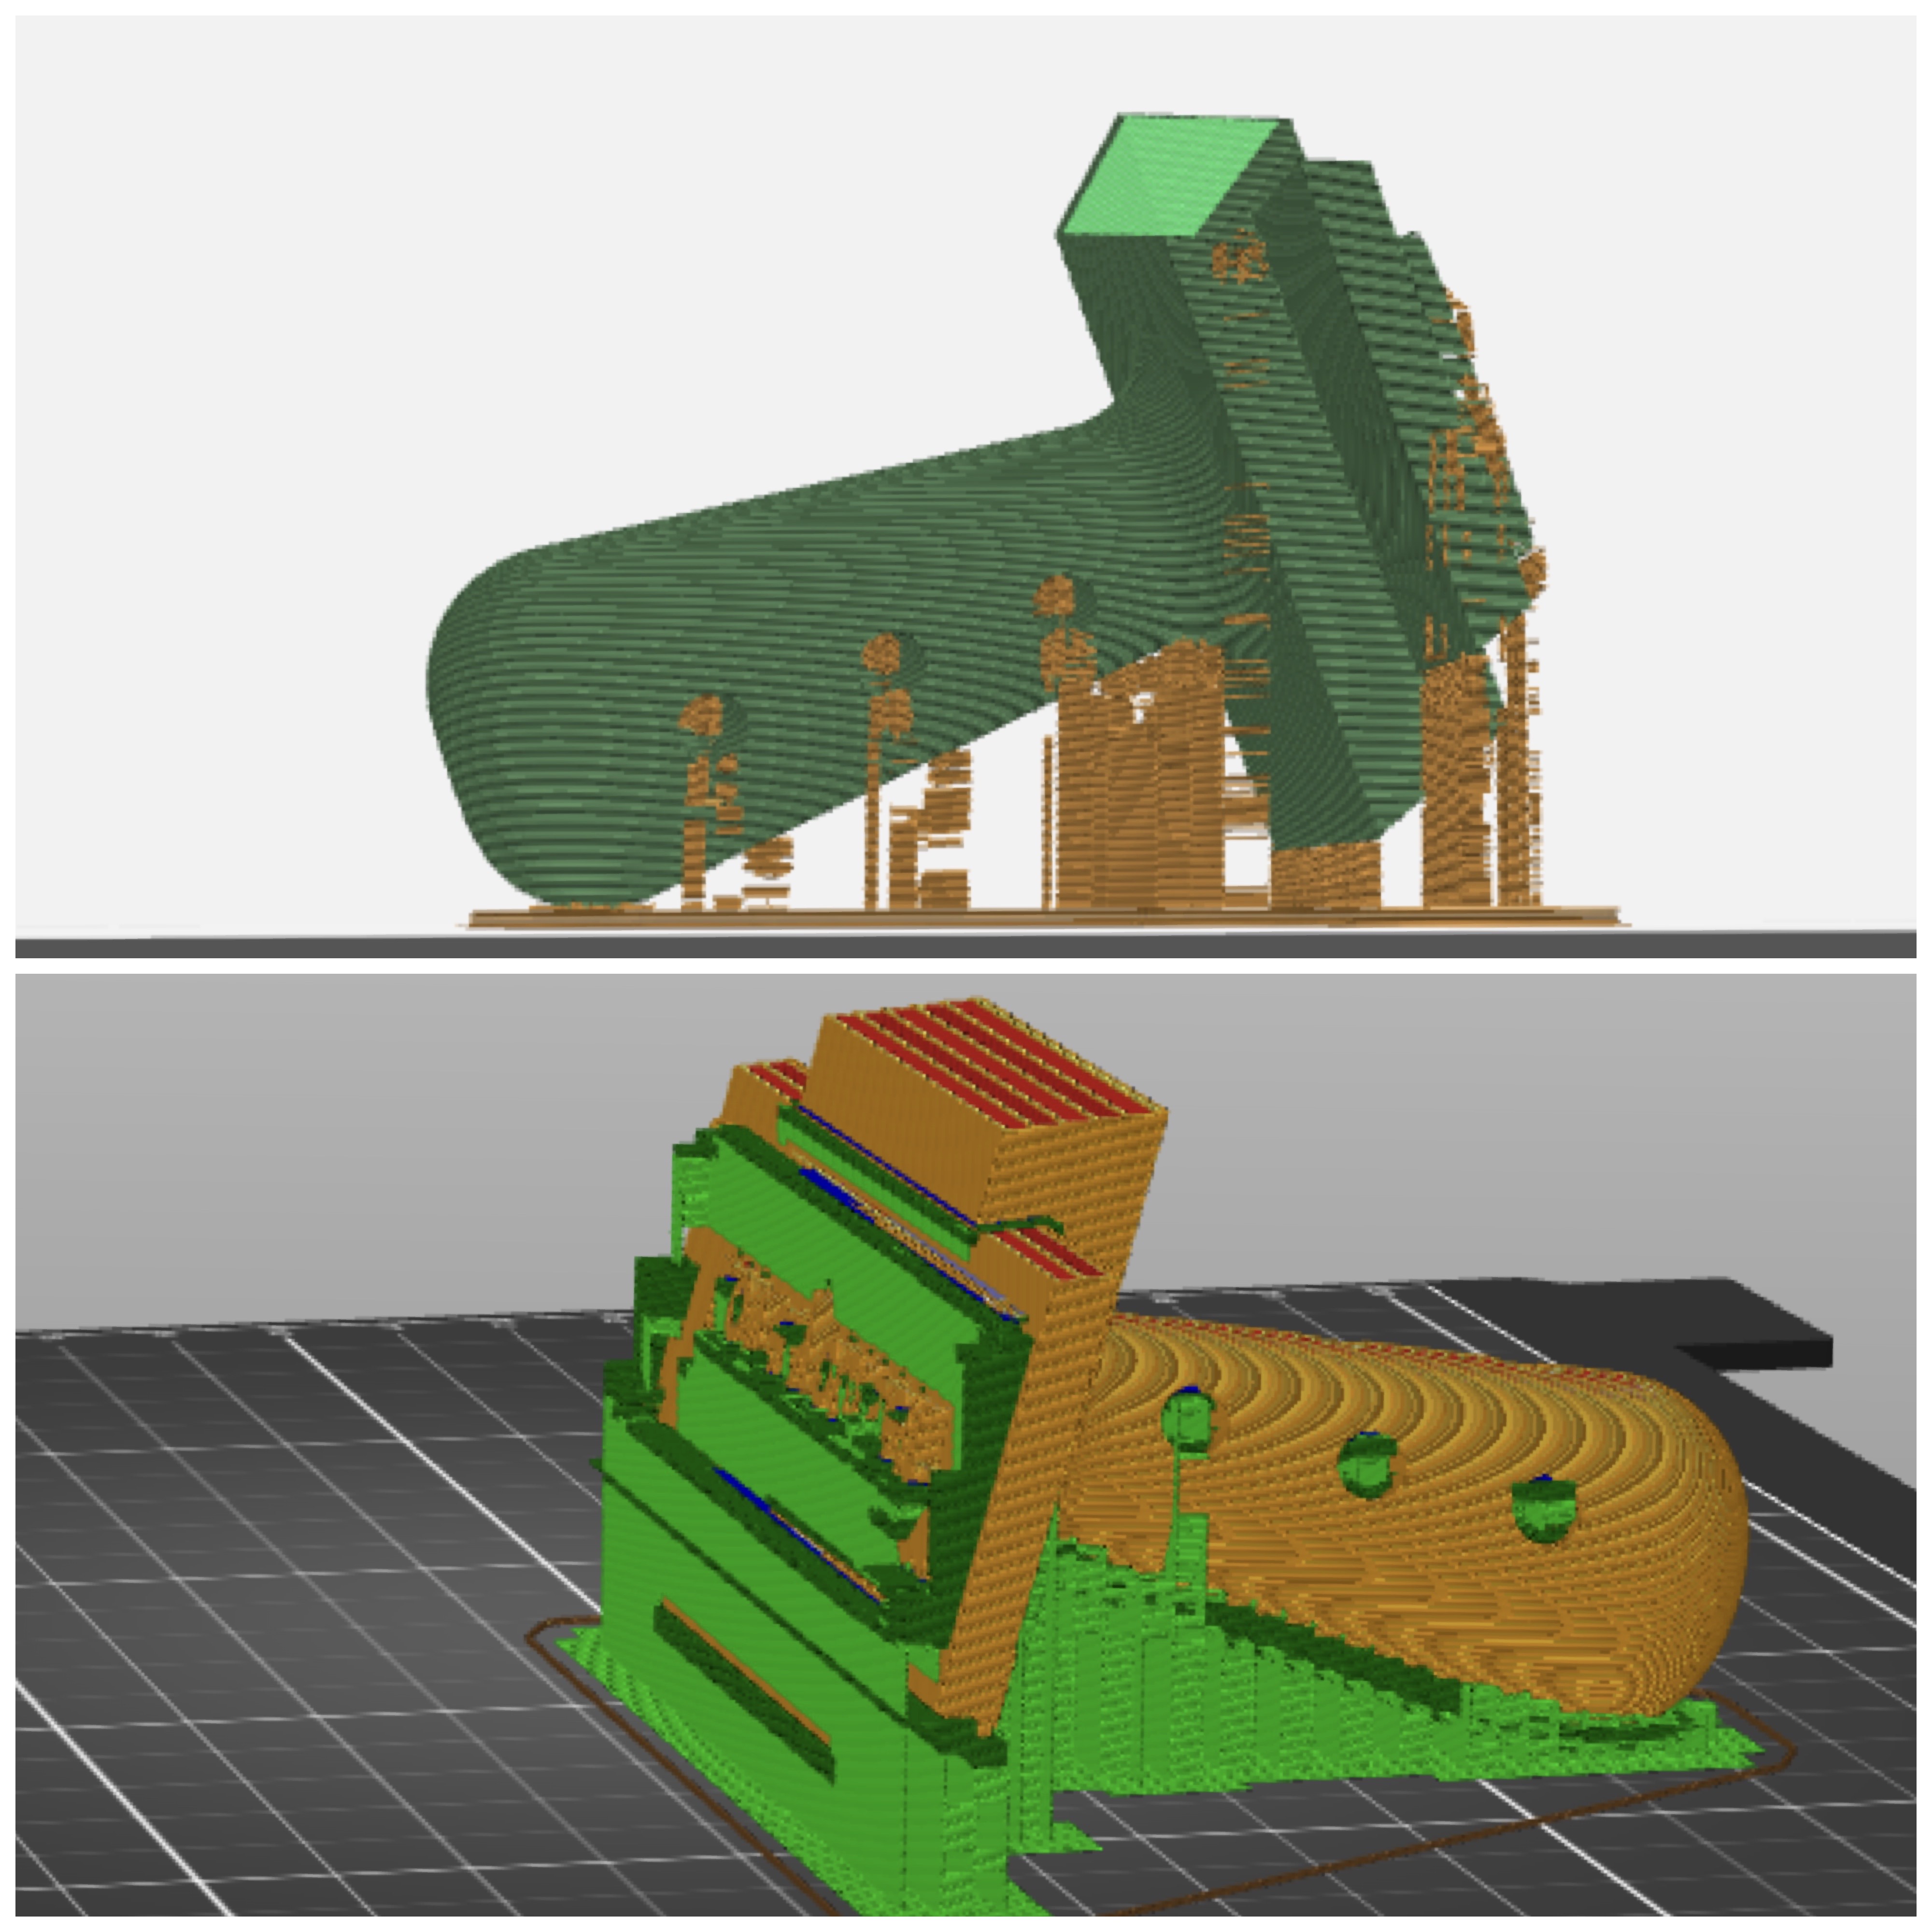
I did the slicing in two softwares which are PursaSlicer and MakerBot to see the differents. After uploading the STL file in the software, I placed it in a position that it will have the least amount of support.
Then, I set up the print settings;

As you can see the printing will be in the normal speed and with support in everywhere needed to keep the details of the object and print them clearly.
I noticed that “MakerBot” spend the least amount of support which saves us material.
After that, I transfare the file into a USB and put into the 3D printer, I’m using the 5th Generation of MakerBot 3D pribter and PLA filament. Now the pirter does these three steps: 1. heating up the extruder. 2. moving into position. 3. trasfaring the printing file.

Then I used these tools to remove the support;
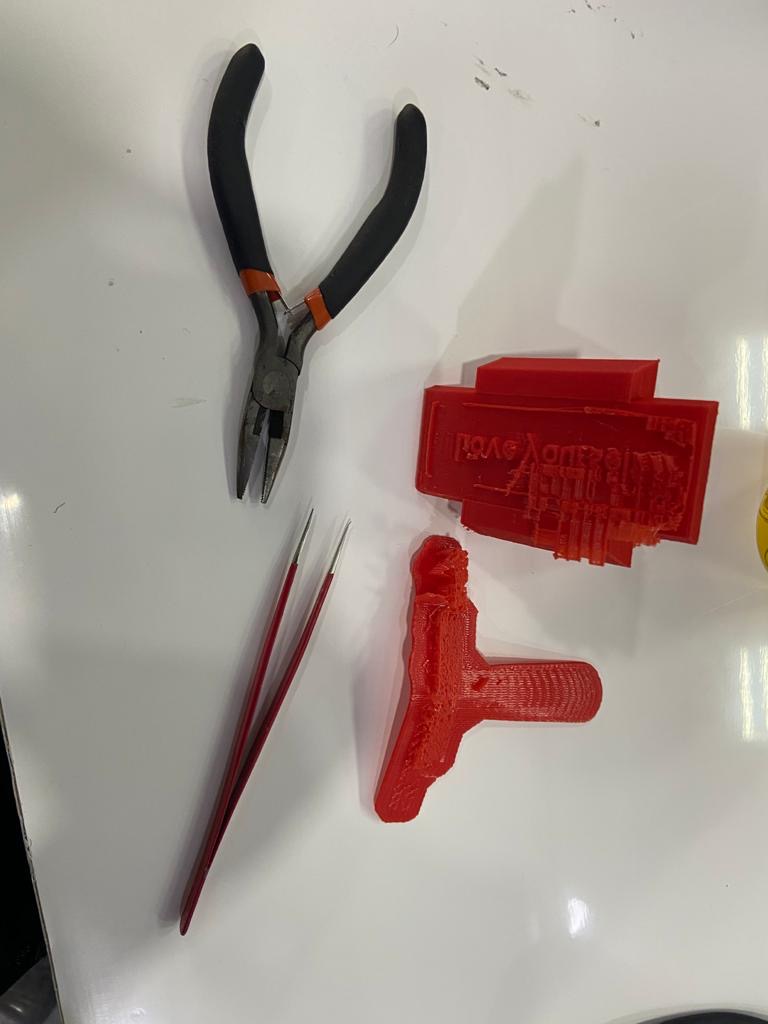
And here is what I got!
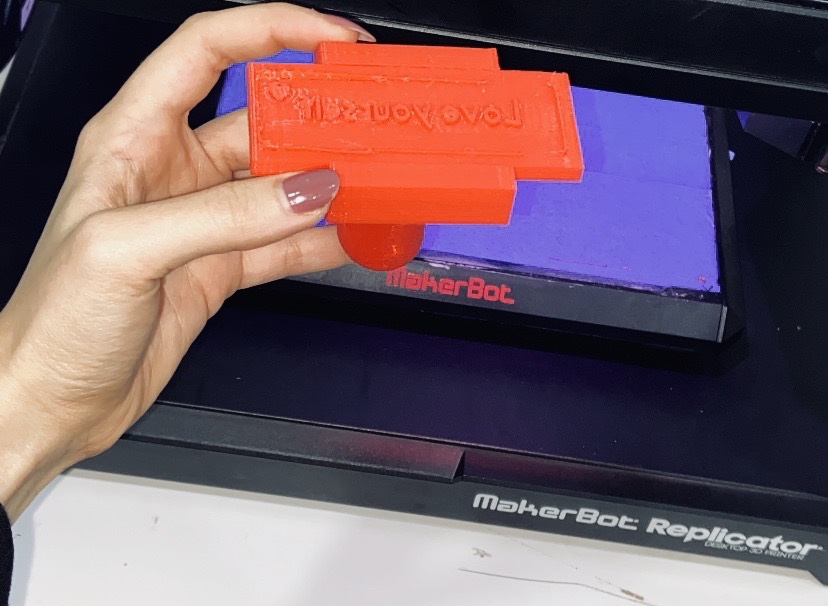
As seen below the first stamping did not show up clearly, therefore I filed the writing until it become clear.

3D scan an object
- Qlone :
I used first Qlone app which you can install for iPhone it from here. Once you open it, it asks you to have the scaling sheet which you place the object on it and it will recognize the position of the object.
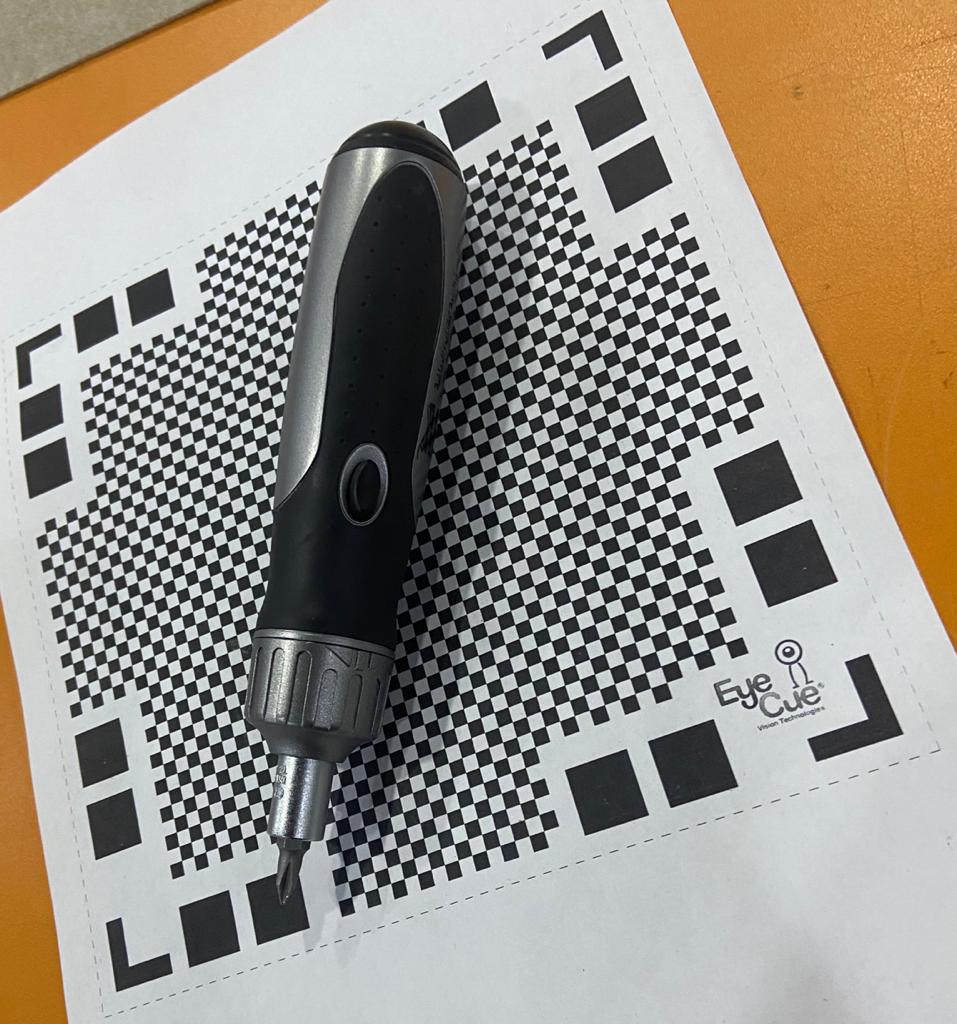
Then slowly rotate the phone around the object until it completes all the mesh.
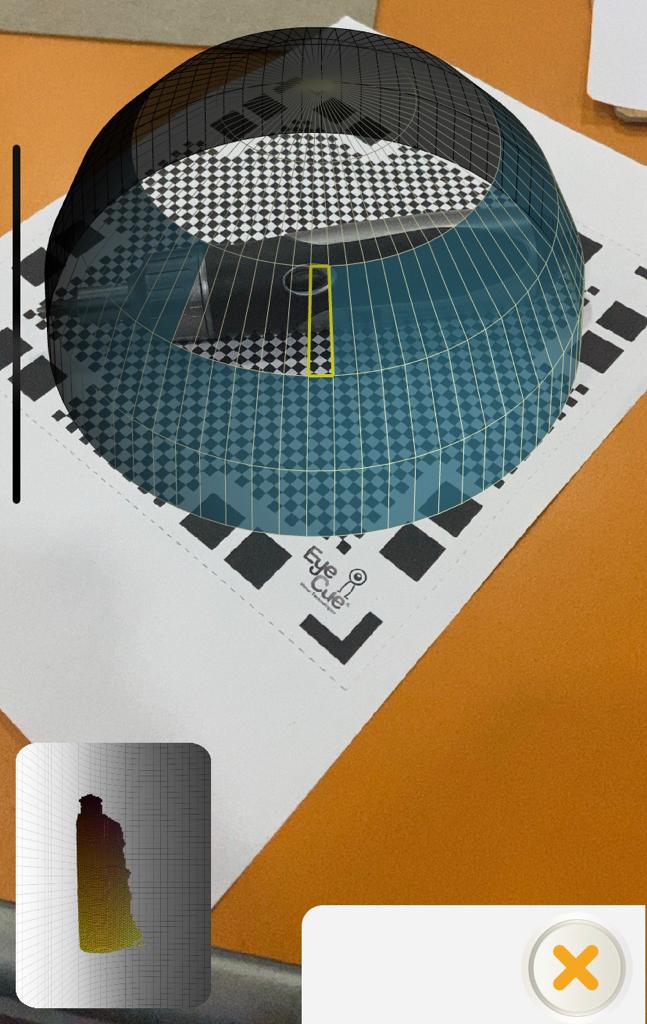
Here’s how it turns

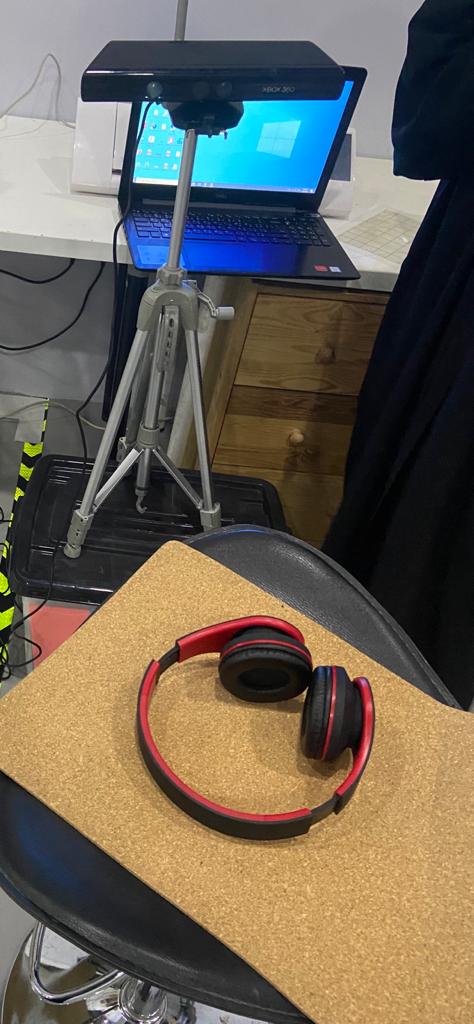
- Skanect and xbox Kinect sensor :
Using the software “skanect” I scaned the second object. First connect the the xbox 360 Kinect with the pc, and set it in a stable position. Then, put the object in front of it.
moving to the software, you can choose a scene either its a body, object, room..etc. I choosed “object” and i identify the bounding size
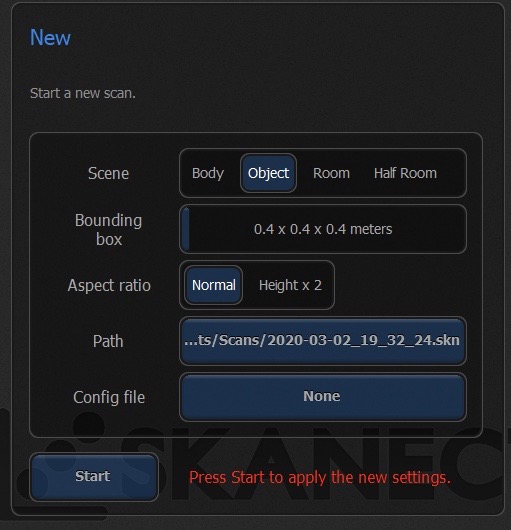
Then click “start”, and all you want to do is rotate the object slowly and carefuly one to two cycles.
And thats the result;

After that, you can export it as a STL file and 3D print it, since its a free version of the sotware, it does not show all details as you can see below, the upper image is the STL file, and the downwards is the scan in the software.
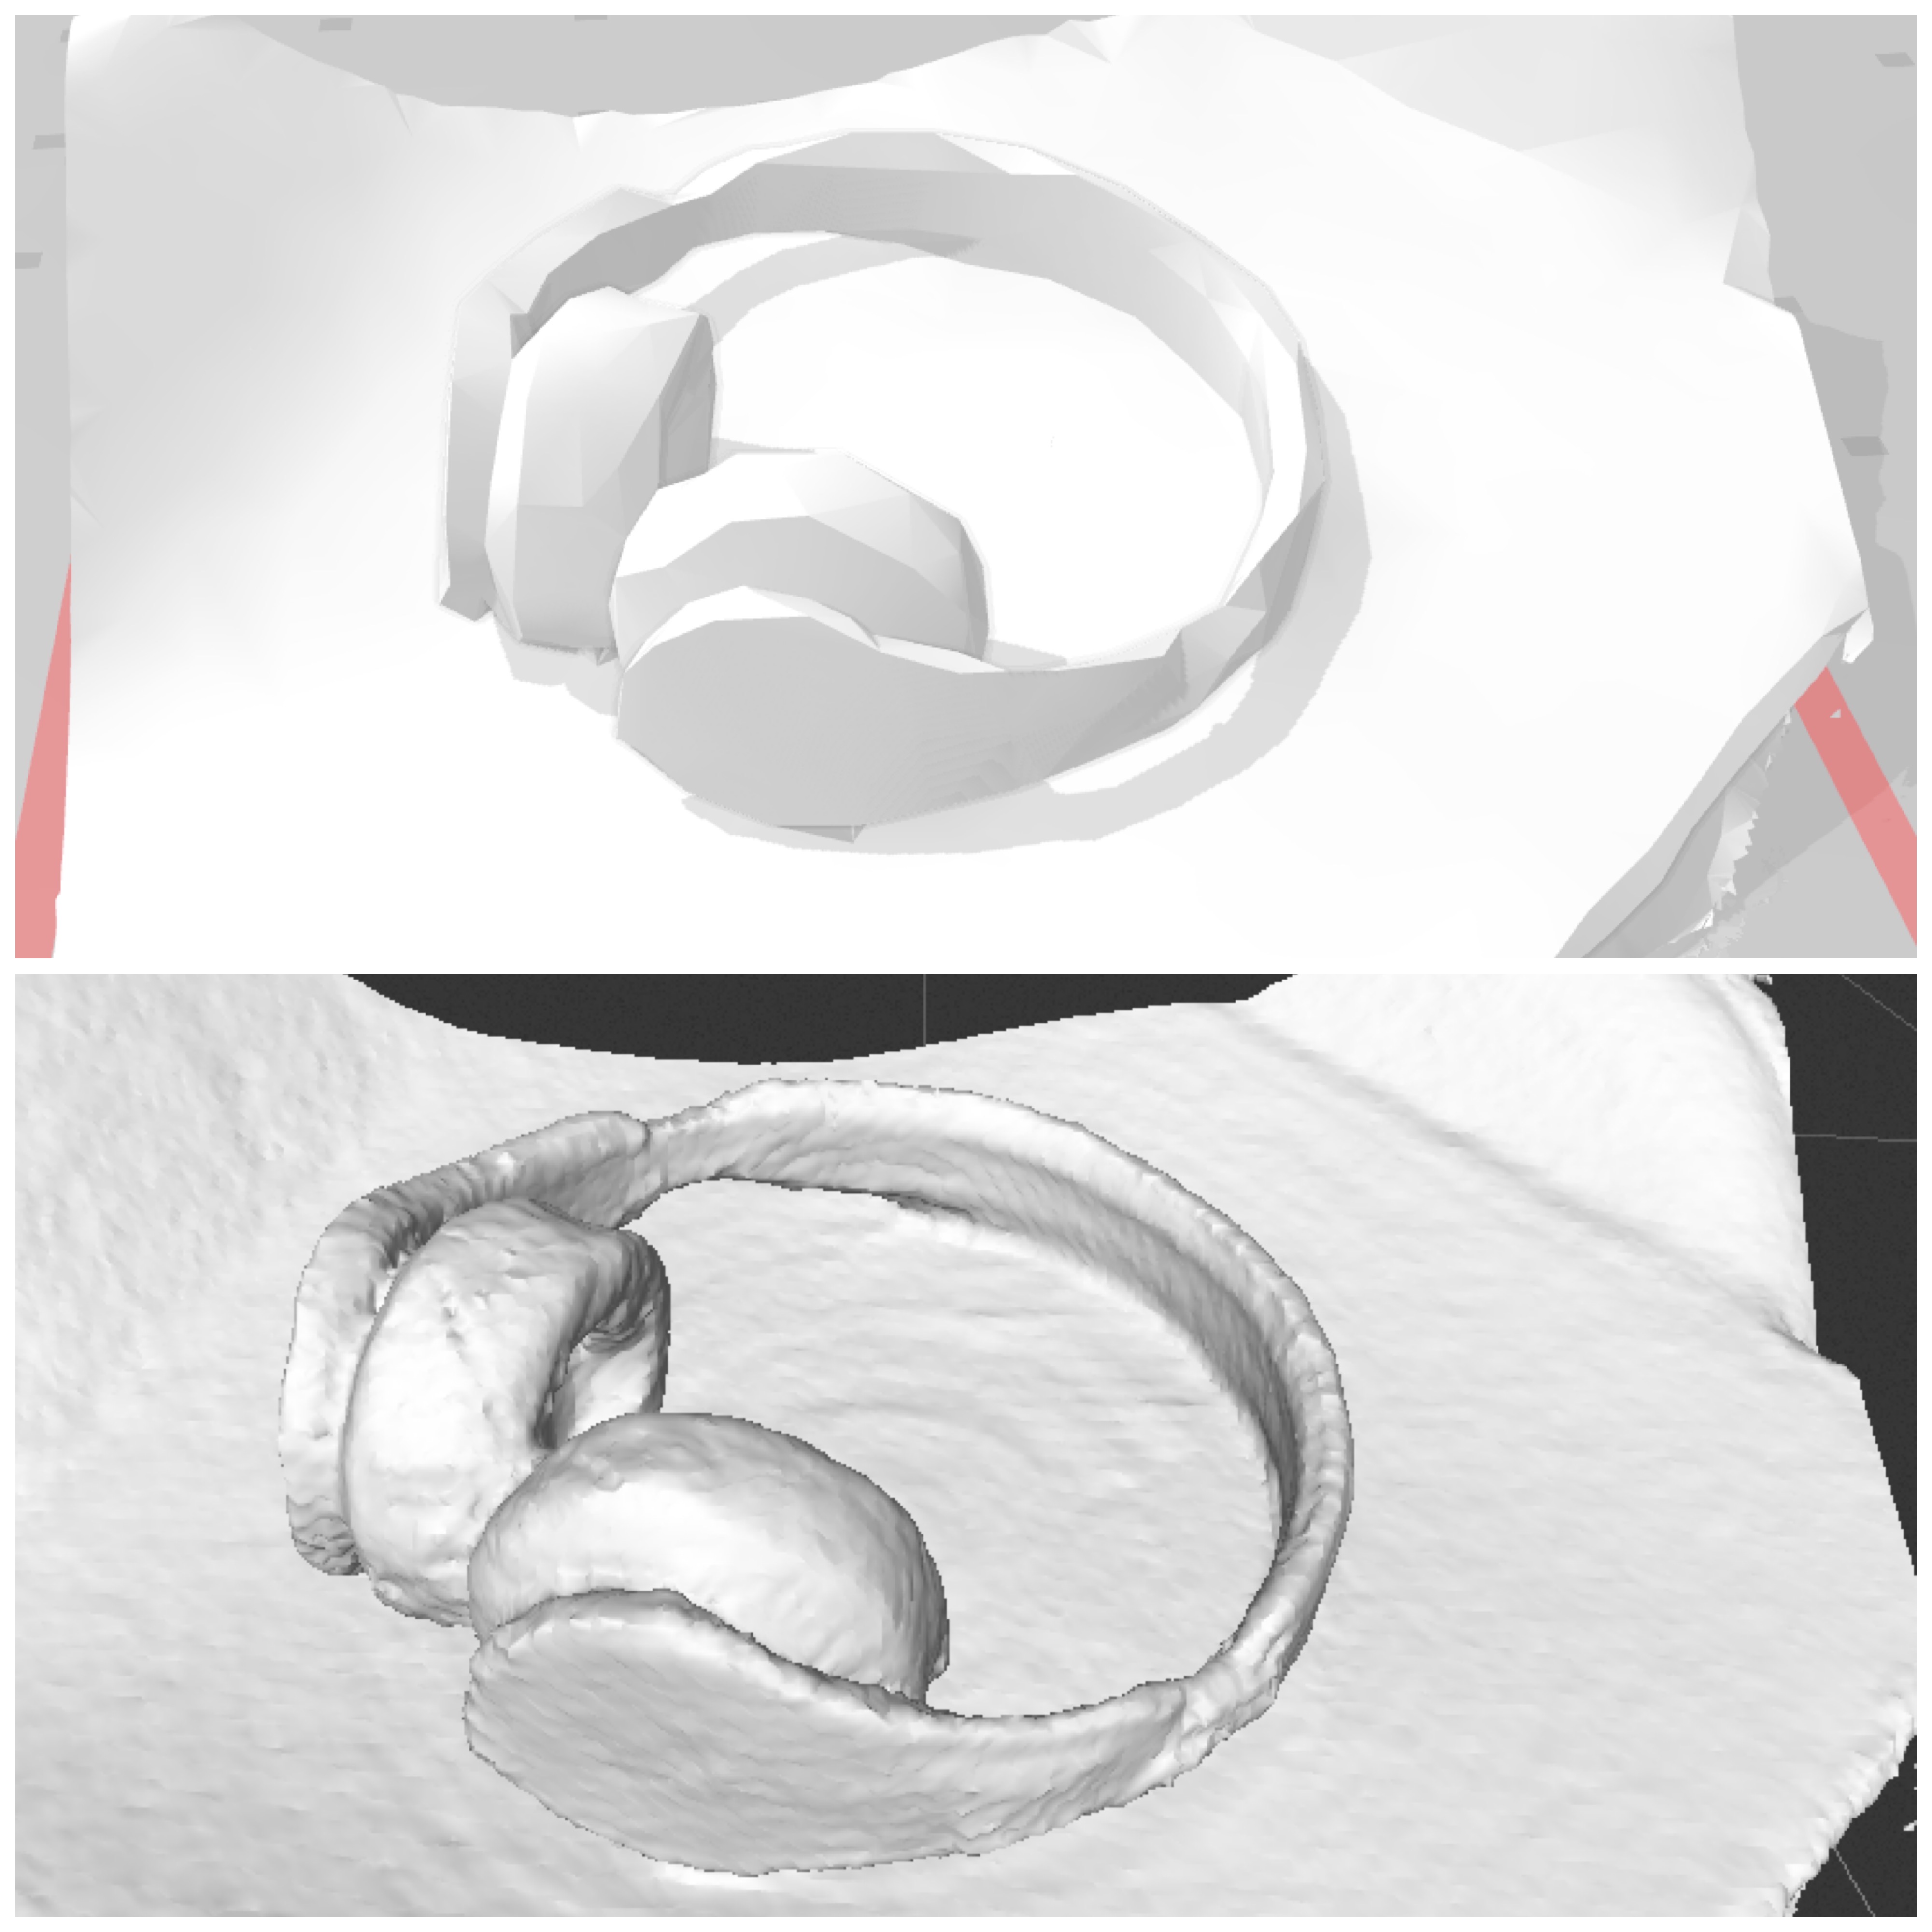
I think that qlone has shown more details of the object and much easier to use. however, the xbox Kinect has shown us the accurate shape of the object.