3. Computer Aided design
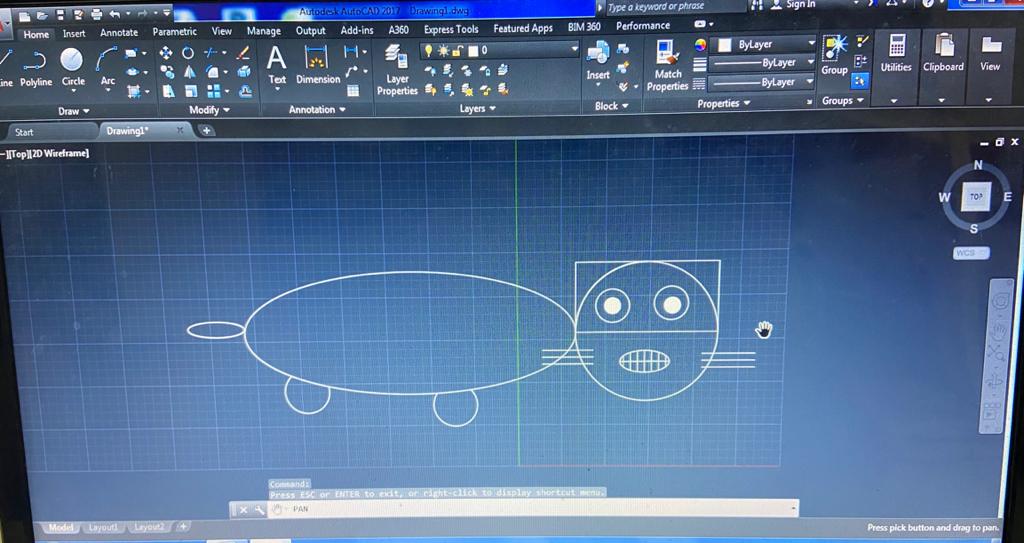
I am an absolute beginner, with no previous experience in the designing, I haven’t touch any designing program before, so I began by learning the basics in AutoCad and tried to discover the tools by making this.
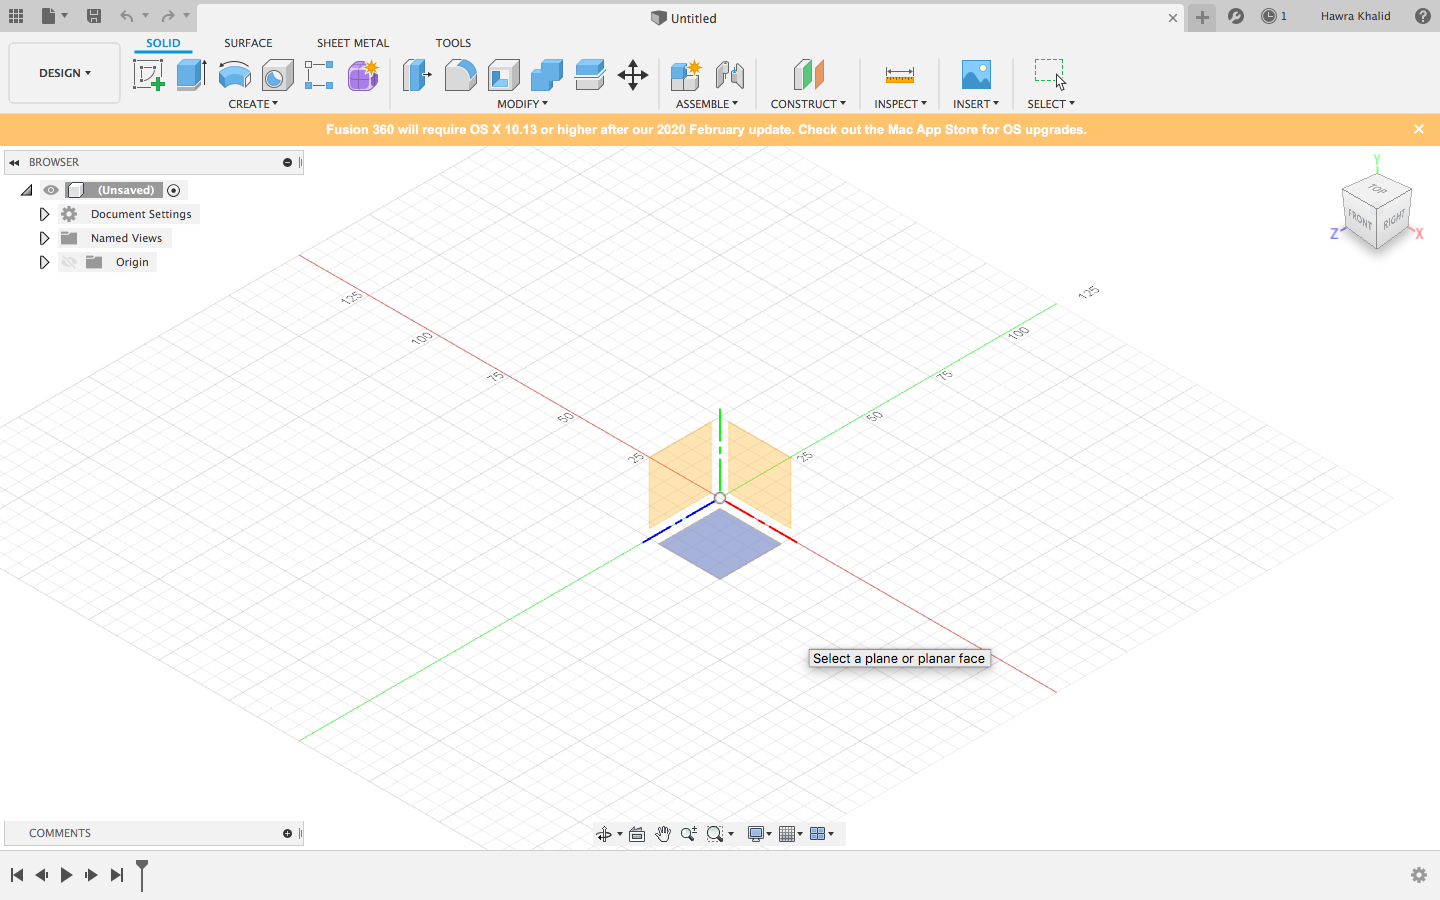
 I thought that this program hard for me as a beginner and I should use an other one, I installed FreeCad and Fusion 360 and started to watch videos and tutorial about them, and I decided to work in Fusion 360 as I found it very easy, learning Fusion 360 is a critical step in being able to create my own unique designs.
What I’m modeling:
I’m modeling is a custom stamp which is made up of two different parts. The first part is the stamp plate, that’s interchangeable…and the second part is the handle of the stamp, which can be re-used with any stamping plate.
creating the plate:
First of all i want to create a new component for each and every part that makes up my design. I’ll create one part for the handle, and one part for the reusable stamp plate.
I named the component and I activated it, as signified by dot within the circle, next to the component name. Now I can start creating a 2-D sketch
At its core, the stamp plate is a rectangle. And because I want the stamp plate to be interchangeable. I’ll make the sides of the rectangle angled so it can slide in and out of the handle, without falling out.
So I choose line from the choices above ,Once activated, I saw the three origin planes are highlighted in orange.
 Next I’m going to create the 2D sketch that represents the shape I want by clicking on the center origin, and dragging the mouse cursor to the right. I noticed that there is a dimension input field opens up. So i typed out 35mm and then I clicked on the red horizontal line to set the line in place.
I typed 70 degrees for the angle input field. For the length dimension field, I type out 5mm.
Next I’m going to create the 2D sketch that represents the shape I want by clicking on the center origin, and dragging the mouse cursor to the right. I noticed that there is a dimension input field opens up. So i typed out 35mm and then I clicked on the red horizontal line to set the line in place.
I typed 70 degrees for the angle input field. For the length dimension field, I type out 5mm.
 For the next line, I’ll create the angled line on the left side. So, I right clicked and select “repeat line” to quickly re-select it. I select the origin point then type out 5mm for the dimension, followed by the tab key to lock the dimension in place… and 70 degrees for the degree input field, followed by the tab key to lock the degree in place. Lastly, I clicked on the other line to connect all the lines, creating a closed profile shape, as signified by the orange background highlight.
After that, I select the extrude command from the create dropdown list then select the closed profile shape as the “extrude” profile.
I set the diminution as 90mm in the distance input field. Now have successfully created reusable stamp plate, and to customize it I did a design in “circuit design space” and save it as an SVG to insert it easily from the options.
For the next line, I’ll create the angled line on the left side. So, I right clicked and select “repeat line” to quickly re-select it. I select the origin point then type out 5mm for the dimension, followed by the tab key to lock the dimension in place… and 70 degrees for the degree input field, followed by the tab key to lock the degree in place. Lastly, I clicked on the other line to connect all the lines, creating a closed profile shape, as signified by the orange background highlight.
After that, I select the extrude command from the create dropdown list then select the closed profile shape as the “extrude” profile.
I set the diminution as 90mm in the distance input field. Now have successfully created reusable stamp plate, and to customize it I did a design in “circuit design space” and save it as an SVG to insert it easily from the options.
 After selecting the file, I noticed that it’s not aligned with the stamp plate, so i rotate it and drag it over 90 degrees, where it snaps into place.
Now before clicking okay, I need to hit the “Horizontal Flip” button in order to reverse the SVG image. We have to print our stamp out backward, so it’s in the correct orientation when we use it.
At this point, I have 2D sketch lines and i need to use the extrude command once again, to turn the SVG into a 3D object.
After selecting the file, I noticed that it’s not aligned with the stamp plate, so i rotate it and drag it over 90 degrees, where it snaps into place.
Now before clicking okay, I need to hit the “Horizontal Flip” button in order to reverse the SVG image. We have to print our stamp out backward, so it’s in the correct orientation when we use it.
At this point, I have 2D sketch lines and i need to use the extrude command once again, to turn the SVG into a 3D object.
creating the stamp’s handle:
To get started, I created a new component for the handle
I actually want this handle component to be nested on the same level as the plate component. To fix this, I click on the Handle component name, and drag it to the top level component, which is the file name. As I release my mouse on the file name, the Handle component moves slightly to the left…and it’s now on the same level as the plate component.
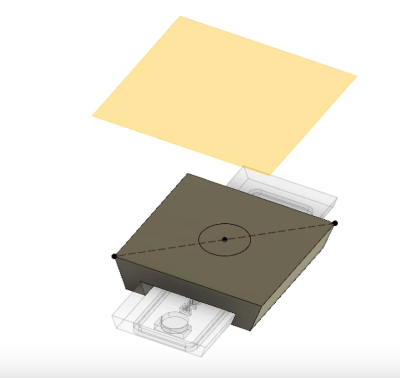
To center the handle with the stamp plate, I’ll use one of the construction planes, which lets us create sketches in a more precise location.
So select “construct” then “midplane” . to create a midplane I have to select the two end faces of the stamp plate.
After that, I want to recreate the dovetail shape for the base of the handle by activating the project tool, then click on the midplane that I just created, as that’s the plane I want this new sketch to be on, I need to select all four lines that make up the silhouette of stamp plate.
At this point, I want to offset the trapezoid, in order to add a small tolerance into the sliding dovetail.
So click “offset” then “repeat offset” option. I’m going to create a second offset in order to now create the thickness for the base of the handle. Then, for this dimension 7mm …then flip it to the outside.
Now i have a closed profile shape that could extrude.
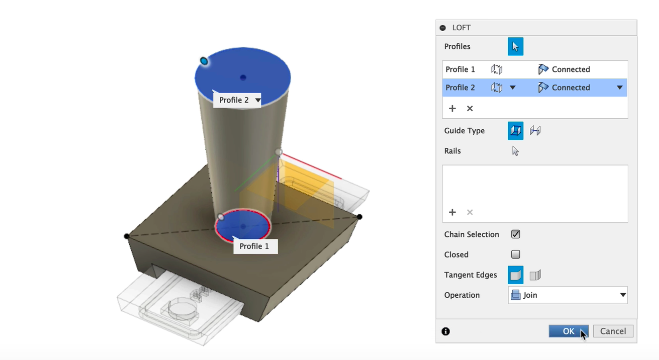
 Then I finish it off using the loft command.
Now, I’ll hover my mouse cursor over the diagonal line near its center…and I’ll click when I see the triangle sketch constraint icon, which ensures the circle ,snap into place directly in the middle of the line.
now drag out with my mouse and I’ll type out 17mm for the circle’s diameter
I need a second piece of geometry to do the closed shape.
I clicked on the surface that I just sketch on…and I’ll type out 60mm for the offset dimension.
Then I finish it off using the loft command.
Now, I’ll hover my mouse cursor over the diagonal line near its center…and I’ll click when I see the triangle sketch constraint icon, which ensures the circle ,snap into place directly in the middle of the line.
now drag out with my mouse and I’ll type out 17mm for the circle’s diameter
I need a second piece of geometry to do the closed shape.
I clicked on the surface that I just sketch on…and I’ll type out 60mm for the offset dimension.
 Then, I created a 30 mm circle on it.
I can now use the loft command to bridge these two shapes together.
Then, I created a 30 mm circle on it.
I can now use the loft command to bridge these two shapes together.
 Then I clicked “fillet” to add rounded edges with 10 mm for the radius

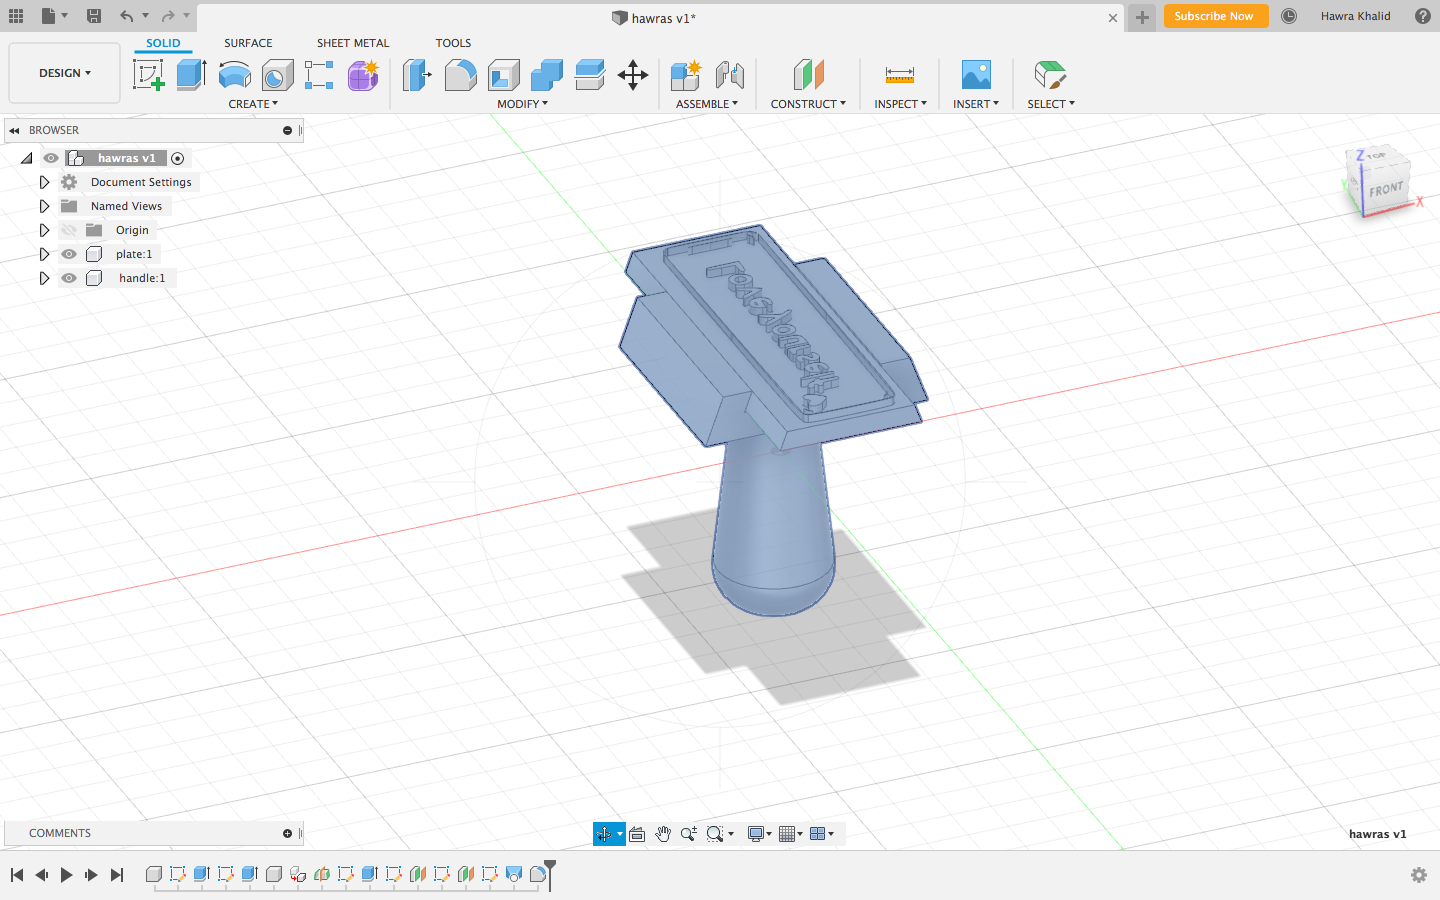
And Finally thats how it turns out;
To summarize, I found these advices;
- Always save your file with a file name before beginning any design work. This ensures that your file will be saved should Fusion 360 ever crash.
- Always create new components every time you’re going to create a new “part” in Fusion 360. This will keep all of your sketches and other features separate, which is essential as you build larger and more complex designs.
- Try to keep your sketches as simple as possible. As you saw in this course, each sketch should have a limited amount of geometry on them. This makes sure they are easy to update later on if you need to change dimensions of your design.
- Create “construction” lines and geometry when you need geometry that is intended solely for reference purposes.
- Be creative – as you can see, in under an hour we’ve created this stamp that can be customized to endless possibilities. Learning more about Fusion 360 will expand your knowledge and let you further customize your own unique designs. In return, this could help you gain more clients, make more money, and maximize your creative potential.
My designs:


